Product photography isn’t cheap, but it’s a priceless investment for ecommerce businesses. Professional photographers that focus on product photography have niche knowledge and specialized equipment to highlight the best features of the items they’re photographing.
If you own an ecommerce brand, you’ll want to hire a pro with product photography expertise. To avoid sticker shock (or get stuck with bad images), we’ll break down the costs of product photography and why it’s worth it to invest in a knowledgeable photographer.
In this article:
- How much does product photography cost in 2021?
- How much brands pay for product photography in 2021
- Factors impacting product photography costs
- Product photography costs: a rundown
- Where to save money vs. where to invest
- Moving forward with your product photography
How much does product photography cost in 2021?
Product photography costs vary depending on several factors including the type of product, the number of products you need photographed (most photographers discount bulk orders), the style you’re looking for (e.g., white background or lifestyle), and your turnaround time.
To give you a better idea of product photography rates, here are a handful of pricing structures (from real companies):
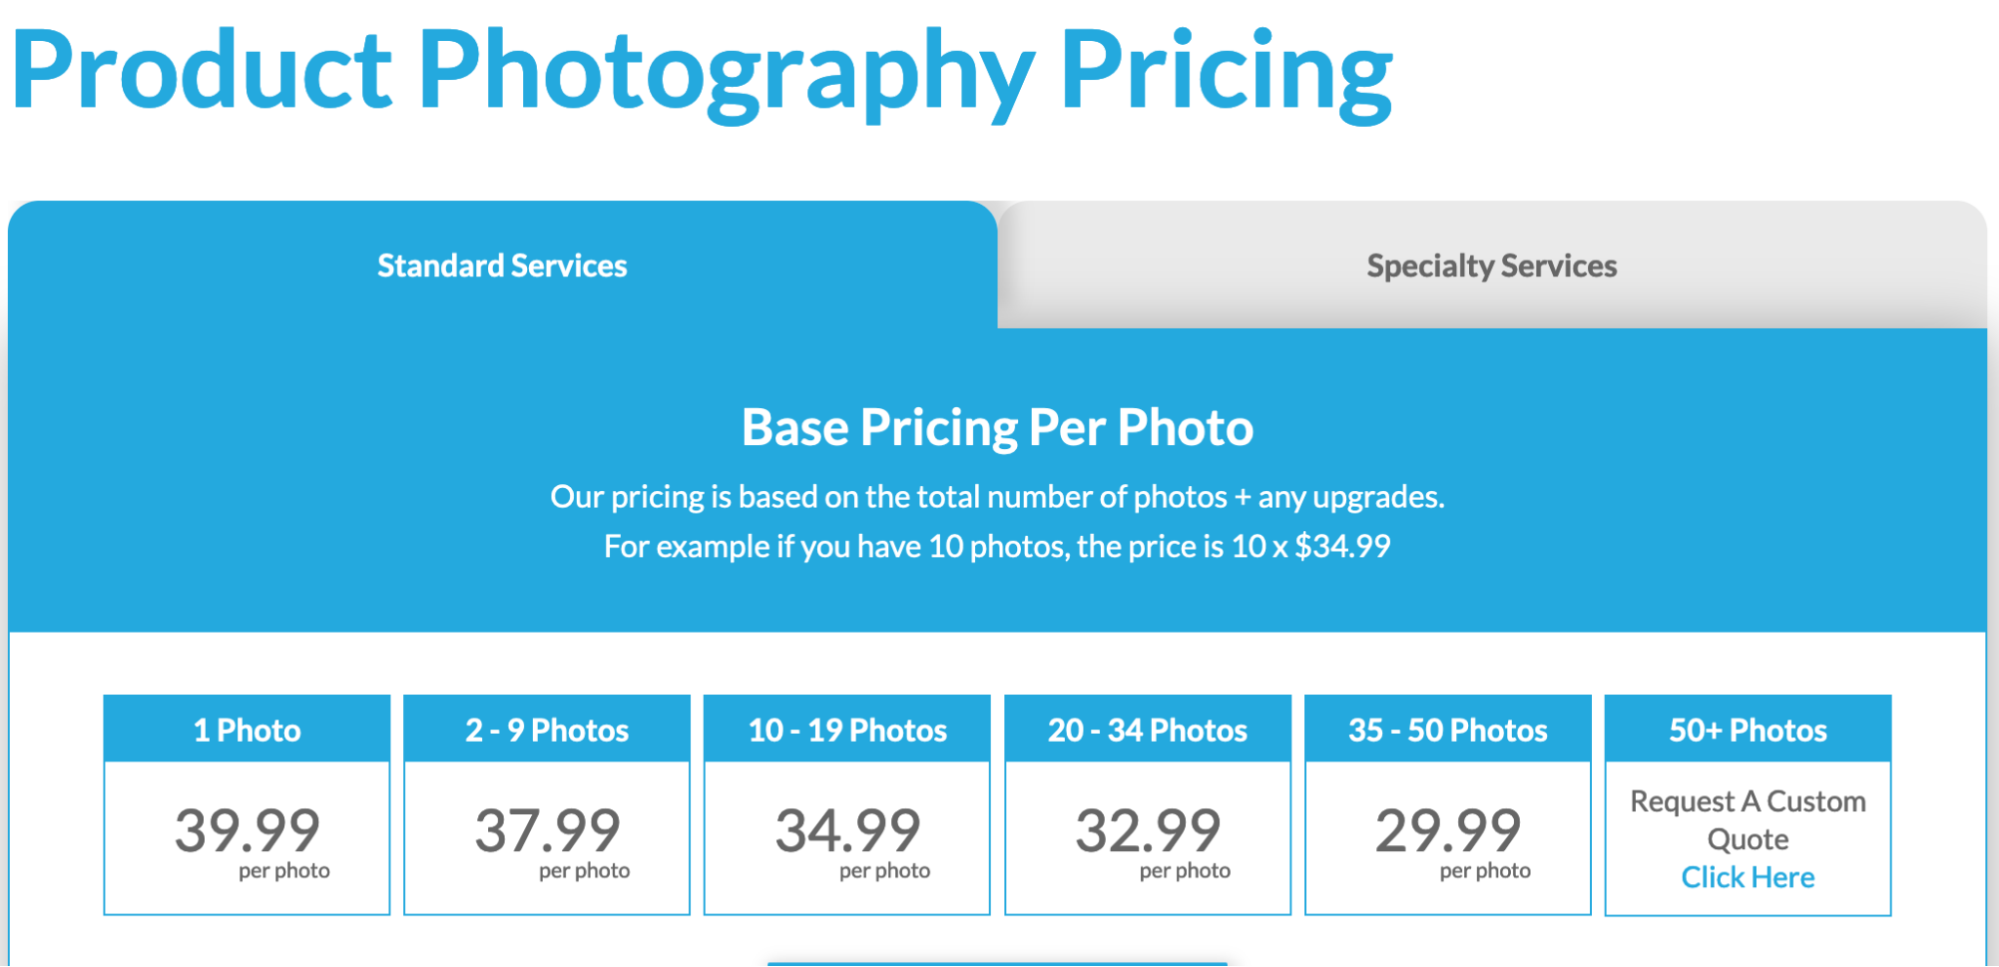
Products on White Photography charges anywhere between $29.99 and $39.99 per photo.
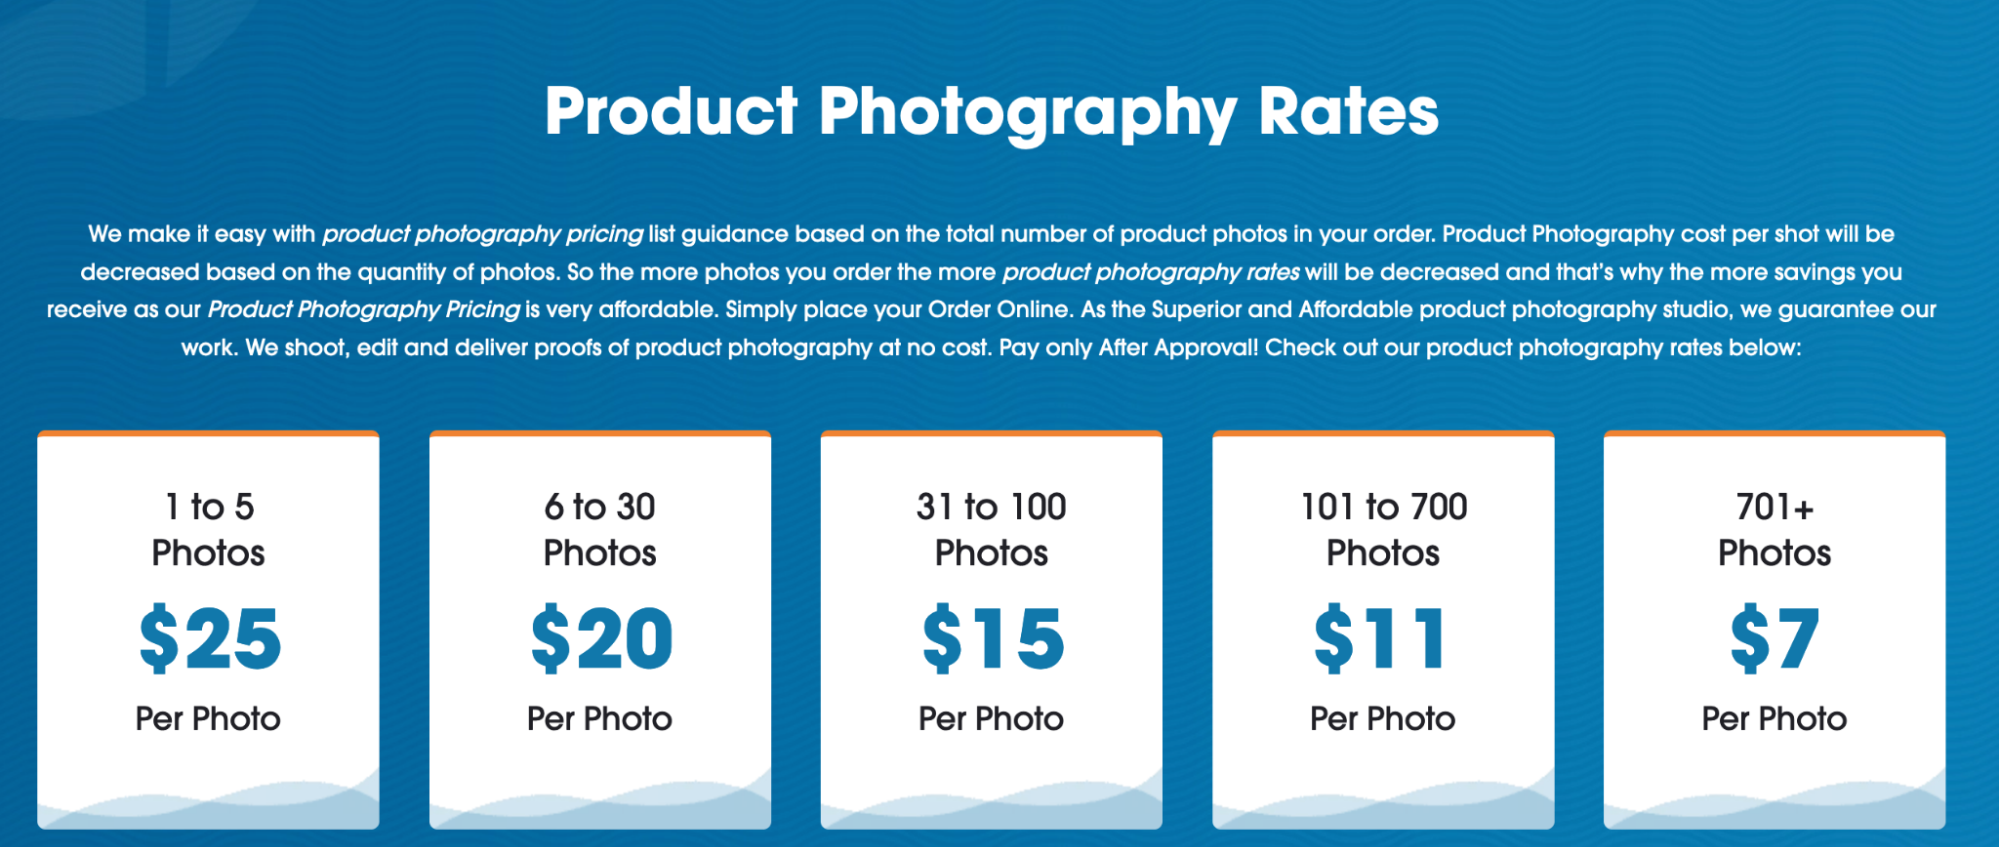
ProductPhoto.com is a bit more affordable, with product photography pricing available as low as $7 per image.

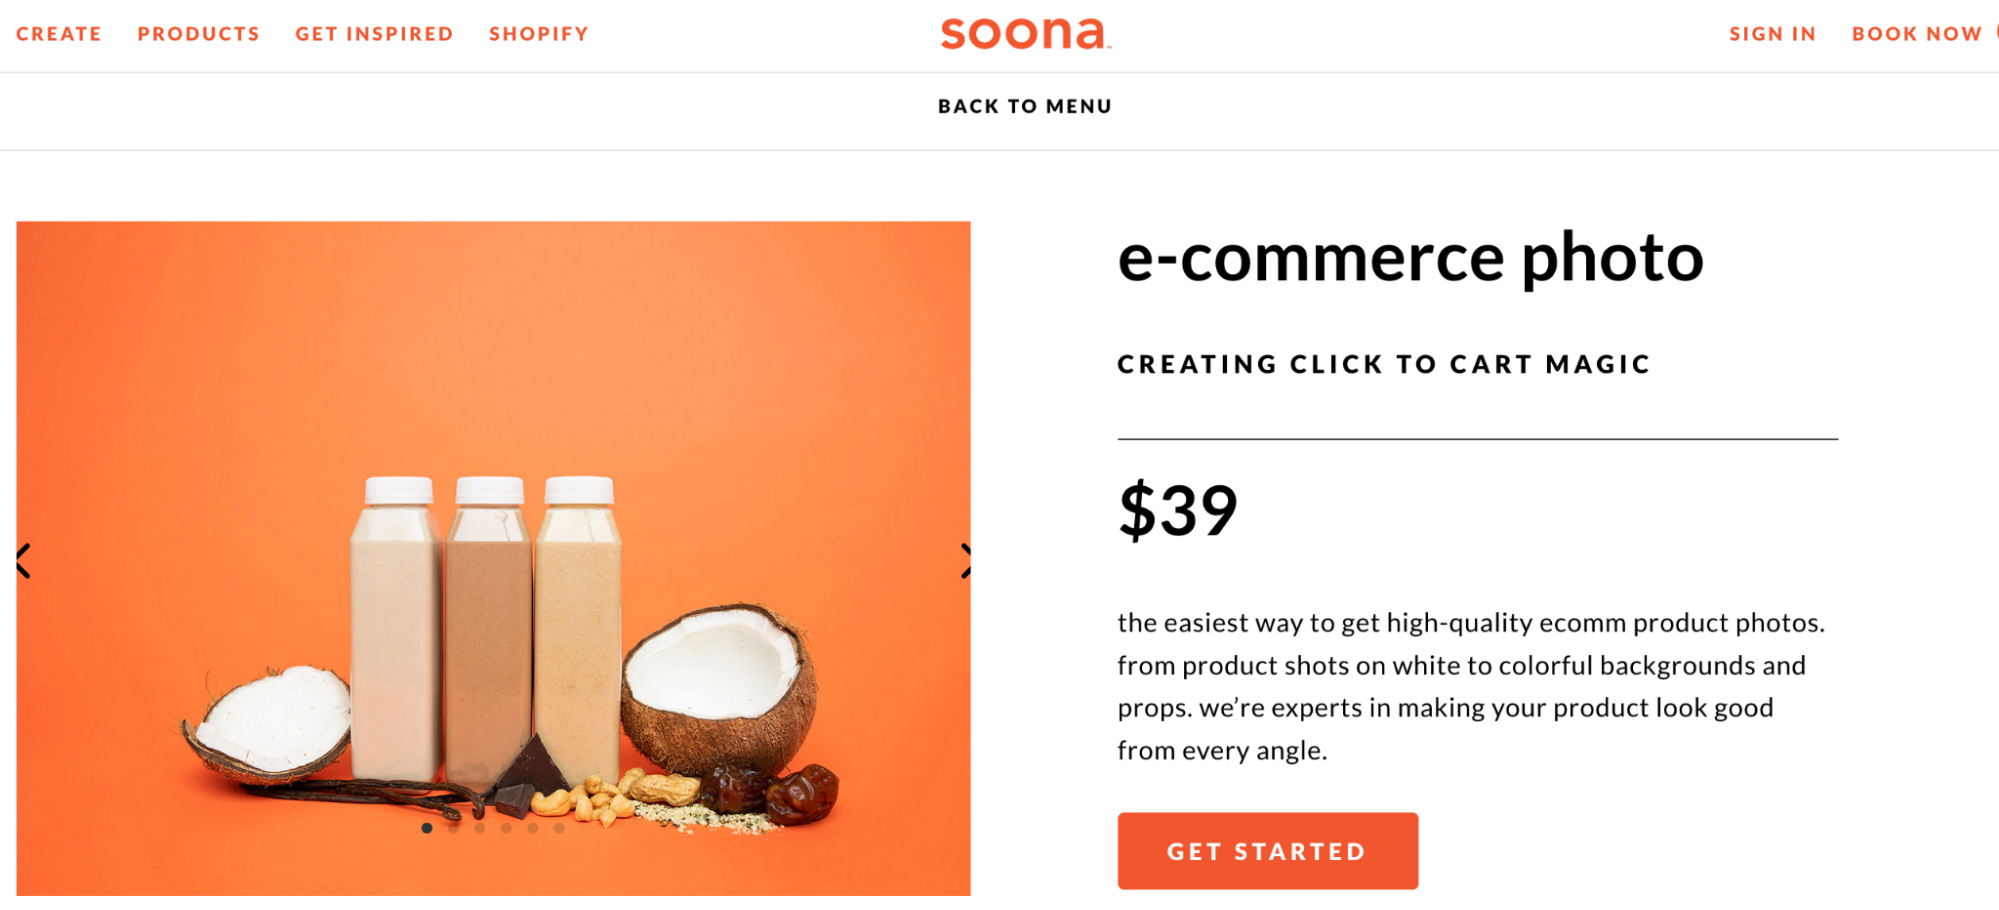
And Soona charges a starter pack of $39 for two images.
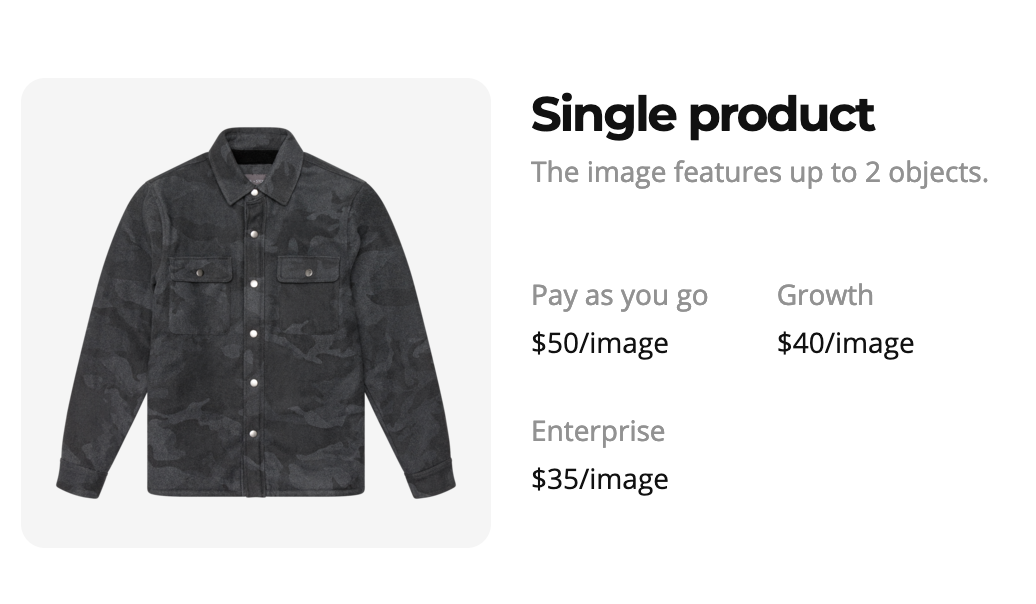
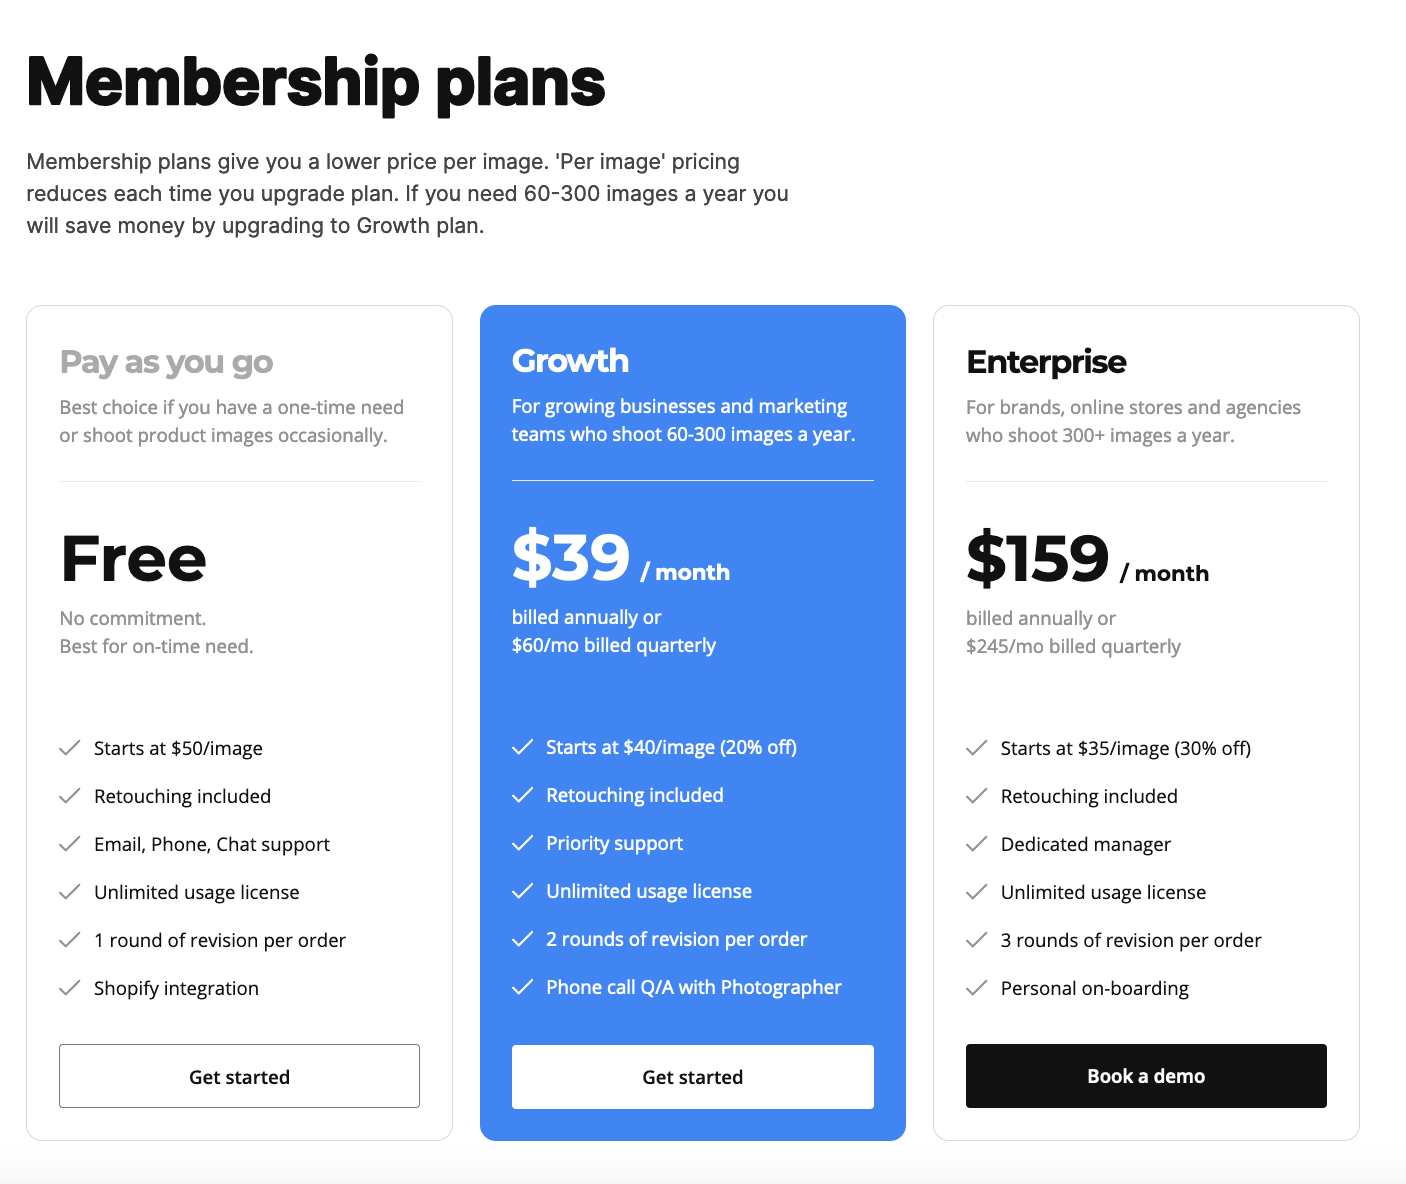
Finally, Squareshot has pay-as-you-go as well as membership plans which grant subscribers access to a certain number of monthly photos at a set price depending on their plan. The $39/month subscription gets you $40 per image pricing and two rounds of revisions, while the higher tiered plan costs $159/month plus $35/image.
You’re going to find a wide range of prices, partly due to differences in what’s included in the base cost.
You’ll find that many individual photographers don’t post their rates on their websites. Many times, you’ll need to reach out with information about the project. You might find some pricing, though. Denver-based photographer Leigh Germy, for example, charges $100/hour for product design—while her portraiture photography goes for $300/hour.
How much brands pay for product photography in 2021
To find out what real-world ecommerce brands pay on average per photo, we surveyed some business owners to get their insights.
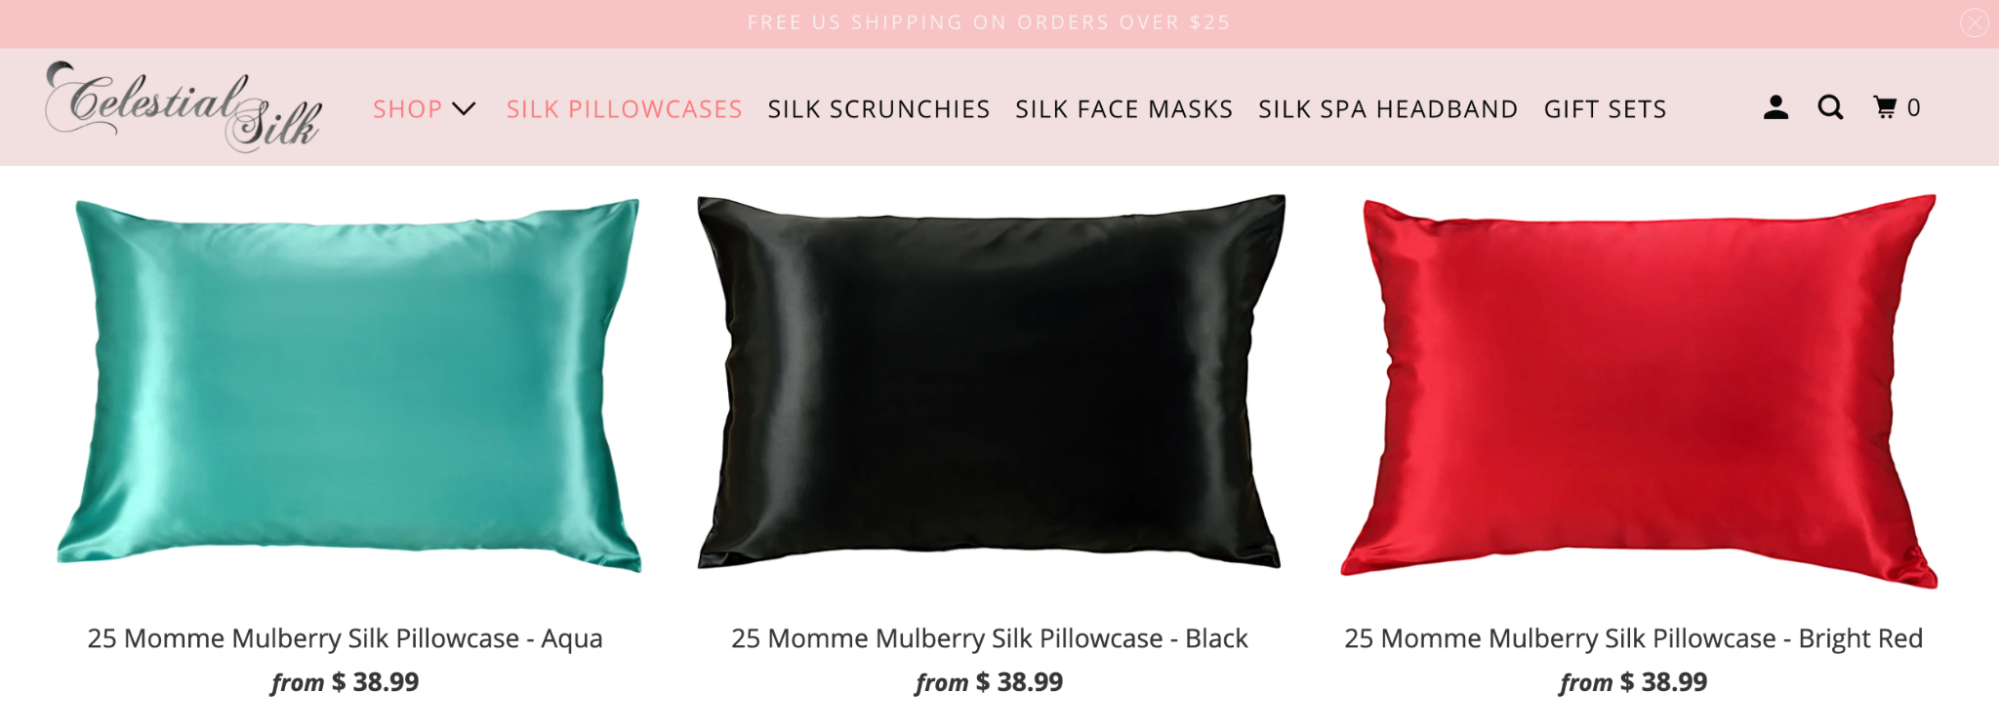
Celestial Silk
Estimated cost per photo: $25–$80
CEO and founder of pillowcase brand Celestial Silk Danielle Jackson says she uses a combination of outsourced and in-house product photography. Whenever they need live models in the shots, they outsource the photos at $80 apiece. But for more straightforward and less complex images, they shoot in-house at about $25 each.
Lēto Foods
Estimated cost per photo: $90–$250

Lēto Foods, which sells smoothies for pregnancy health, knew the importance of investing in high-quality product photography to successfully launch their ecommerce brand. For most of the images, founder and CEO Amanda Gorter and her team shipped their products to an ecommerce photography company and paid $90/shot. They also worked with a local photographer and food stylist to come up with more creative and special shots—investing closer to $250/image for these.
Cooper’s Treats
Estimated cost per photo: $40–$60
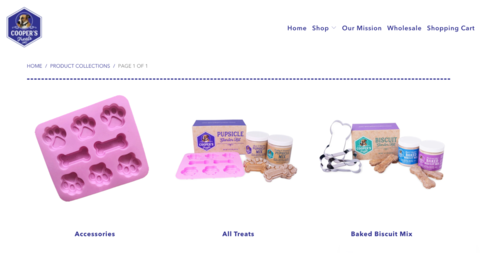
Premium dog treat company Cooper’s Treats uses a photographer who charges $40 per shot plus a flat startup fee, which works out to be a total of about $50 per image. The photographer also sends over images they haven’t culled as the top shots, offering them at half the price. Cooper’s Treats receives edited images, though sometimes they have to crop for a specific use case like Facebook ads or marketing emails. Owner Alex Willen sometimes drives the products from San Diego to their photographer in Los Angeles, and other times they mail the products for about $30–$40.
Carigu
Estimated cost per photo: $9–$28
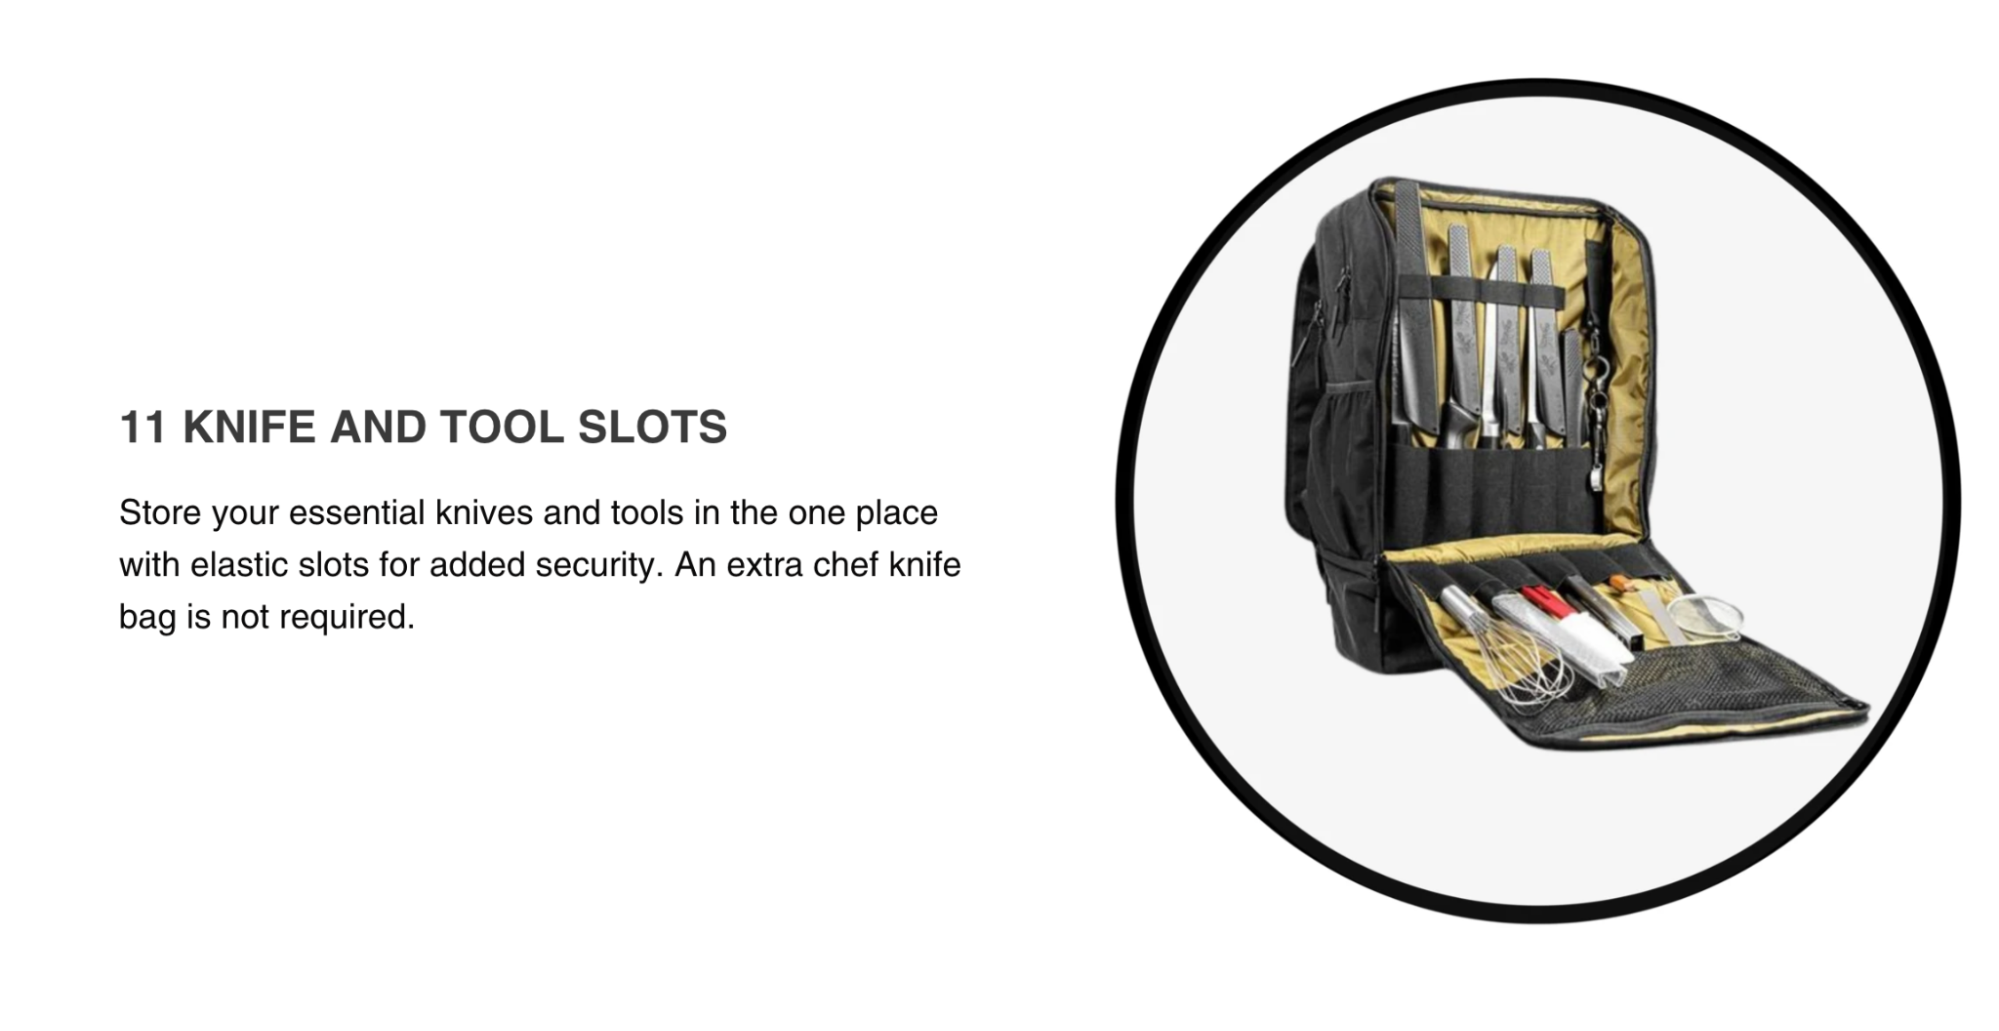
Australia-based chef gear and accessory brand Carigu outsources their product photography. The images are priced differently depending on the style of the shot. Traditional ecommerce photos—white background, for example—cost them about $9 per image. For more creative lifestyle shots, they pay closer to $28 per photo.
Moriarty’s Gem Art
Estimated cost per photo: $10
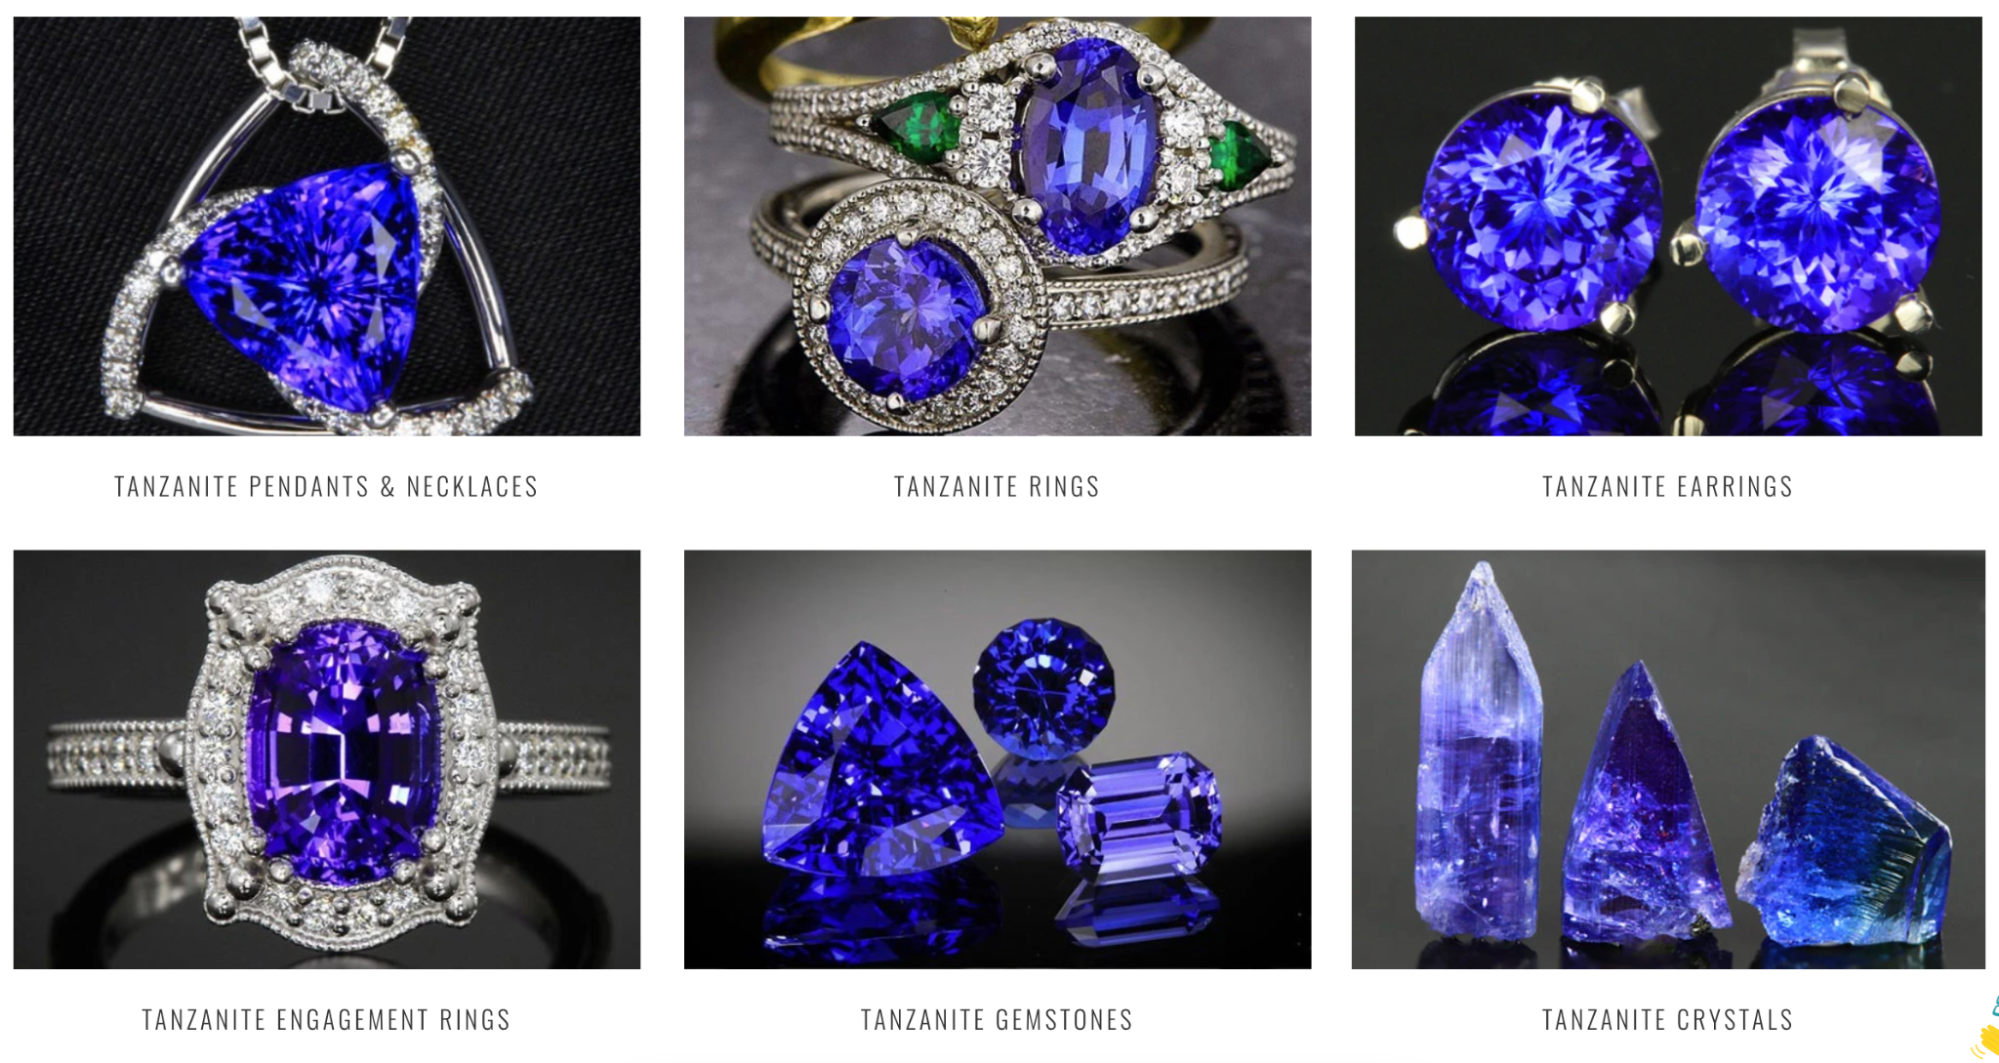
Jeff Moriarty of Moriarty’s Gem Art prioritizes product photography because it’s so important for capturing the details in their jewelry—essential for online shoppers looking for these types of items. They hire a local photographer to come to their business every week or two to take both photos and videos of their products. The photographer charges $50 per hour and gets about 5 shots per hour, coming in at about $10 per shot. Each shoot takes 4–6 hours, yielding 20–30 shots for a $200–$300 investment.
“The results of [our photographer’s] work are amazing. It leads to improved sales and conversion rates, so we will continue to invest in her.” – Jeff Moriarty, Moriarty’s Gem Art
Quality Logo Products
Estimated cost per photo: 75¢–$15
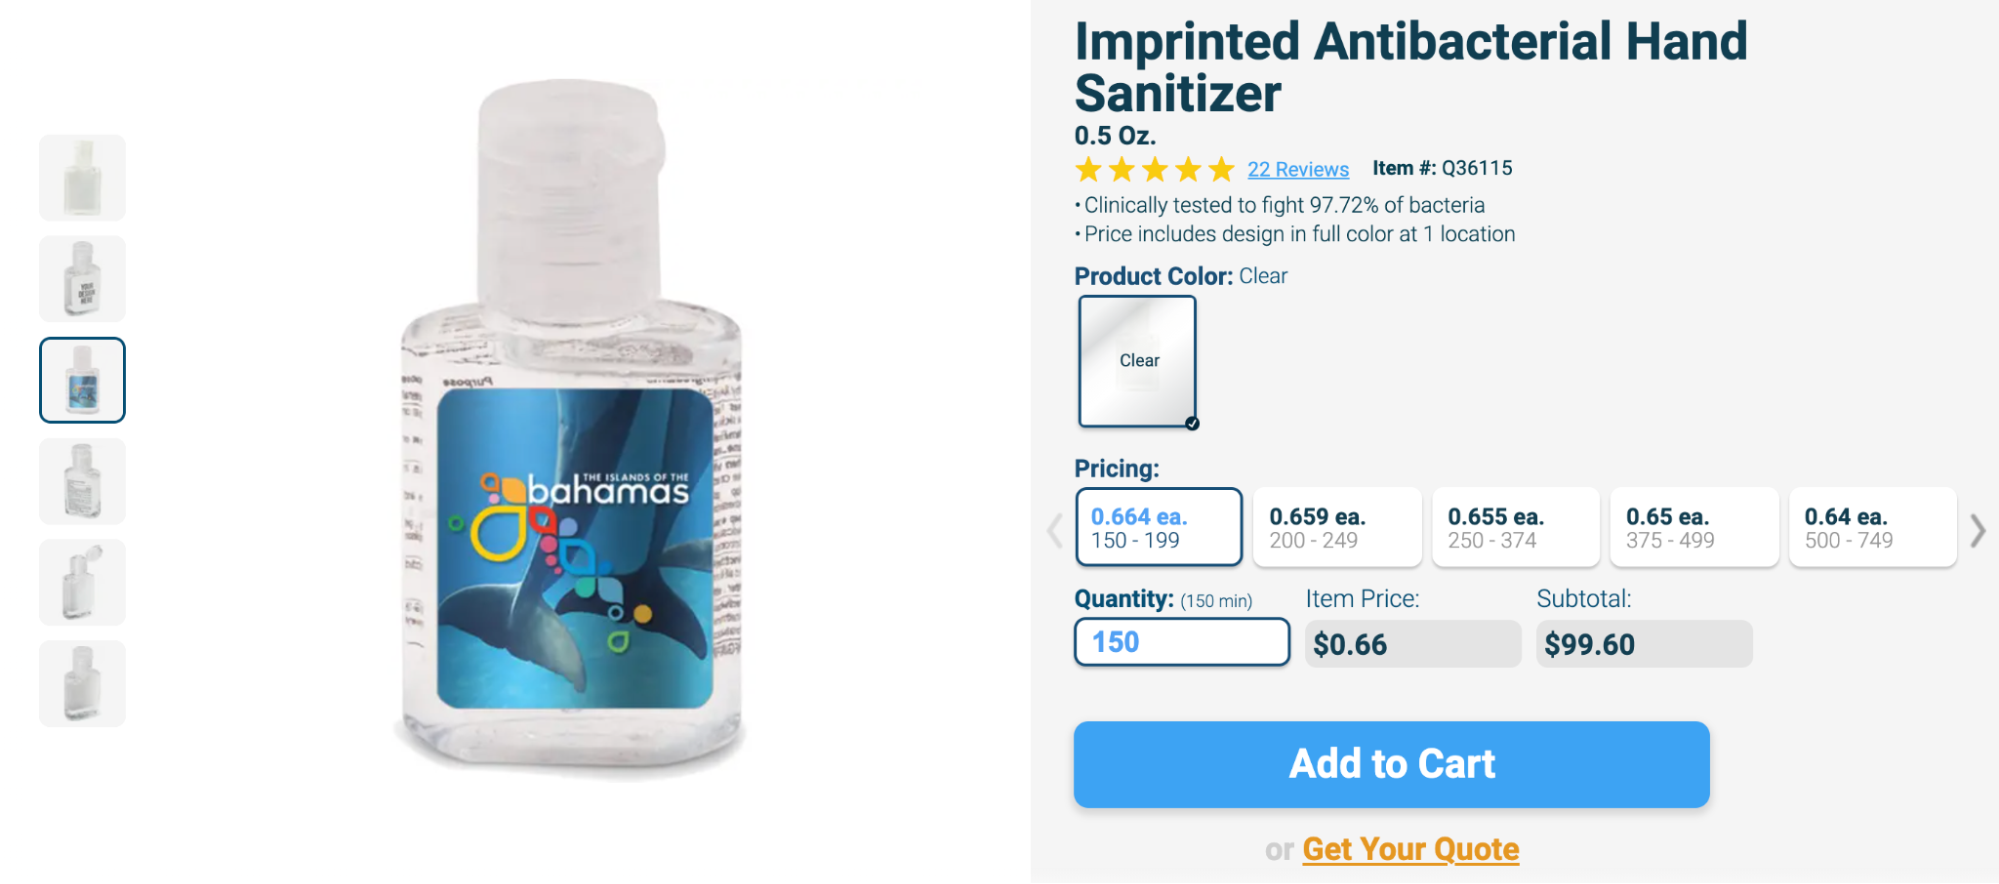
Quality Logo Products sells customizable promotional goods and takes a hybrid approach to their product photography. They invest more in unique photography, including 360-degree shots, for best selling products. For less popular items, they outsource the shots and skip the 360-degree views. On average, in-house product photos cost about $3 per regular image and $15 per 360-degree shot. Outsourced shots are much more affordable at about 75¢ apiece. “Our in-house production quality is also significantly higher than that of outside vendors, so it’s worth the money and effort,” says co-founder/president Bret Bonnet.
The Hussl Co.
Estimated cost per photo: $1.16
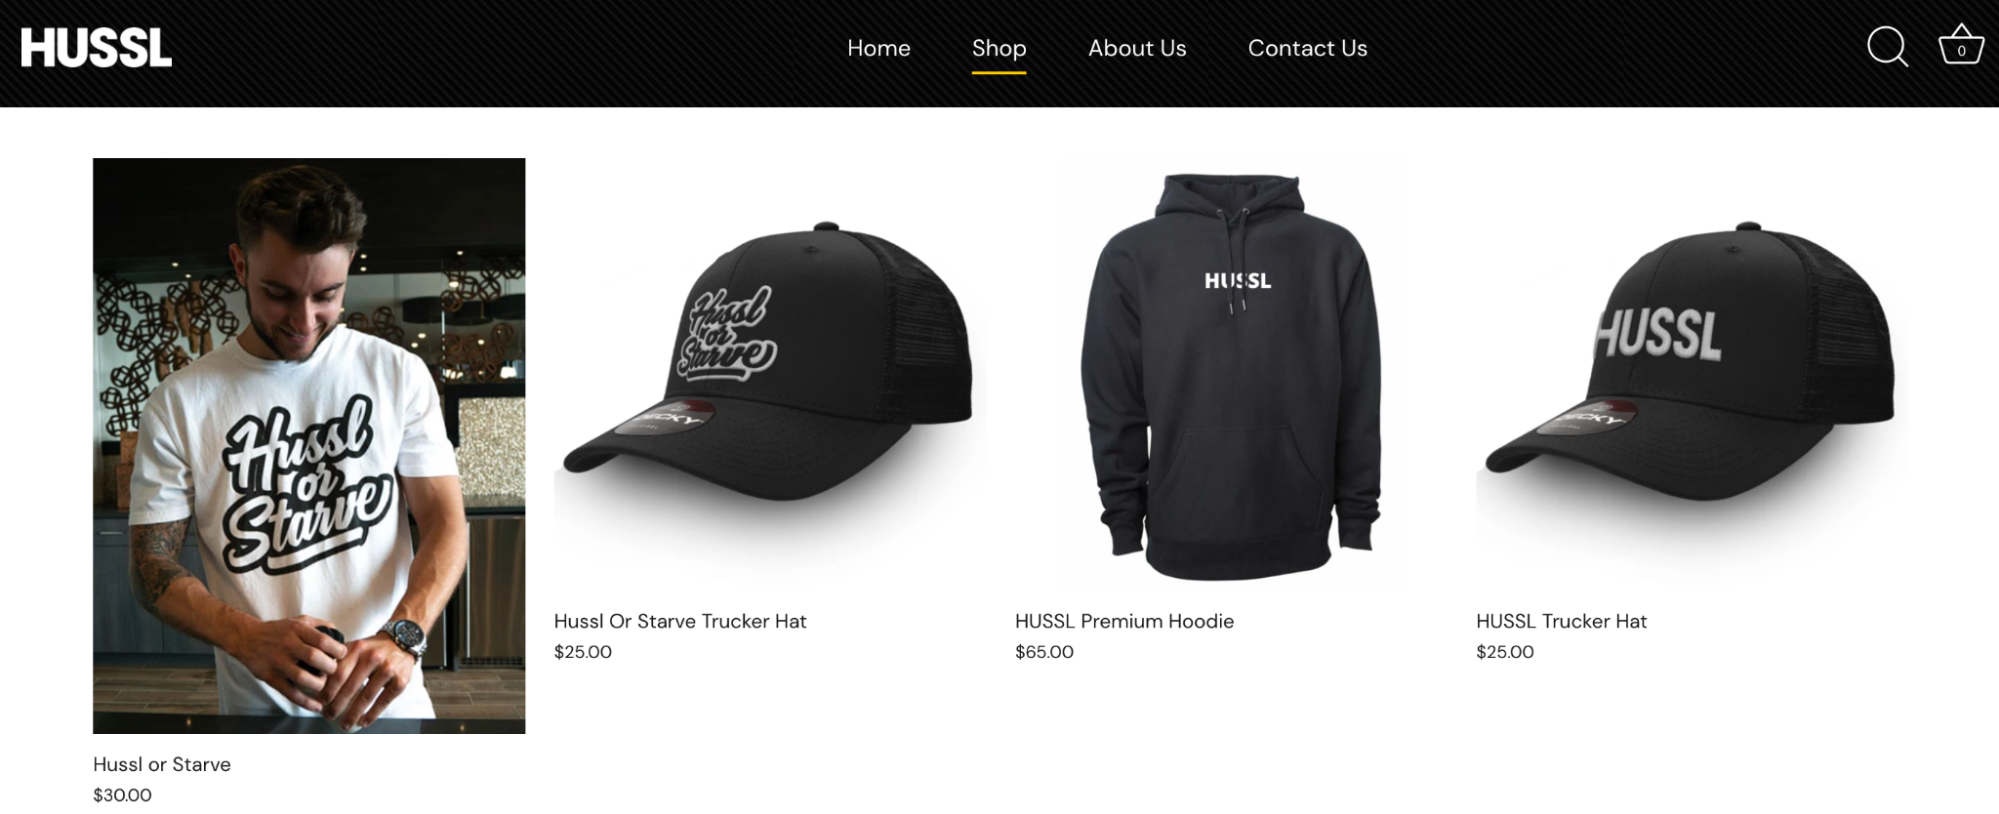
The Hussl Co. CEO Chase Scroggins hired a “skilled but amateur photographer” for $75/hour to shoot product images for his apparel company. He hired a model and also modeled the clothes himself. The photoshoot took two and a half hours (that’s $187.50 for the photographer) and he ended up with 162 usable shots, 20 of which have been useful for marketing materials and product listings.
Factors impacting product photography costs
Here are a few things you’ll want to note:
- White background: Is this included or an extra cost?
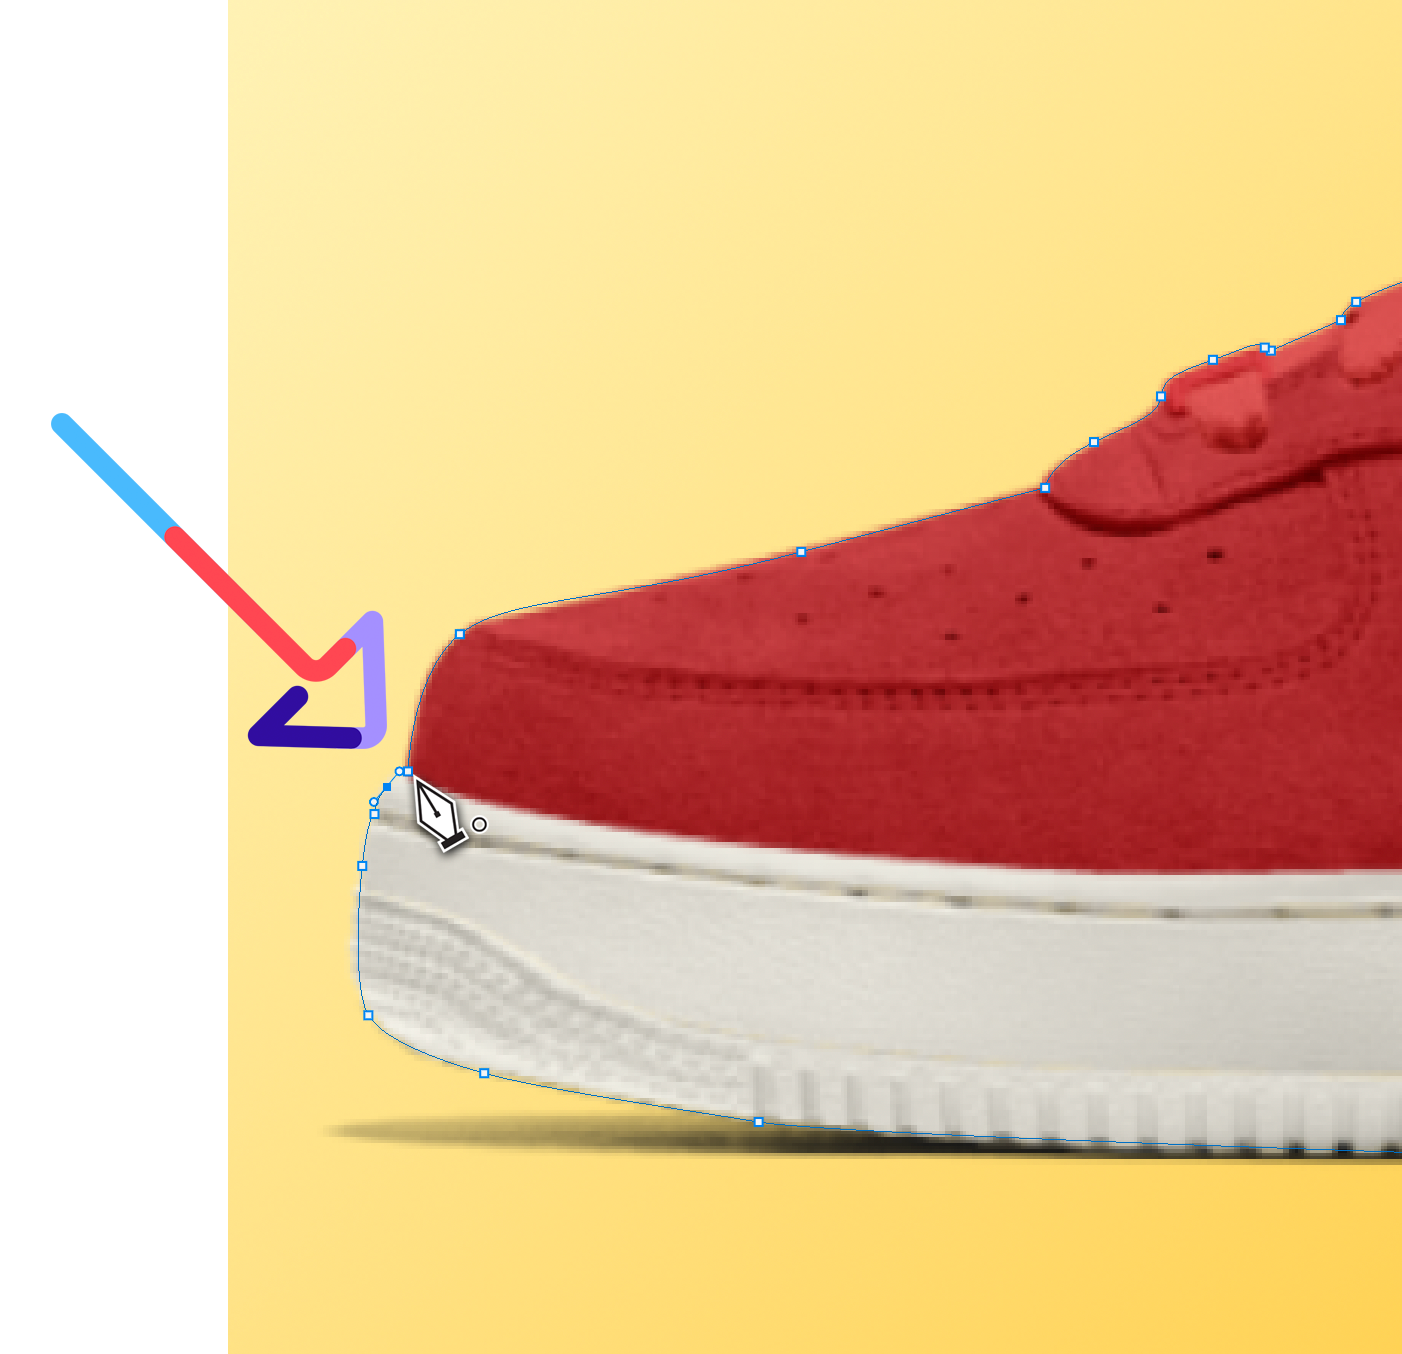
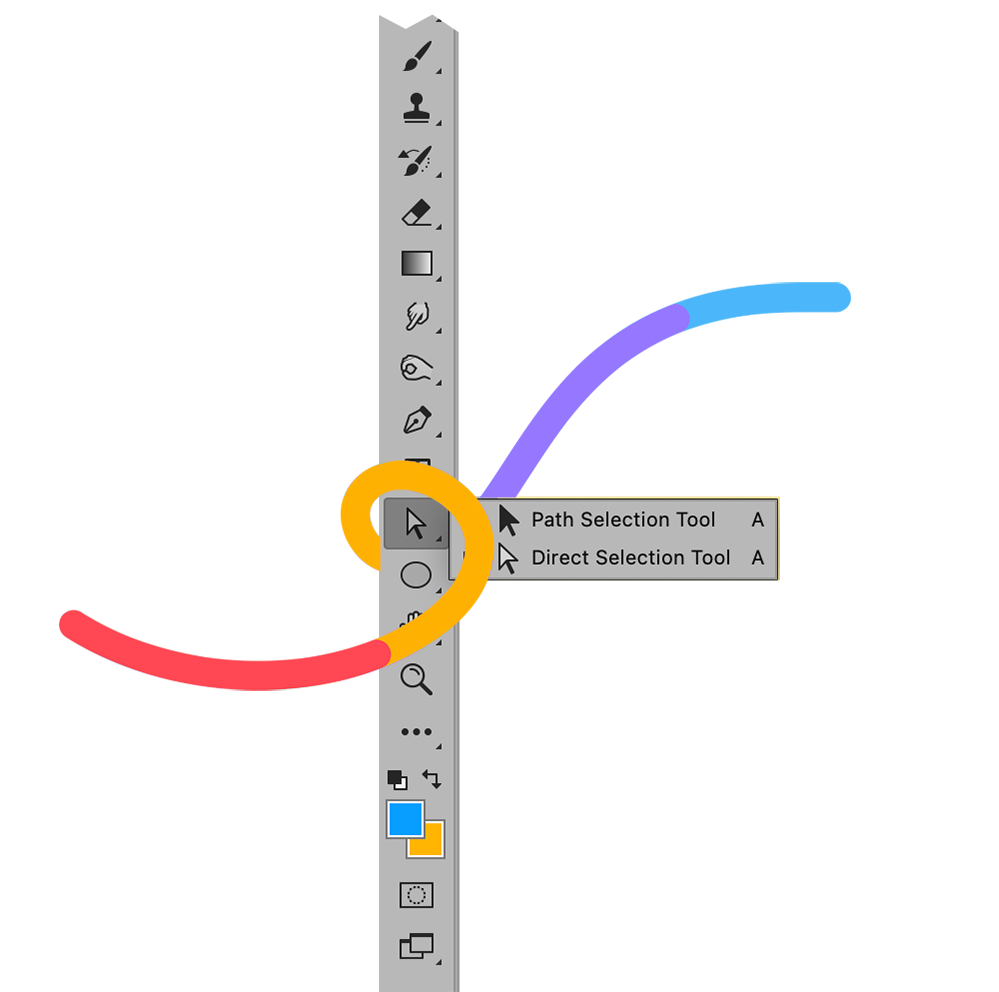
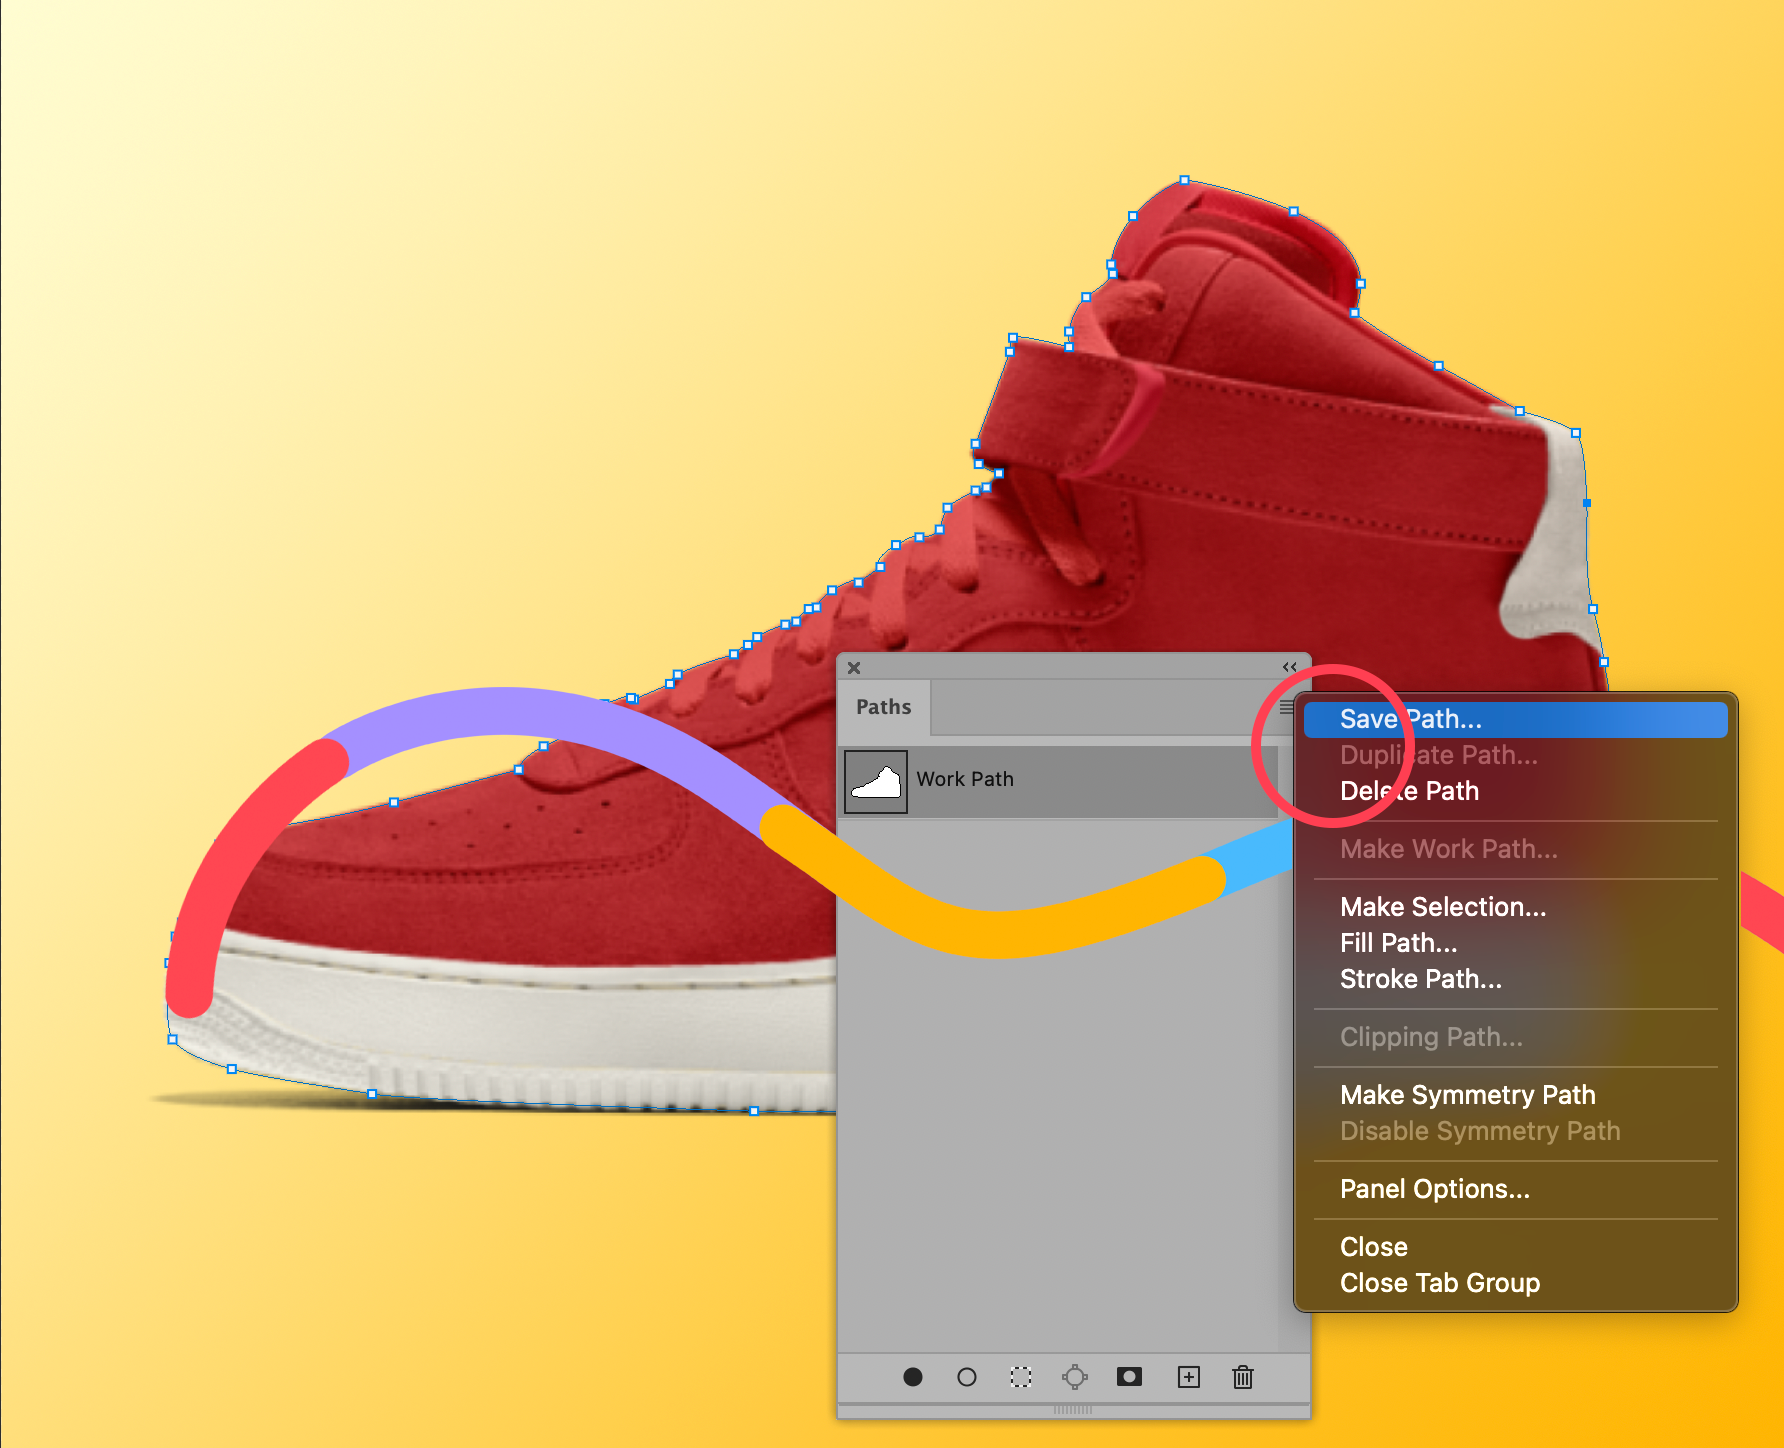
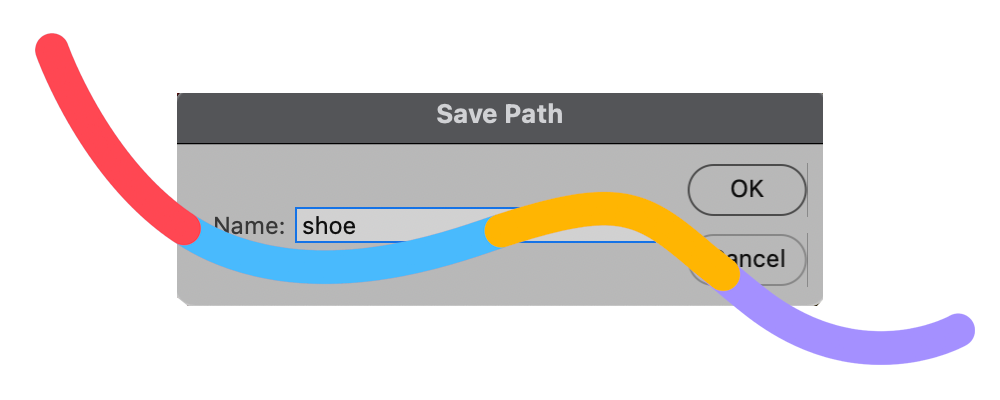
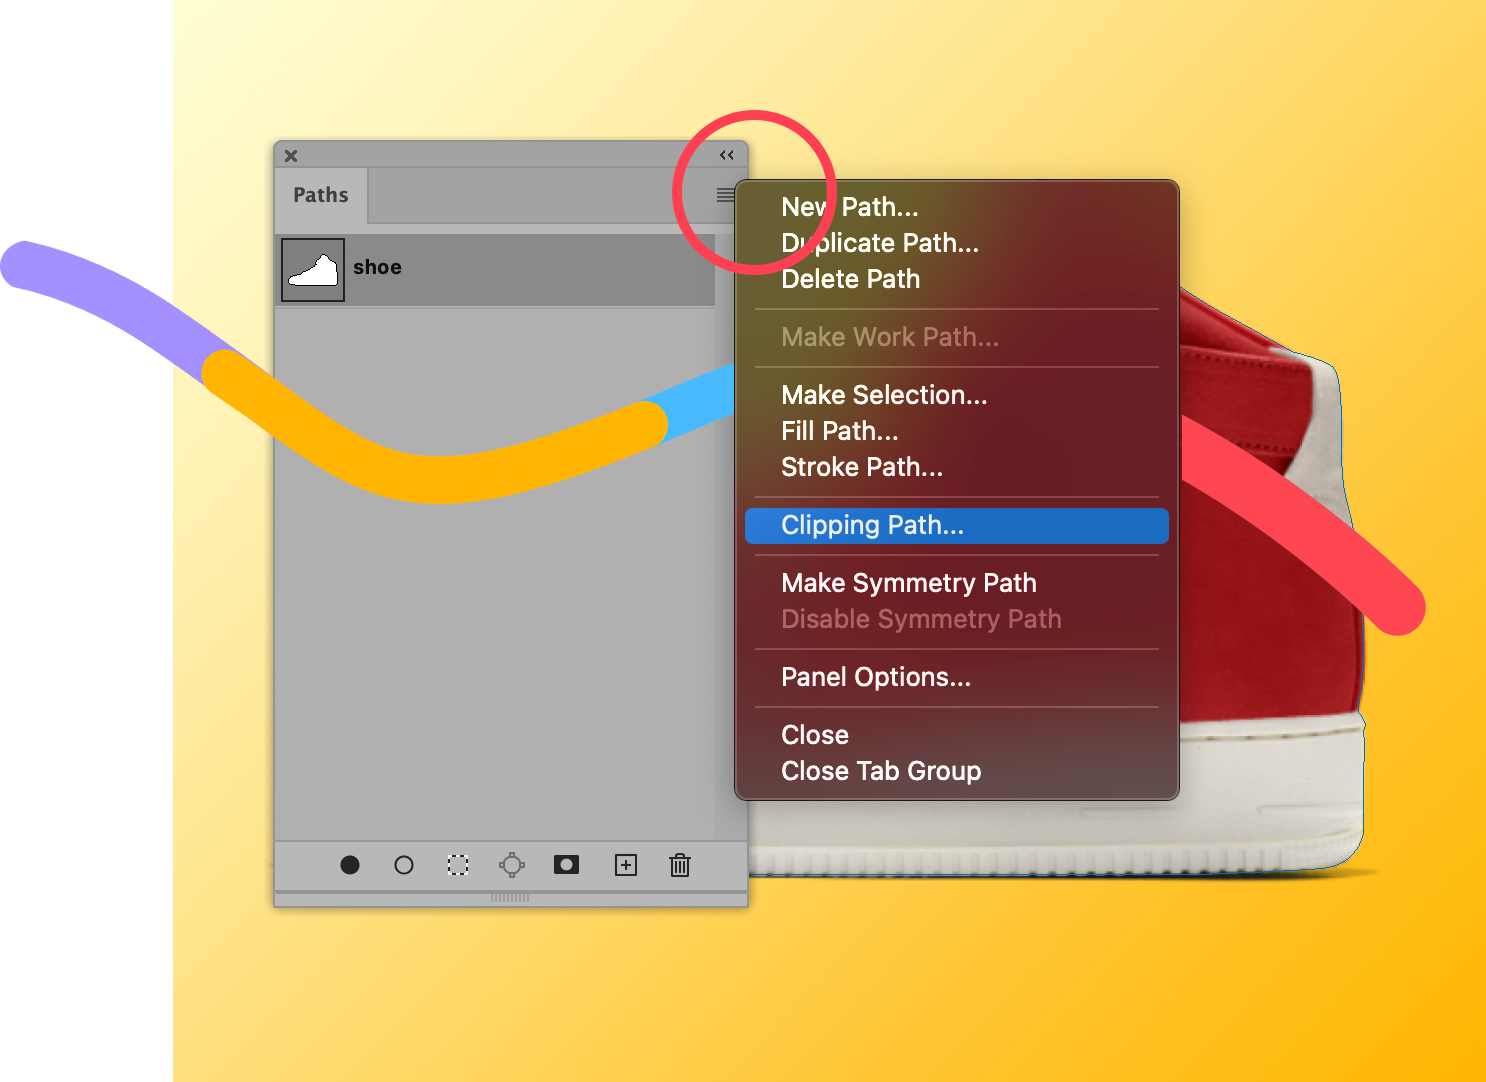
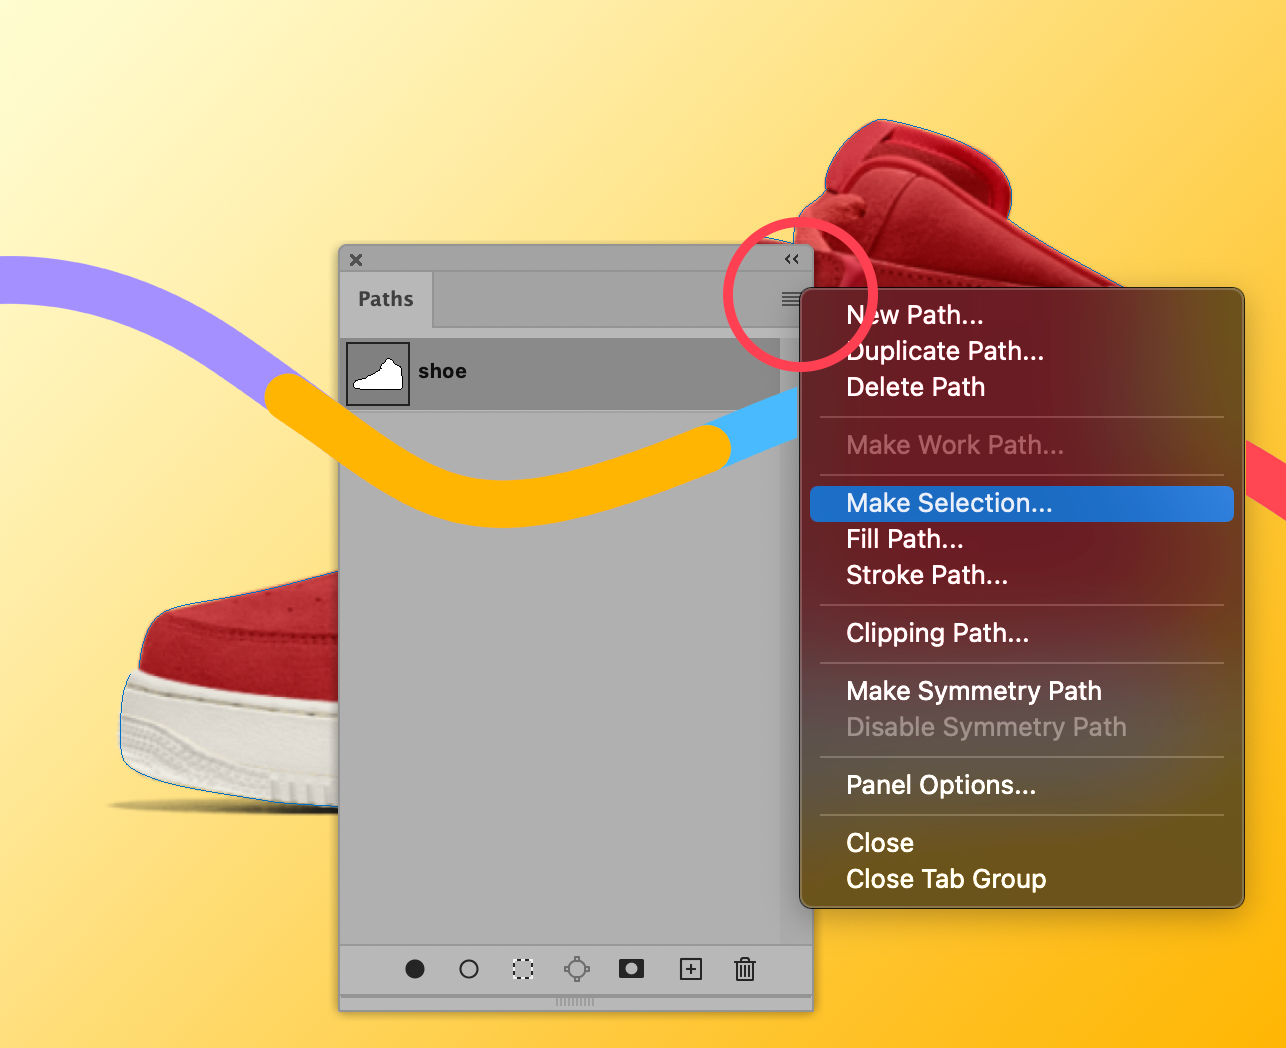
- Clipping path: Do they provide this with each image?
- Worldwide Royalty Free Unlimited Use: Are there image restrictions or licensing fees?
- File types: What is included in the base price?
- Turnaround time: Most pros charge extra for rush projects.
- Retouching: Do they include any basic edits?
- Travel fees: If travel will be required, discuss those fees right away.
Choose your photographer (or photography company) depending on your needs: Take your time frame, outsourced tasks, and products into account. And you don’t want to just go with the most affordable option. Budget is, of course, something to keep in mind, but product images can make or break an ecommerce venture.
Product photography costs
A lot goes into those pretty product shots. Photography equipment and space are expensive, an assistant might be necessary, and cameras and lenses require regular cleaning and appropriate storage. On top of that, there are yearly business costs (like marketing material and a website) and costs for photo editing software.
While pro photographers probably don’t want to calculate how much they’ve invested in their business, we’re going to break it down below, so you know exactly why and how photography fees are set.
Equipment
For most product photographers, equipment will make up the bulk of their expenses. Professional-quality cameras, lenses, and lighting tools are expensive.
Camera body
Estimated cost: $3,000–$5,500
Contrary to what most consumers imagine, professional-grade cameras are sold without lenses—and they’re expensive. A decent camera body will start at about $3,000, and many cost more.
We surveyed a small group of professional product photographers and found that over 60% of them spent between $3,000 and $5,500 on their main camera body. And most professional photographers own at least two camera bodies (a main one and a backup), although the backup camera might be cheaper or older.
Pro-quality camera bodies are built with more durable materials, they’re weather-sealed, have higher burst rates, larger buffers, better autofocus capabilities, dual memory card slots, and have GPS and WiFi technologies included. They’re also compatible with a wide assortment of high-grade lenses.
Lenses
Estimated costs: $1,000–$20,000
While most photographers will have just a few camera bodies, they’ll likely have a plethora of lens options. High-quality used lenses start at around $1000 each, and new lenses start at around $1500 each (and that’s considered a rather affordable price point). Generally, the jump from mid- to high-range prices is what separates enthusiast-quality lenses from professional-quality.
It’s not unusual for new, pro-grade lenses to go for $5,000 to $12,000 or more per lens. The photographers we surveyed spent anywhere from $10,000 to over $20,000 on their collection of lenses.
More expensive lenses usually have higher-quality glass, better sensors, more features, a faster autofocus motor, more effective subject isolation, and are weather resistant. The glass elements that are used in professional lenses go through more rigorous testing and have a more rigid inspection process. They typically have faster, constant aperture lenses that produce better images in low-light situations and product images with better color quality.
Props
Estimated costs: $1,000
To keep ecommerce product shots interesting, pro photographers keep a multitude of props handy. The cost varies greatly from a few bucks (think garage sales or thrift shops) to hundreds of dollars.
Bigger or more elaborate props like backdrops, floor drops, and rugs, can add up quickly. And due to the nature of product images, having a variety of blocks and boxes to work with is a necessity. Even if those props cost under $100 each, many product photographers probably have around $1,000 dollars worth of props at their disposal.
If you want to learn more about product photography props, take a look at this great resource: How to Prop Up Products With Blocks to Create Eye-Catching Product Photos.
Lighting
Estimated costs: $15,000
Lighting might be one of the most expensive additional items that pro photographers use. Why? Getting a great product image in a studio setting requires more than a good flash. Photographers also need to have light meters, reflectors, stands, boom arms, reflectors, balancer cards, and grips. The photographers we surveyed have spent over $15,000 on lighting equipment.
Curious about how that breaks down? A cheap stand costs about $100, but many quality stands cost over $500, and boom arms can cost around $1,000. A nice flash runs around $500 to $1000—the same goes for a nice light meter. Professional-quality light reflectors will be about $100 each. And the list goes on. Plus, professional photo studios will need multiples of most of these items, so it gets expensive quickly.
Miscellaneous equipment
Estimated costs: $1,000–$10,000
Along with lighting equipment, there are a whole bunch of other necessary items. Filters ($10 to a couple of hundred dollars), at least one camera bag (around $200), a shutter remote, spare batteries, and camera and lens cleaning supplies. Compared to other costs incurred, these are small-ticket items for photographers, but they’re absolutely necessary.
“My camera bag has roughly $8,000 worth of gear in it at any given moment,” says photographer Brendan Williams. There isn’t a shortcut to becoming a professional product photographer. It takes skill and usually a hefty financial investment, not only for equipment but also for studio space, employees, business expenses, and more.
Studio fees
Estimated costs: $500–$800/day
The cost of studio space depends on whether it’s rented or owned and the photographer’s location. If you own the space, the cost will depend on your mortgage situation. The photographers that we surveyed noted that a typical studio rental fee costs about $500 to $800 per day. Studio rental fees may or may not include some equipment use.
“Note: if you hire a professional photographer, they’ll likely have all this equipment. Likewise, if you’re outsourcing the whole thing (for example, shipping your products to a studio like Products on White Photography, you won’t need to pay for any of this equipment).”
People
Estimated costs: $25–$500+ per hour
When you’re paying for product photography, you’re not just paying for one photographer. The cost likely covers assistants, administrative staff, stylists, and possibly models.
One larger product photography company that participated in our survey said they regularly employ a few contractors and probably spend around $80,000 per year on their account manager, assistants, bookkeeper, etc.
Here’s an average breakdown of some of the manpower costs (just for the day of the shoot):
- Photography assistants: $15 per hour
- Models and talent: $50 or more per hour
- Hair and makeup stylists: $50 or more per hour, each
- Photo stylist: $25 or more per hour
Beyond shooting days, most businesses also have support, admin, or bookkeeping staff.
Hiring a photographer
A good photographer isn’t cheap, and hopefully, now you realize why. It’s a lot more than taking a few pretty pictures (although yes, you want to hire someone who can do that).
Interested in hiring a product photographer? Make sure you do your due diligence before making a decision: How to Hire a Product Photographer: 11 Questions You Need to Ask.
Professional photographers use different pricing systems:
- Hourly: $100 or more
- Day rate: $500 or more
- Packages: varies
- Subscription: varies
- Per photo: $25 or more (save money by buying a package)
Thoroughly review any prospective photographer’s rates and pricing structures. You’ll want a plan that will work with your ecommerce business as-is and the option to change plans as your business grows.
Are you a photographer that wants to explore a package pricing structure? Here’s how to build, price, and sell product photography packages.
Photographers work either freelance or in-house, which can impact pricing and the amount of work they can handle. Expect the same quality no matter how a photographer has set up their business, but understand that a solo freelance photographer will only be able to handle a certain amount of work. In-house photographers usually have a team to lean on.
Regardless of whether they work for themselves or a larger company, photographers that do high-end commercial work need to have an inventory of equipment and people at their fingertips.
Business expenses
Estimated costs: $2,900–$3,700
Like other companies, photographers have regular business costs:
- Business registration: $300–$600
- Computer: $1,500+ or more
- Website: $300+
- Marketing: $300+
- Insurance: $500–$1,000
One professional product photography company we surveyed spends over $10,000 per year on business costs. Again, this will vary depending on whether the photographer works freelance or in-house at a larger studio.
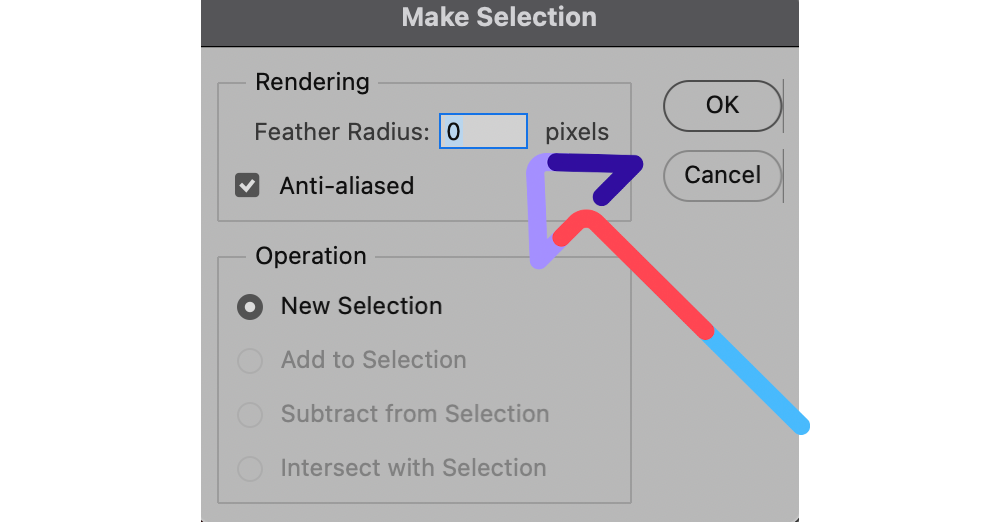
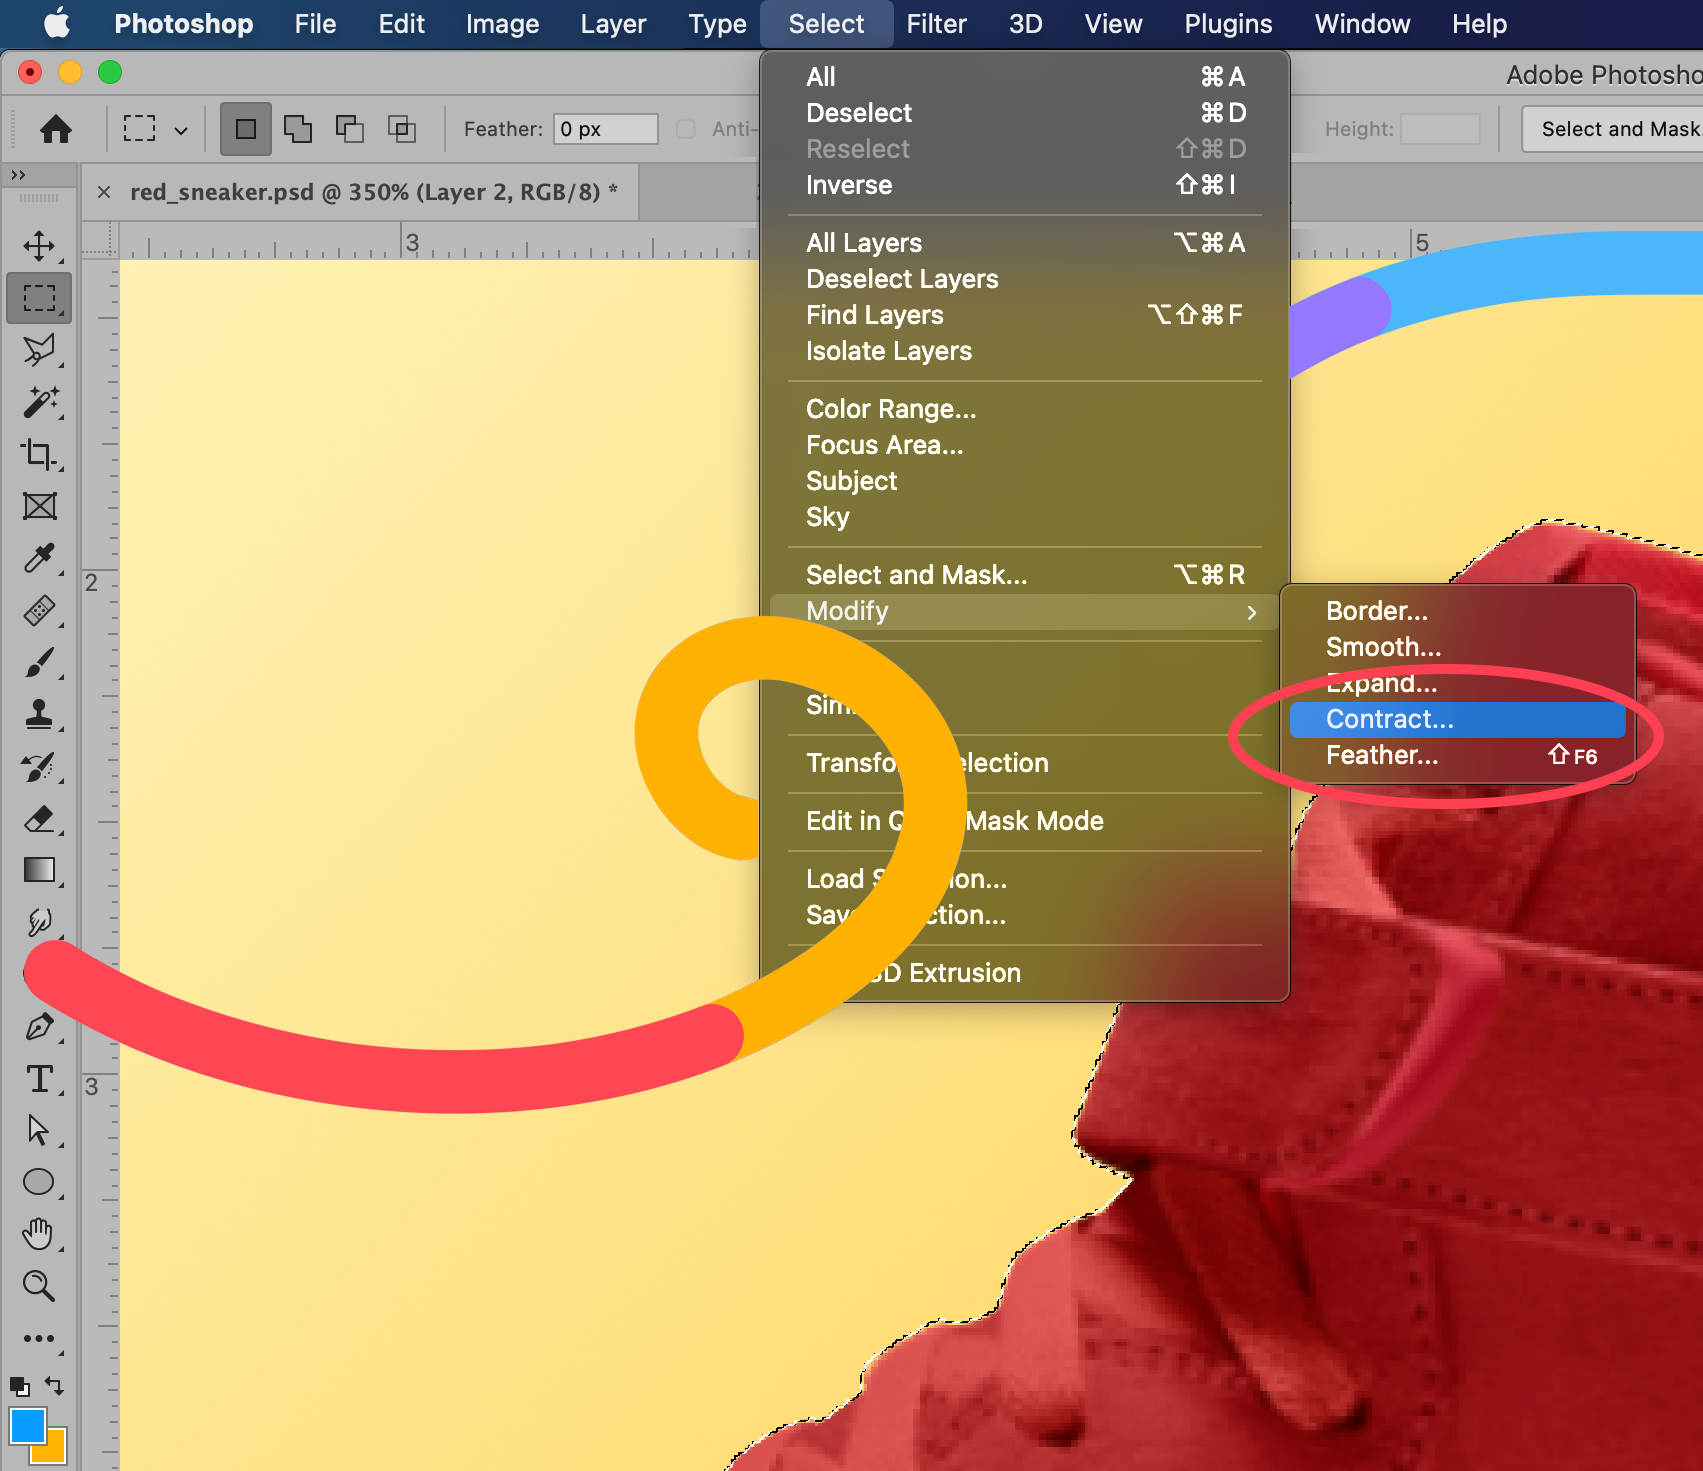
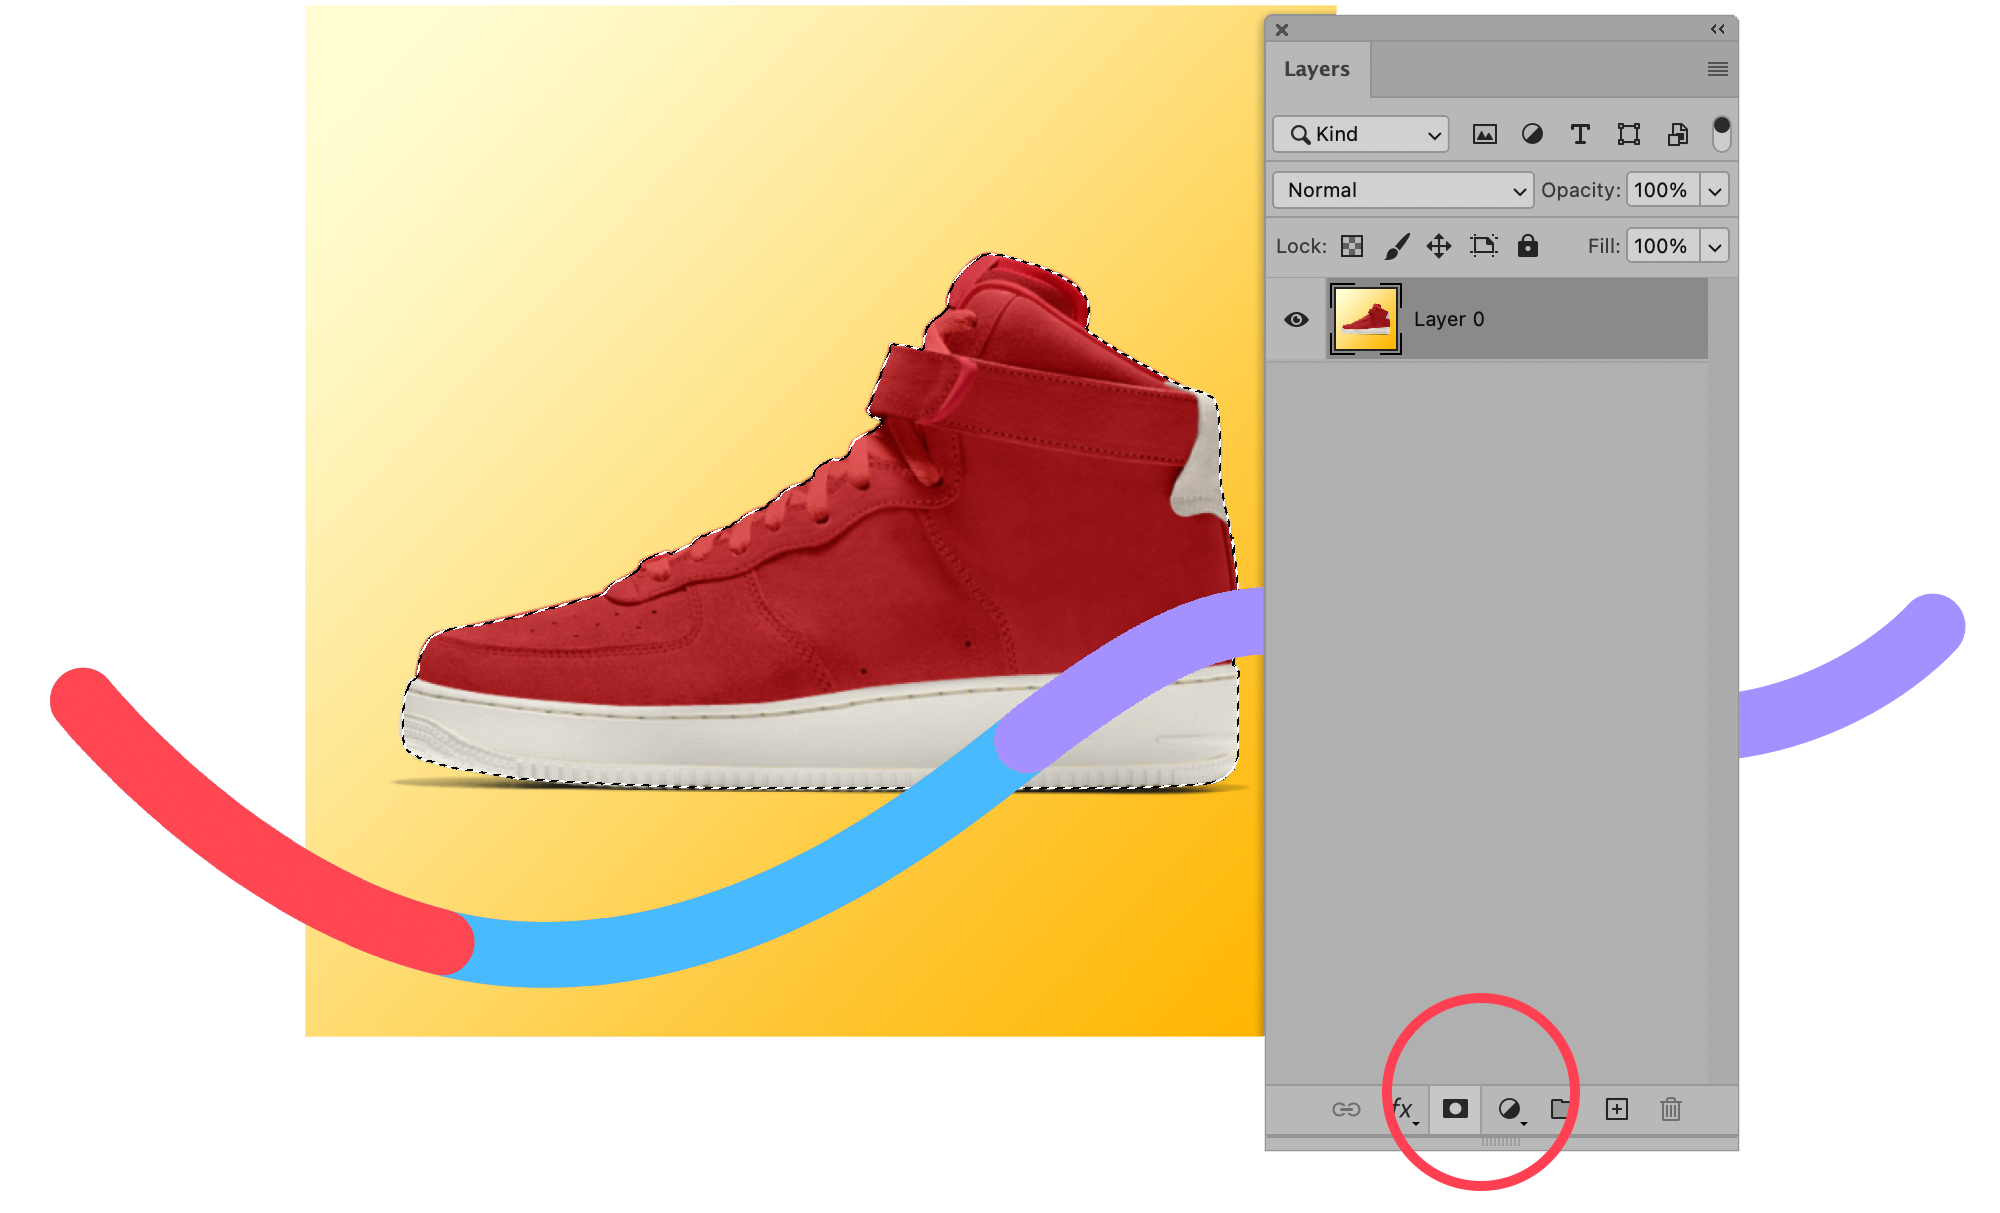
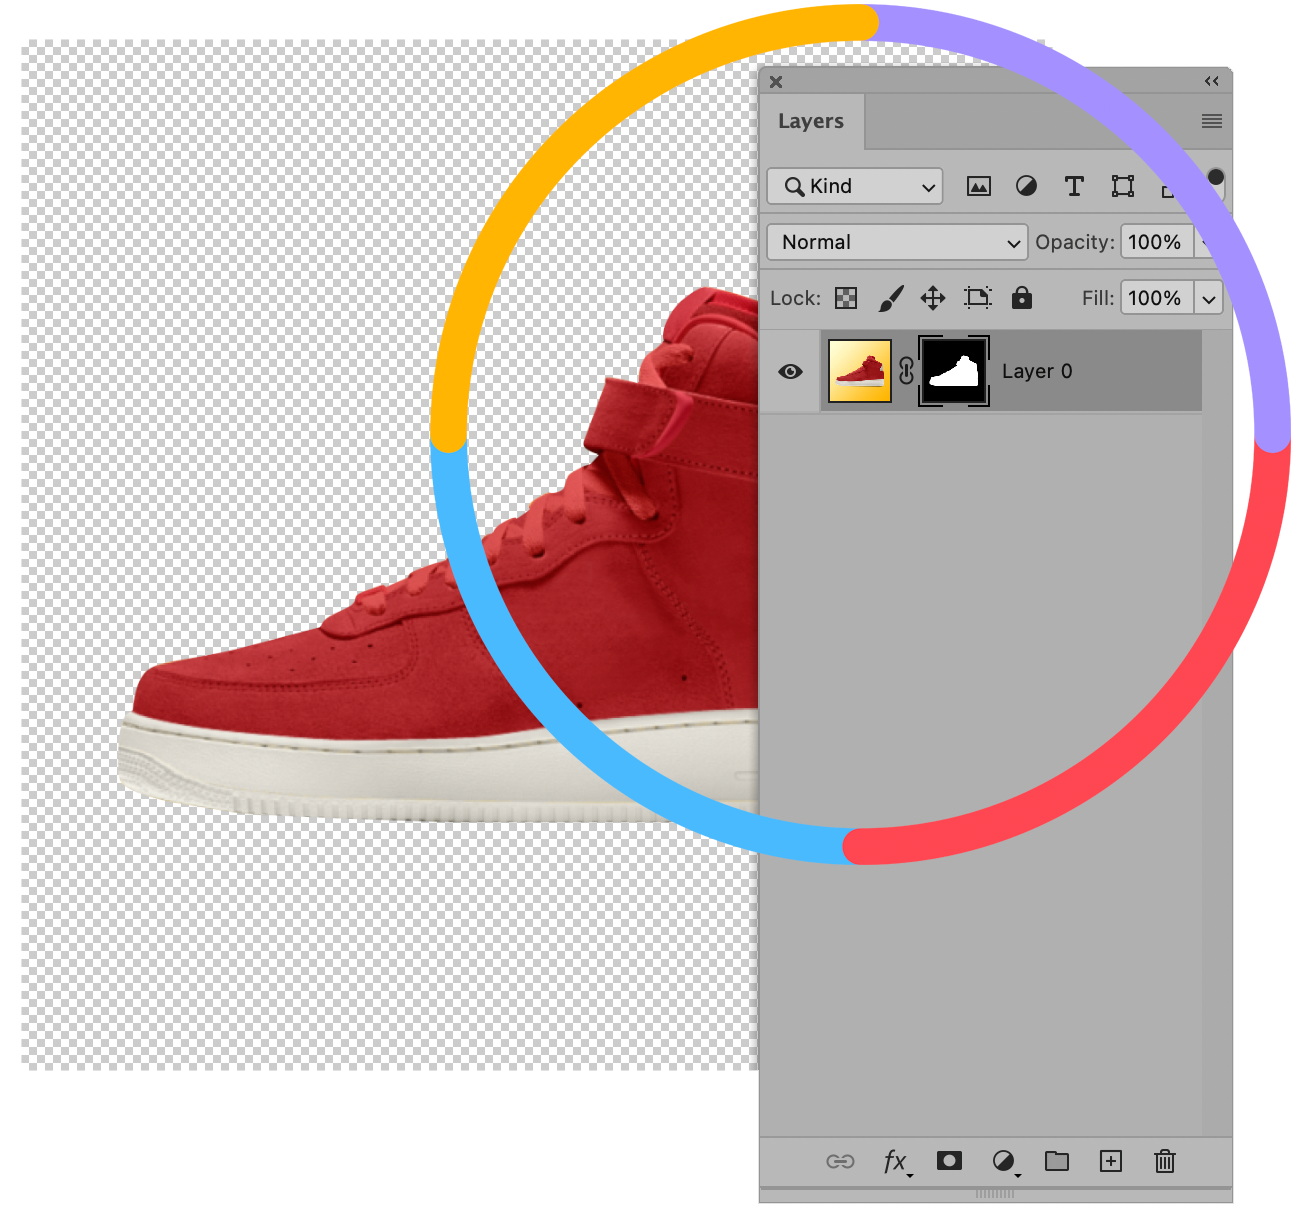
Post-processing
Estimated costs: $120–$700/year
In the grand scheme, software subscription costs are low-cost for product photographers. Photoshop, Lightroom, Canva, are all less than $700 per year each (and Canva is currently an affordable $120 a year). The real cost of post-processing is time.
Photo editing takes a skilled person and a lot of time. Of the product photographers that we surveyed, photo editing was one of the most commonly outsourced tasks—simply because of time constraints.
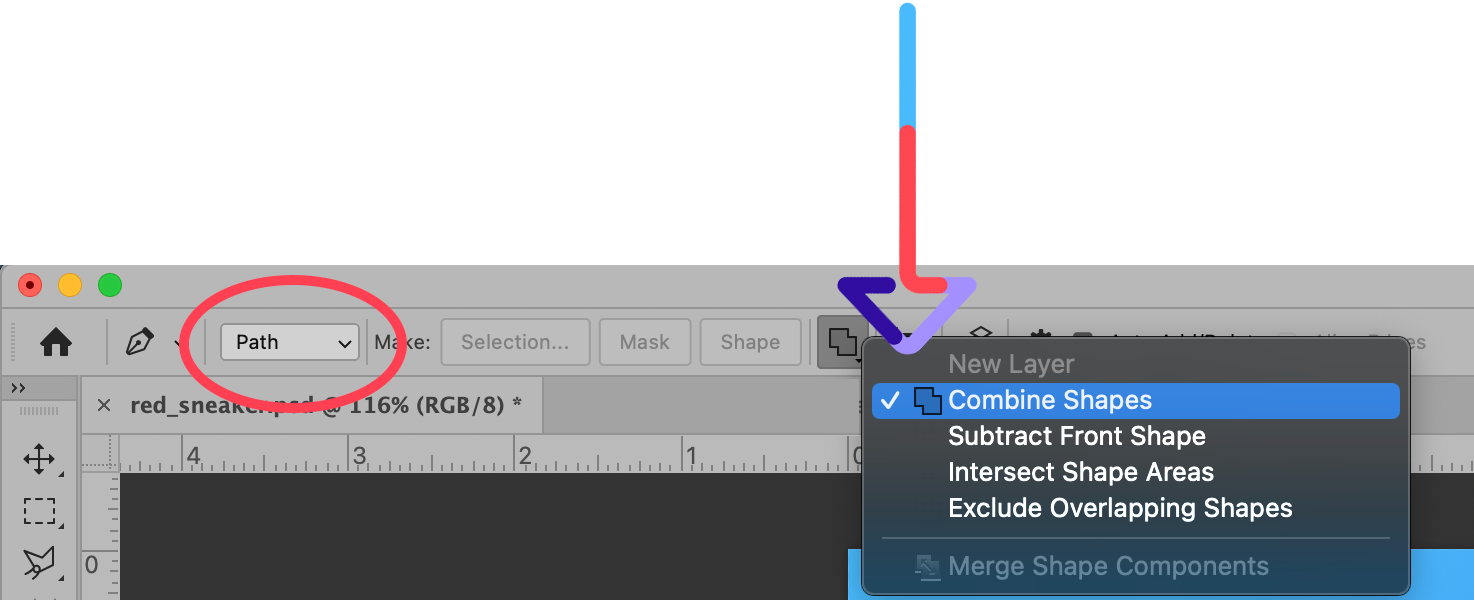
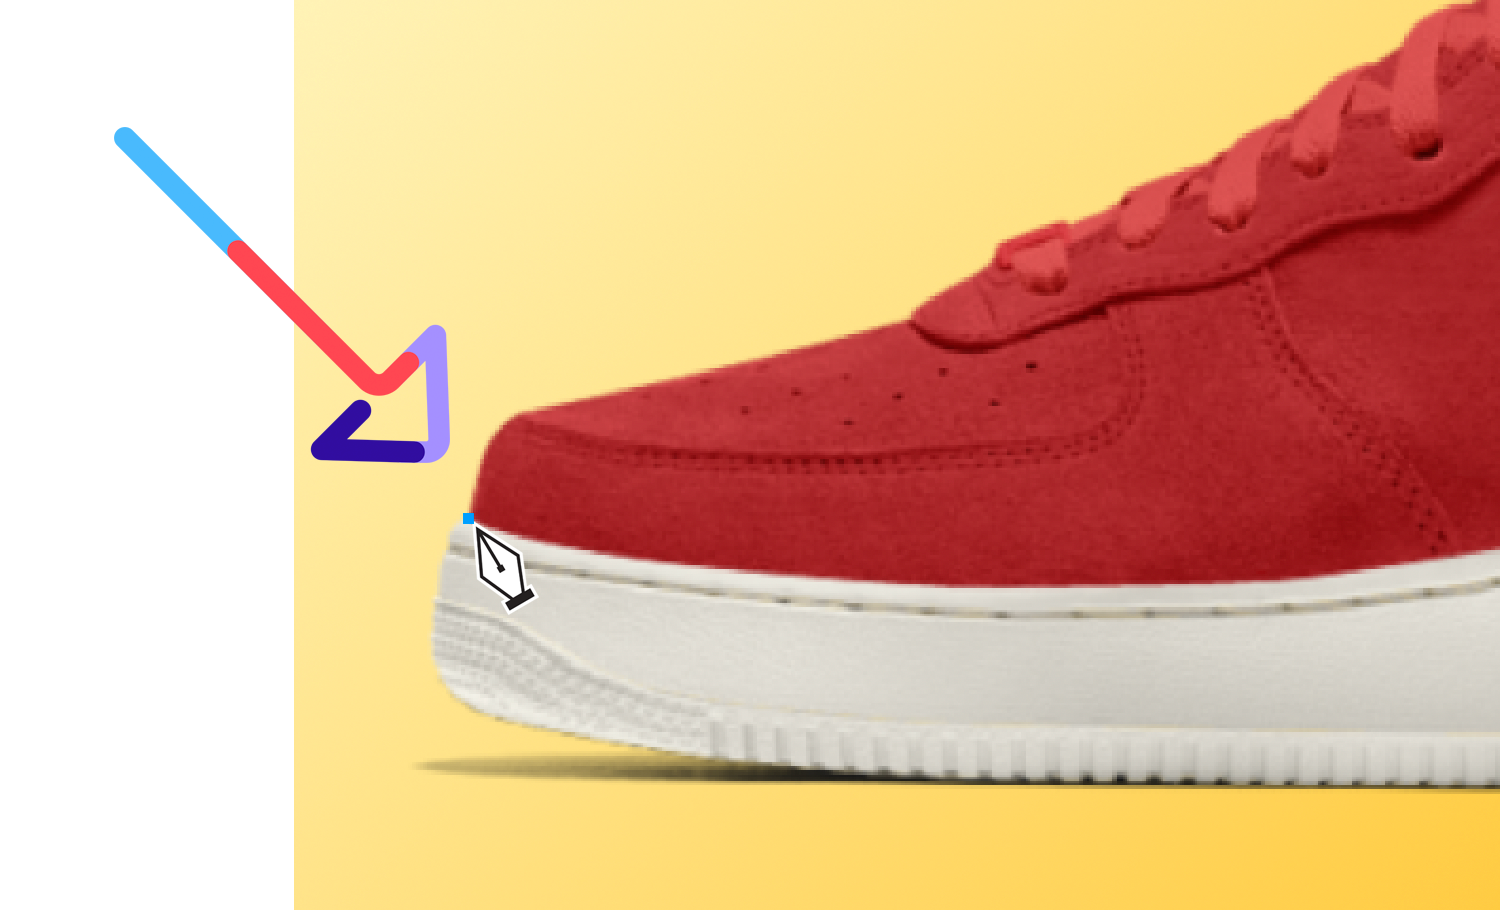
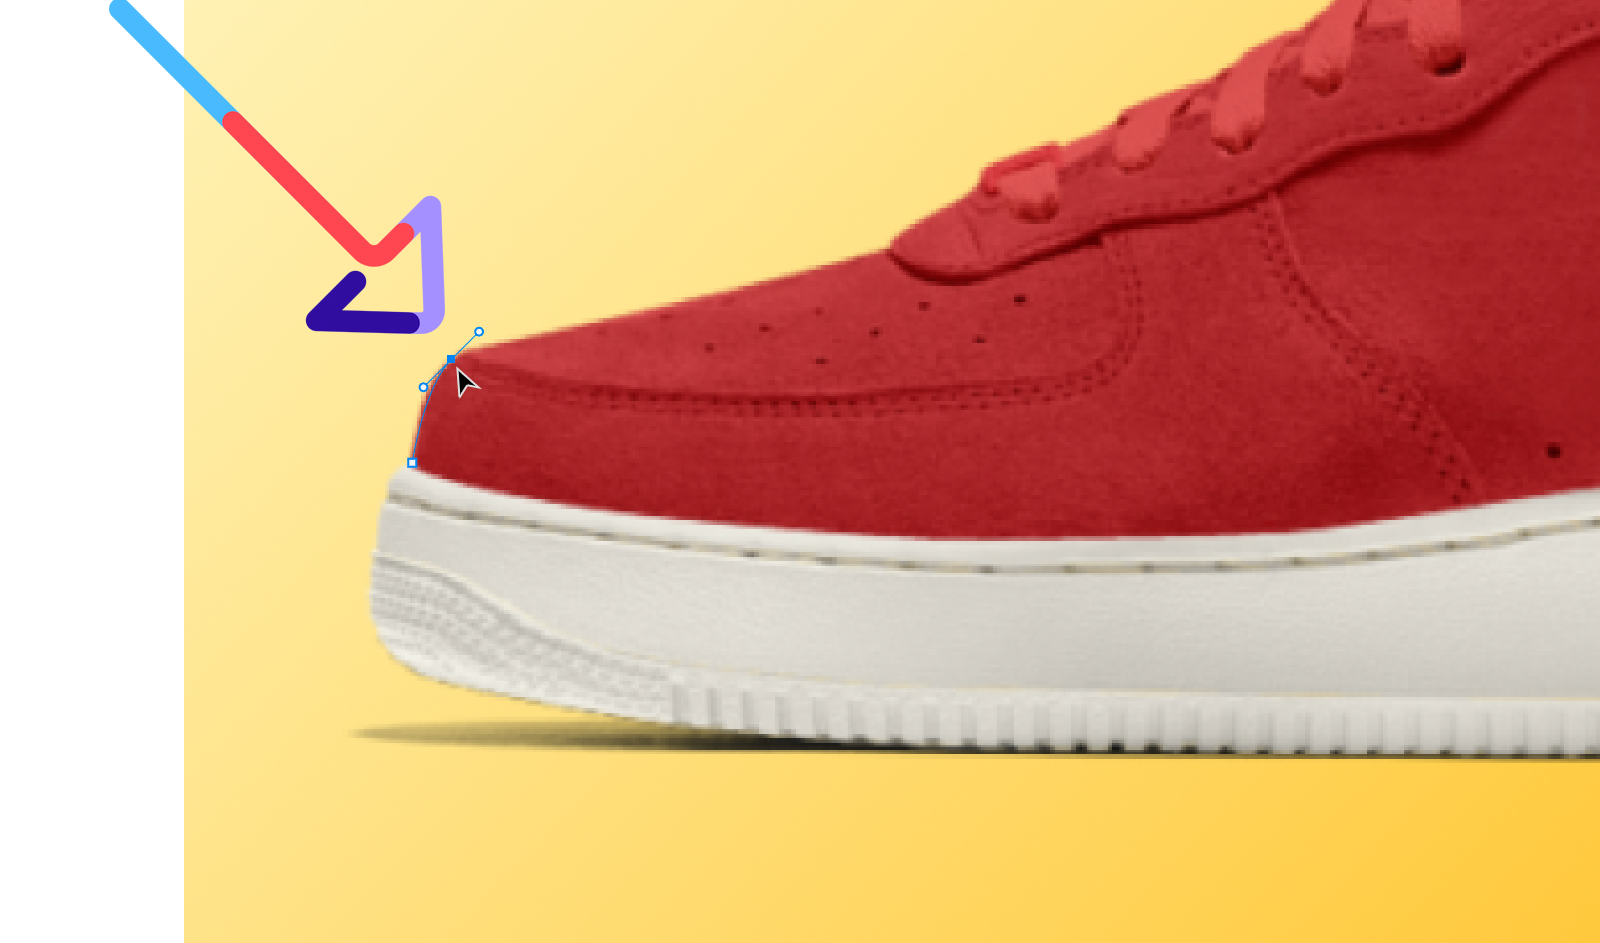
Image source
Outsourcing photo edits to a professional team like Path is a great way to keep costs down and maintain your high-quality standards. (Path pricing is transparent and straightforward with costs starting at 25¢ per image.) And outsourcing tasks such as photo editing can be especially helpful if you’re working with a freelance photographer (or you are a freelance photographer).
Storage
Since pro photographers have to maintain and share countless files, they also have to pay for image storage and organization solutions:
- Digital asset management (DAM) system: $350+ per year (a 2018 survey found that $51,999 was the average yearly DAM cost)
[cta text=”Get tips on setting up and organizing a DAM” button=”Learn more” link=”https://pathedits.com/blogs/tips/digital-asset-management-how-to-organize-product-photography-files”]
- Server space: $100–$300 per month for a smaller business
- Memory cards: around $100
- Memory card reader: around $20–$80
- Portable storage drive: roughly $100–$800
- Tech resources for maintenance: varies
- Cables for image transfers: around $10–$50
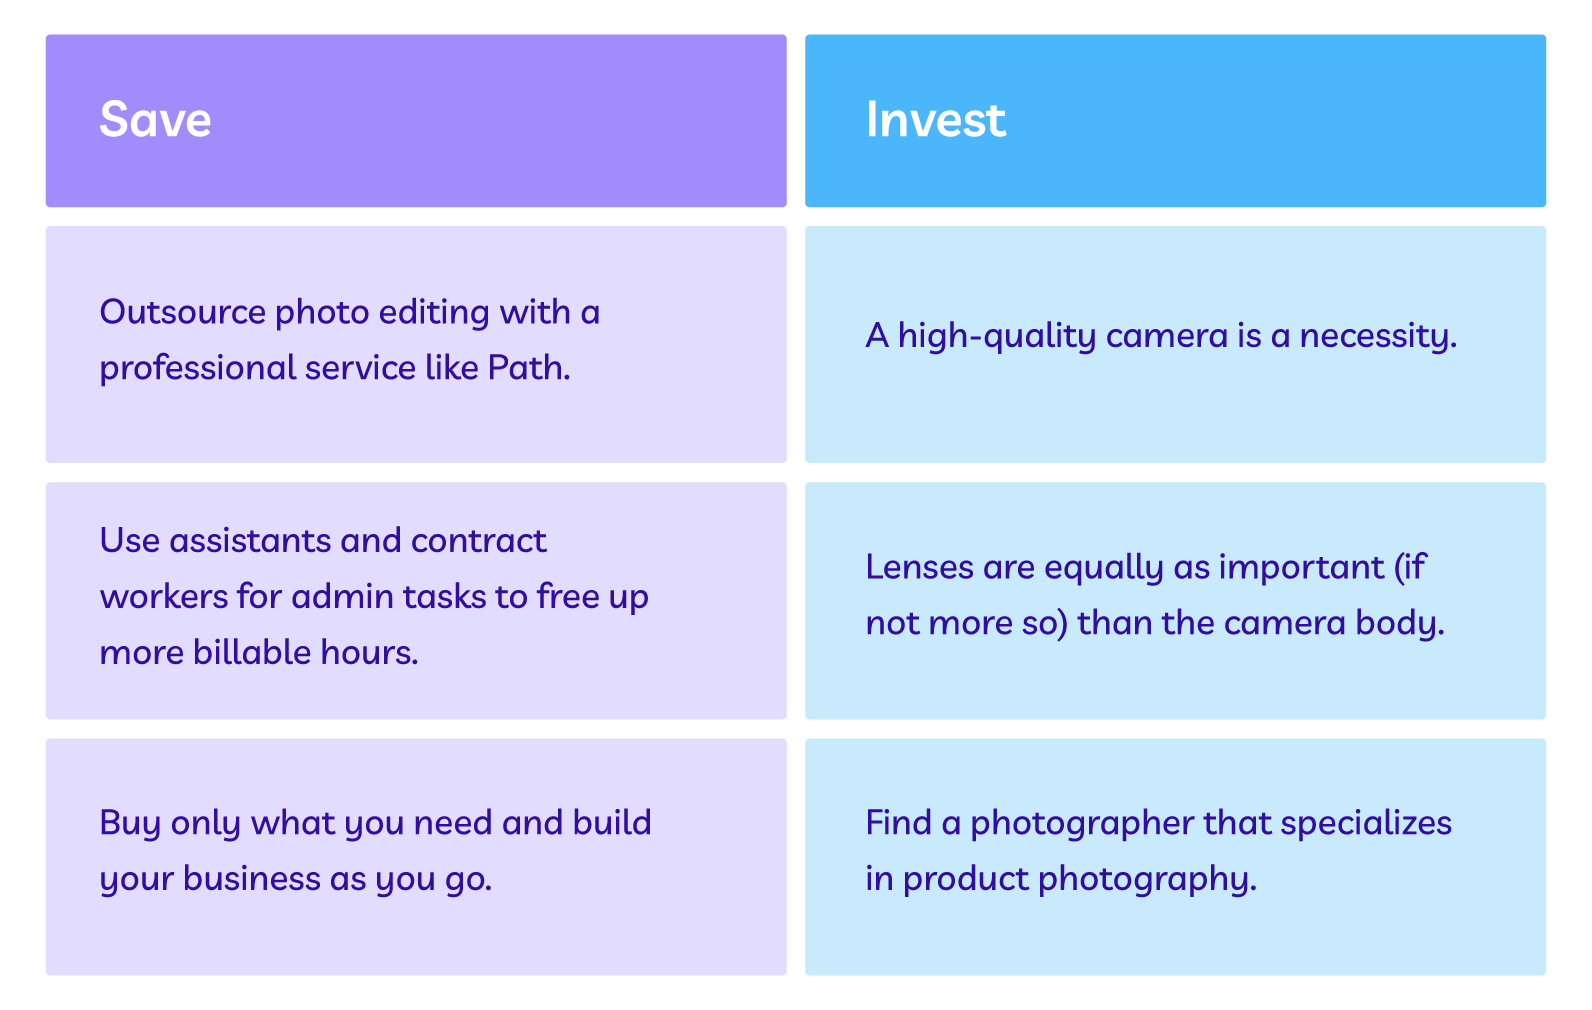
Where to save money vs. where to invest
Product photos aren’t something you want to skimp on, but there are a few ways to save a bit of money.
Moving forward with your product photography
That product photography quote that you received is probably looking a lot more affordable now. (Ahem, photographers, the new year would be a great time to raise your prices.)
Producing high-quality product images is expensive, but there are plenty of reasons it’s so costly. Those images are an investment in your ecommerce company and, for photographers, they’re the result of years of experience, a vast network, and a strategically built business.