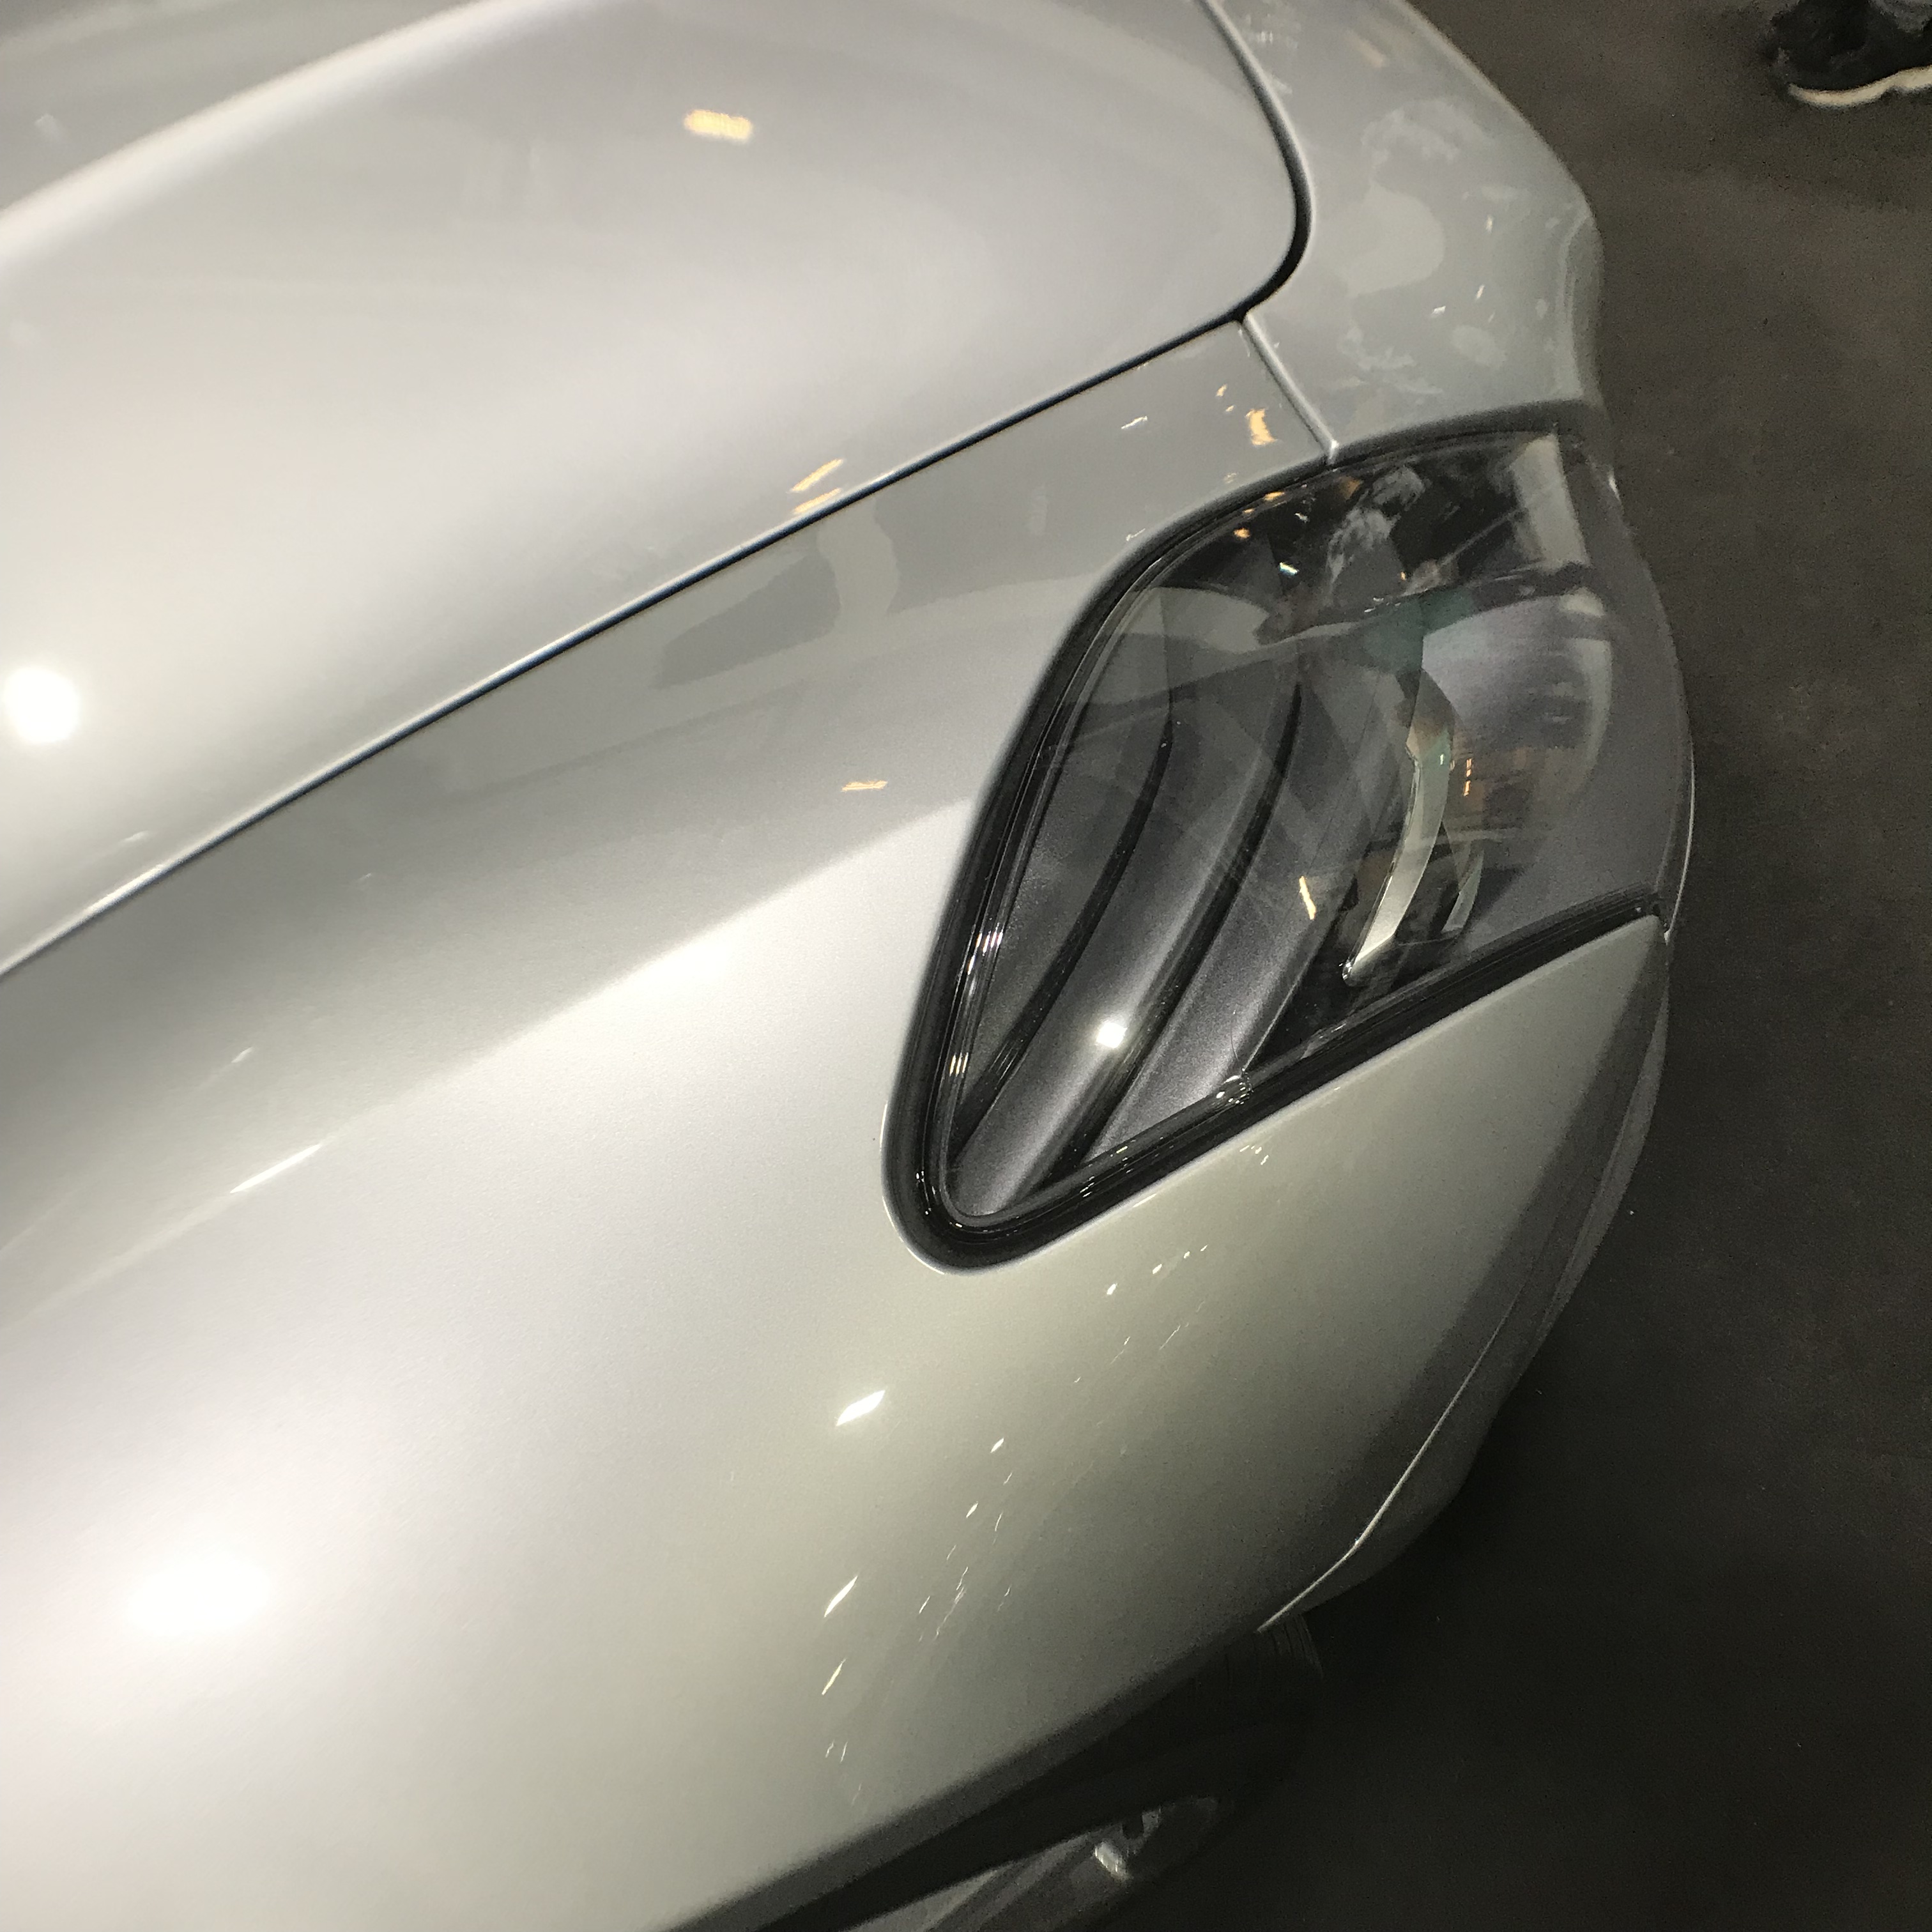
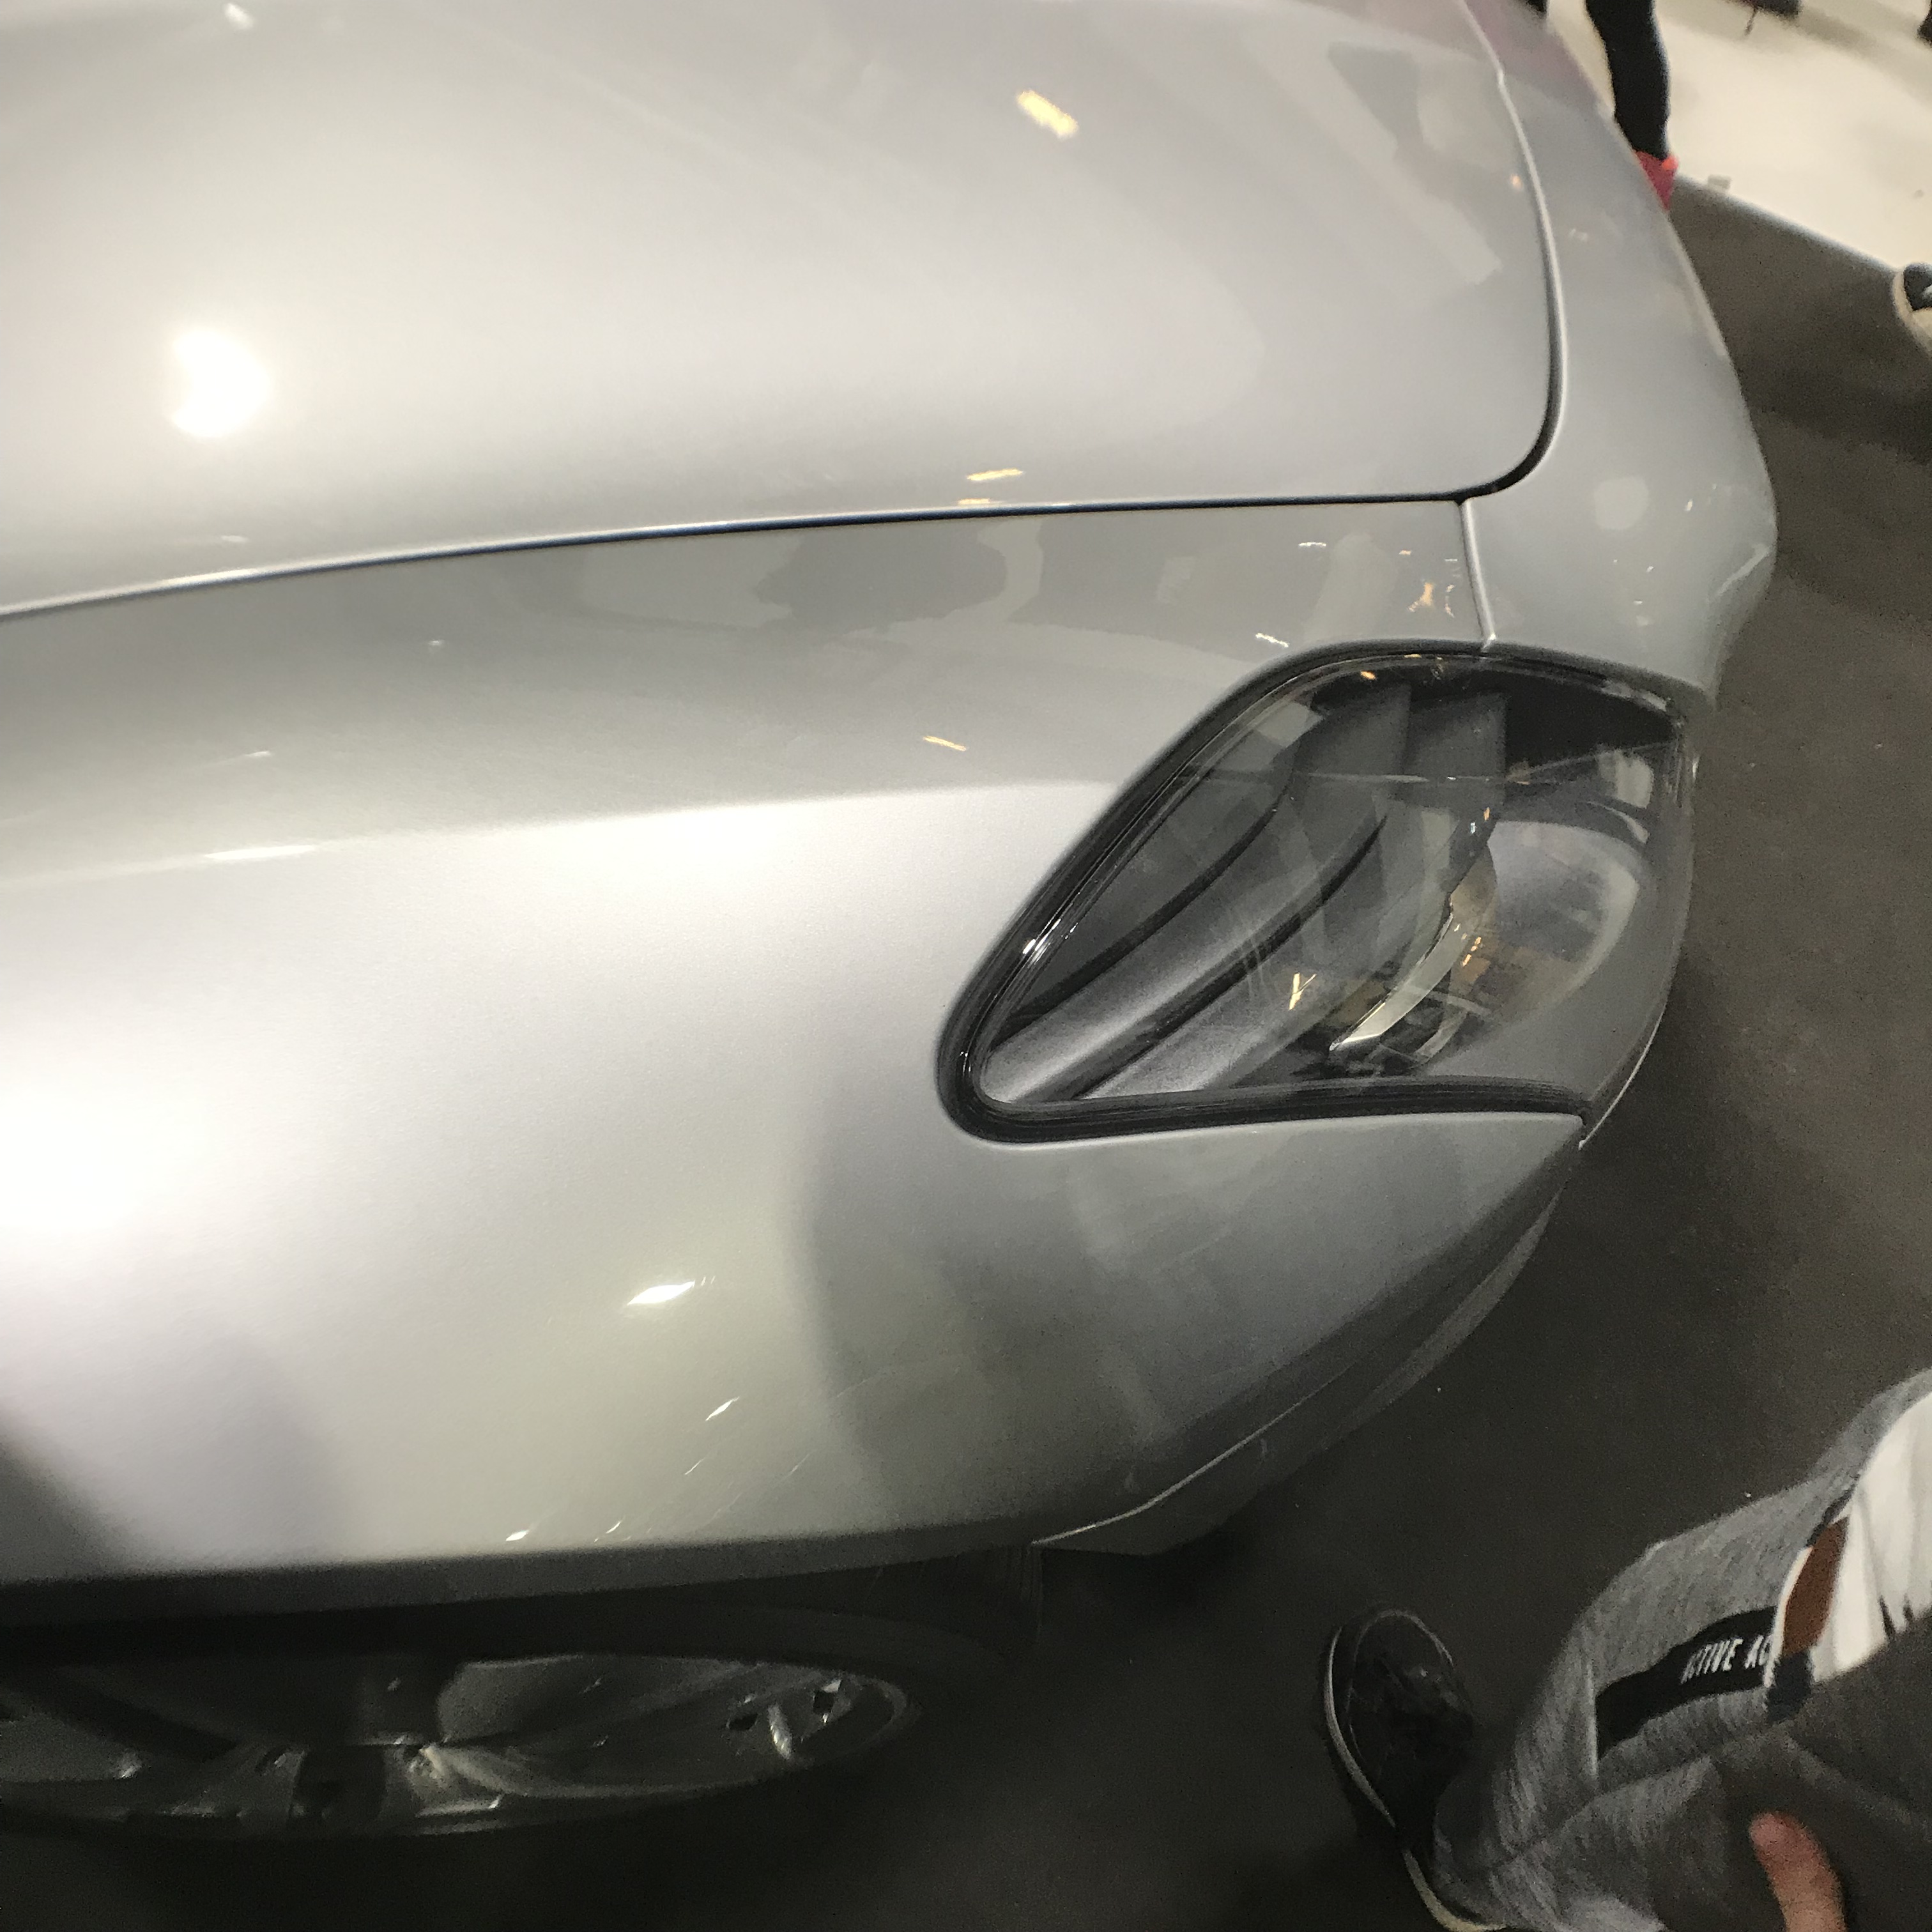
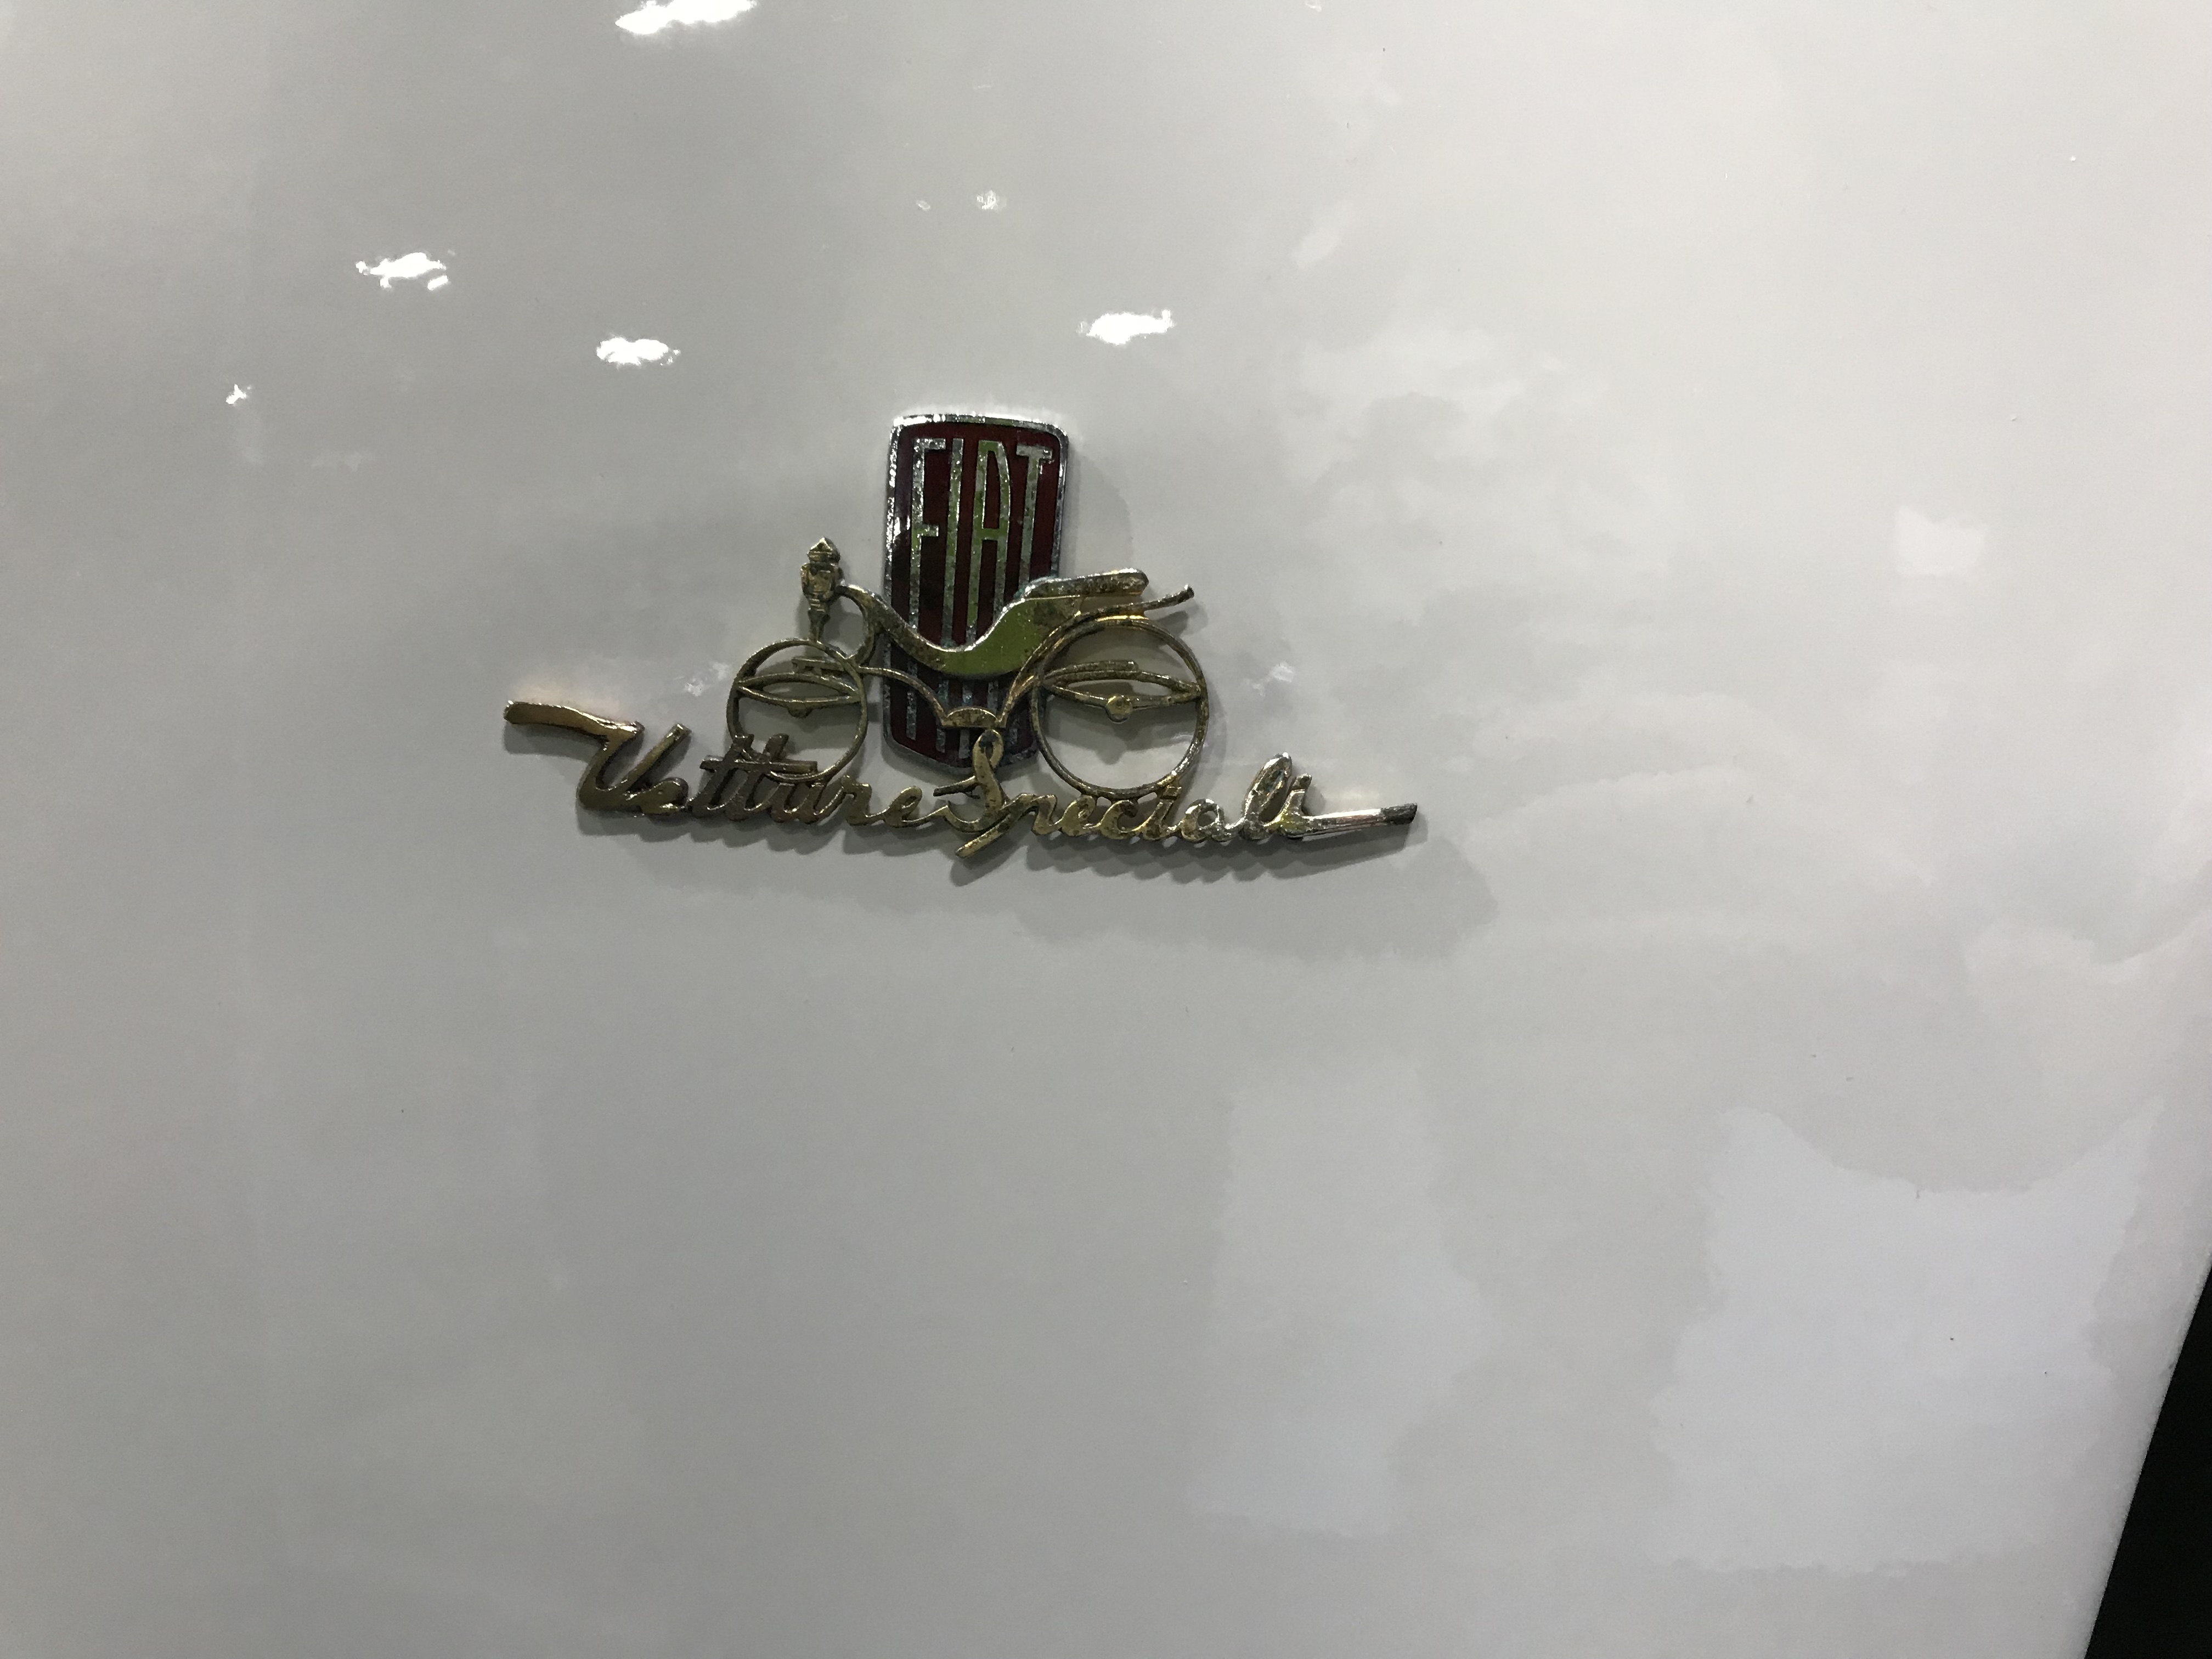
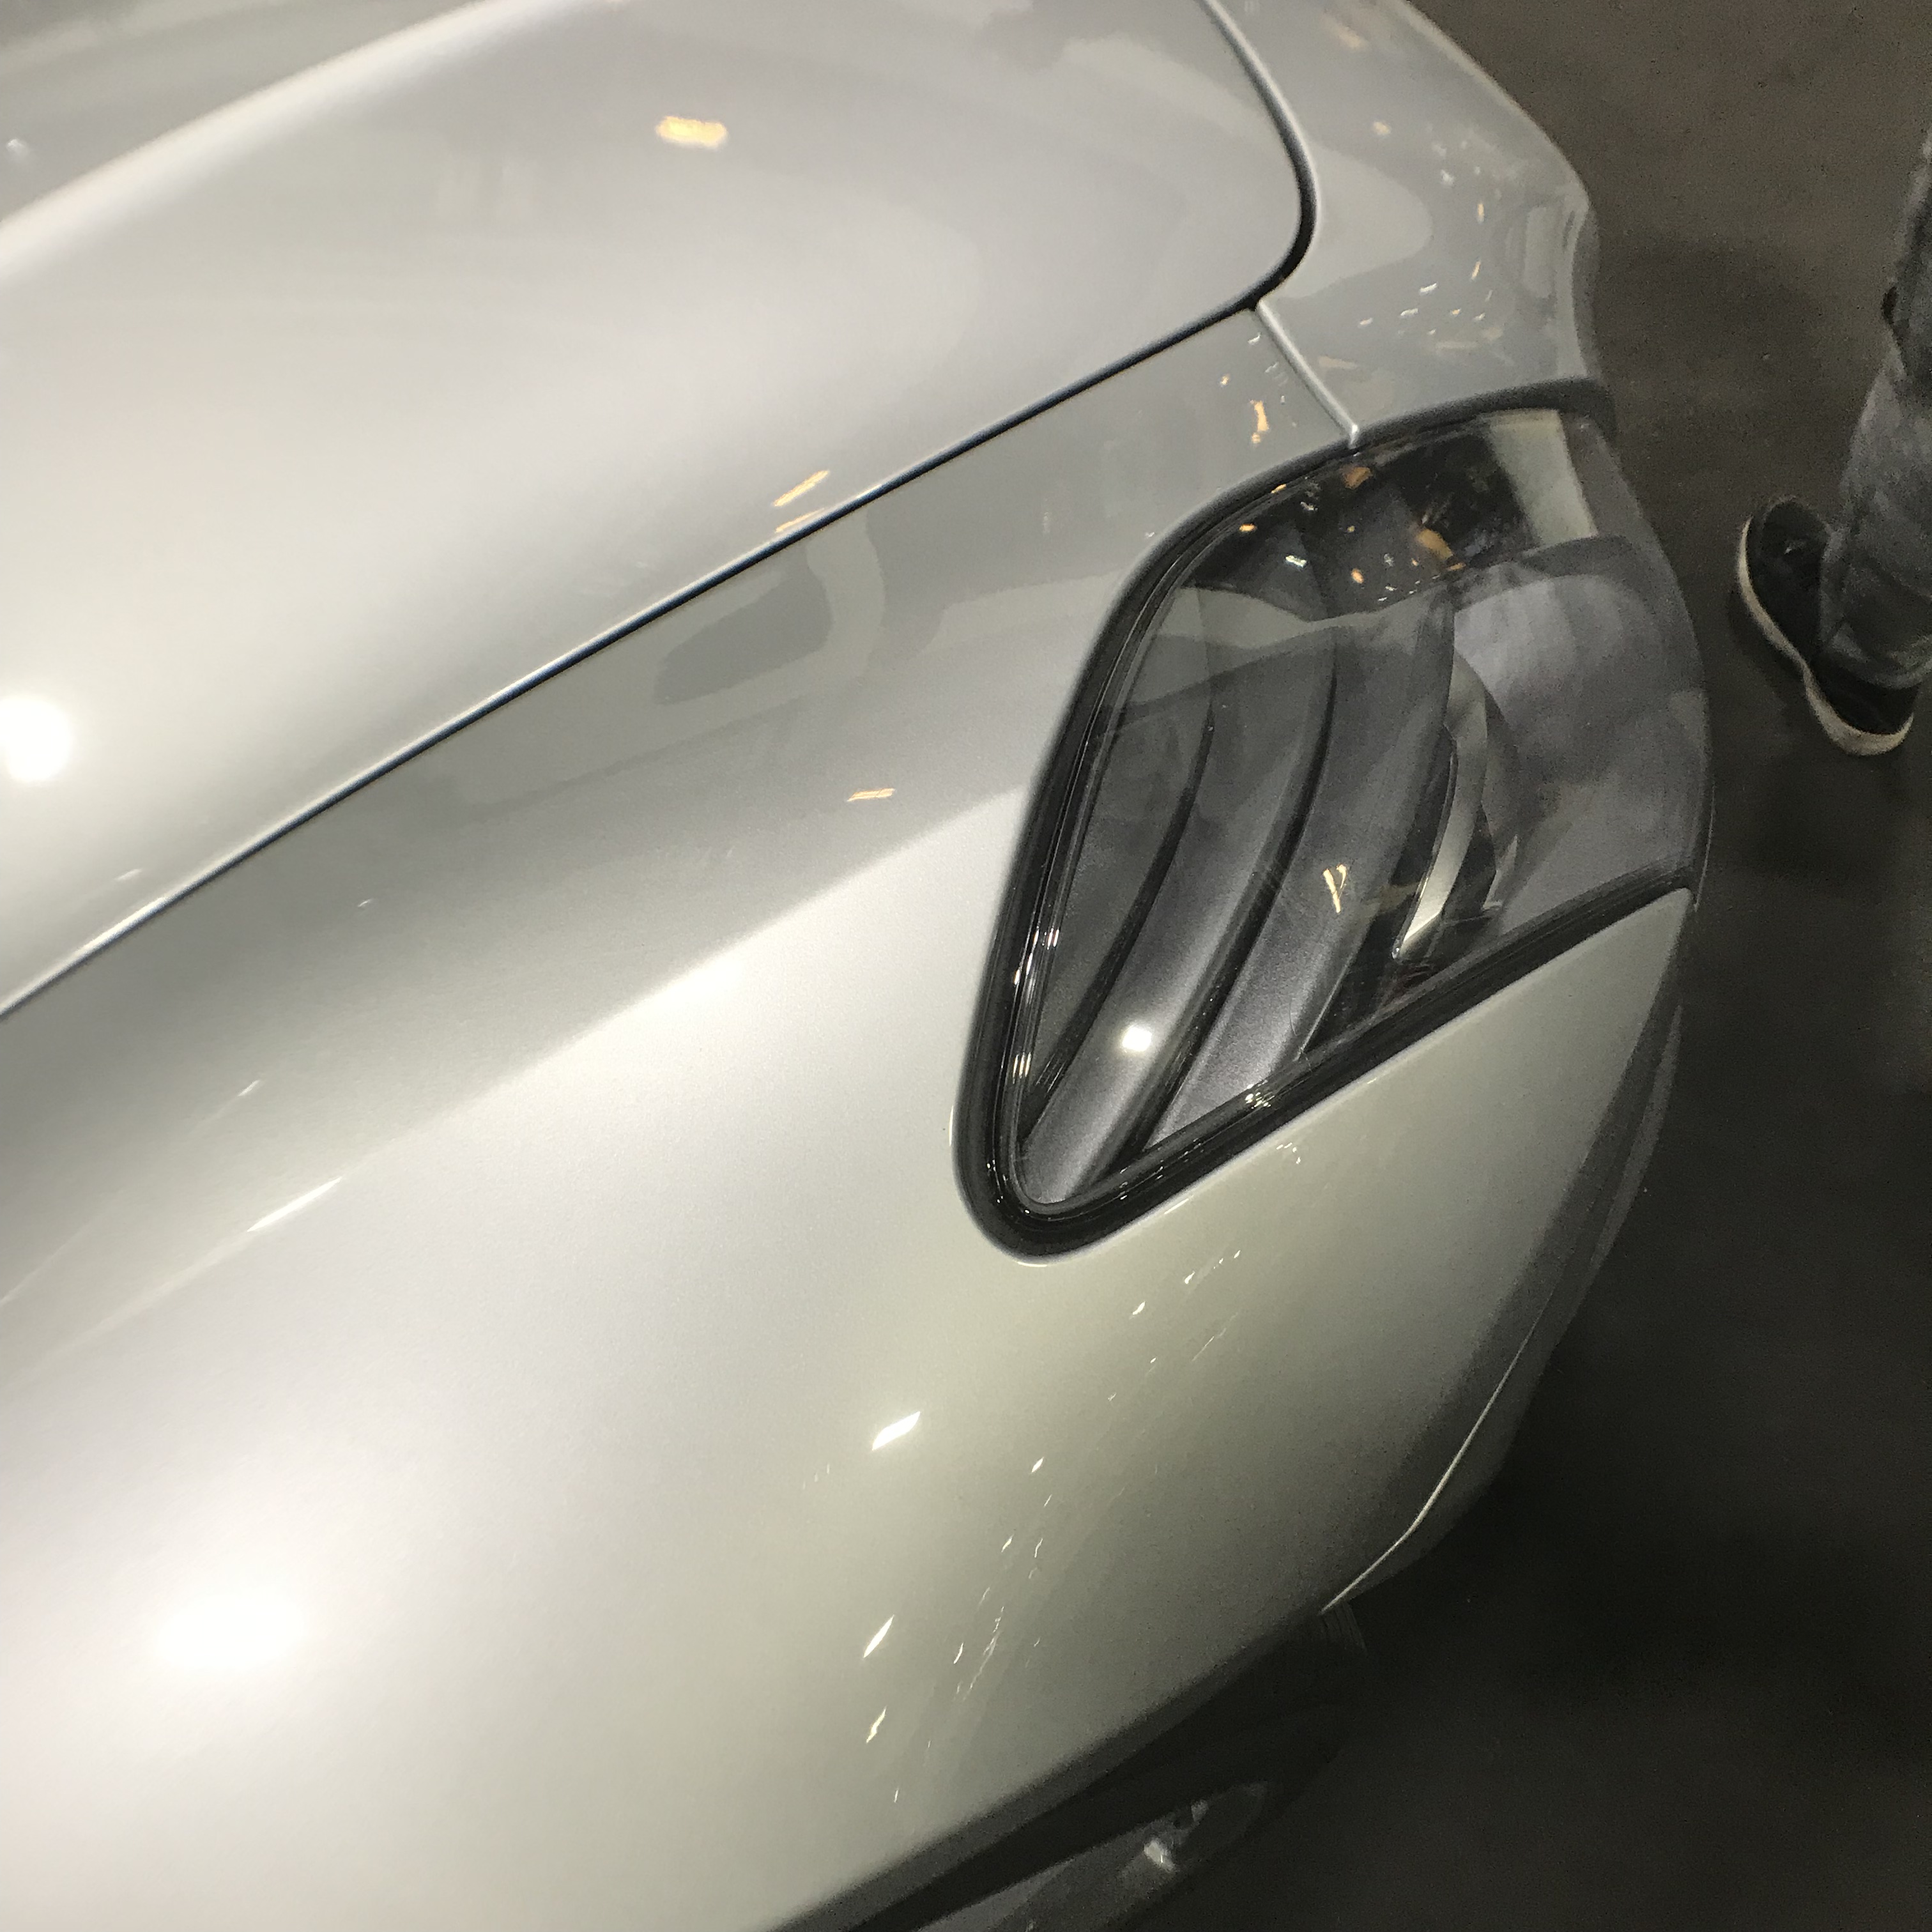
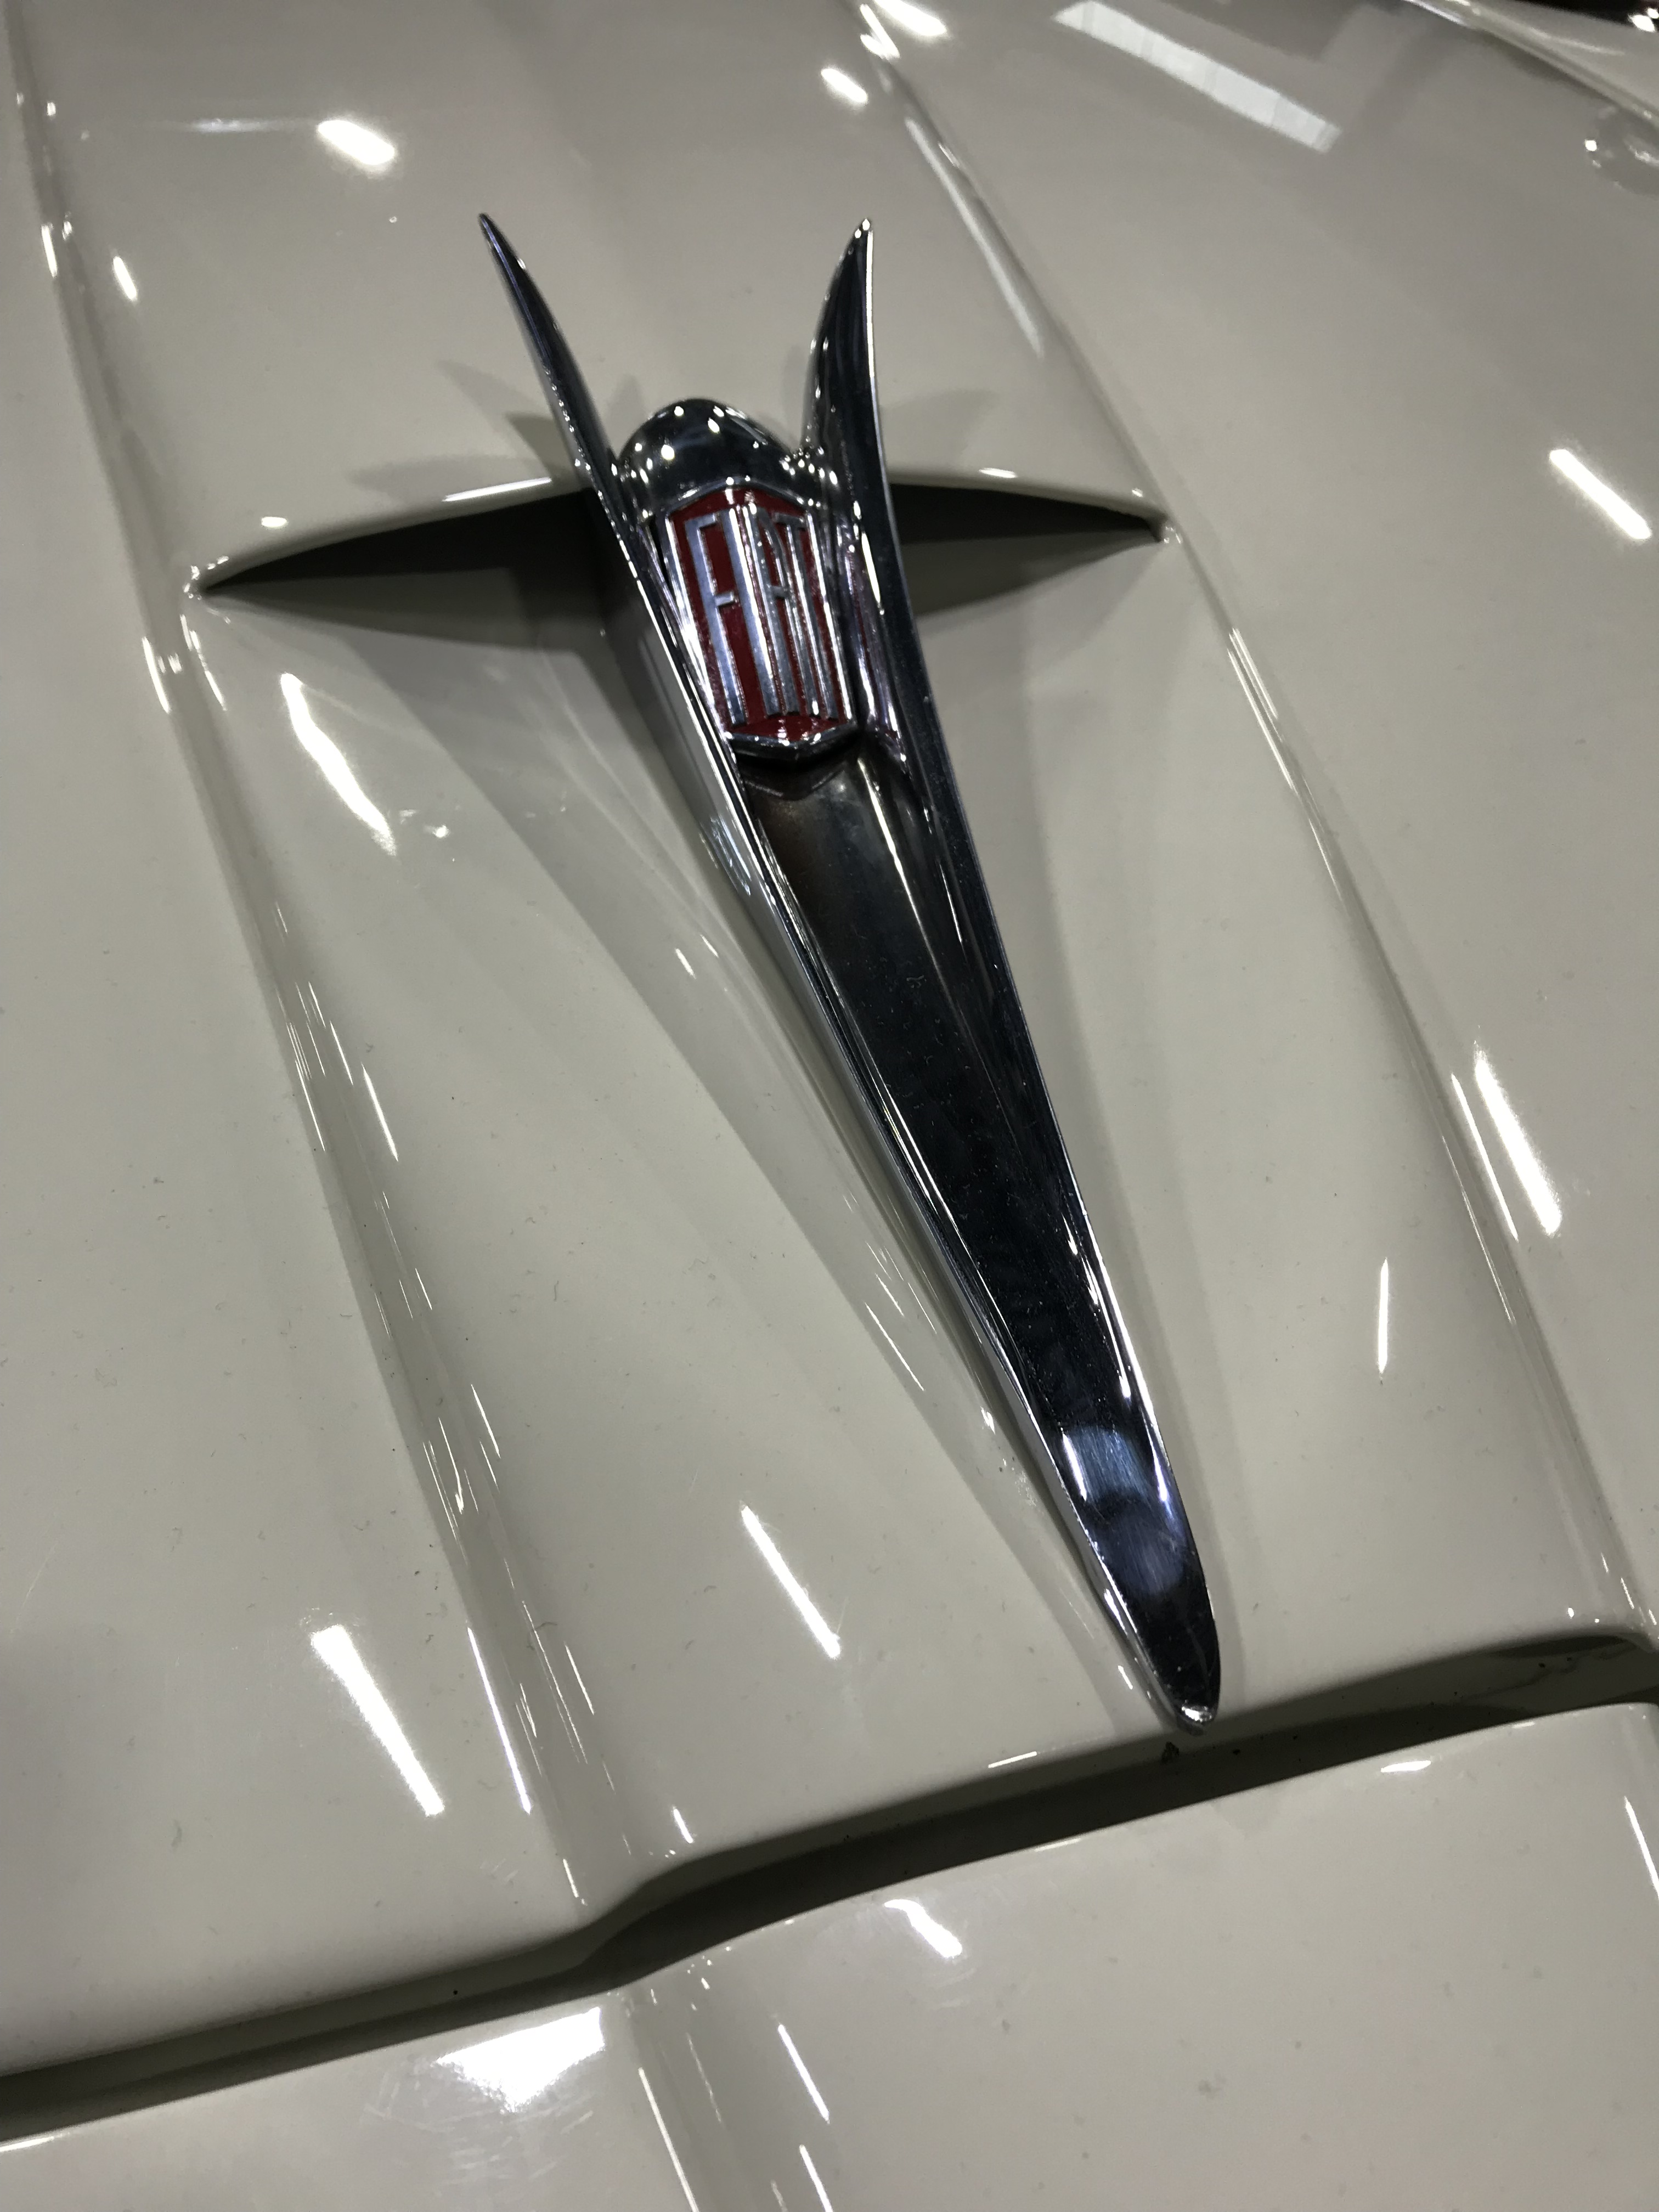
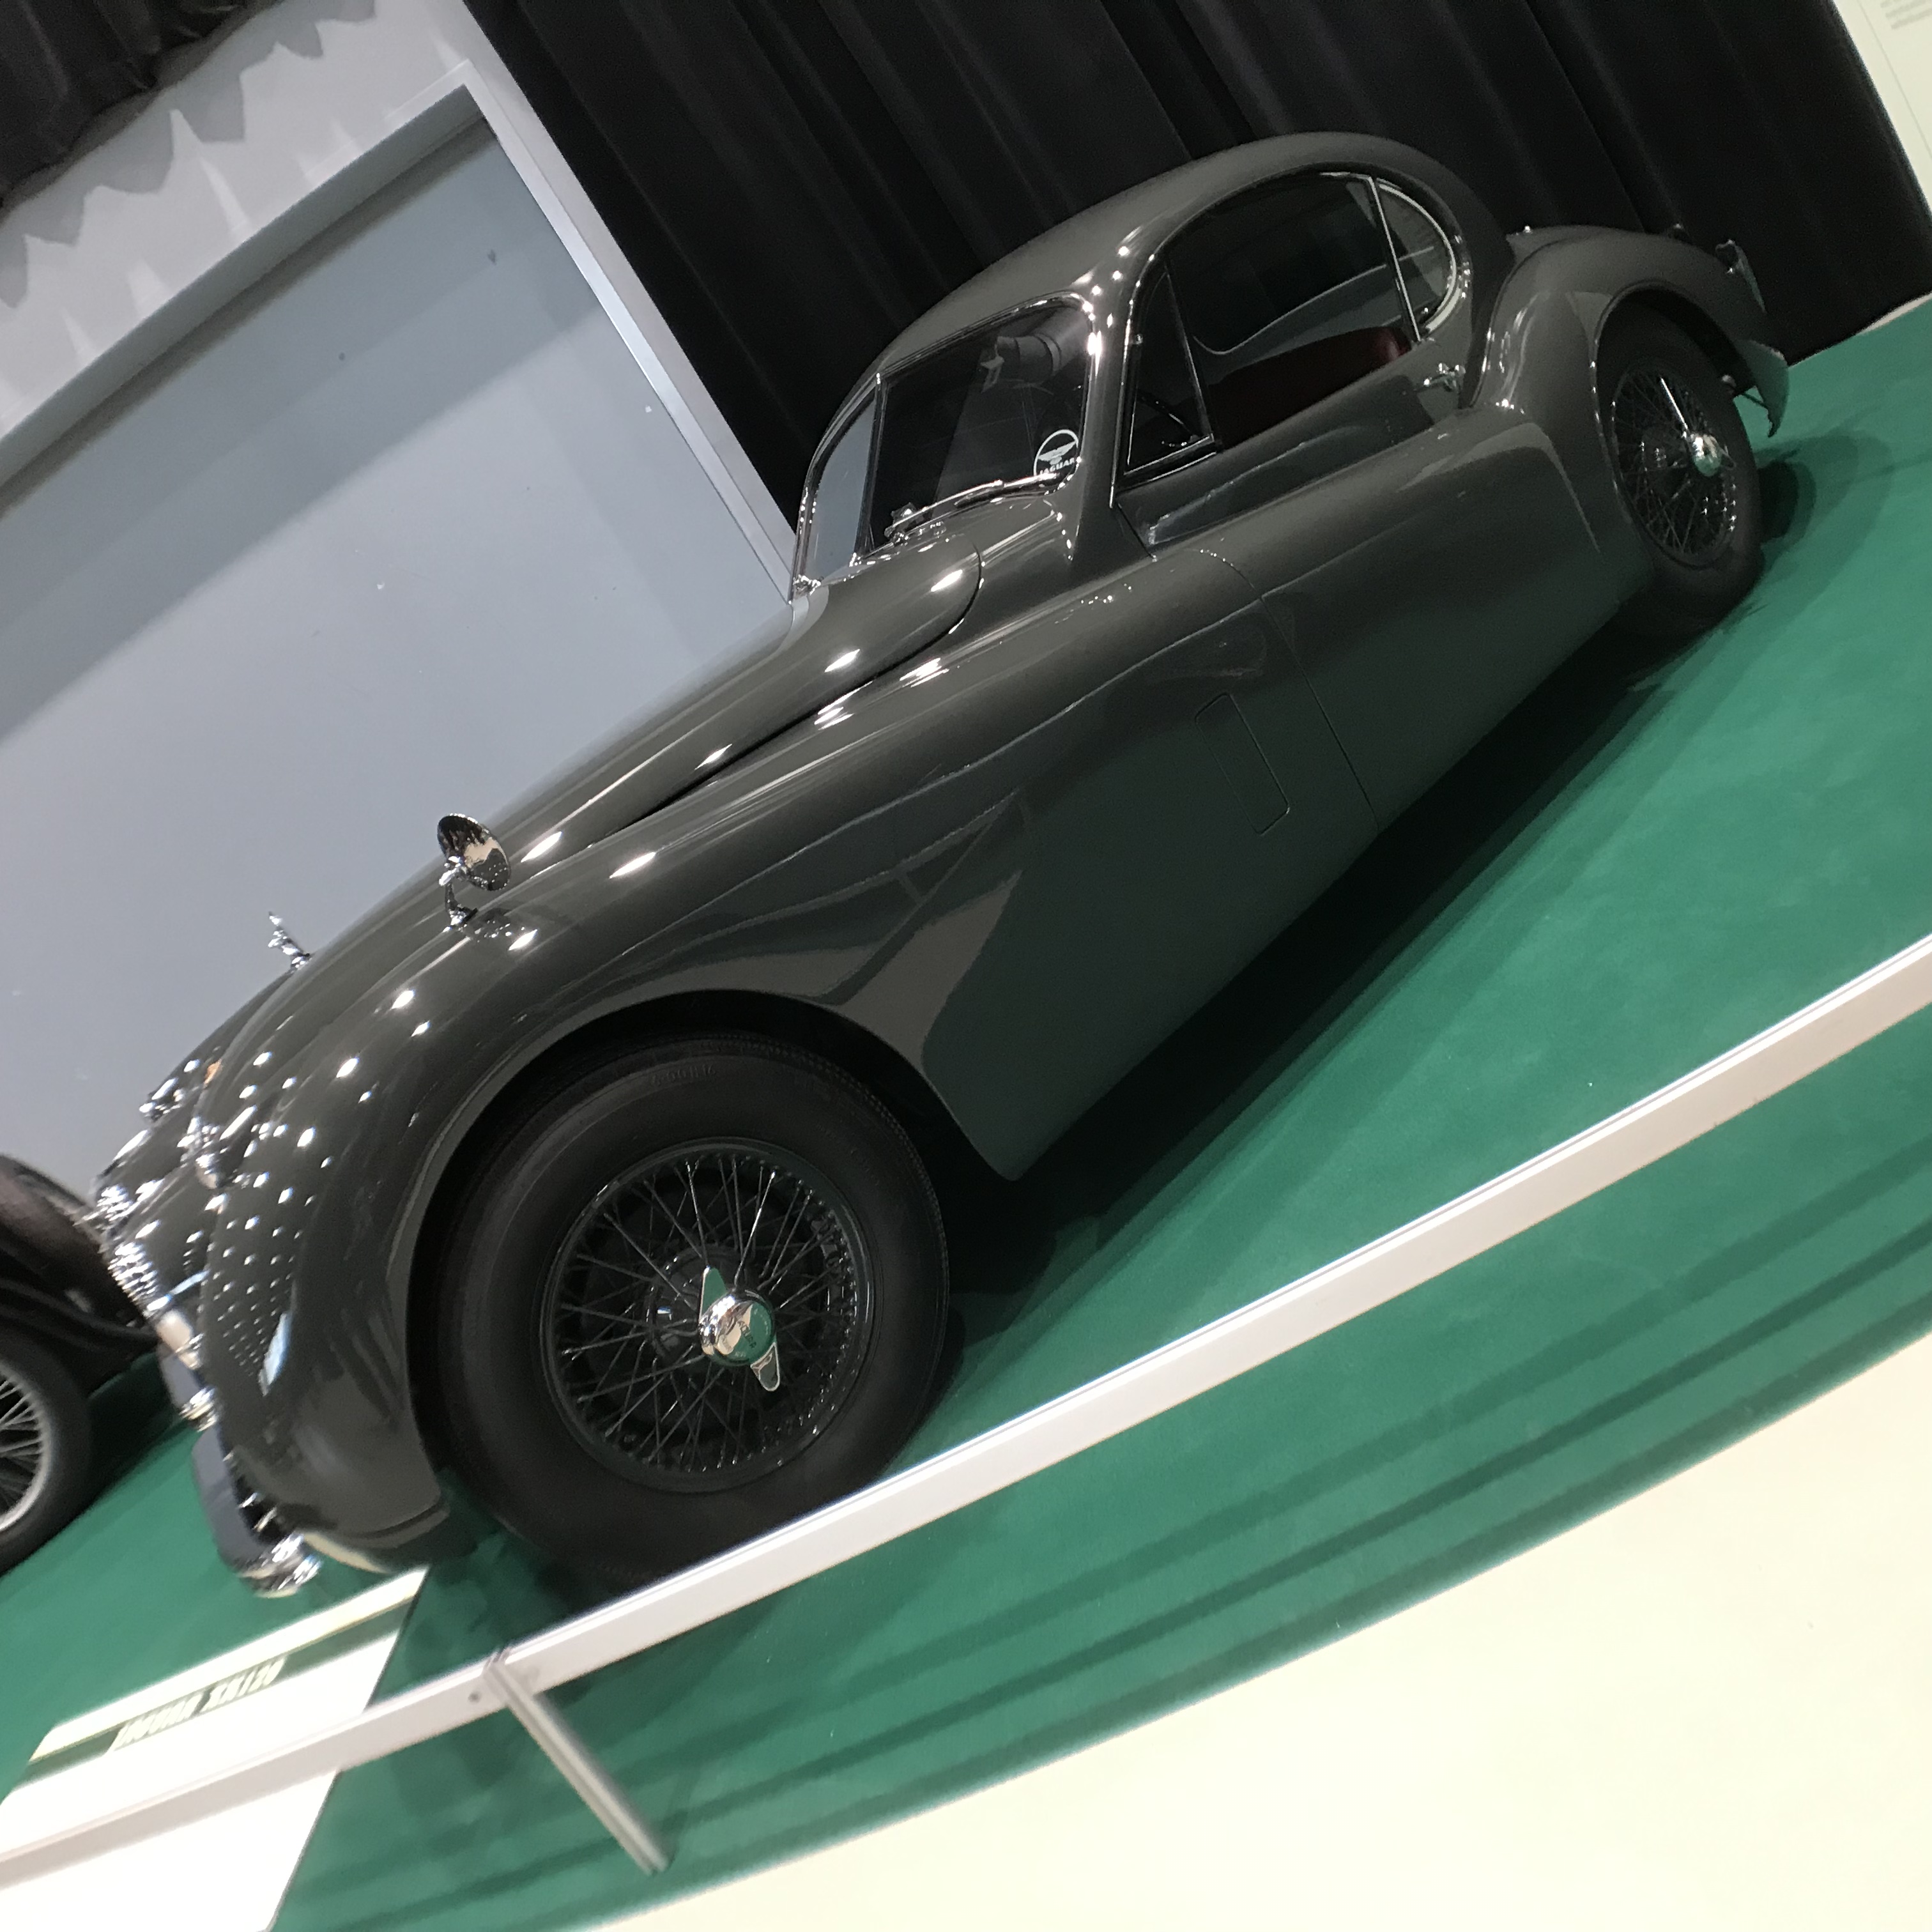
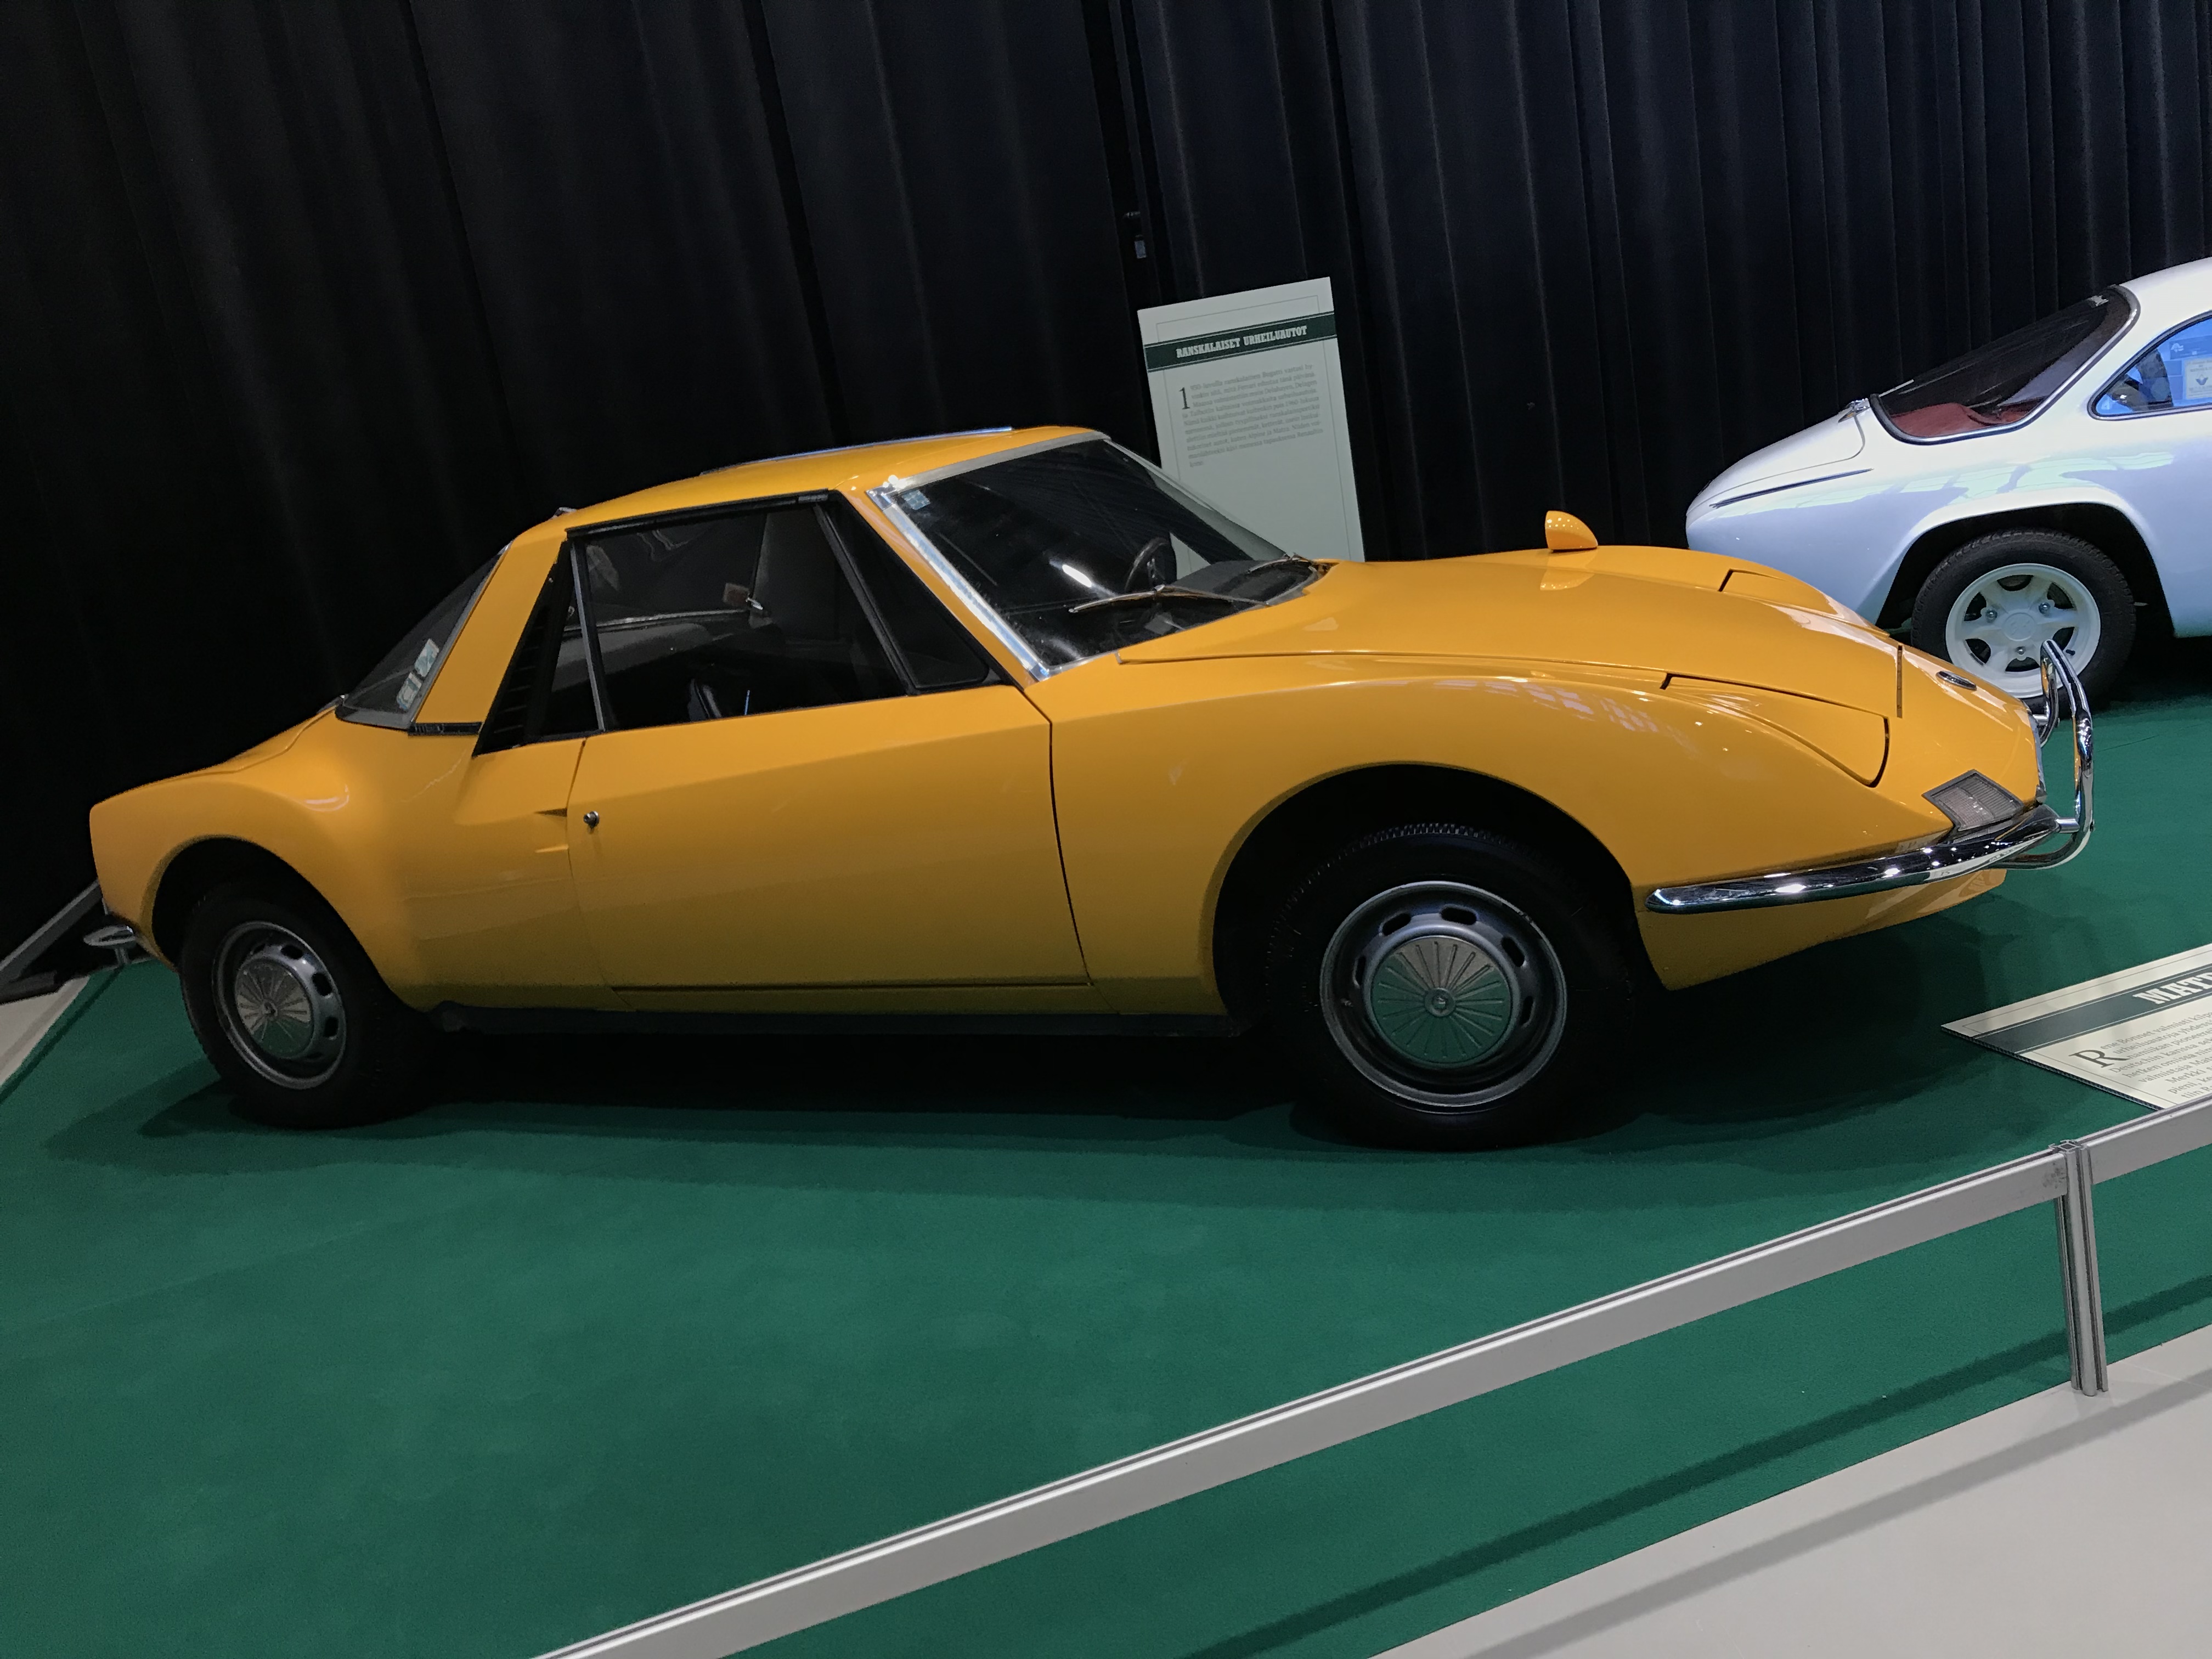
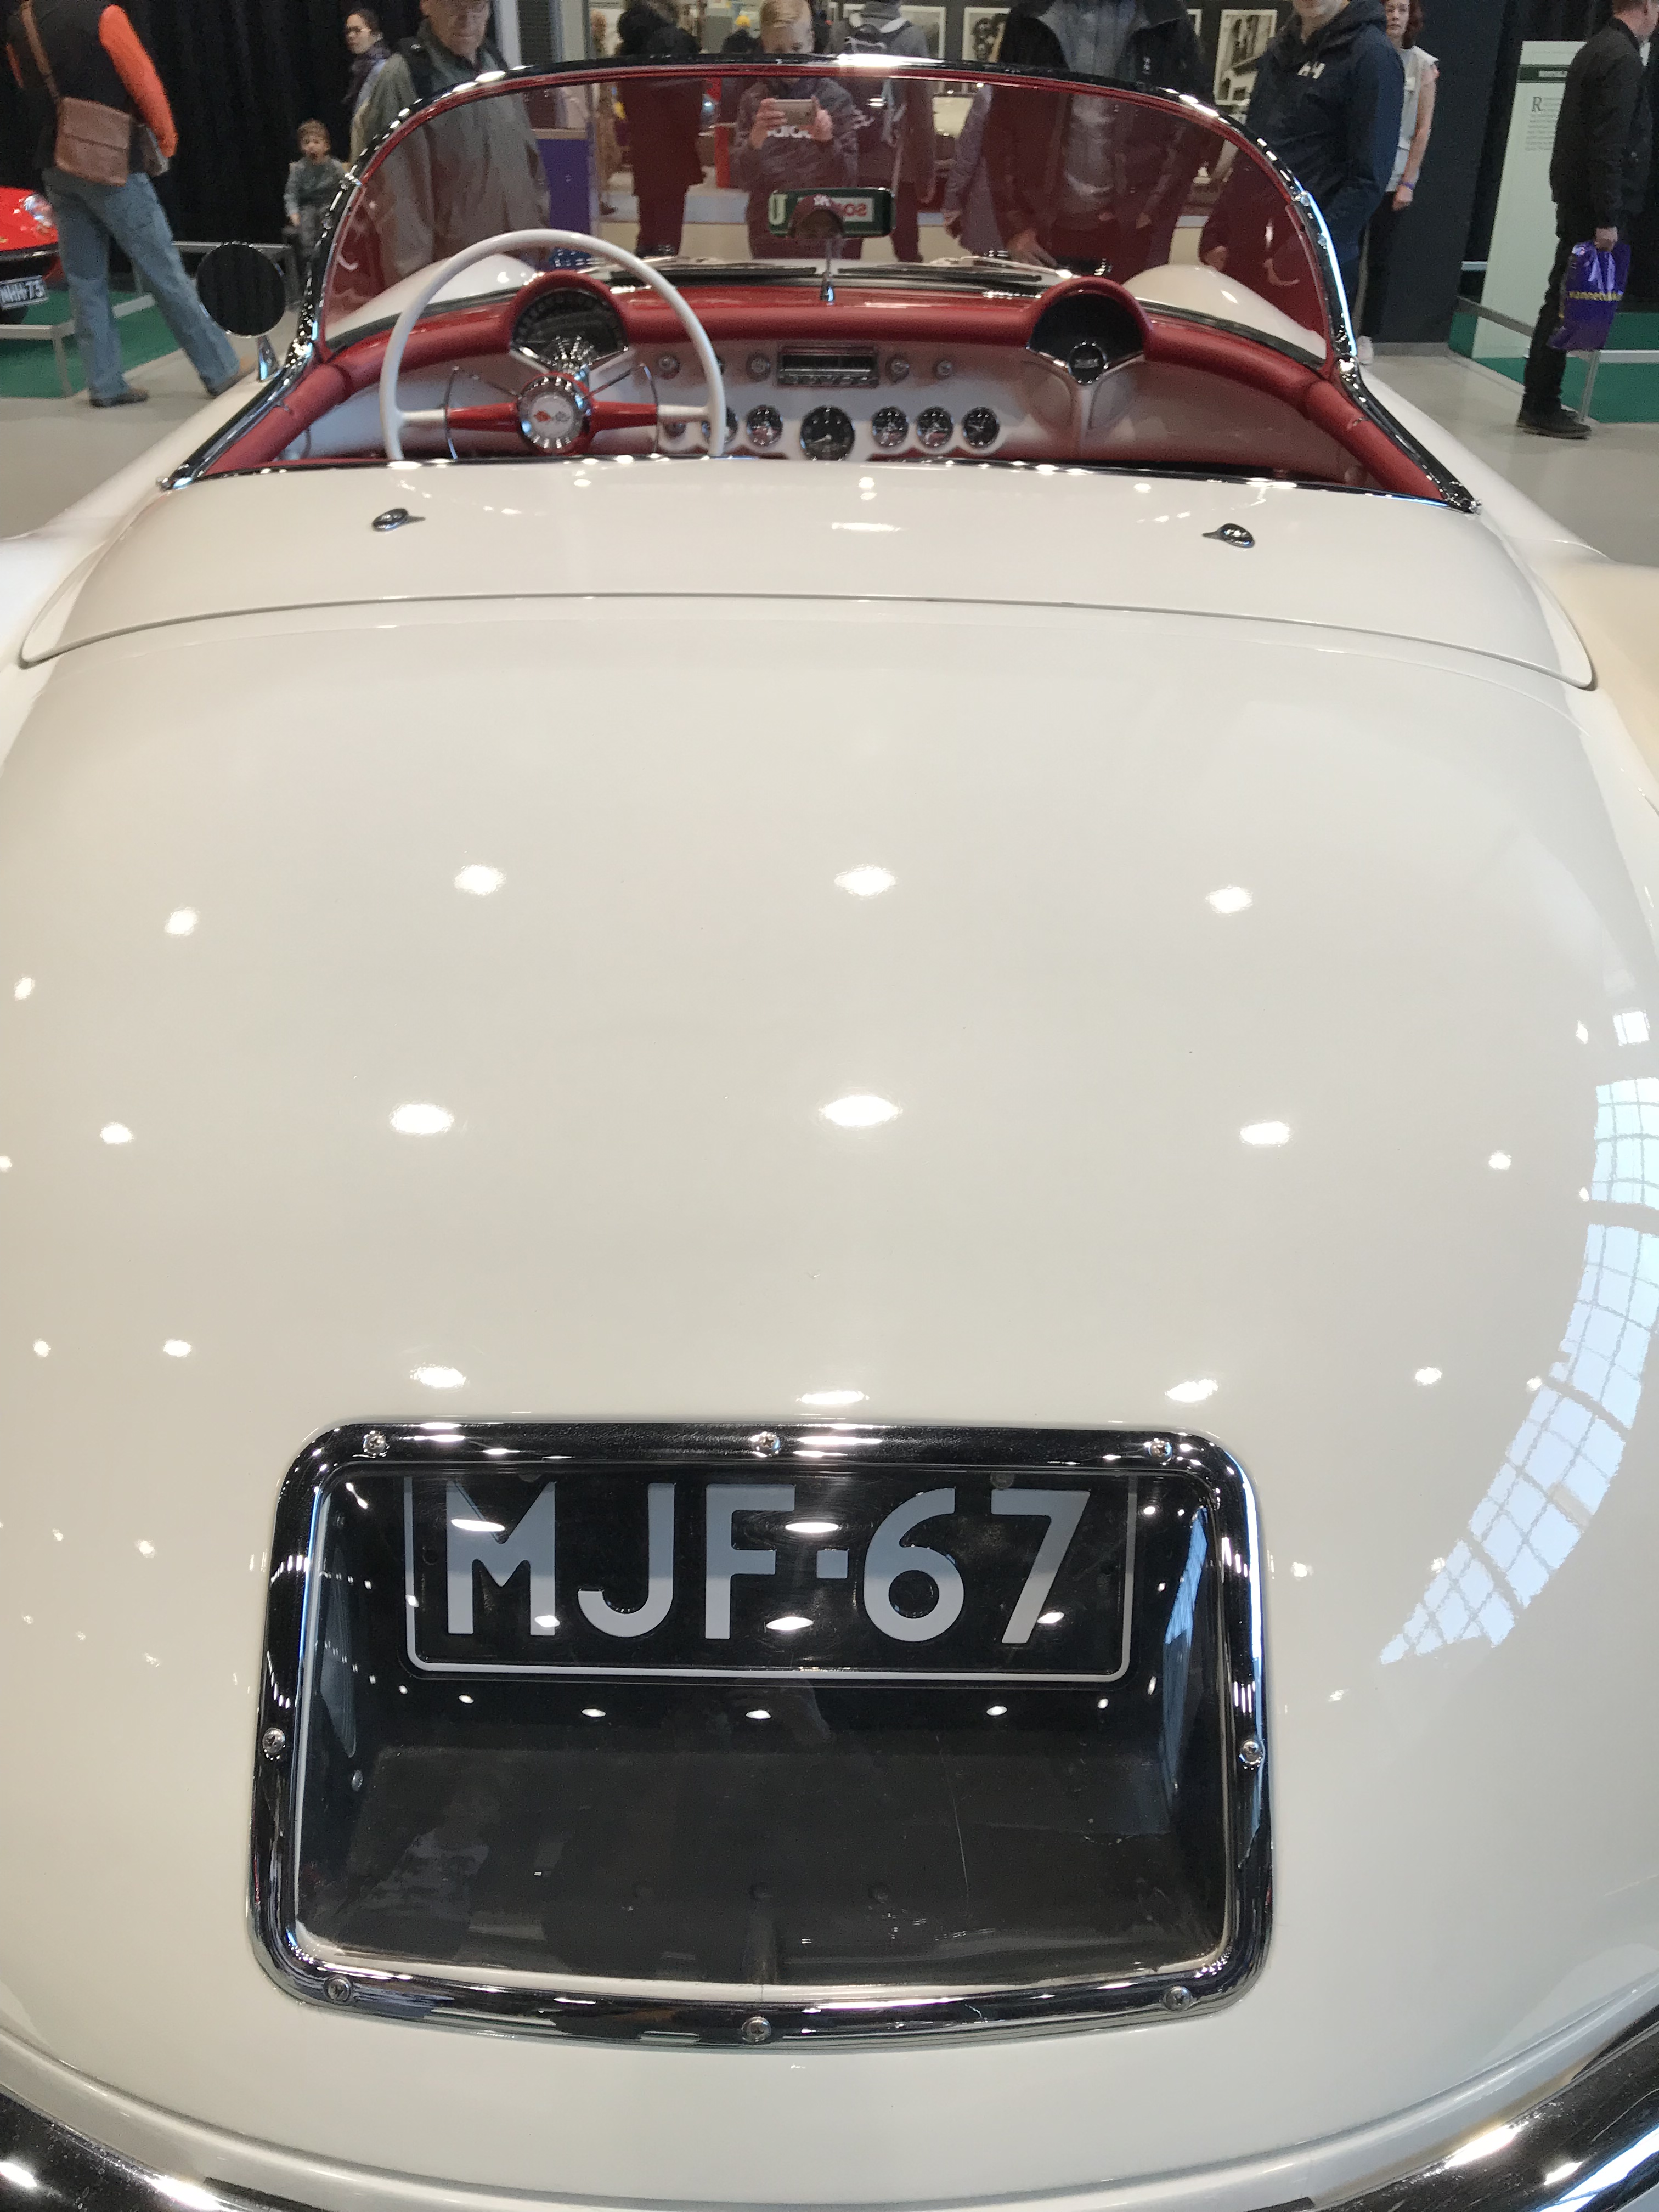
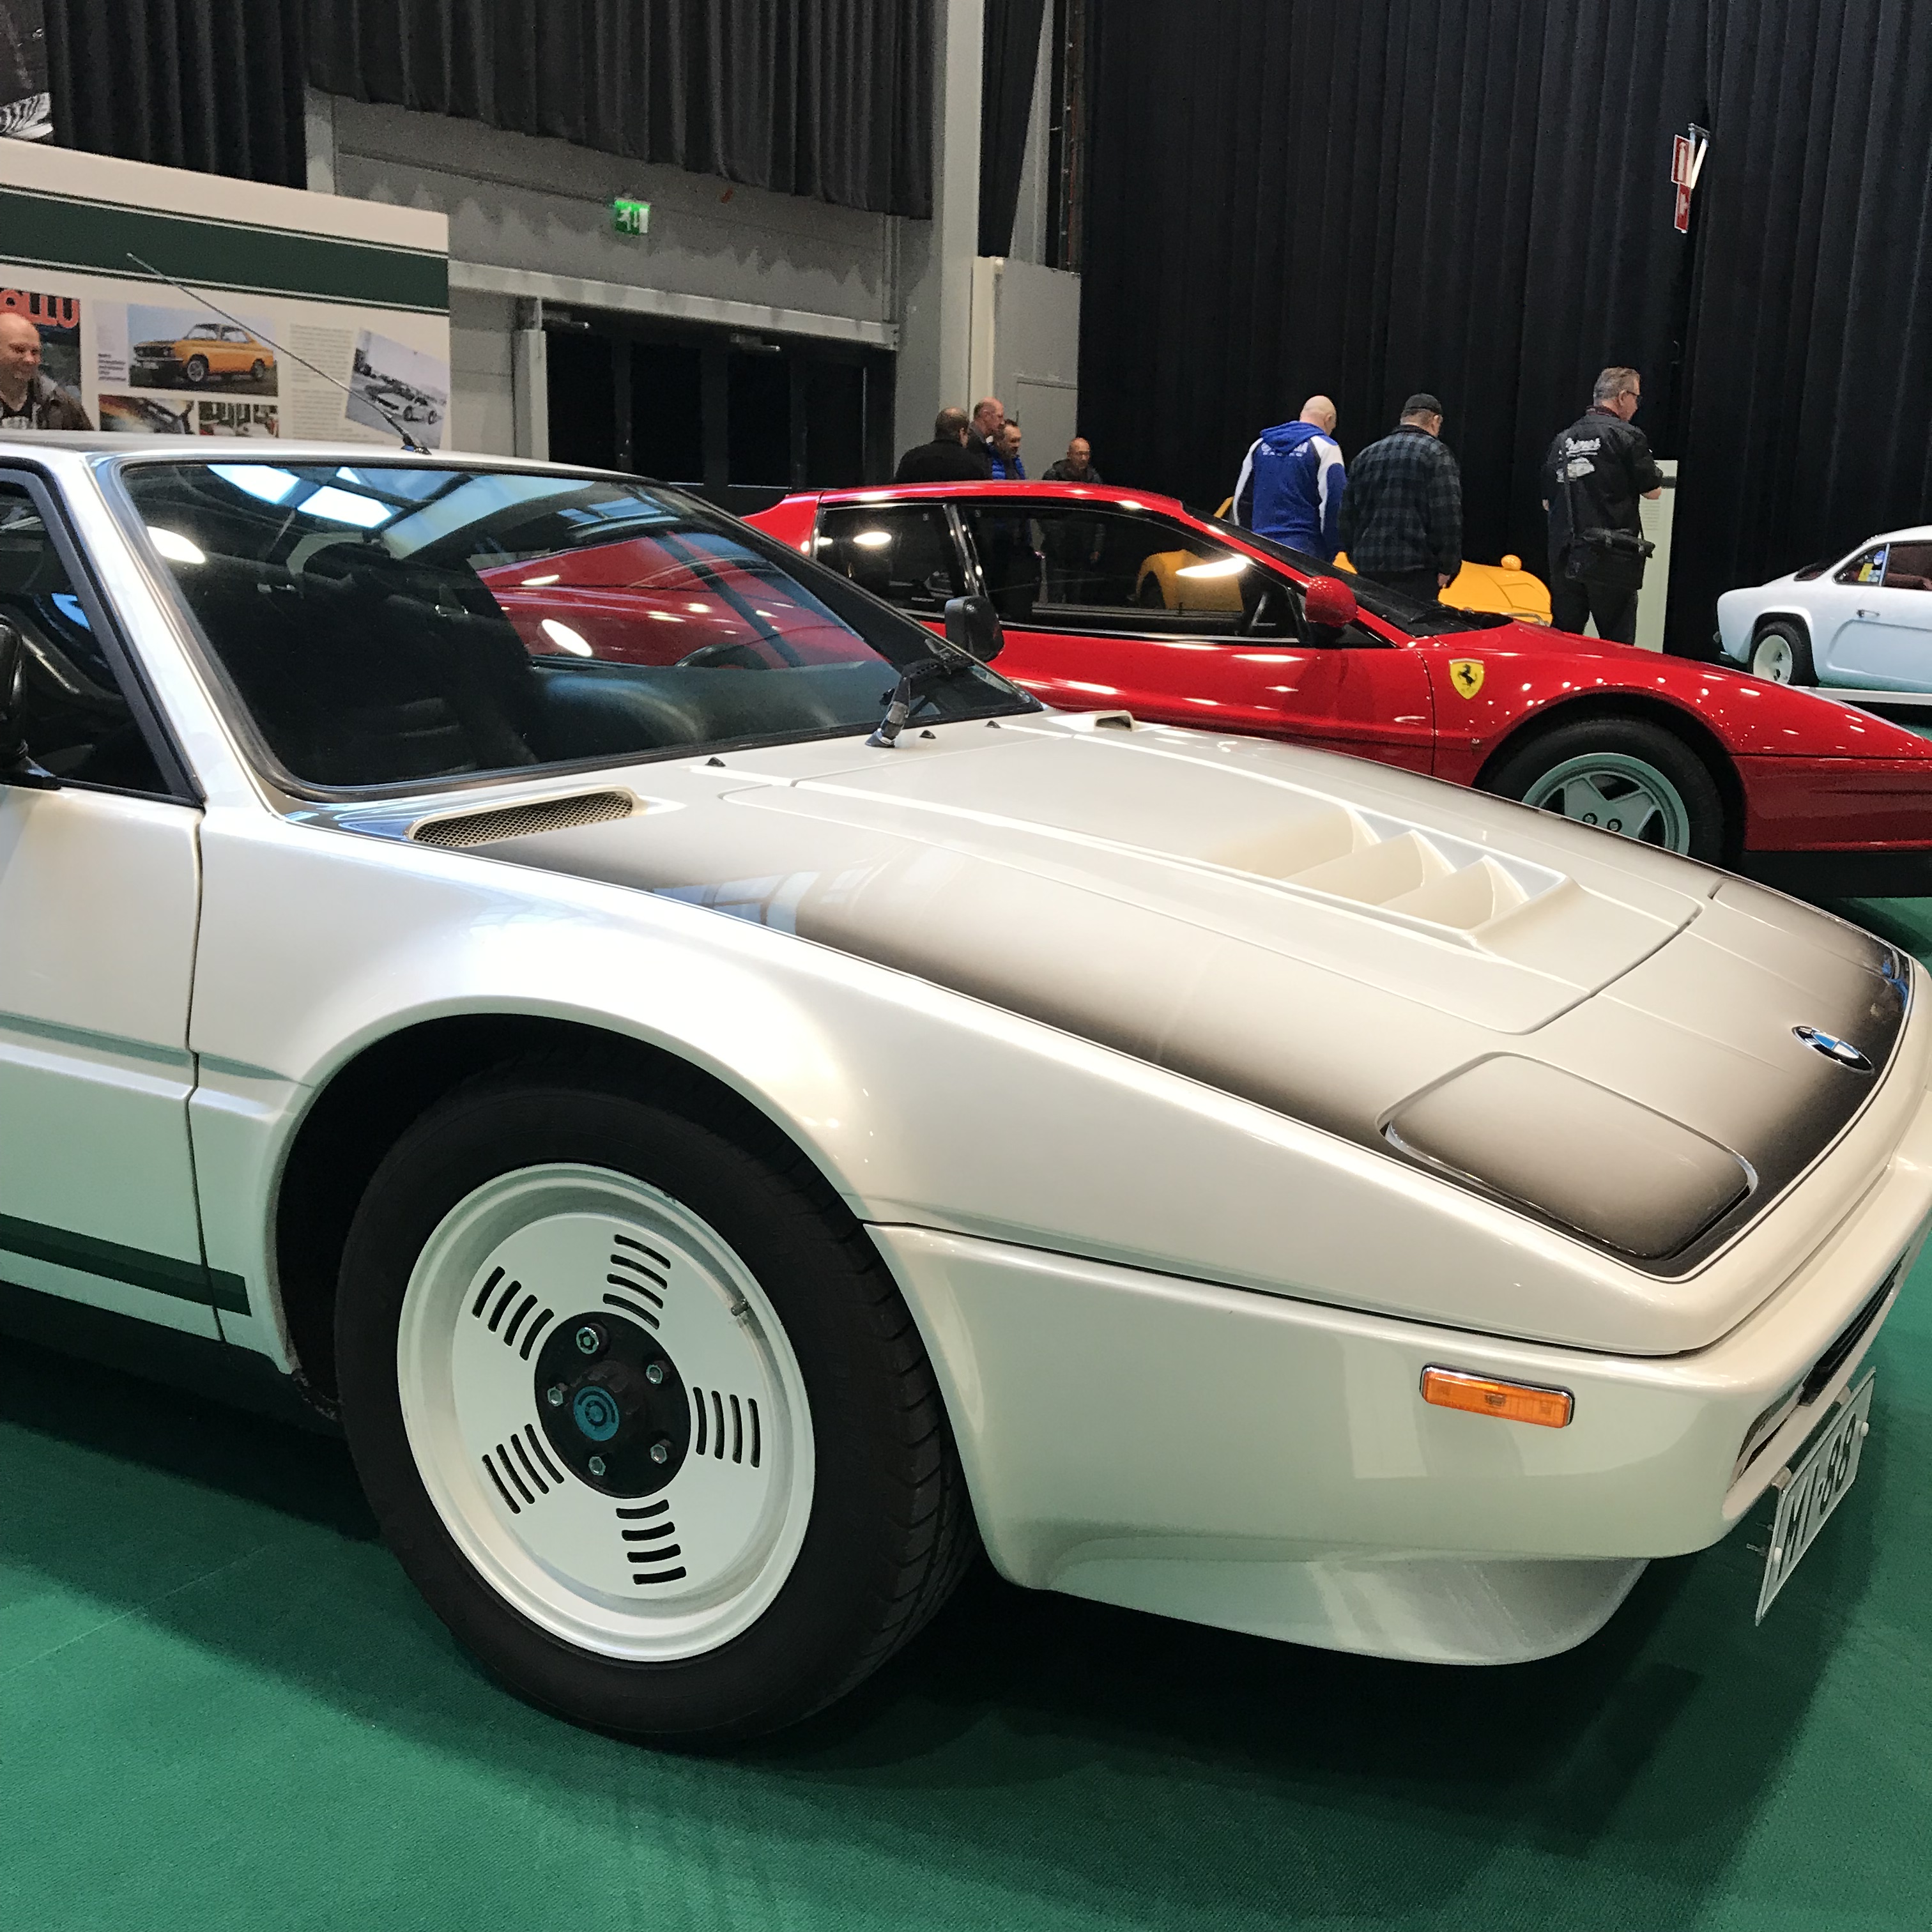
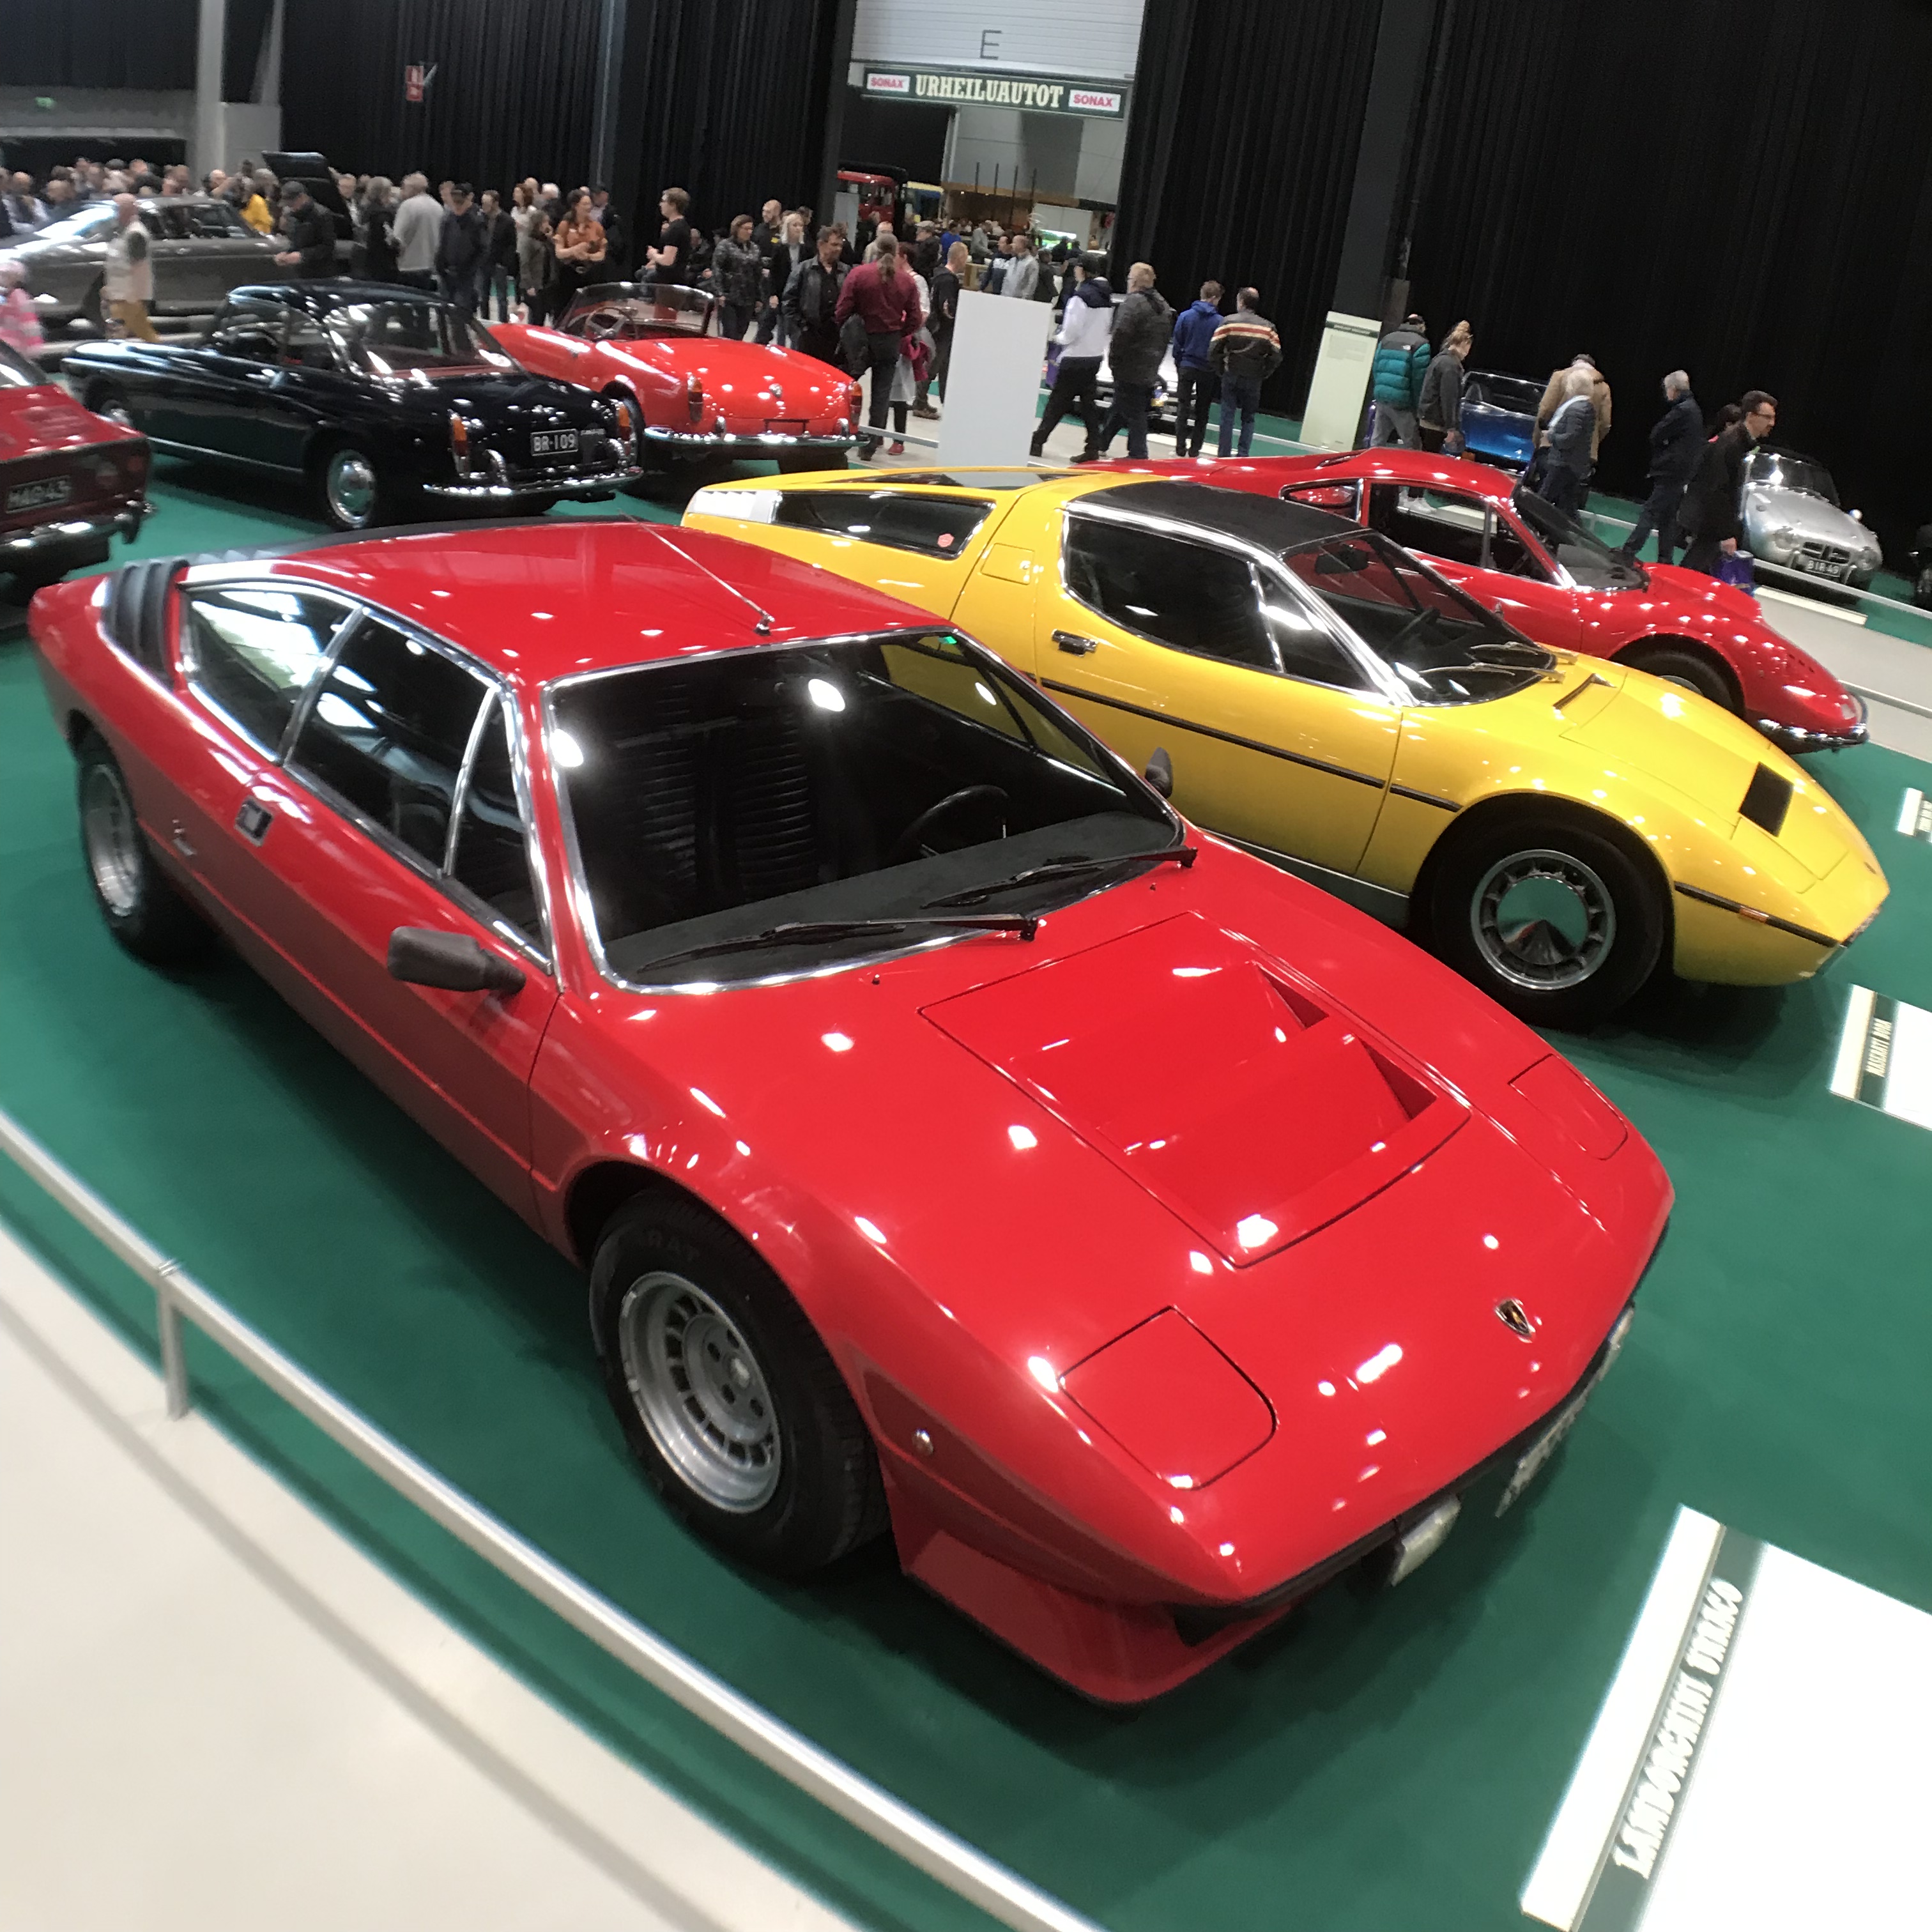
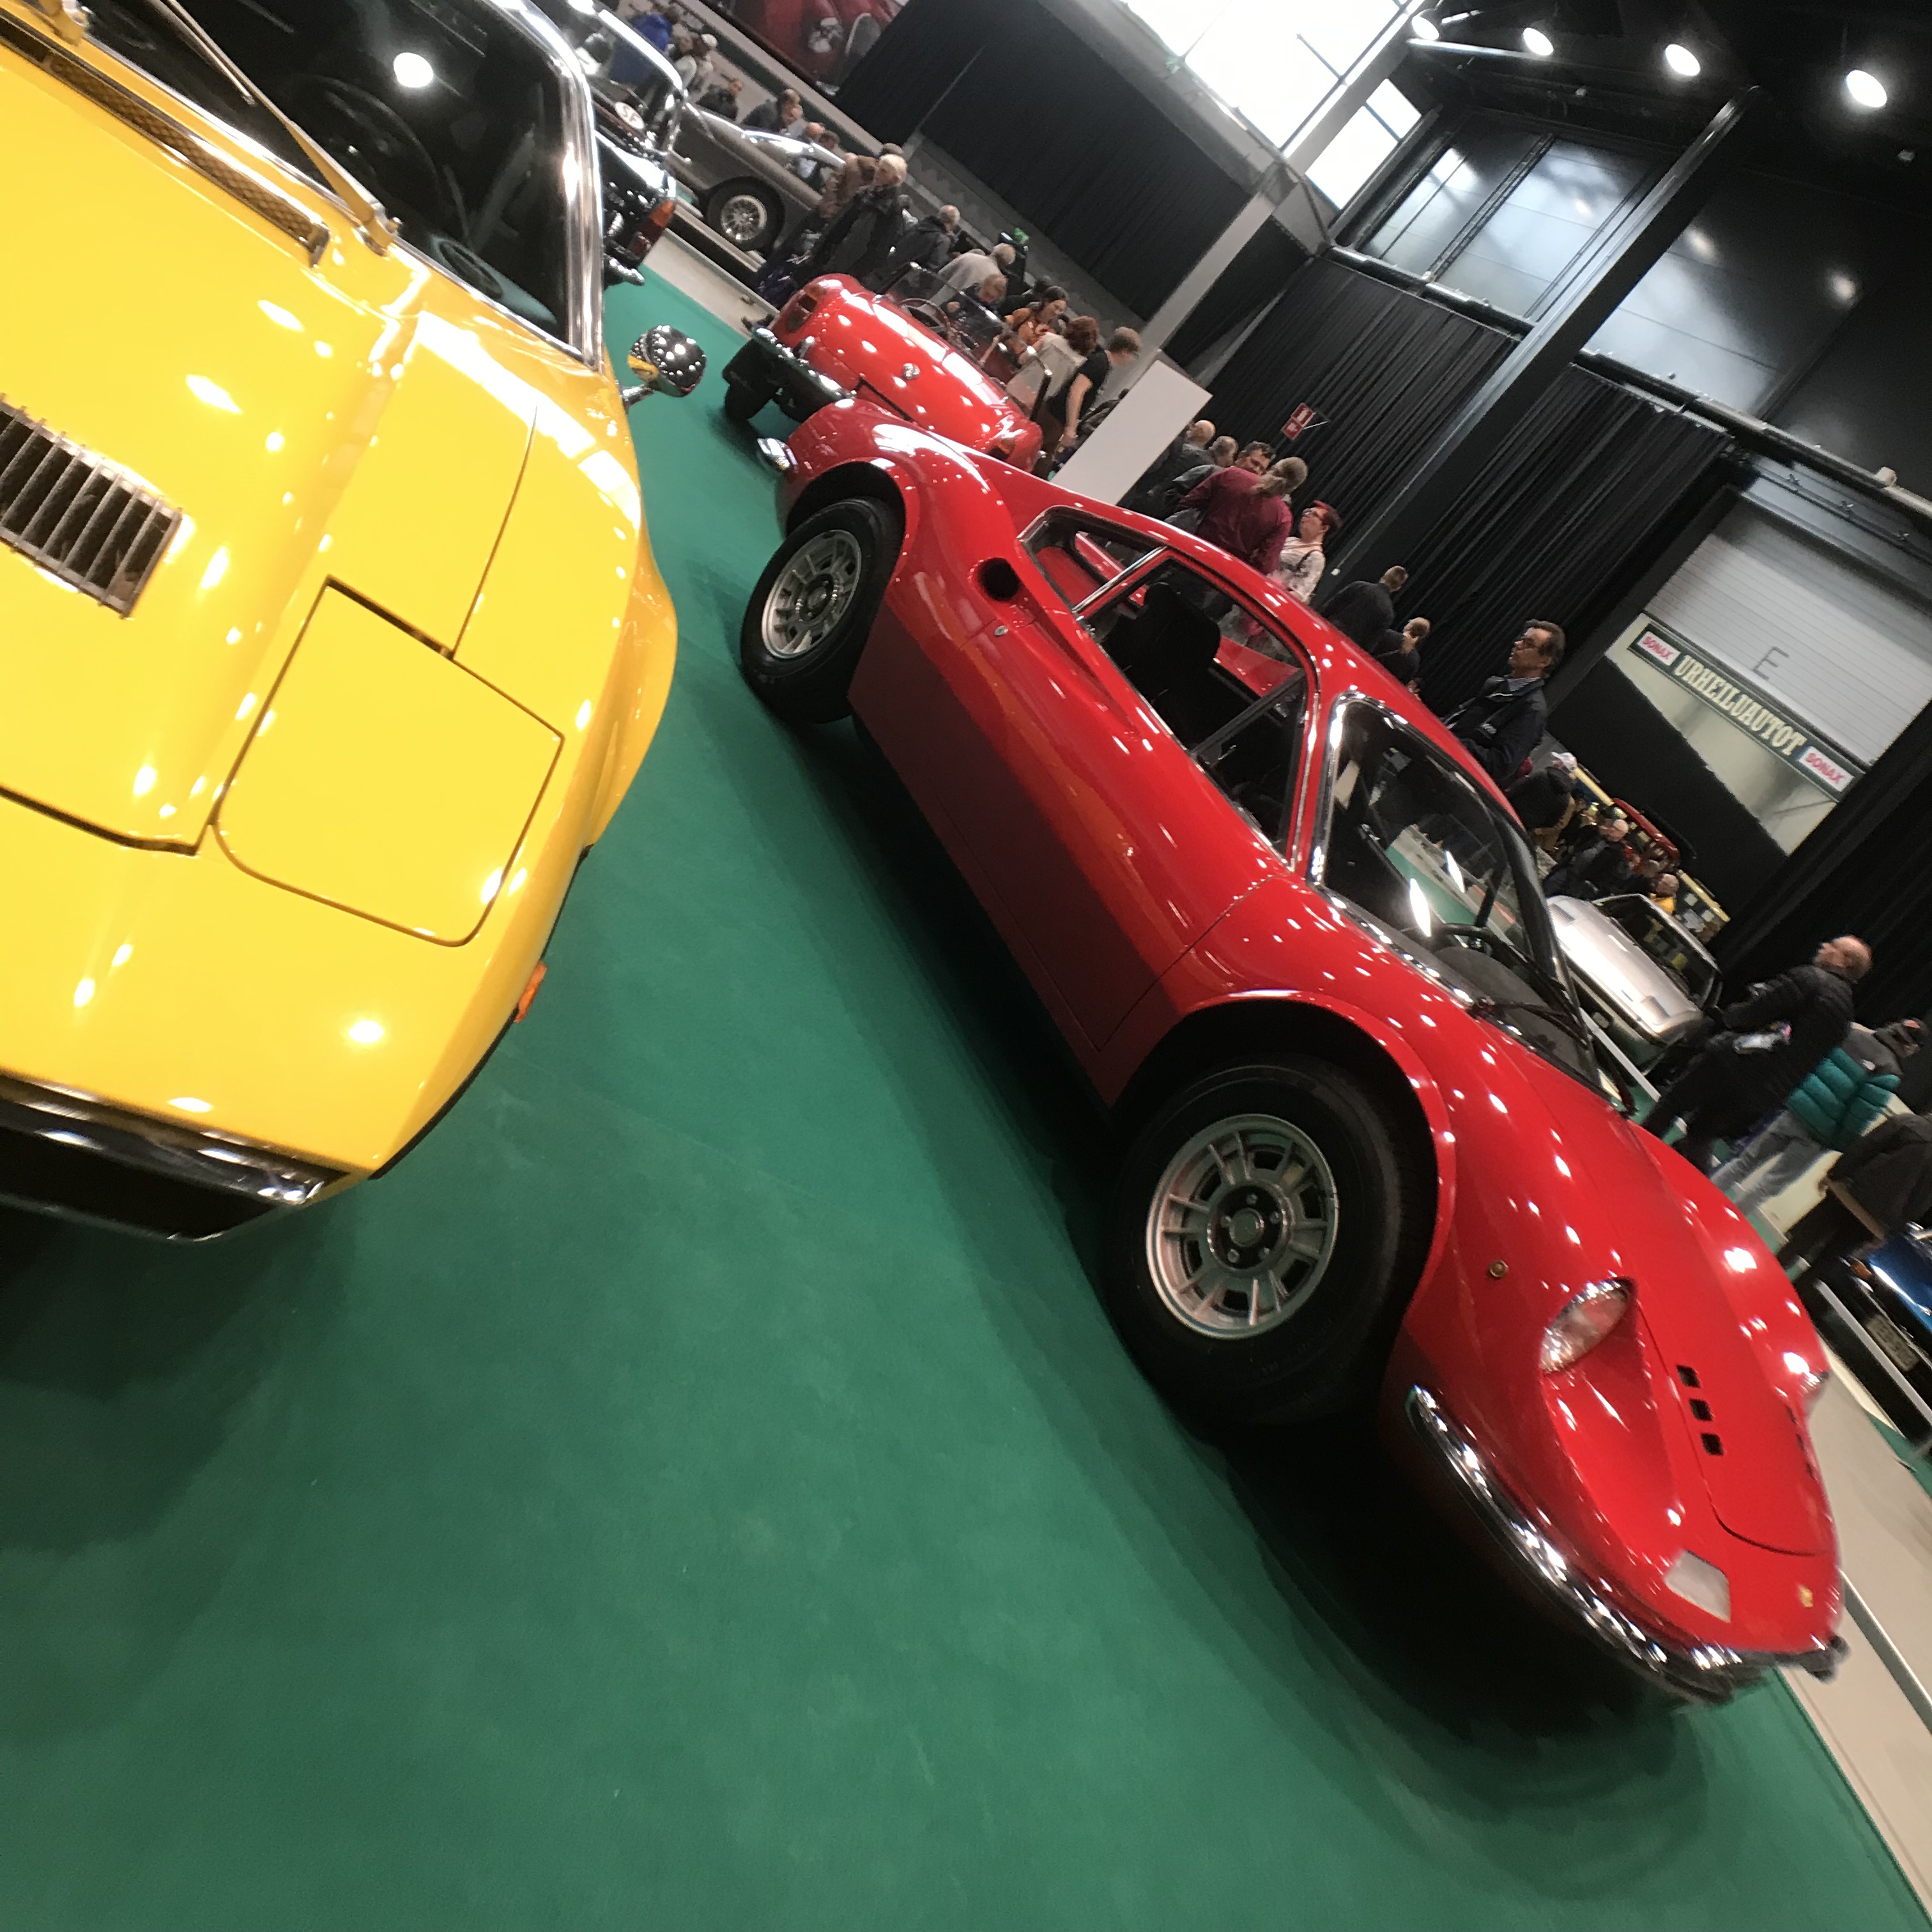
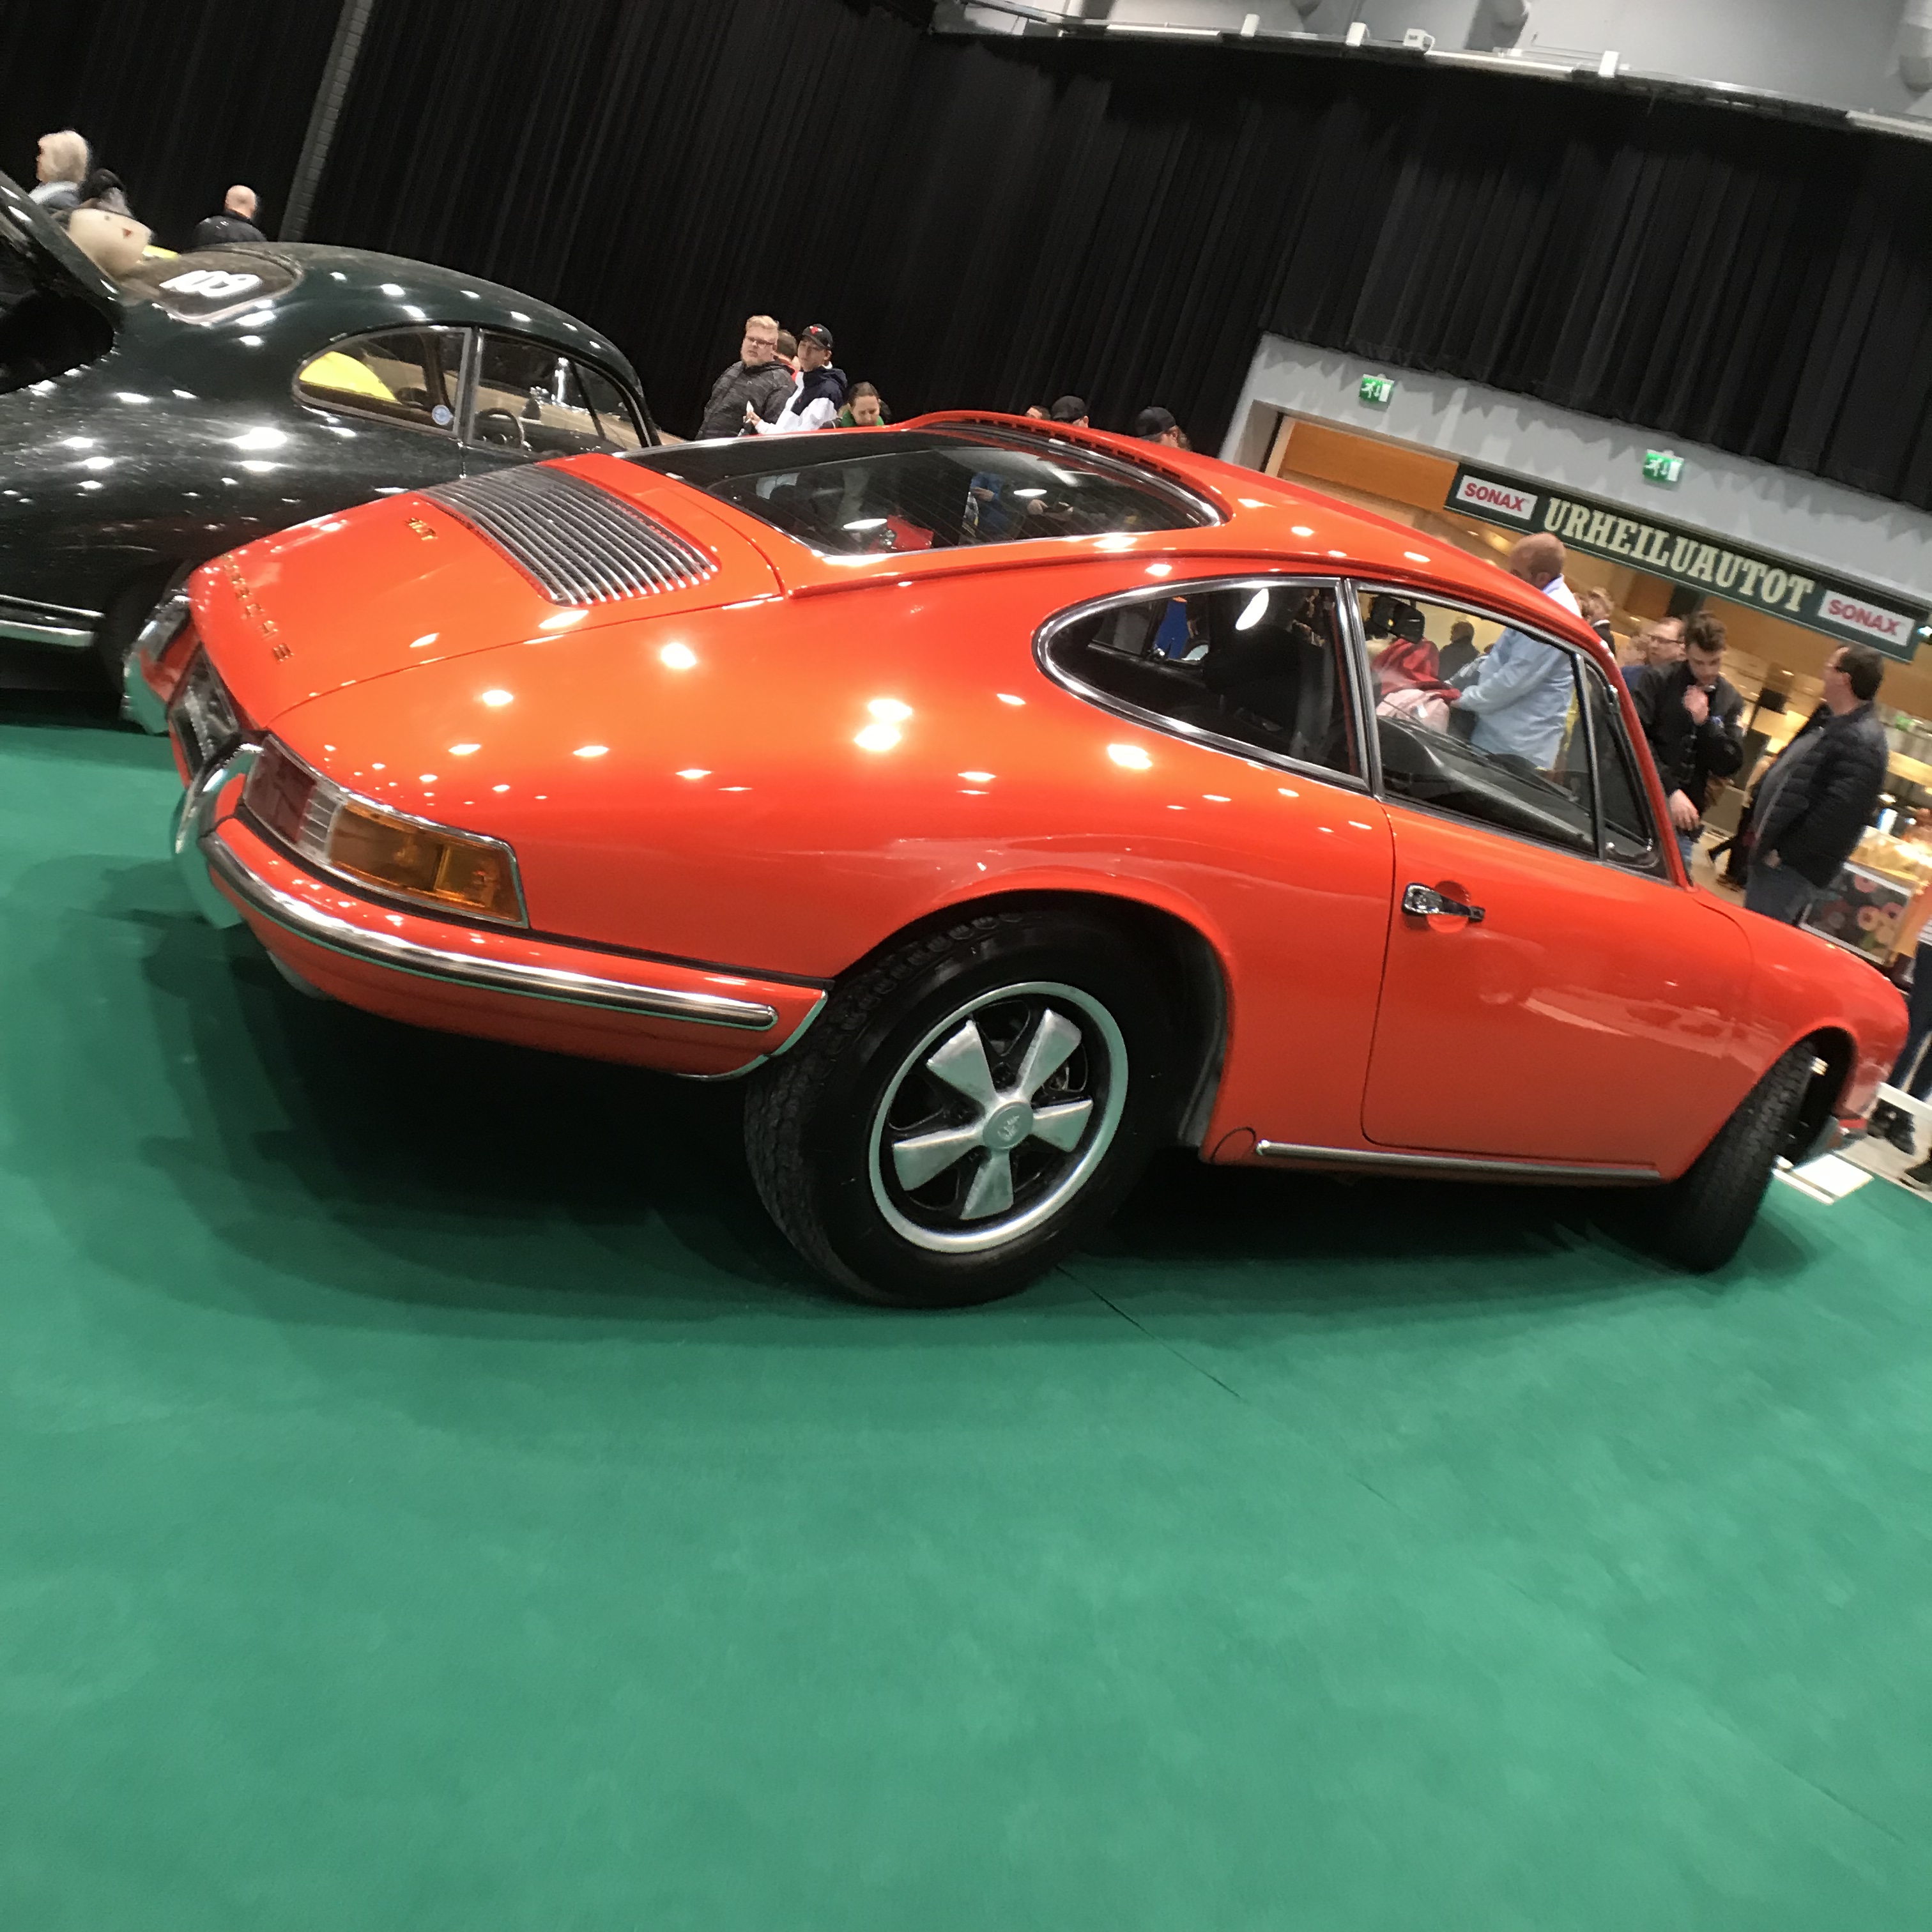
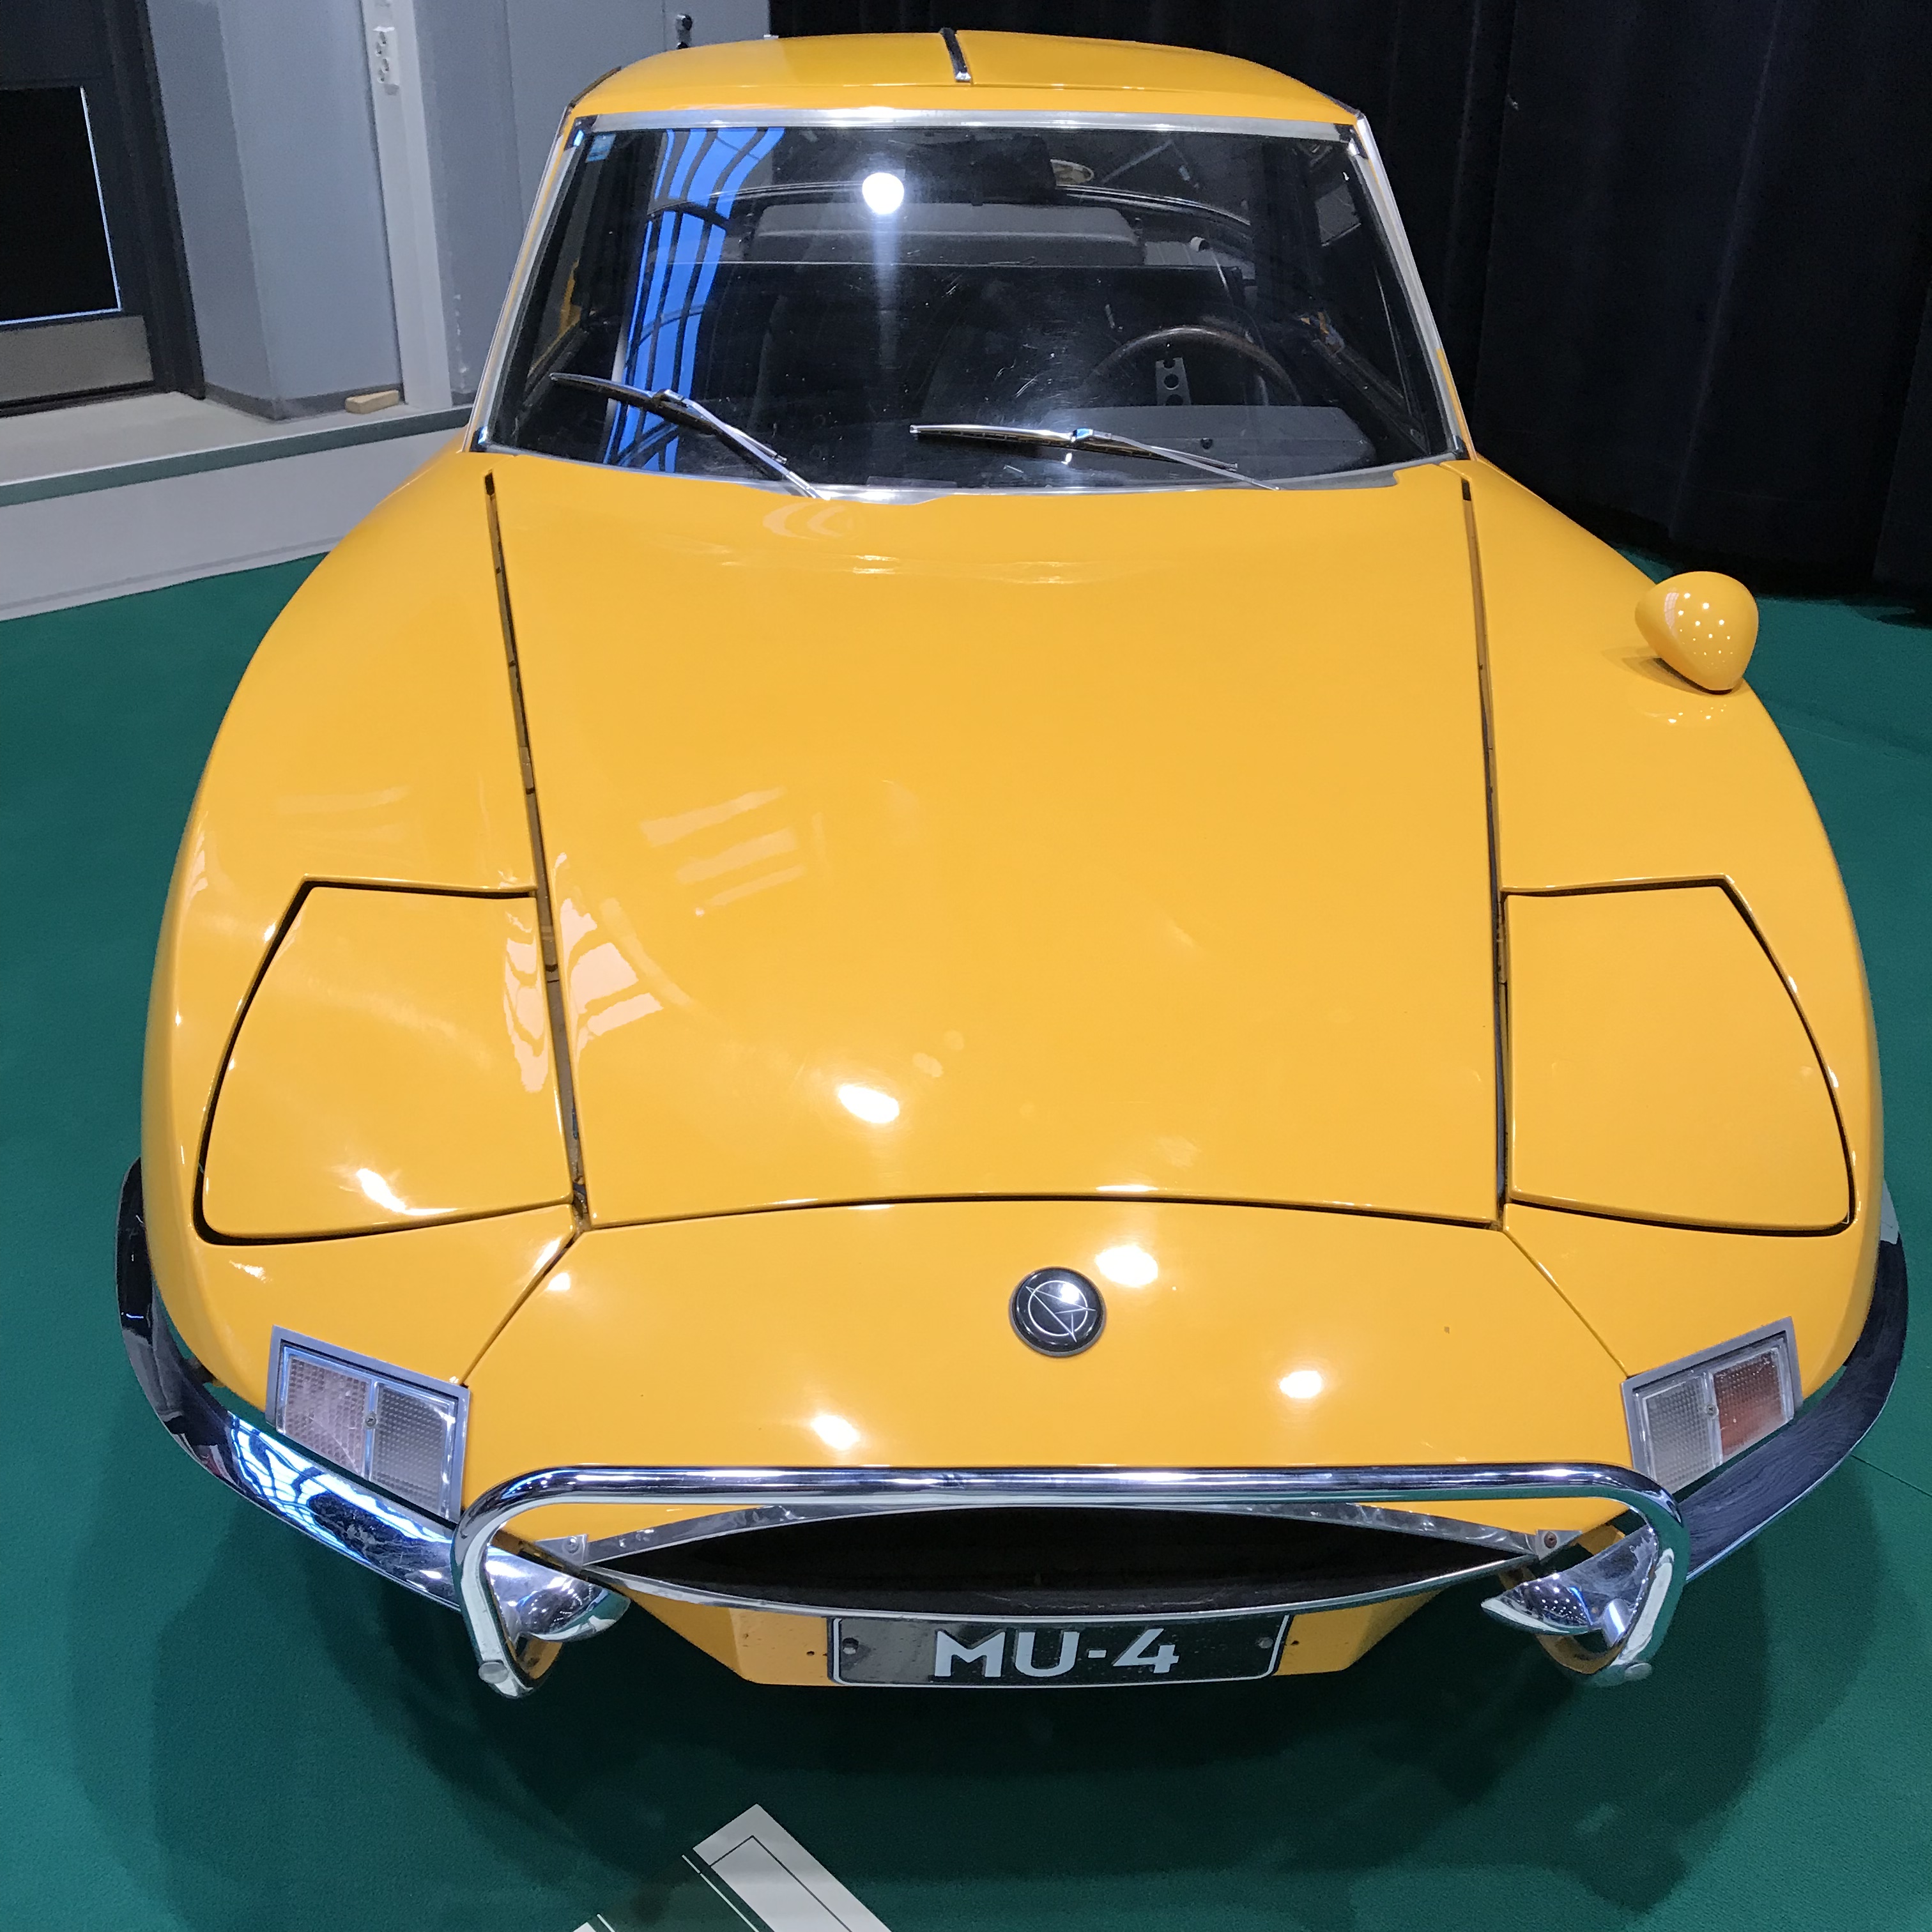
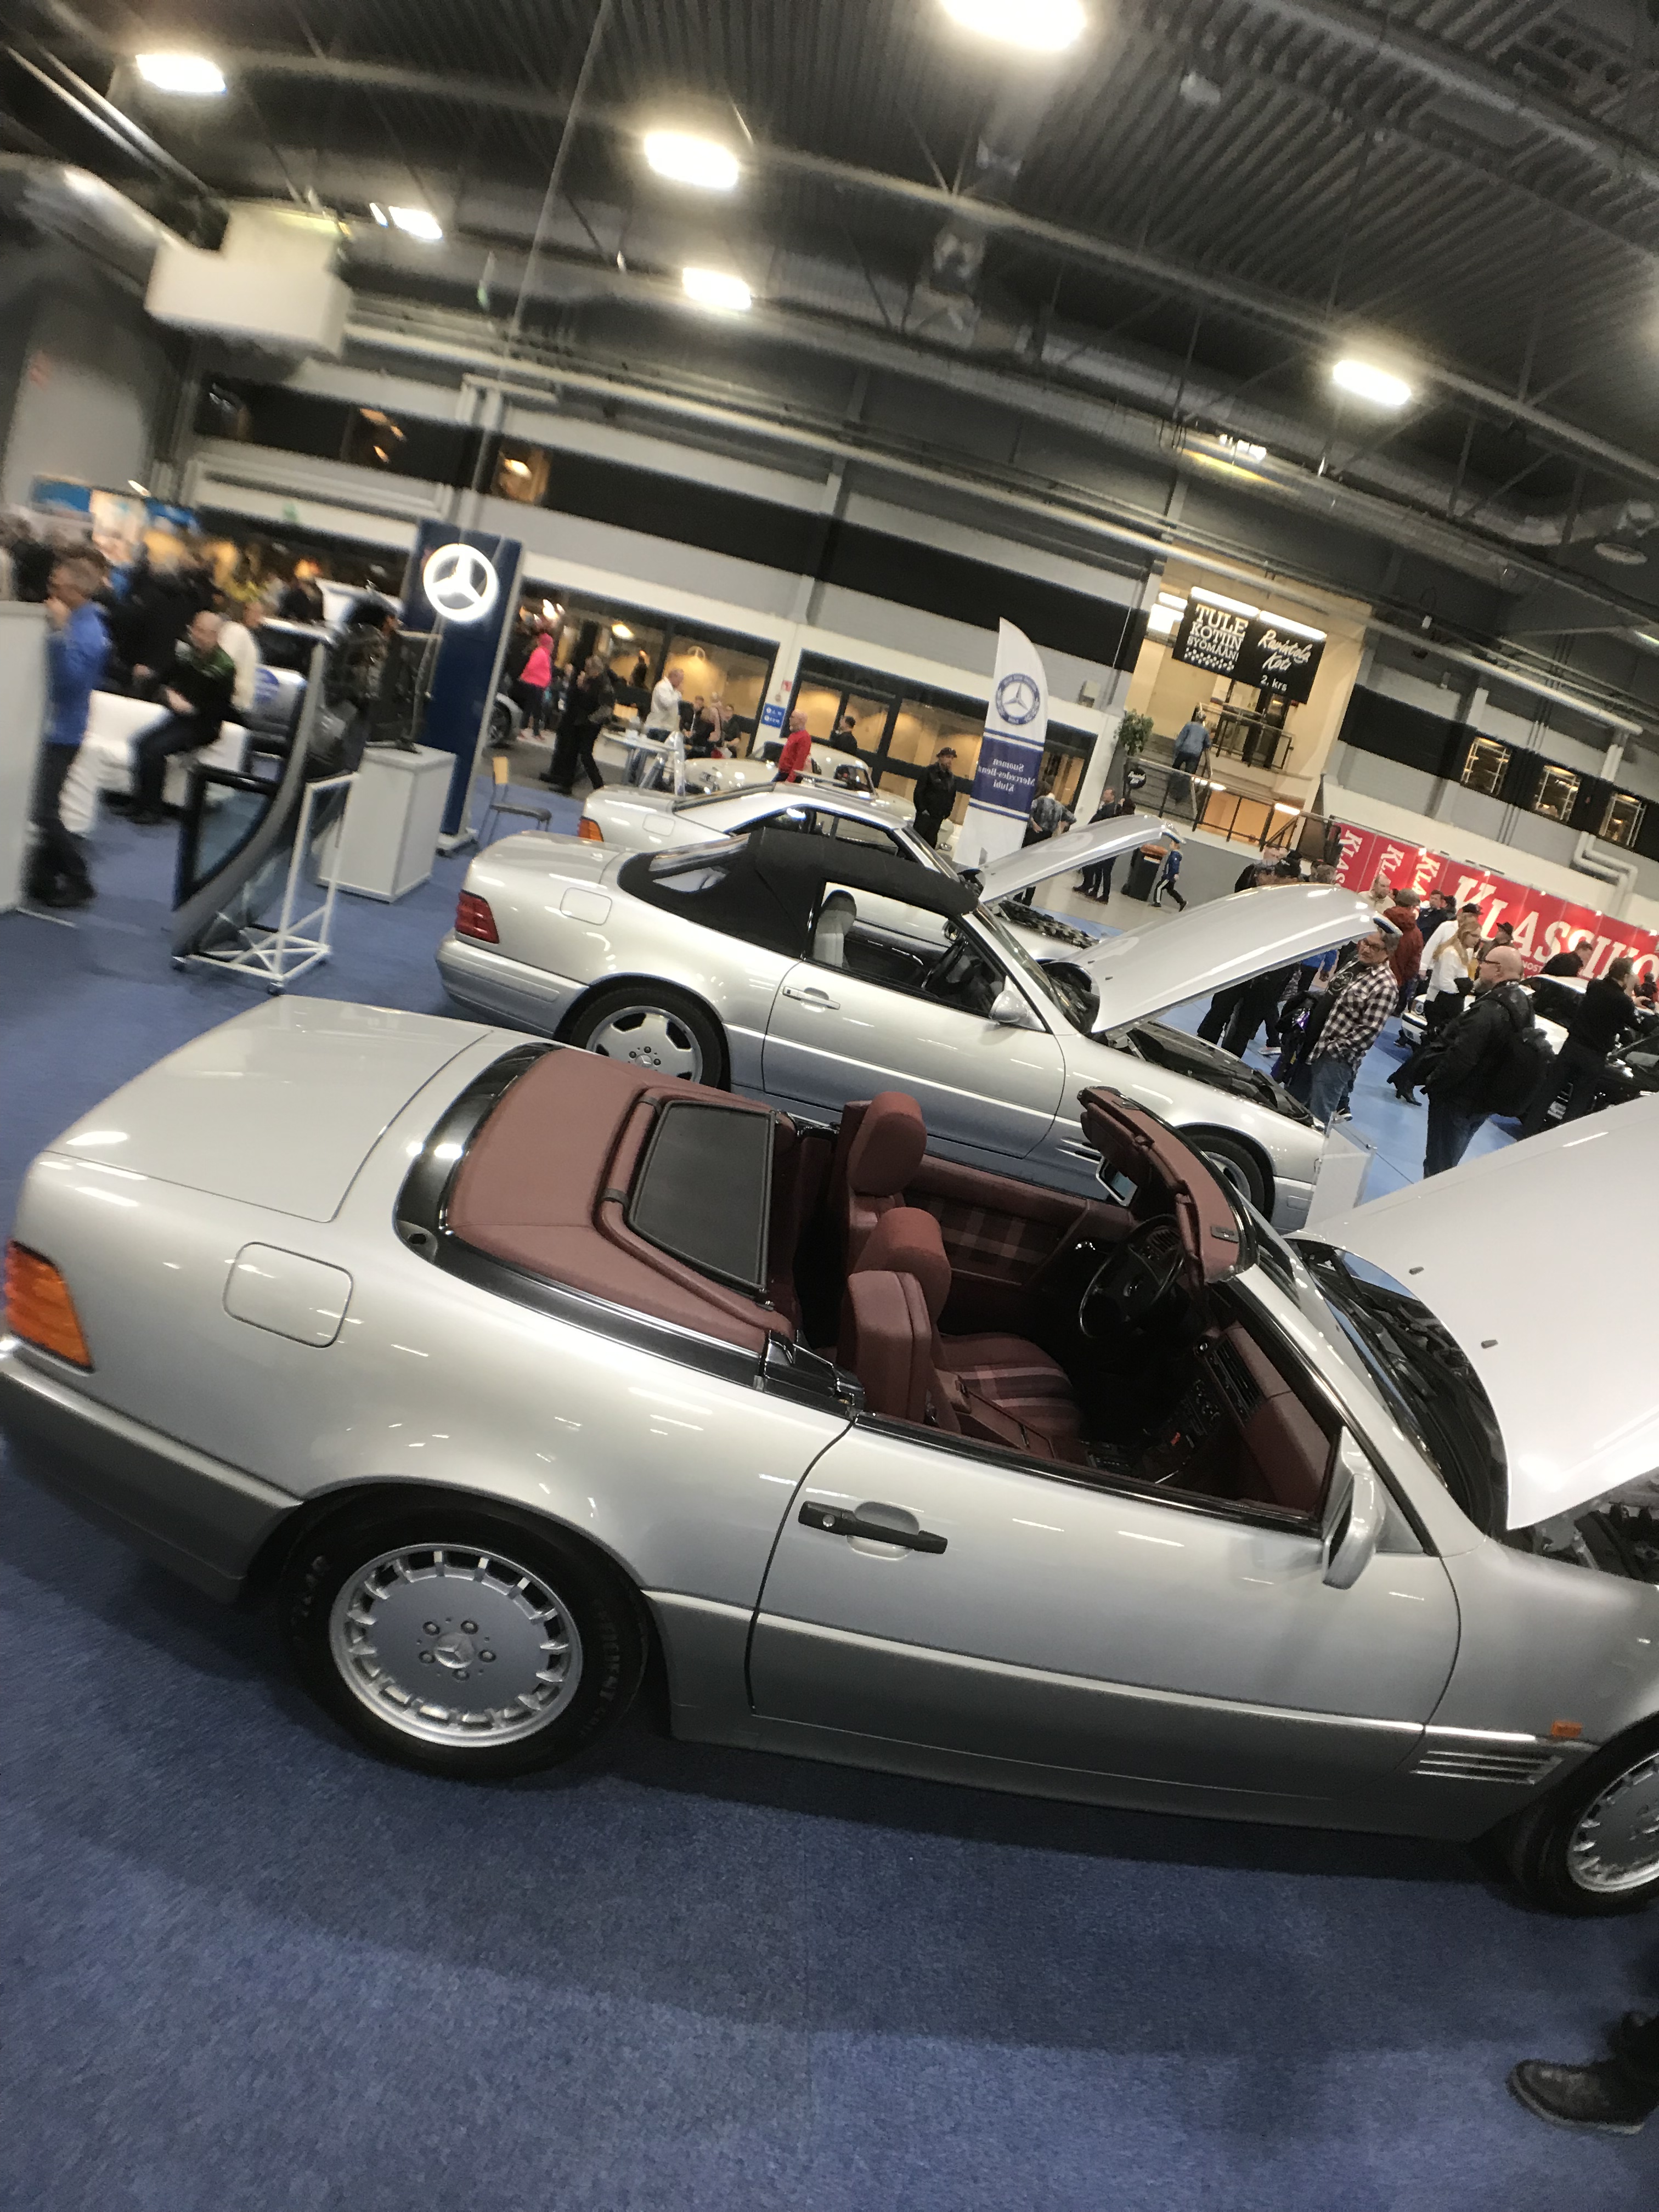
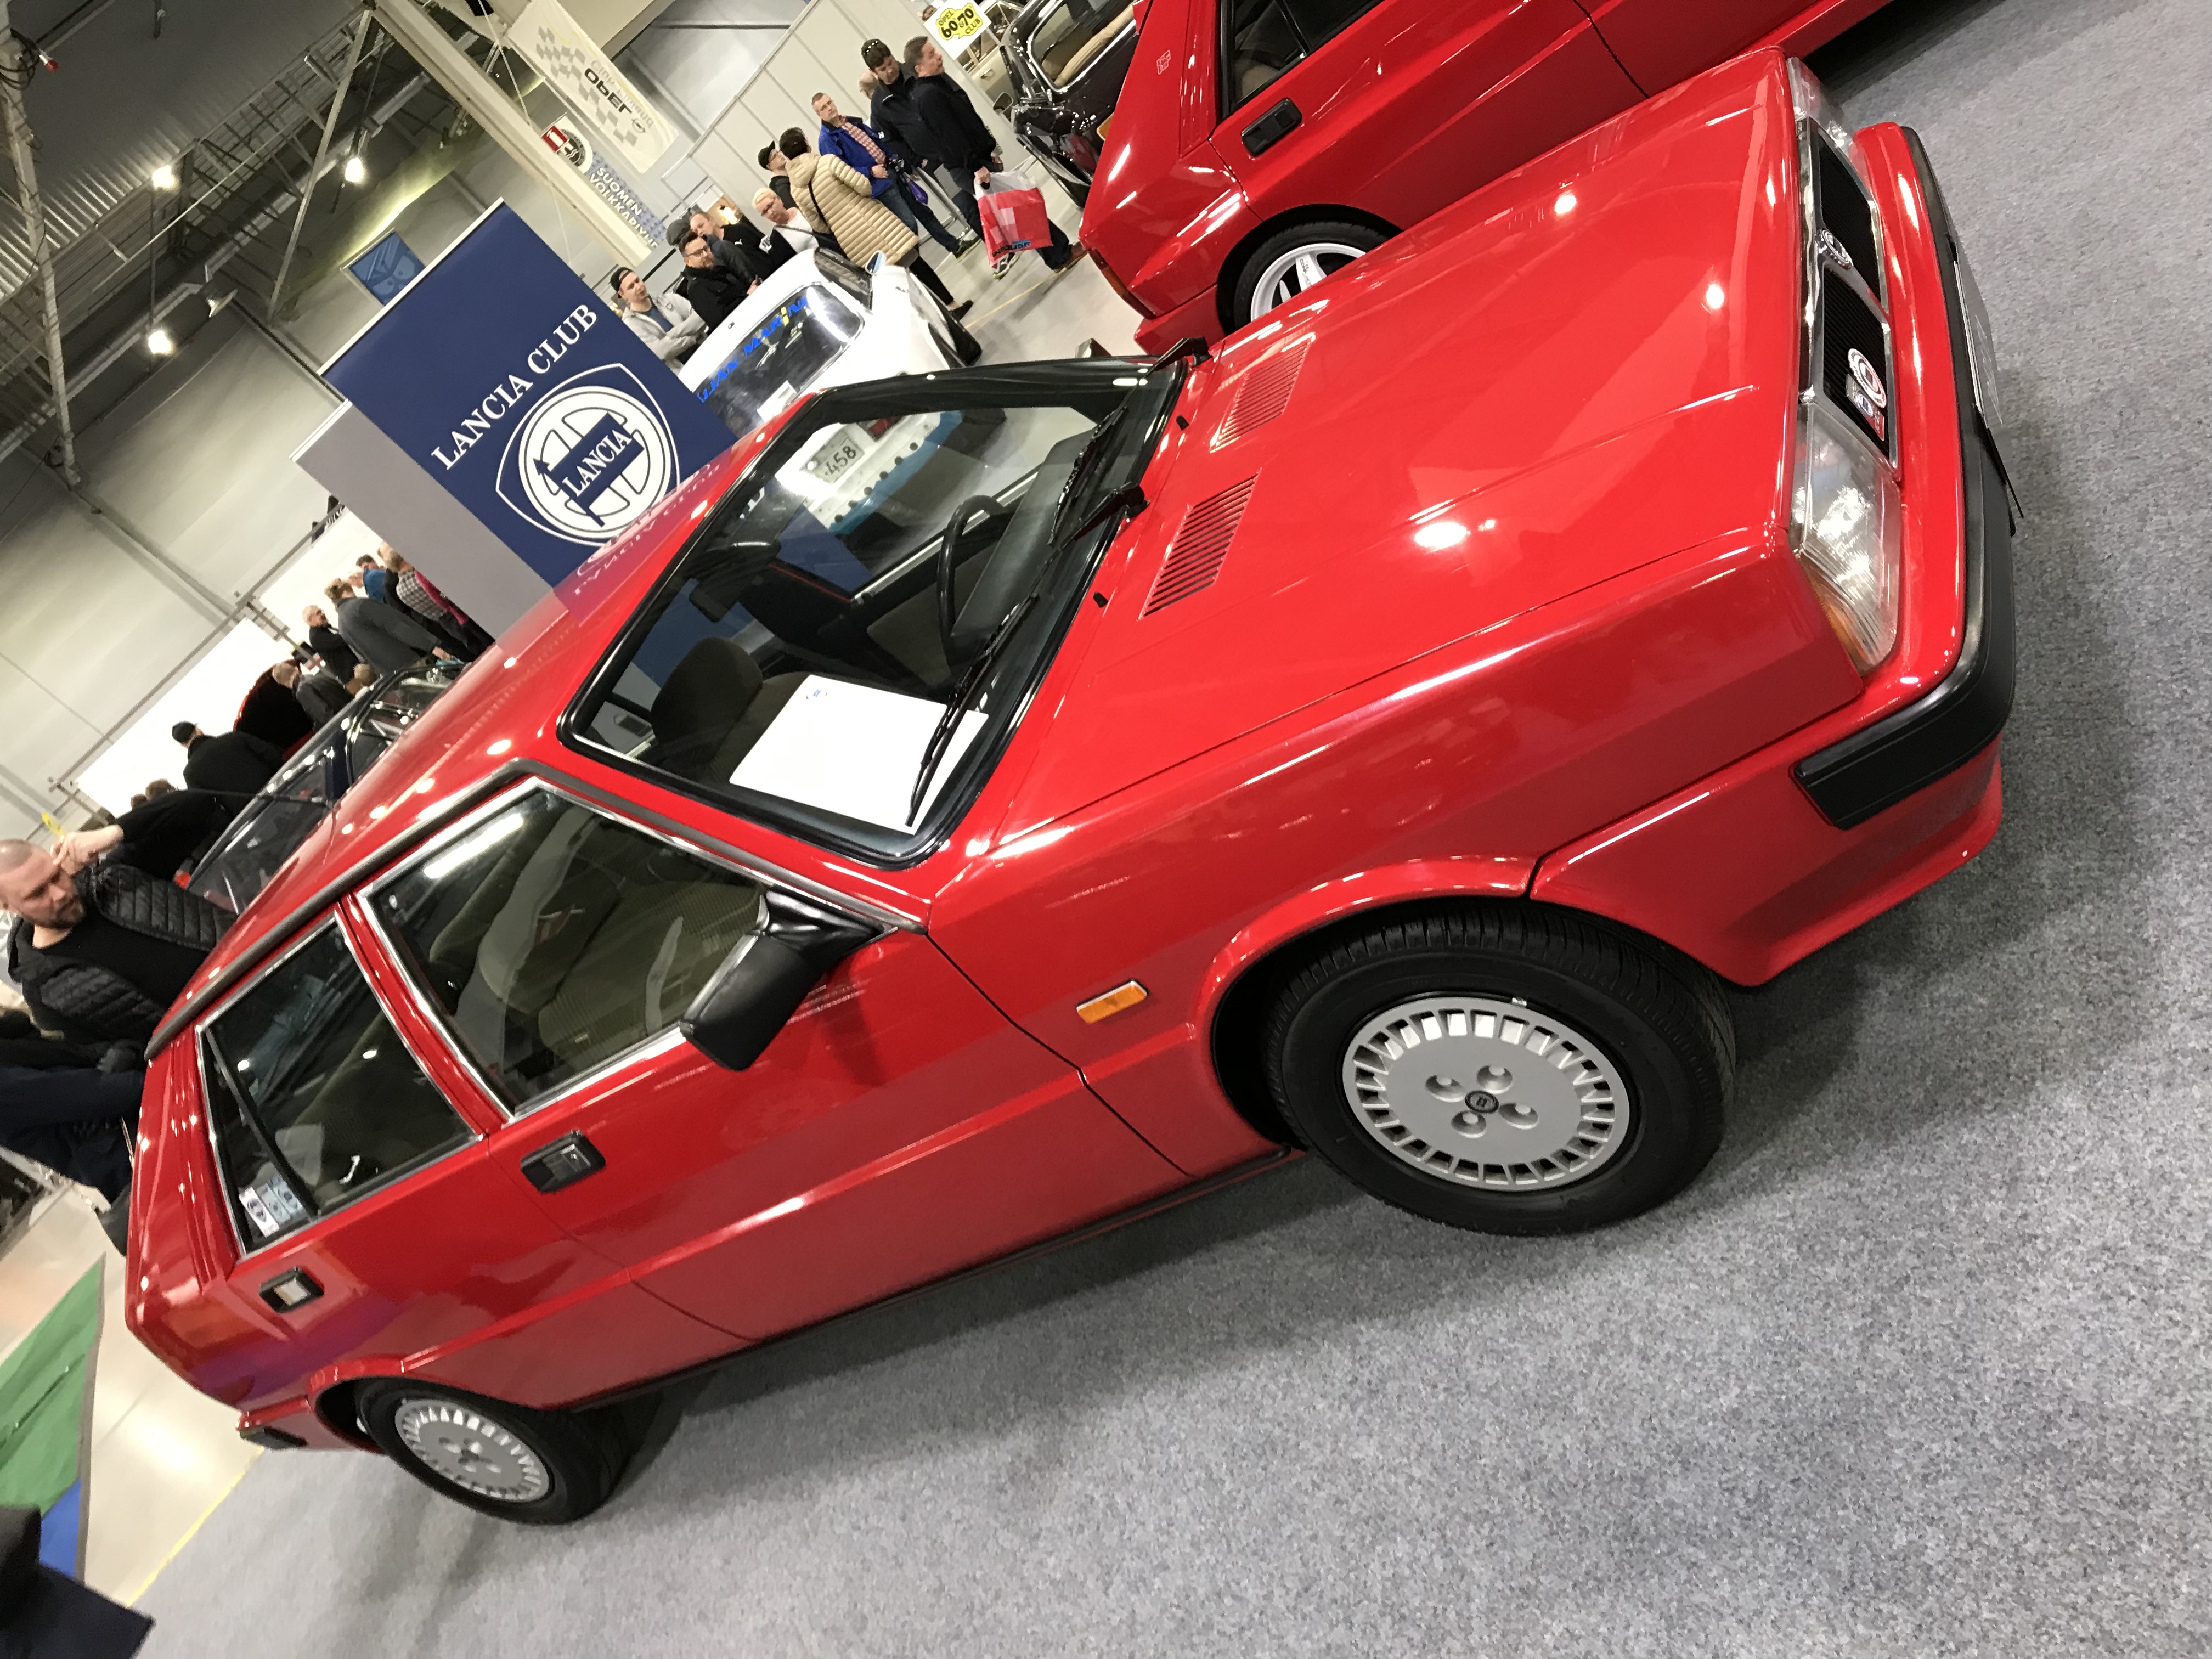
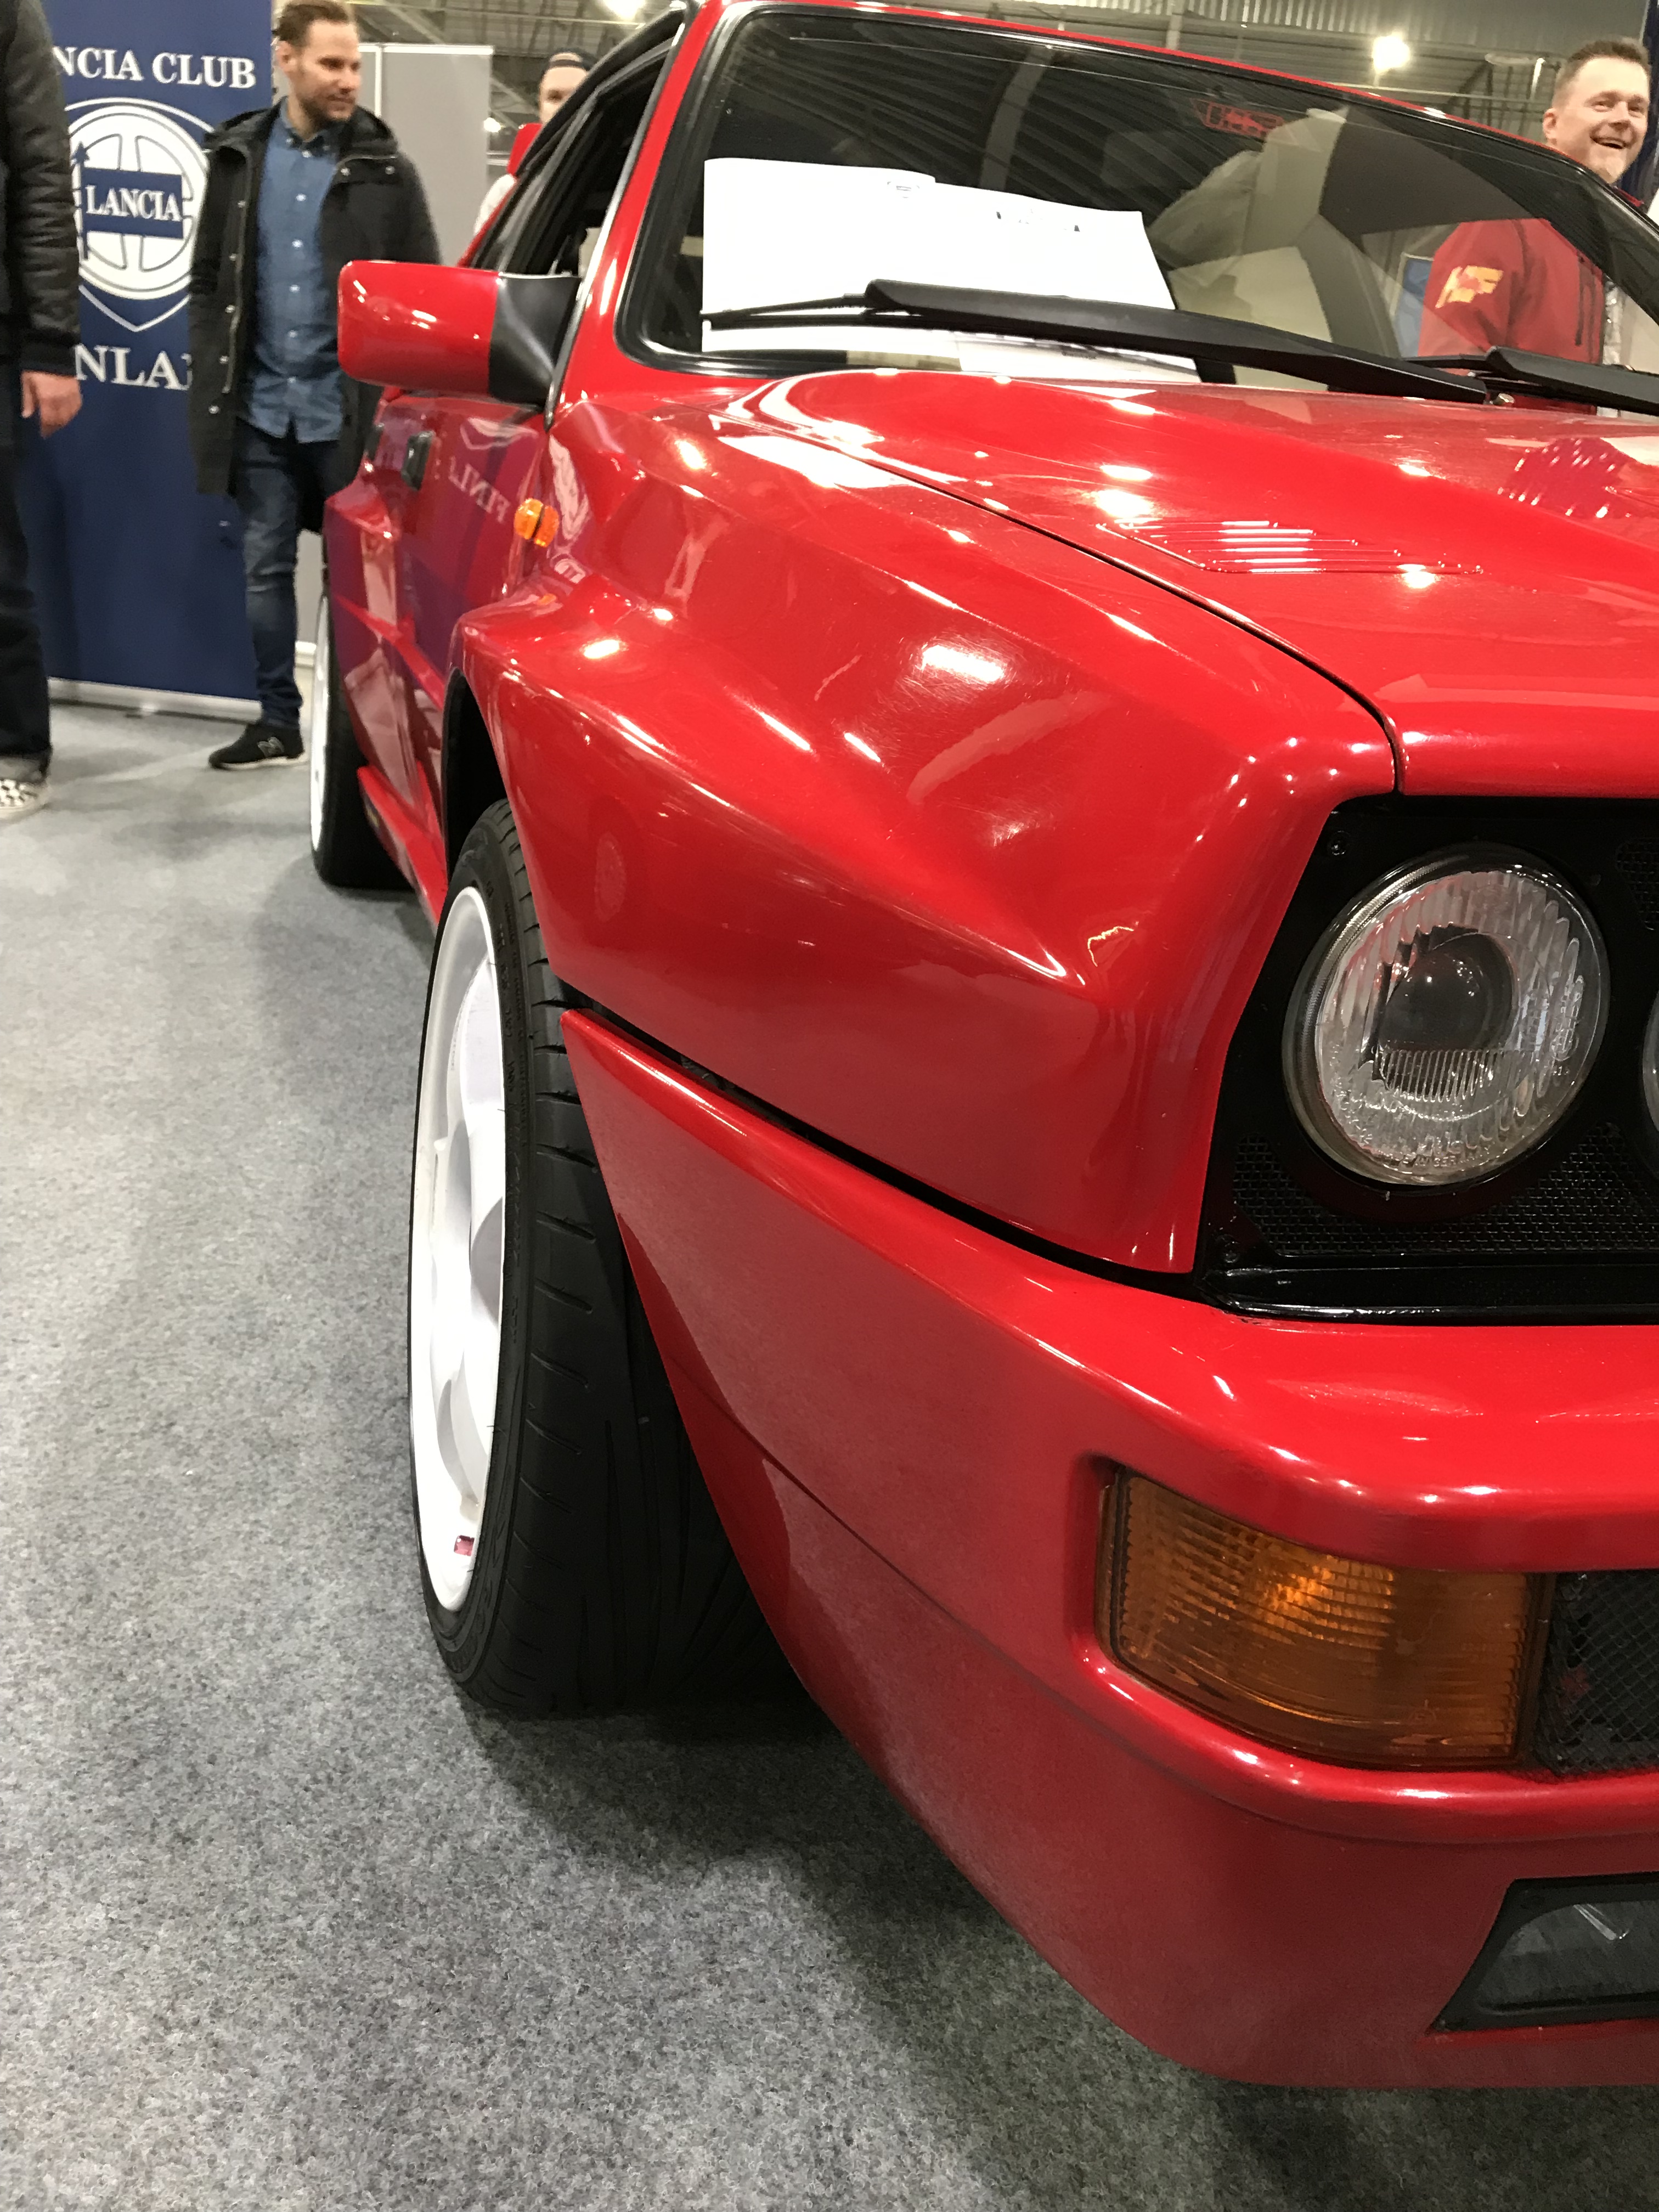
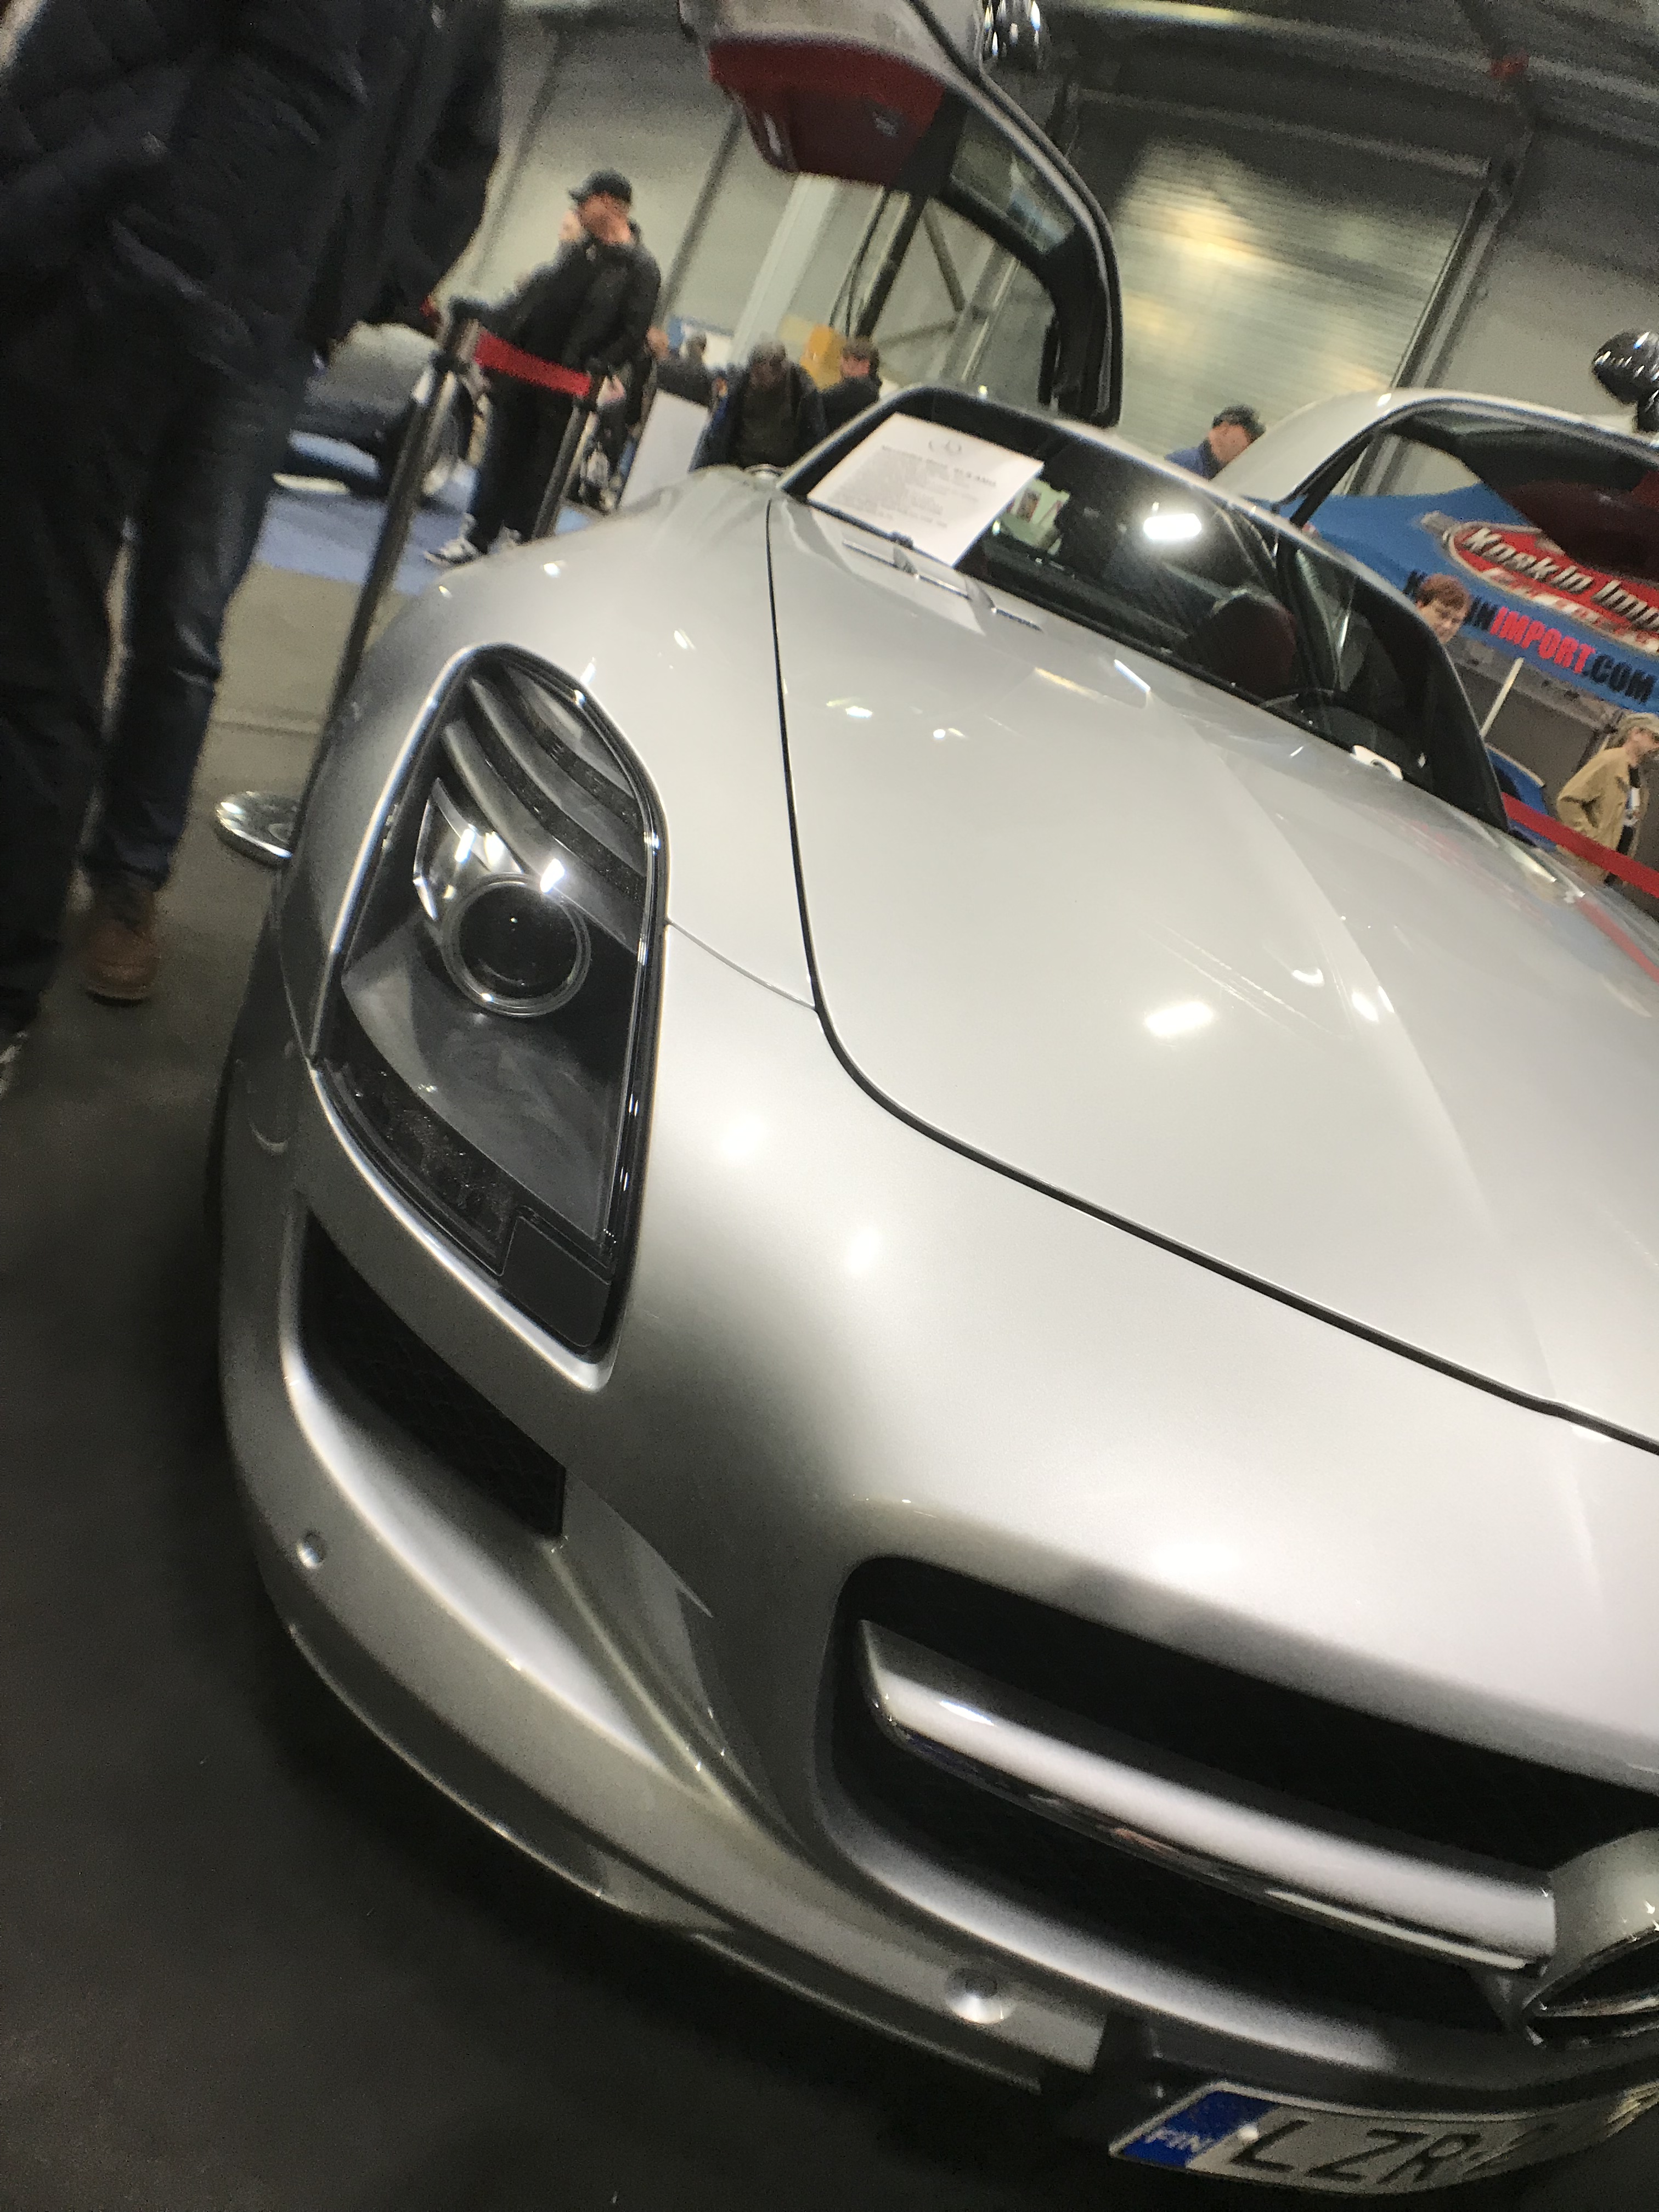
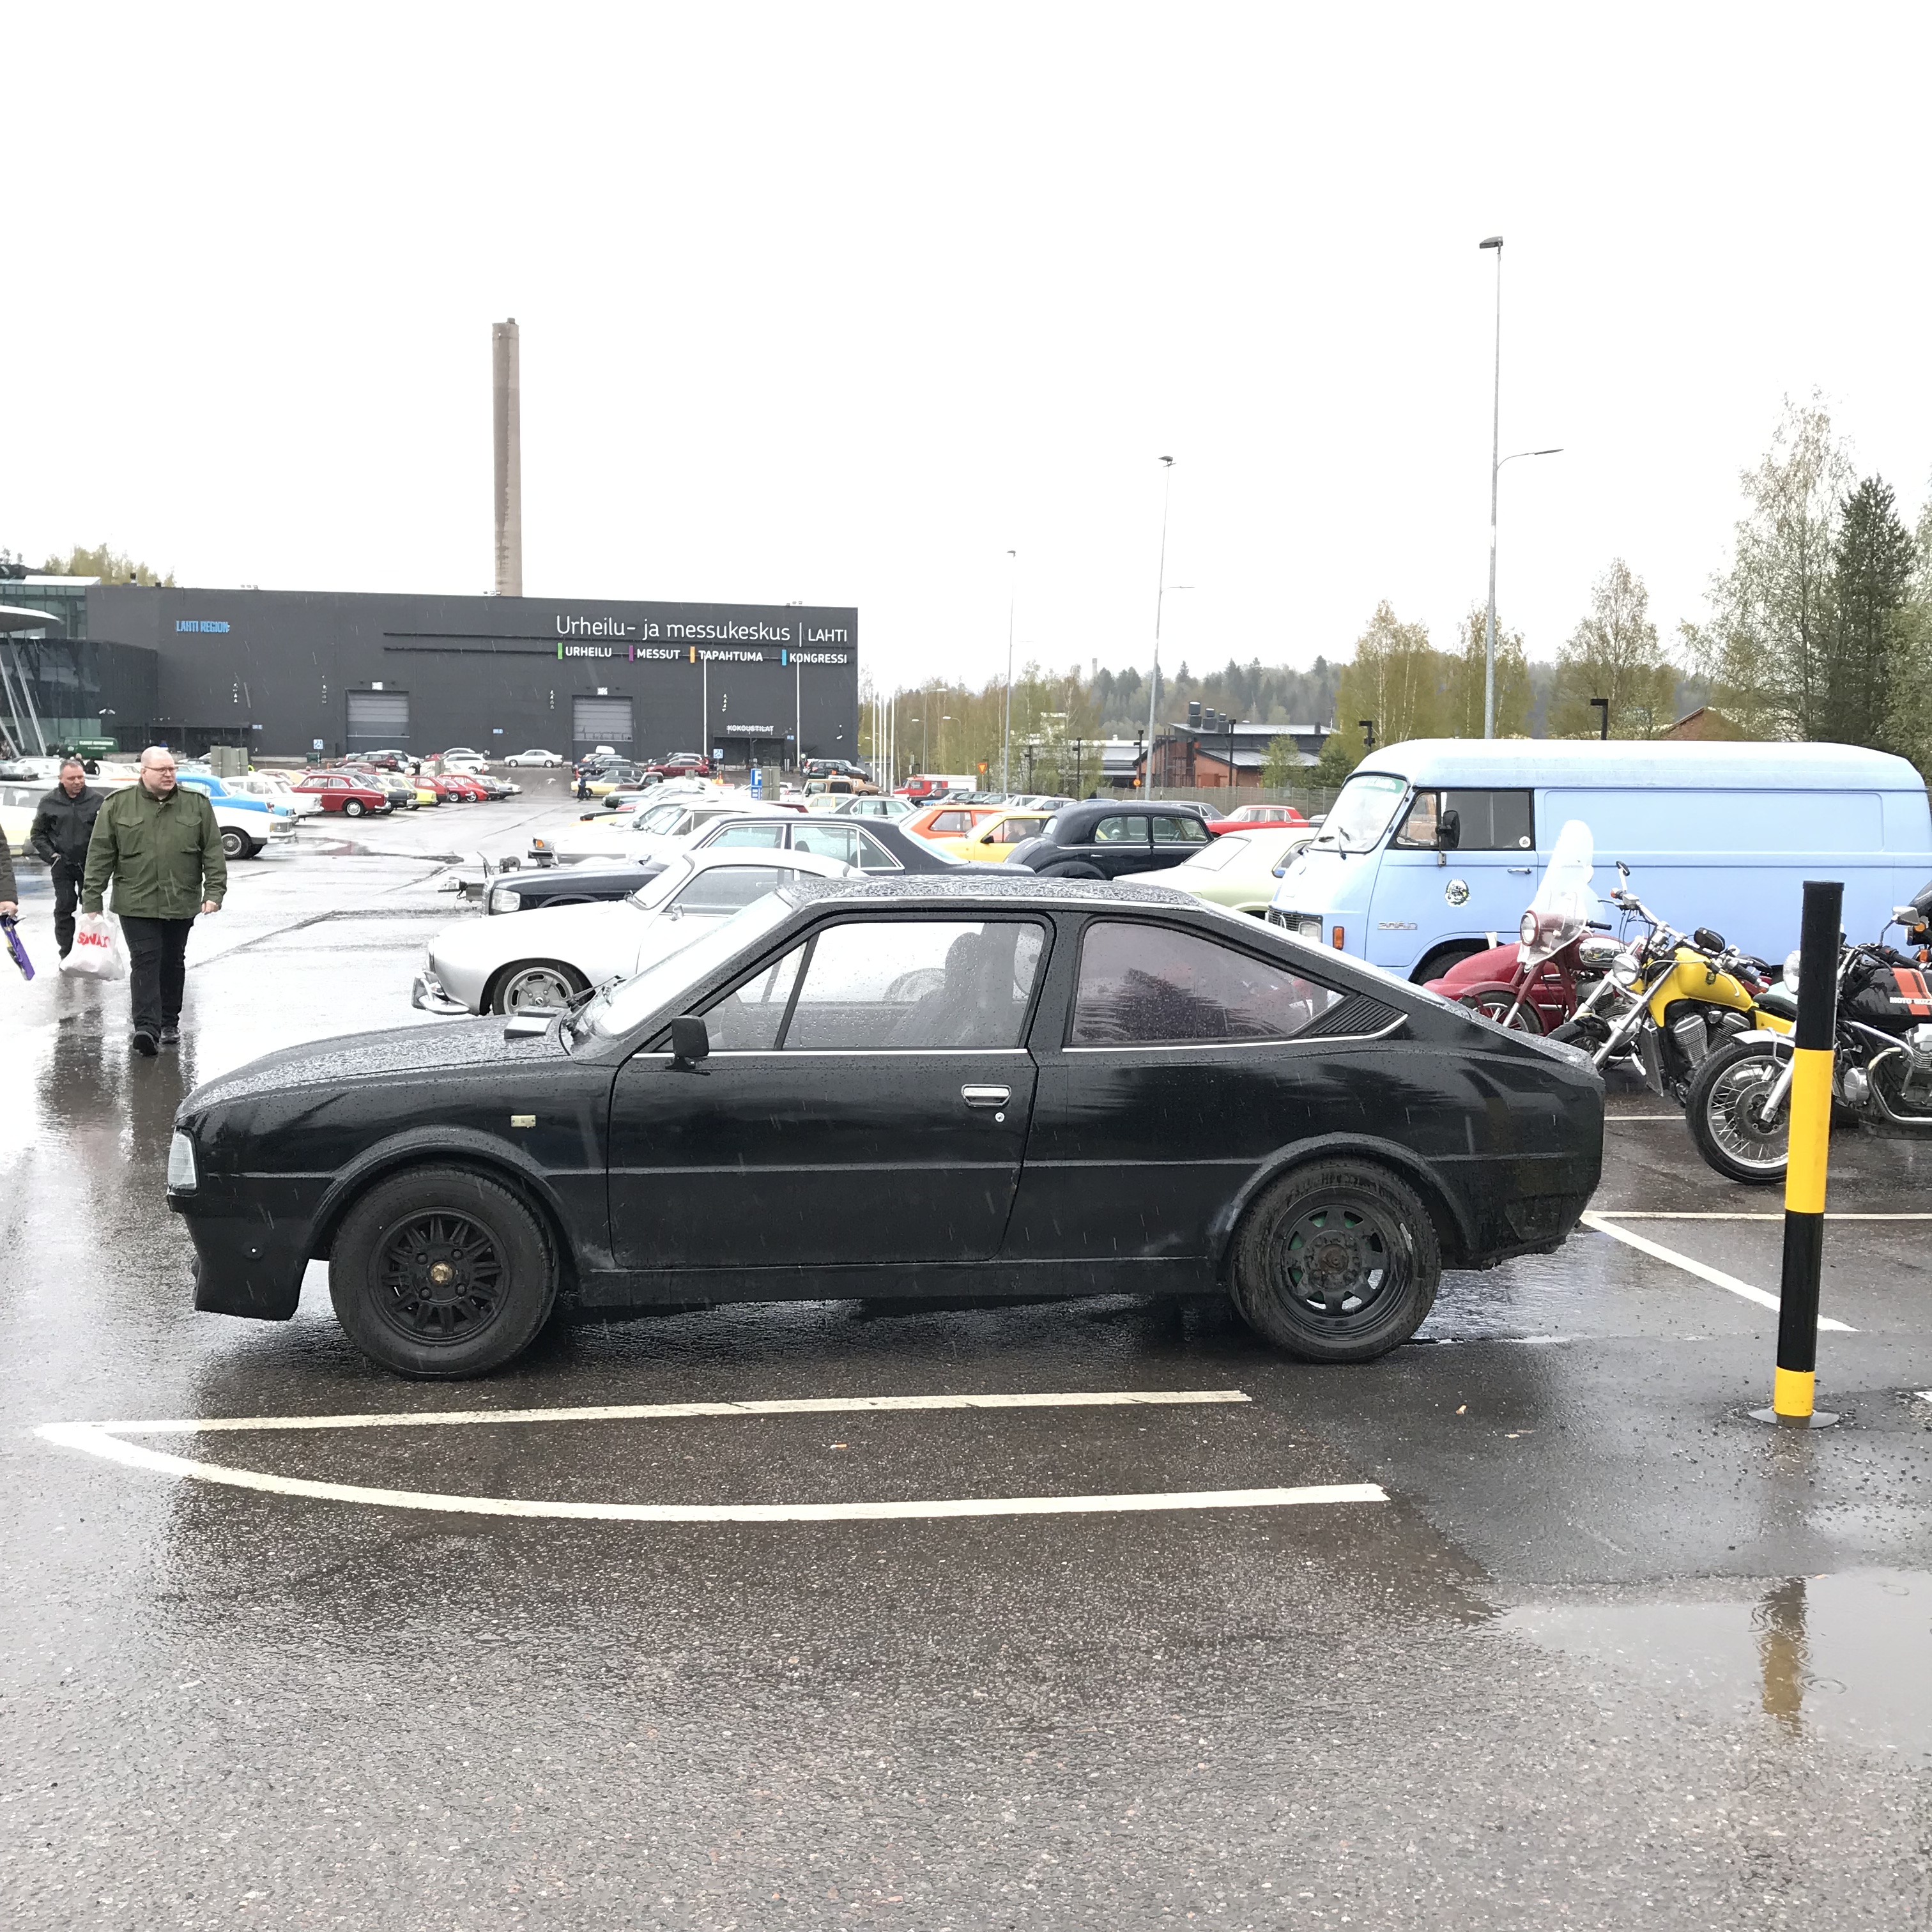
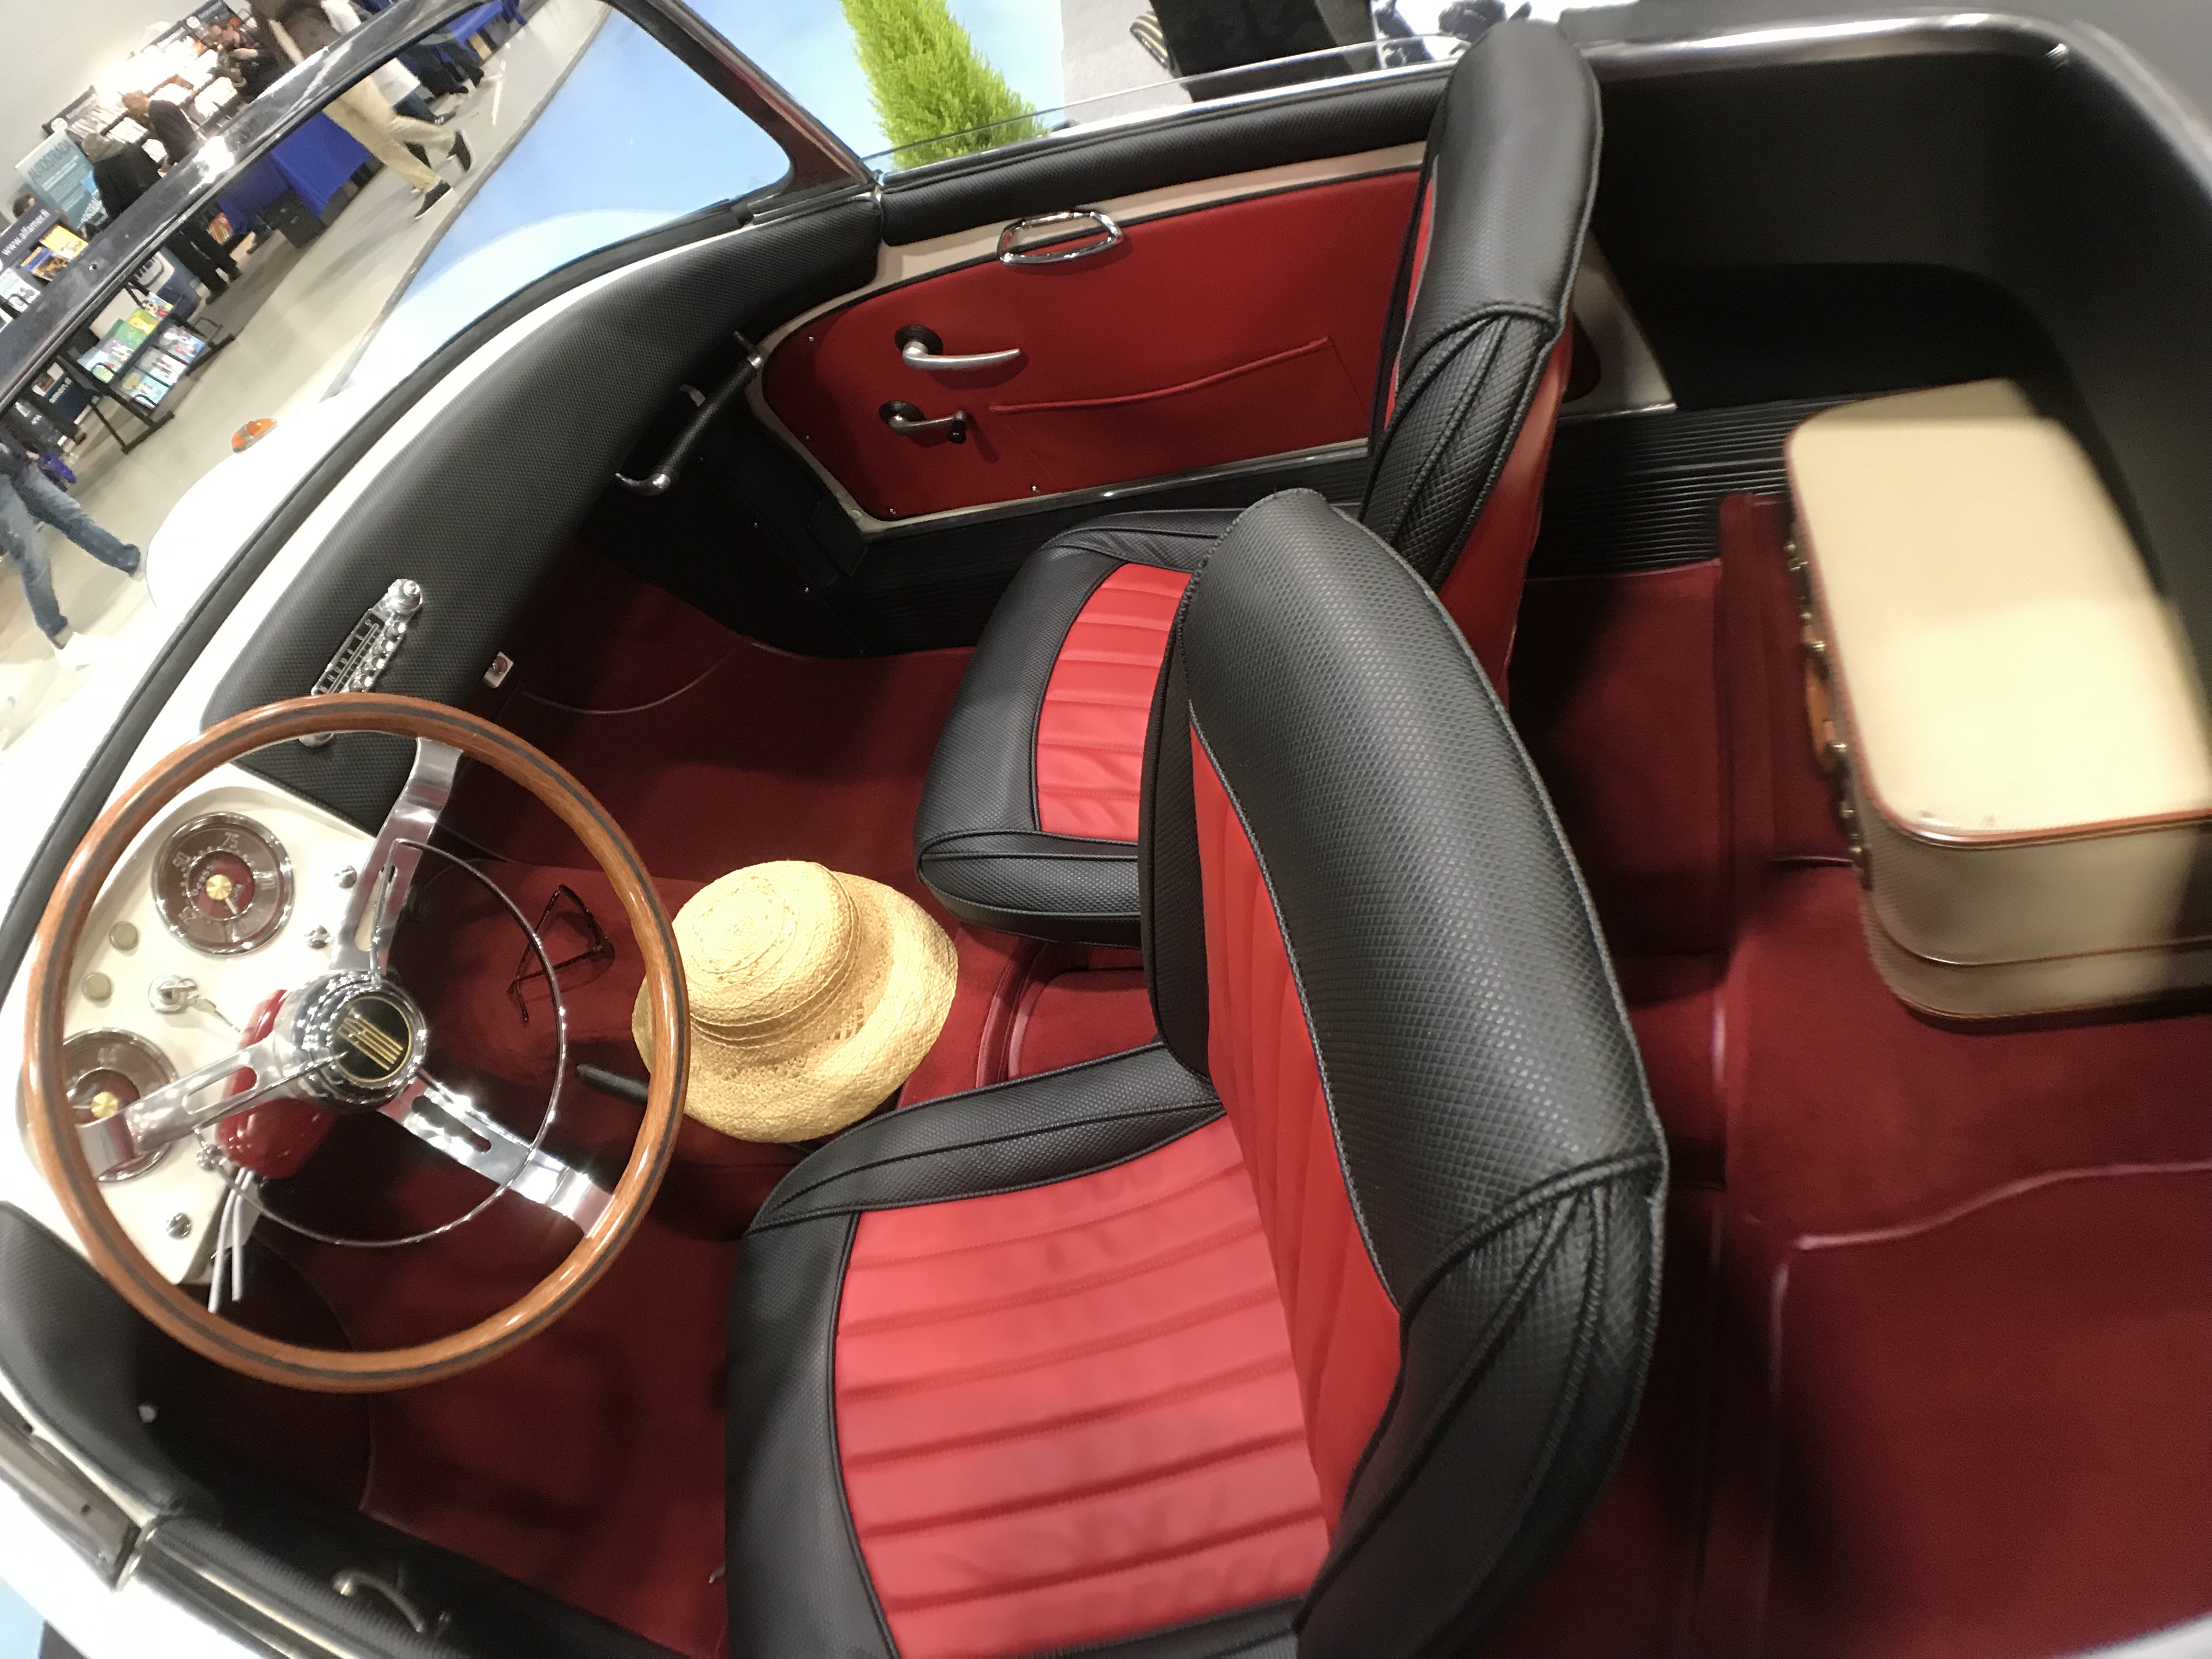
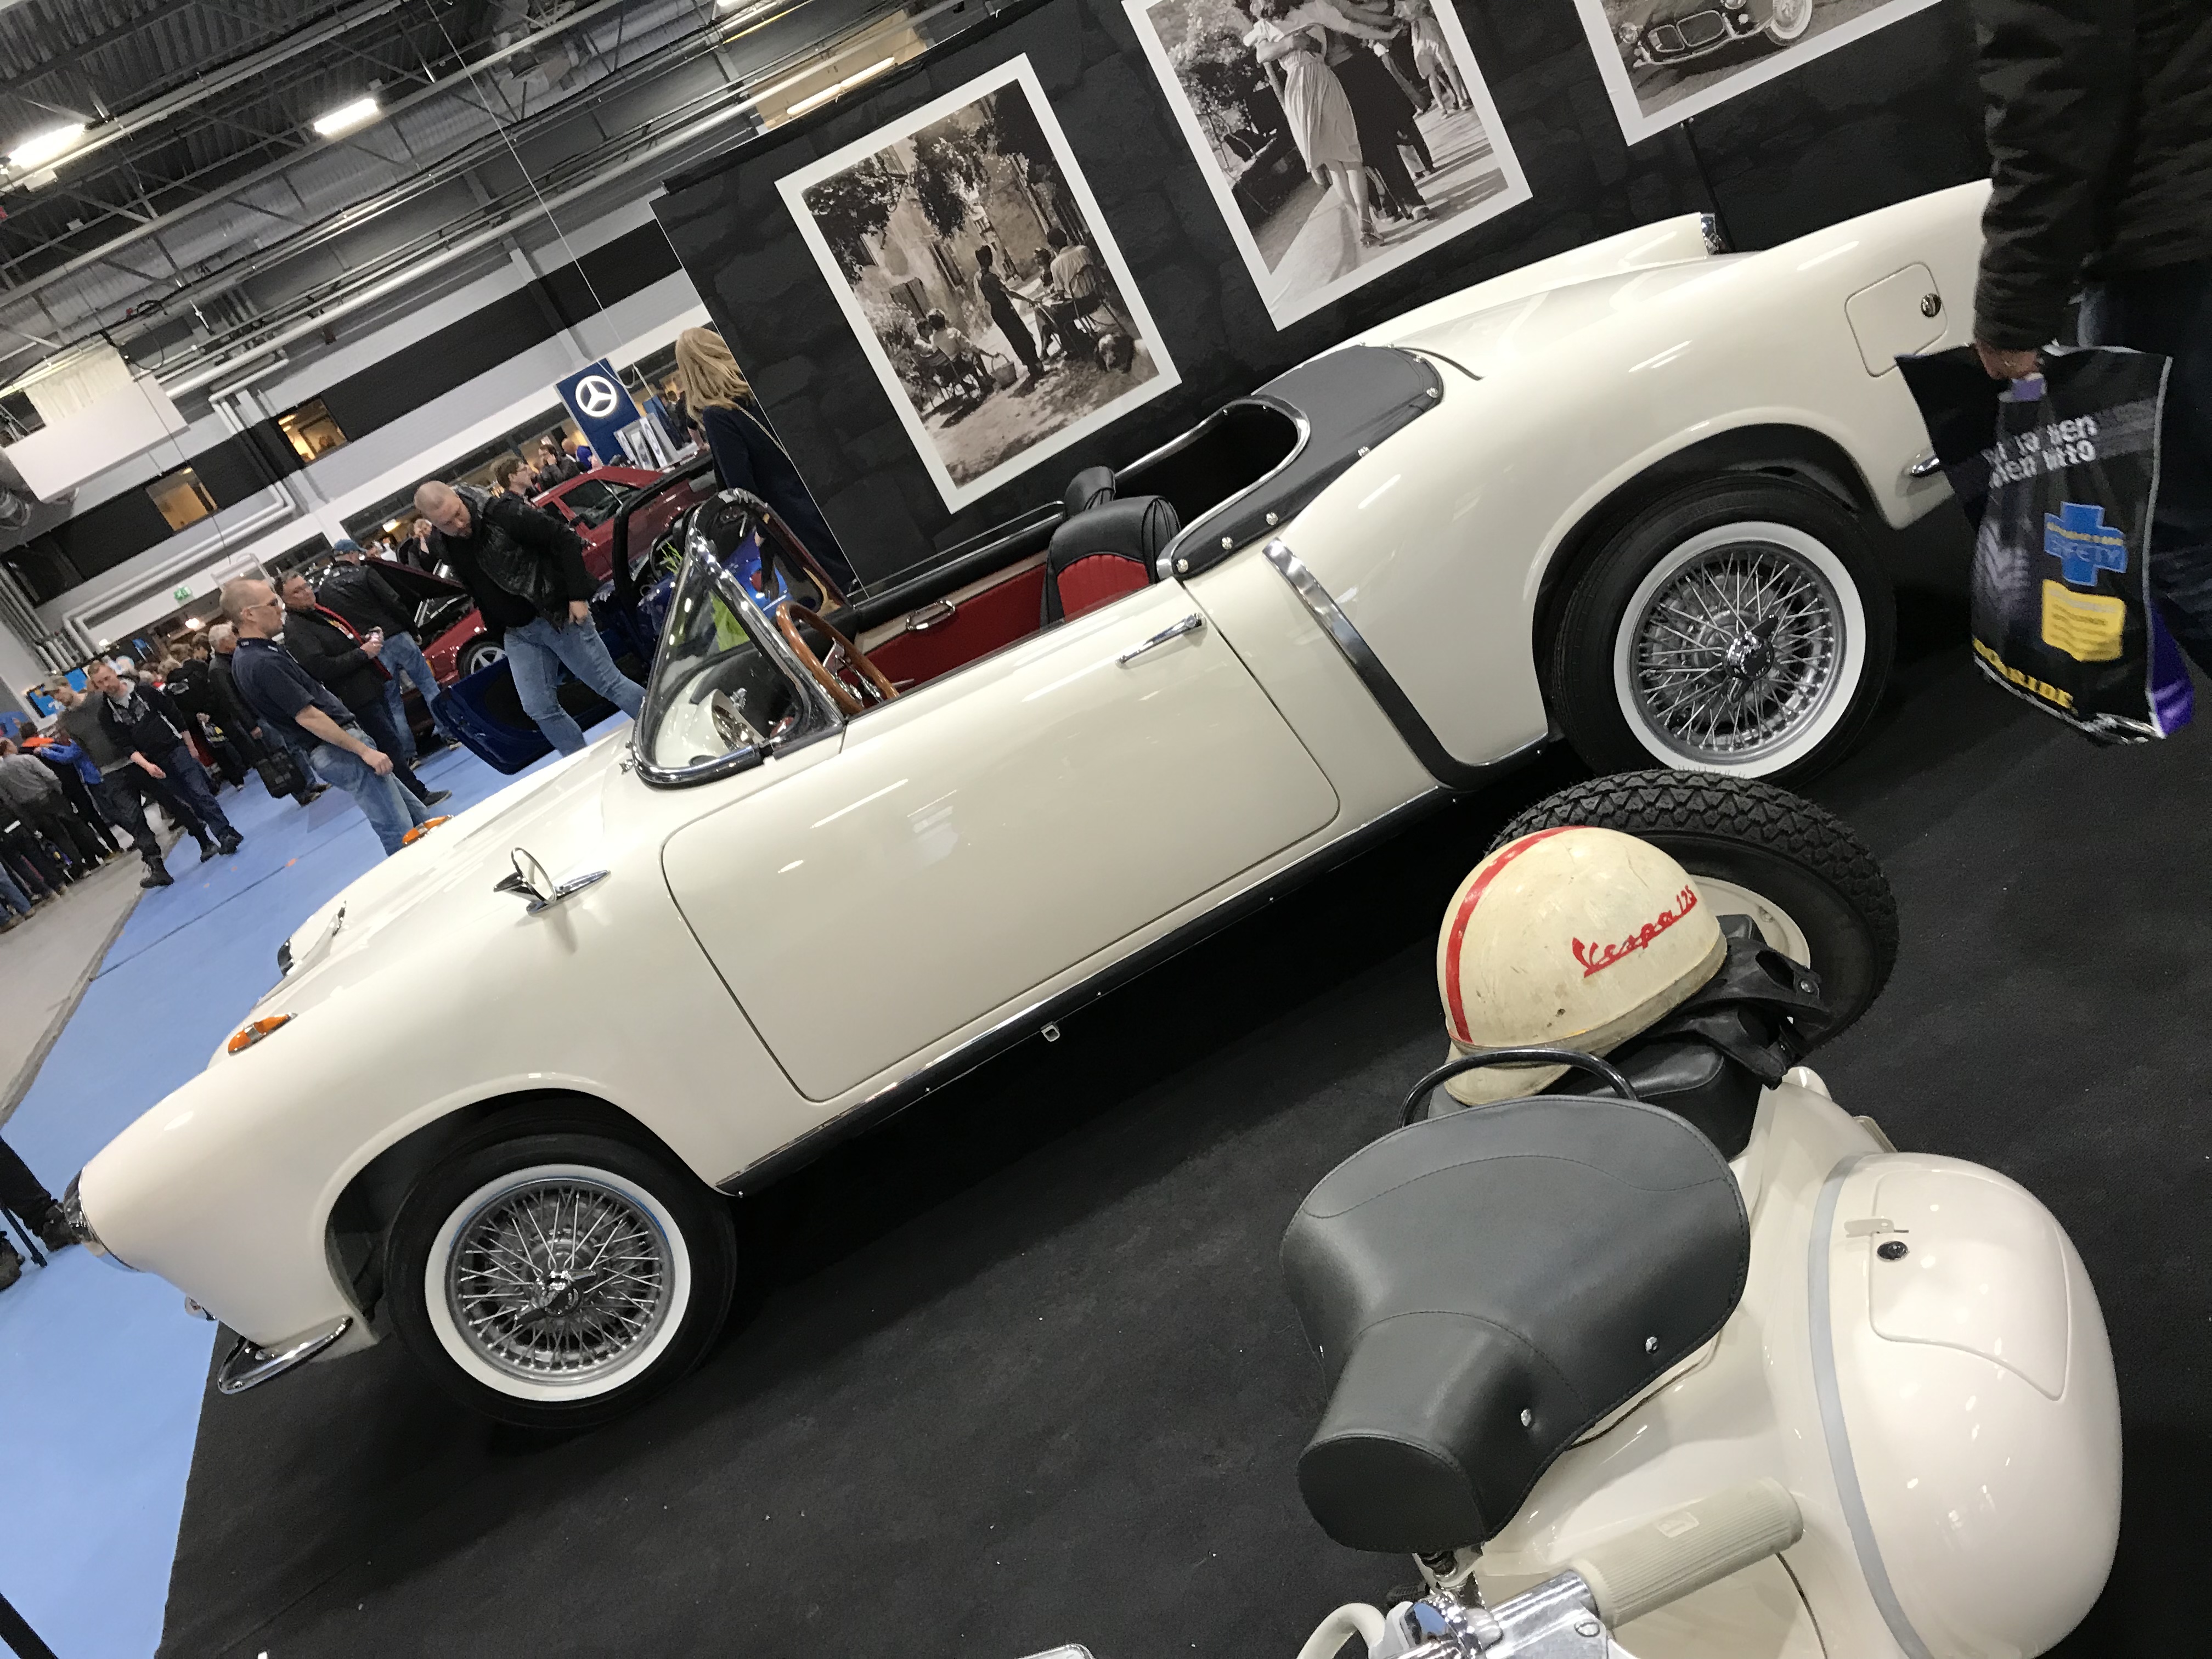
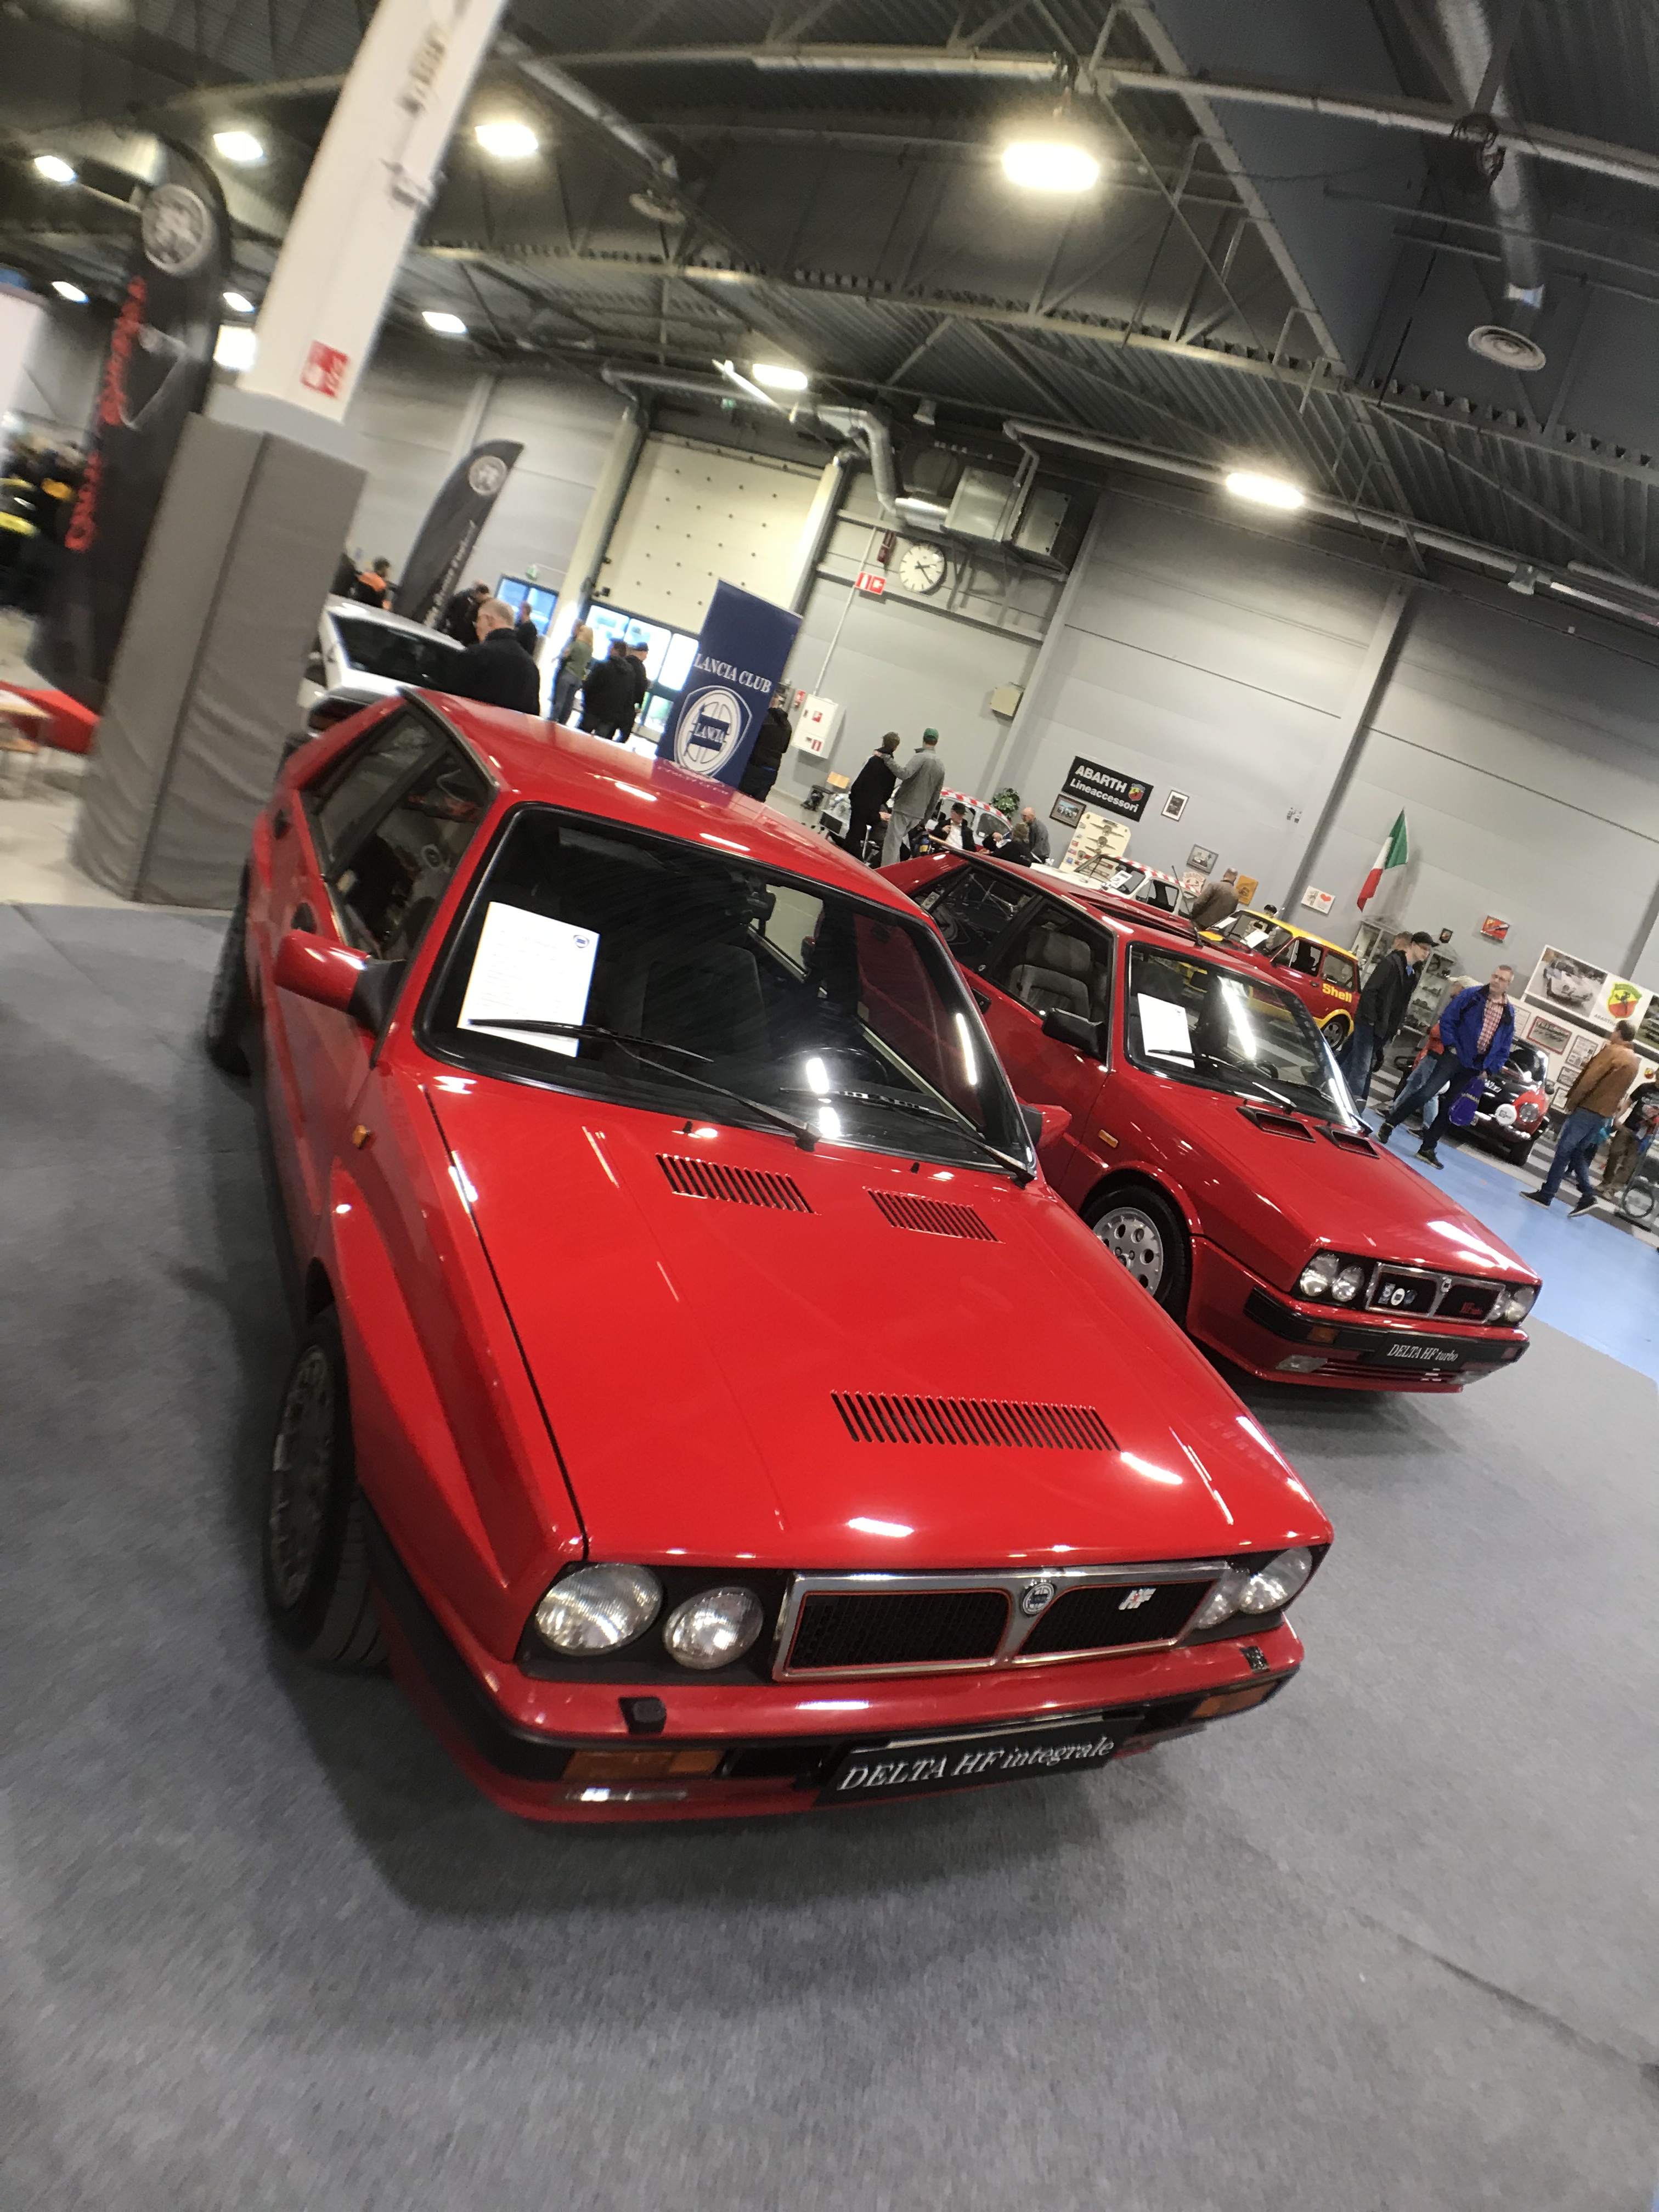
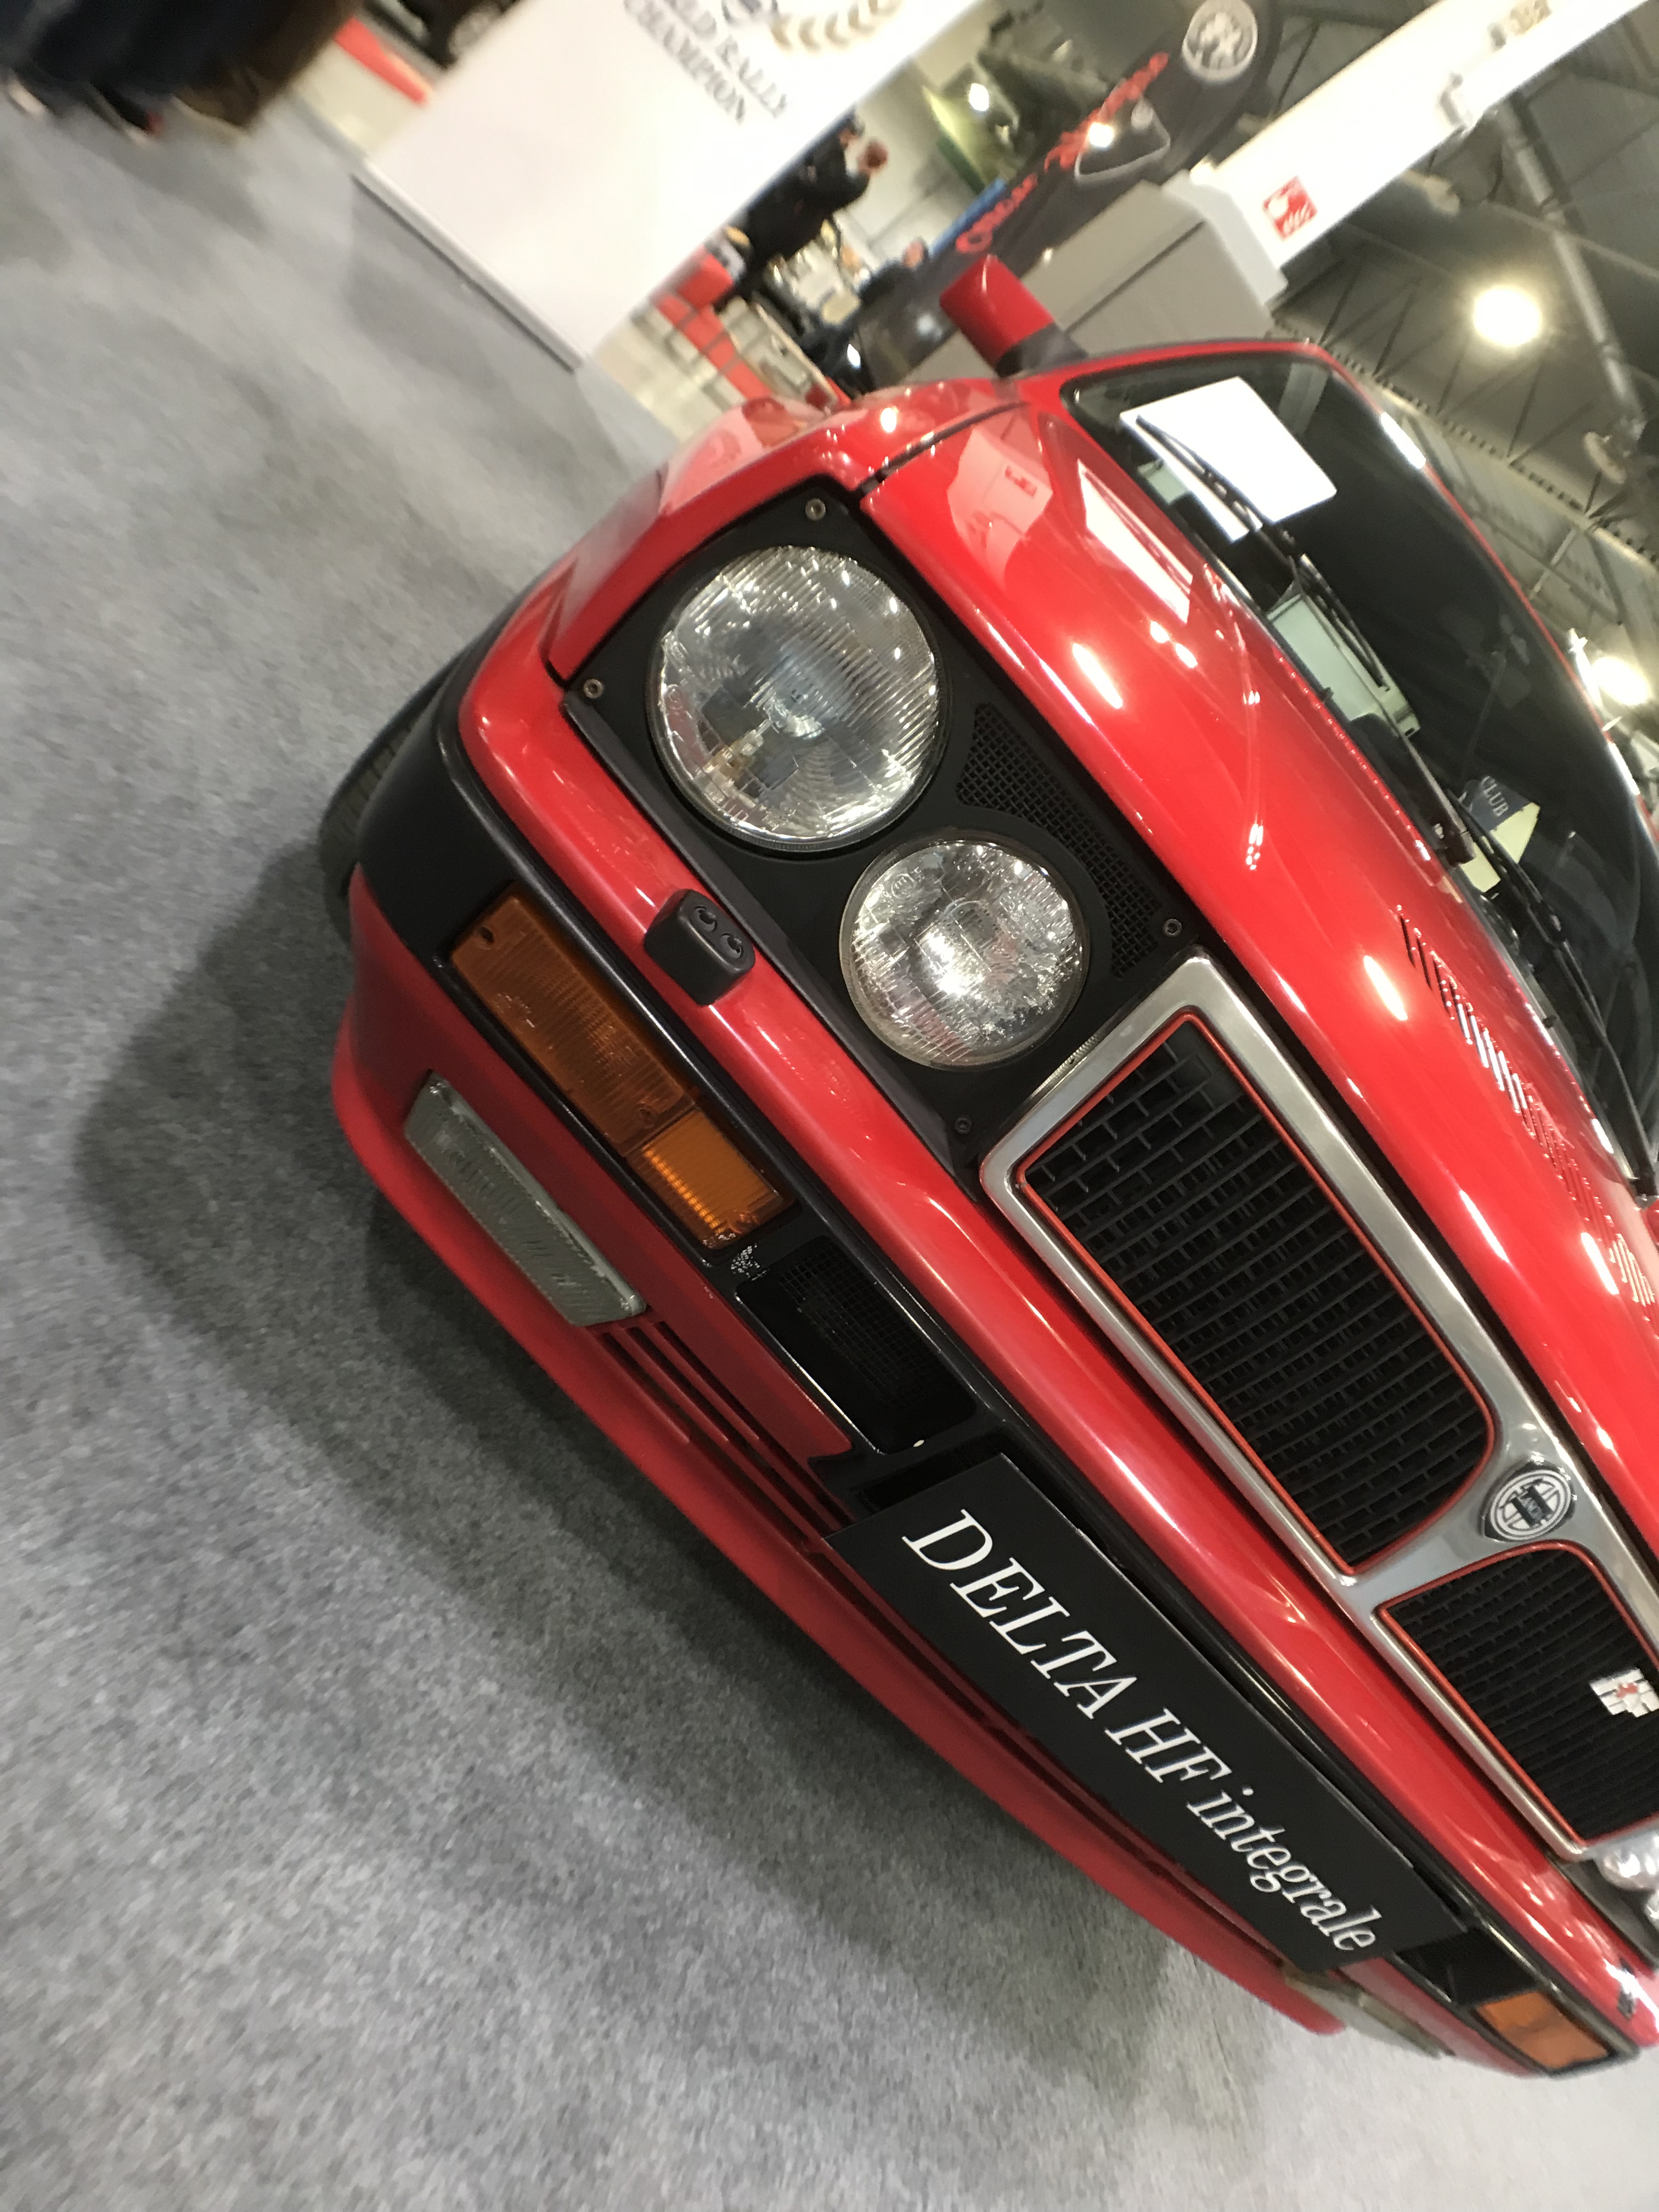
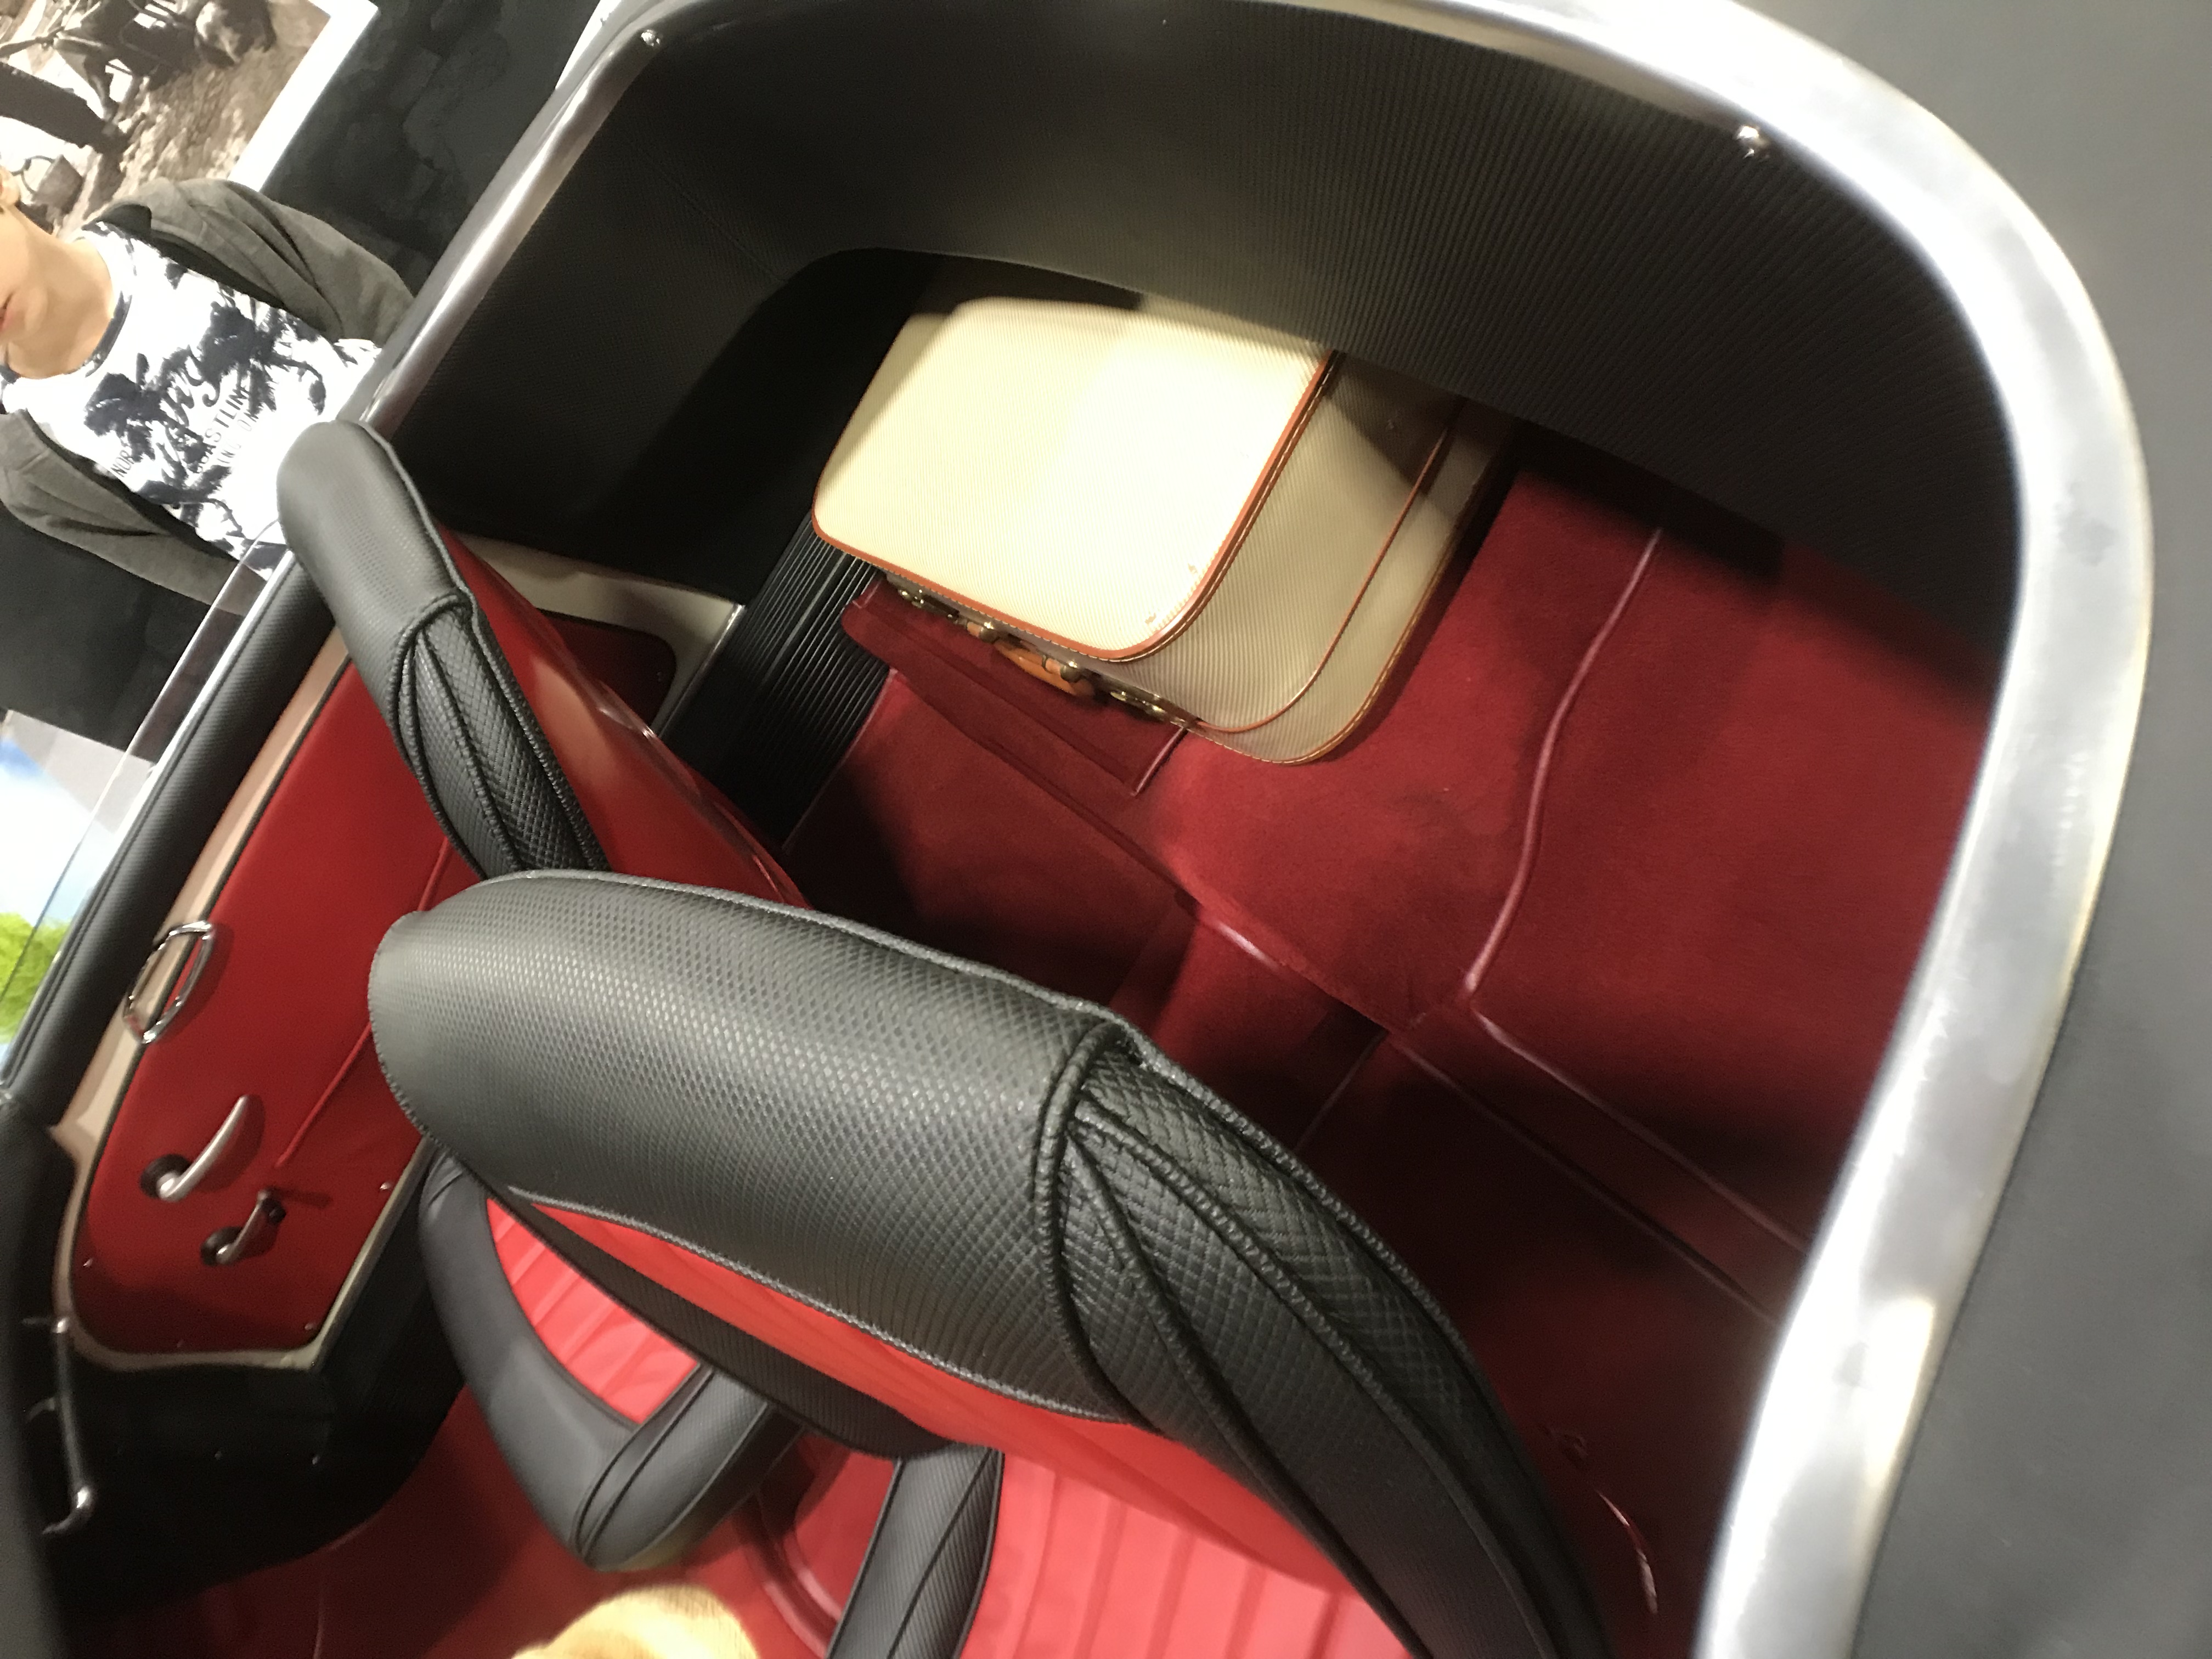
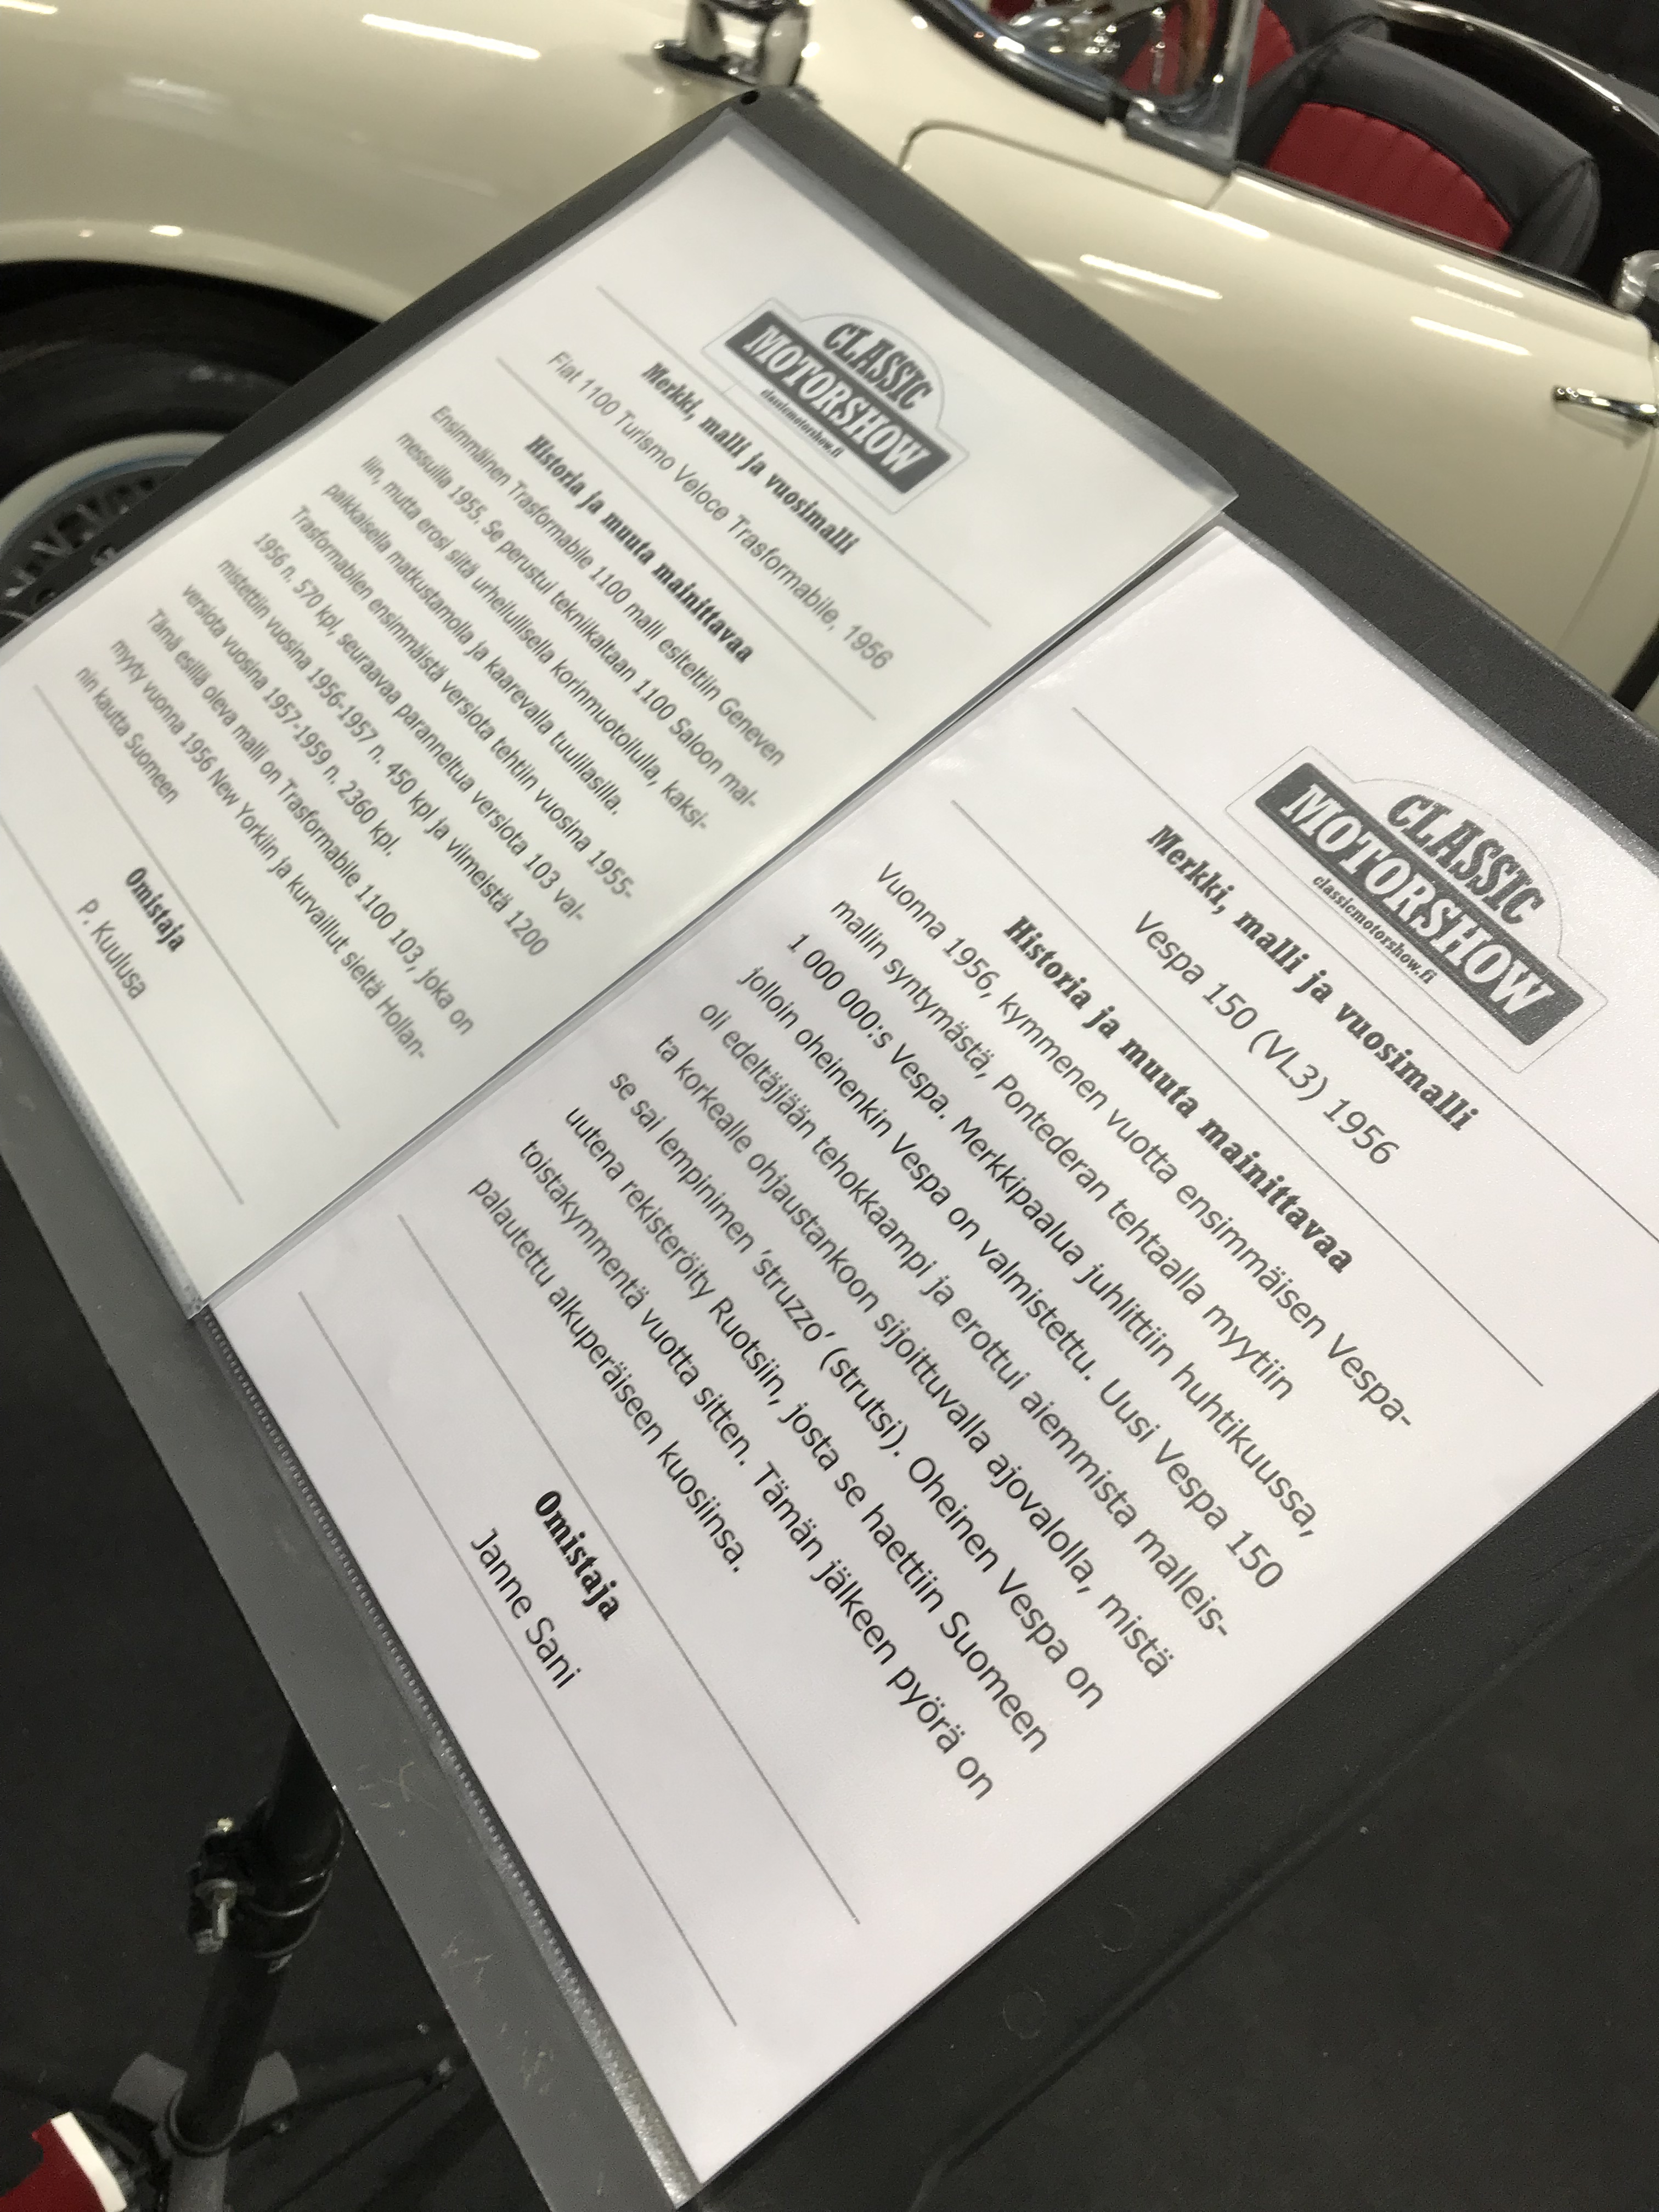
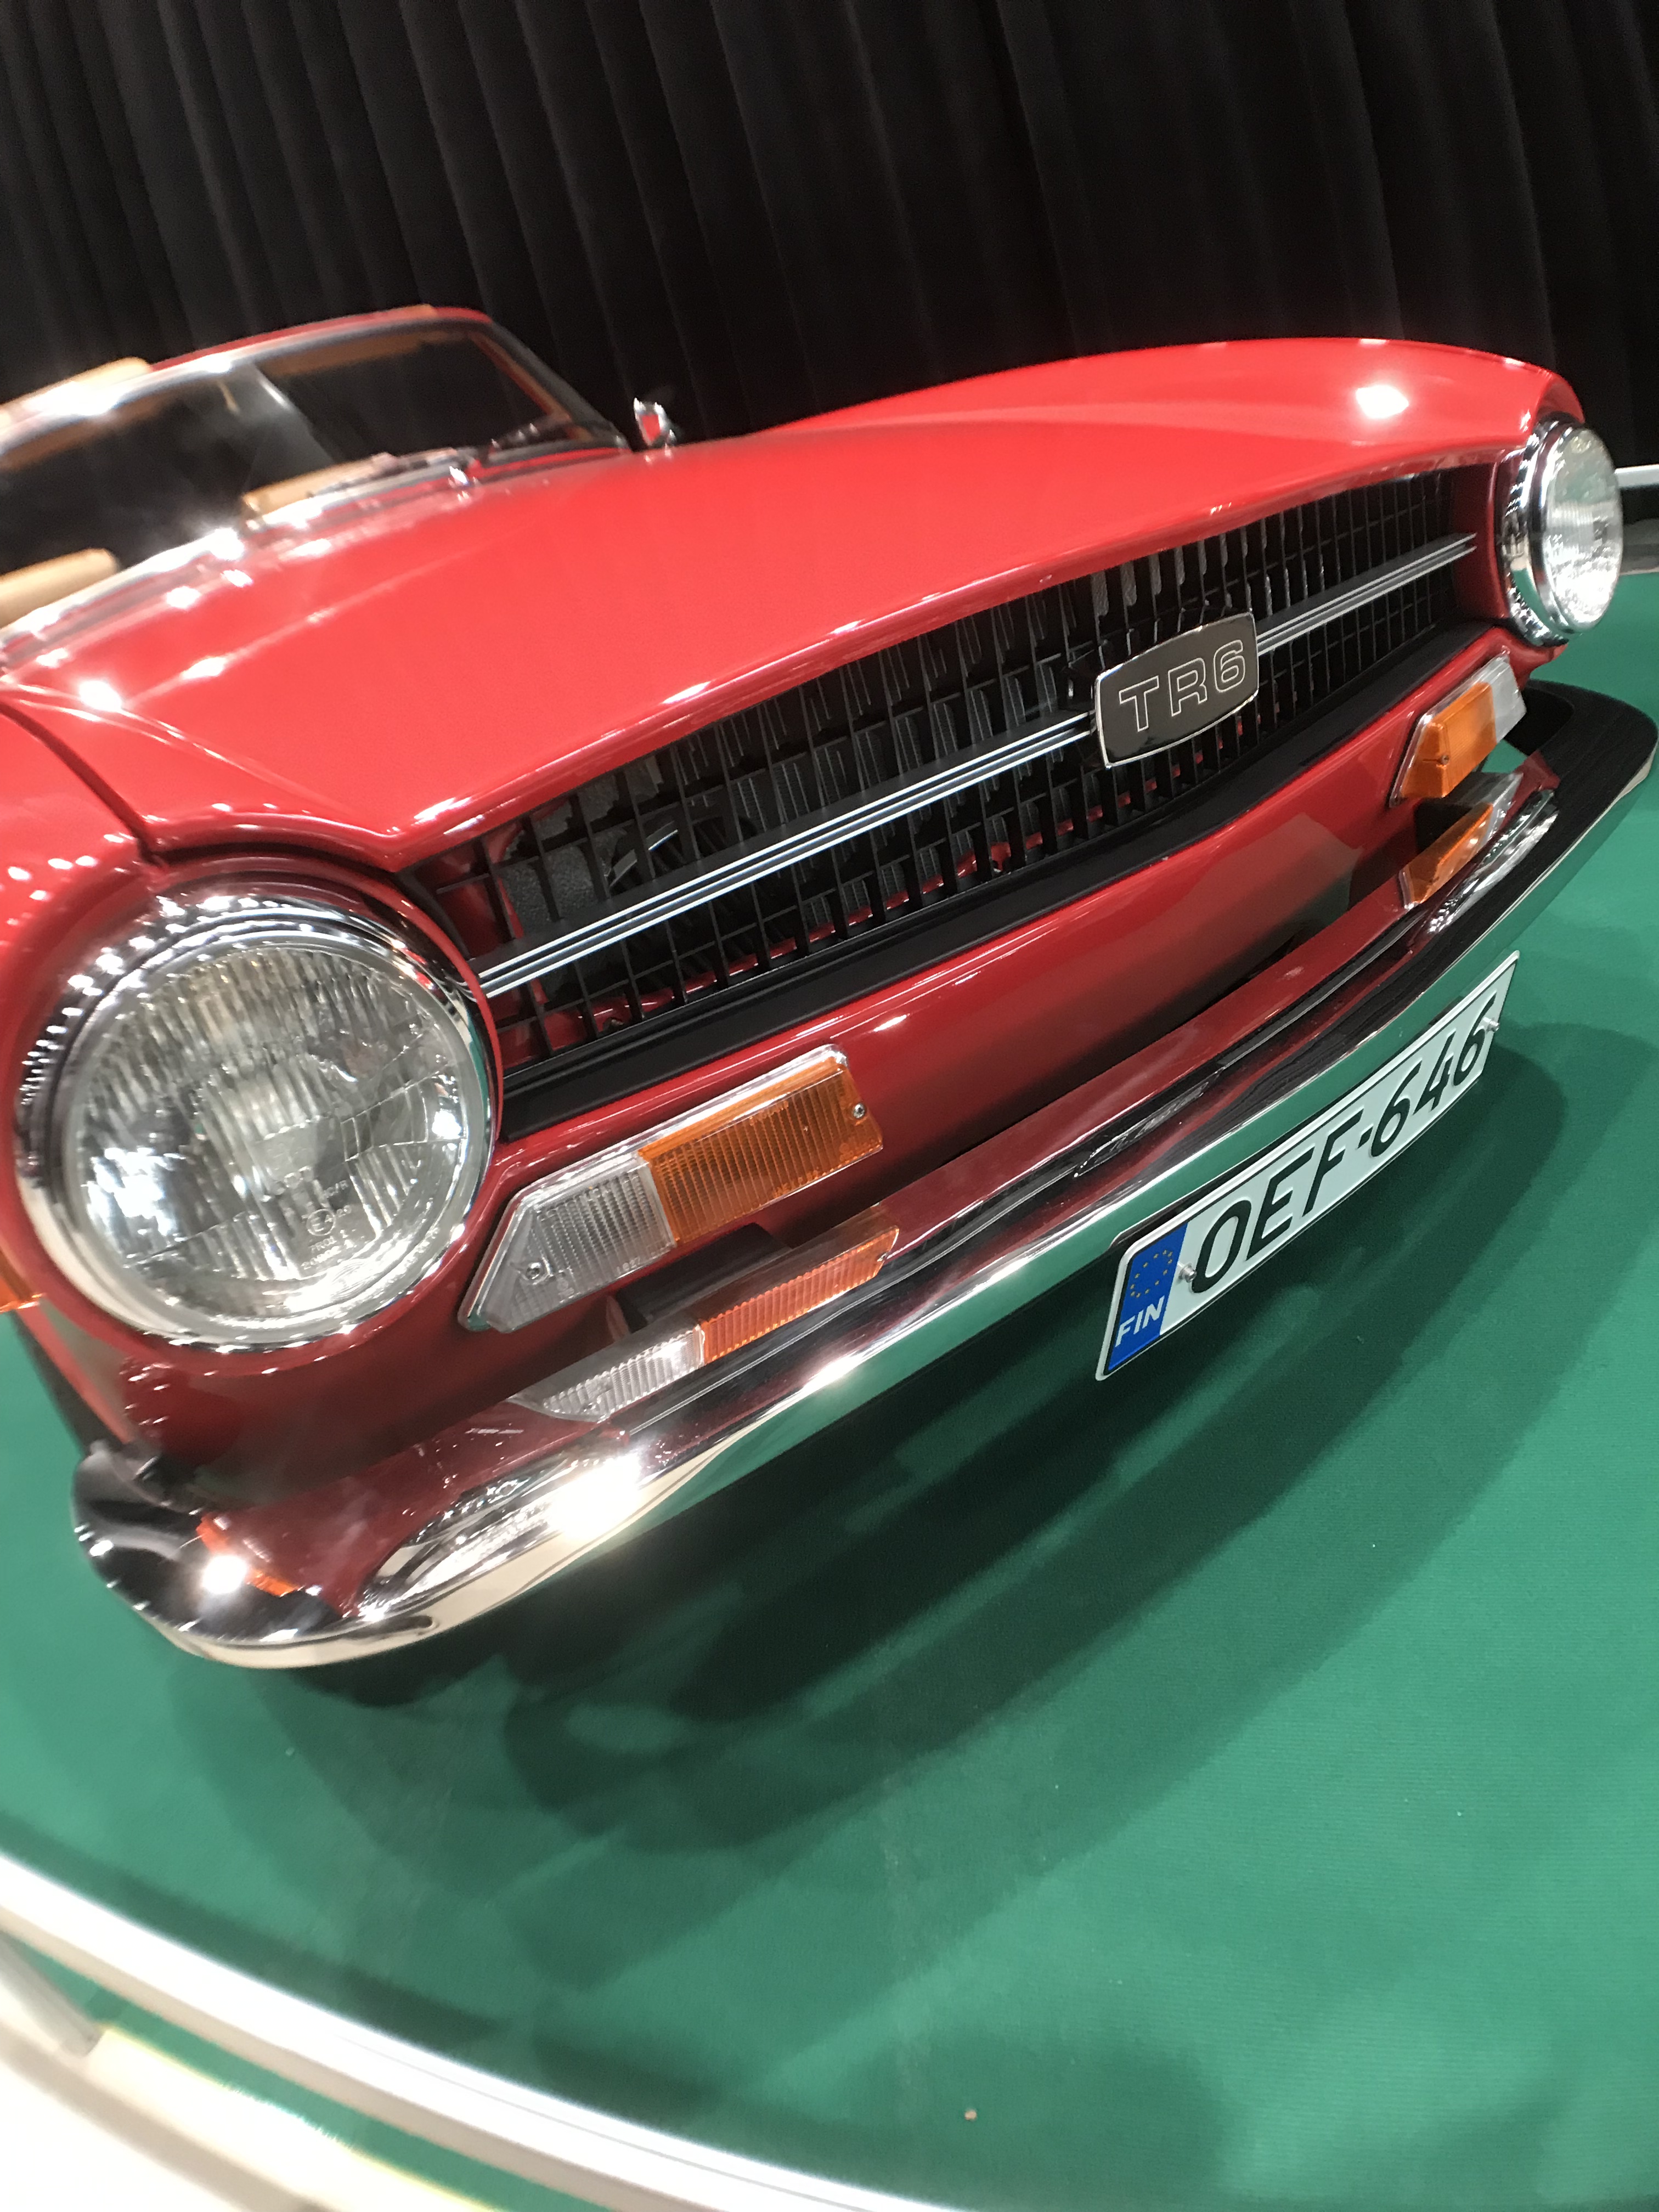
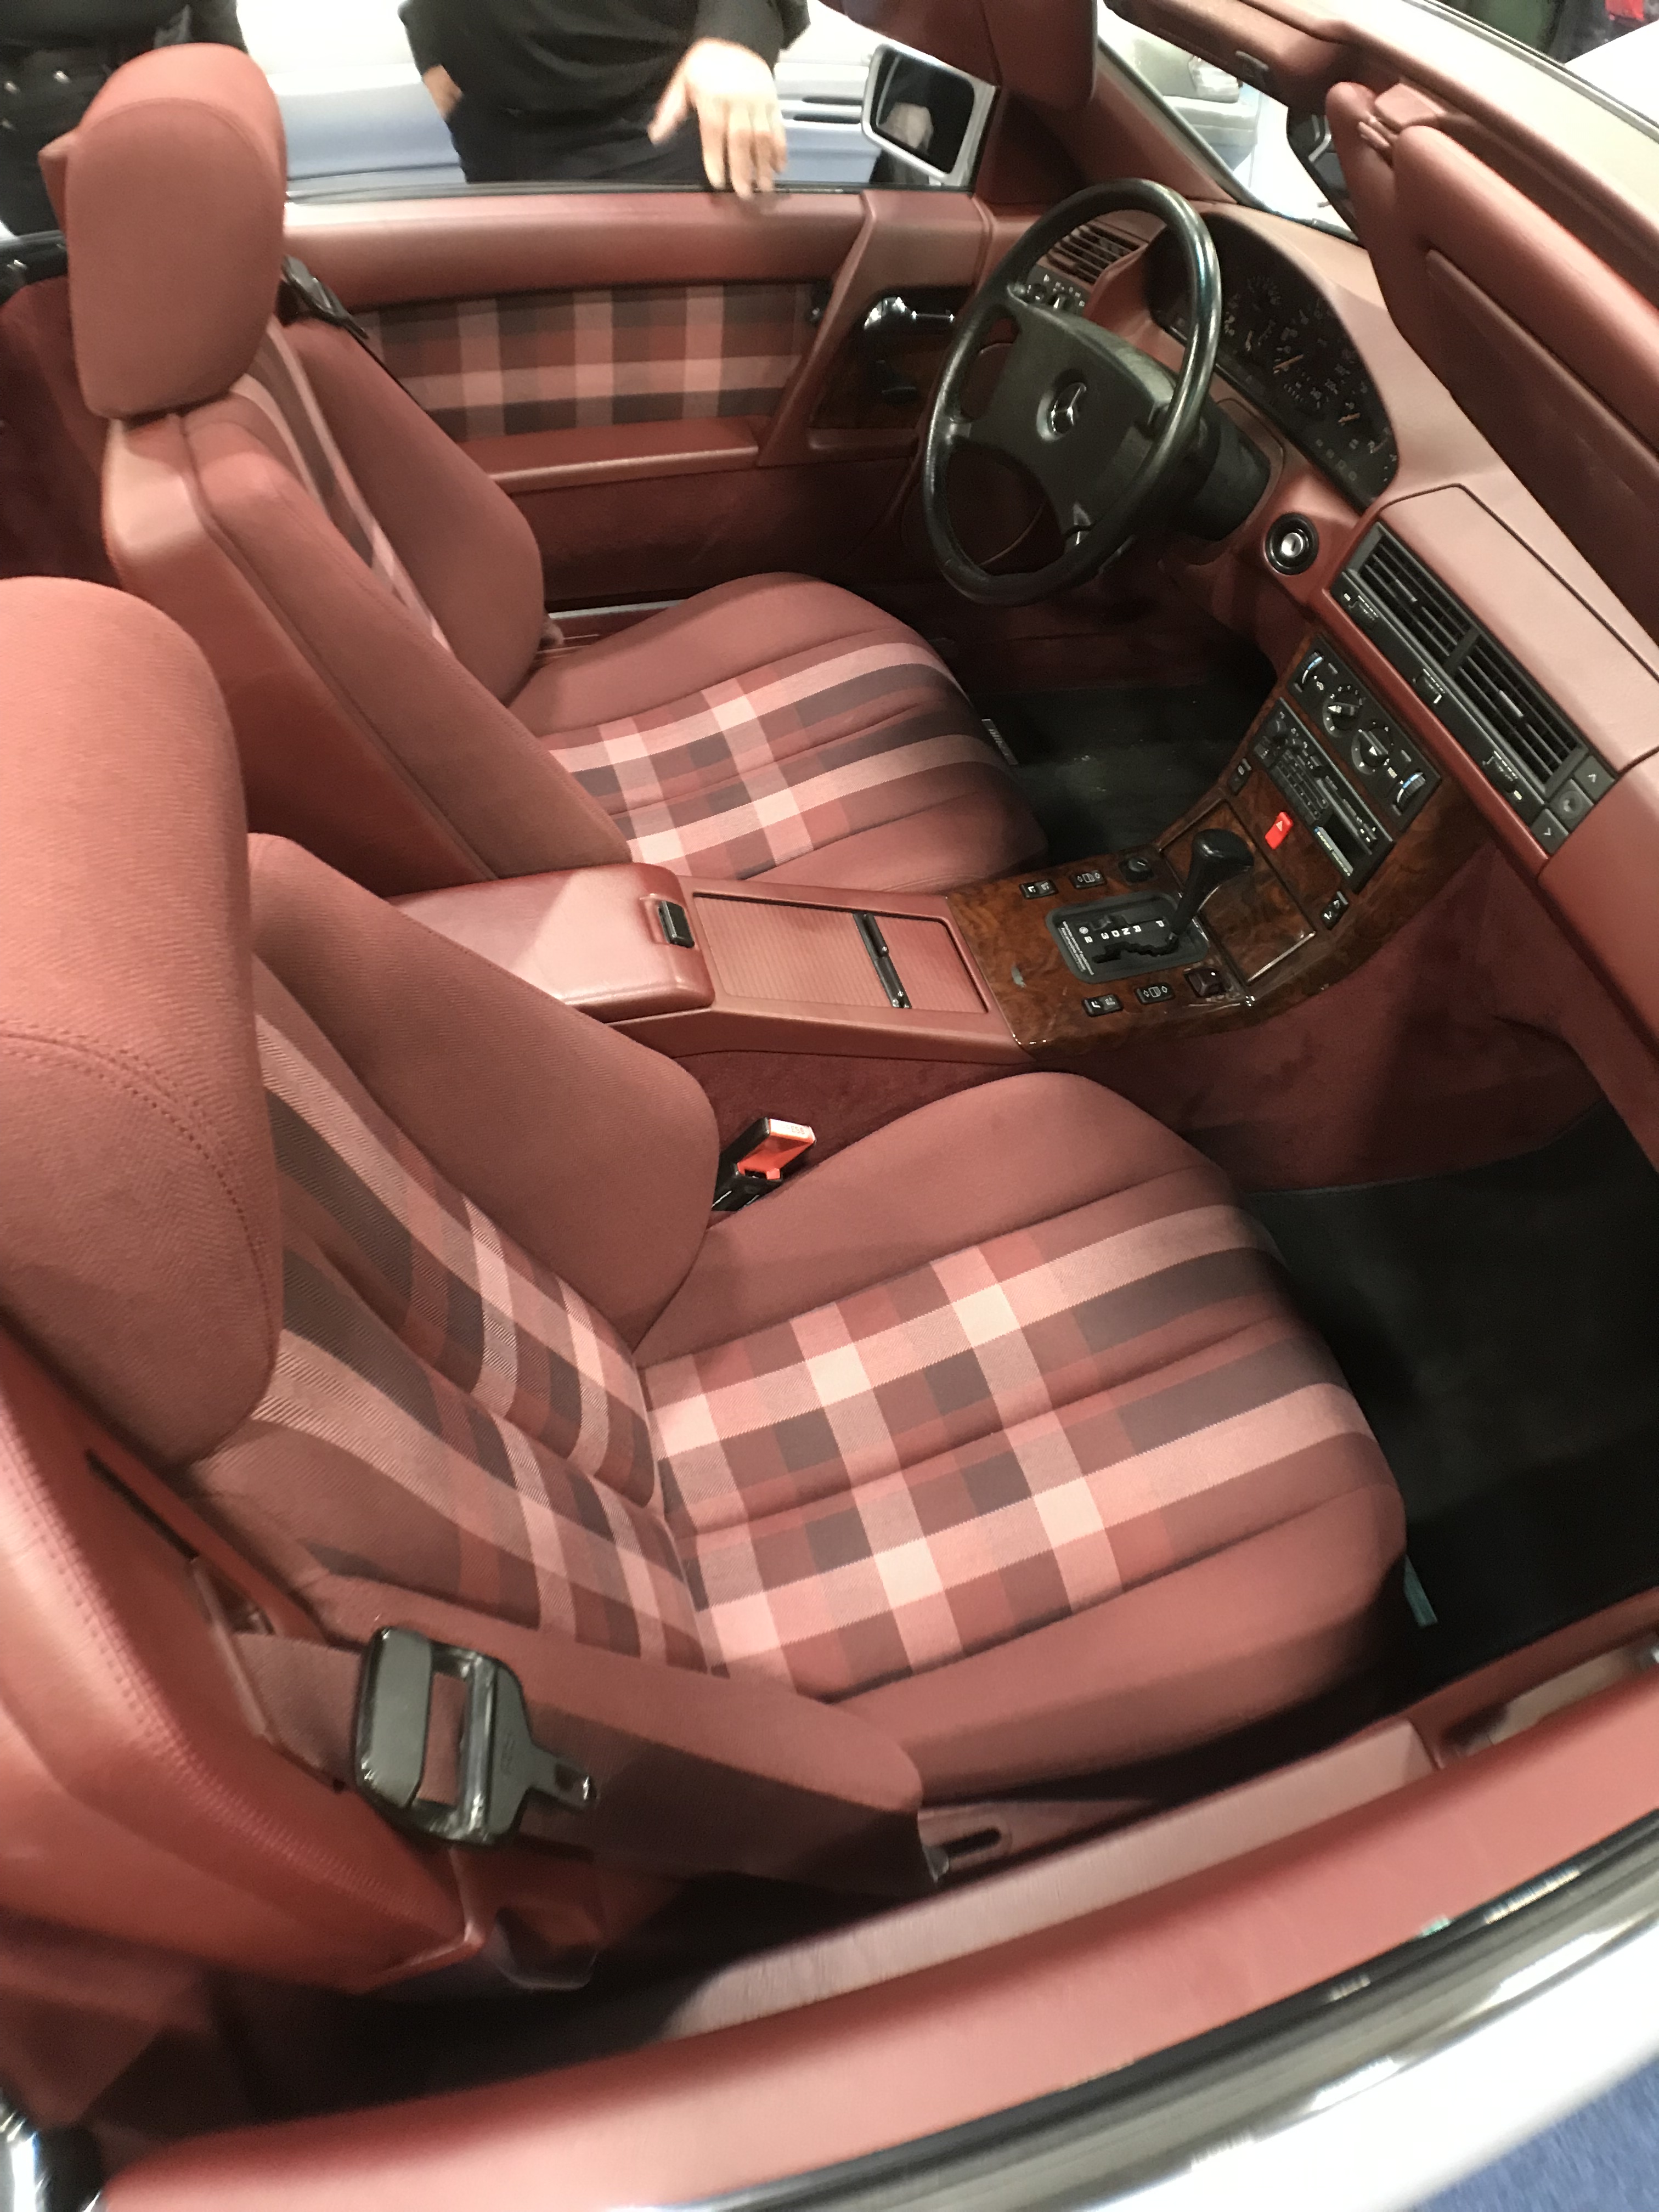
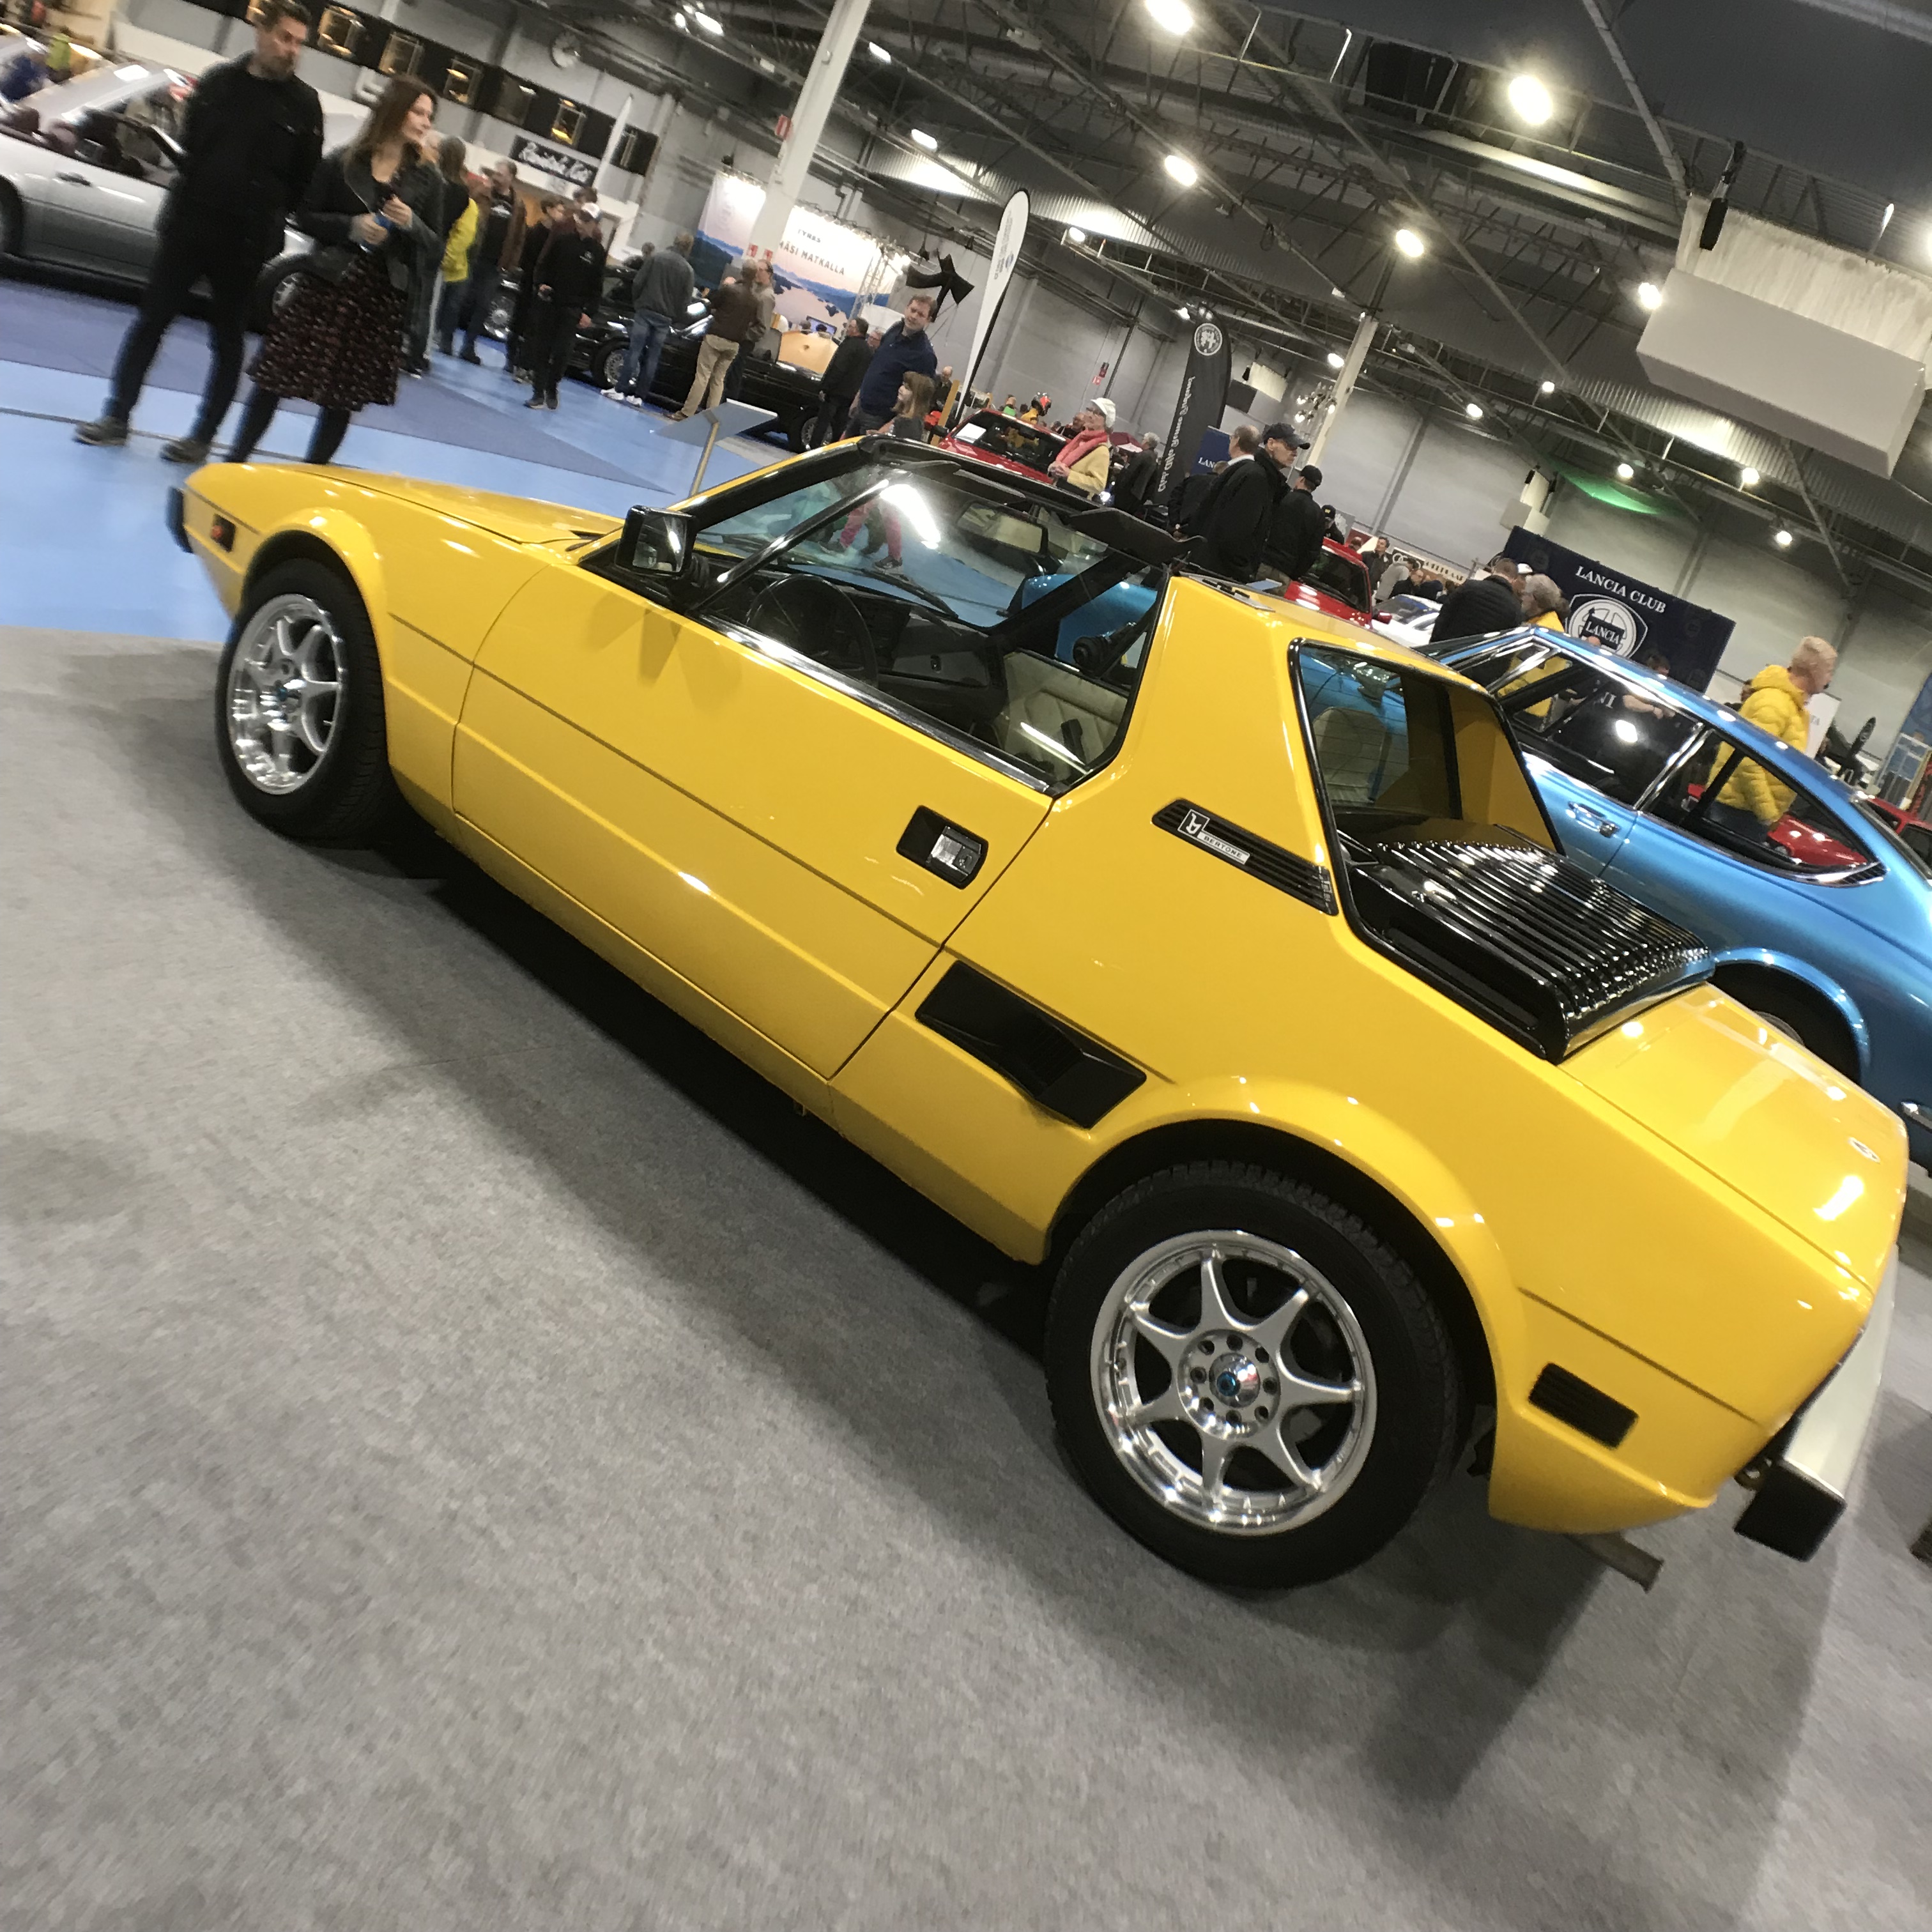
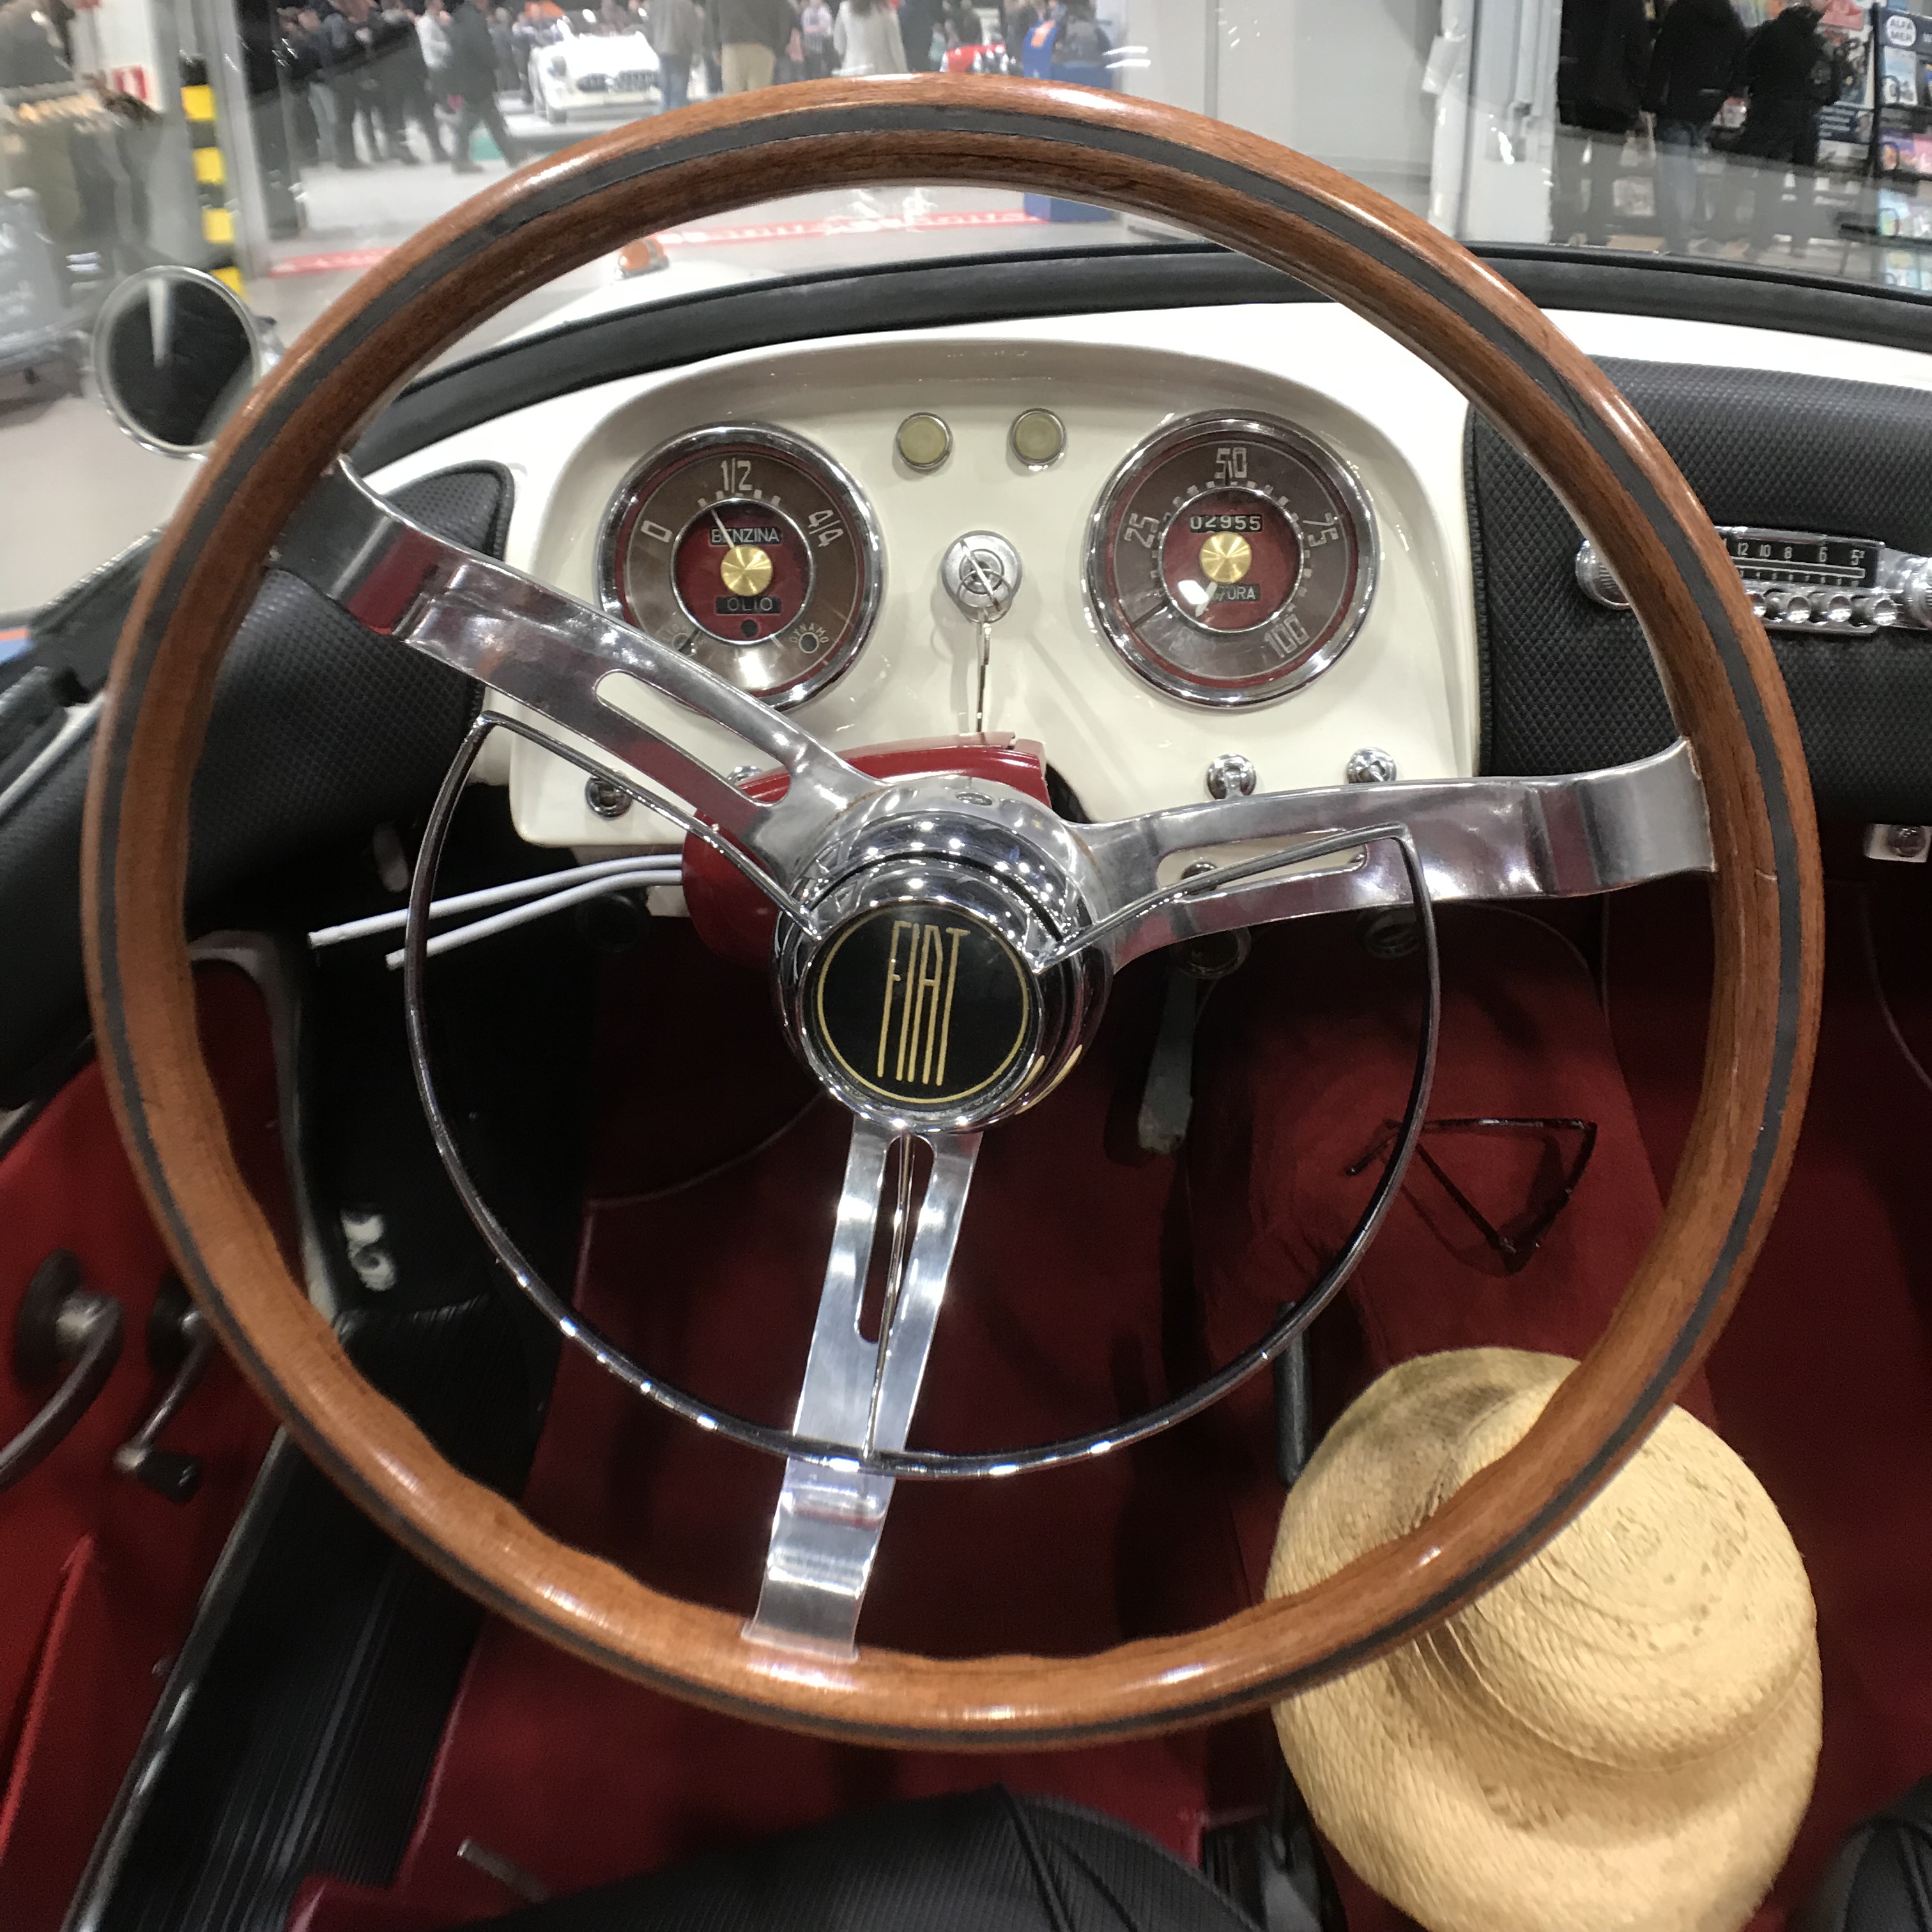
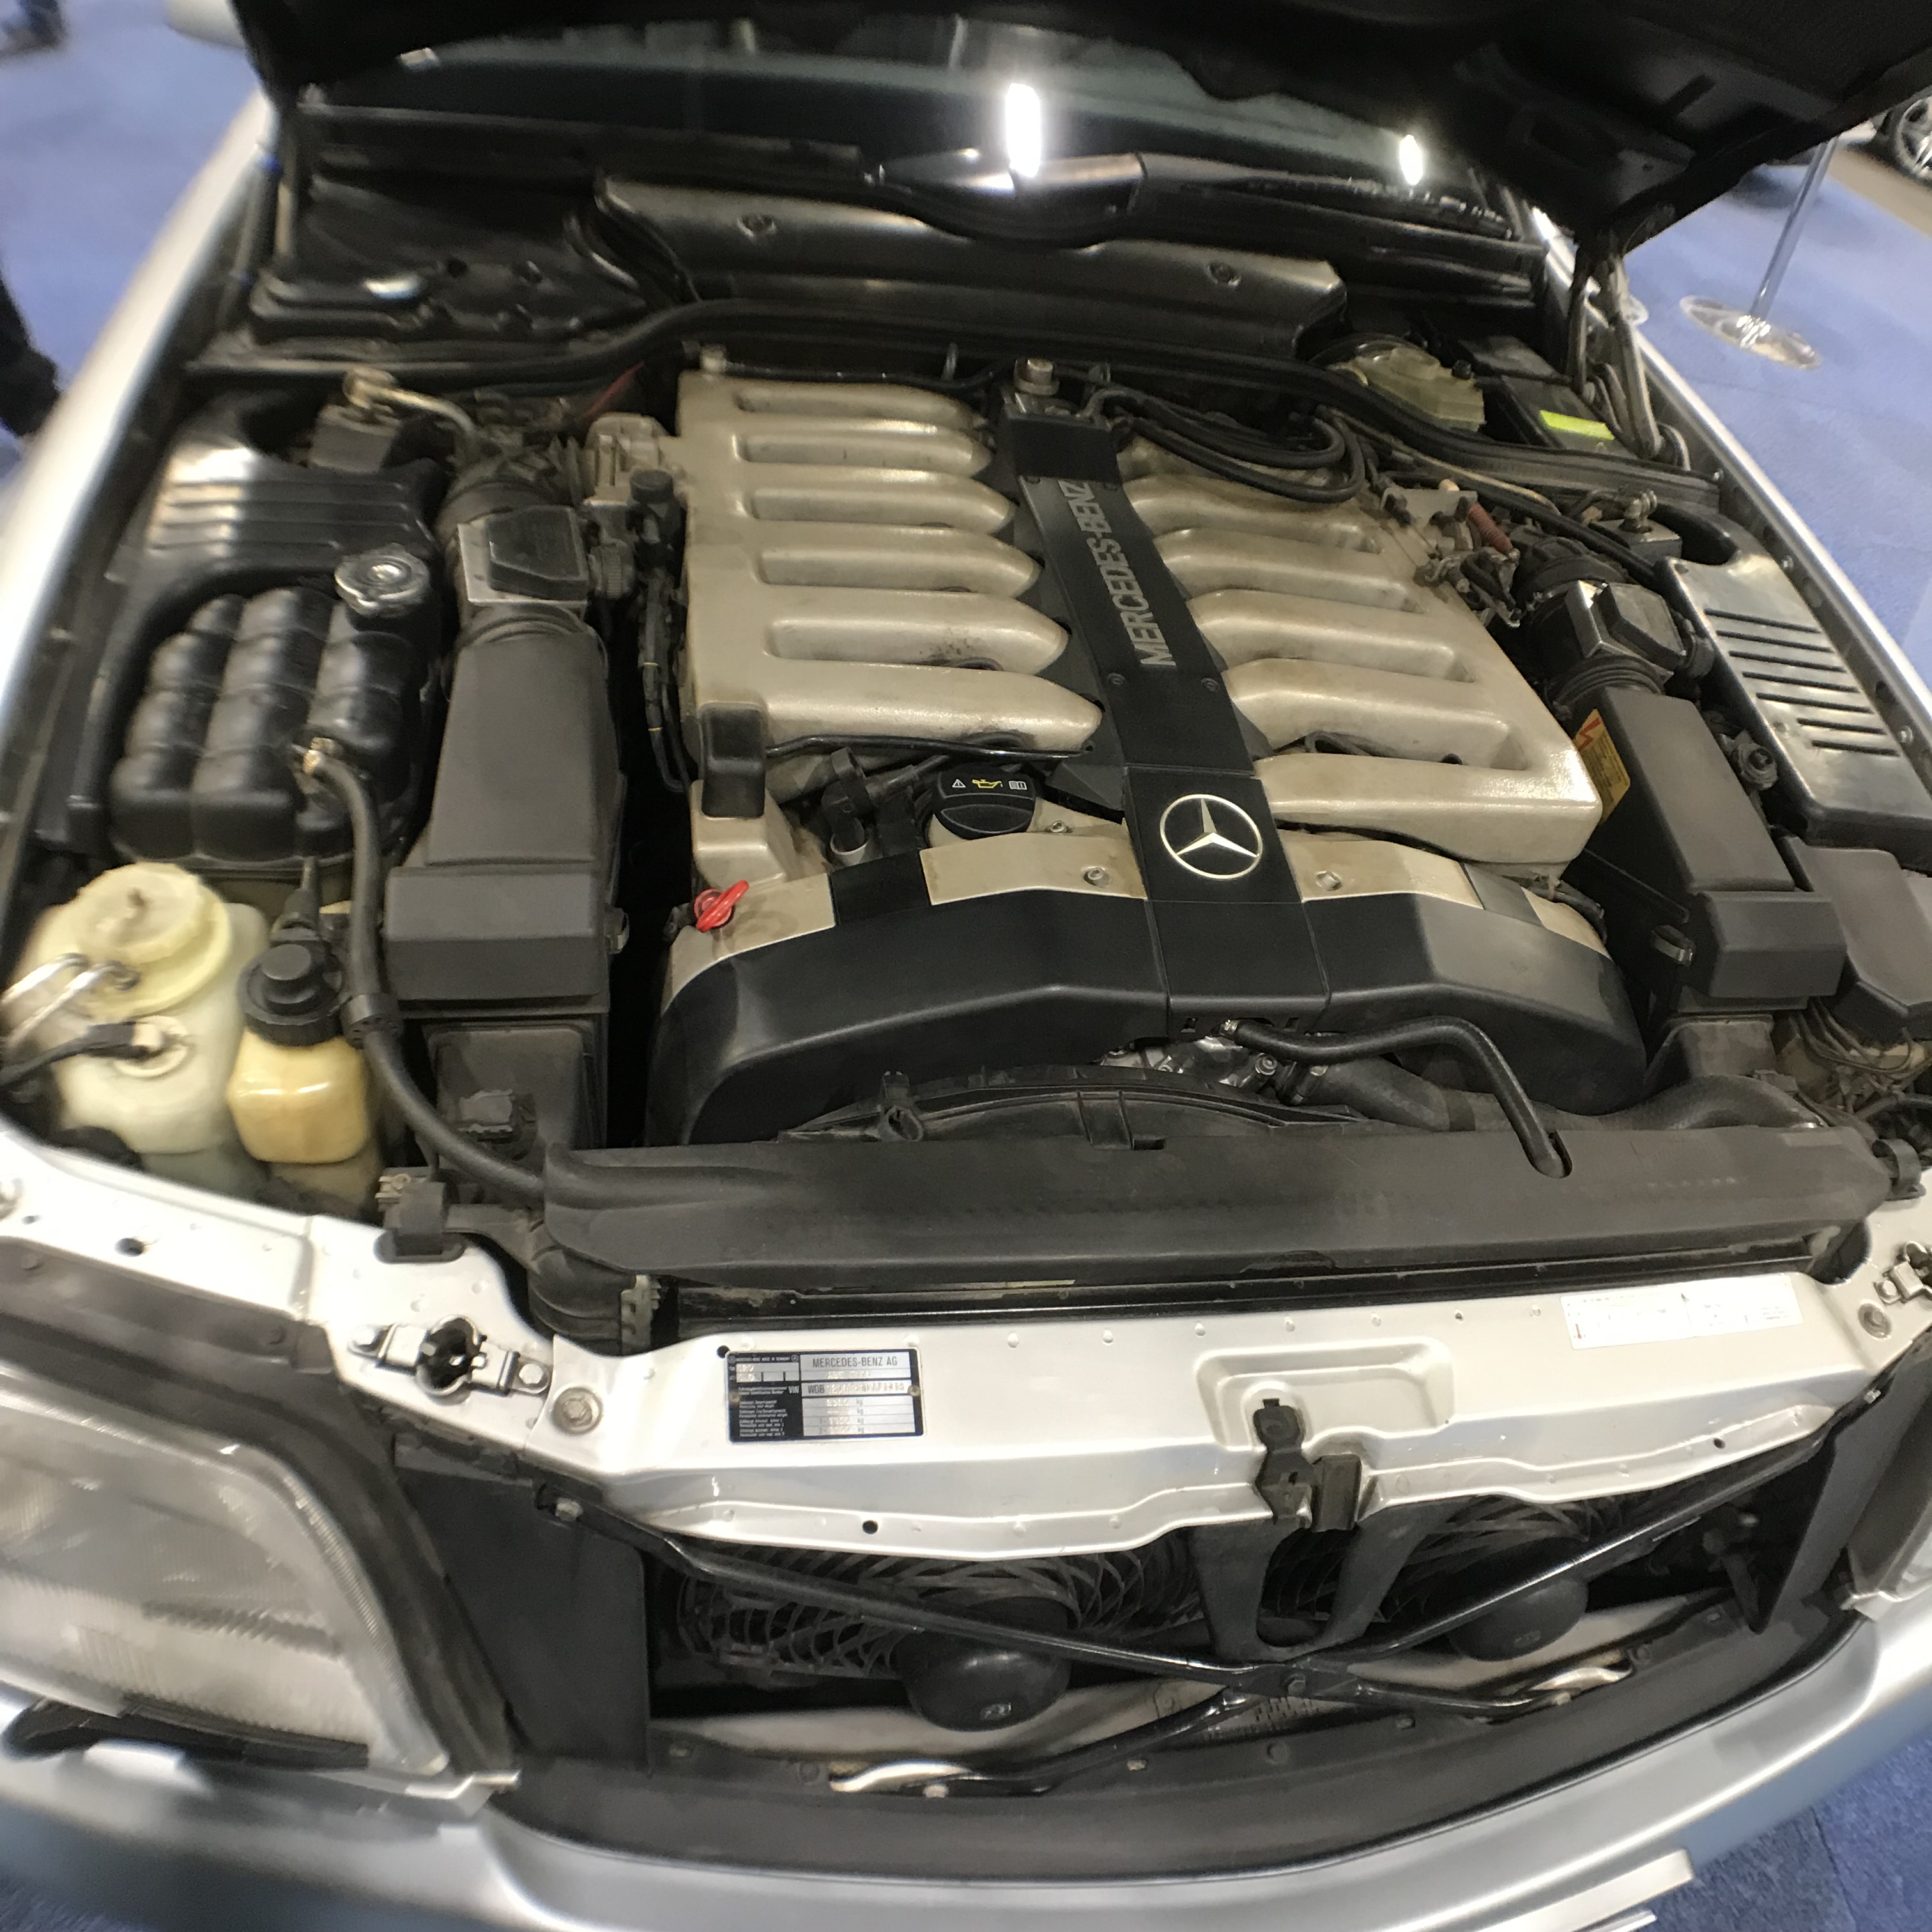
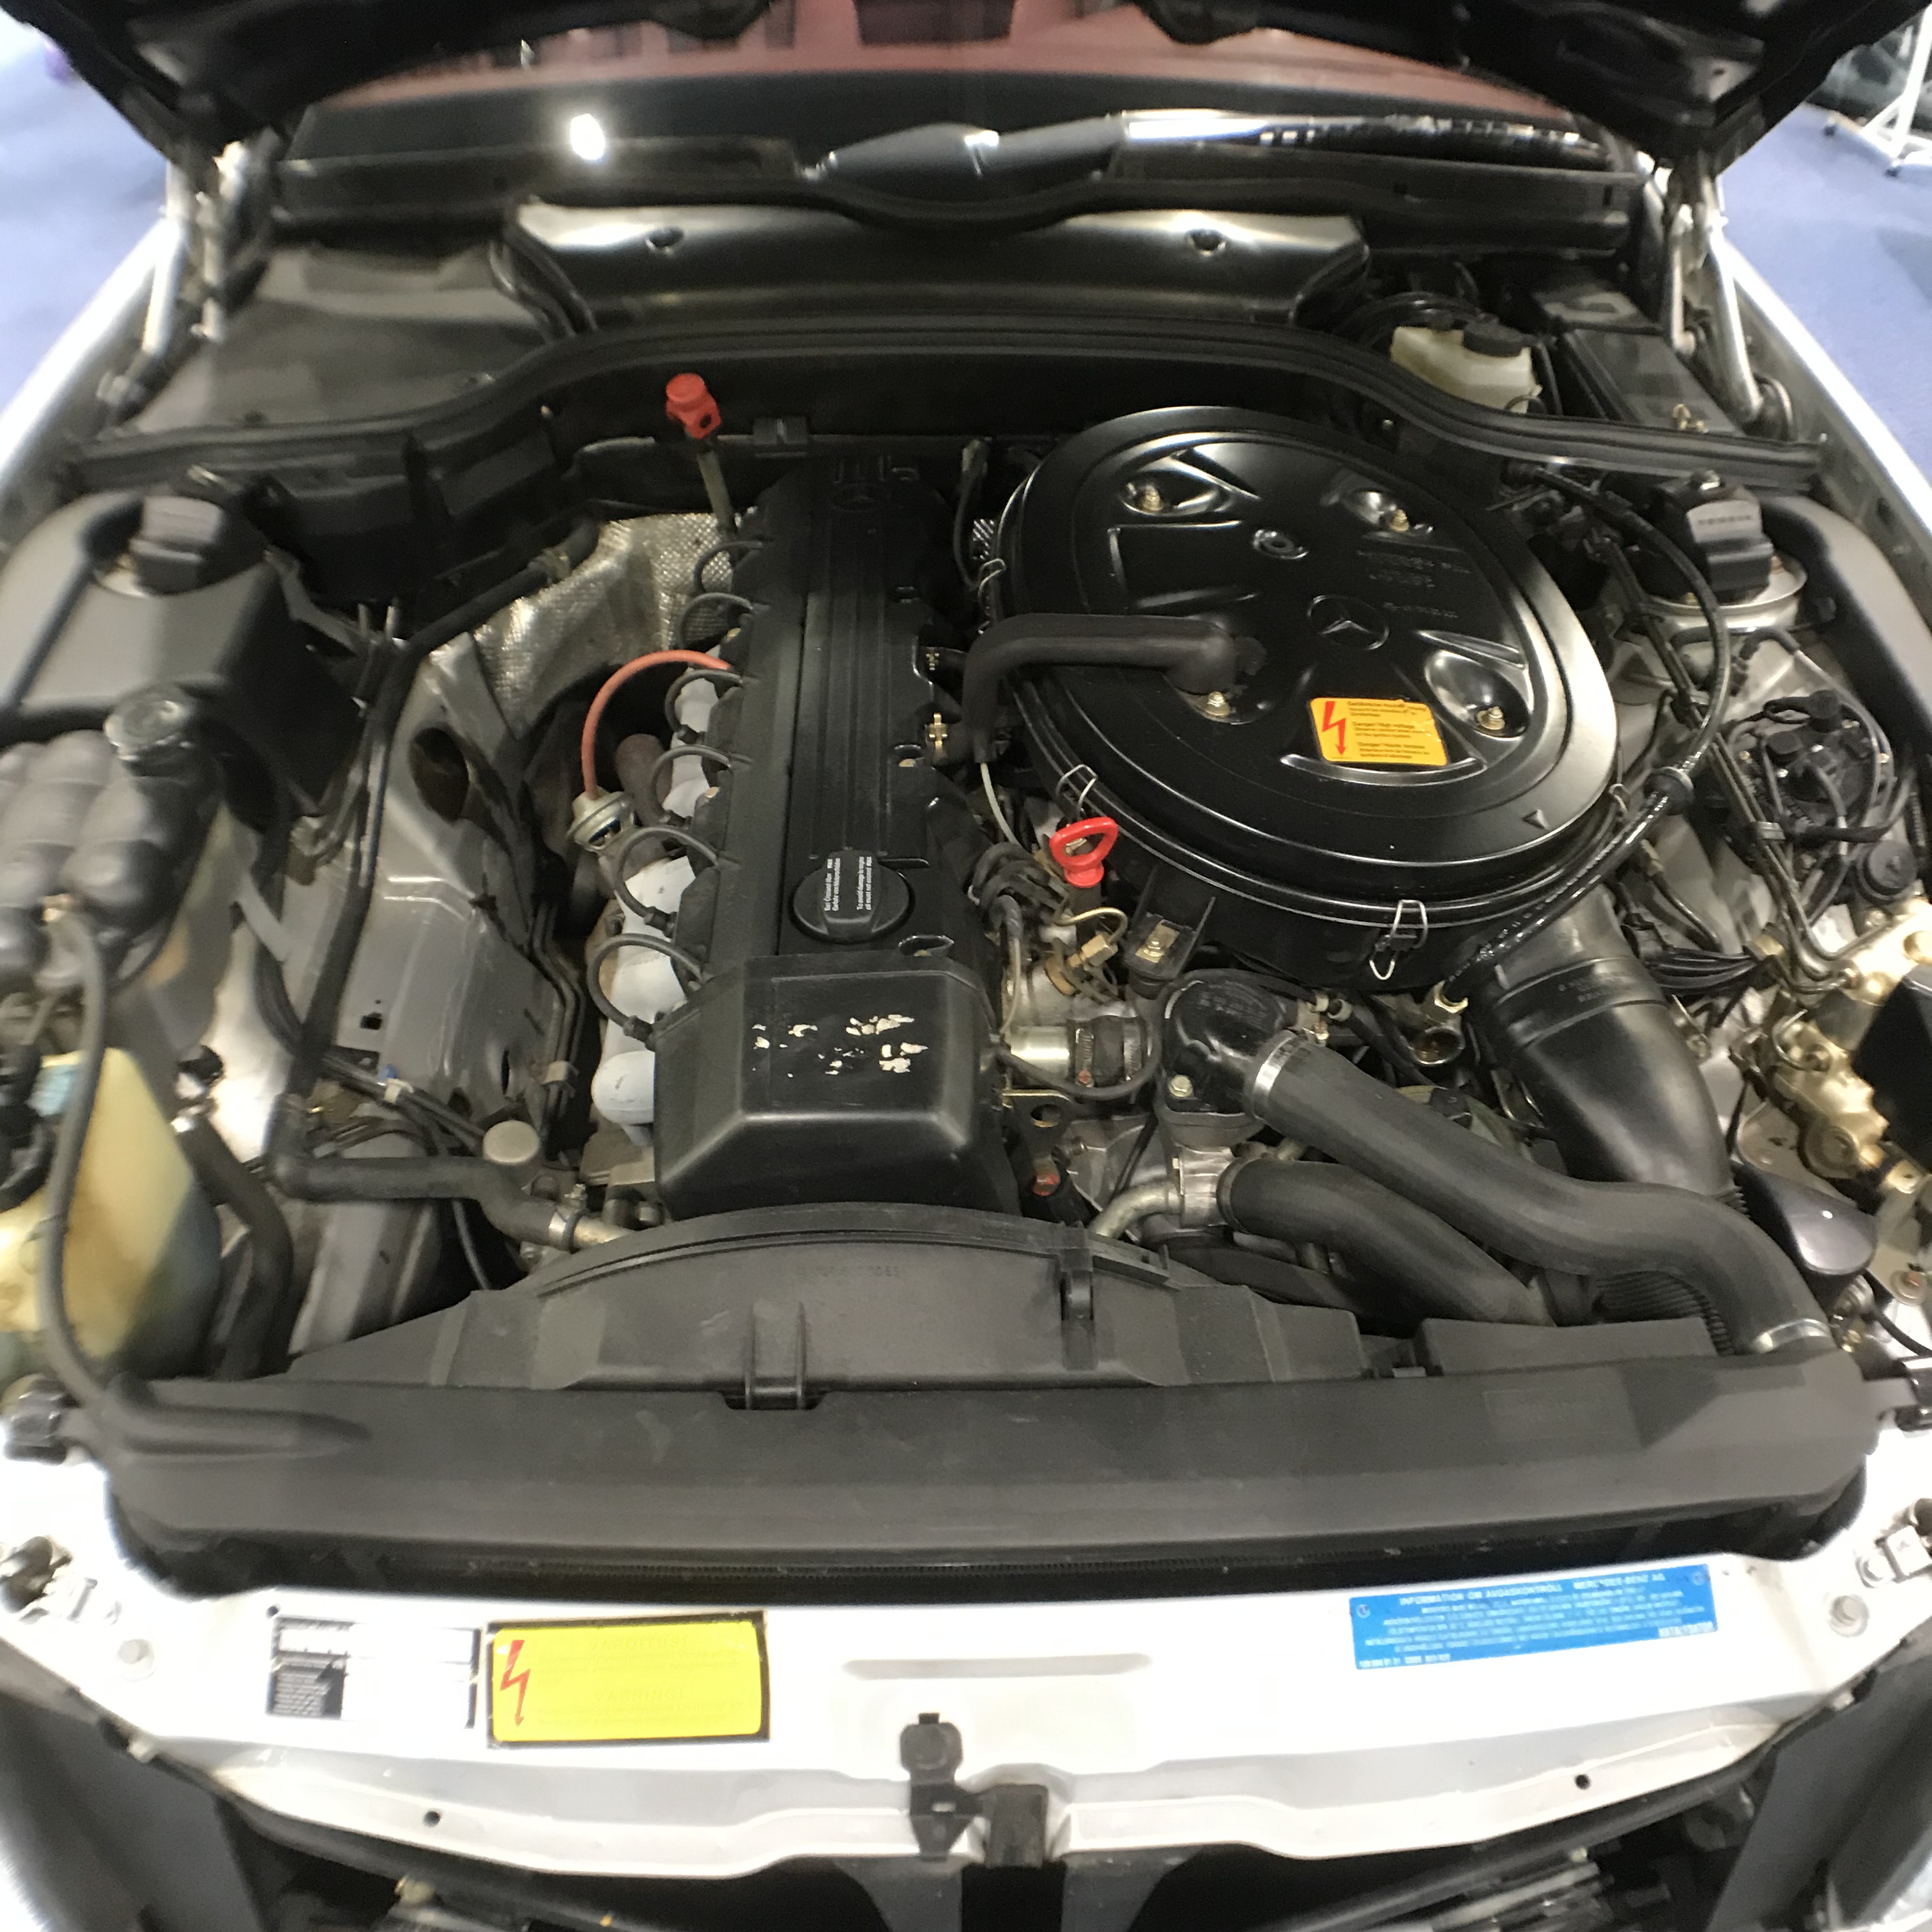
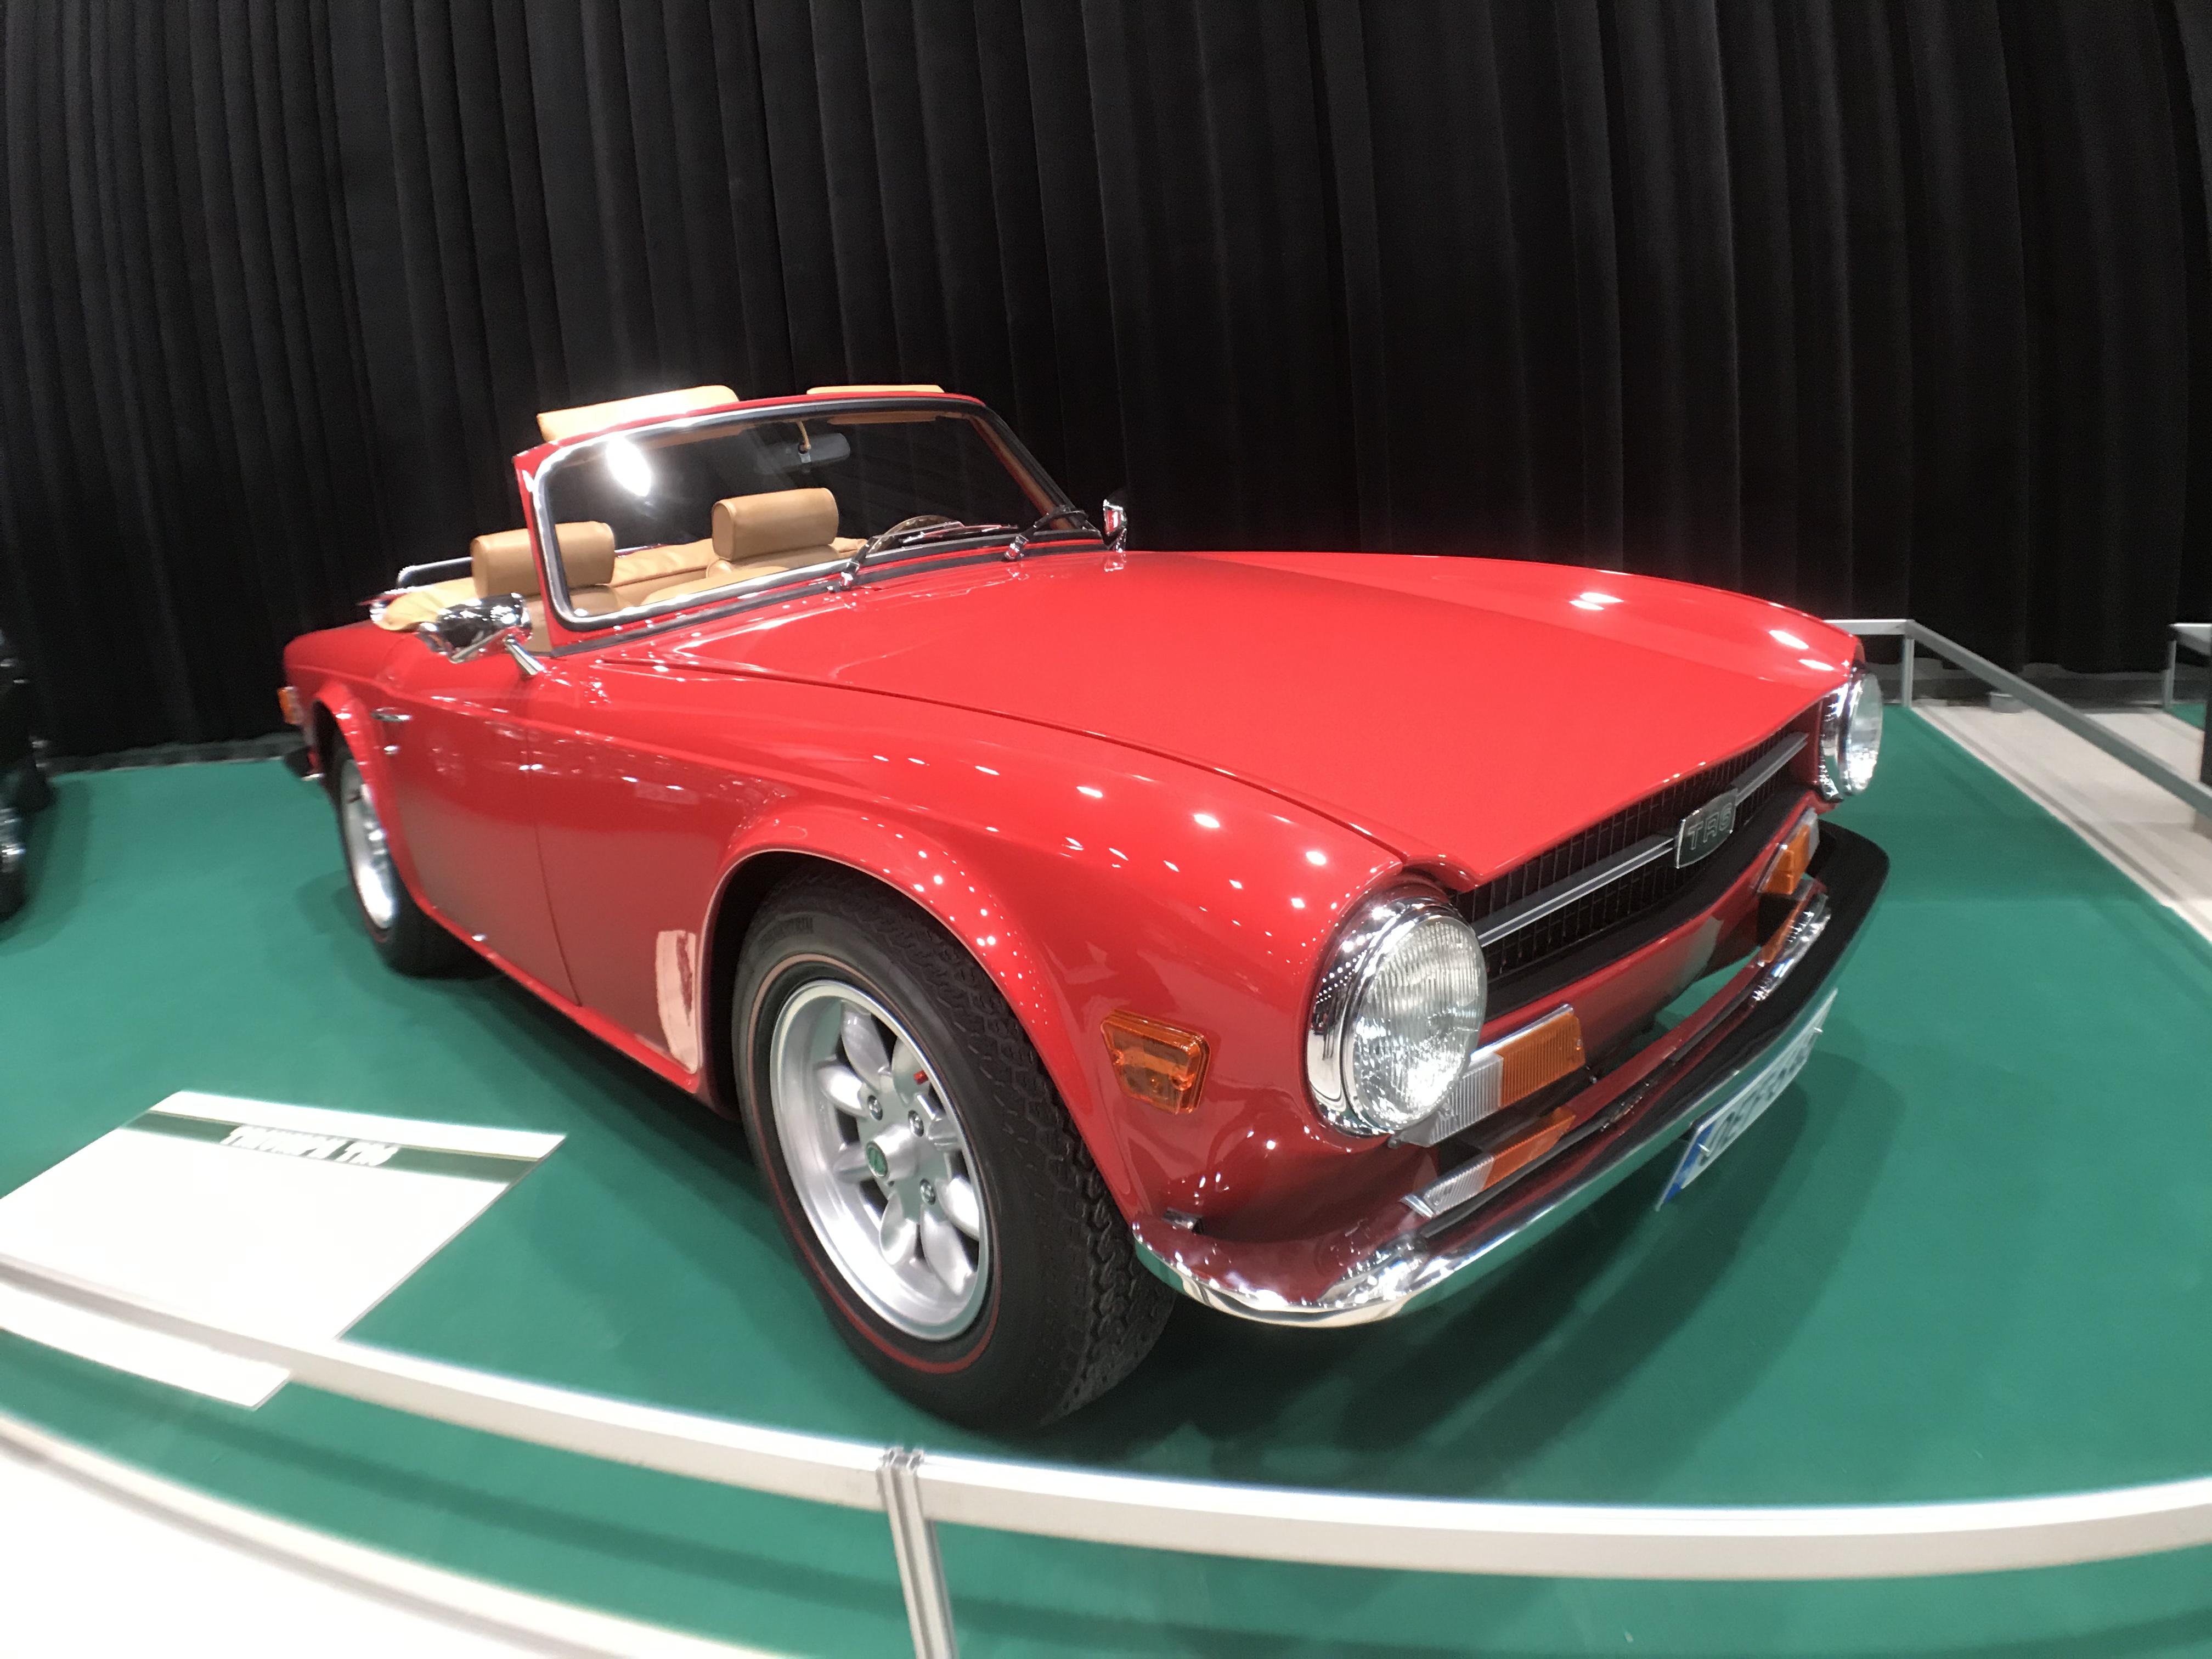
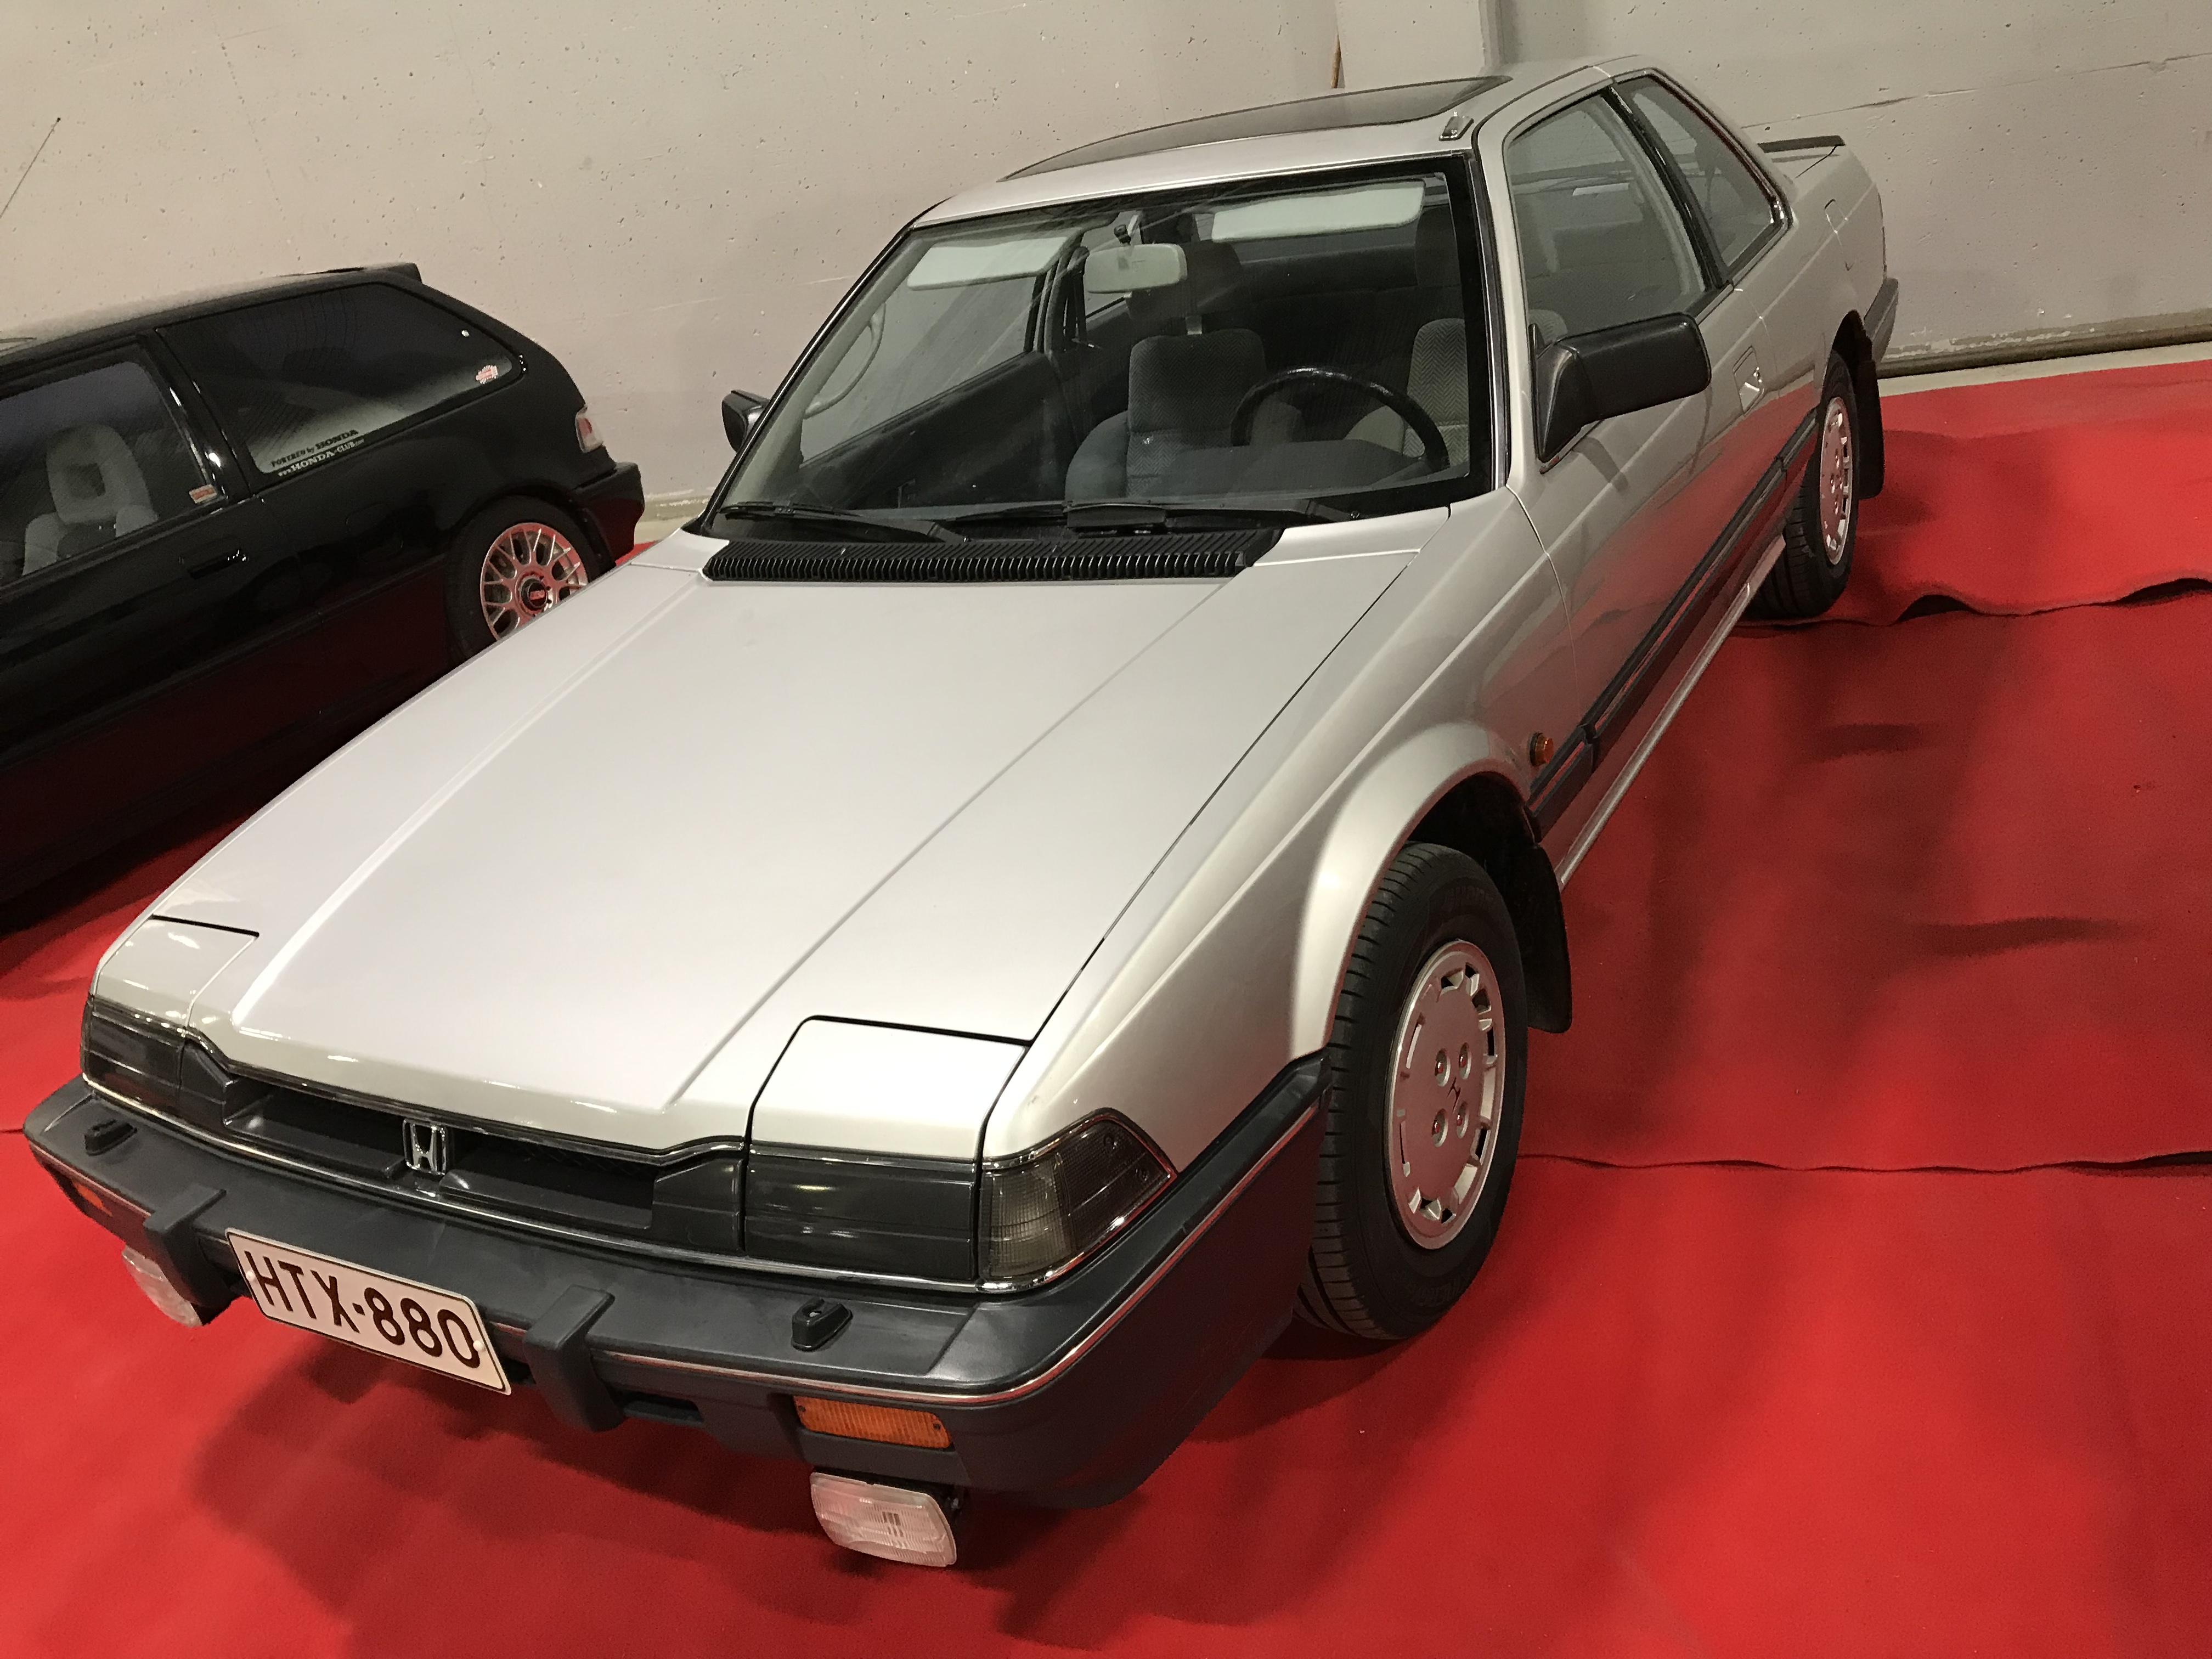
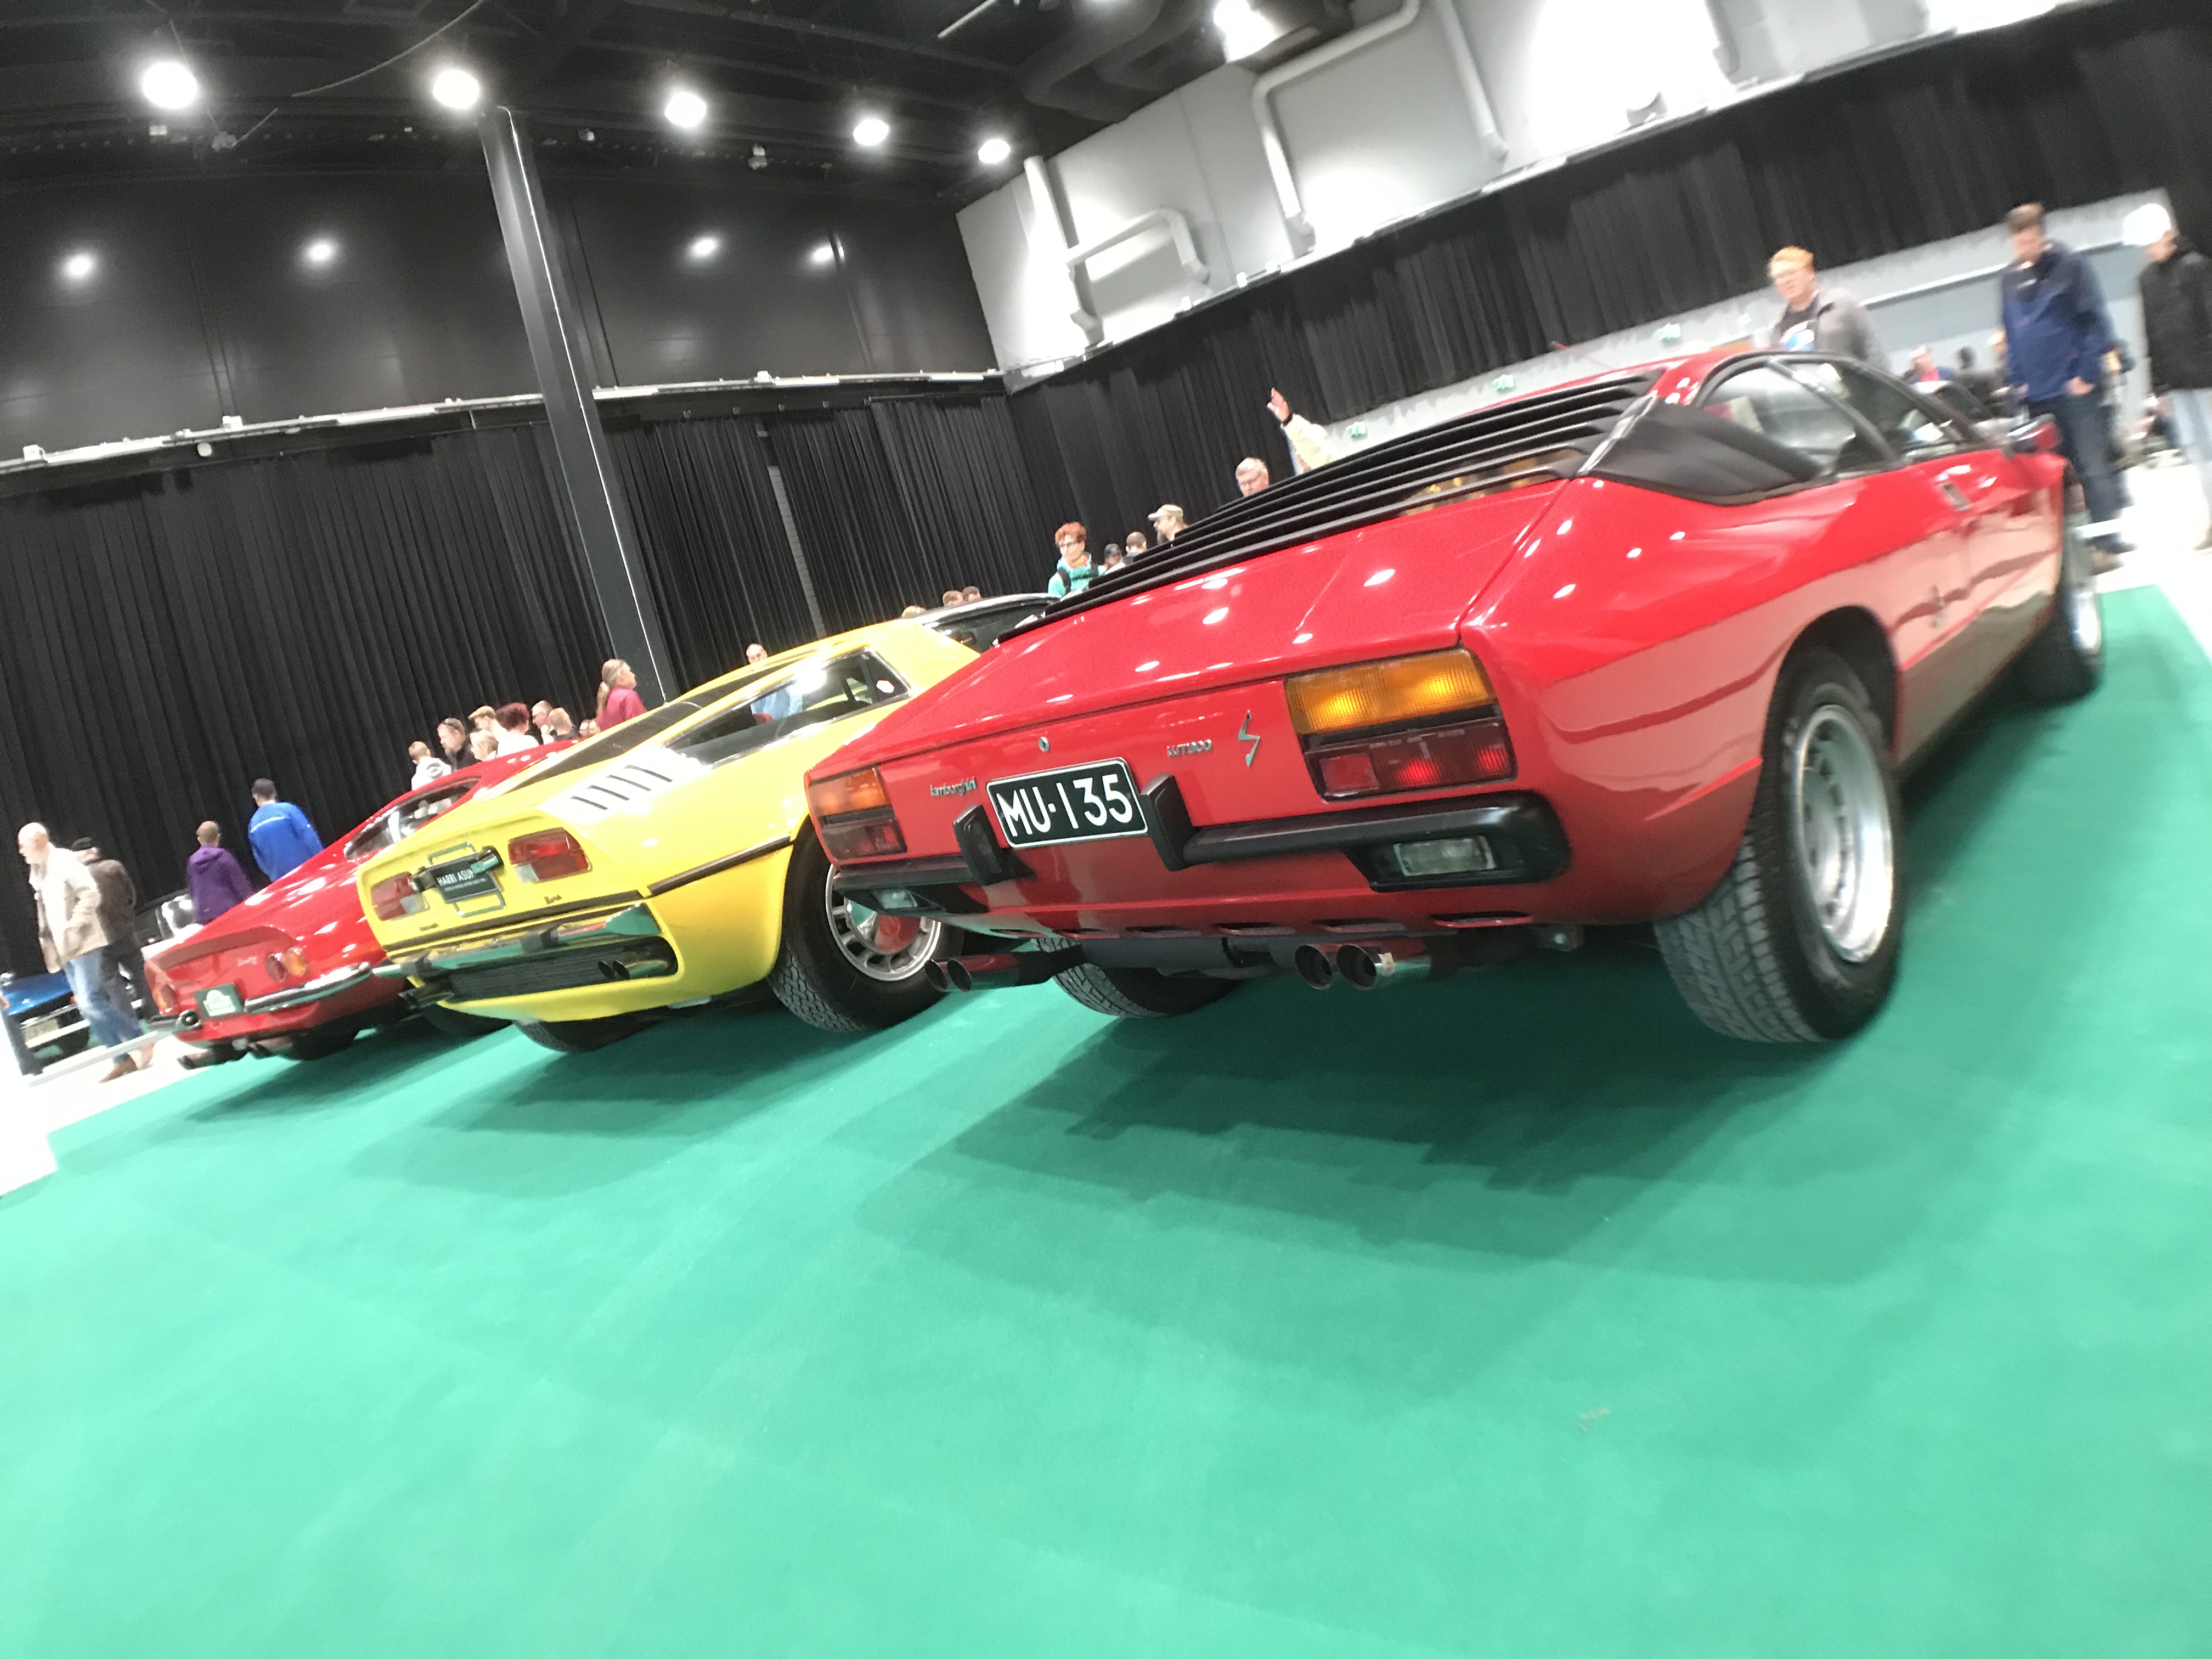
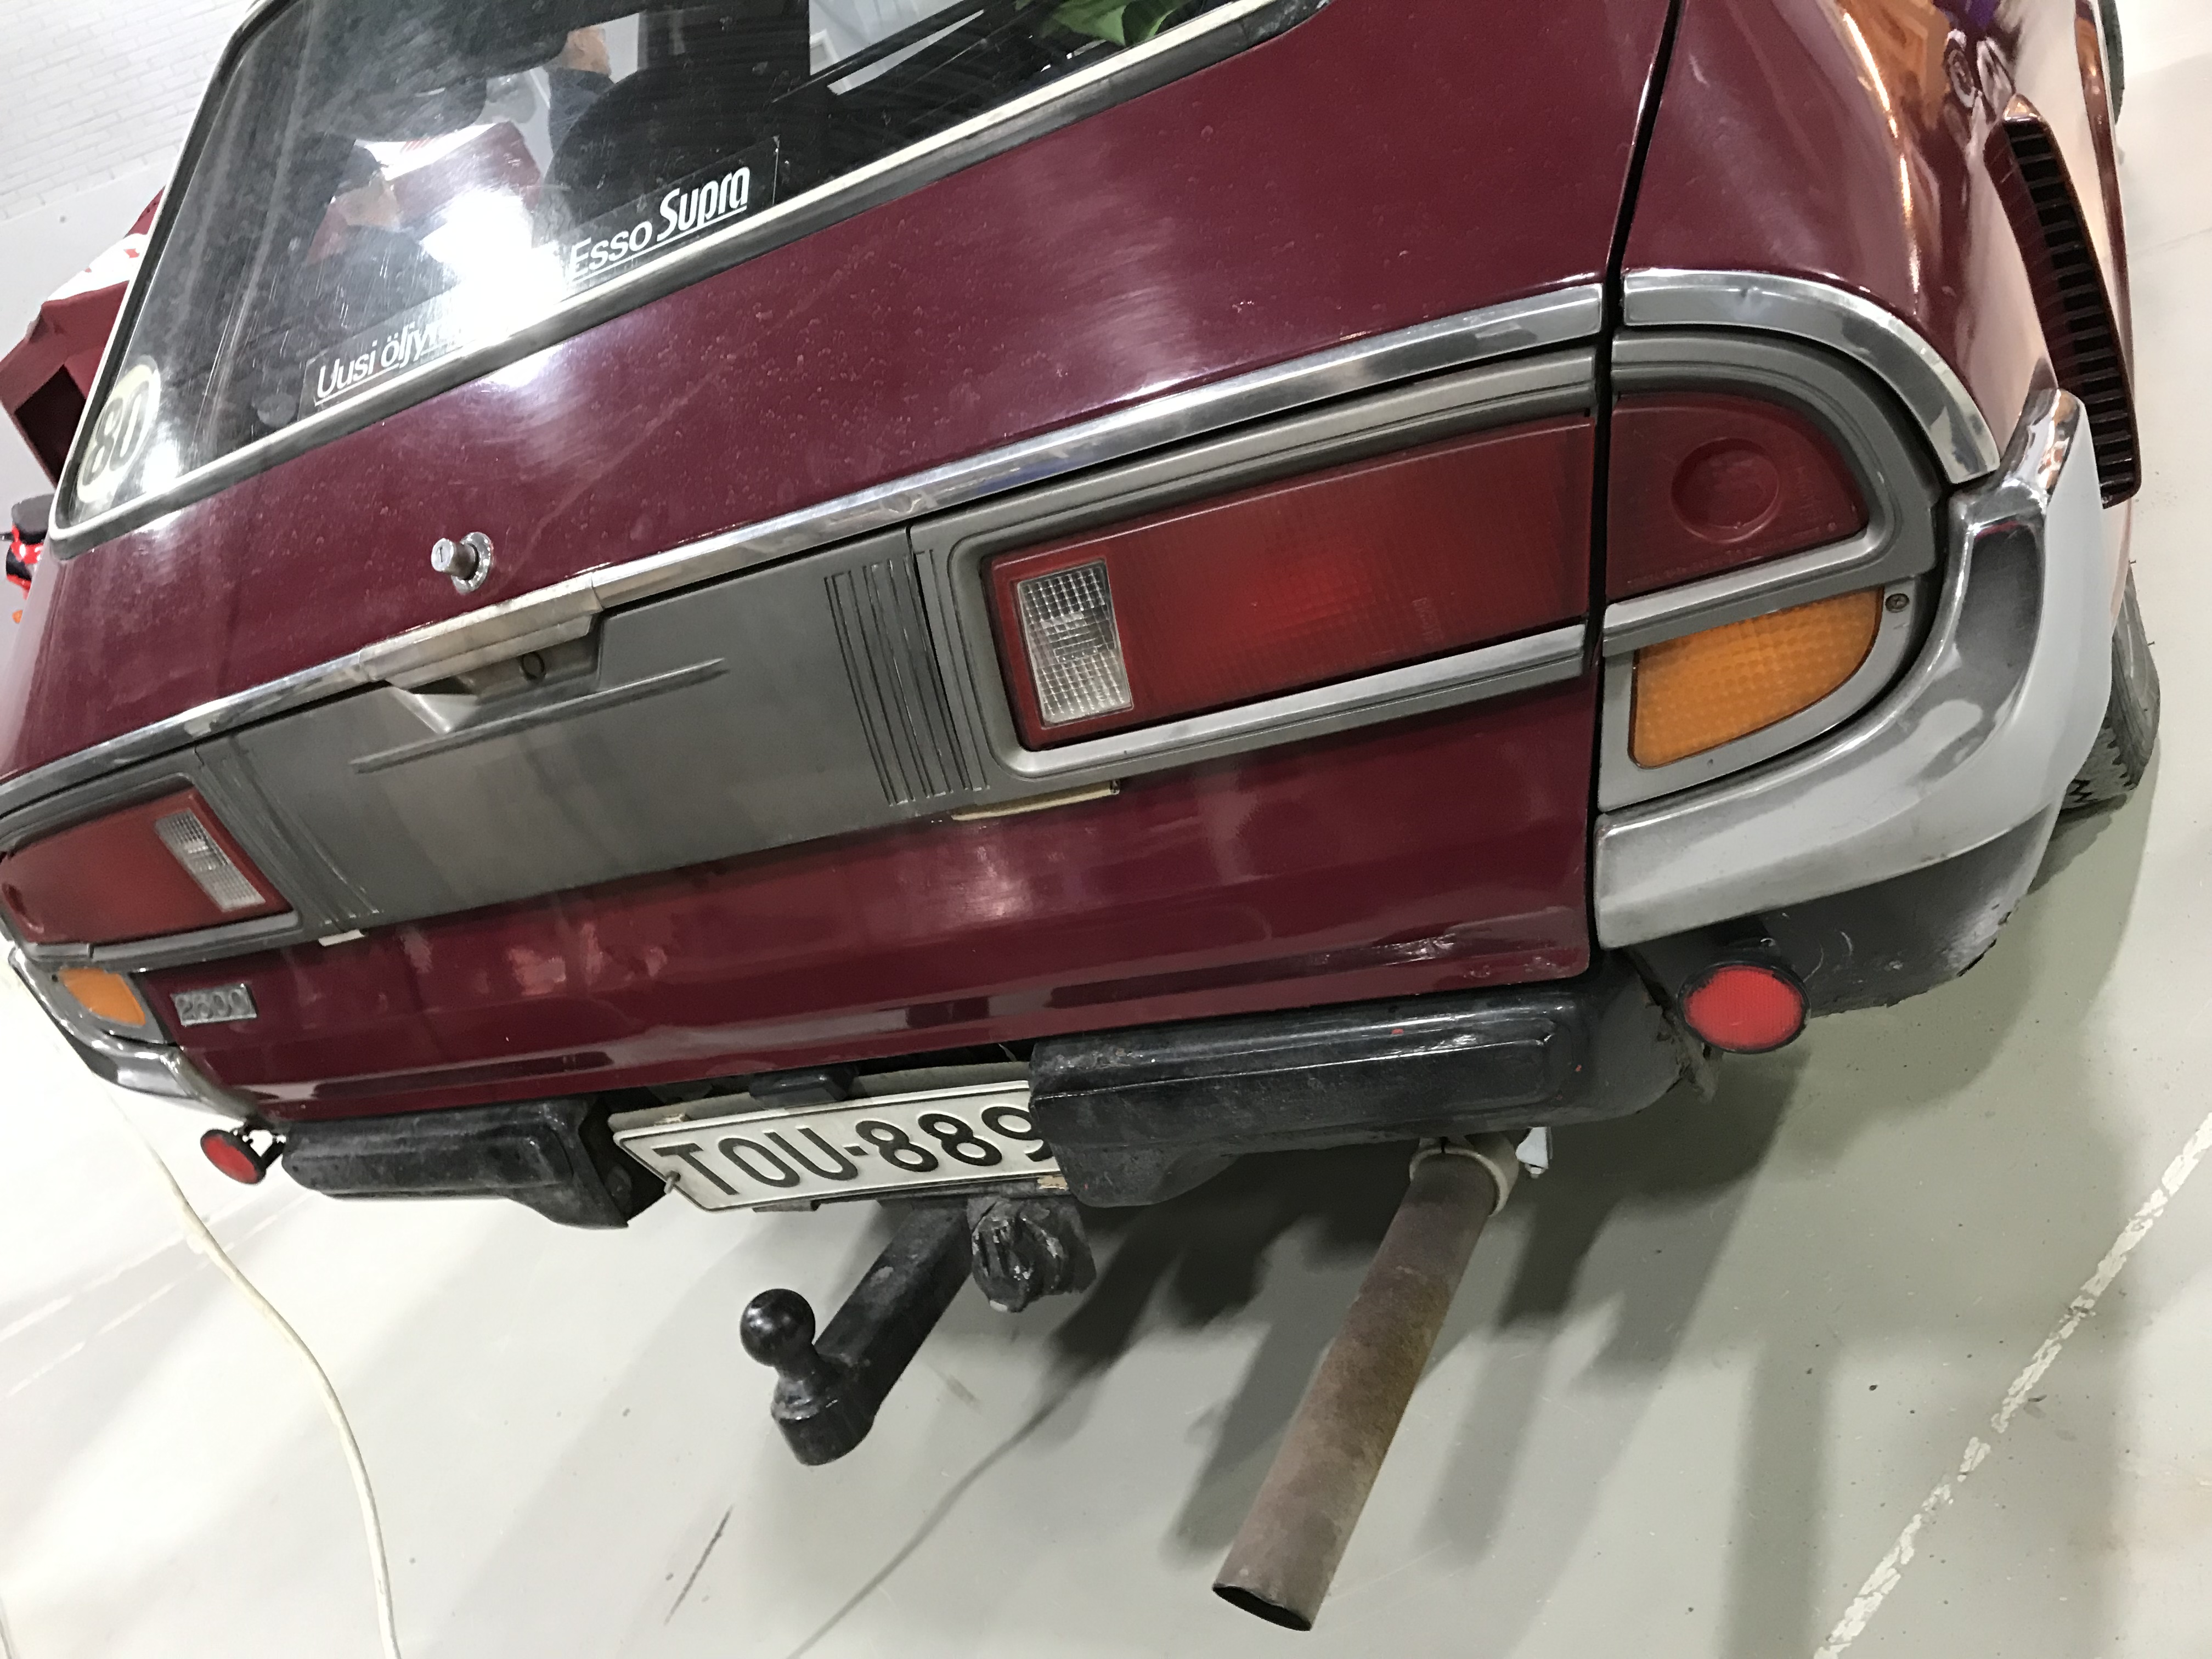
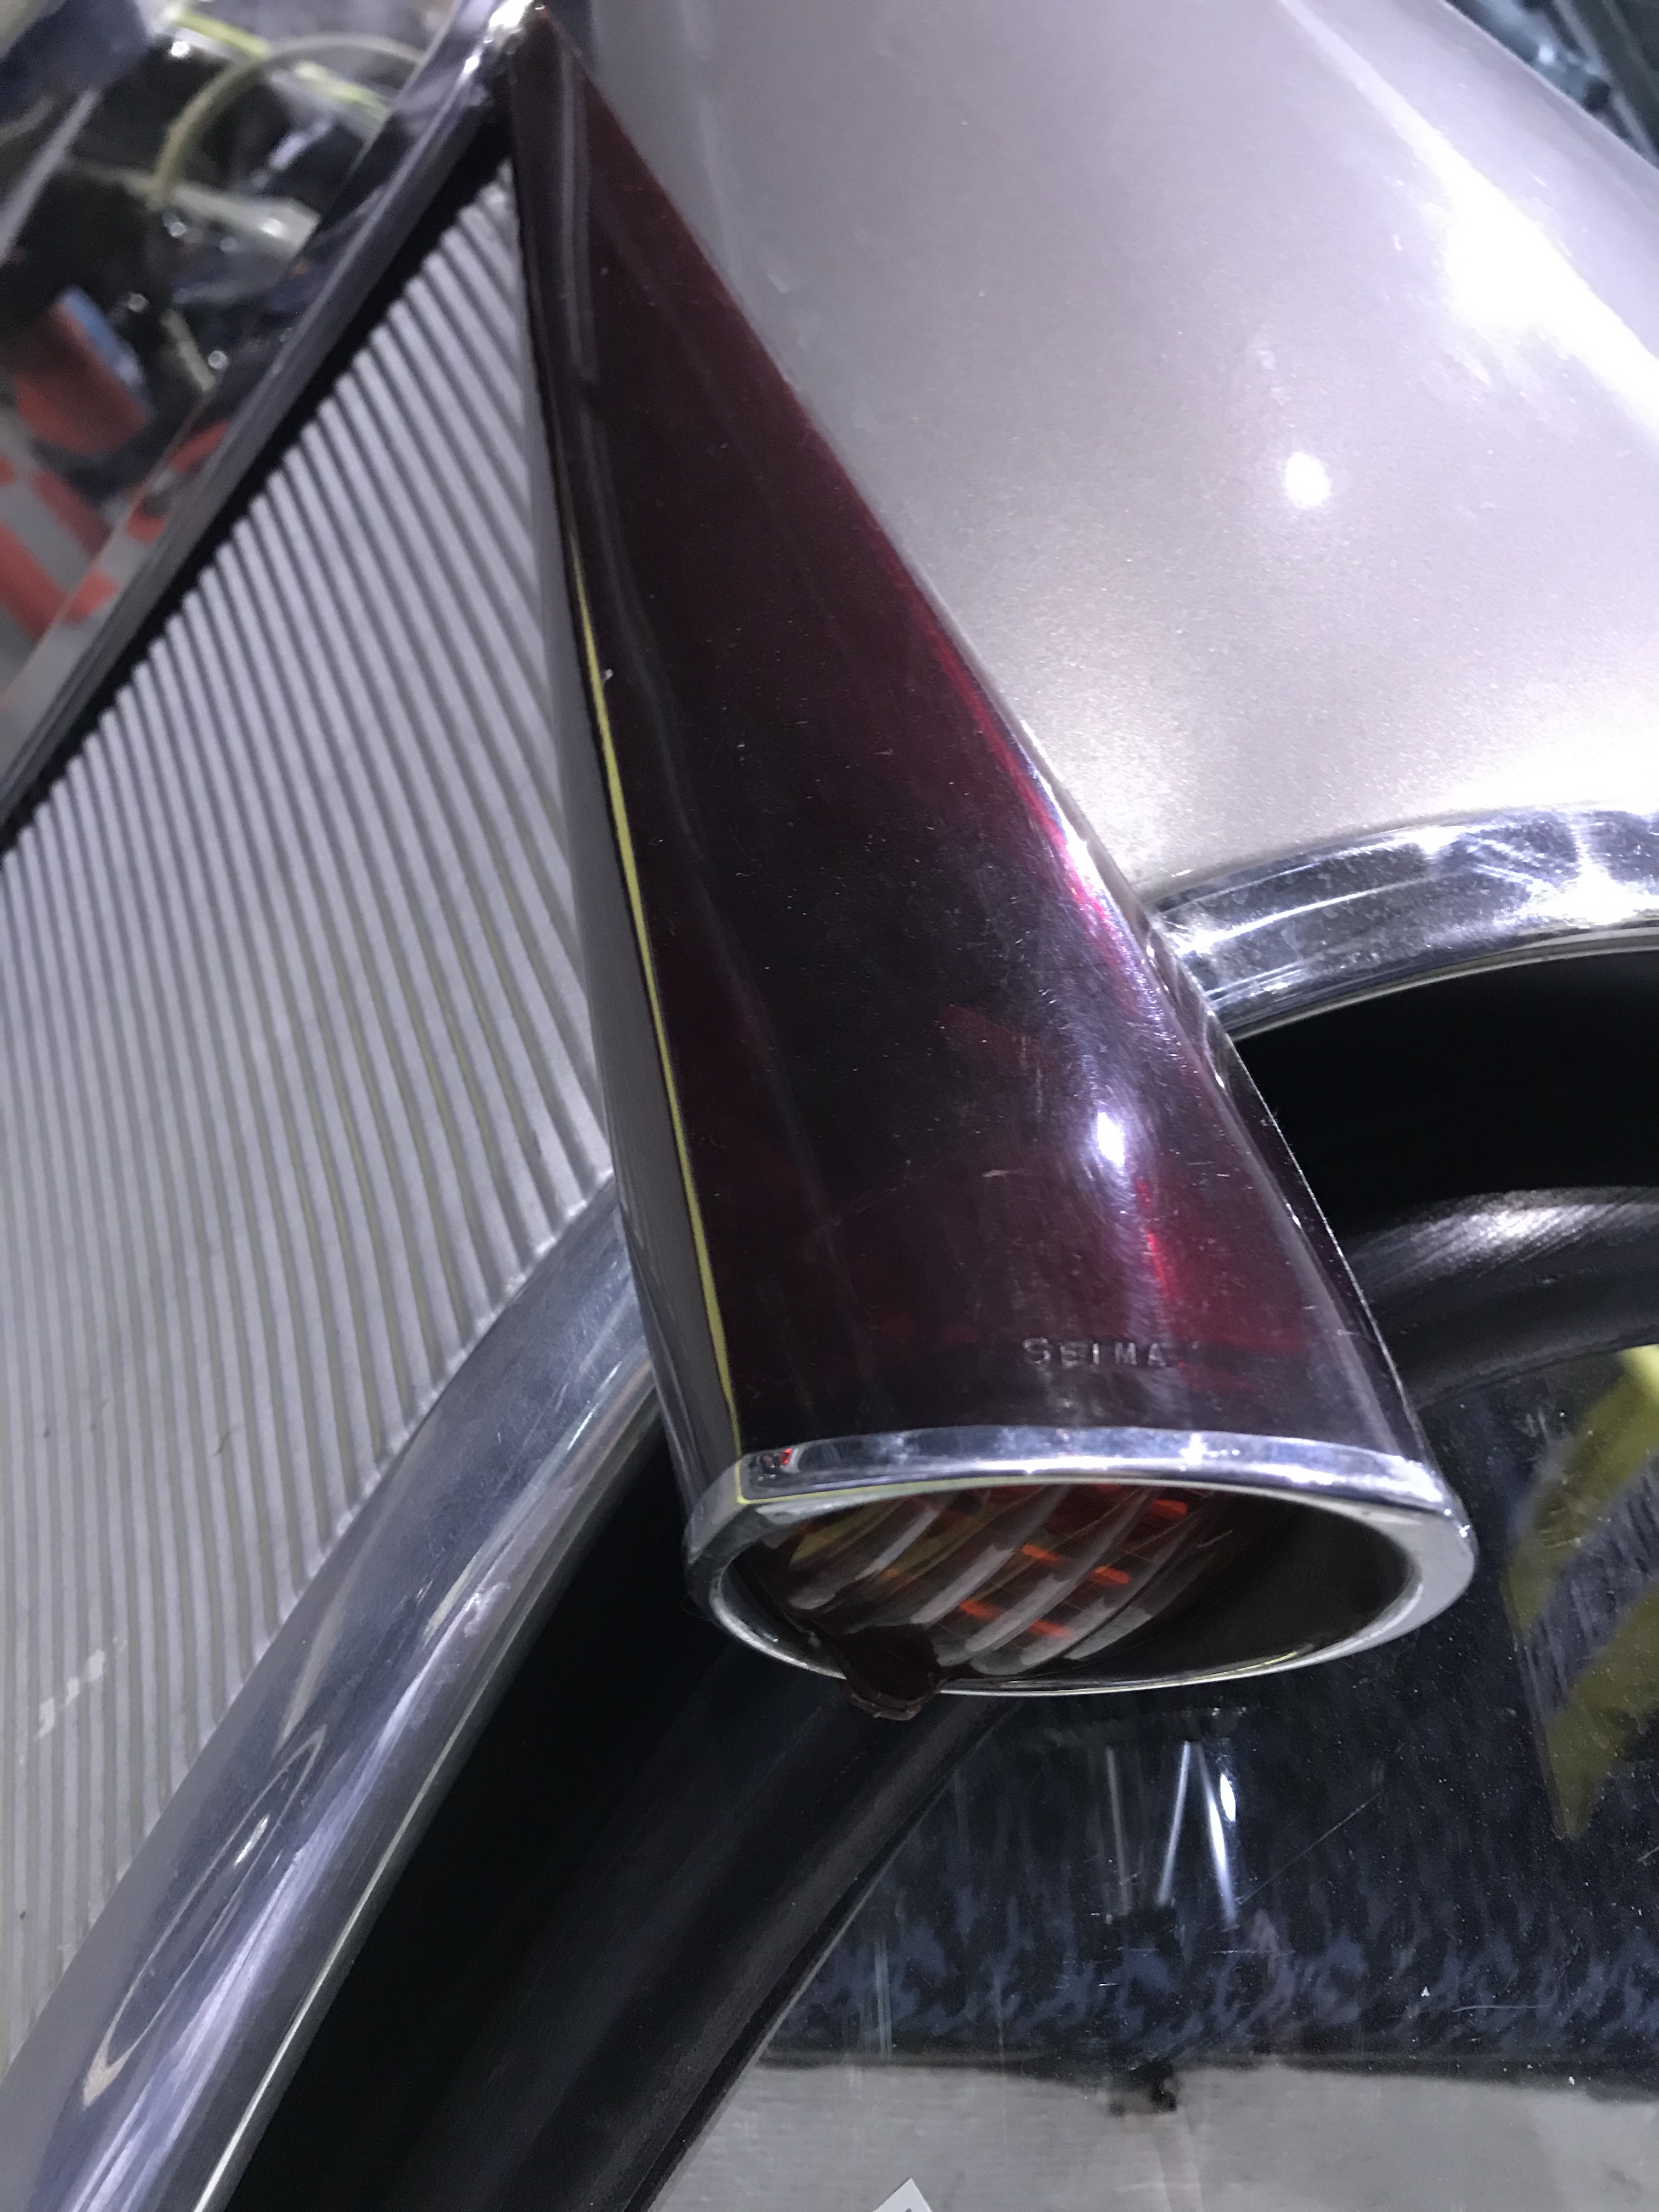
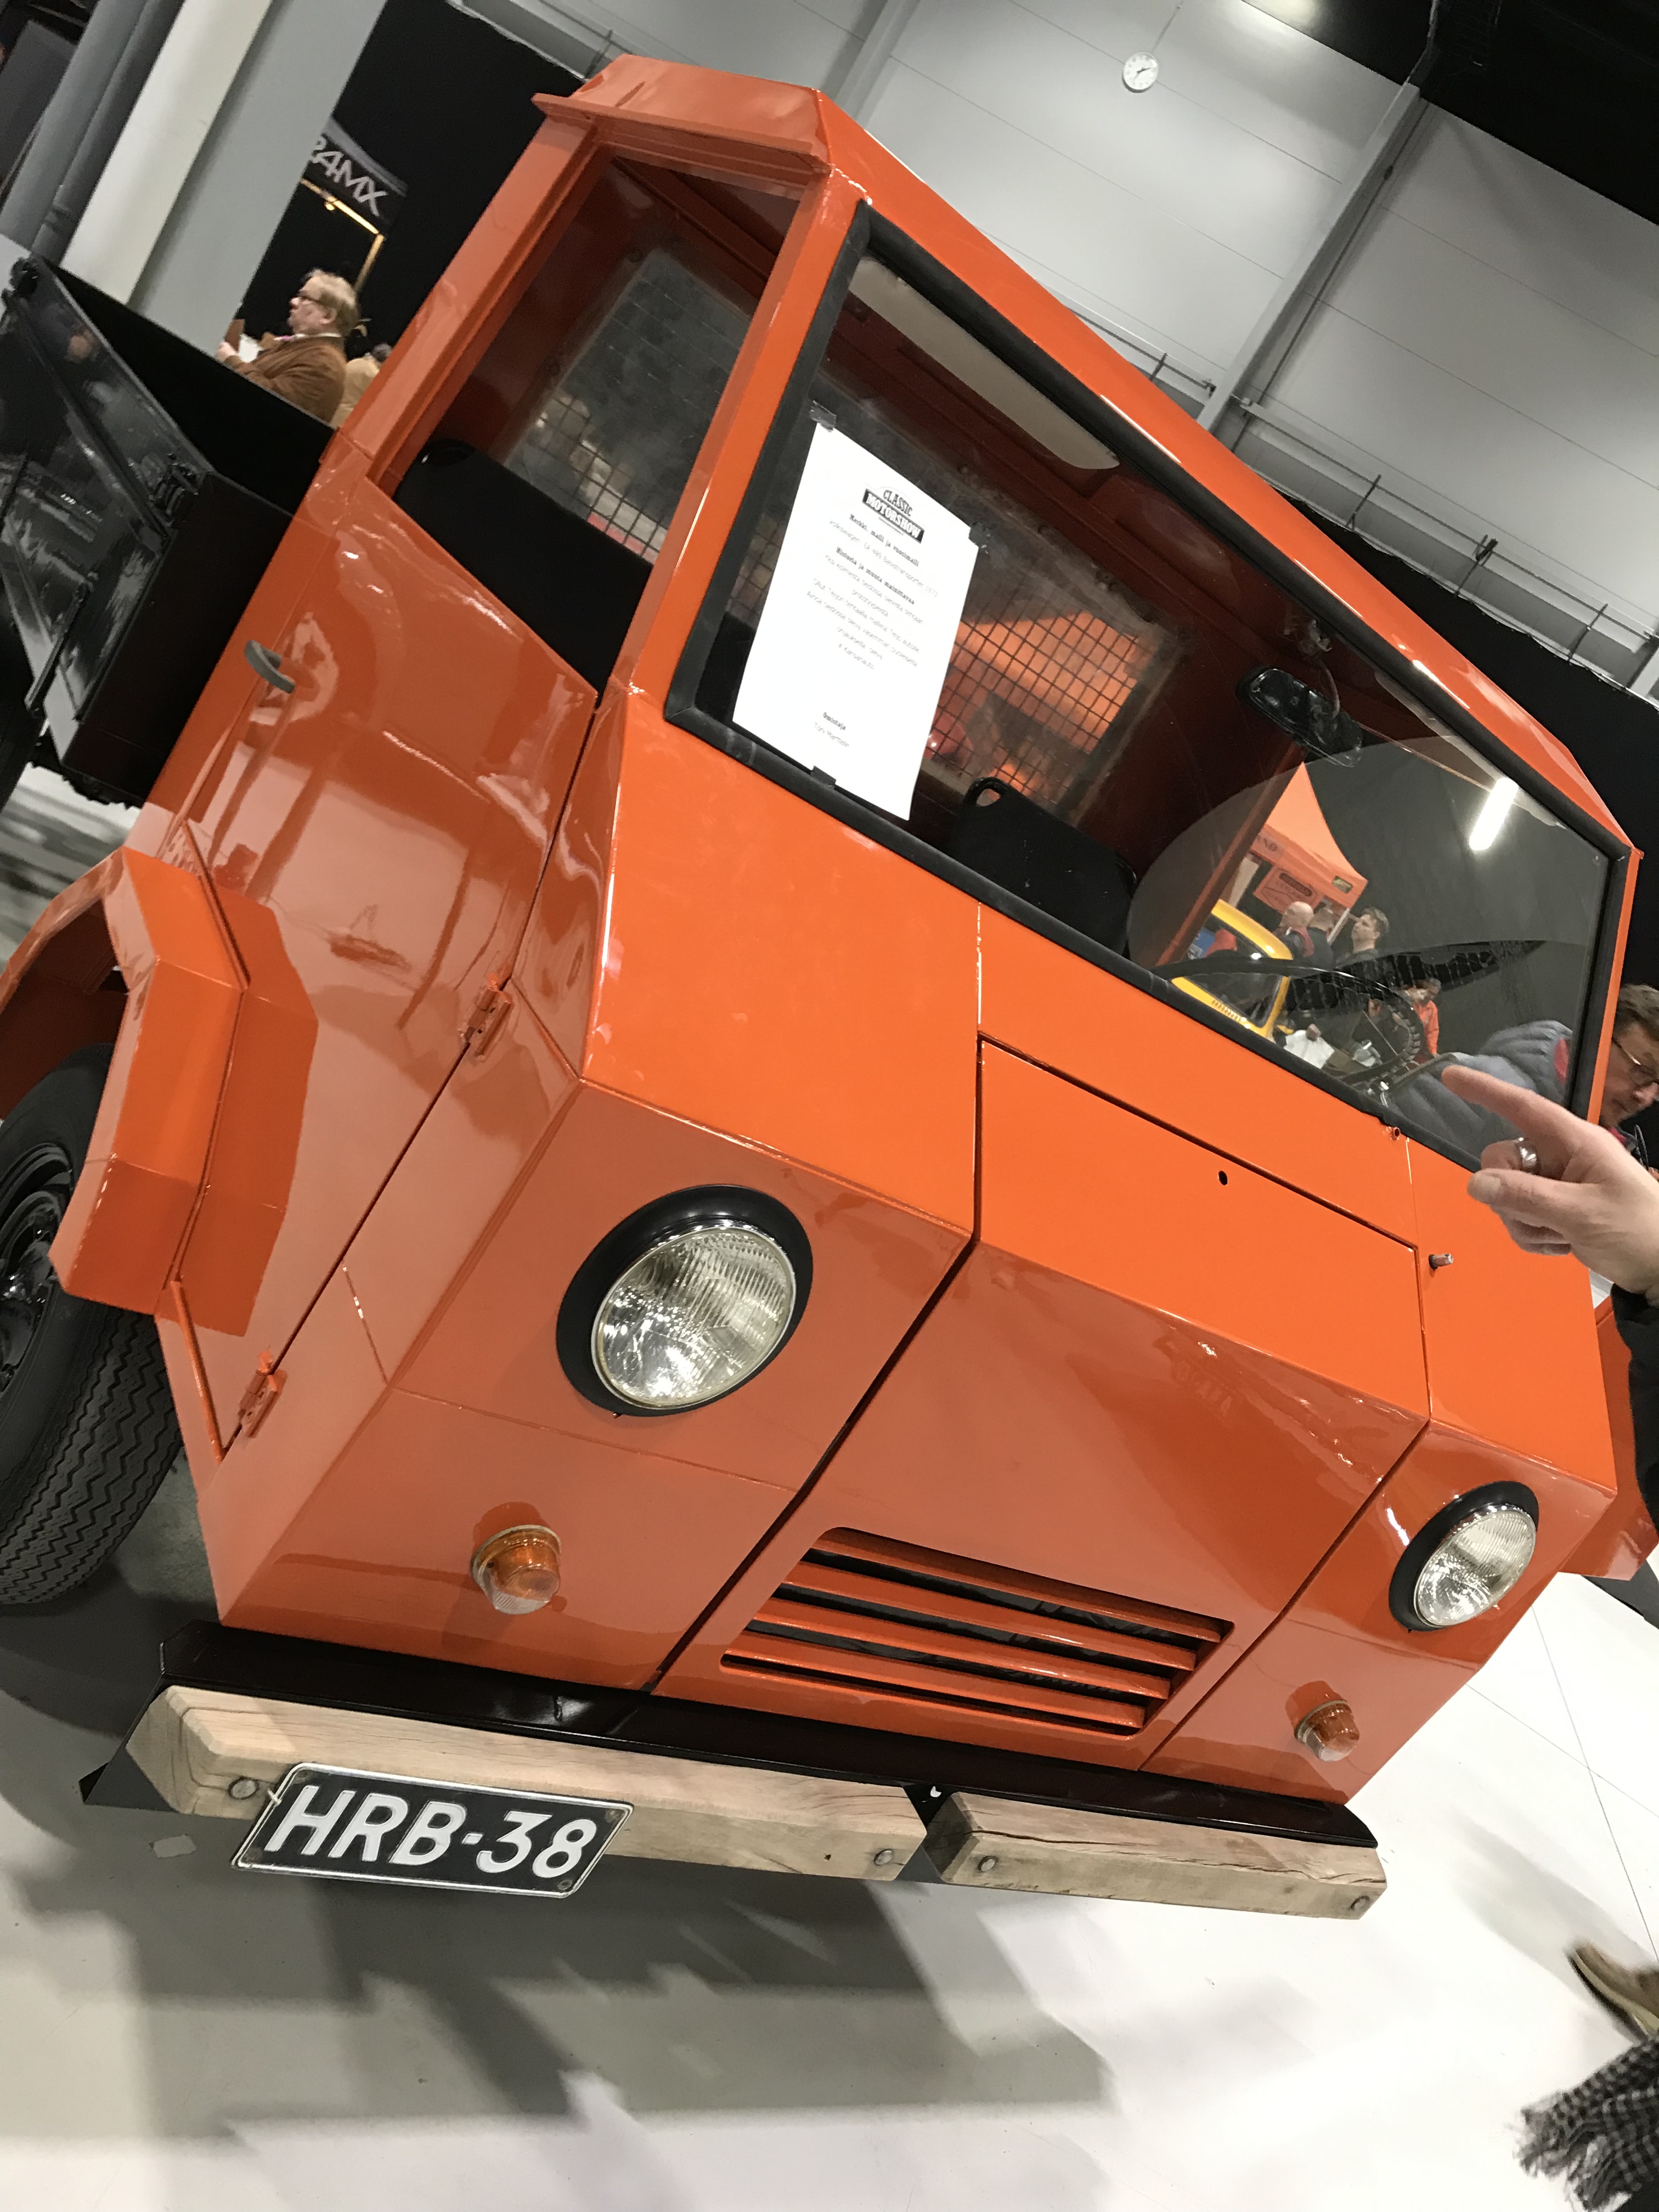
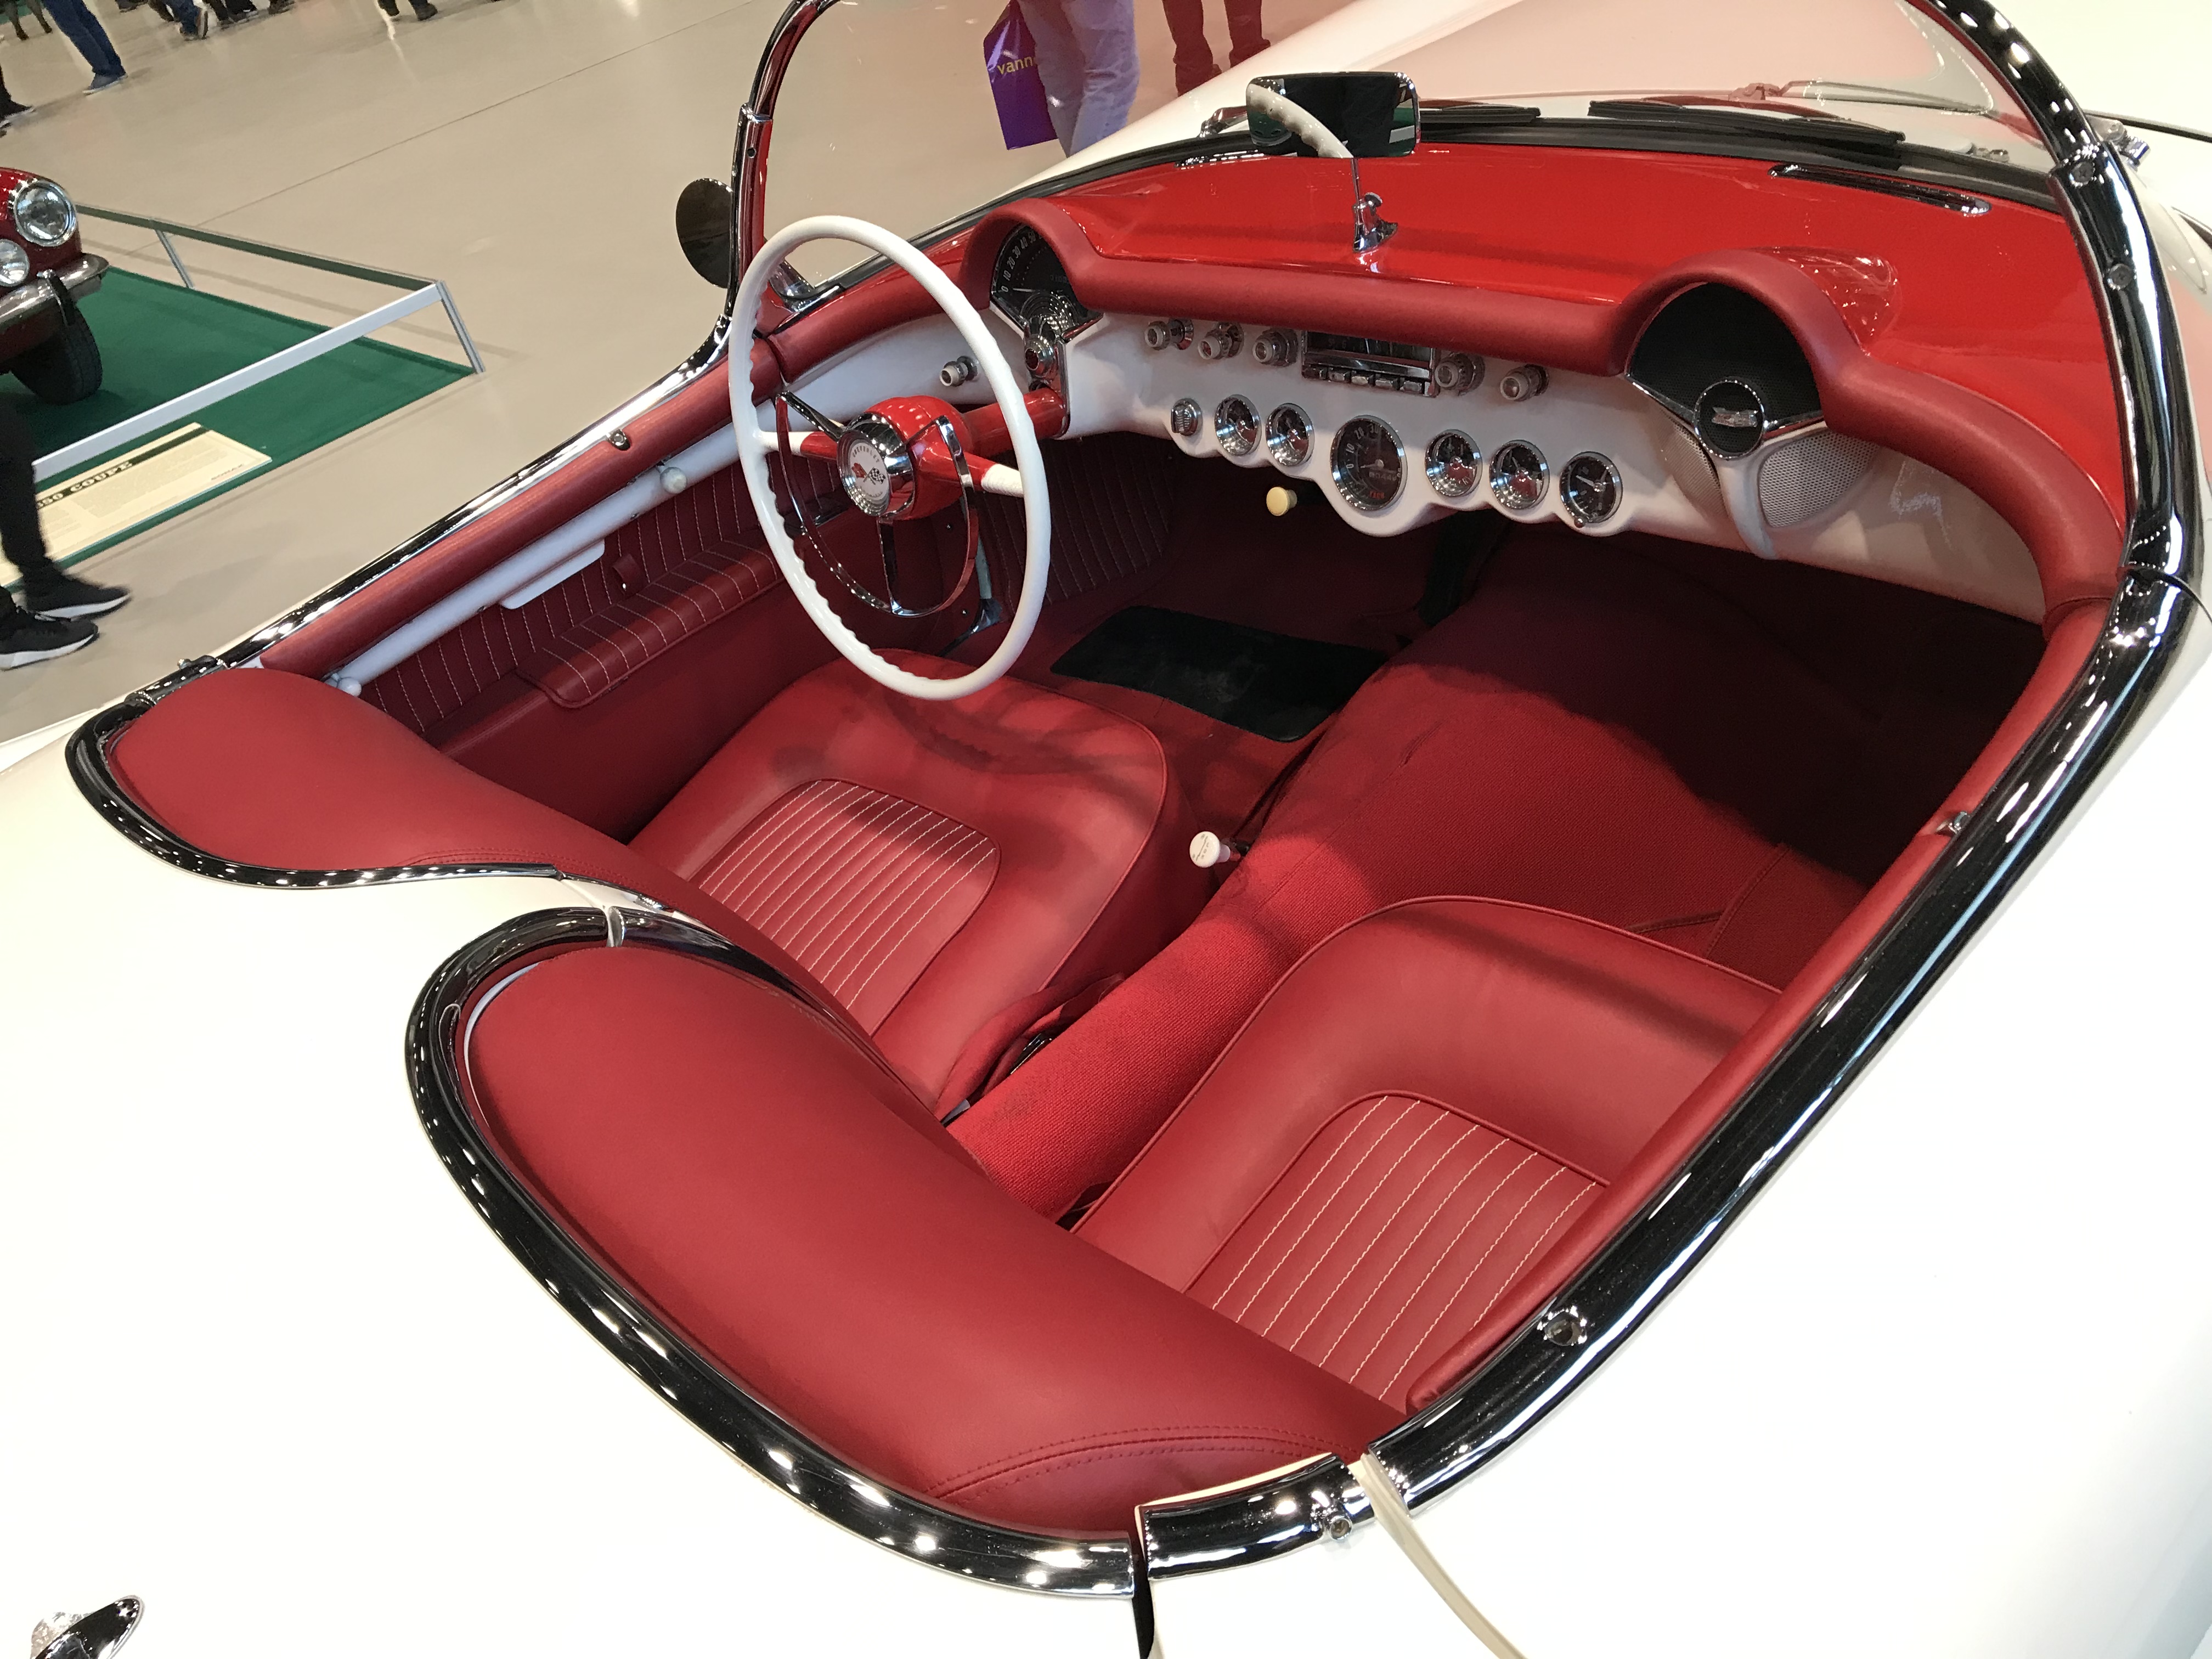
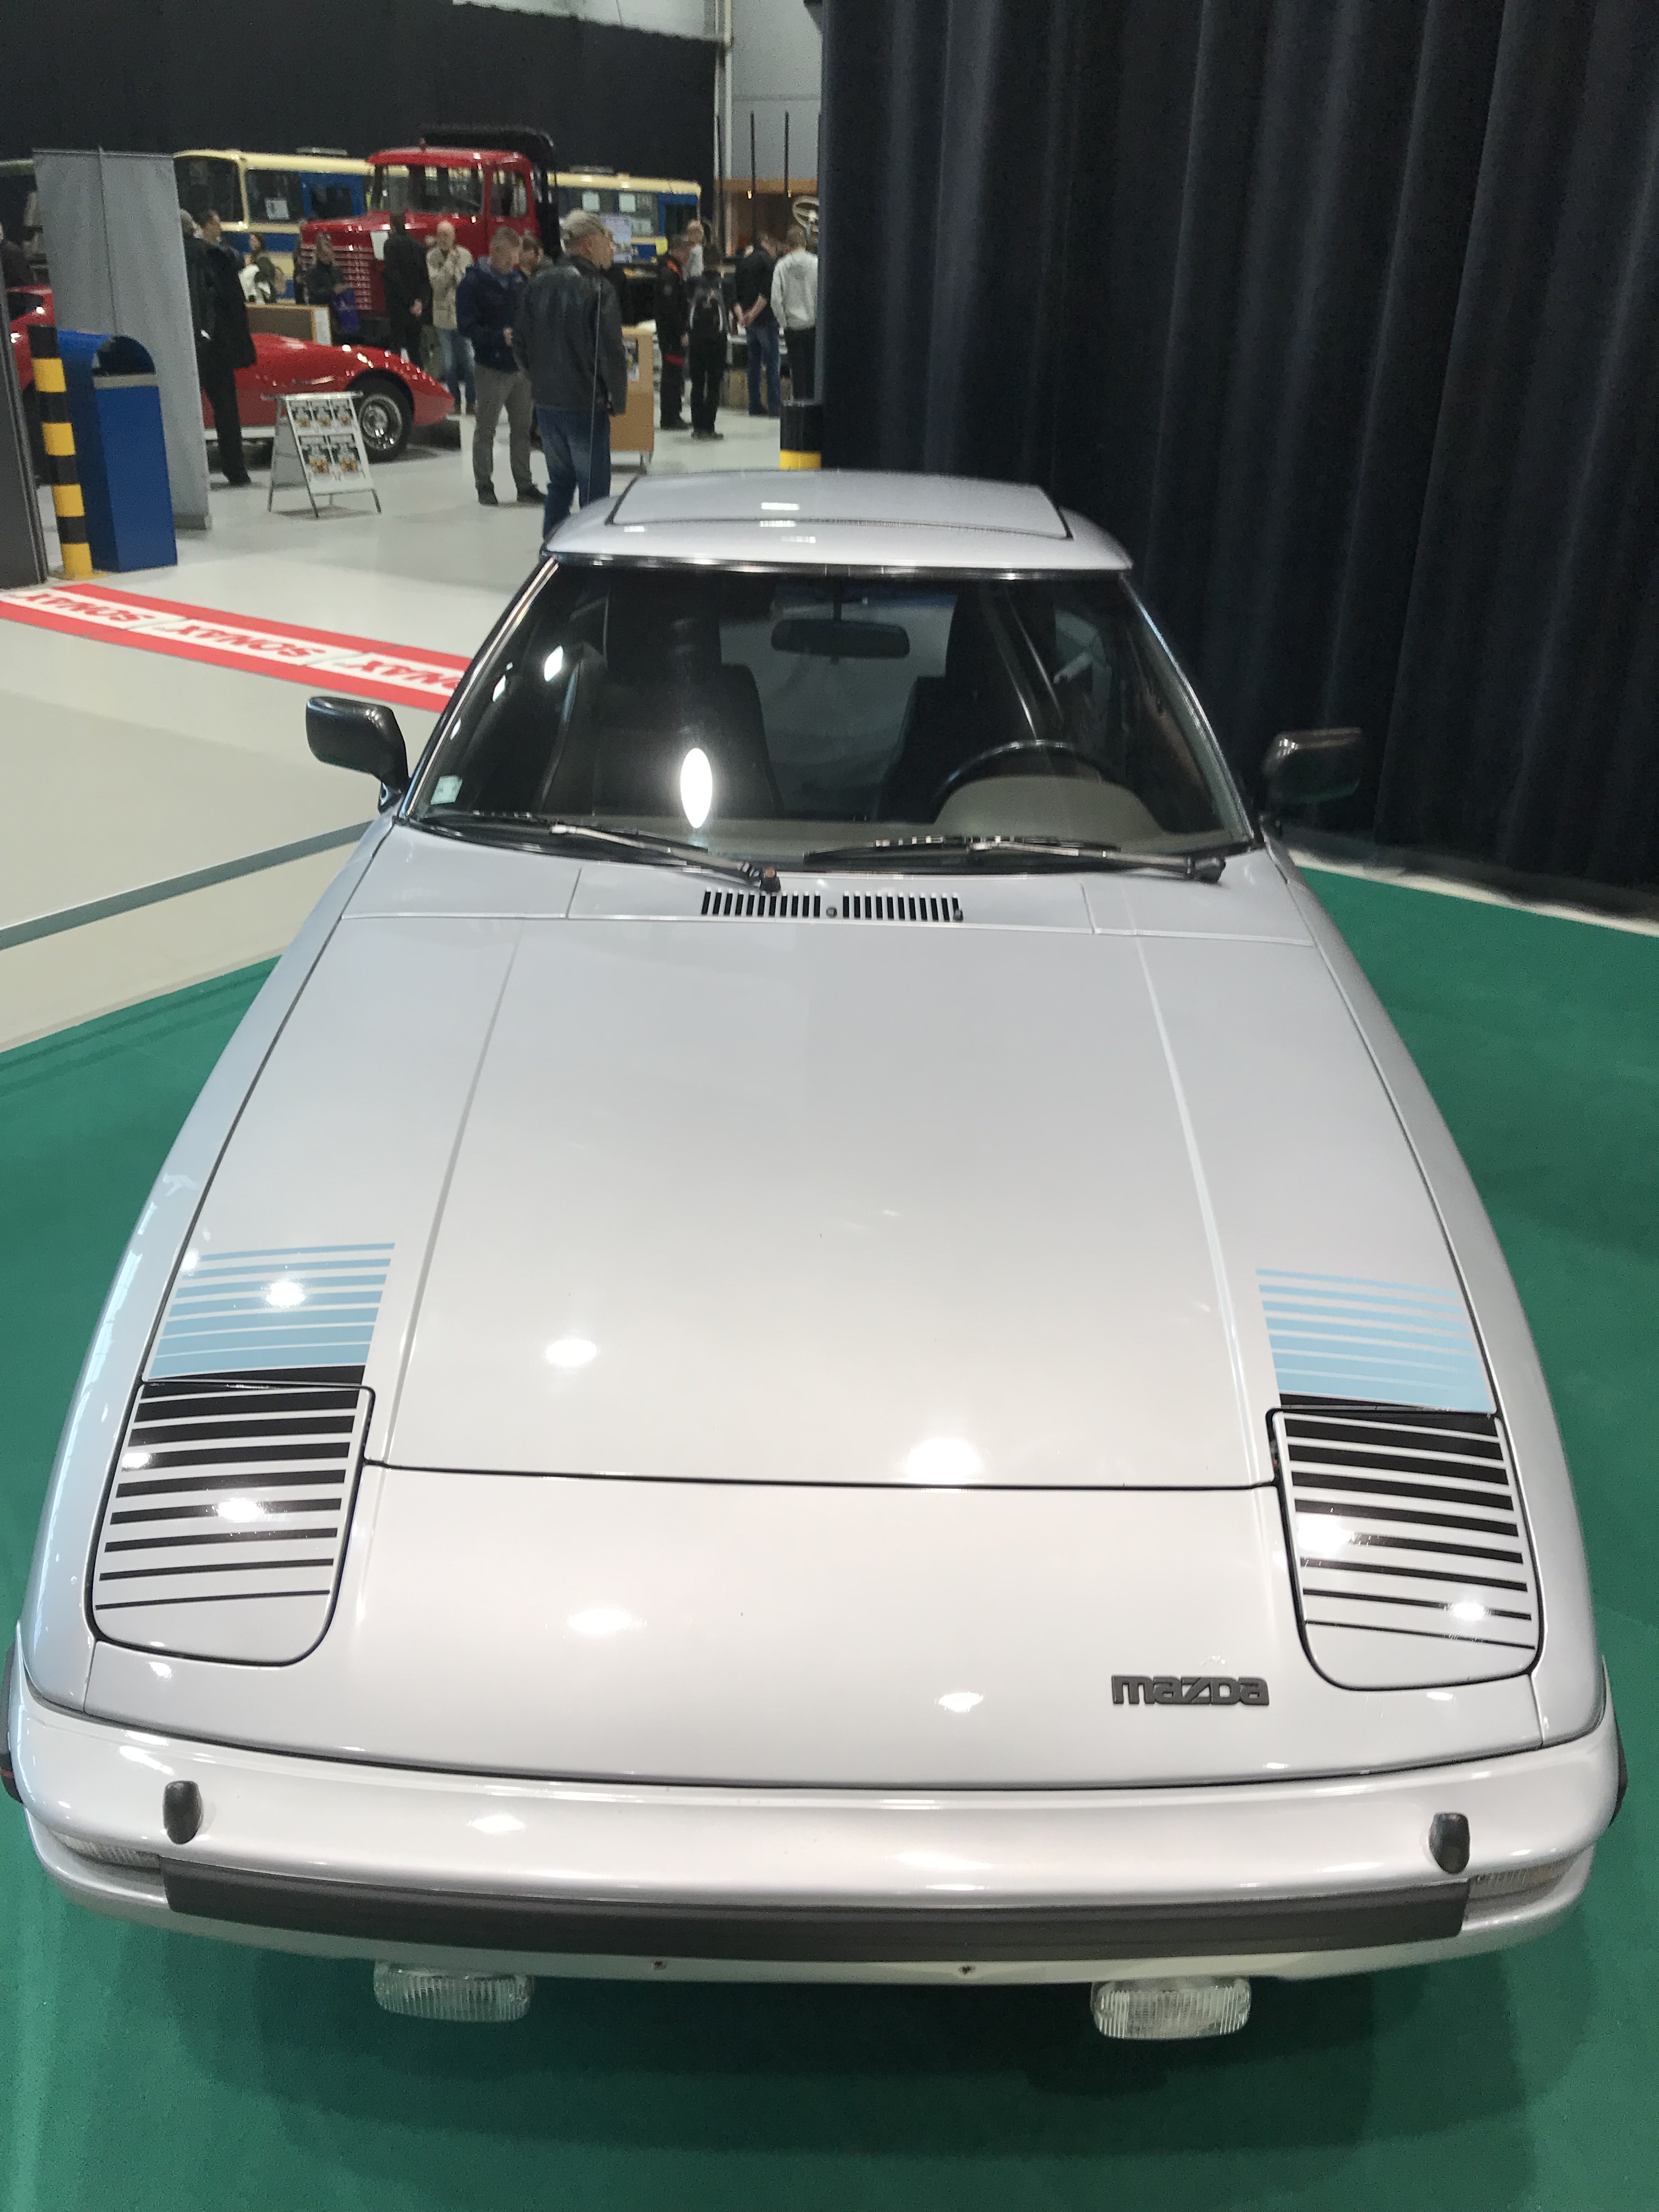
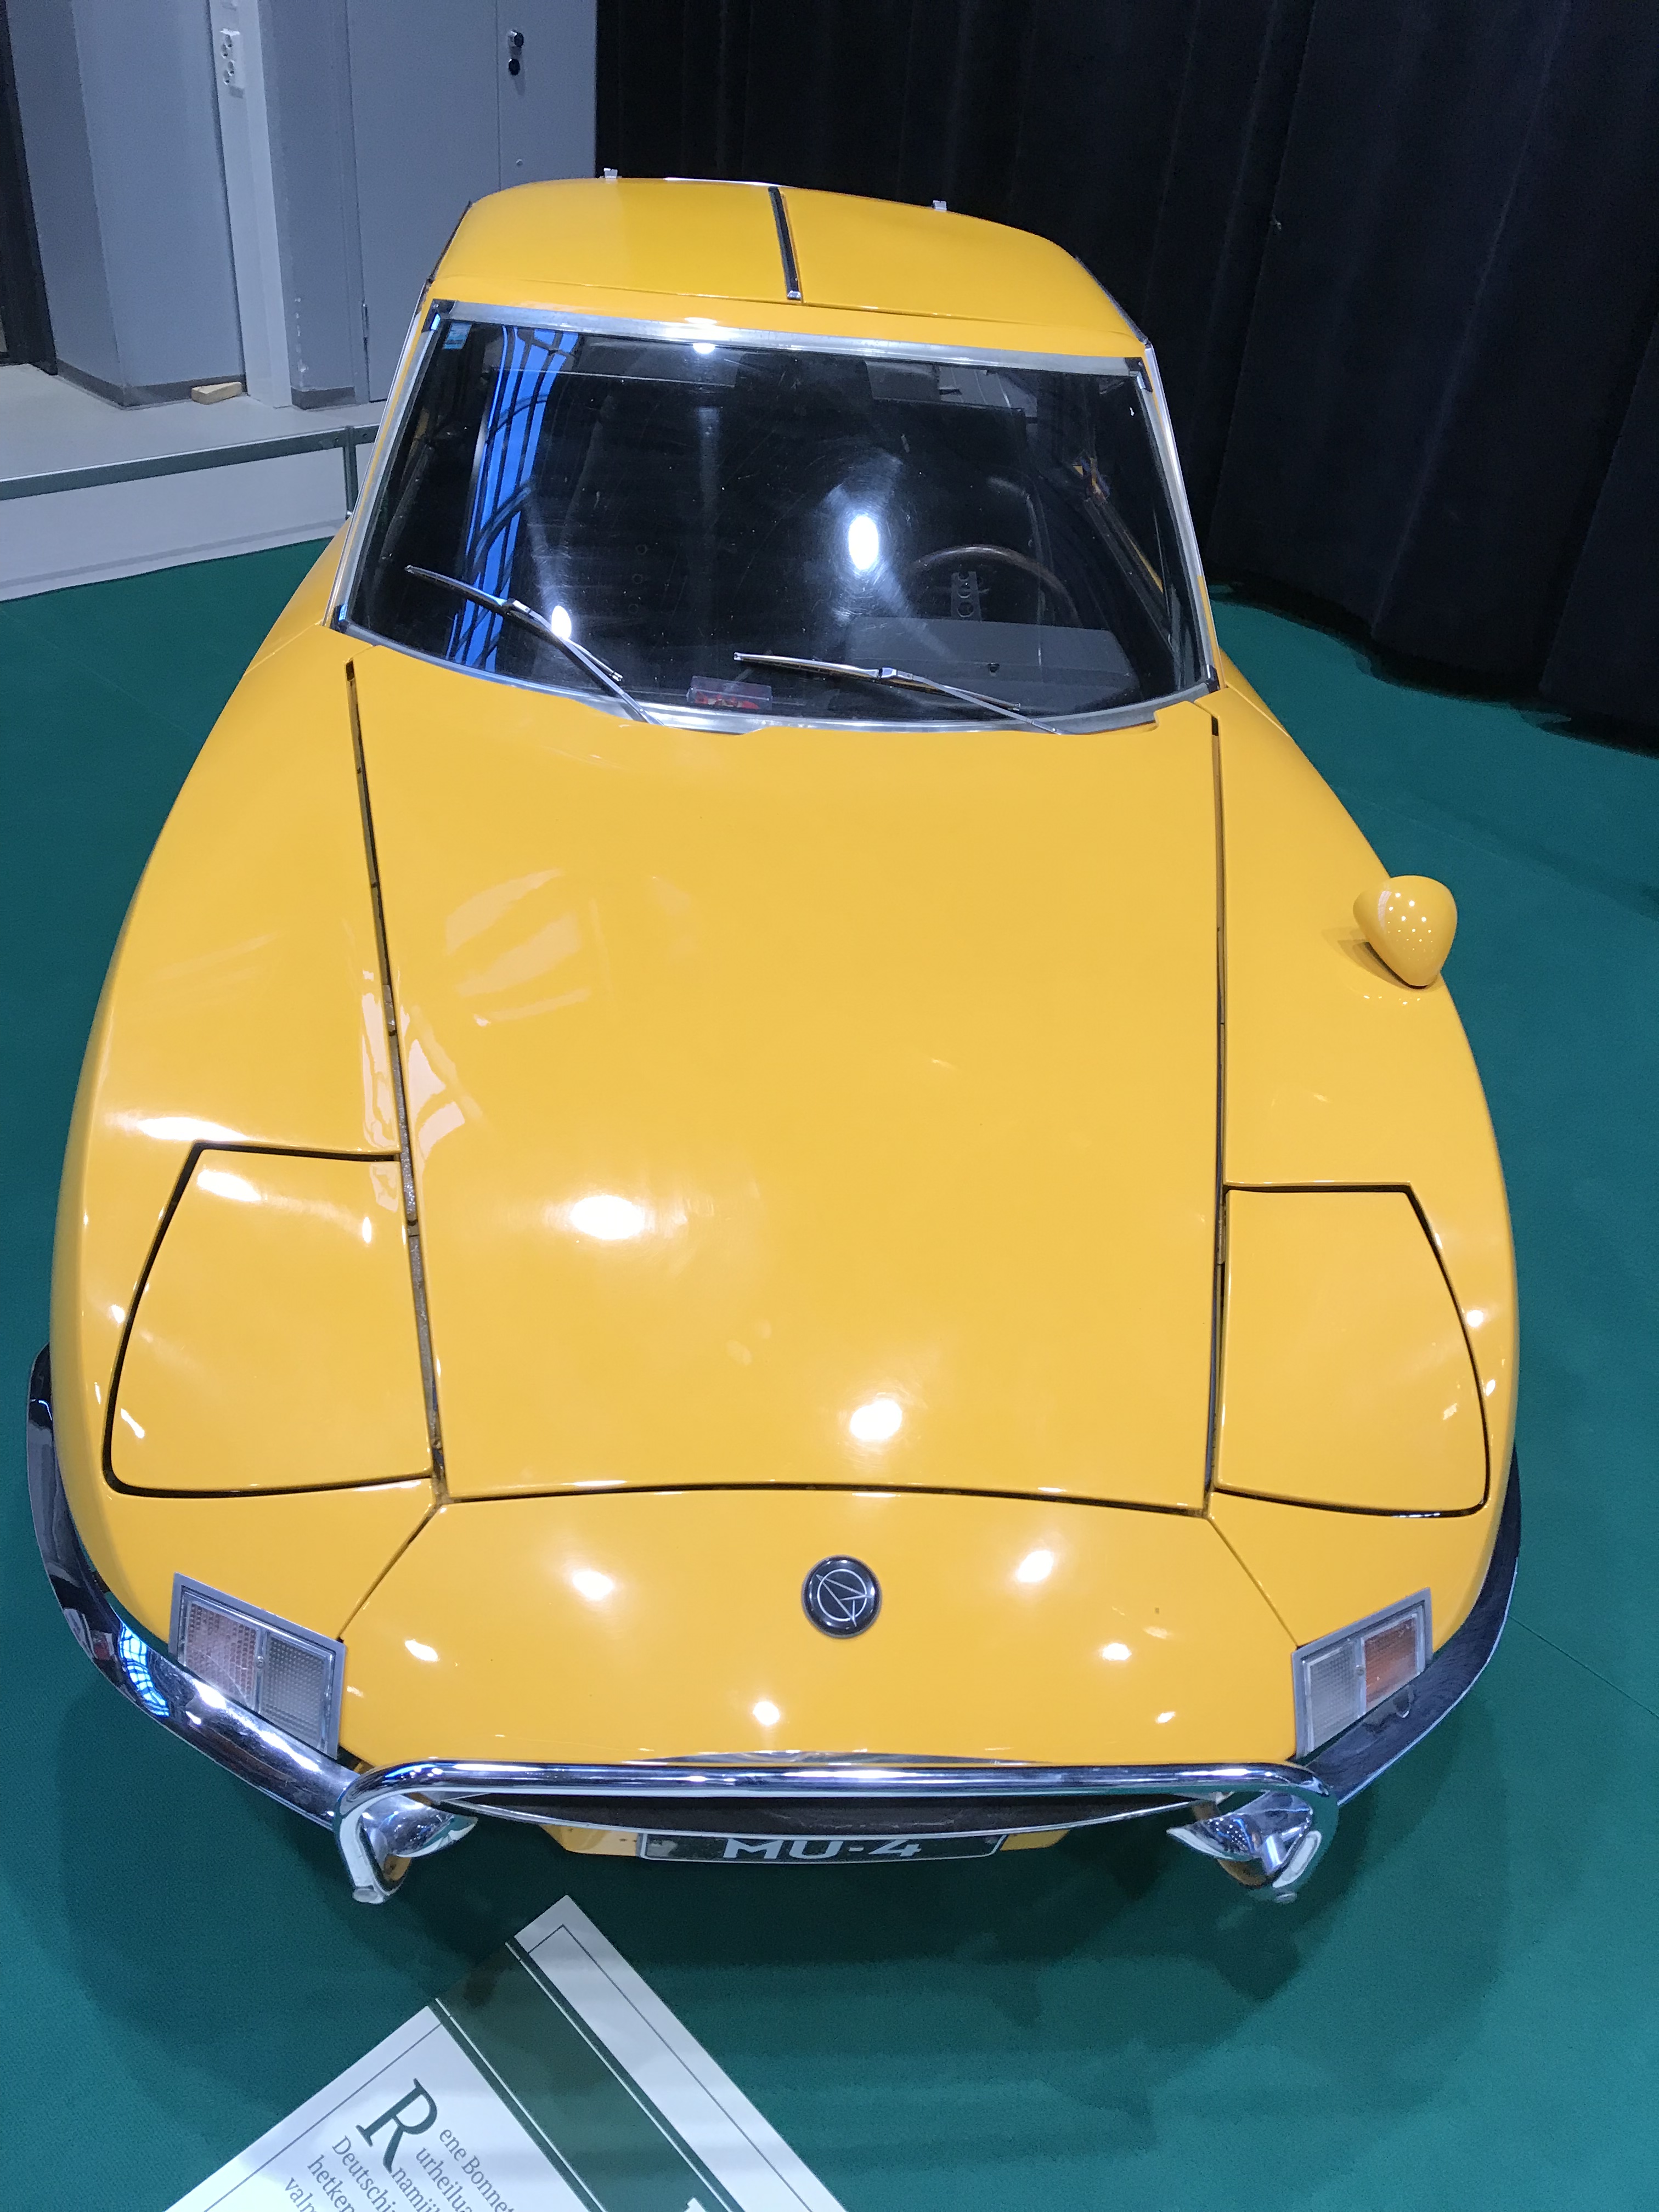
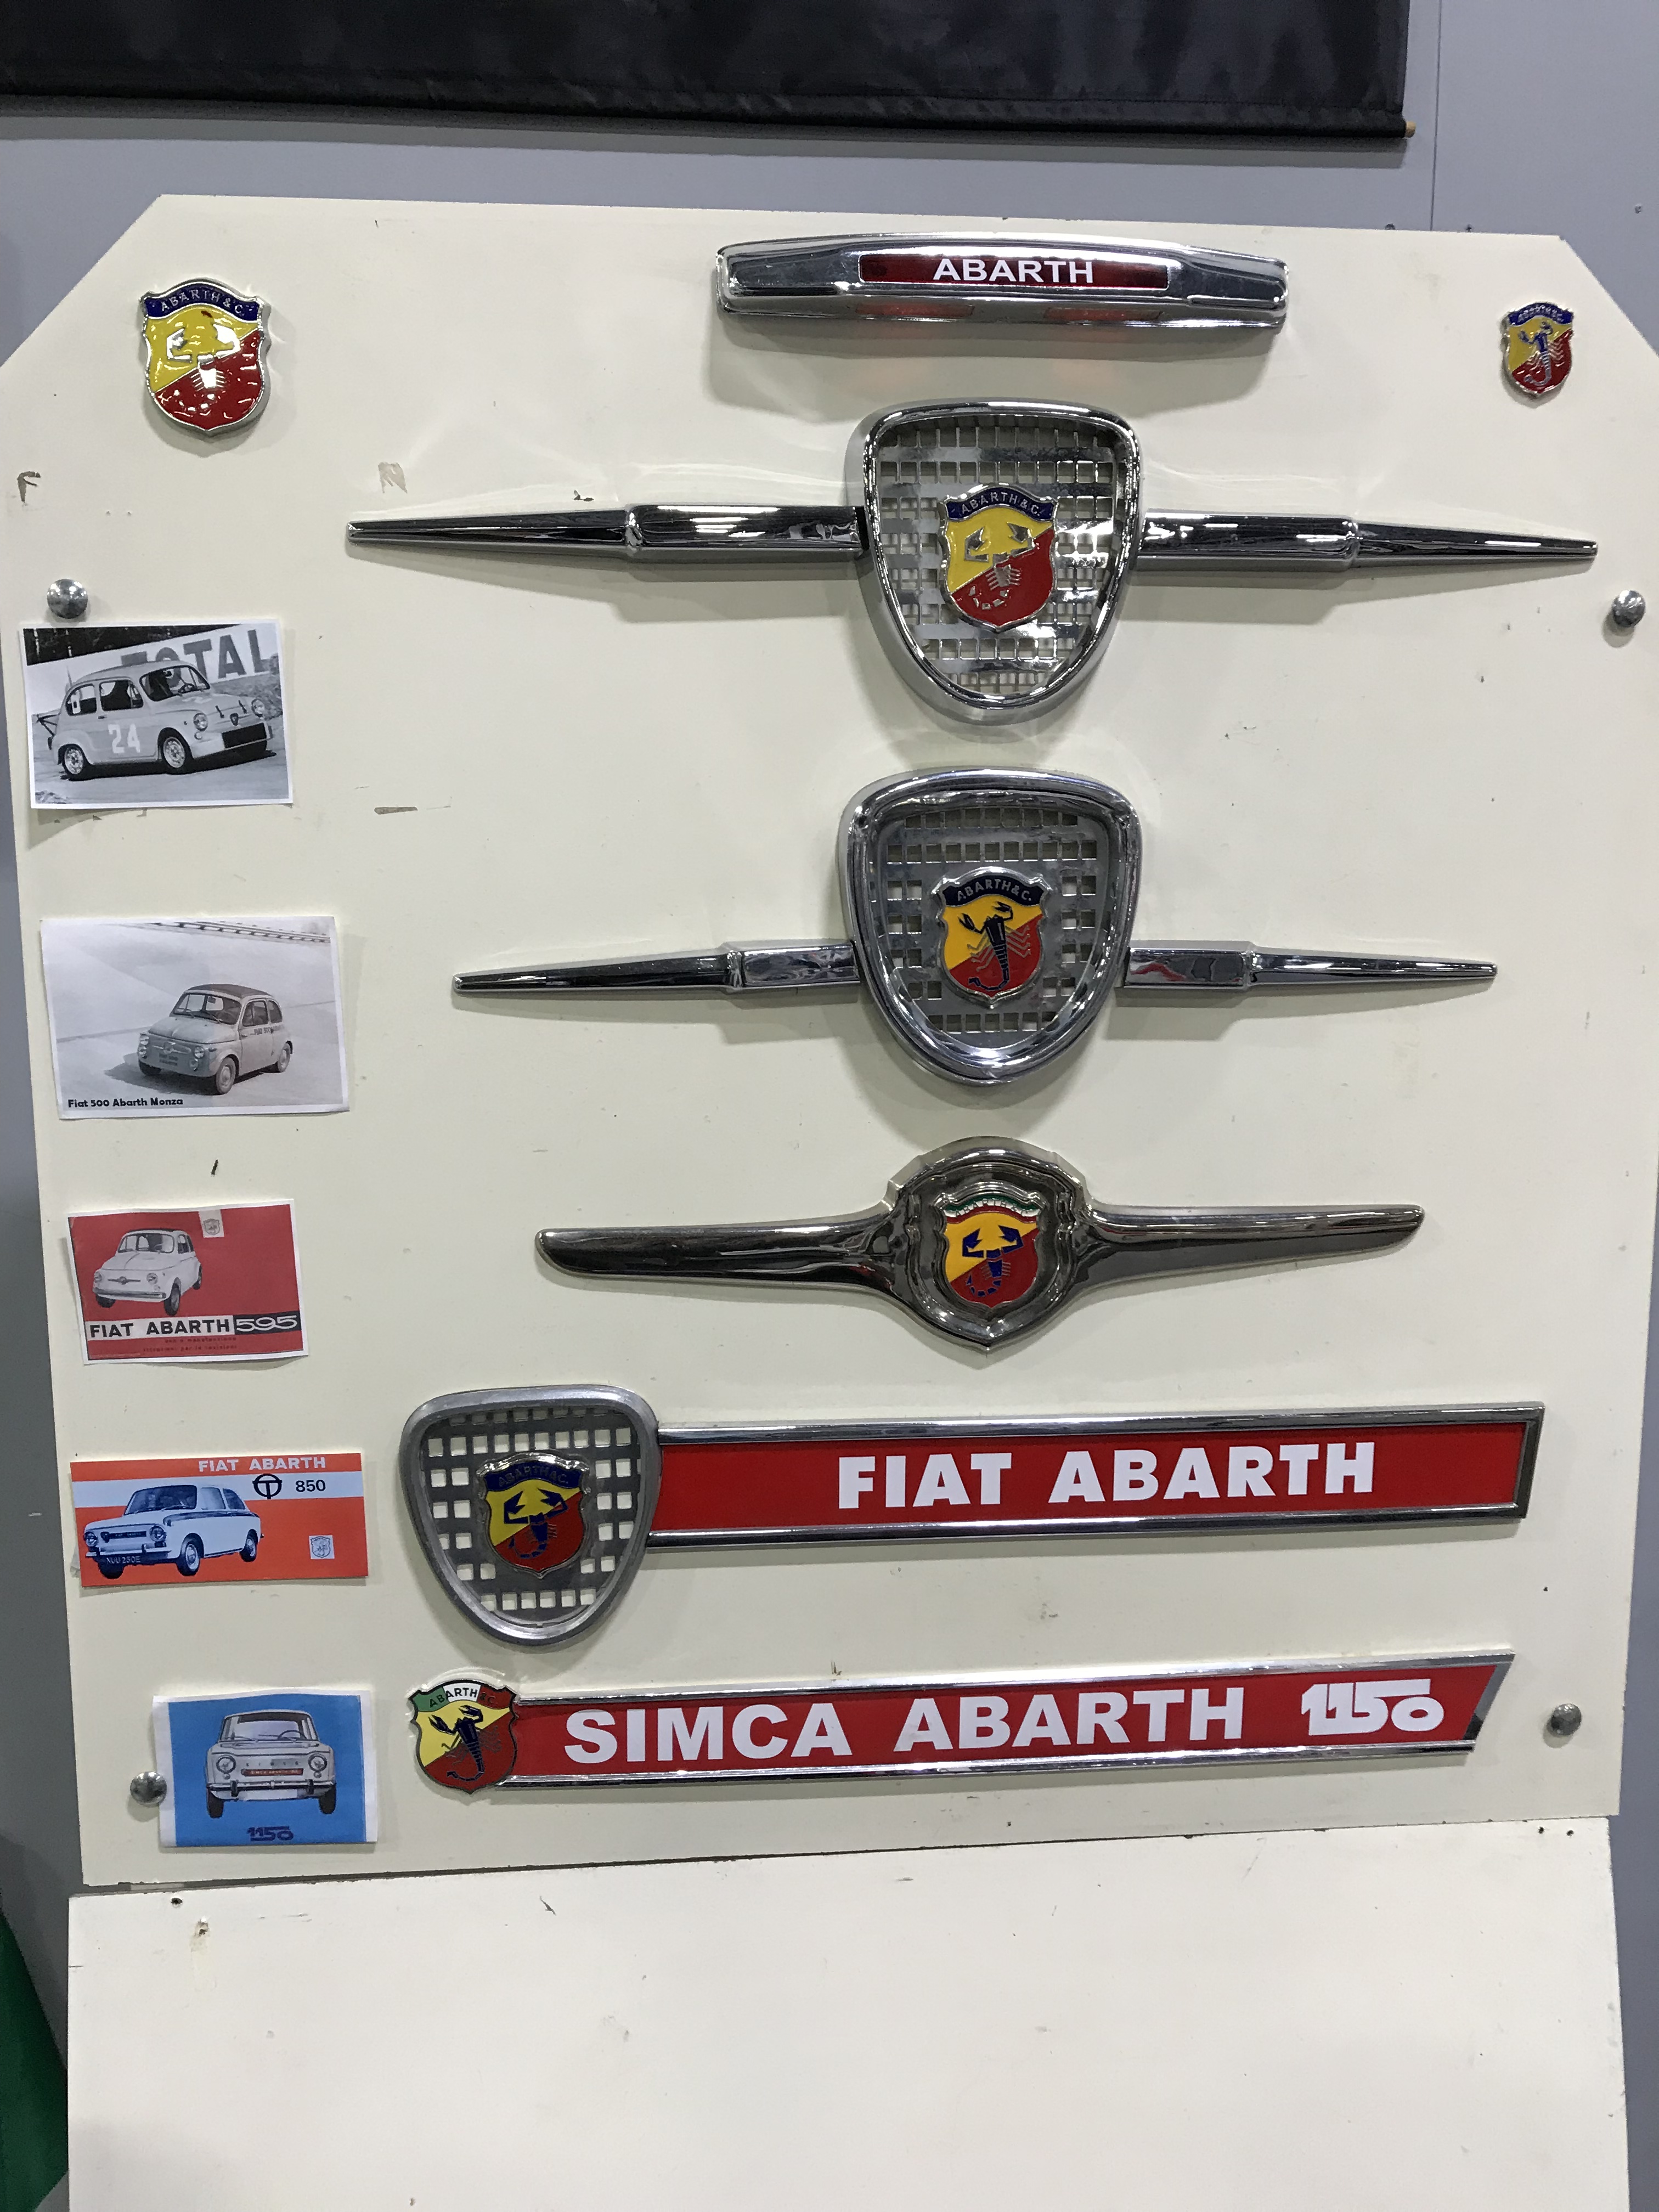
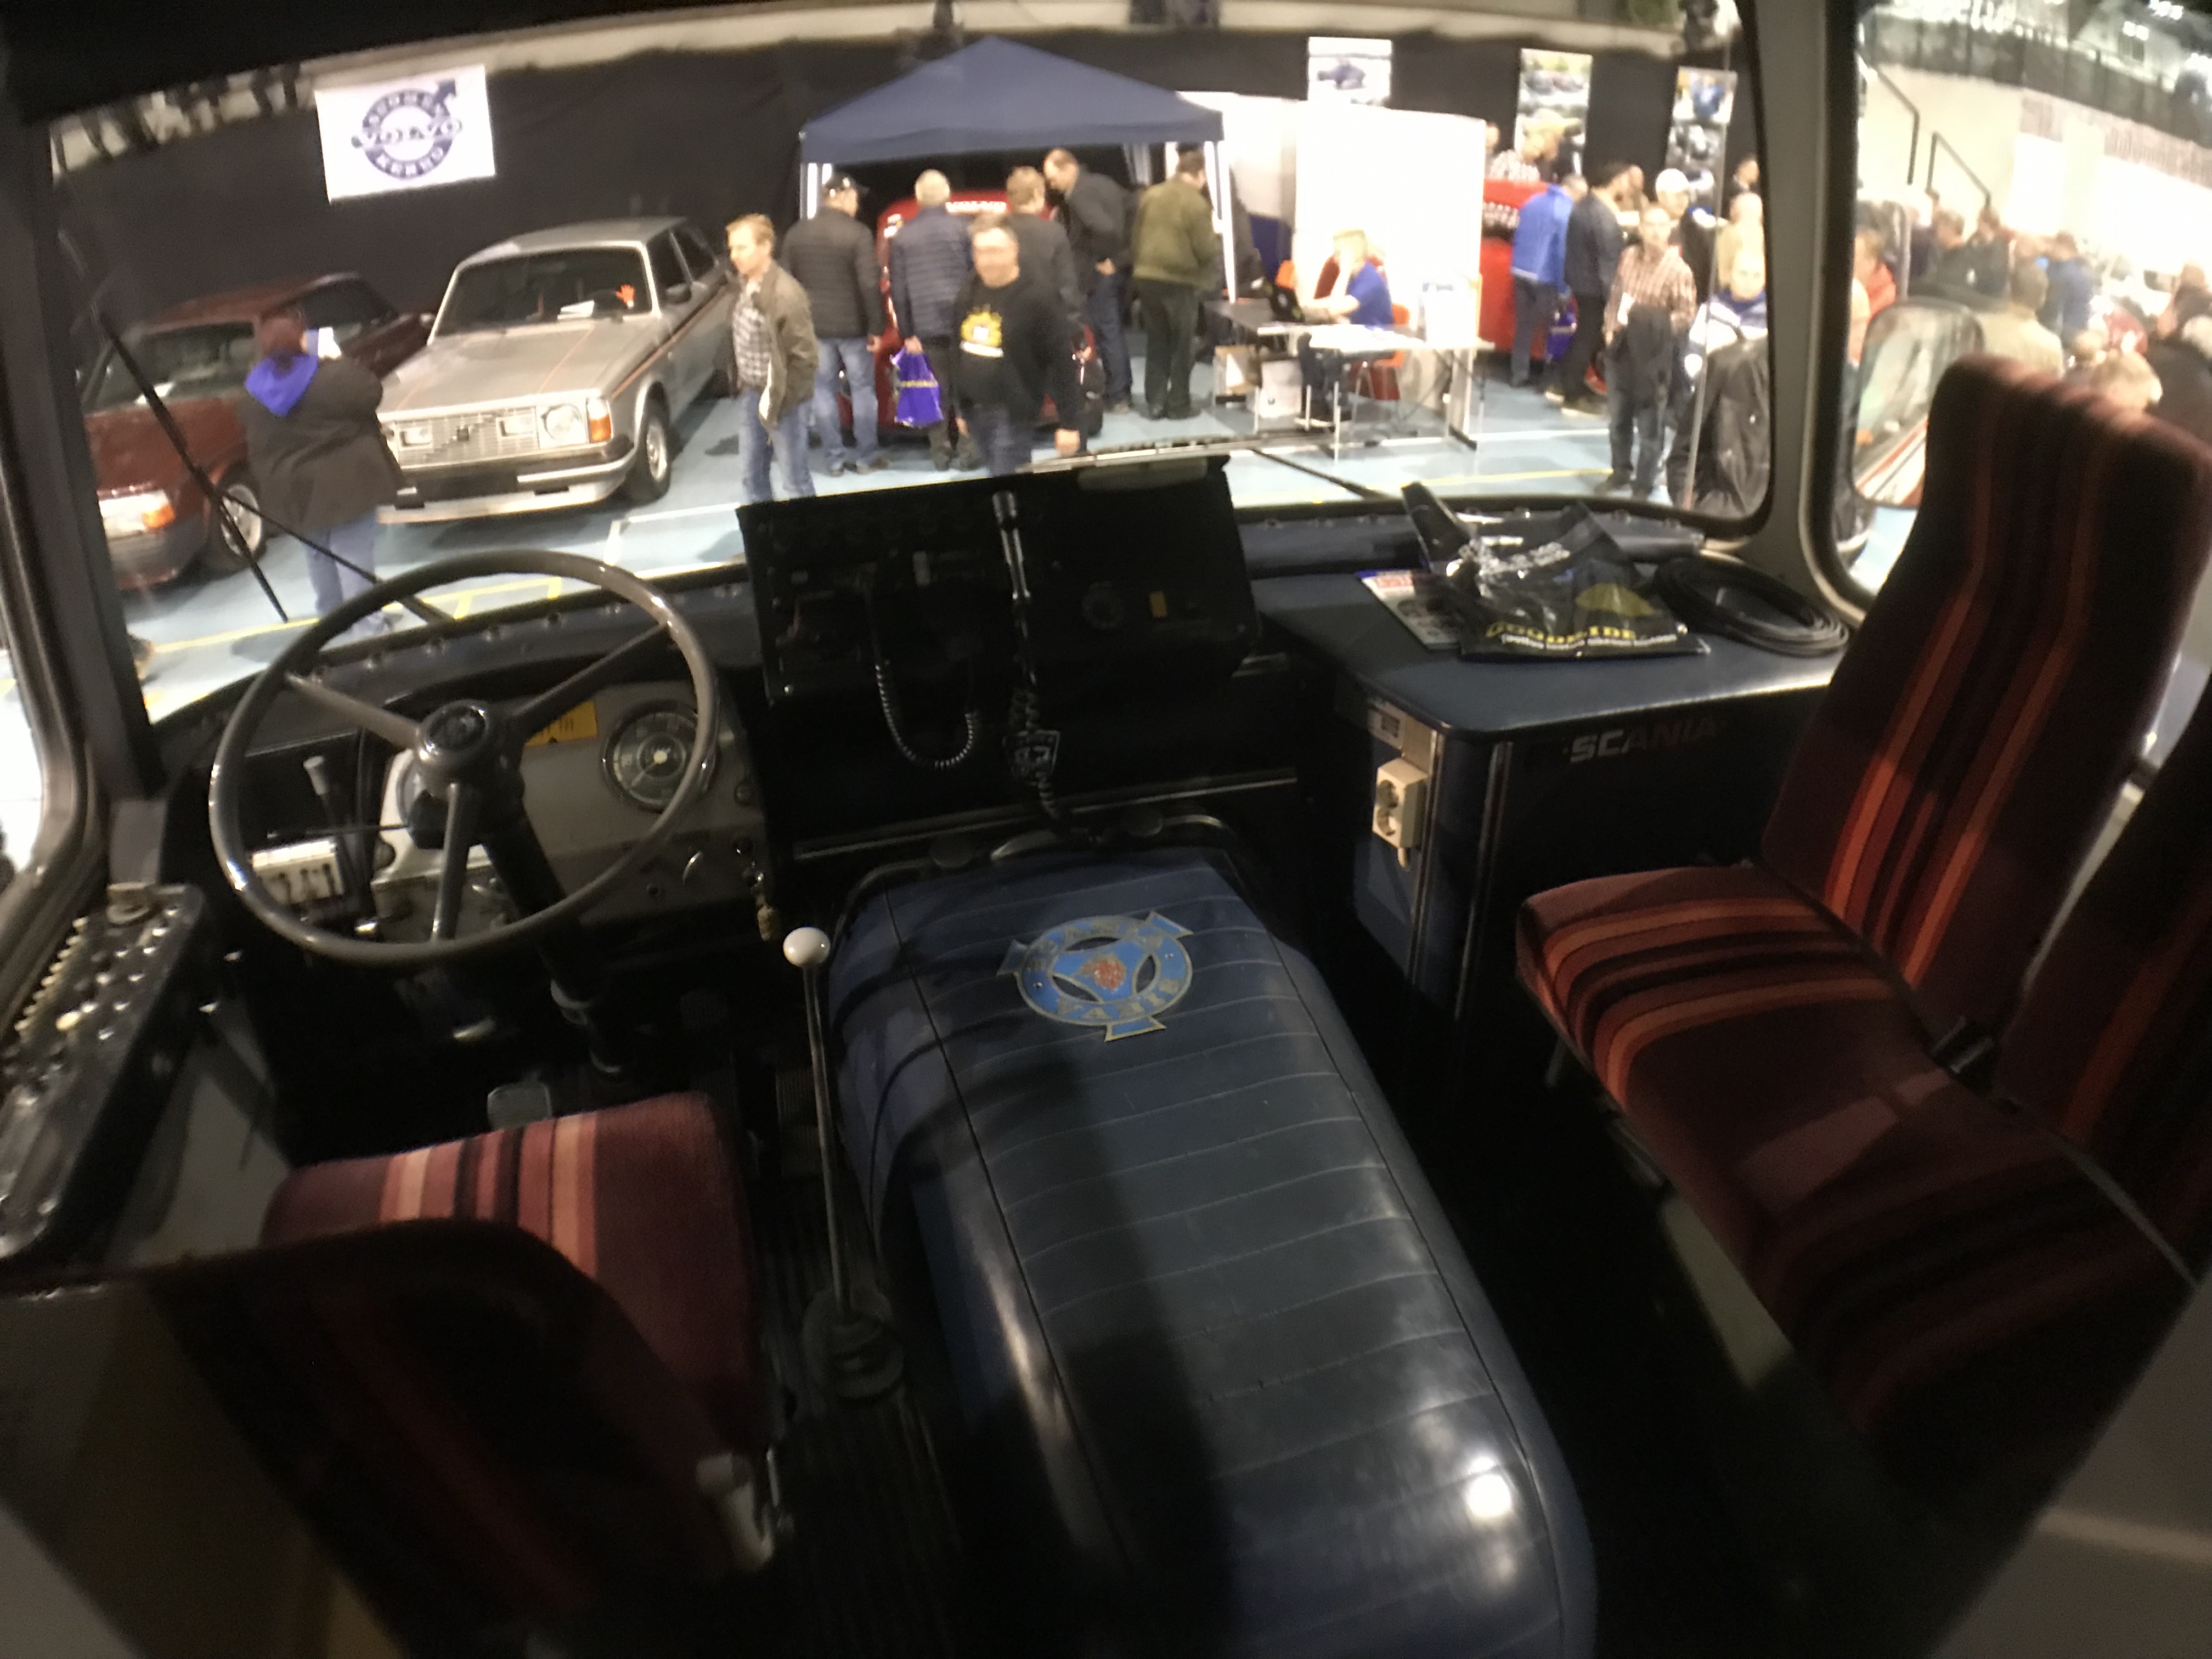
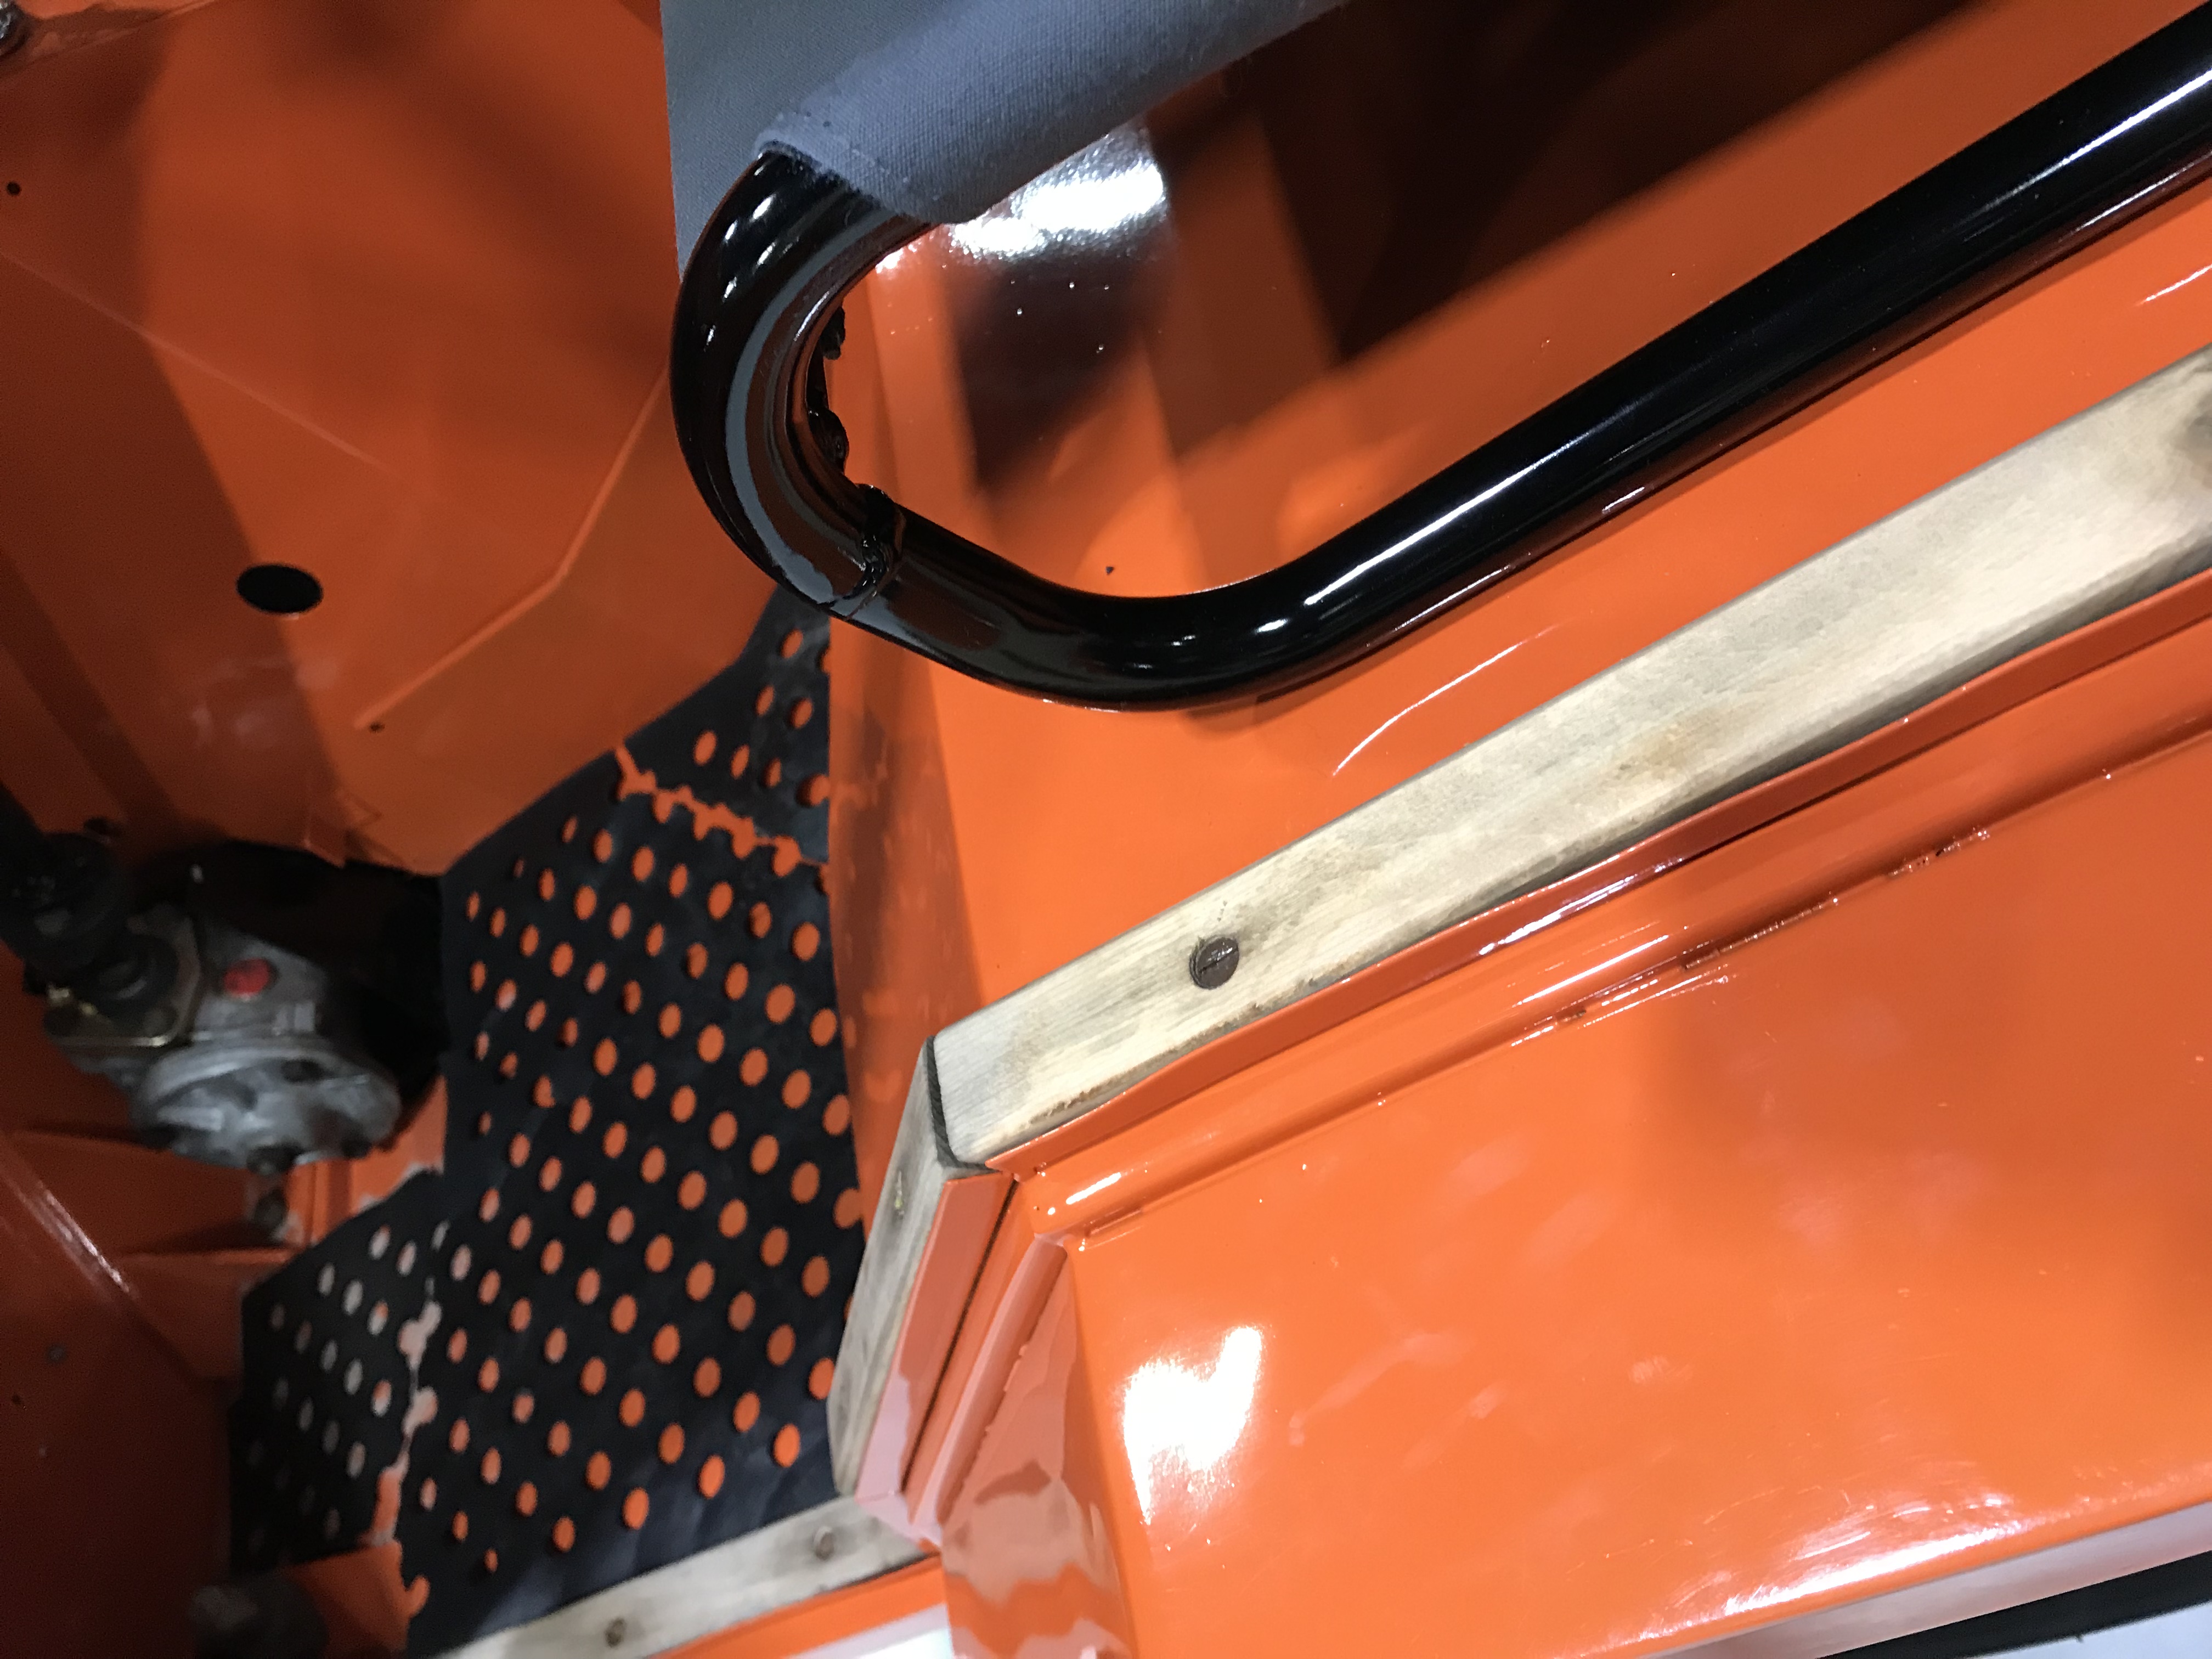
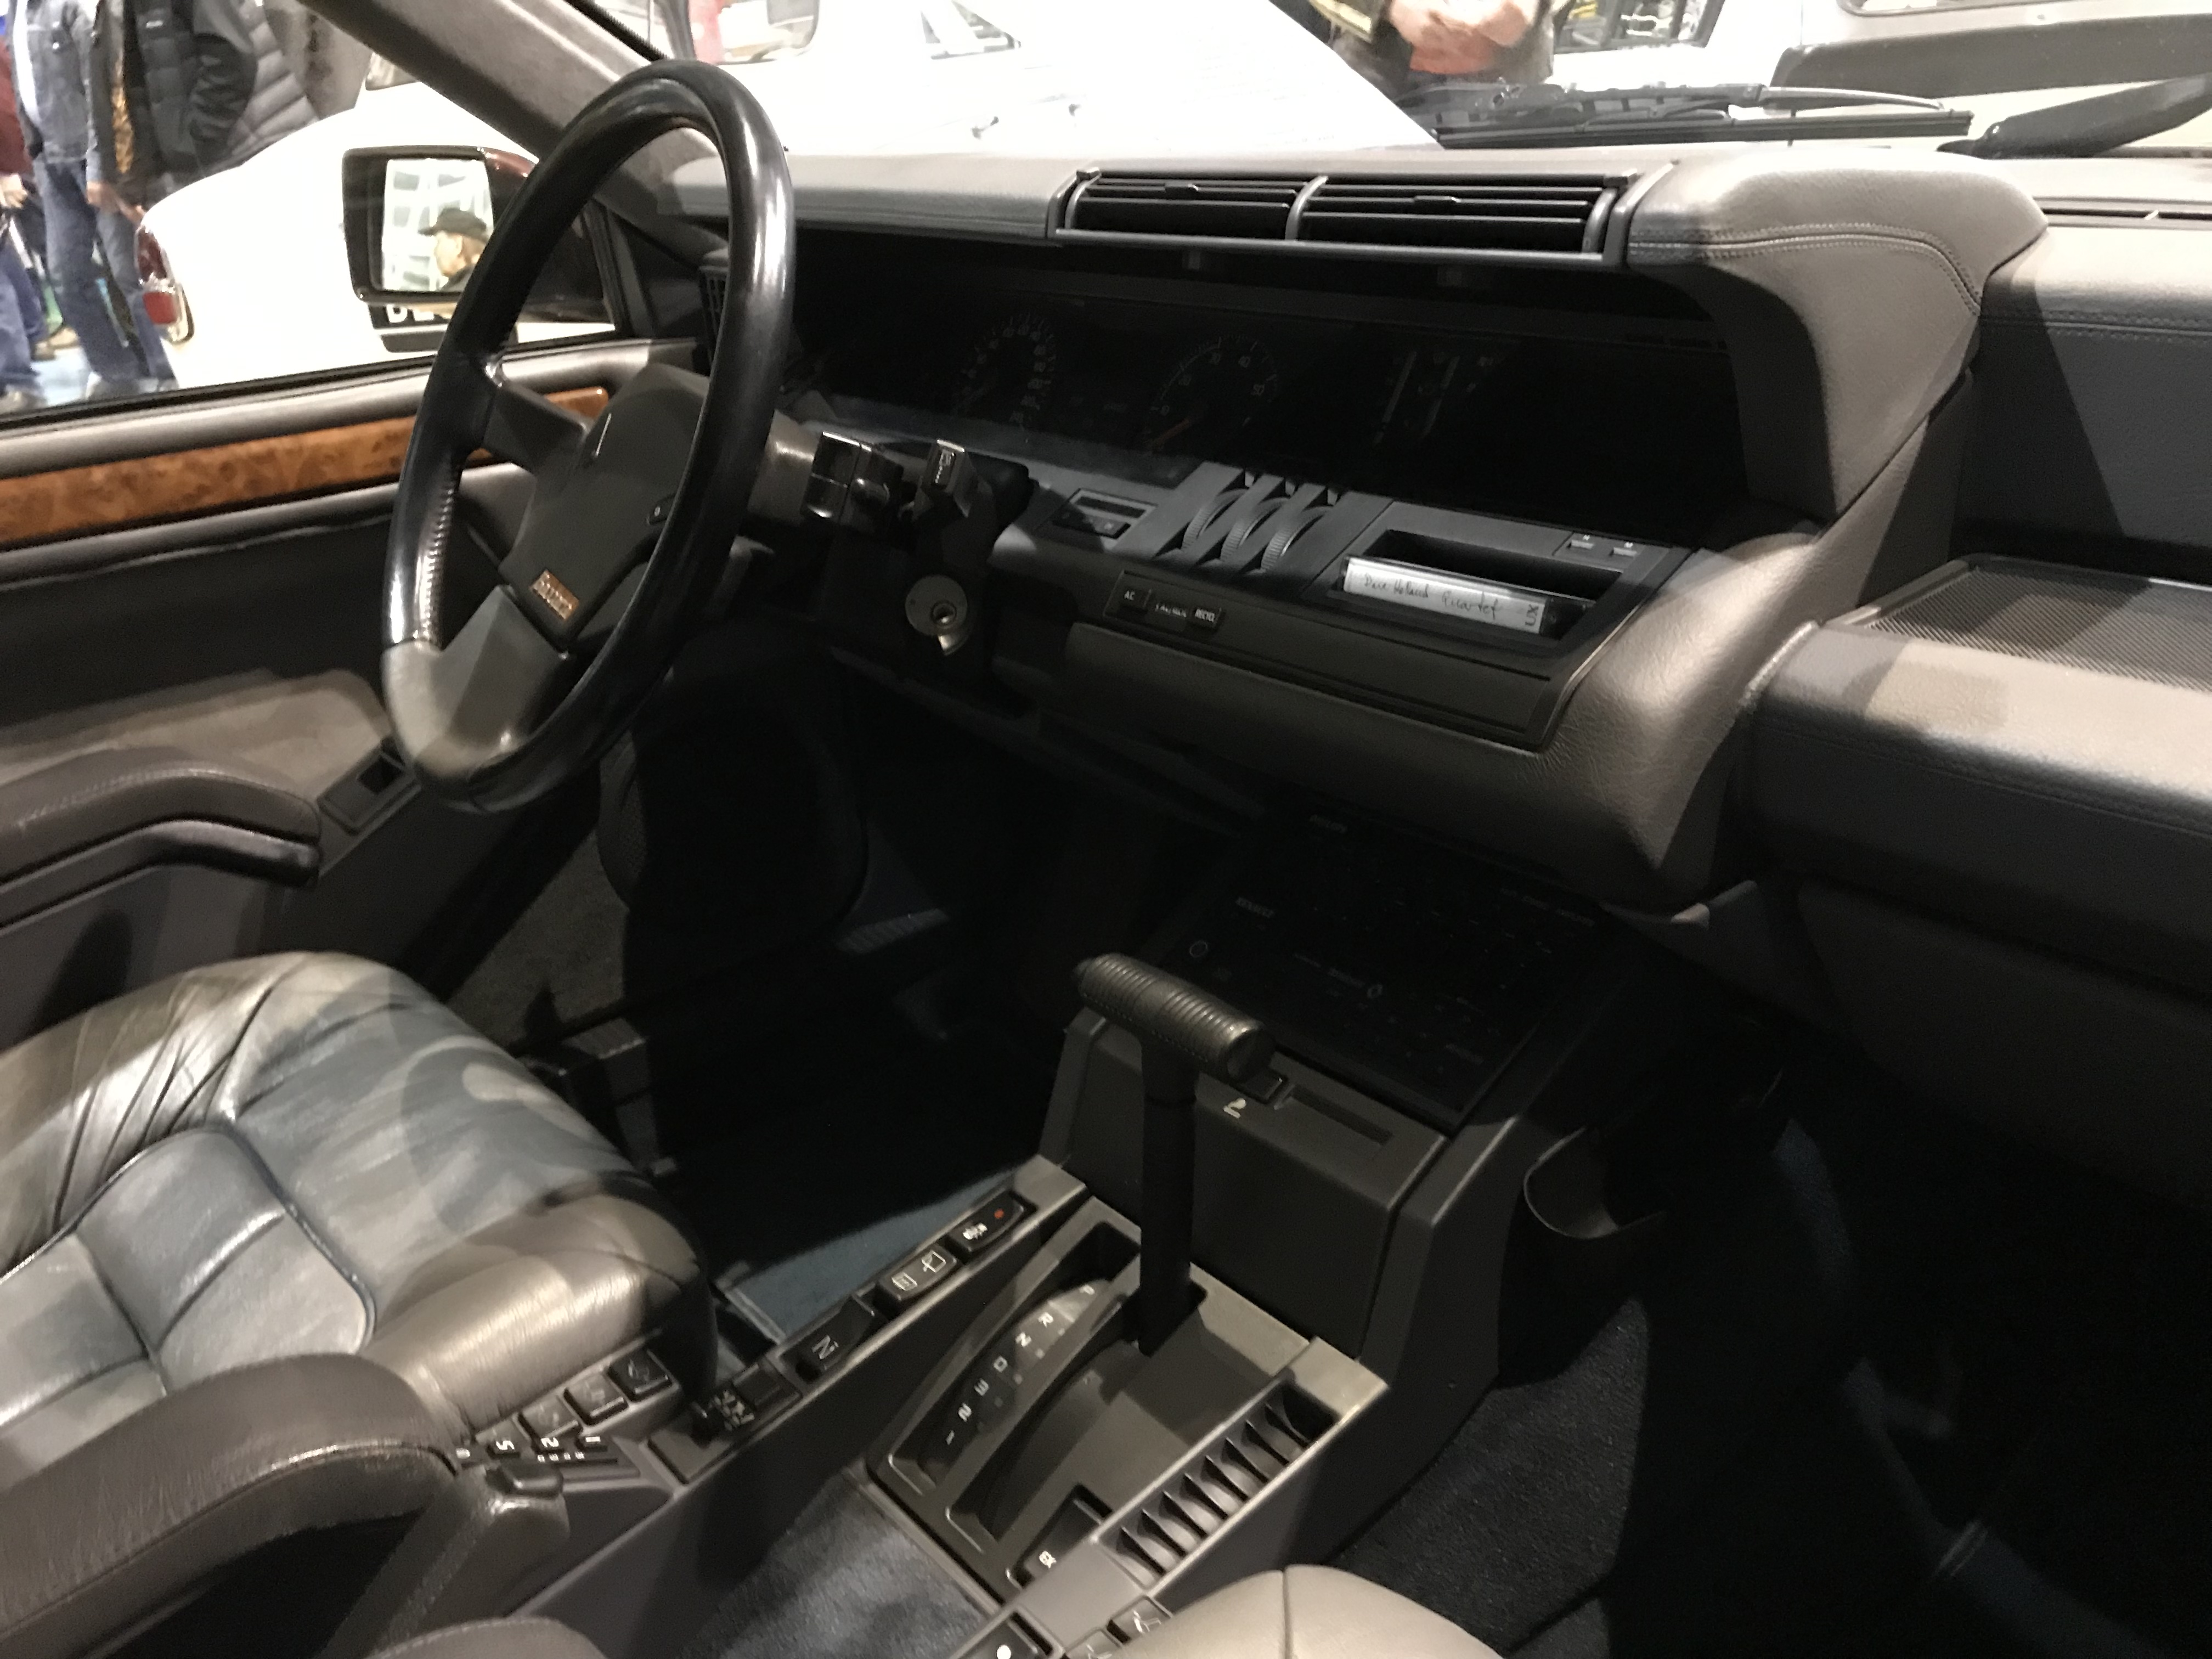
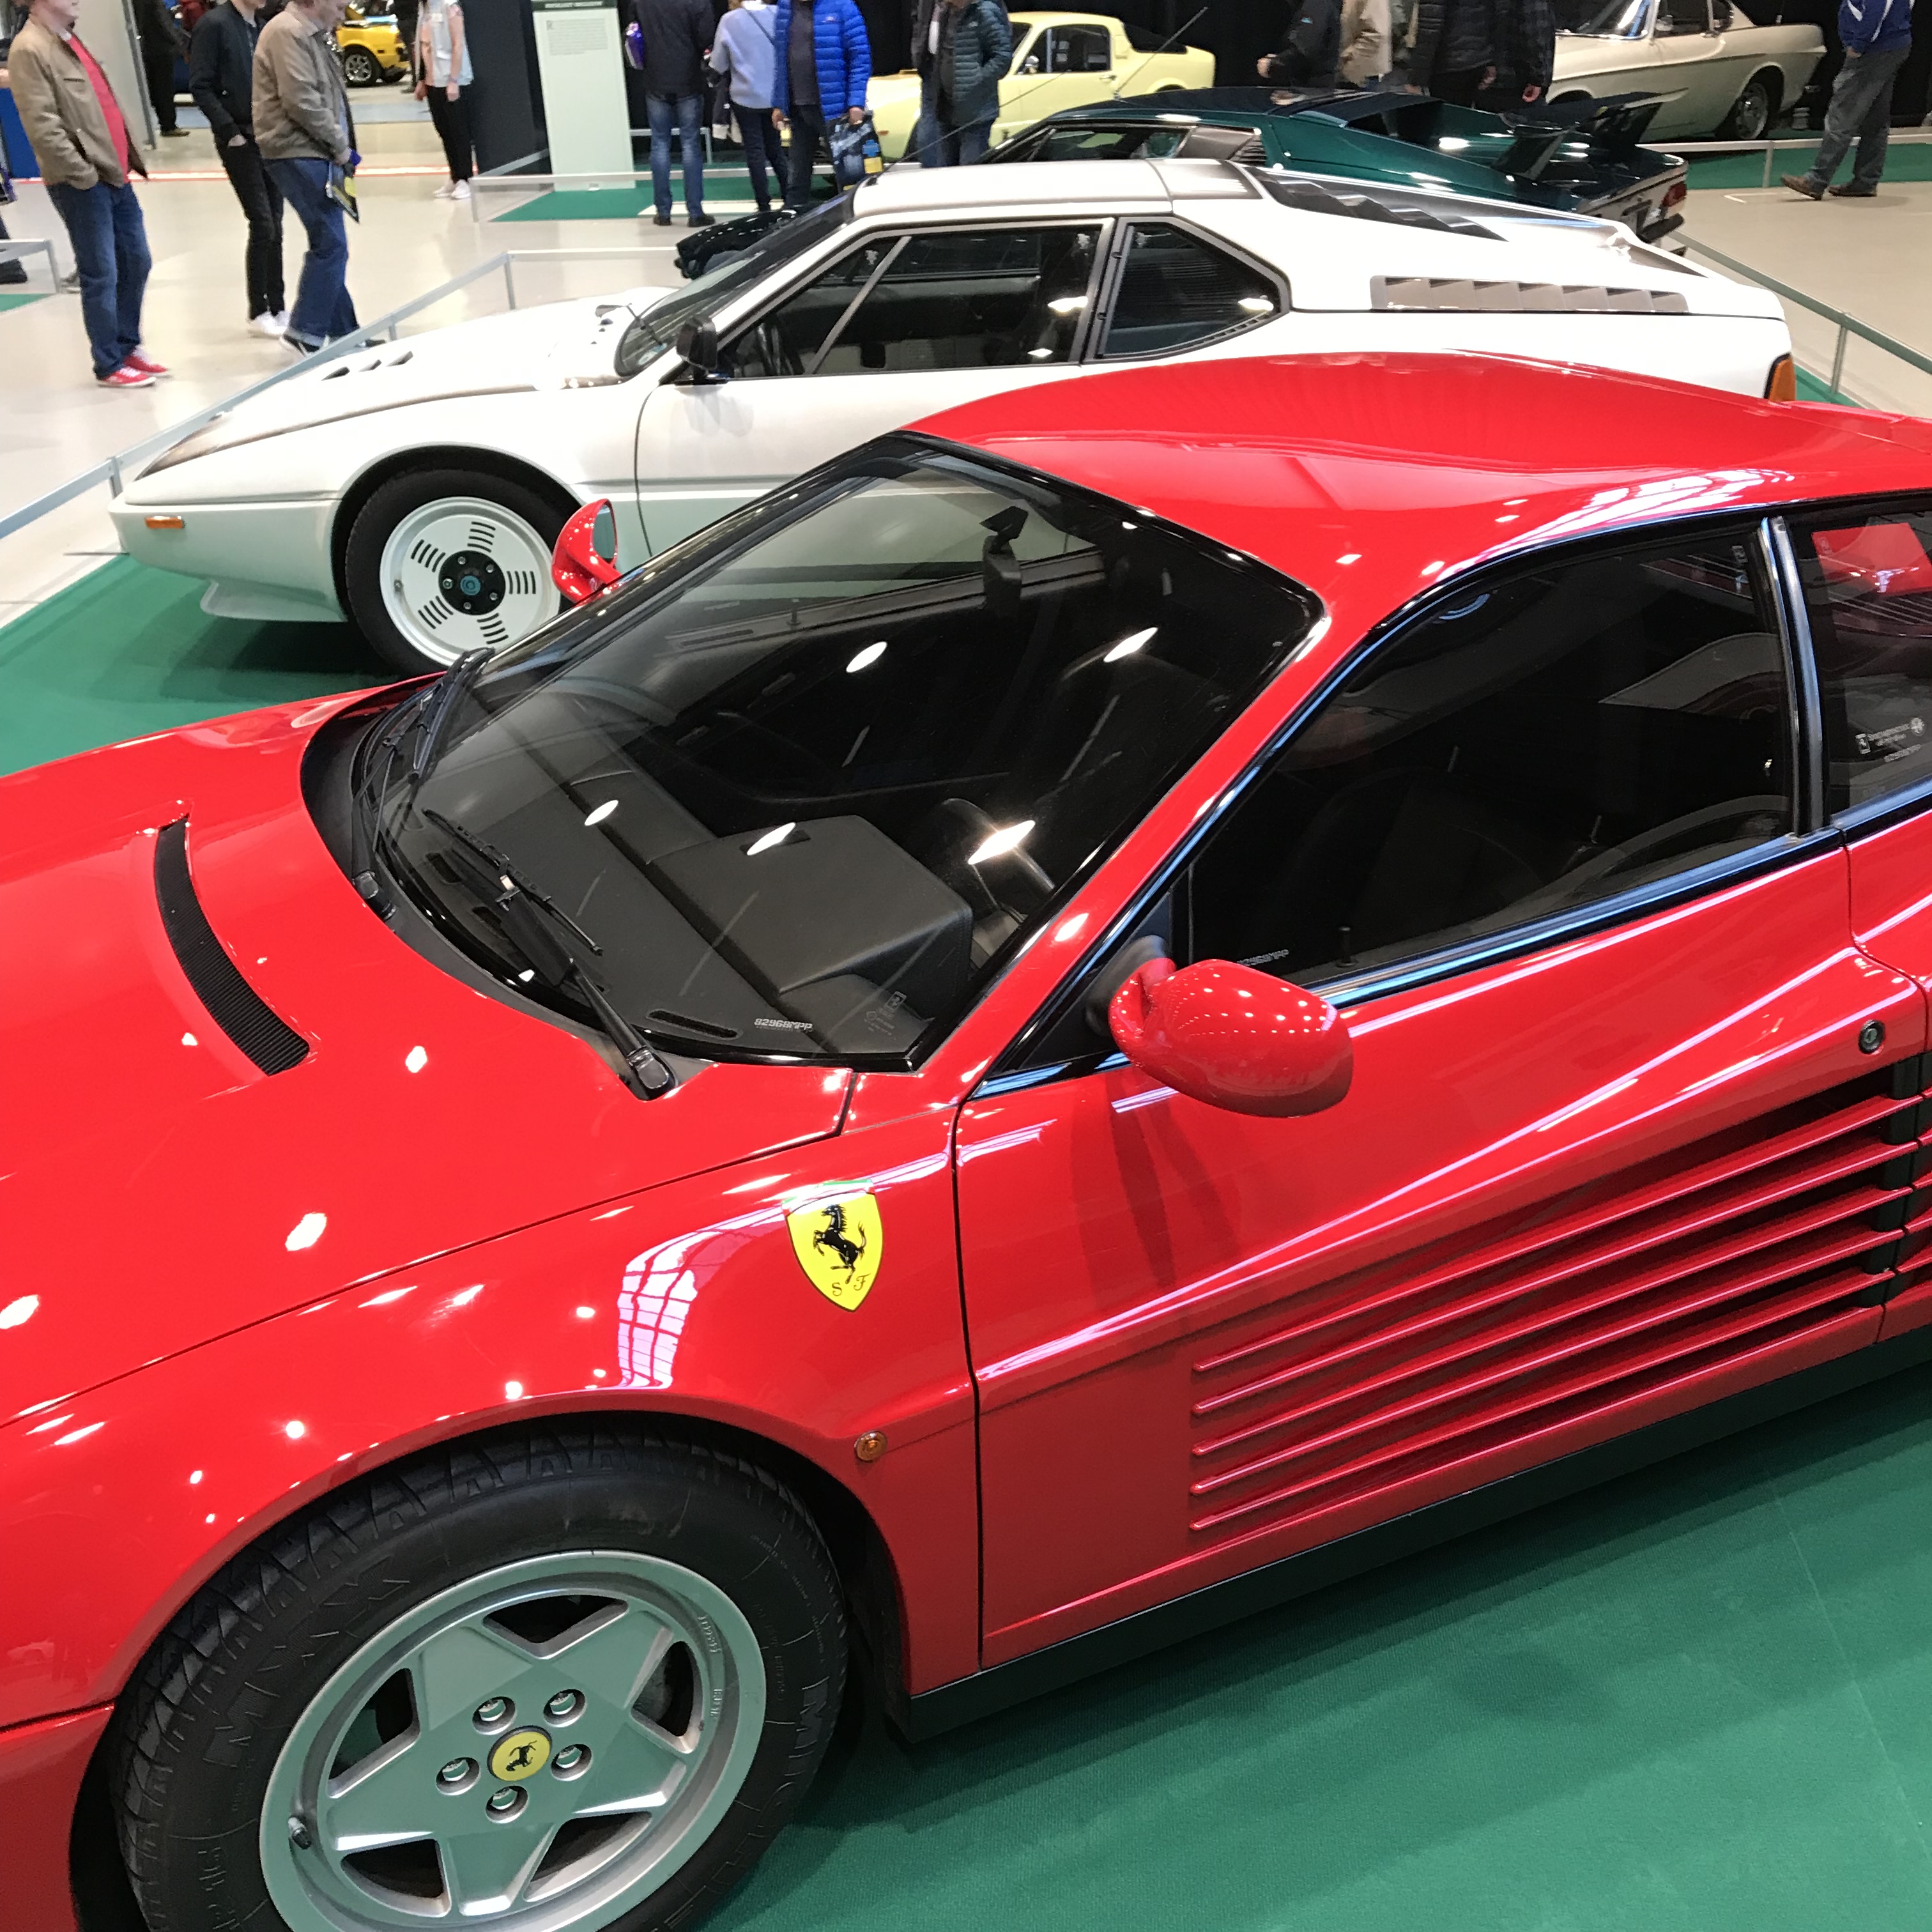
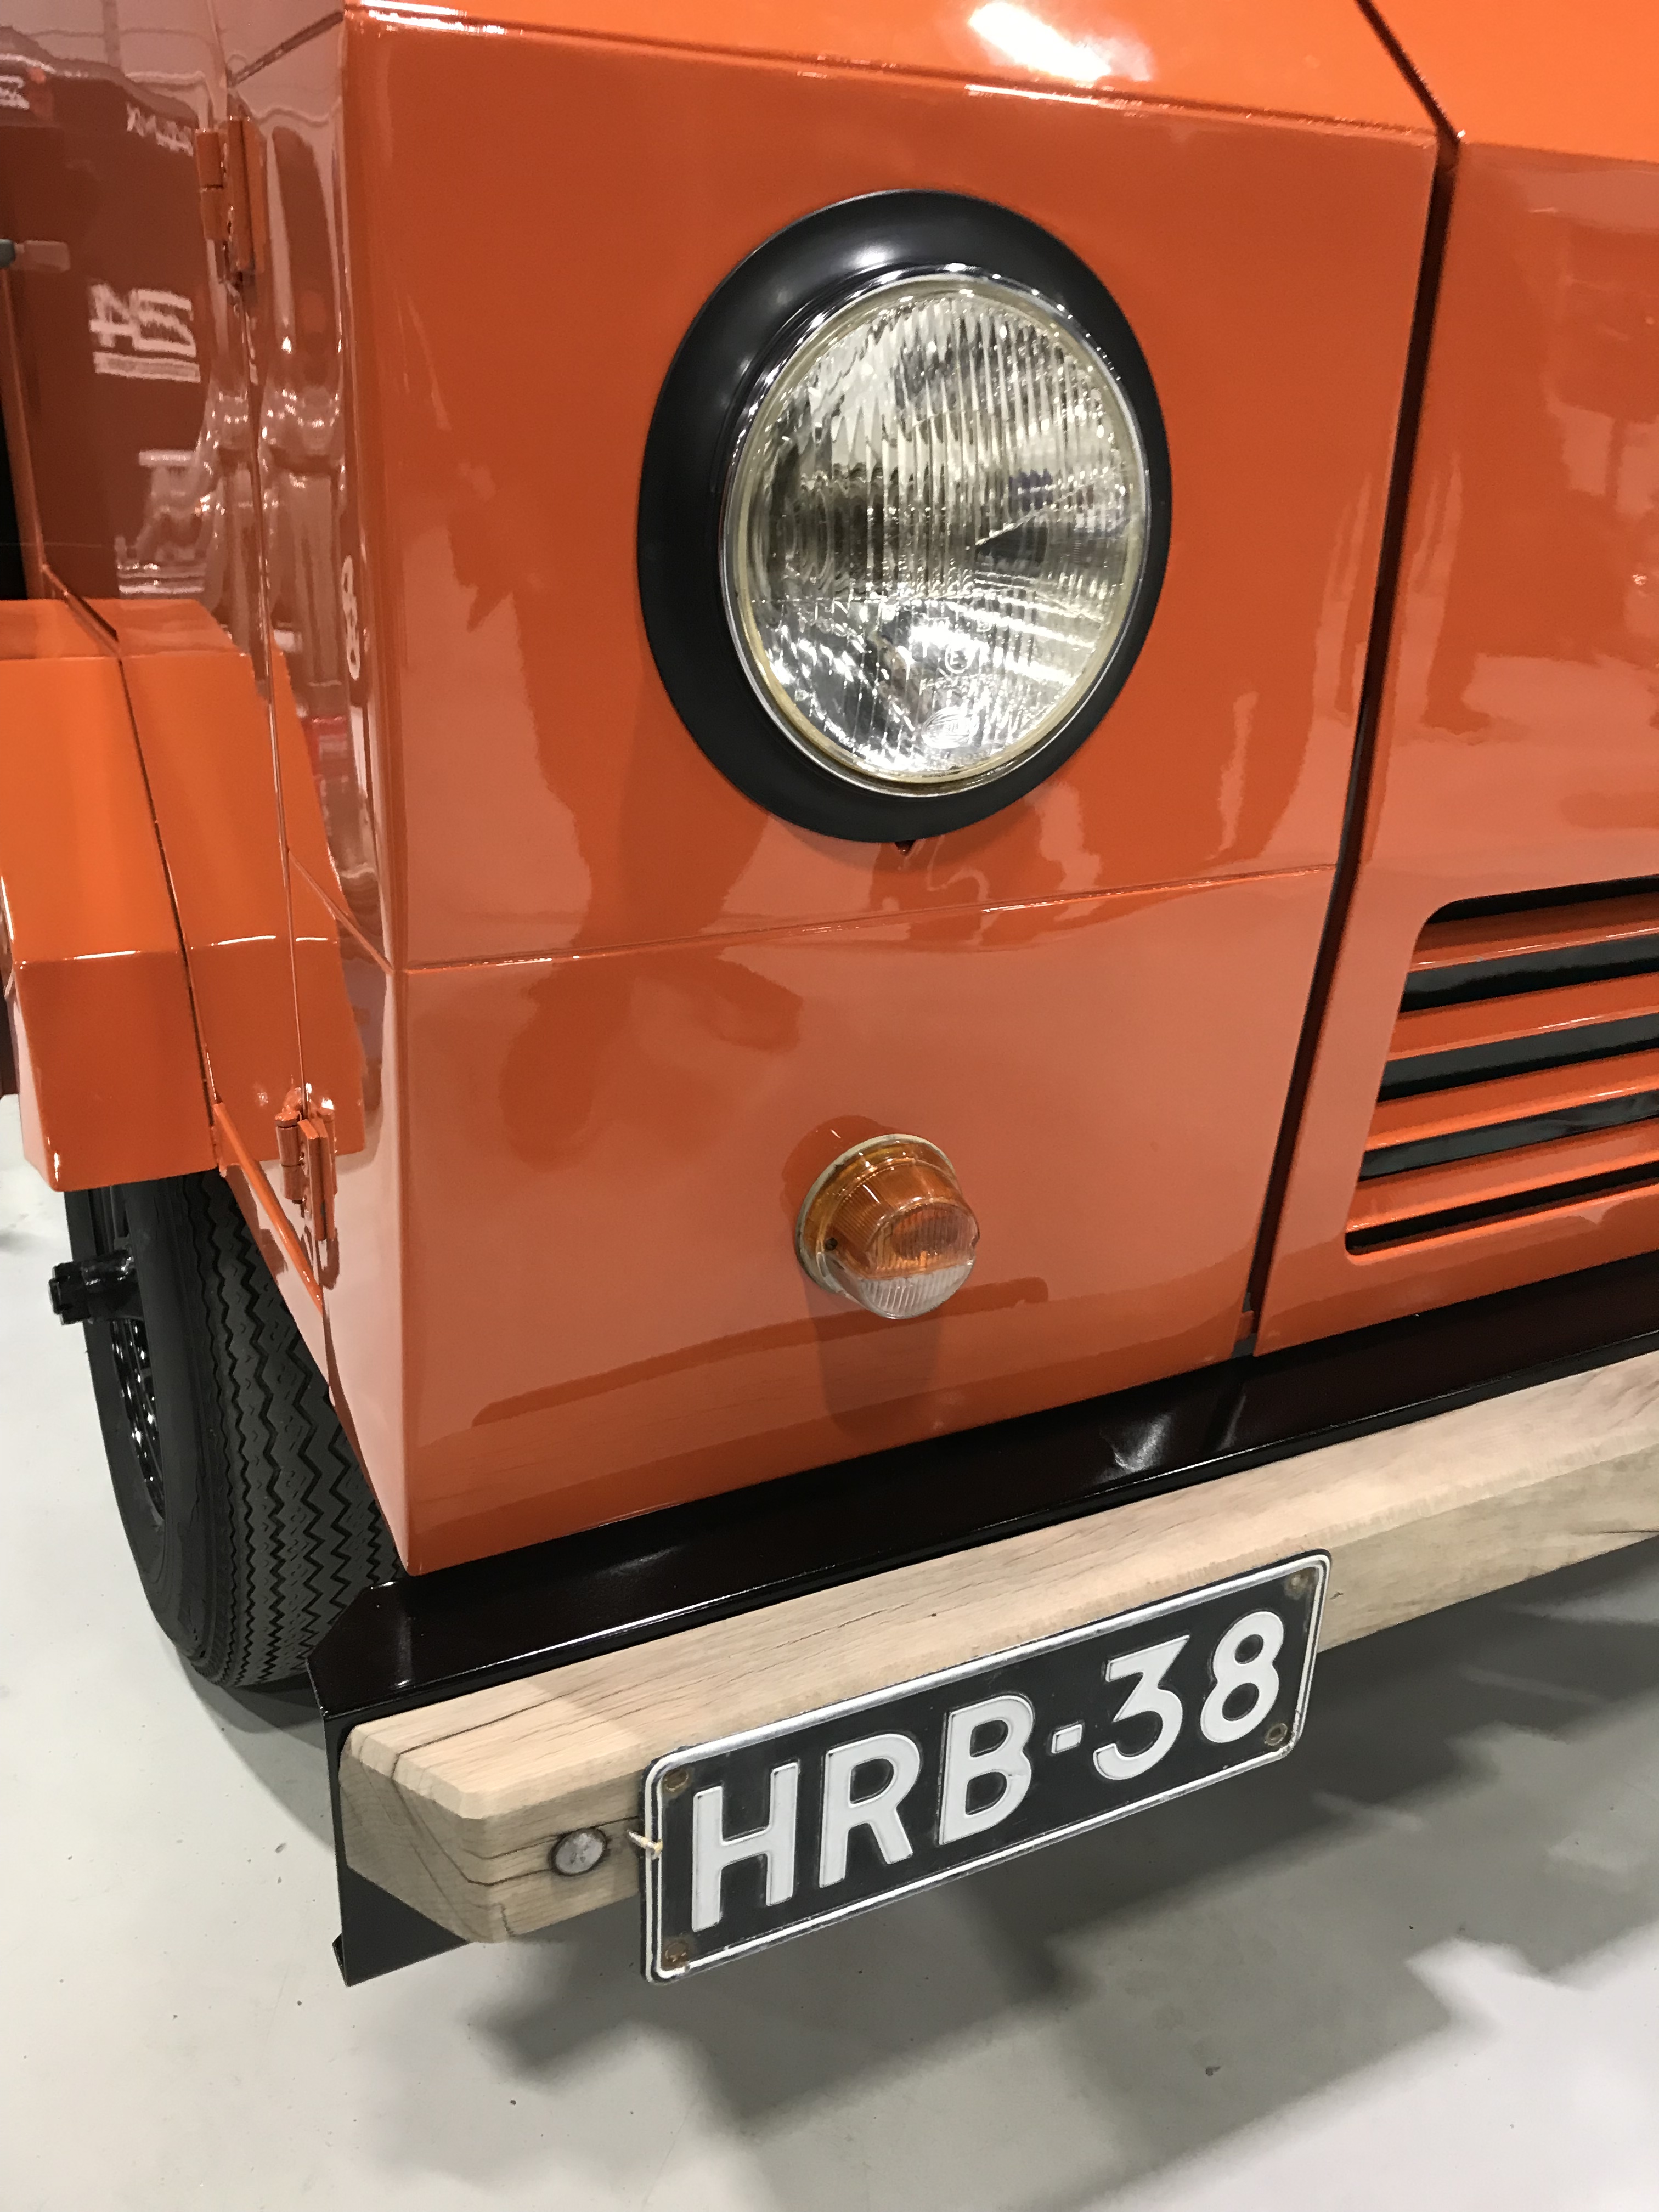
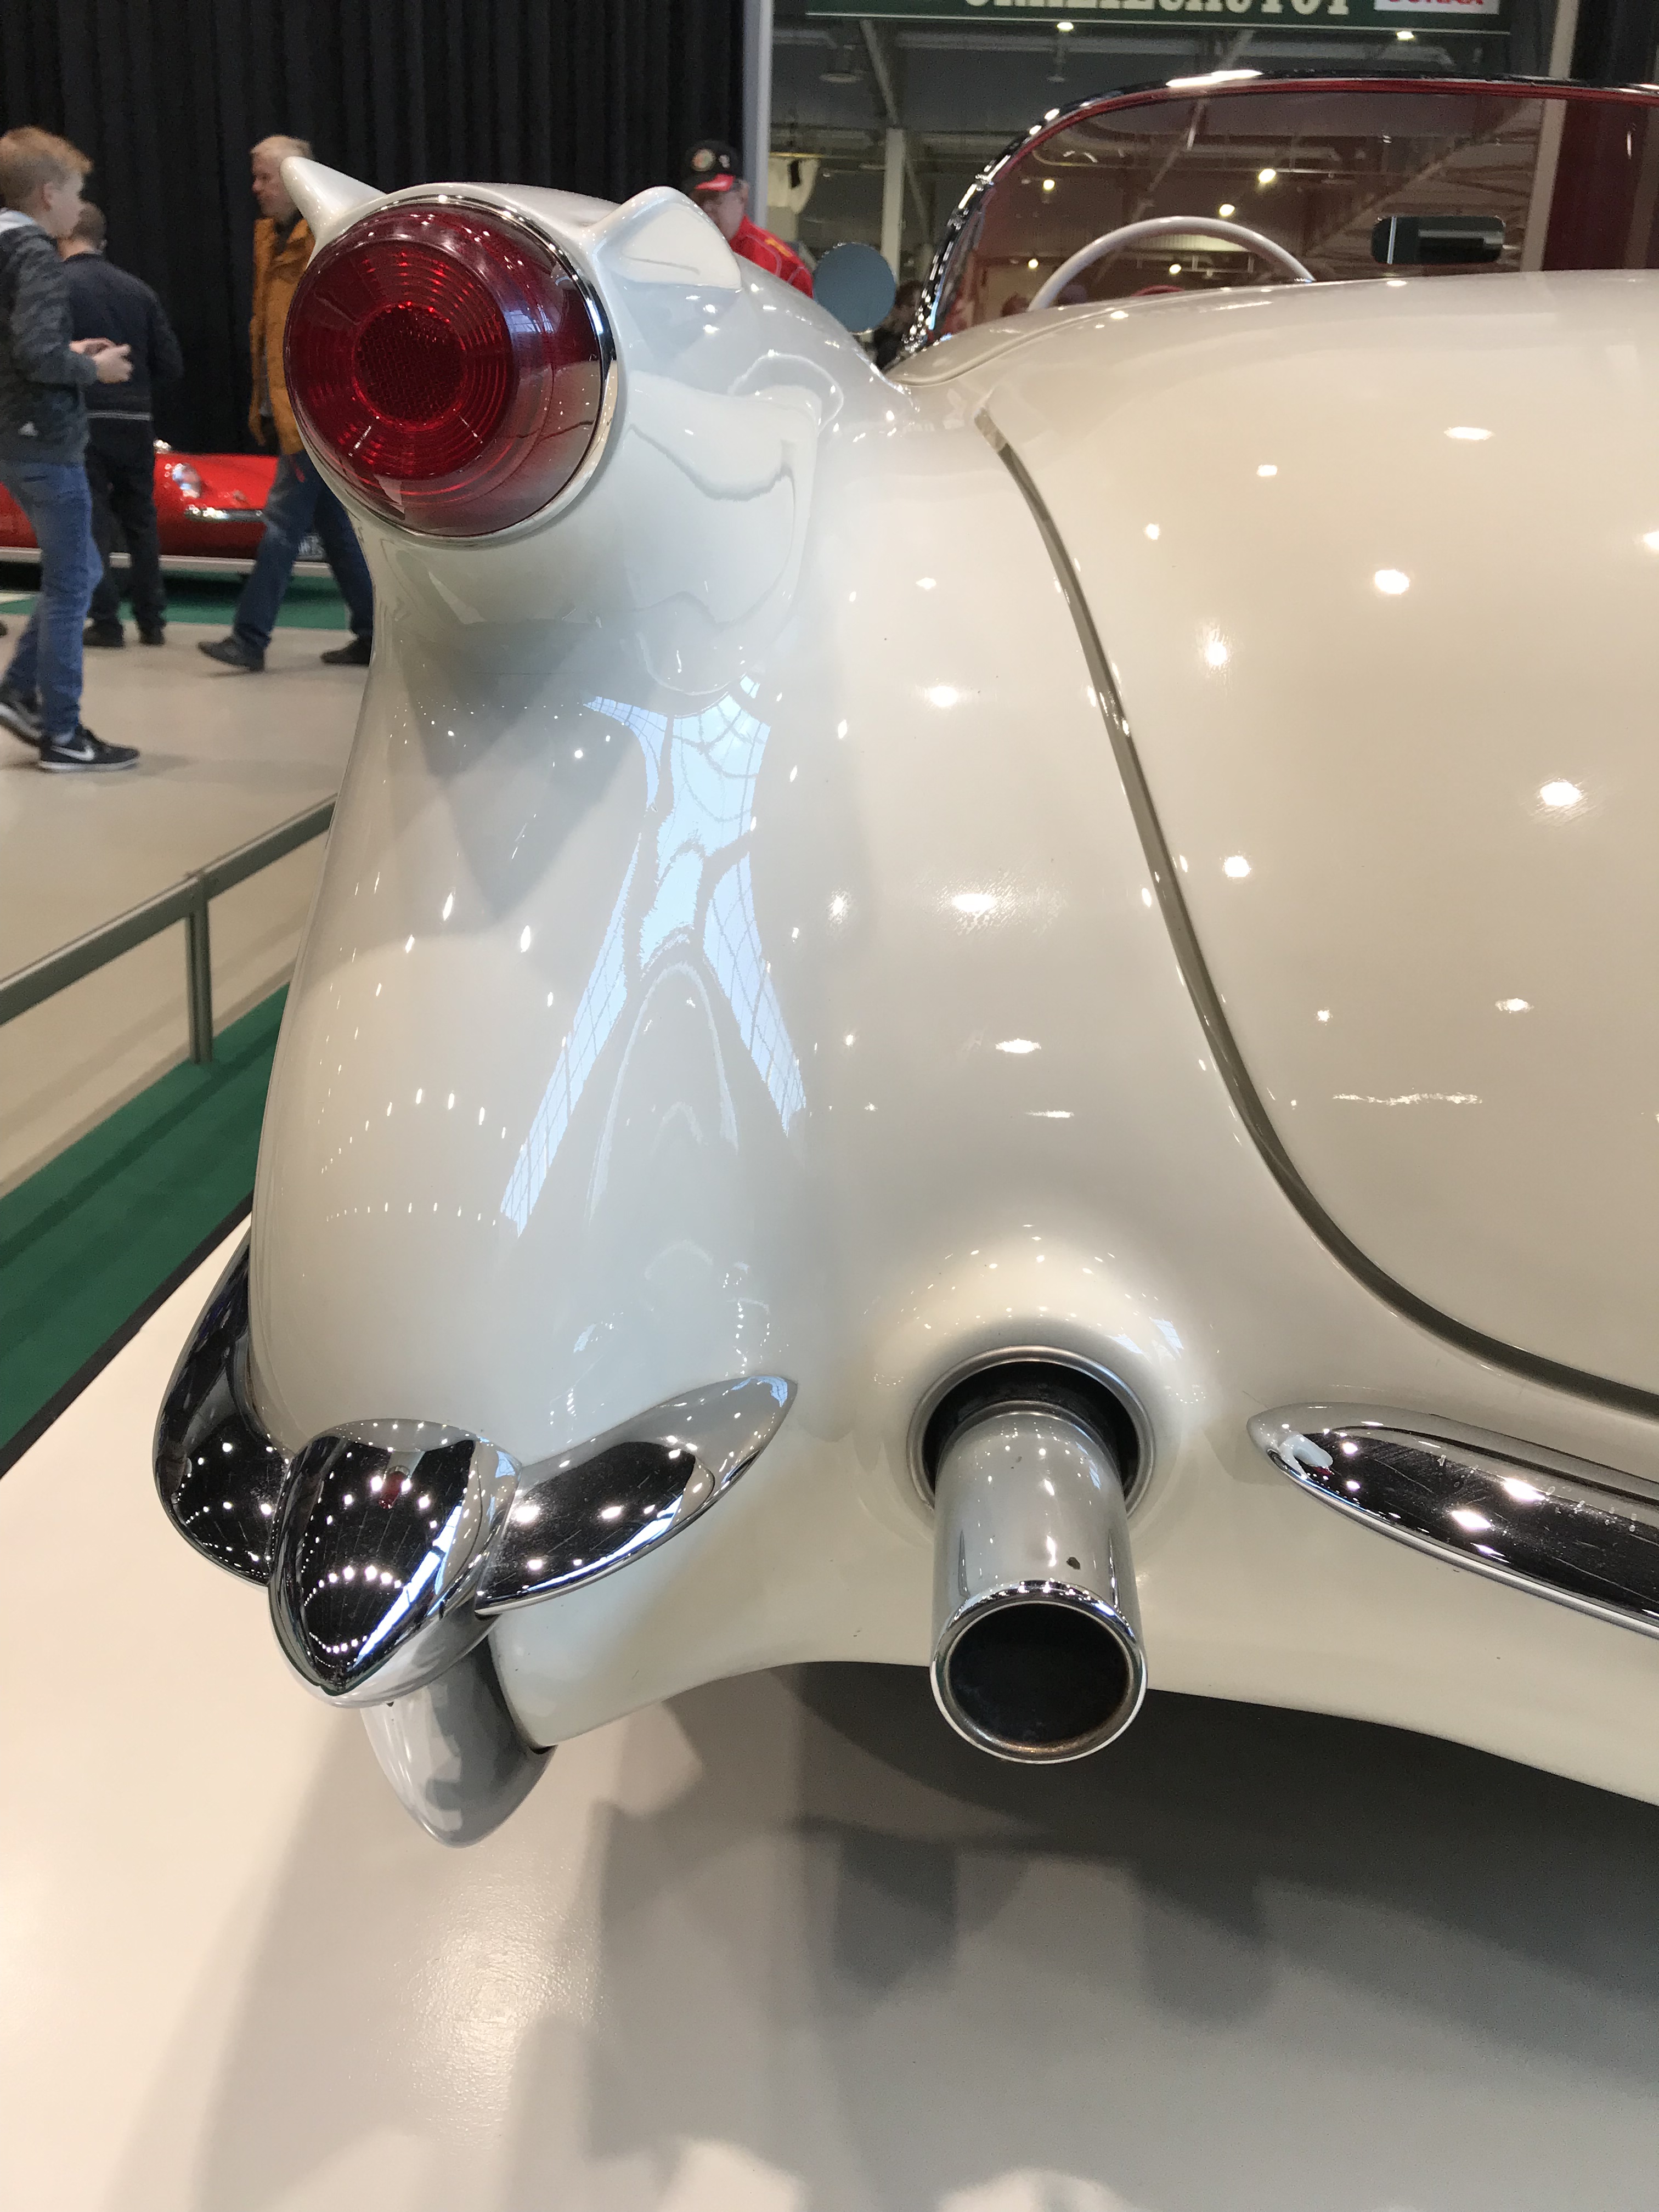
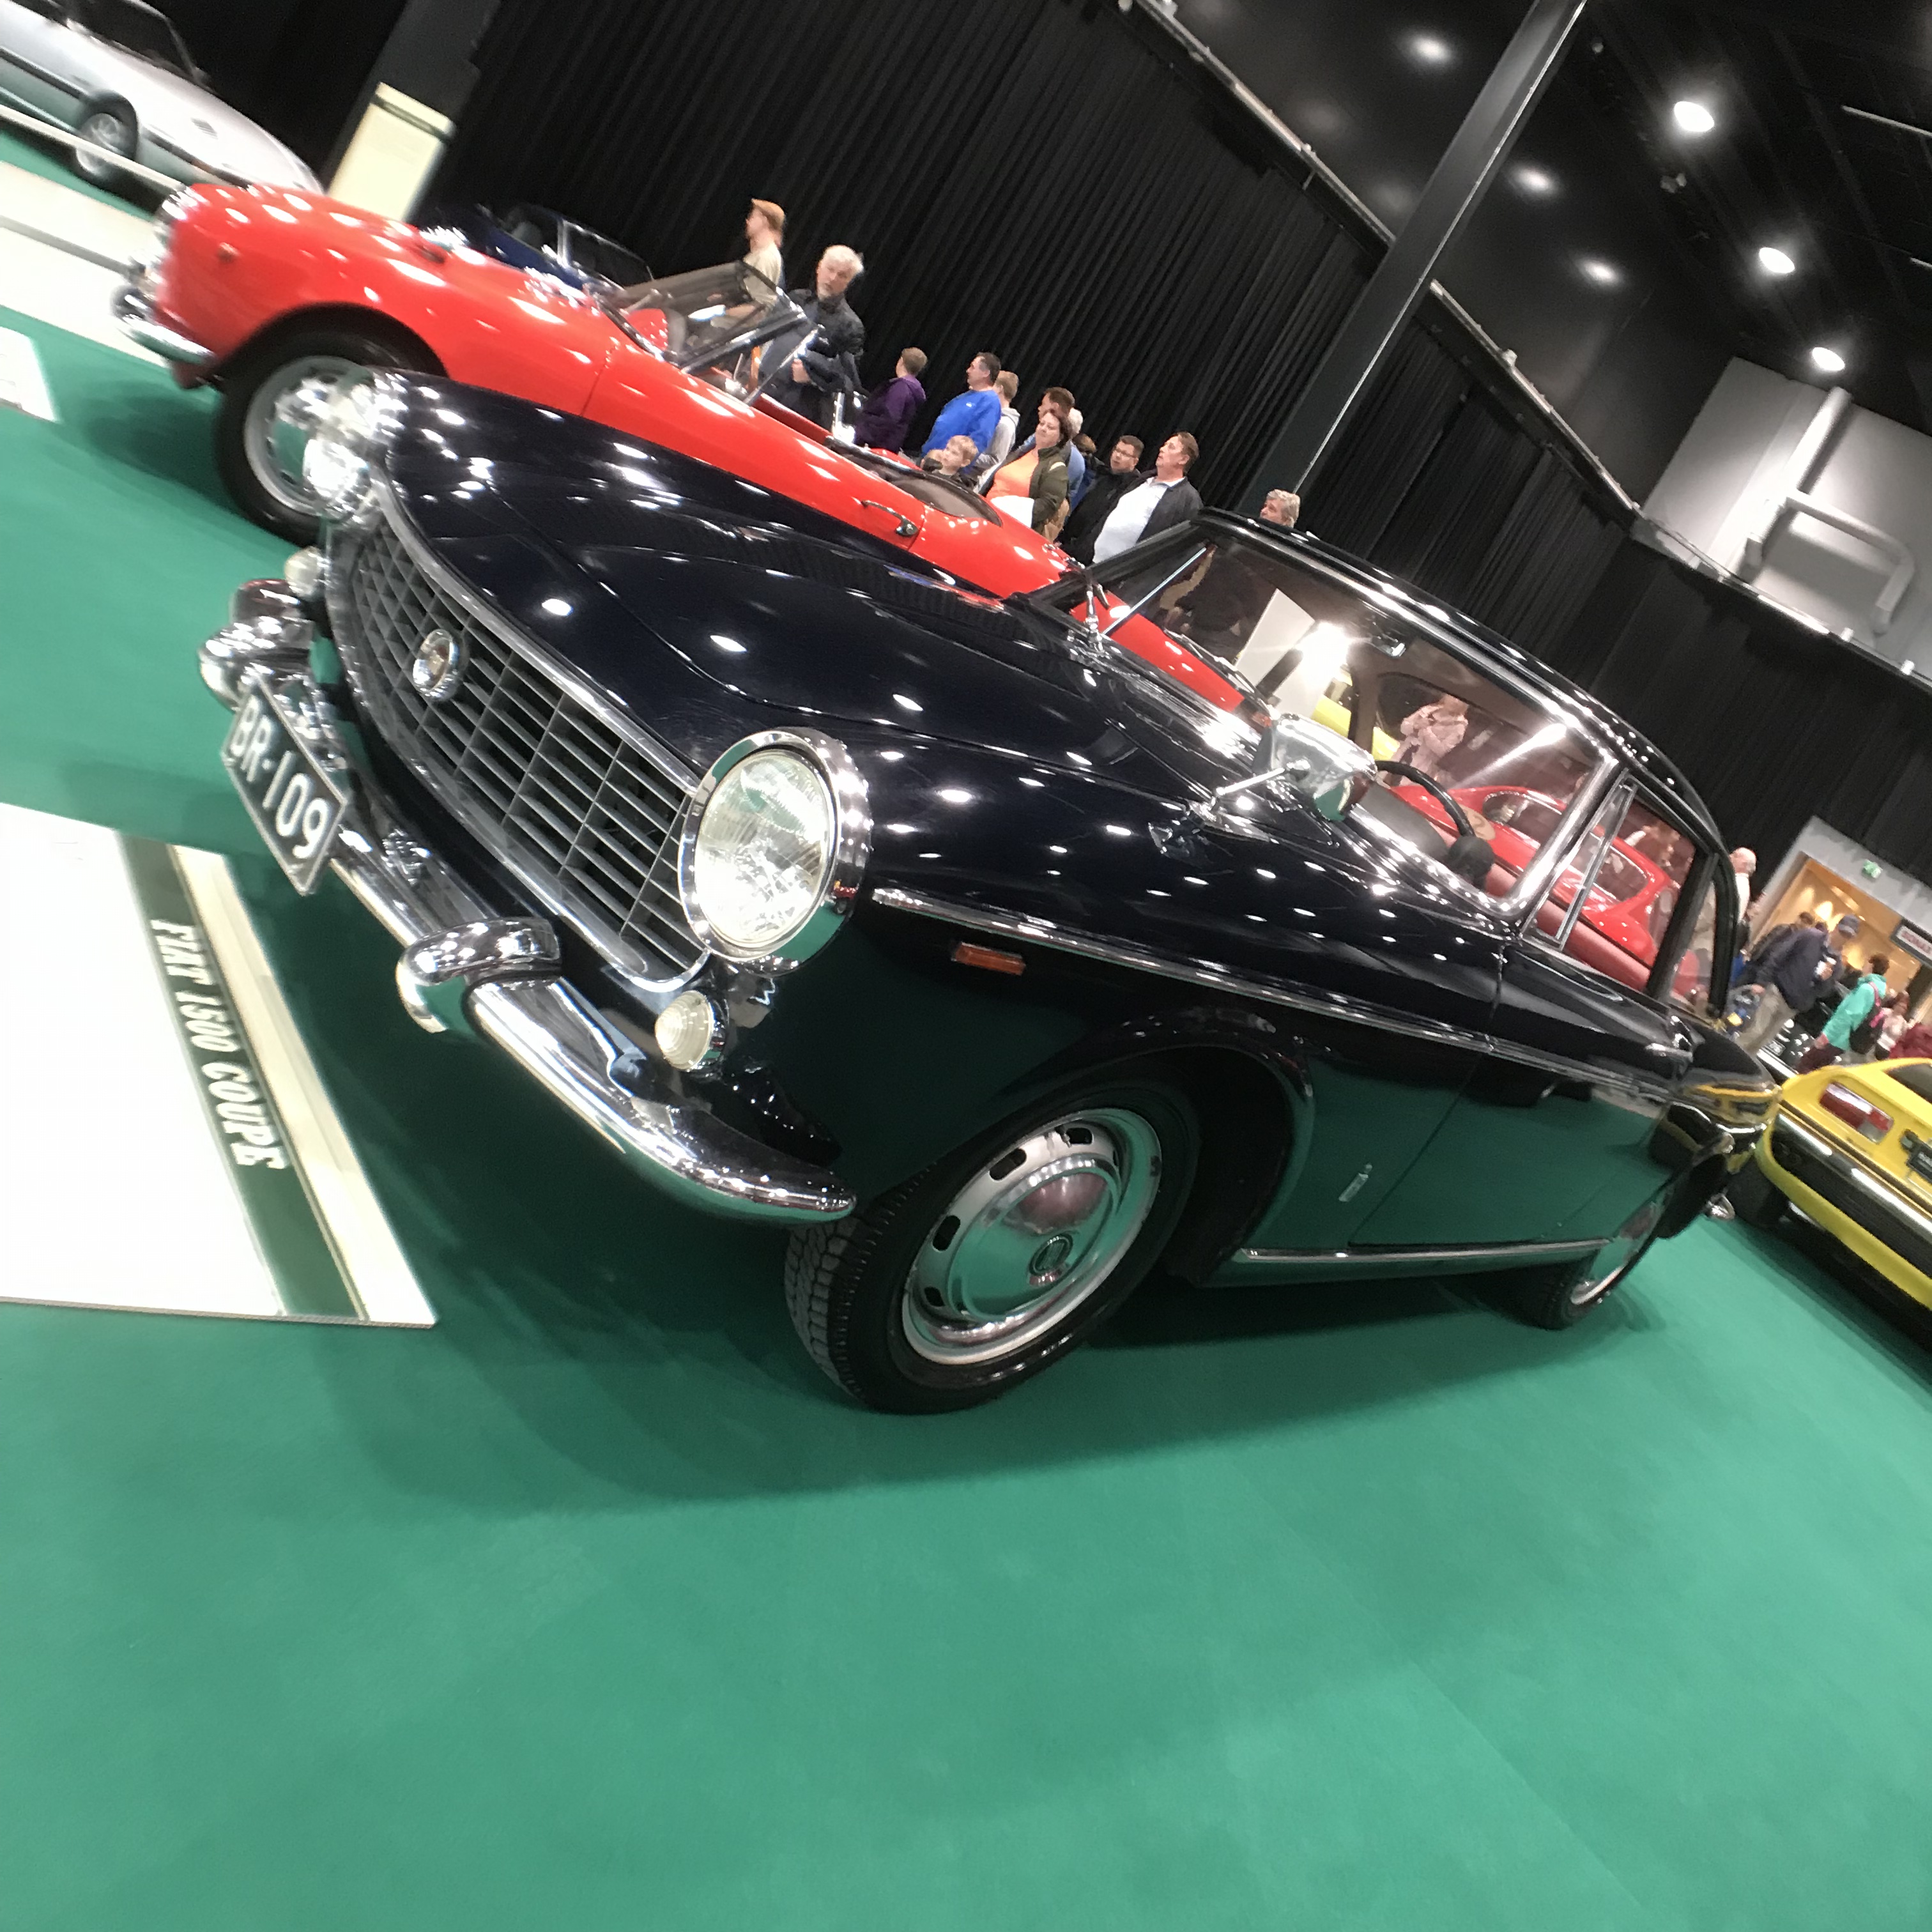
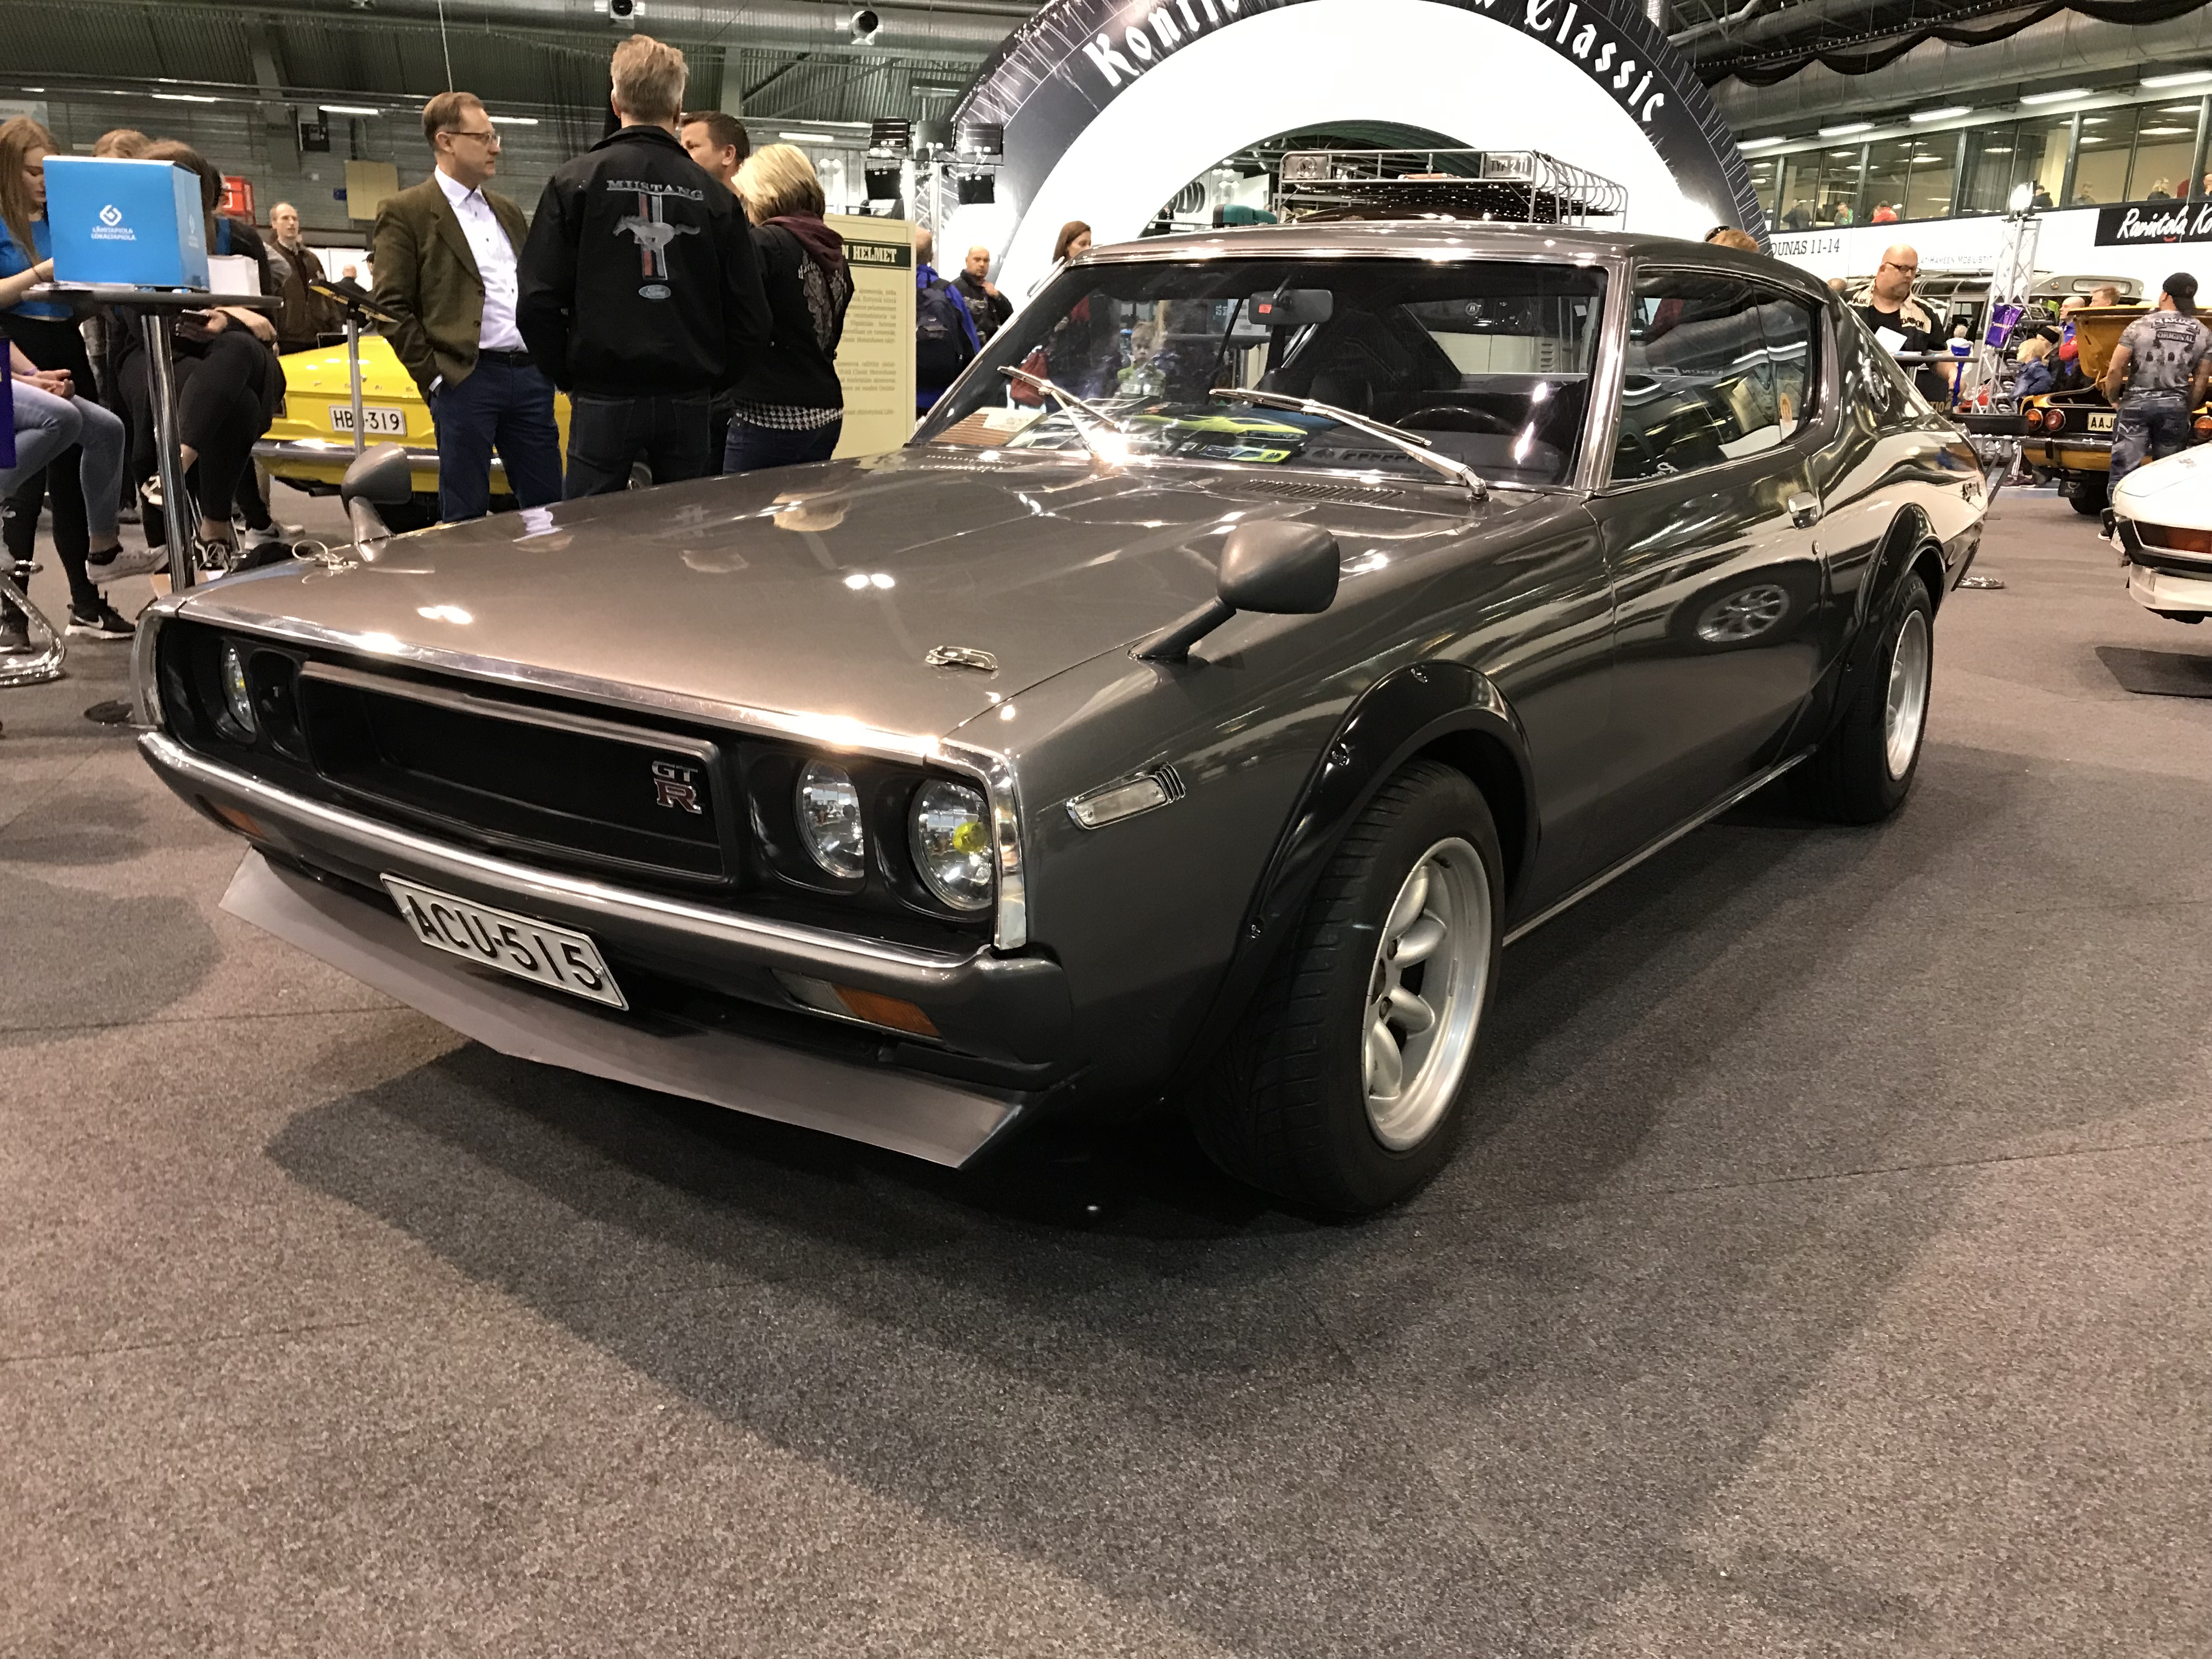
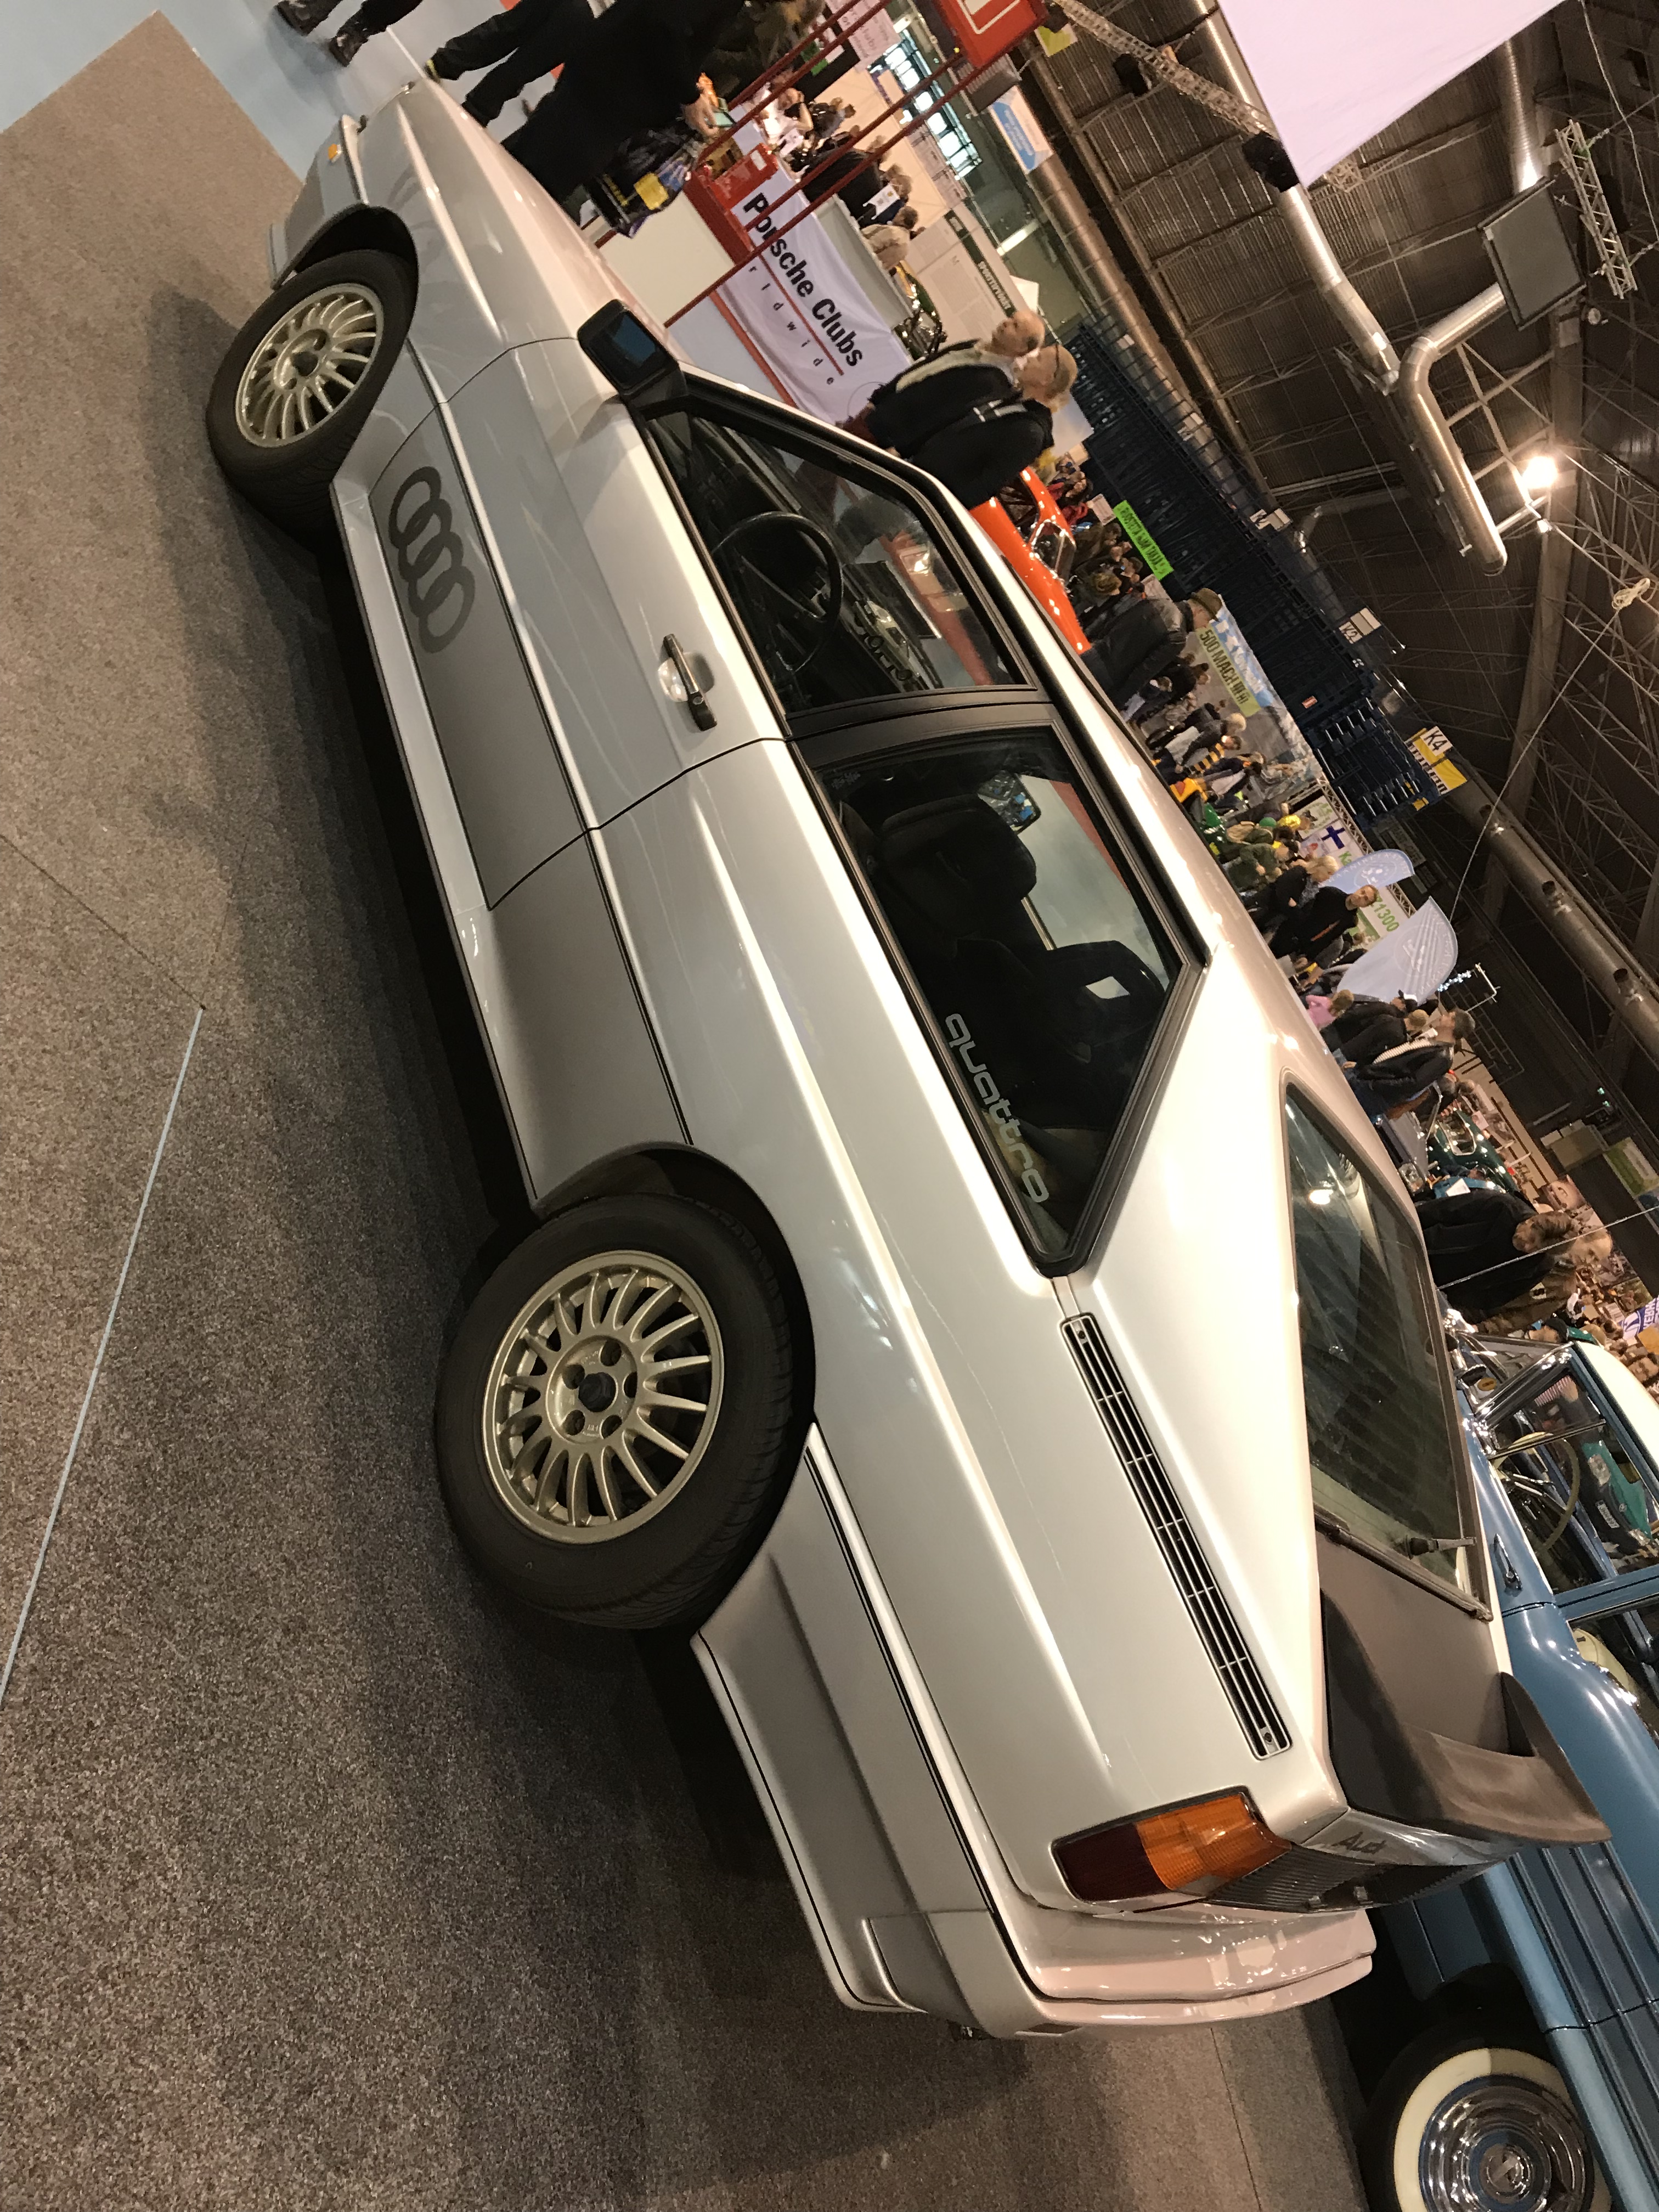
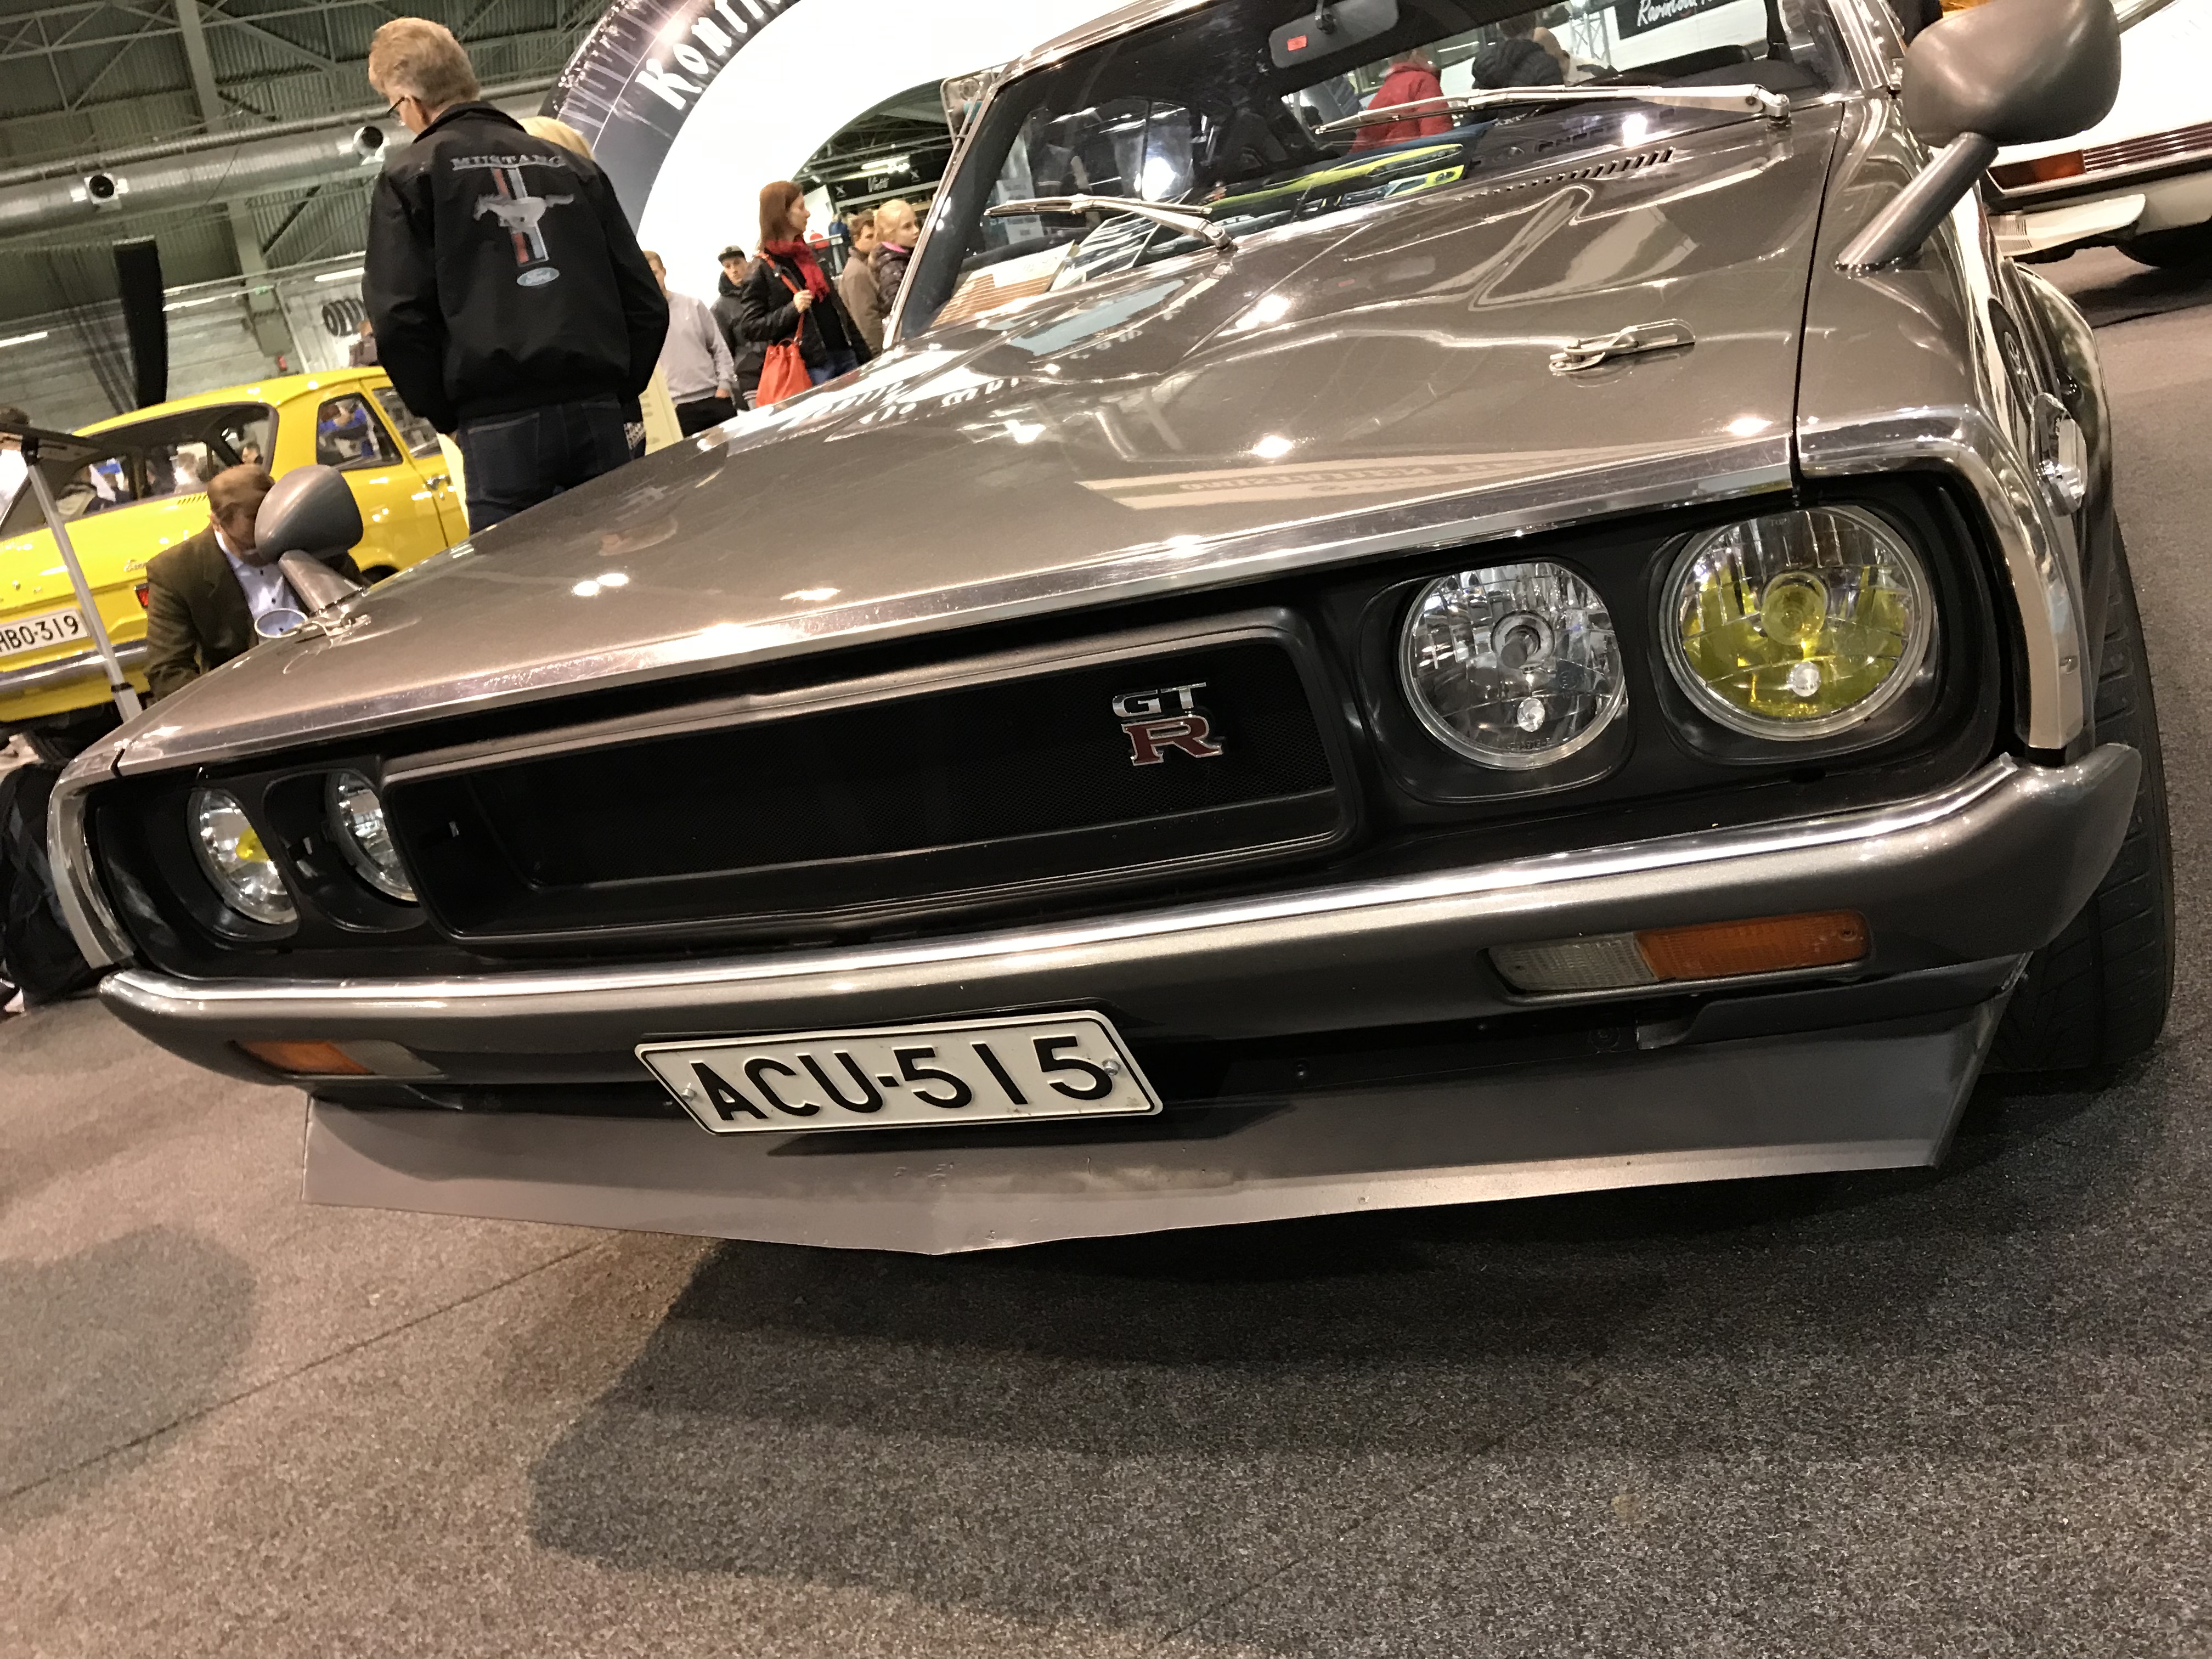
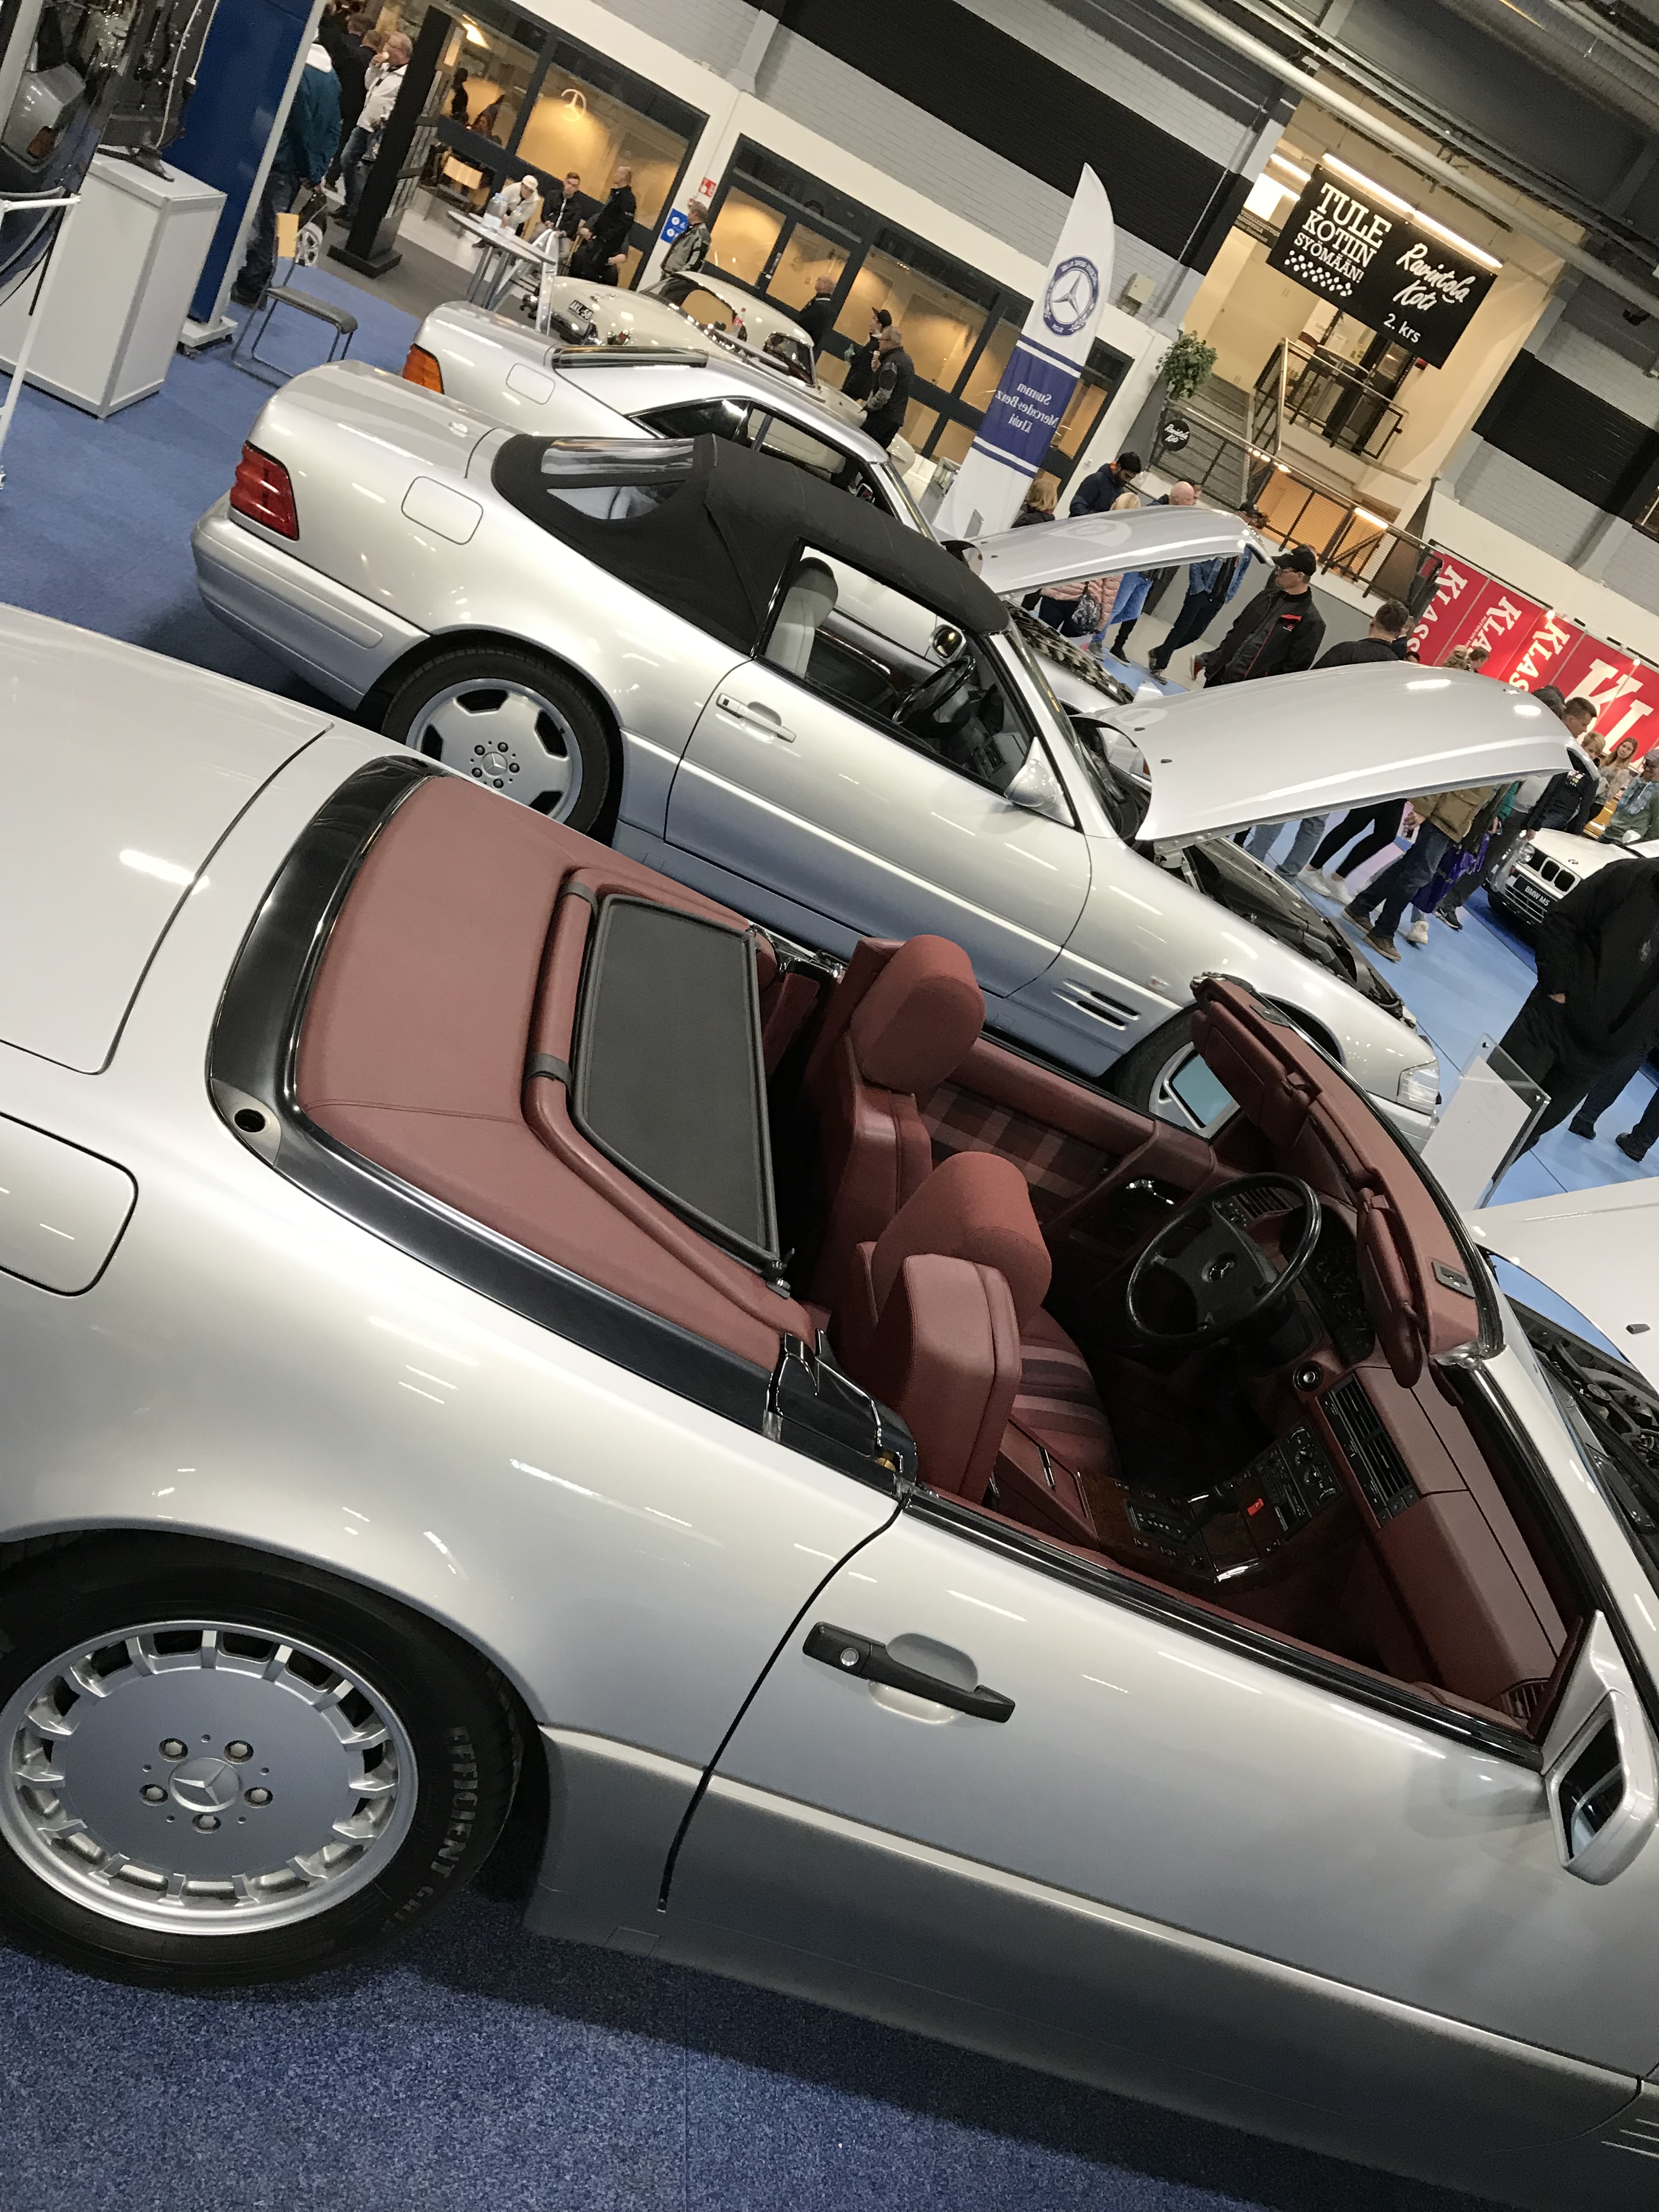
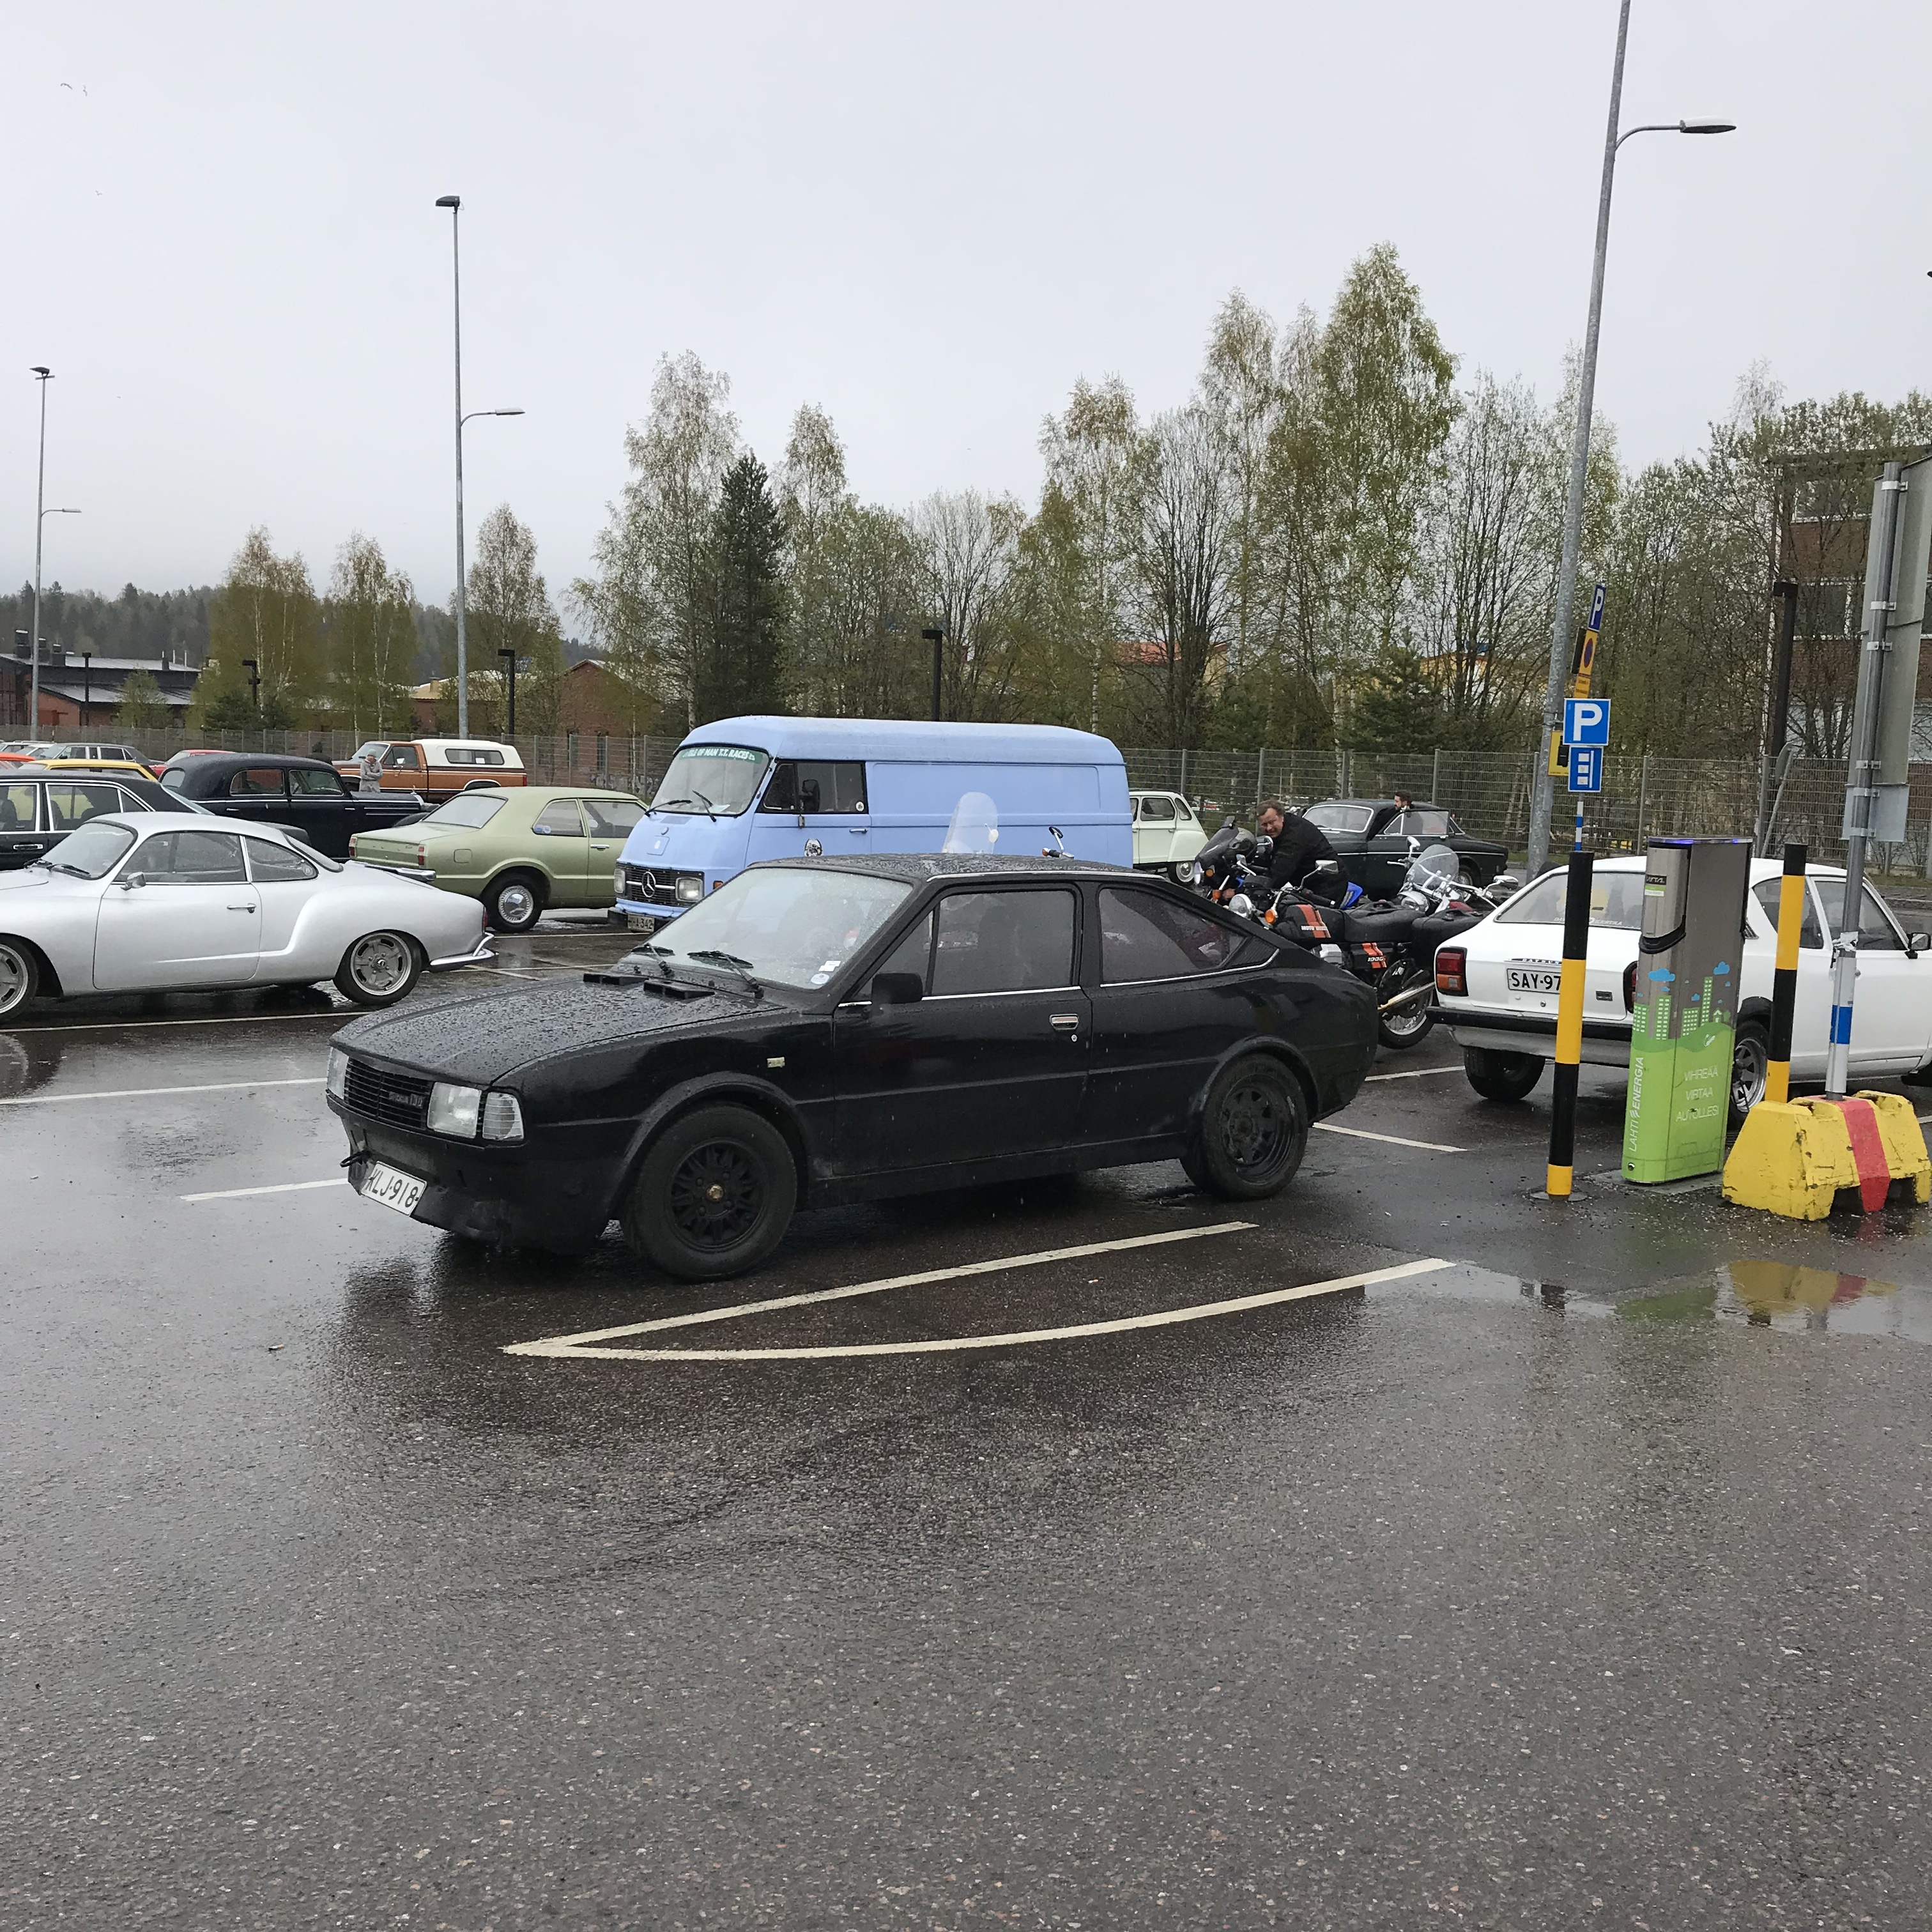
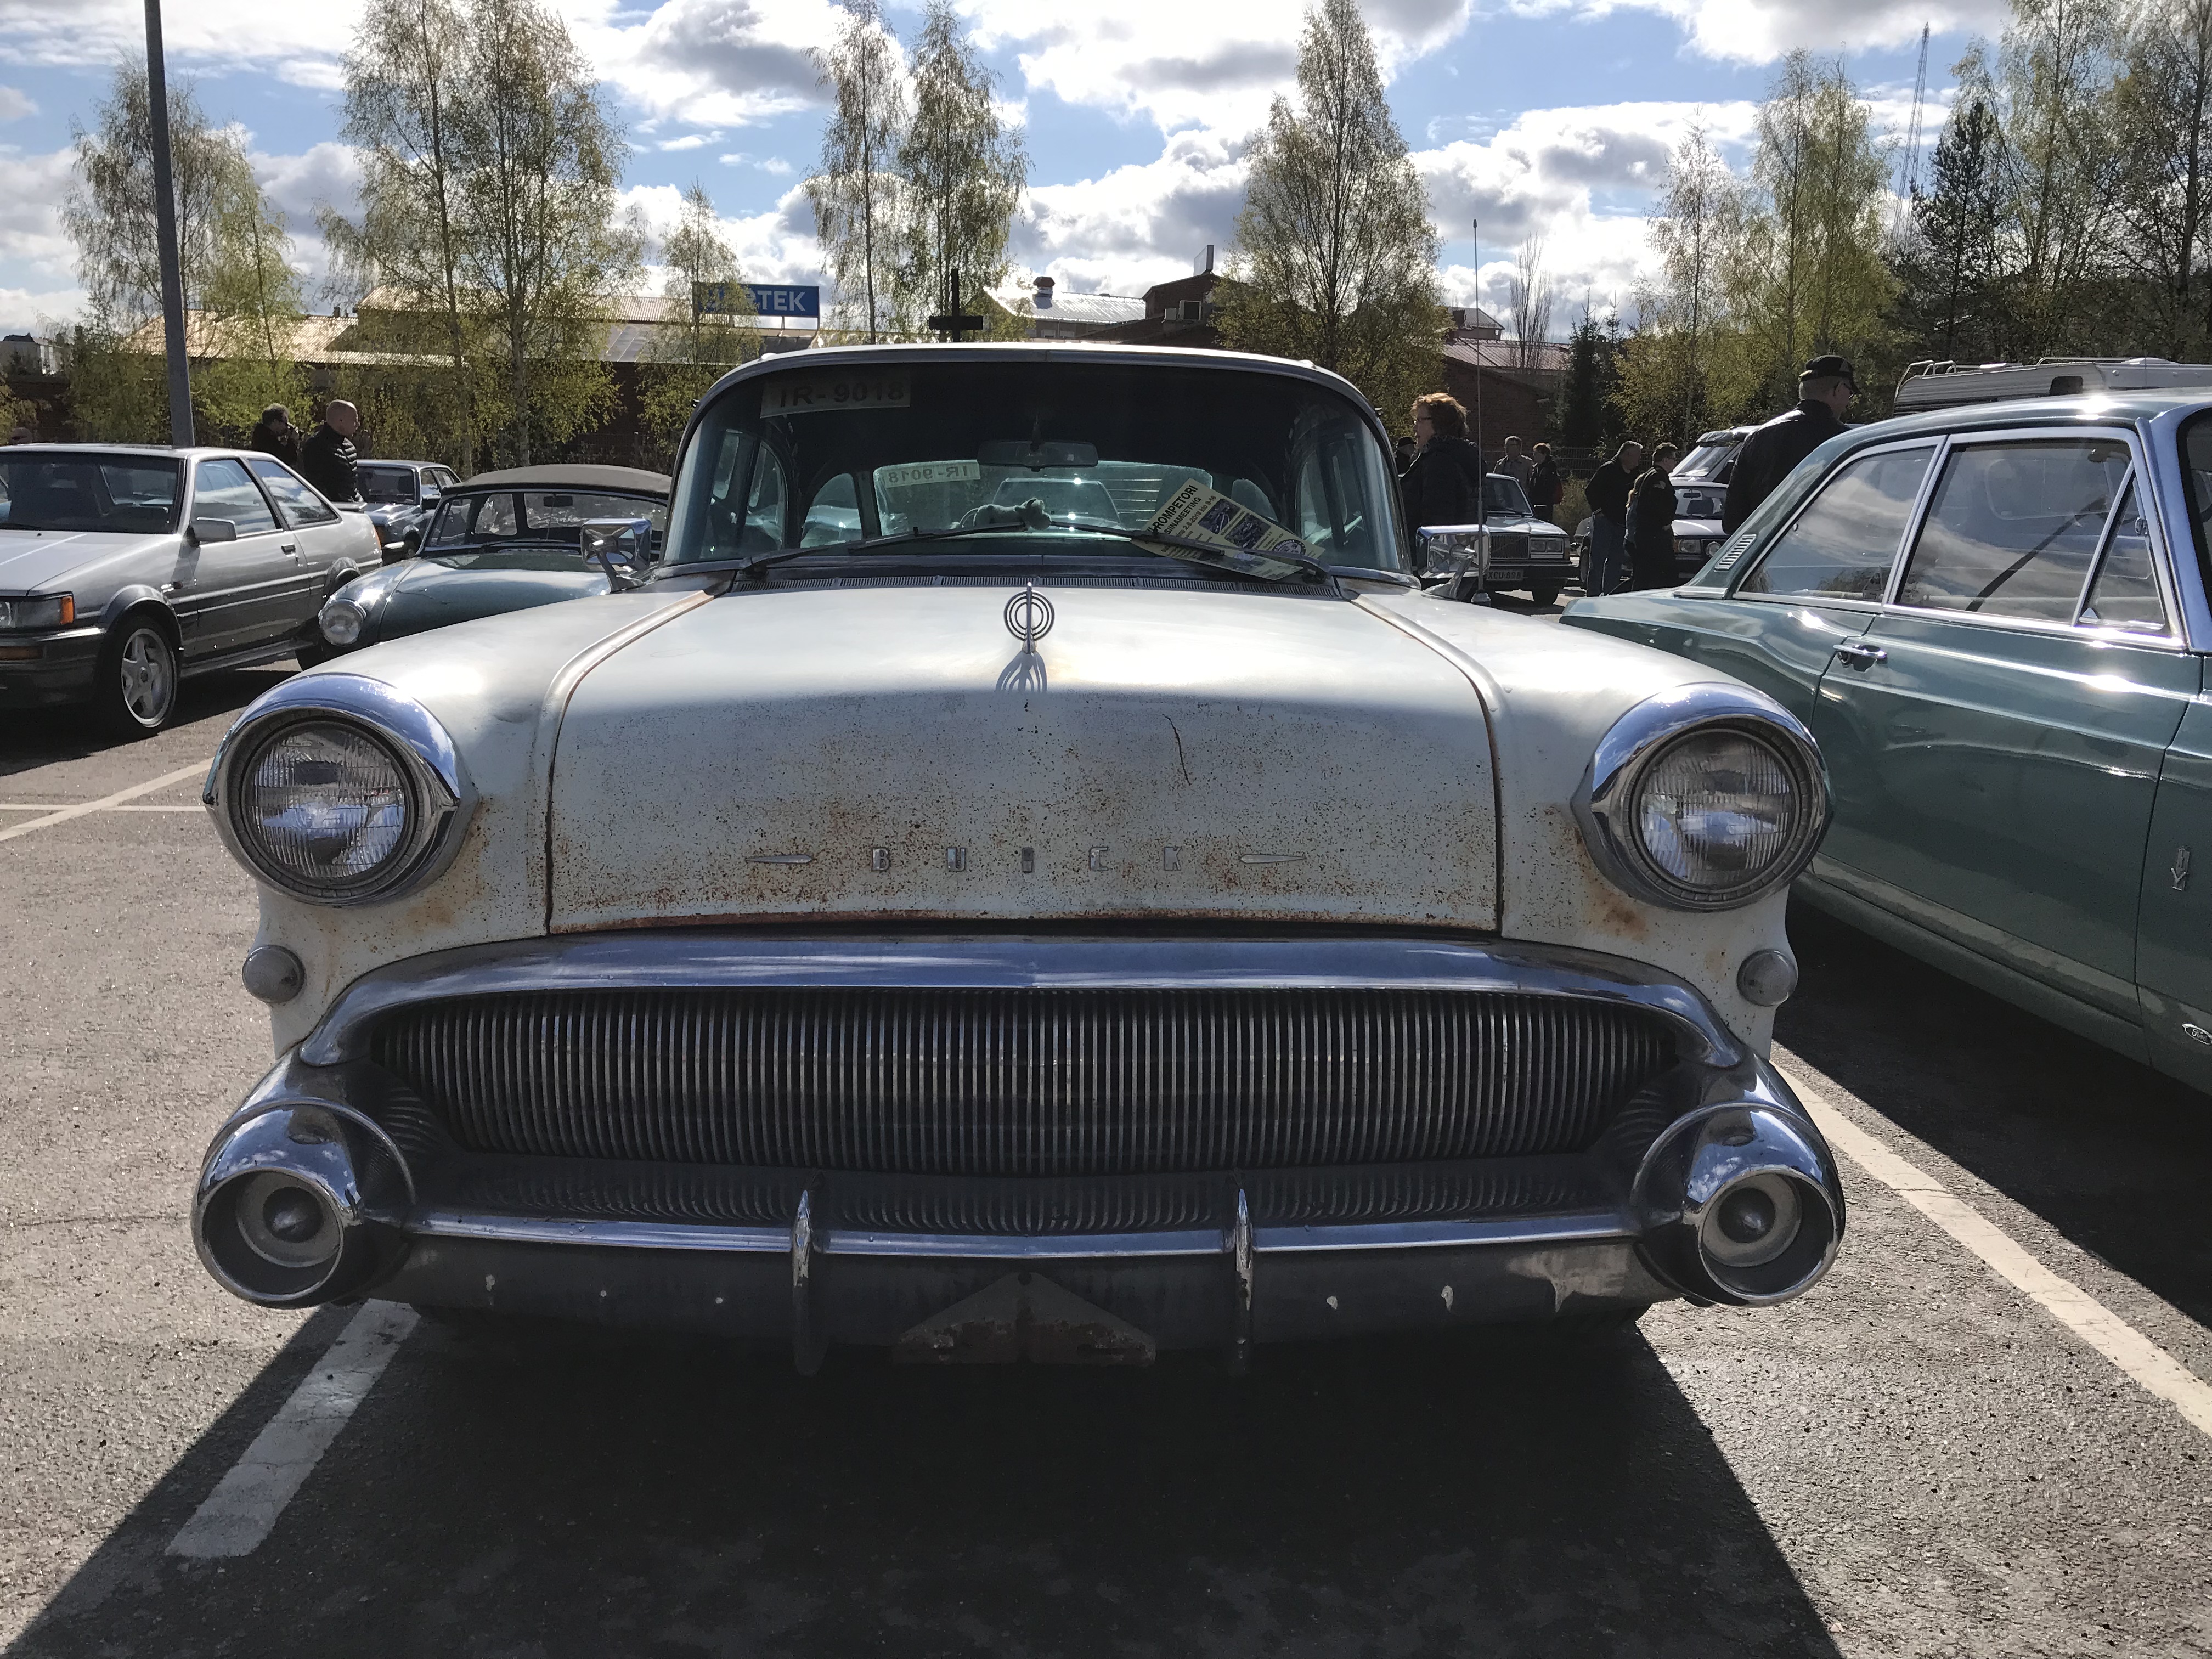
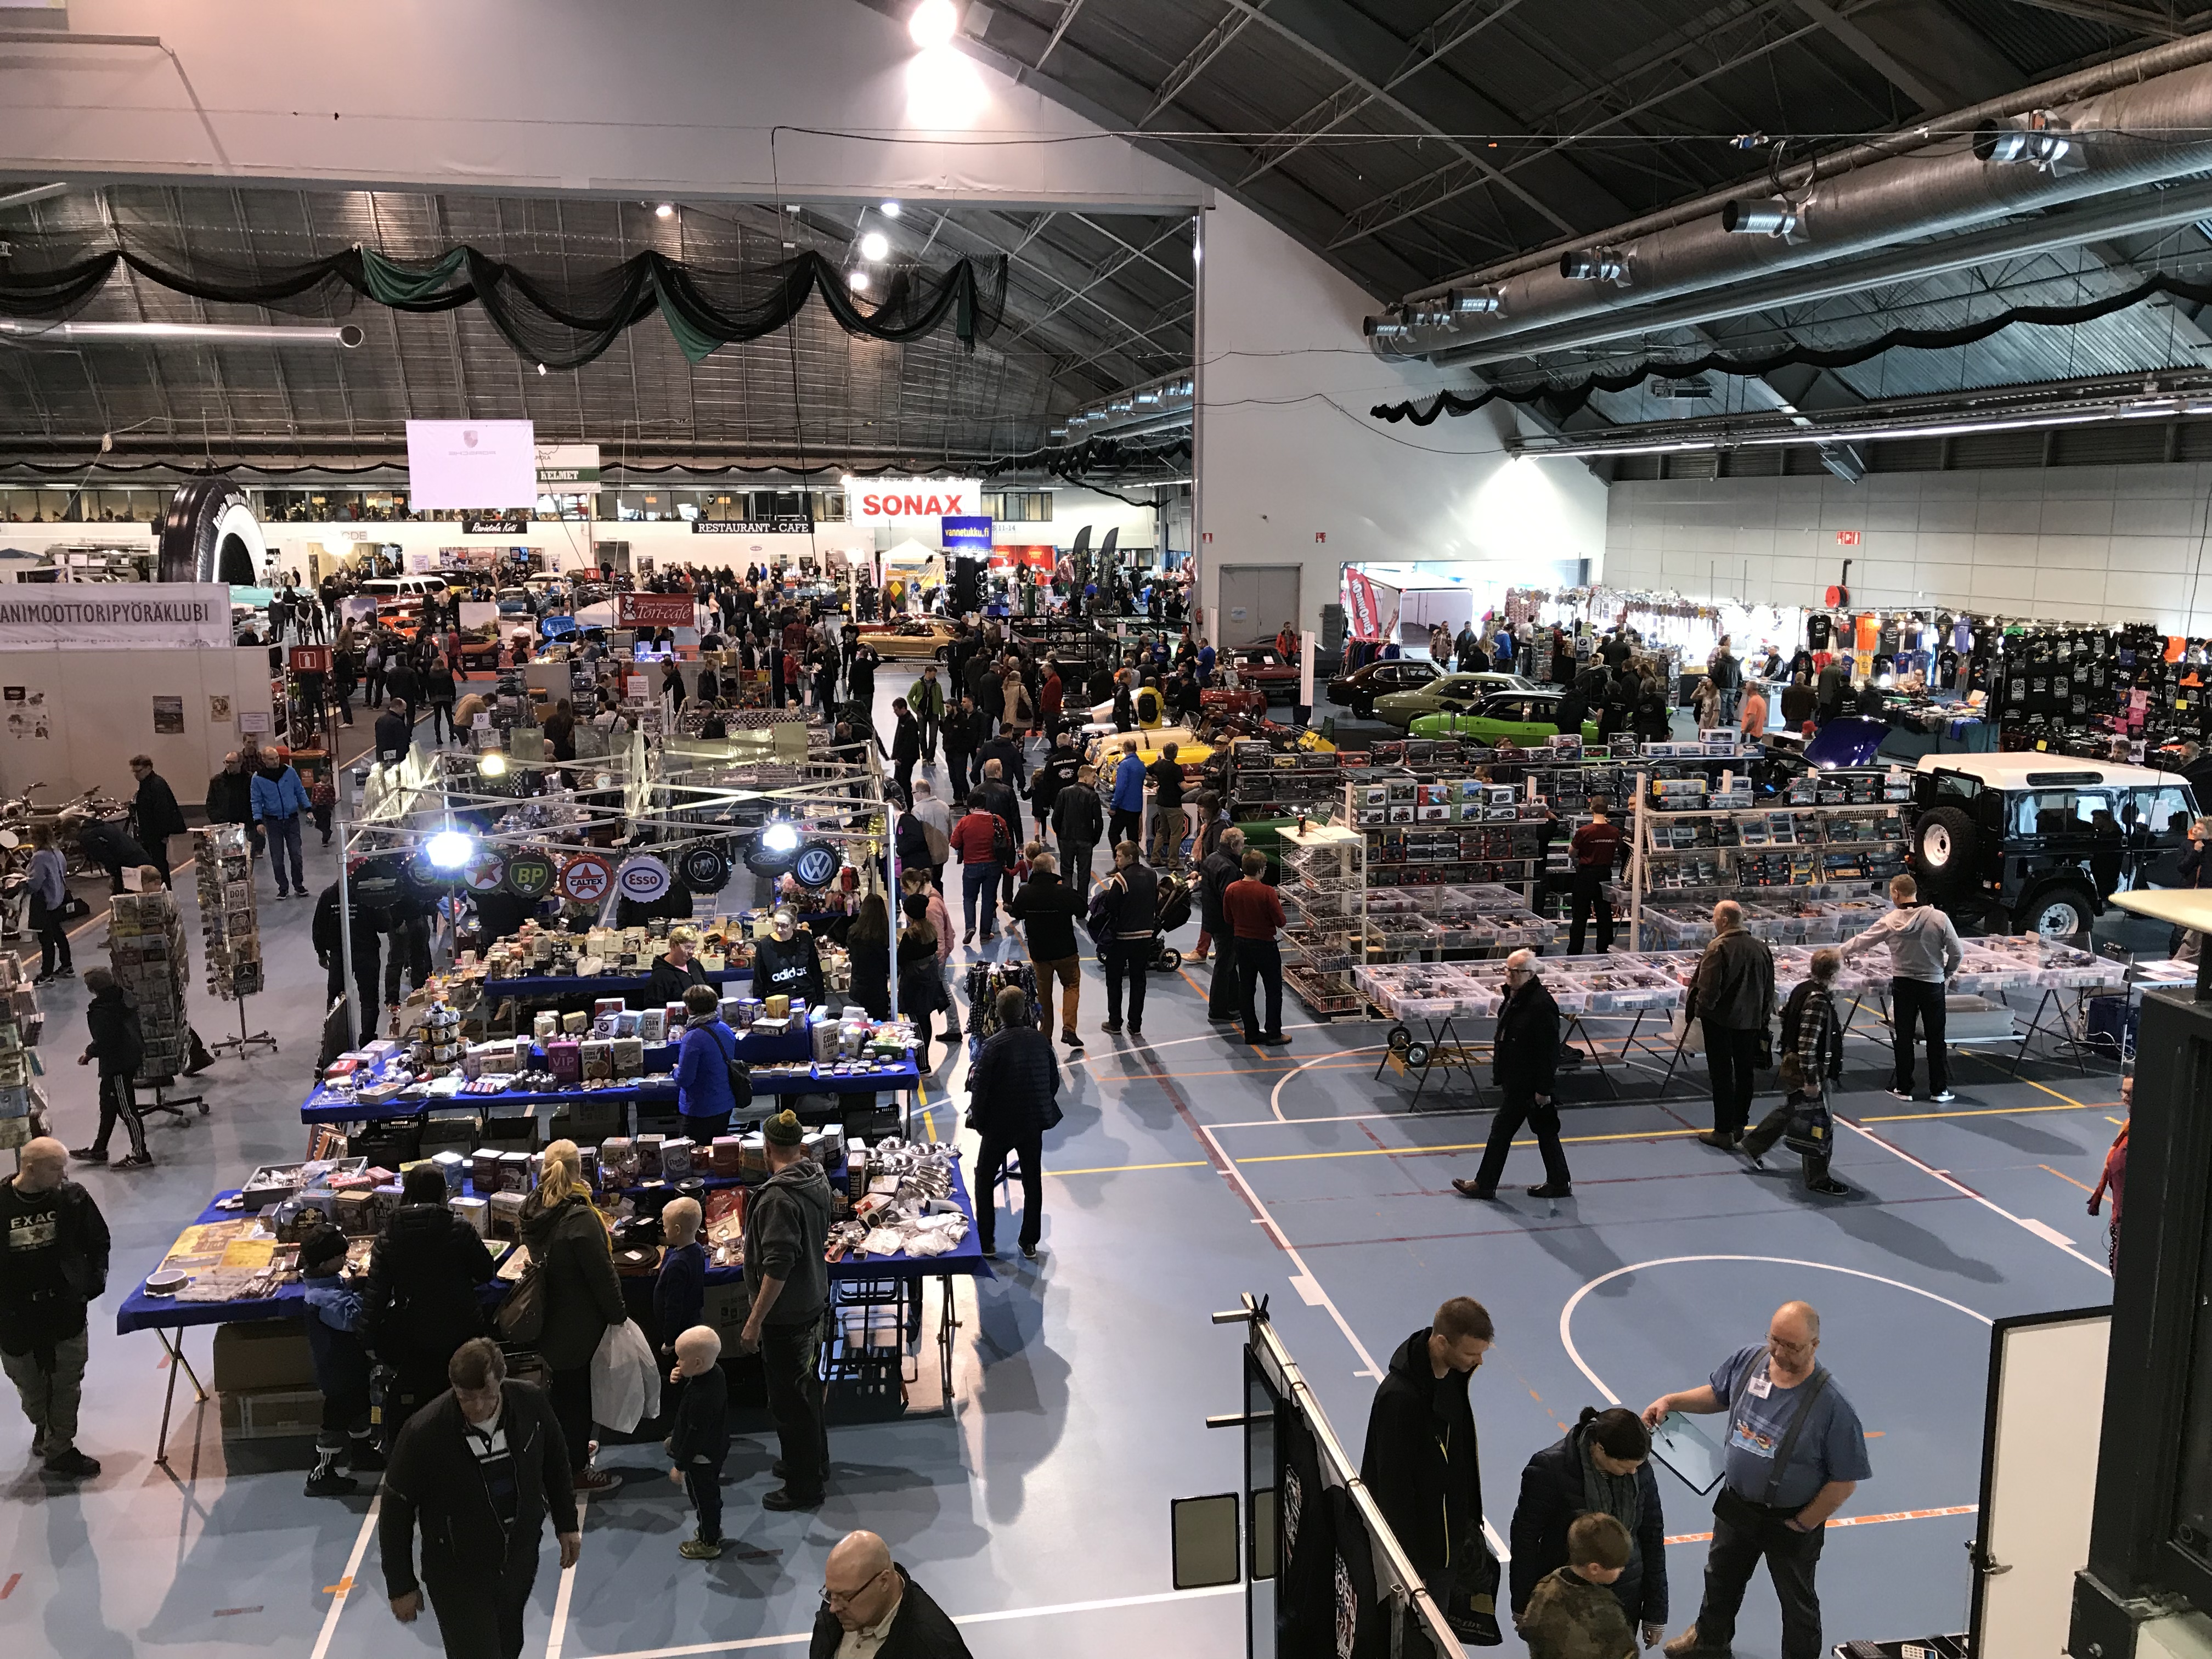
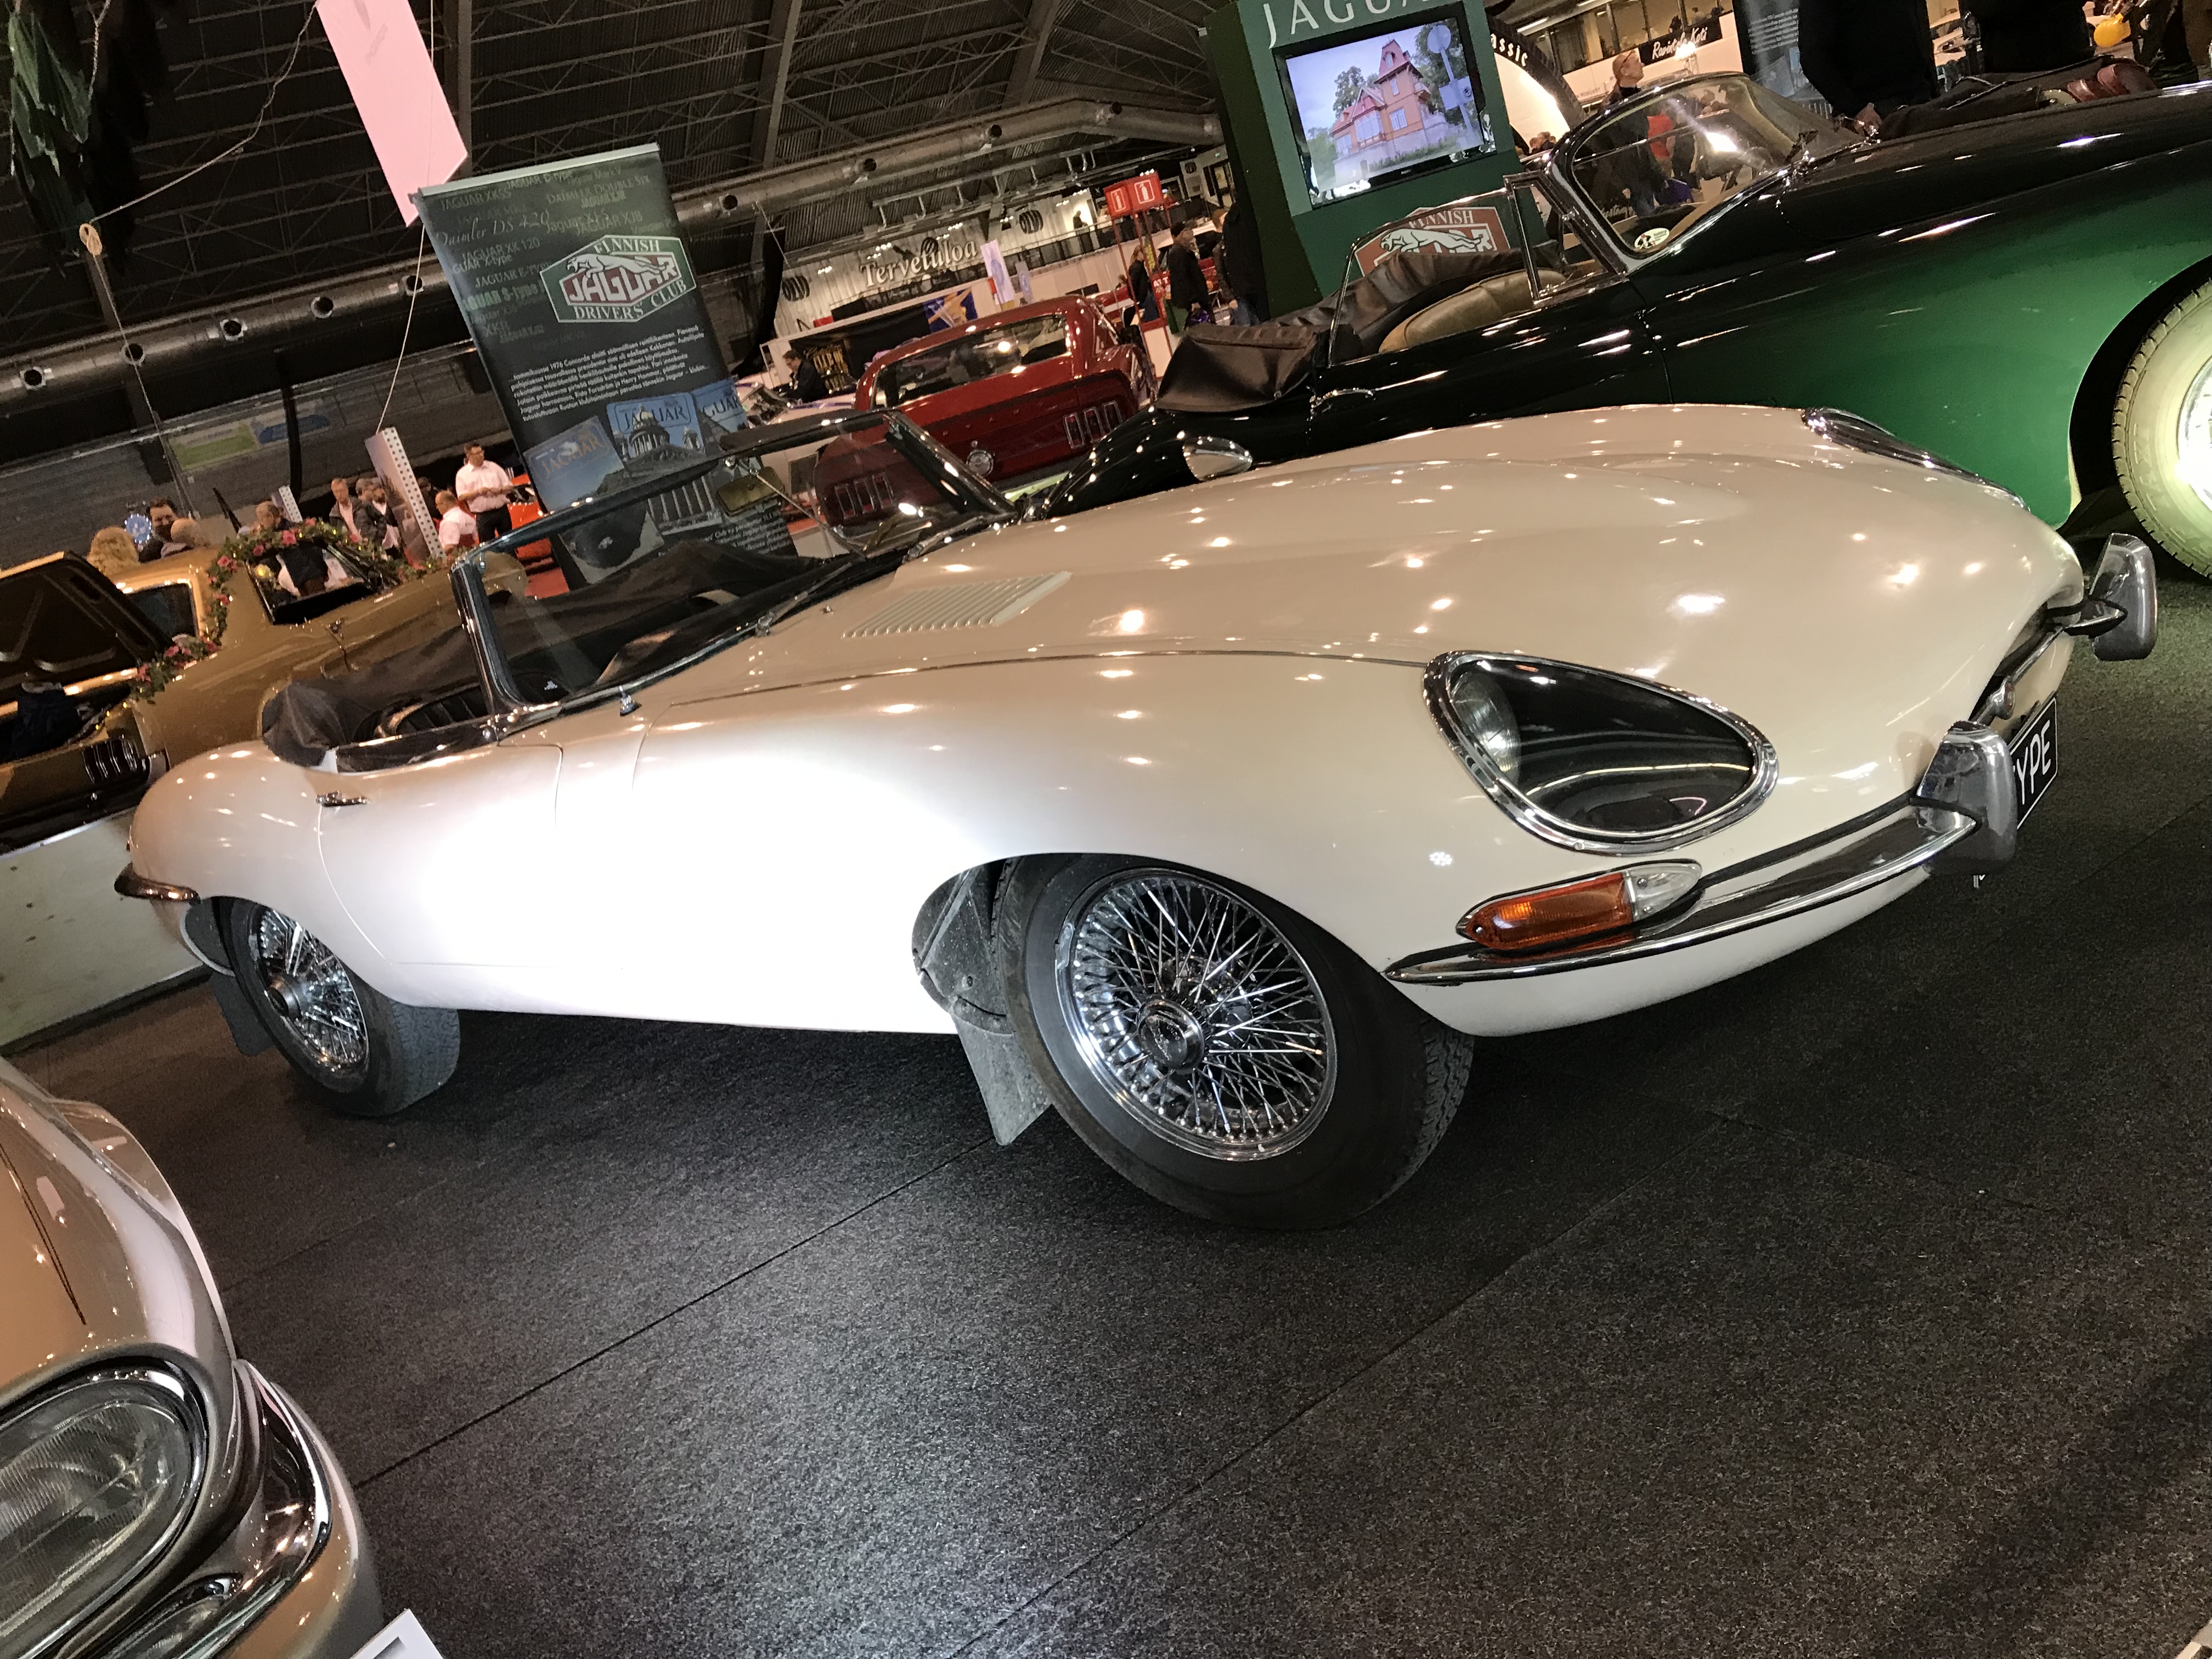
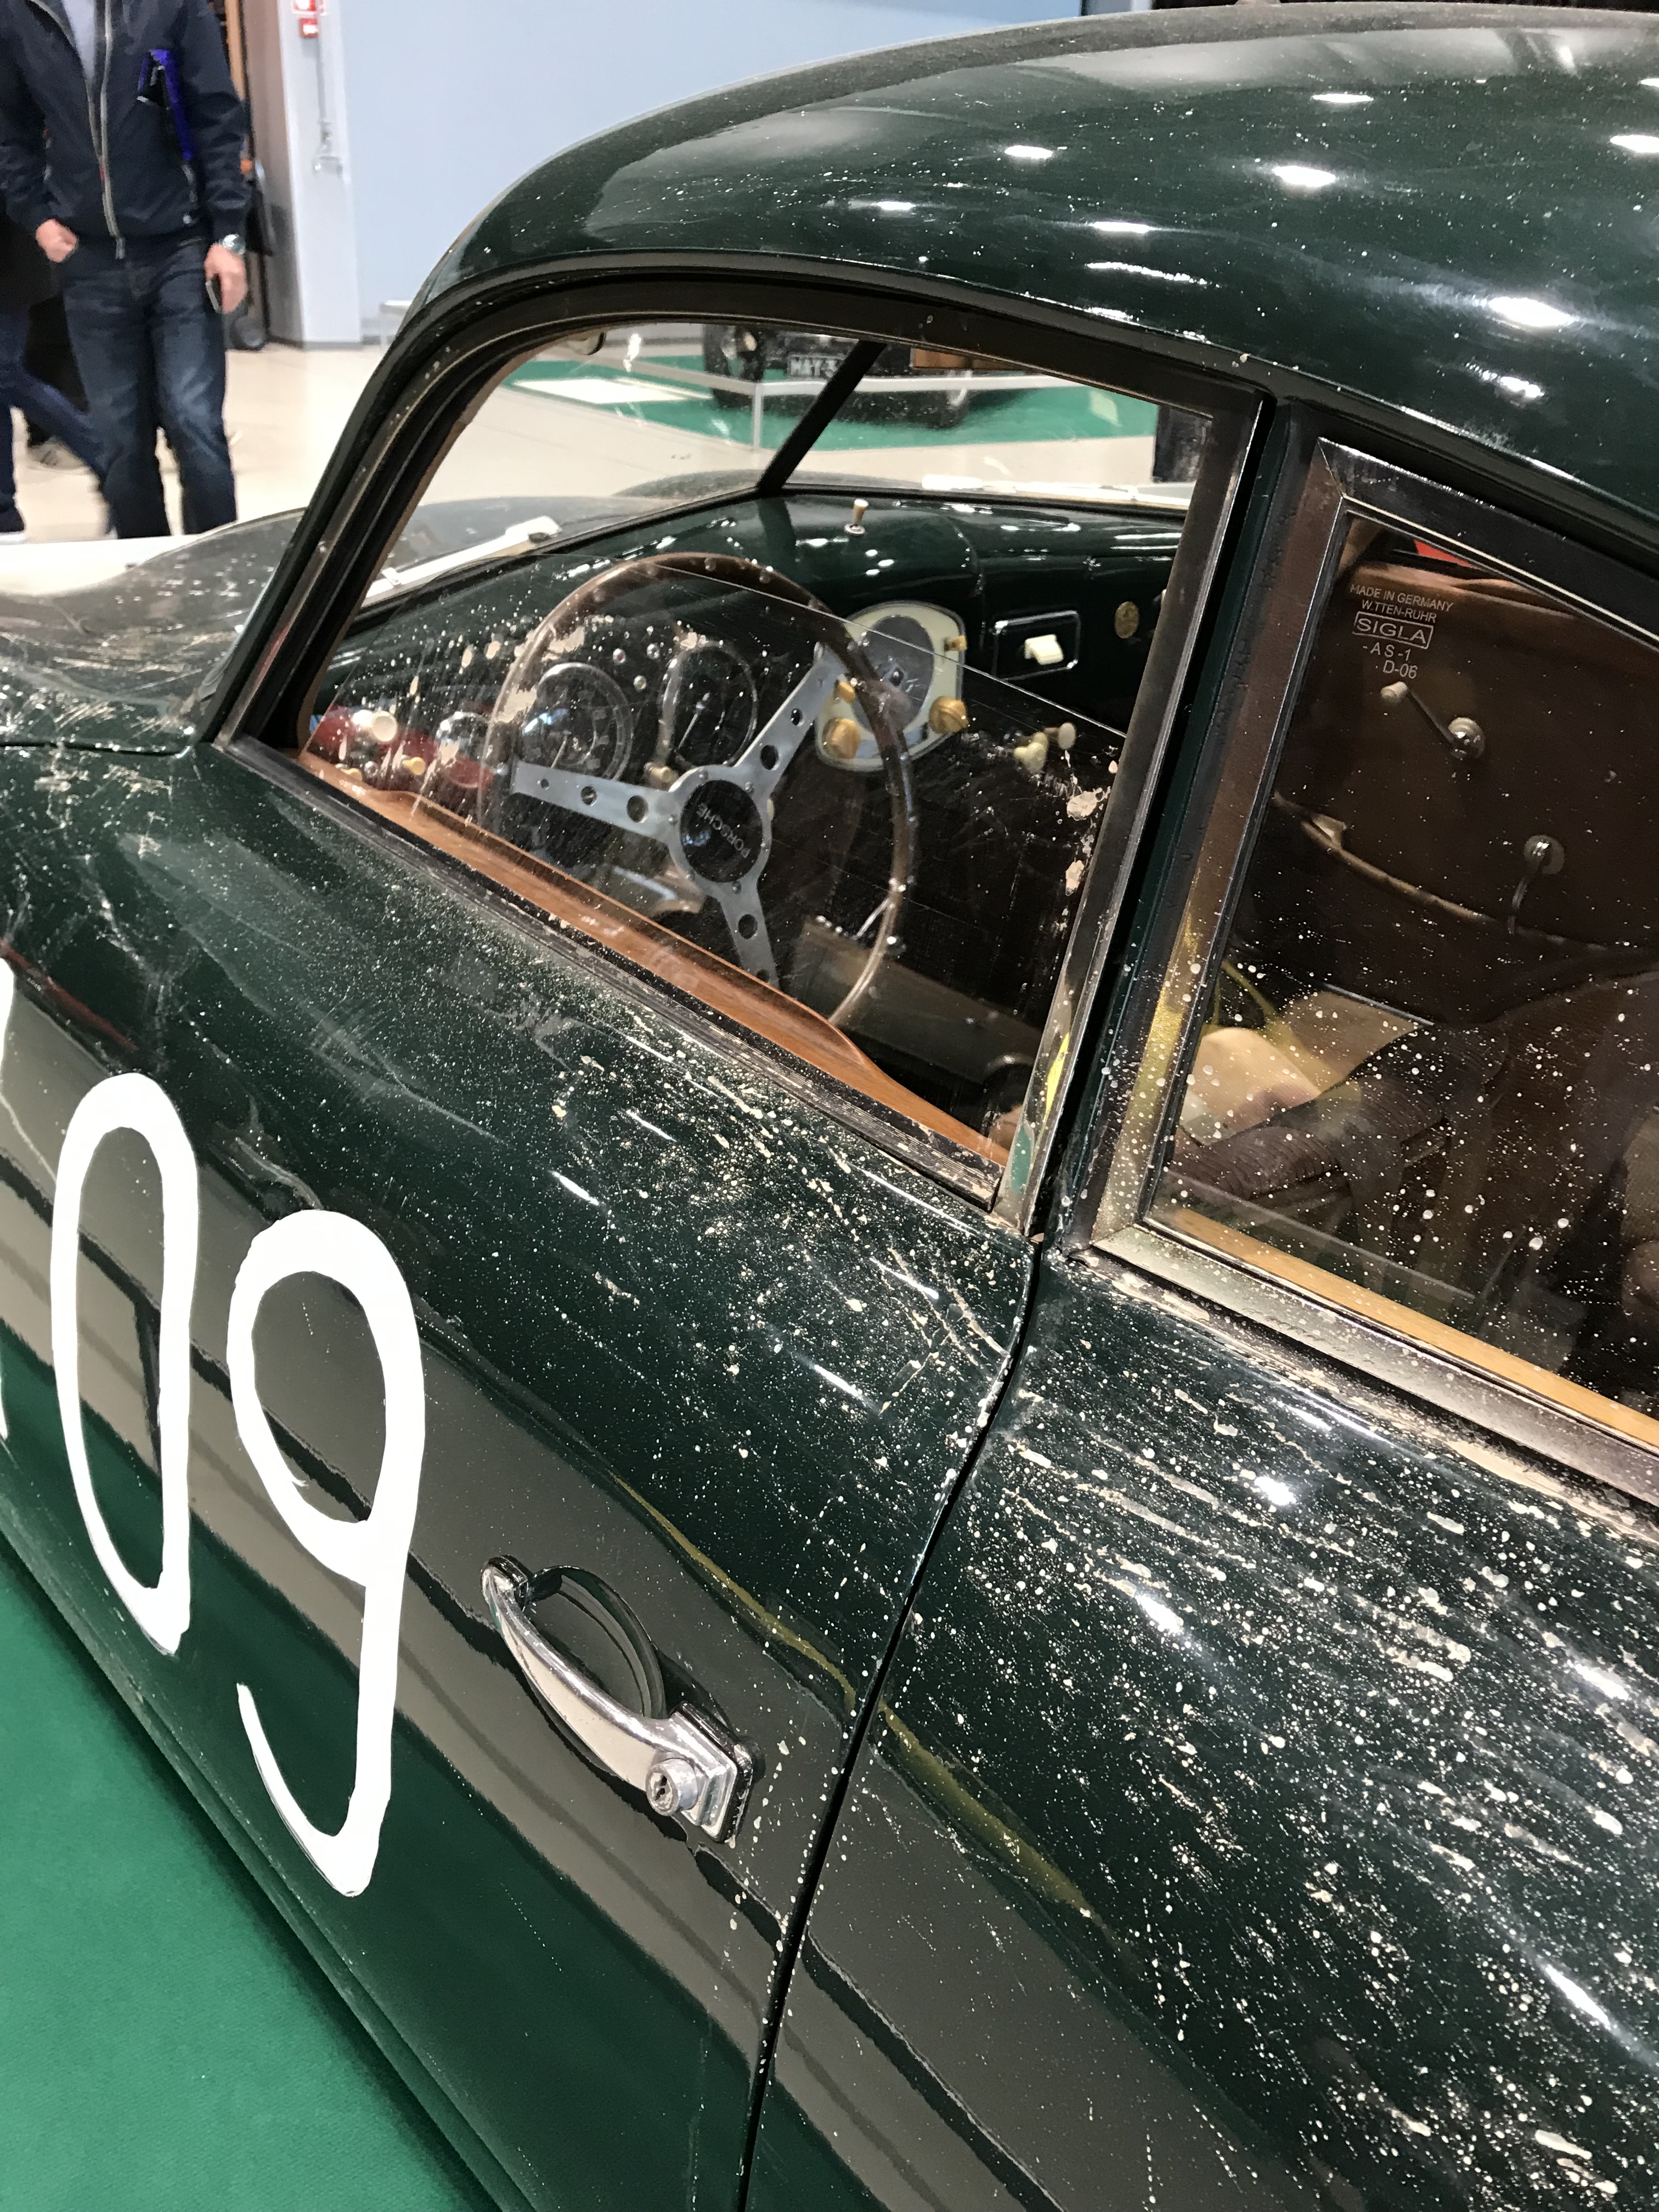
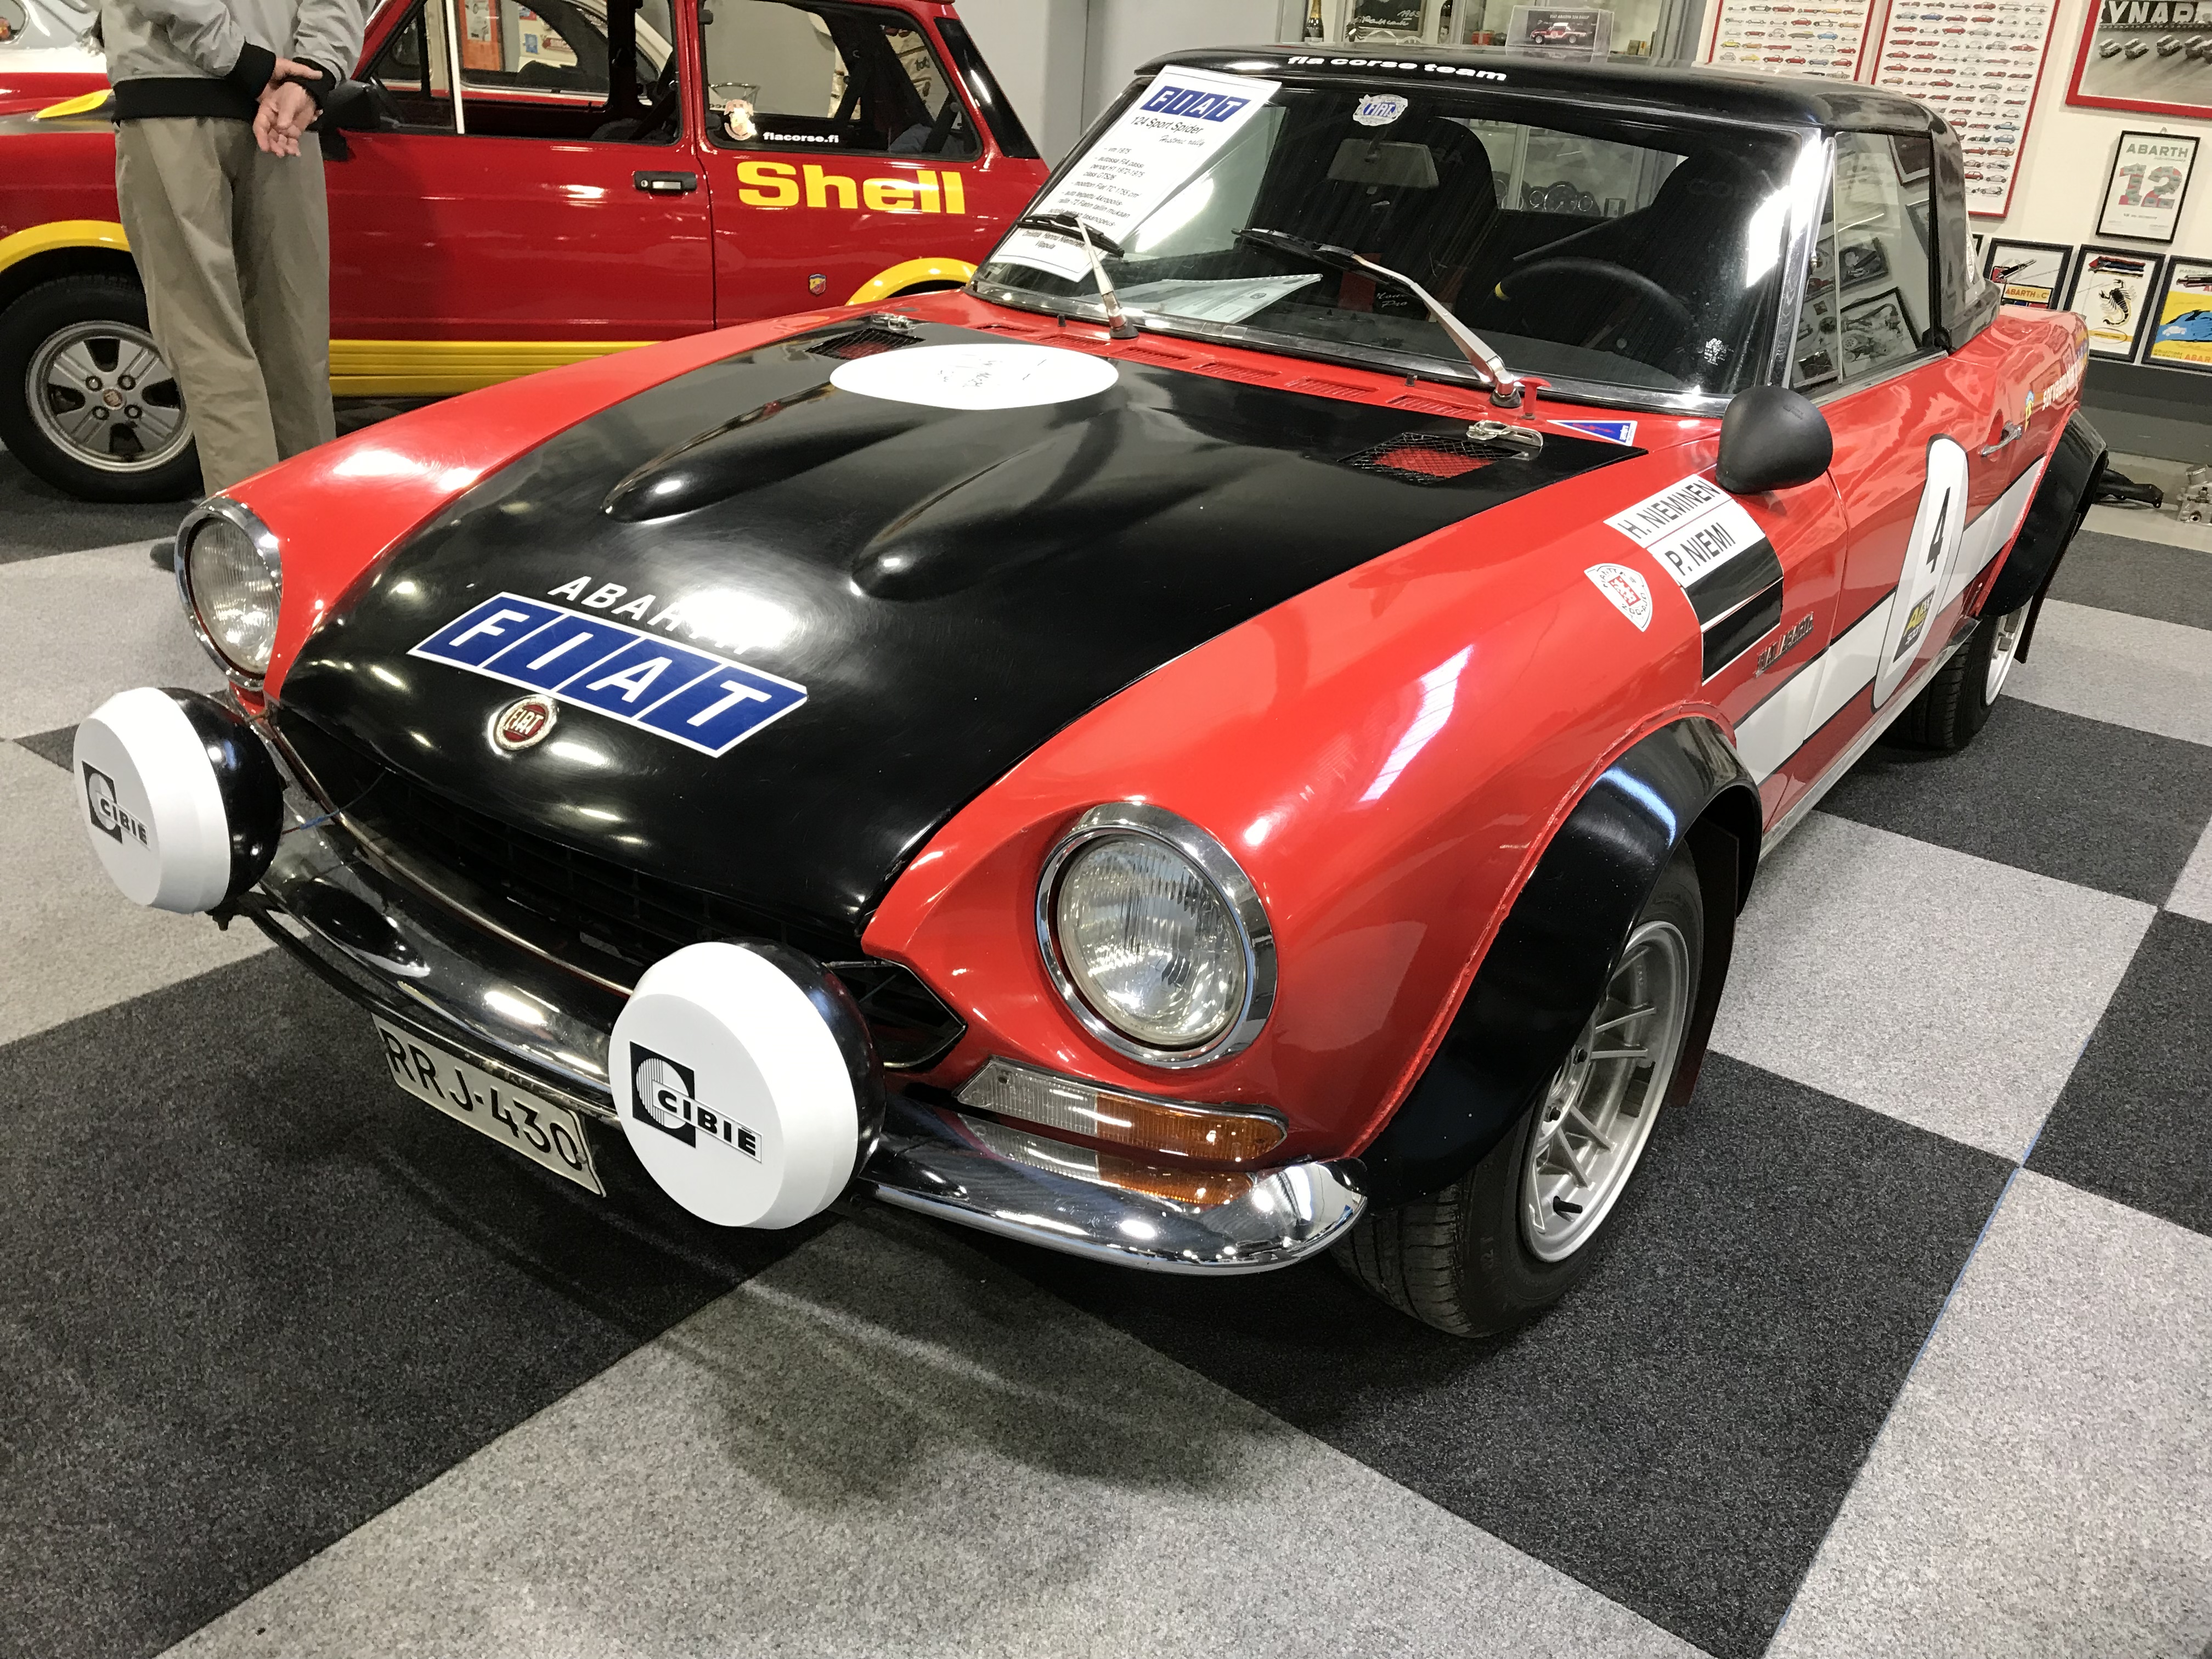
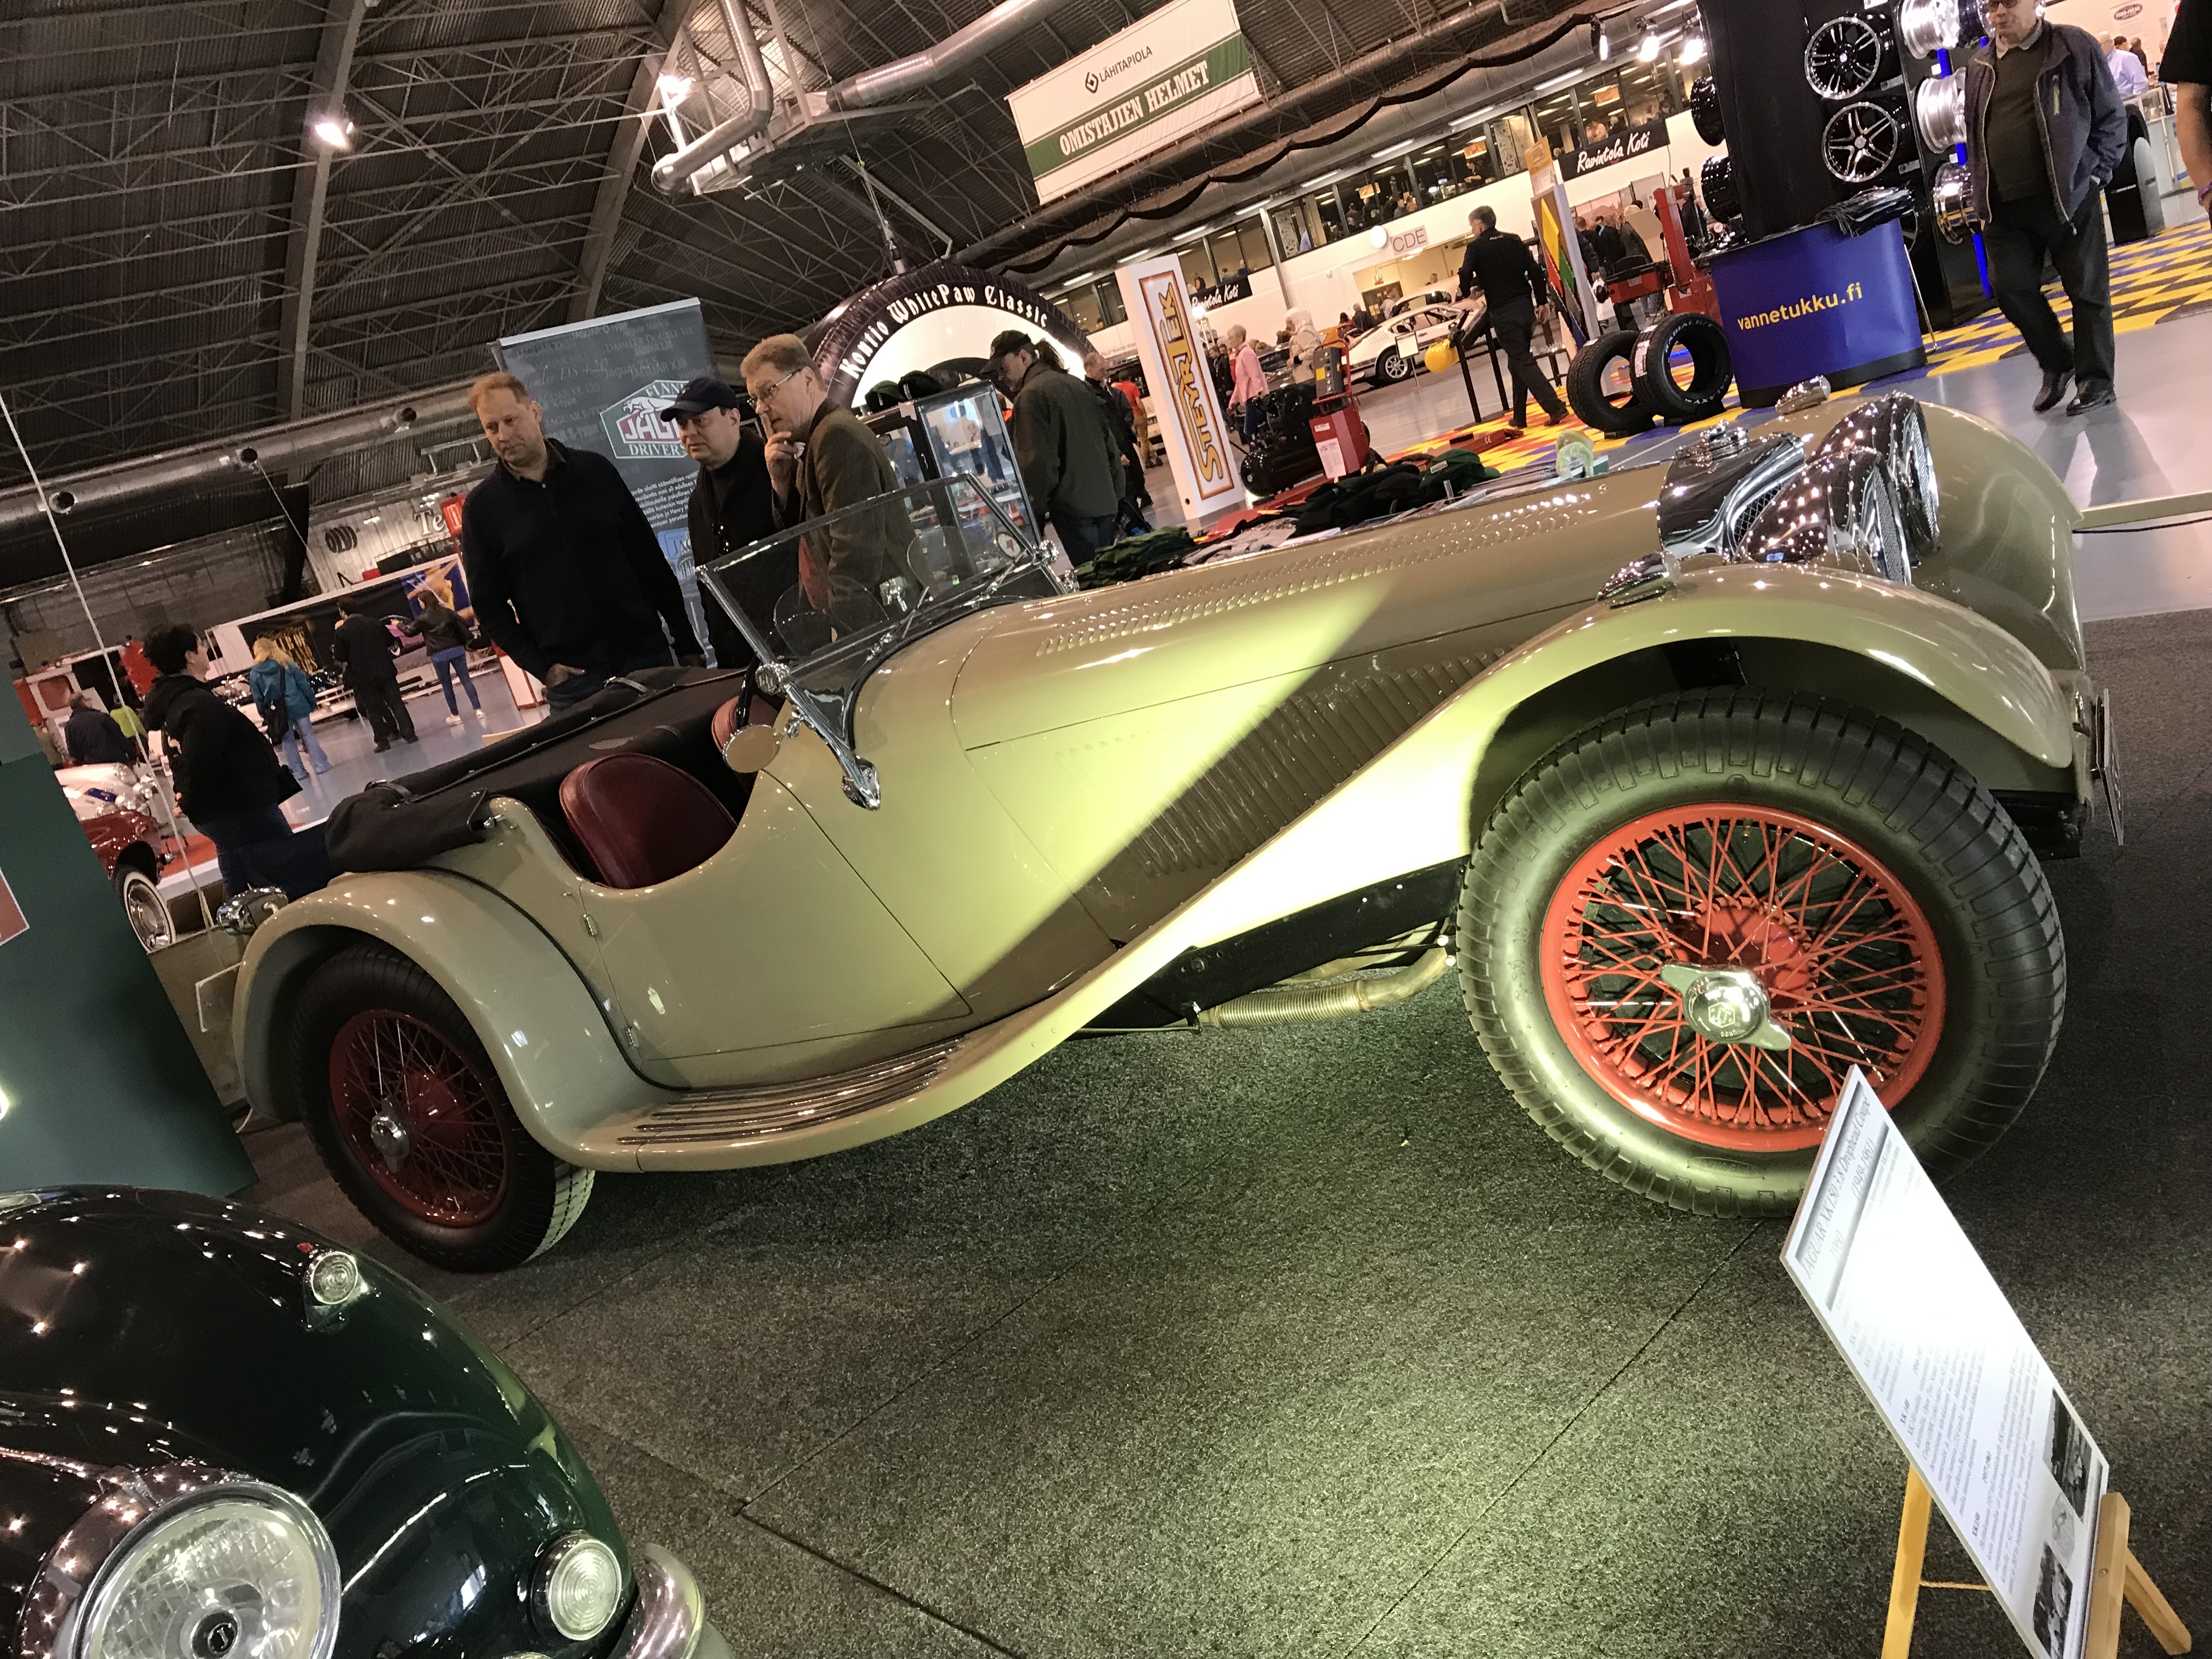
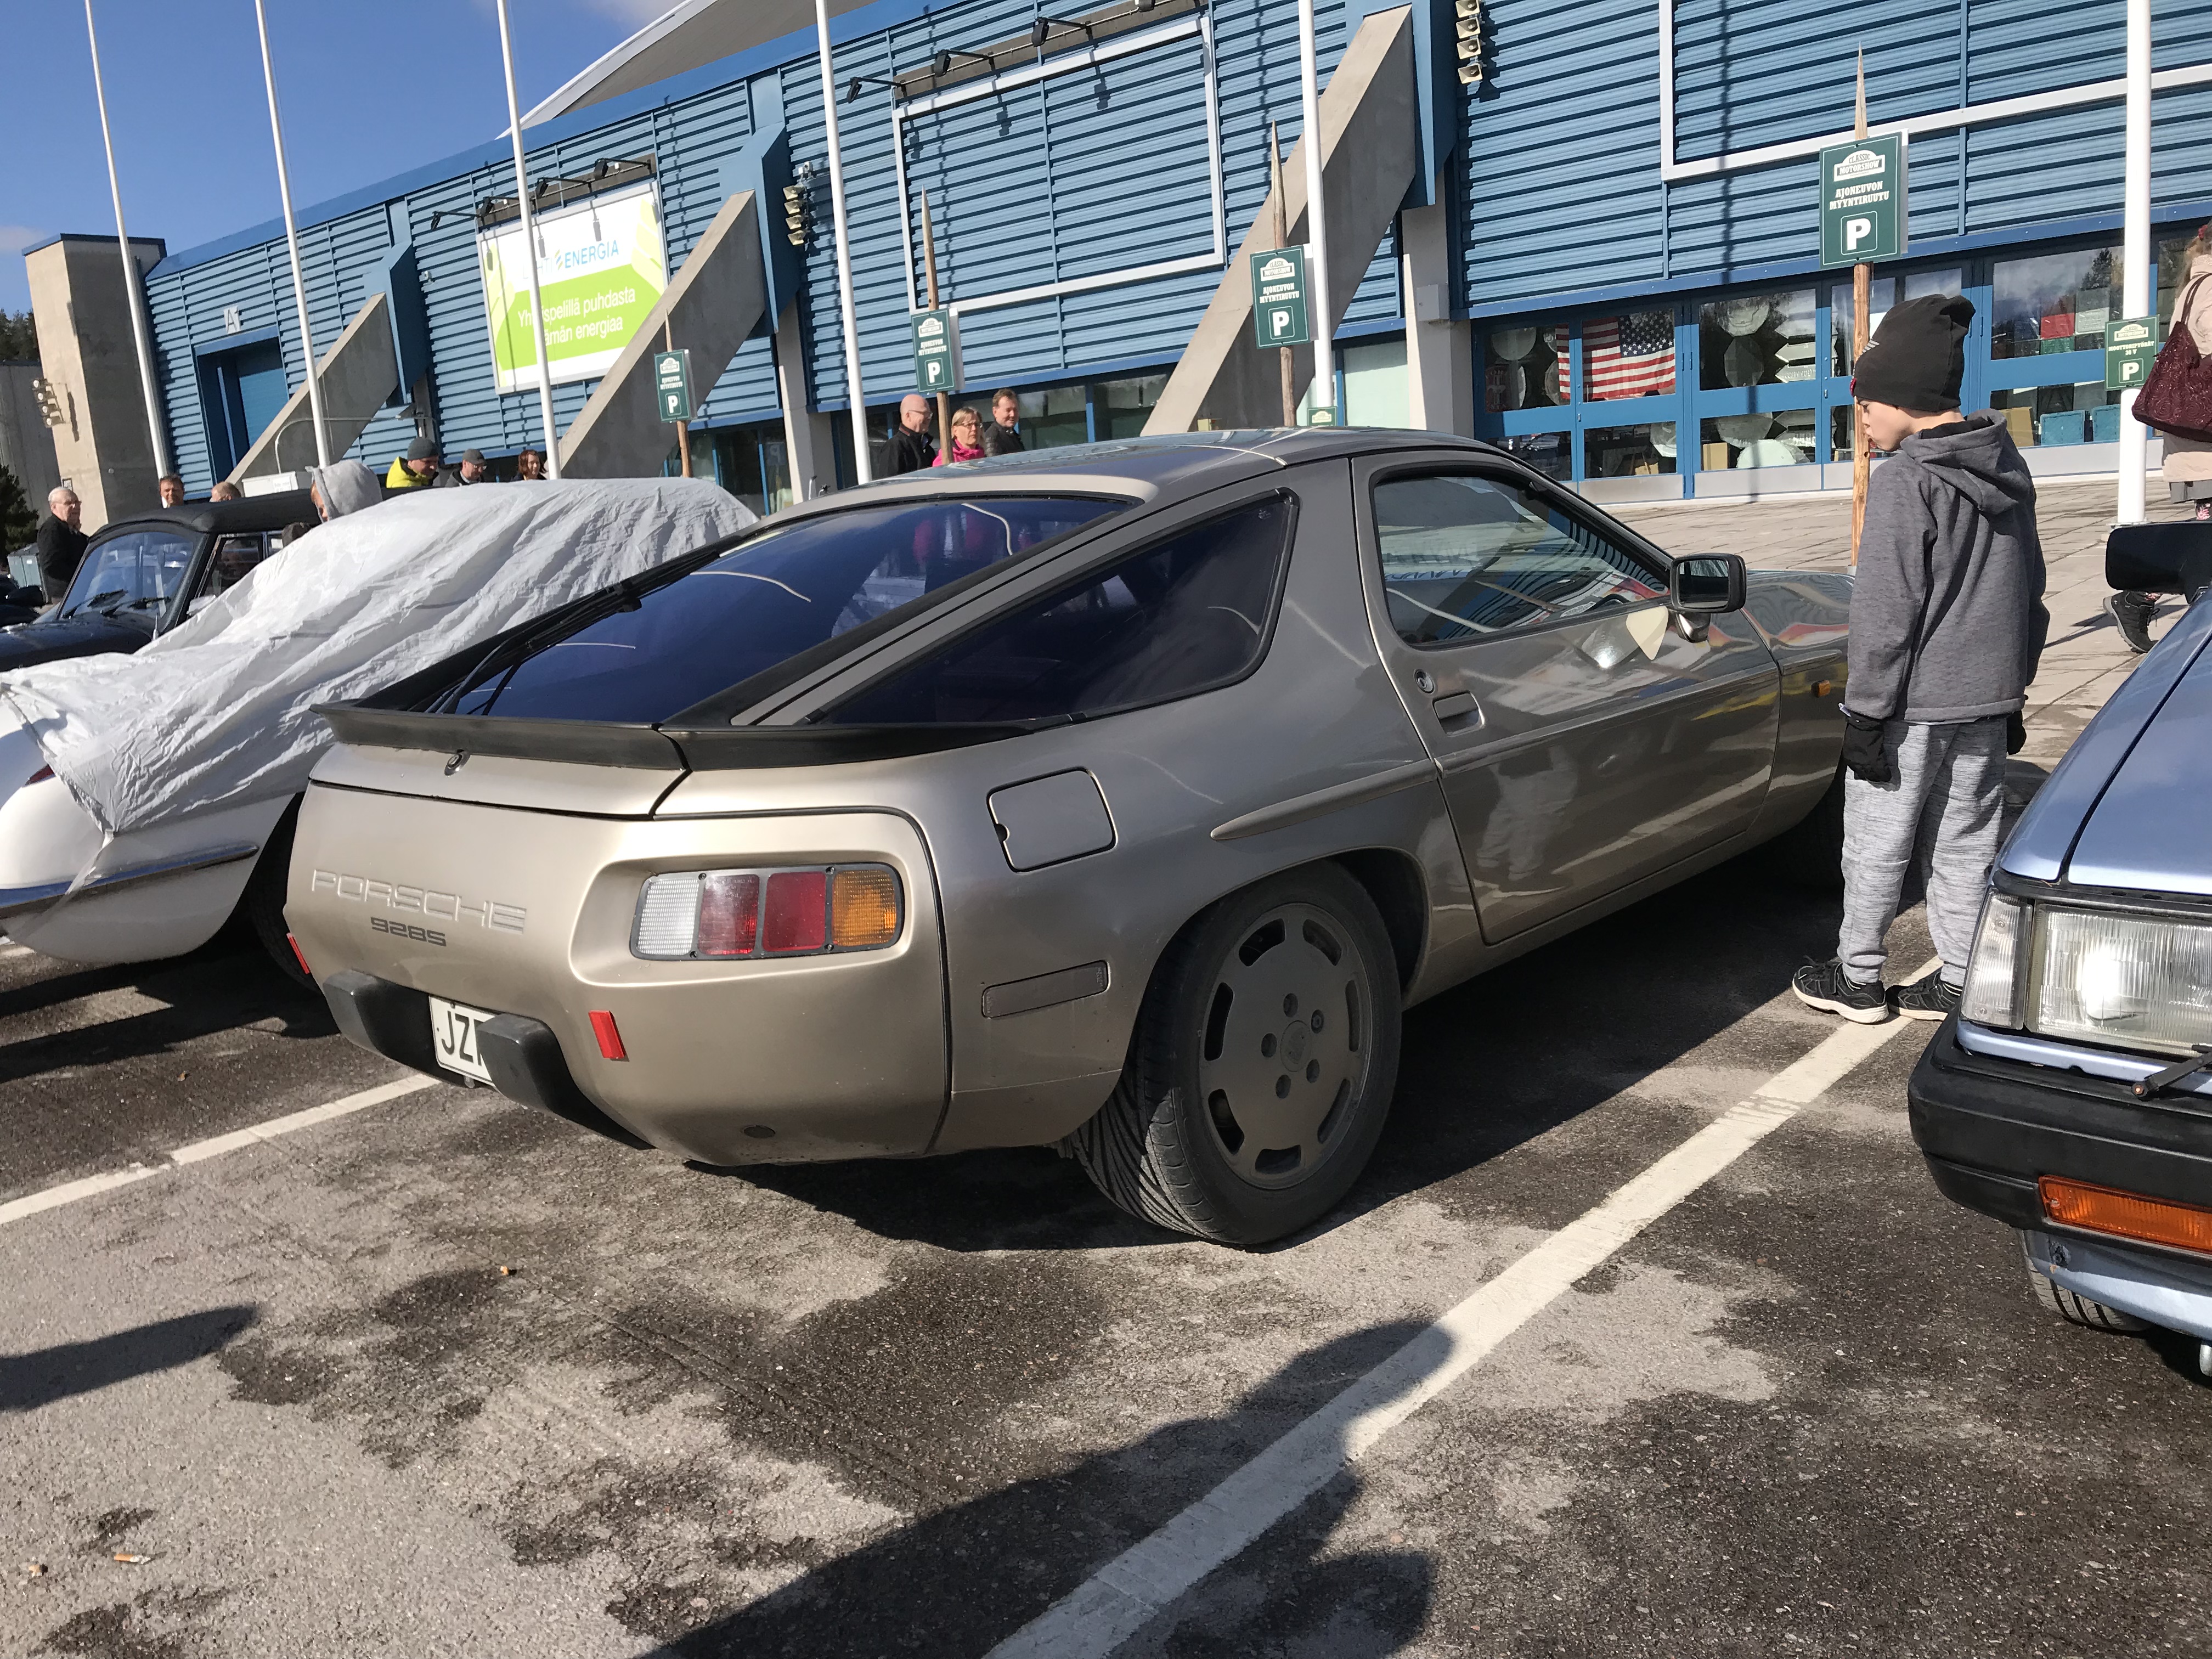
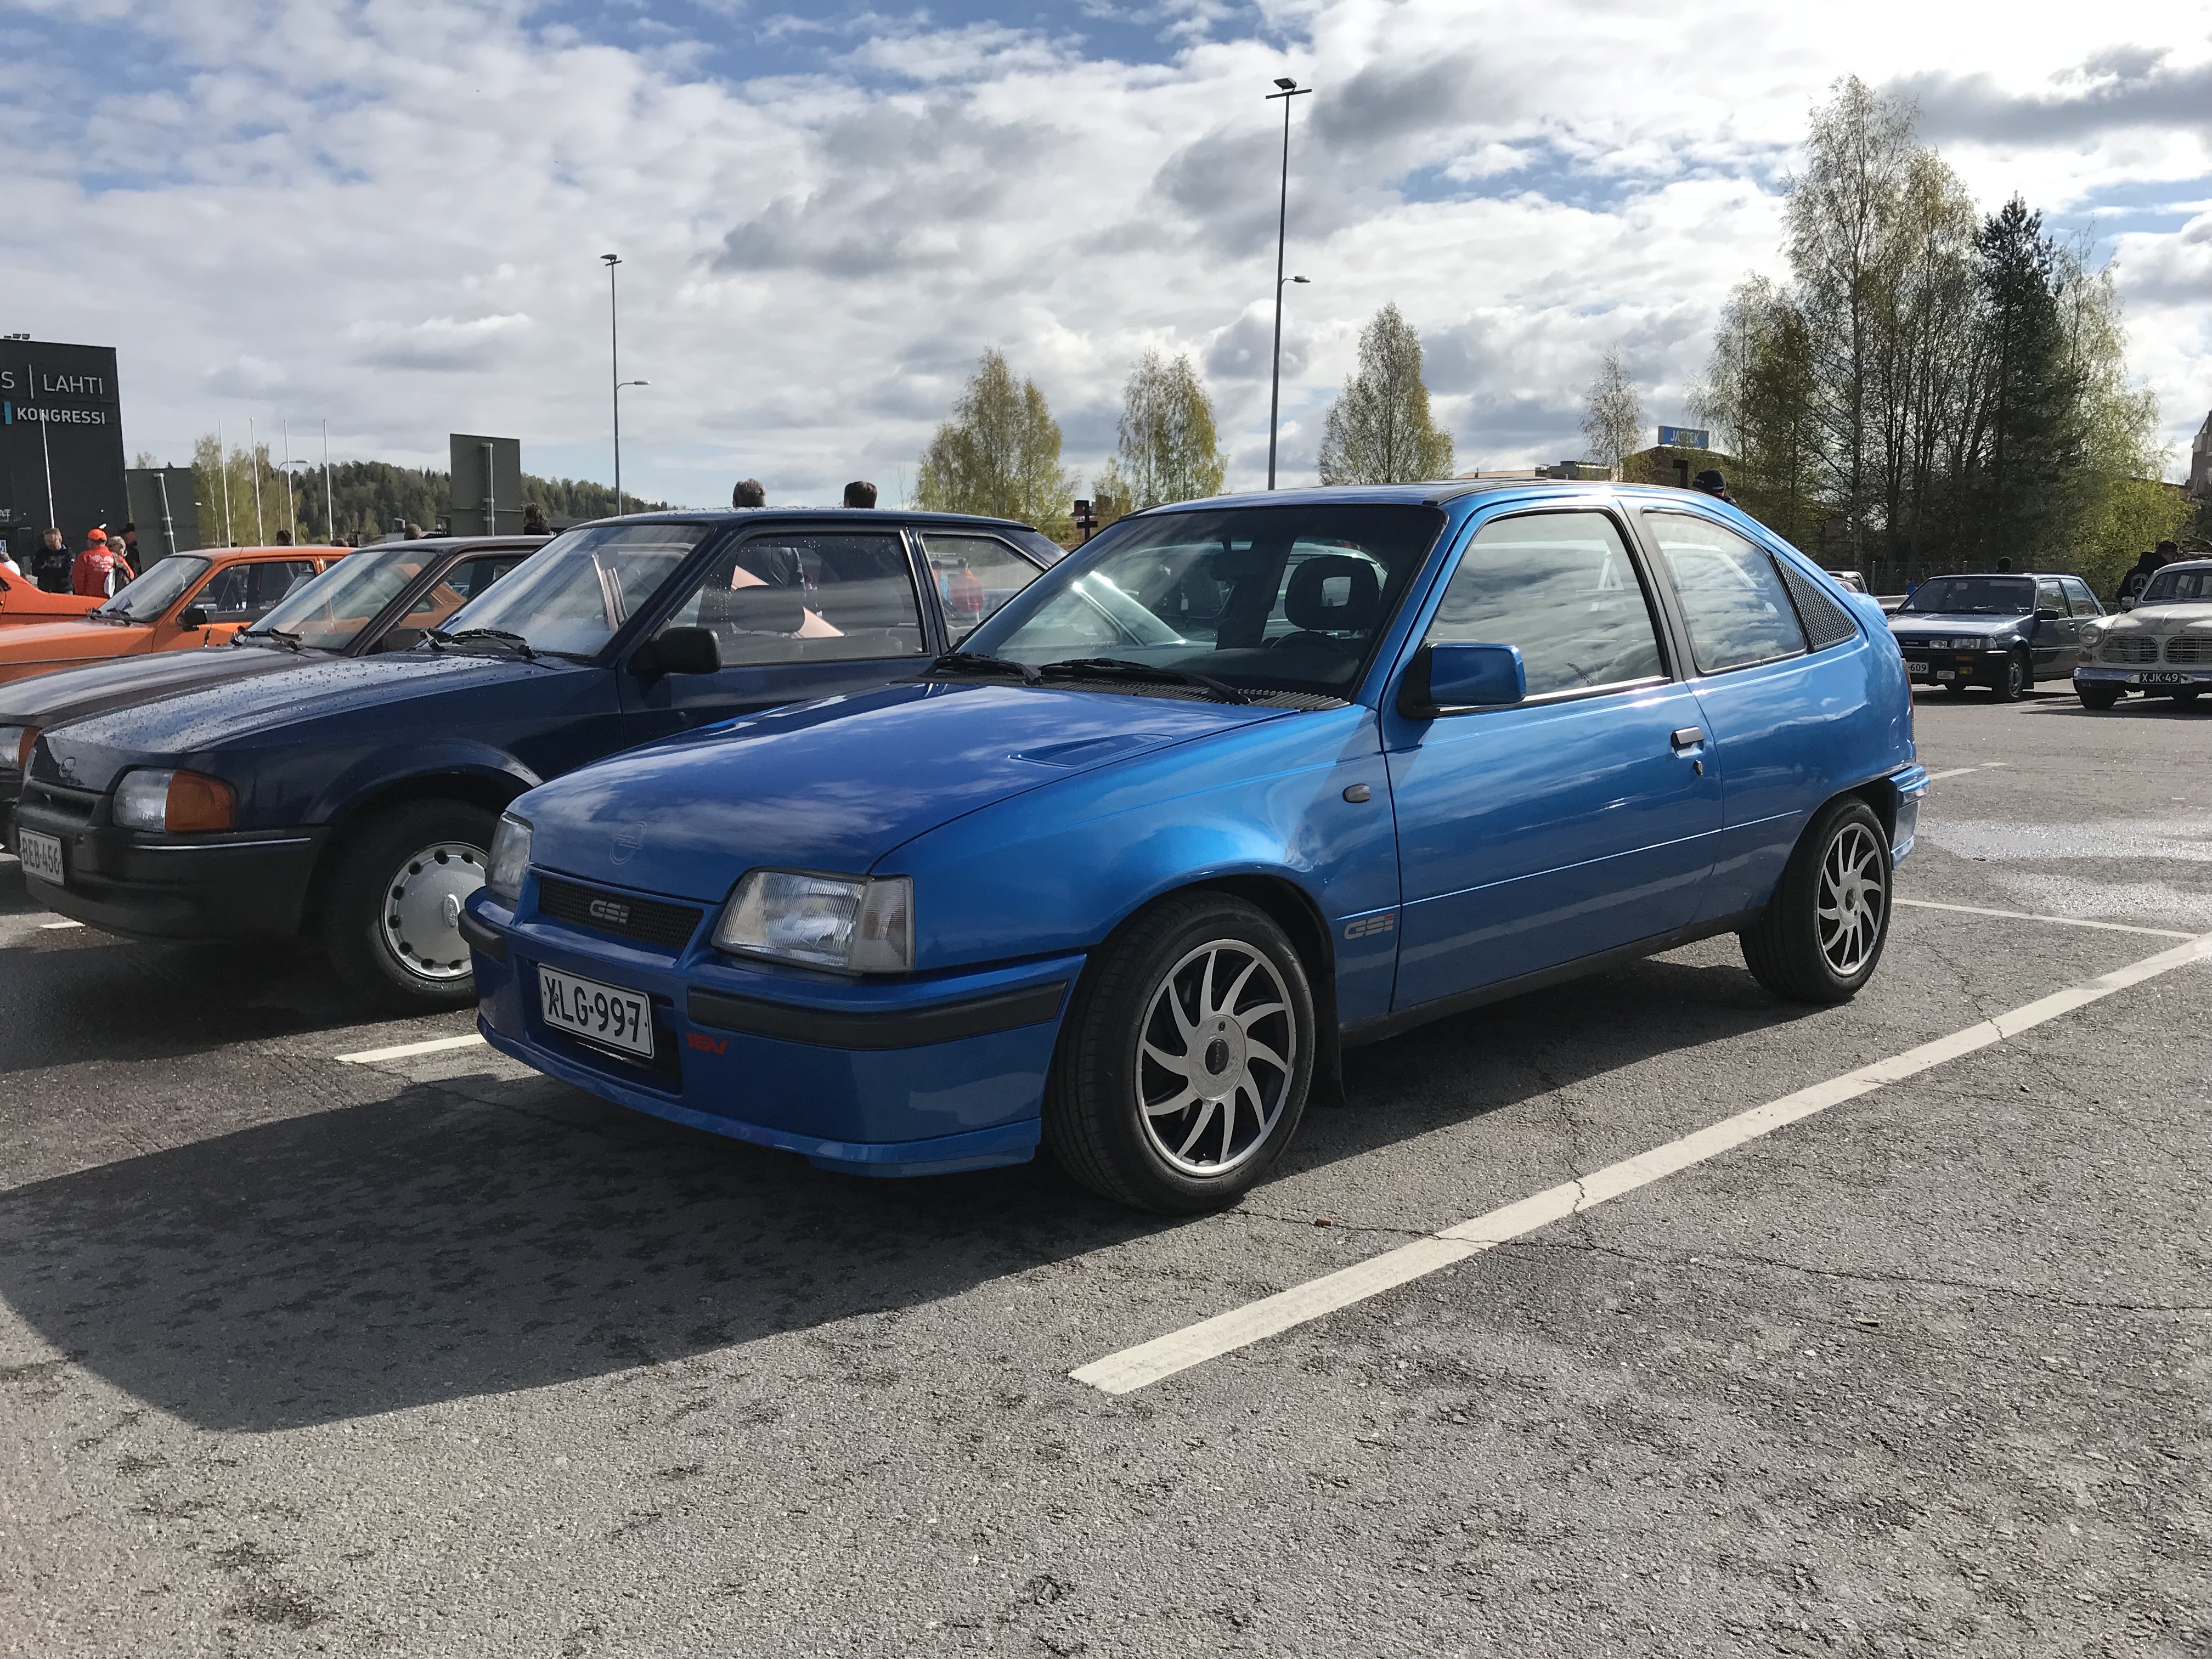
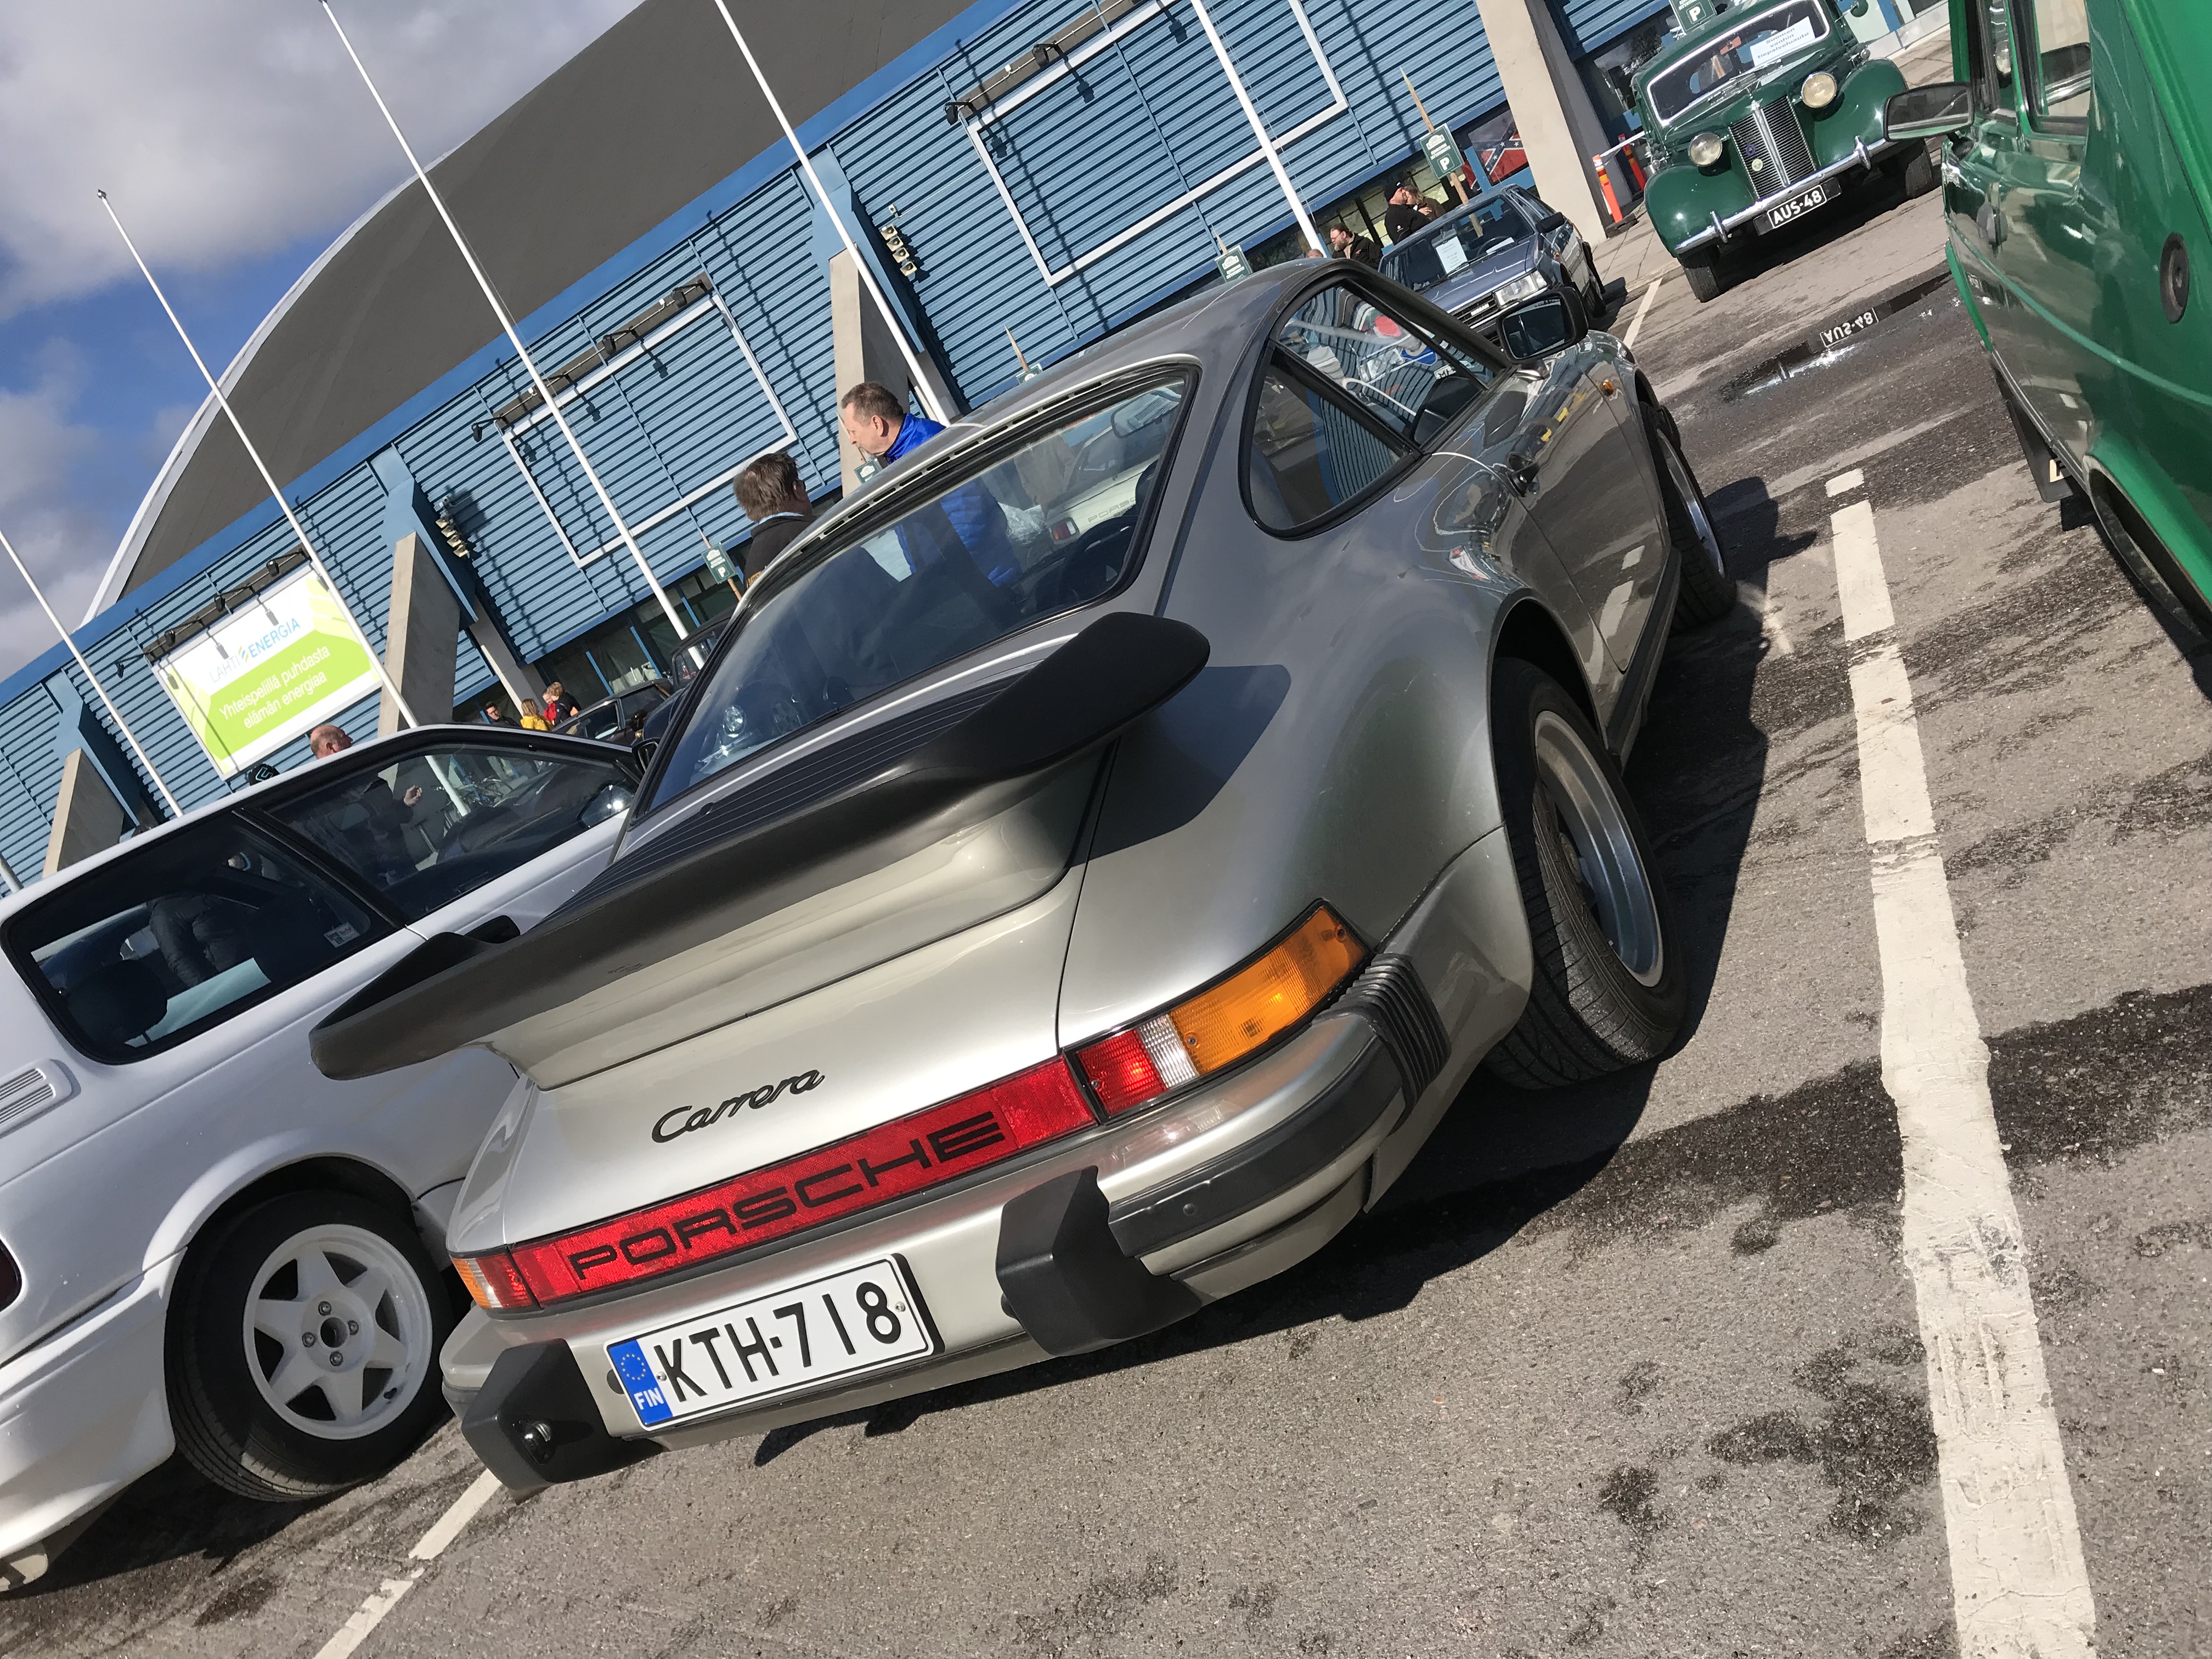
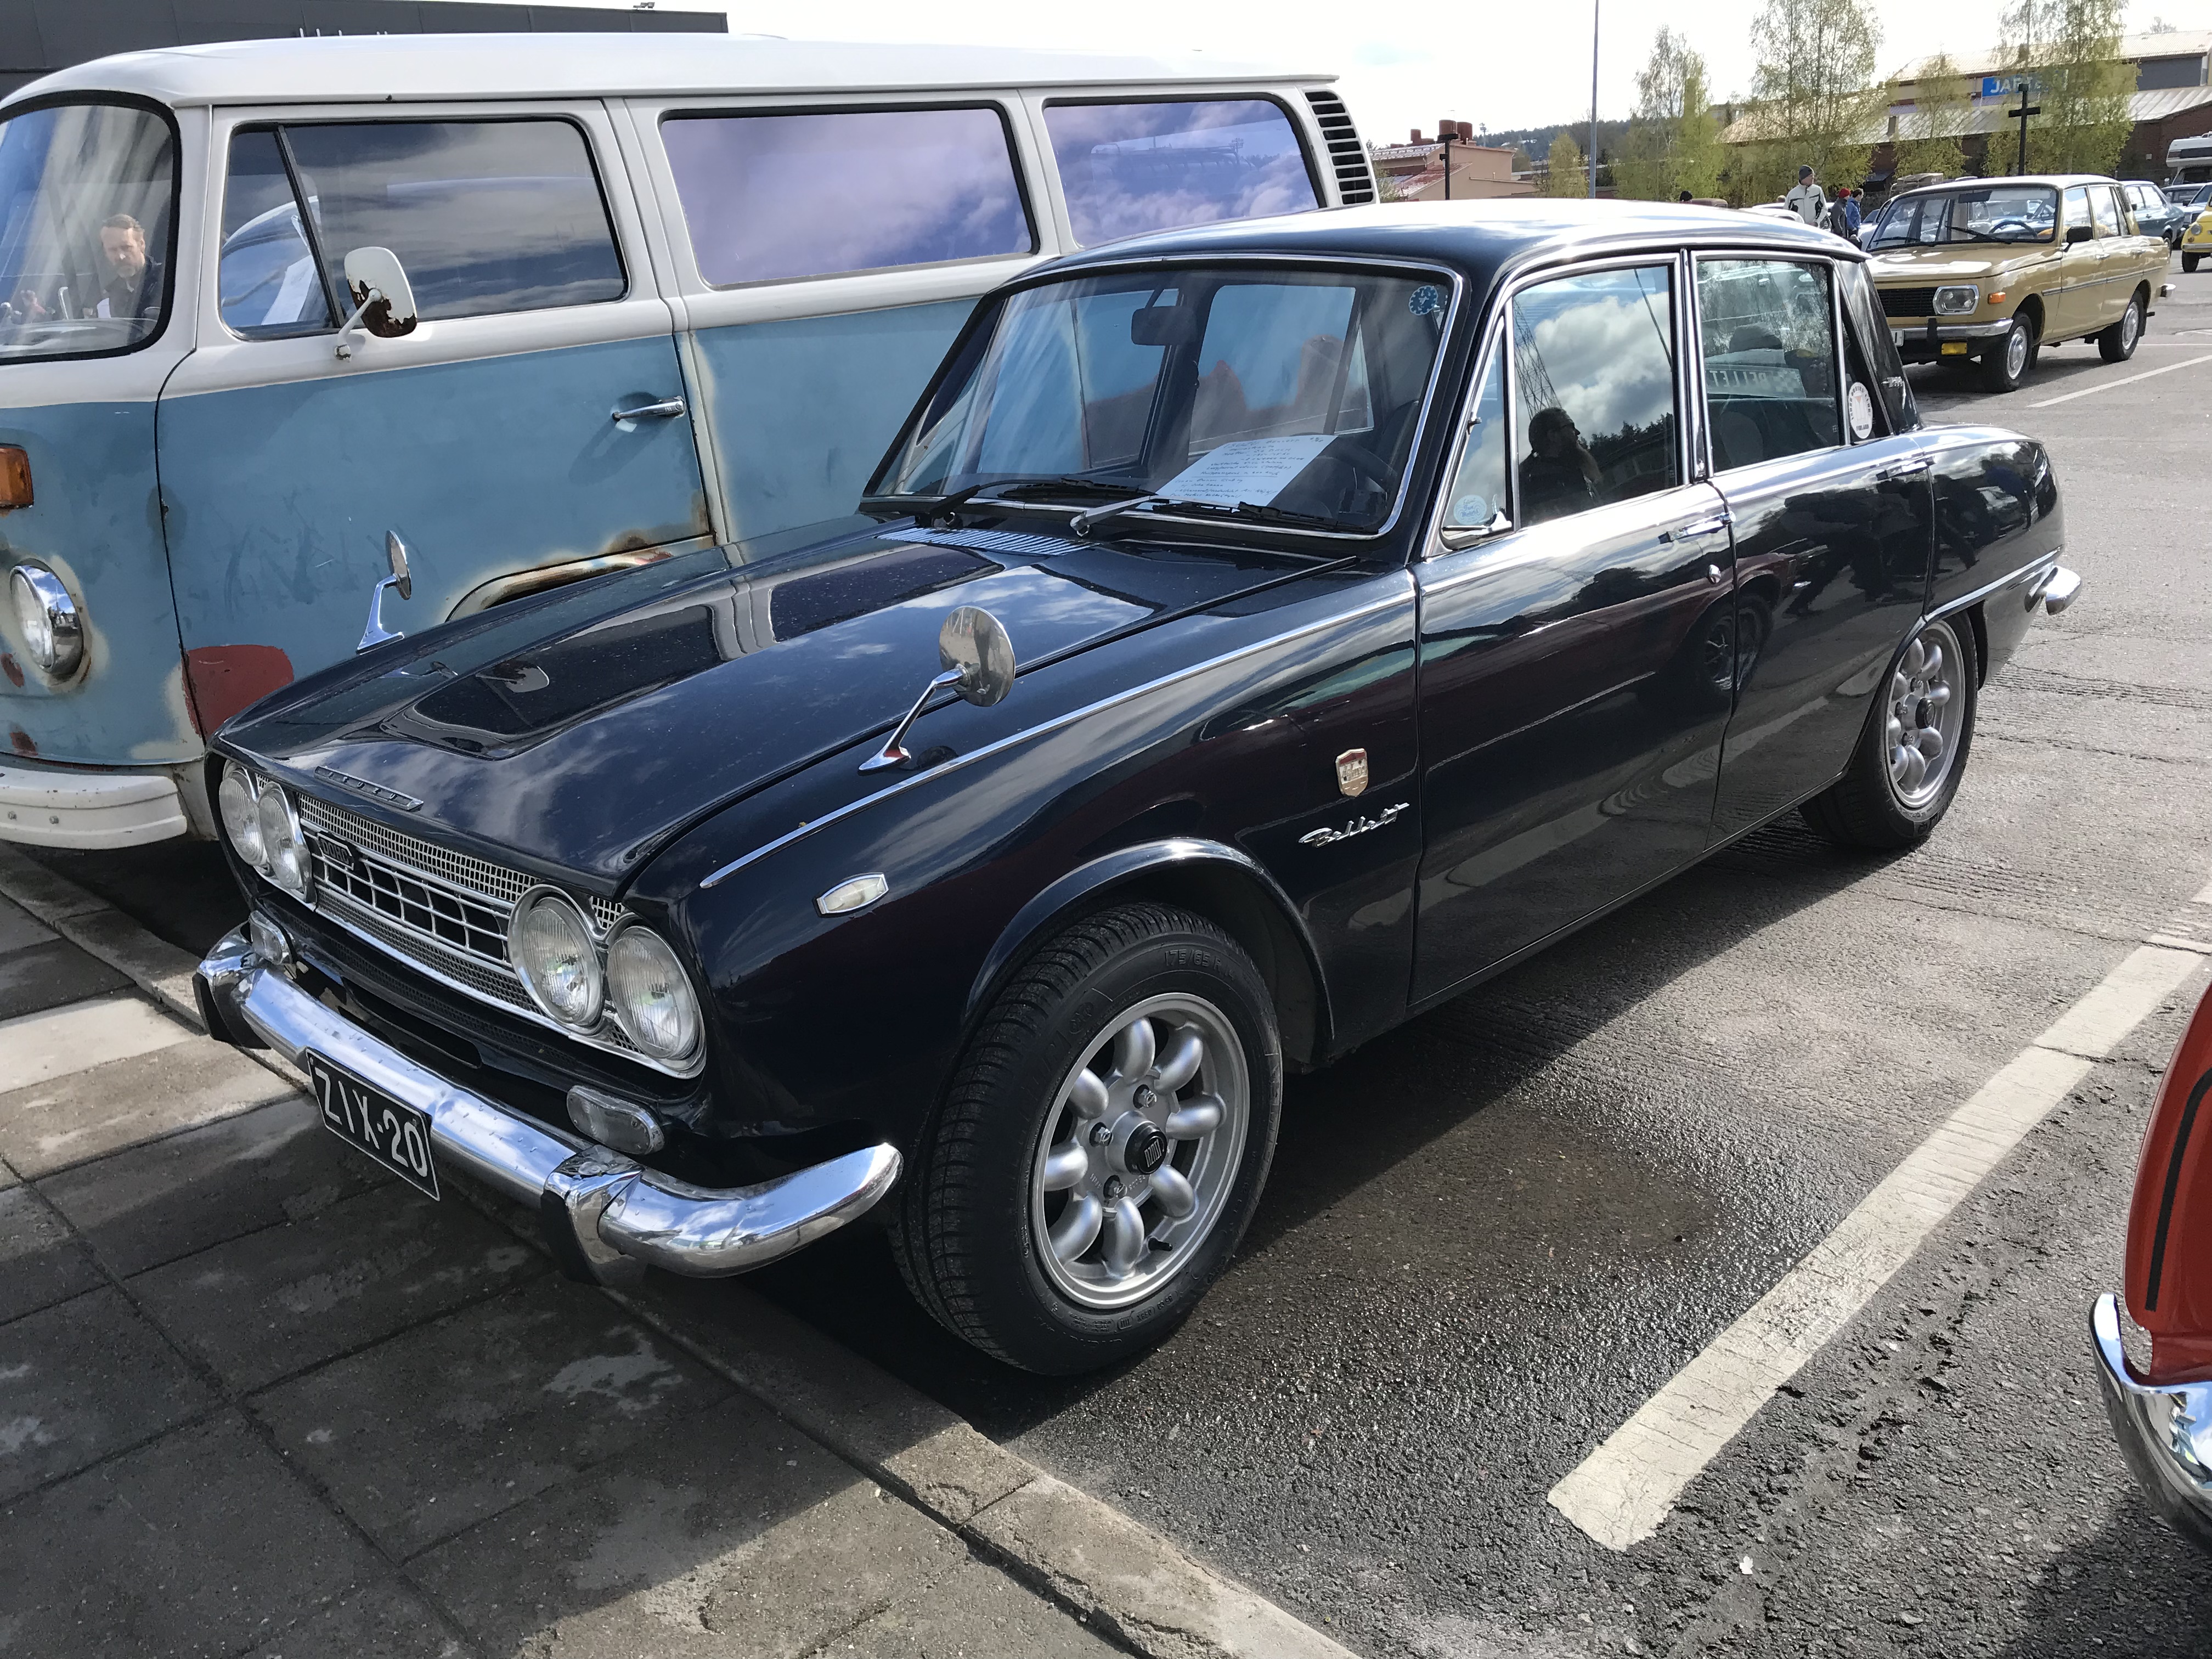
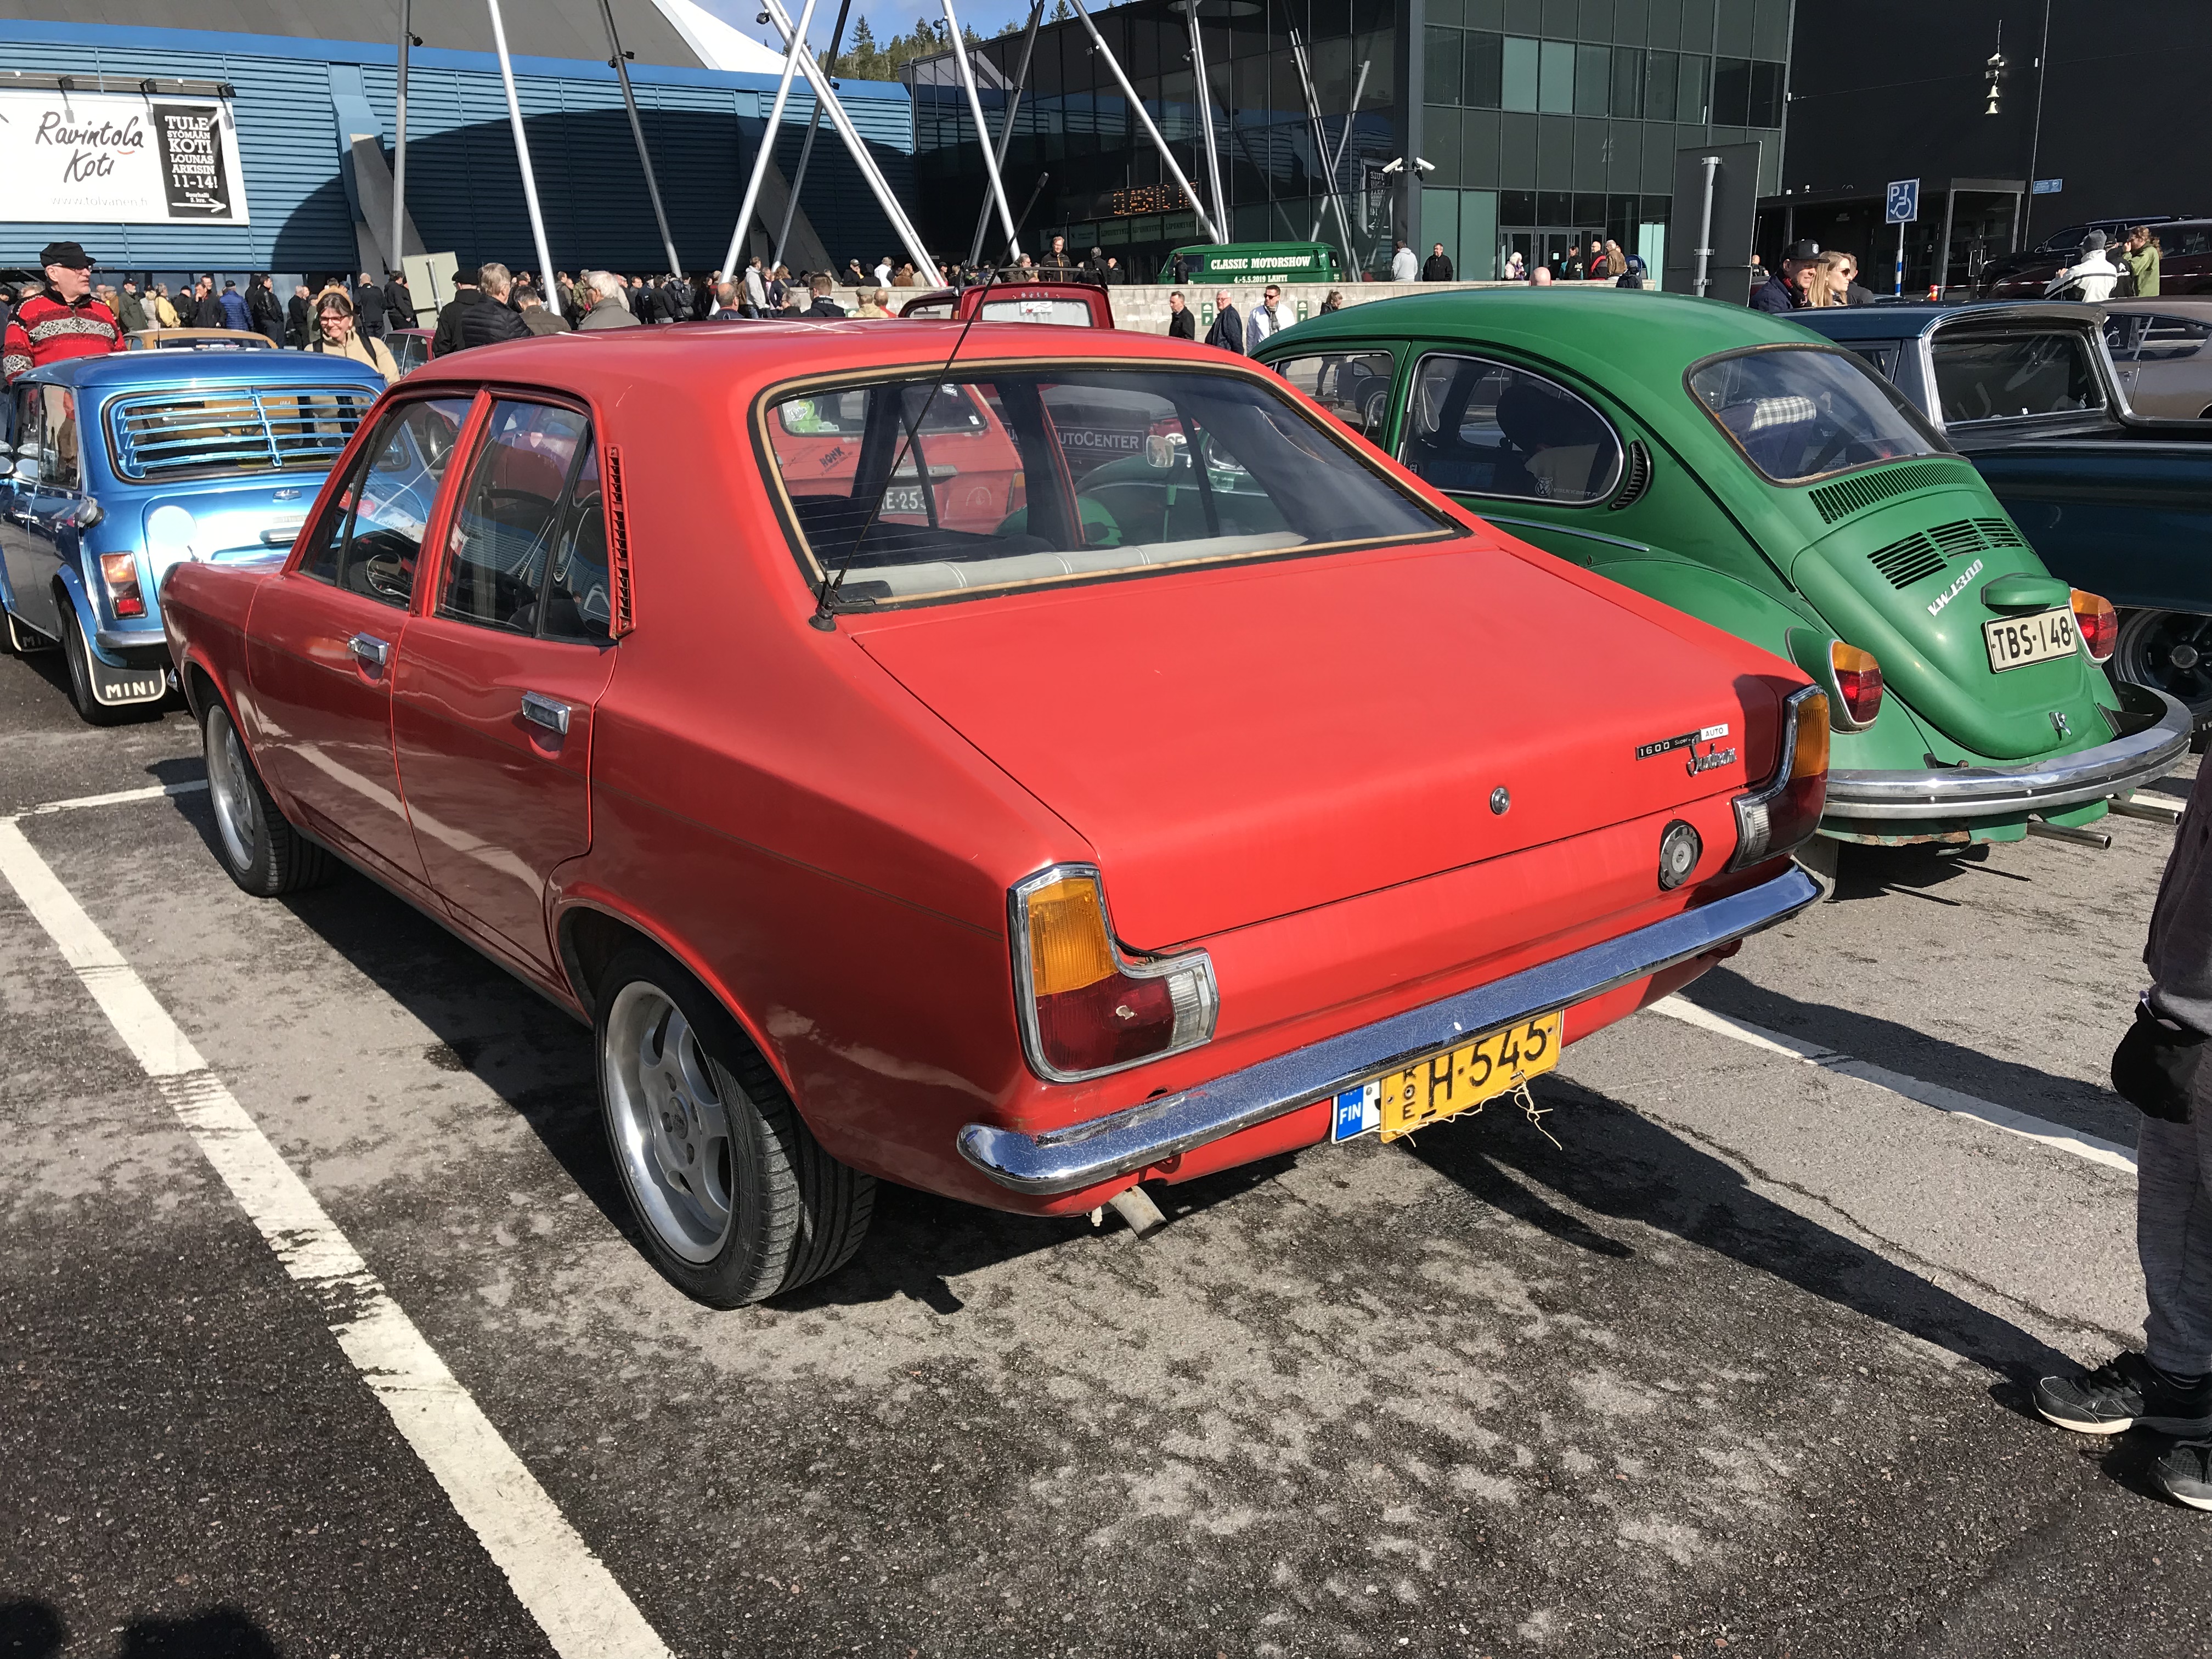
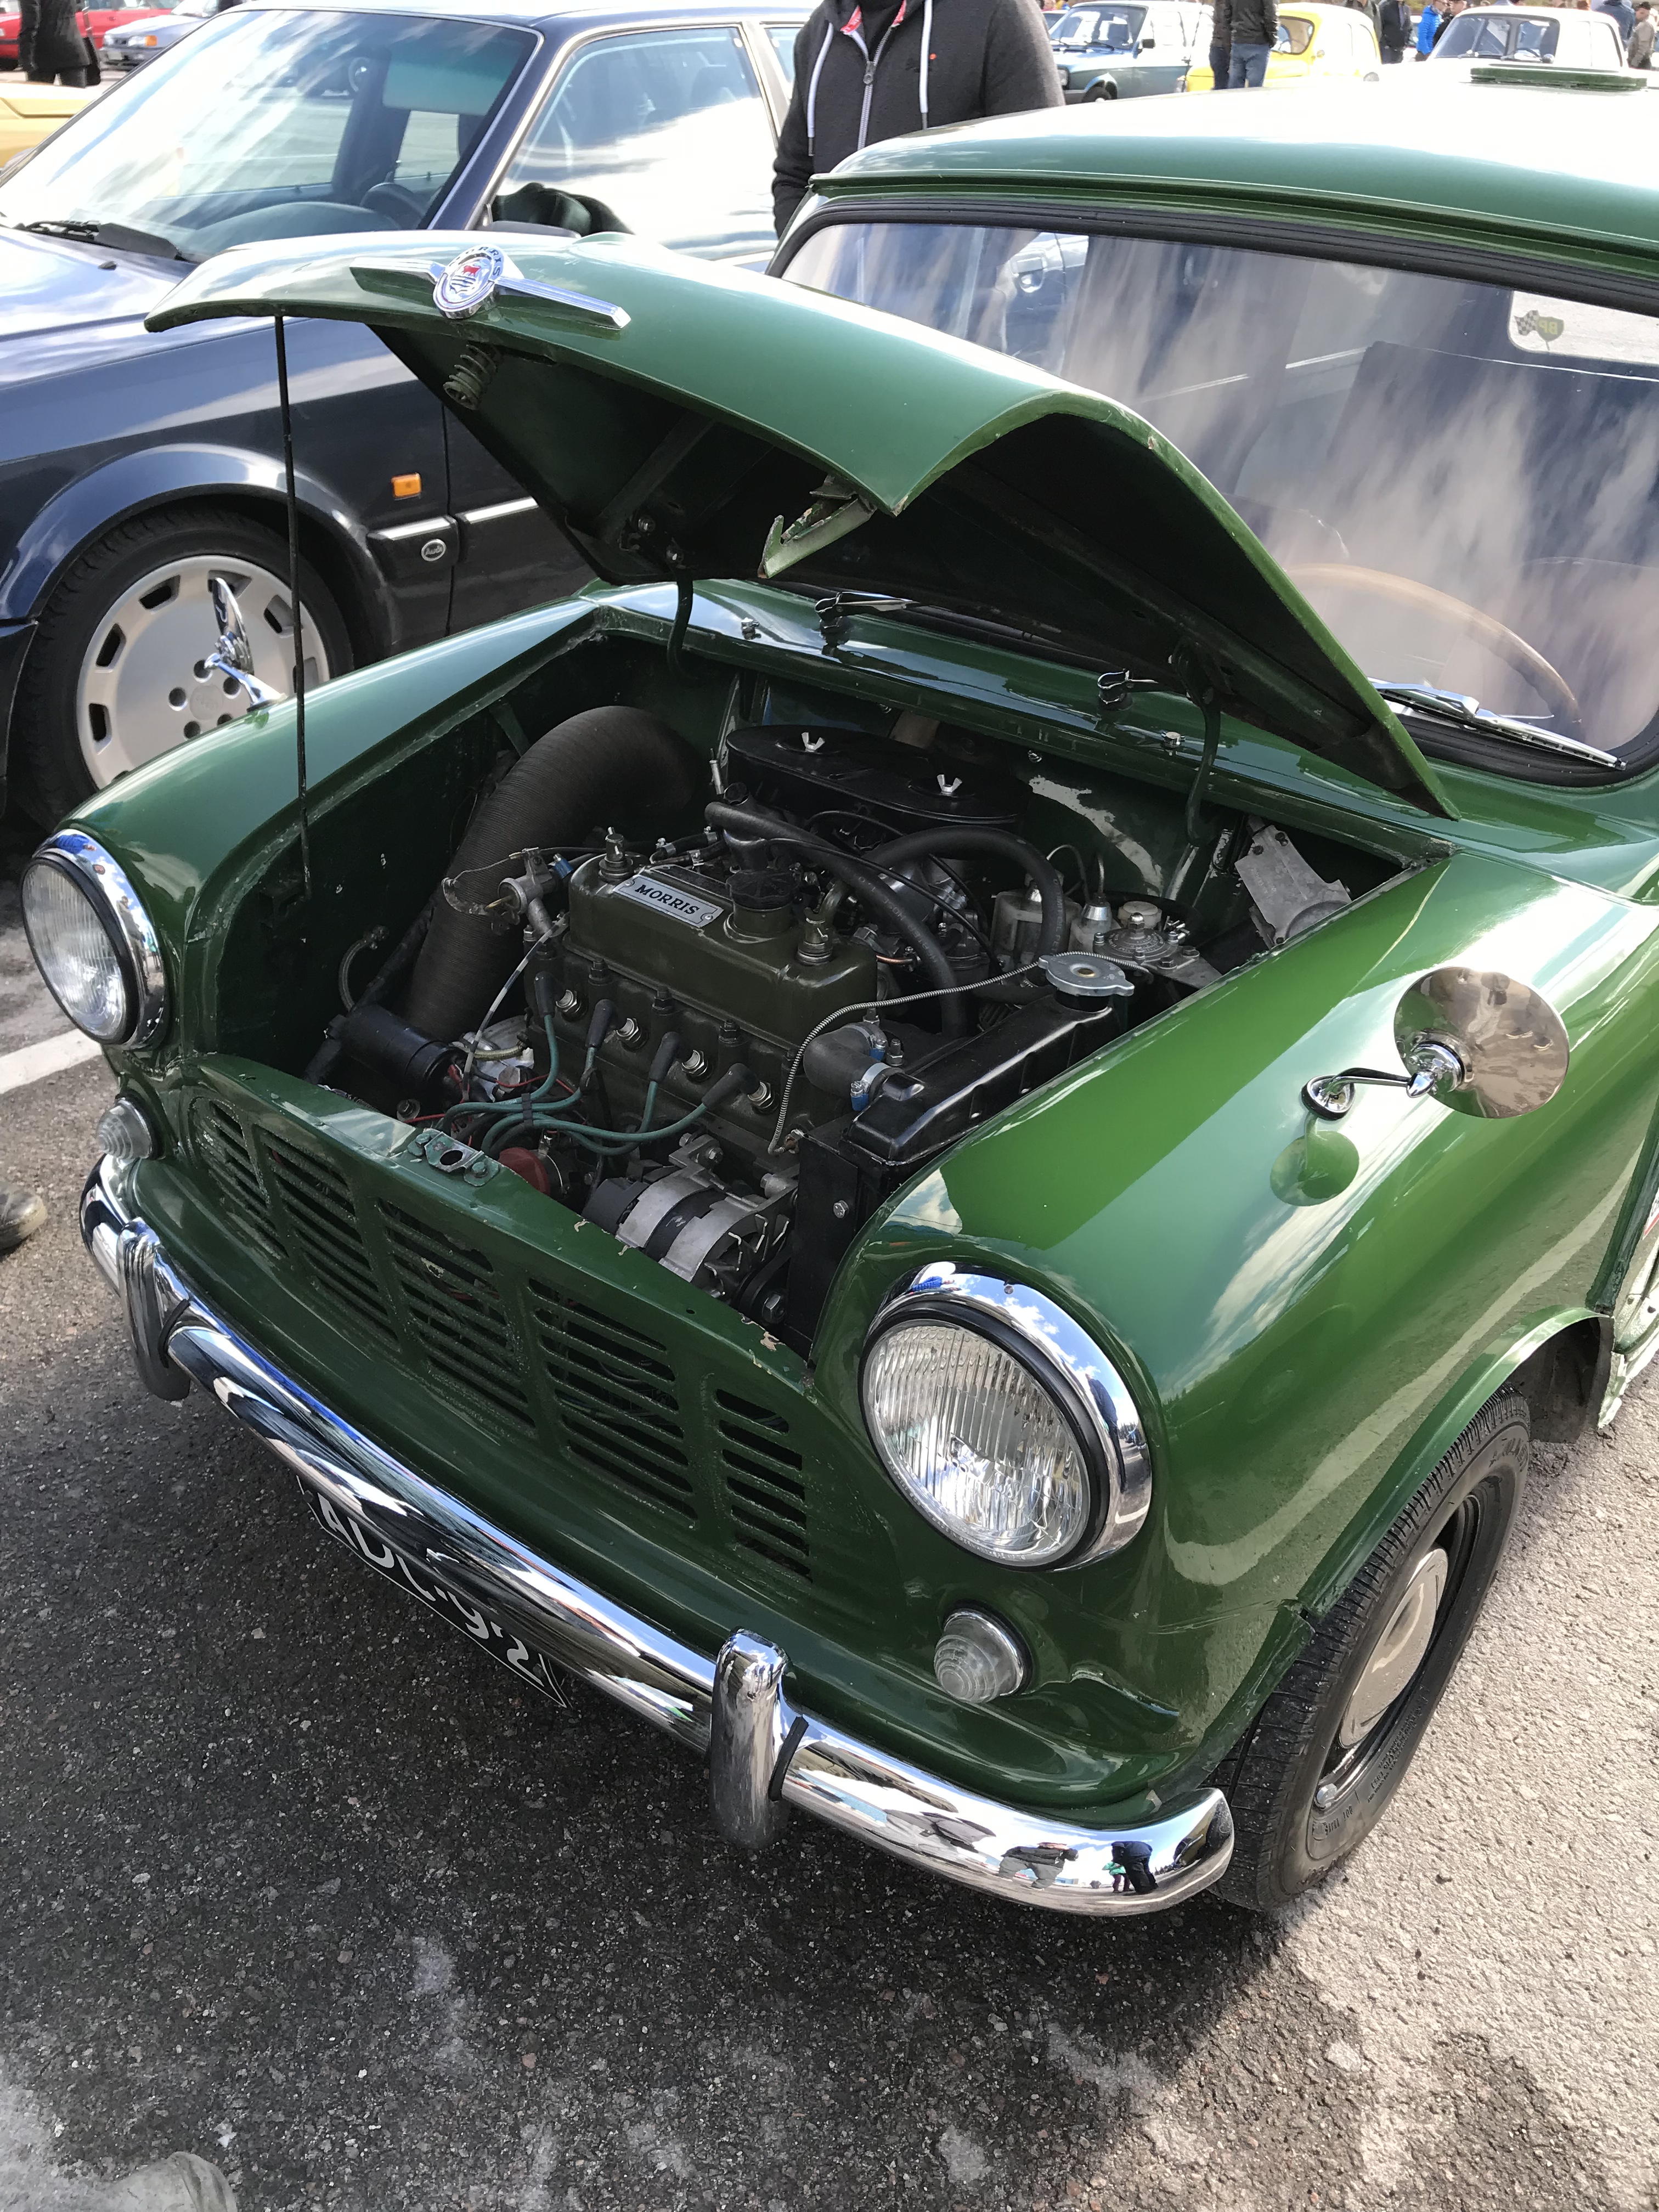
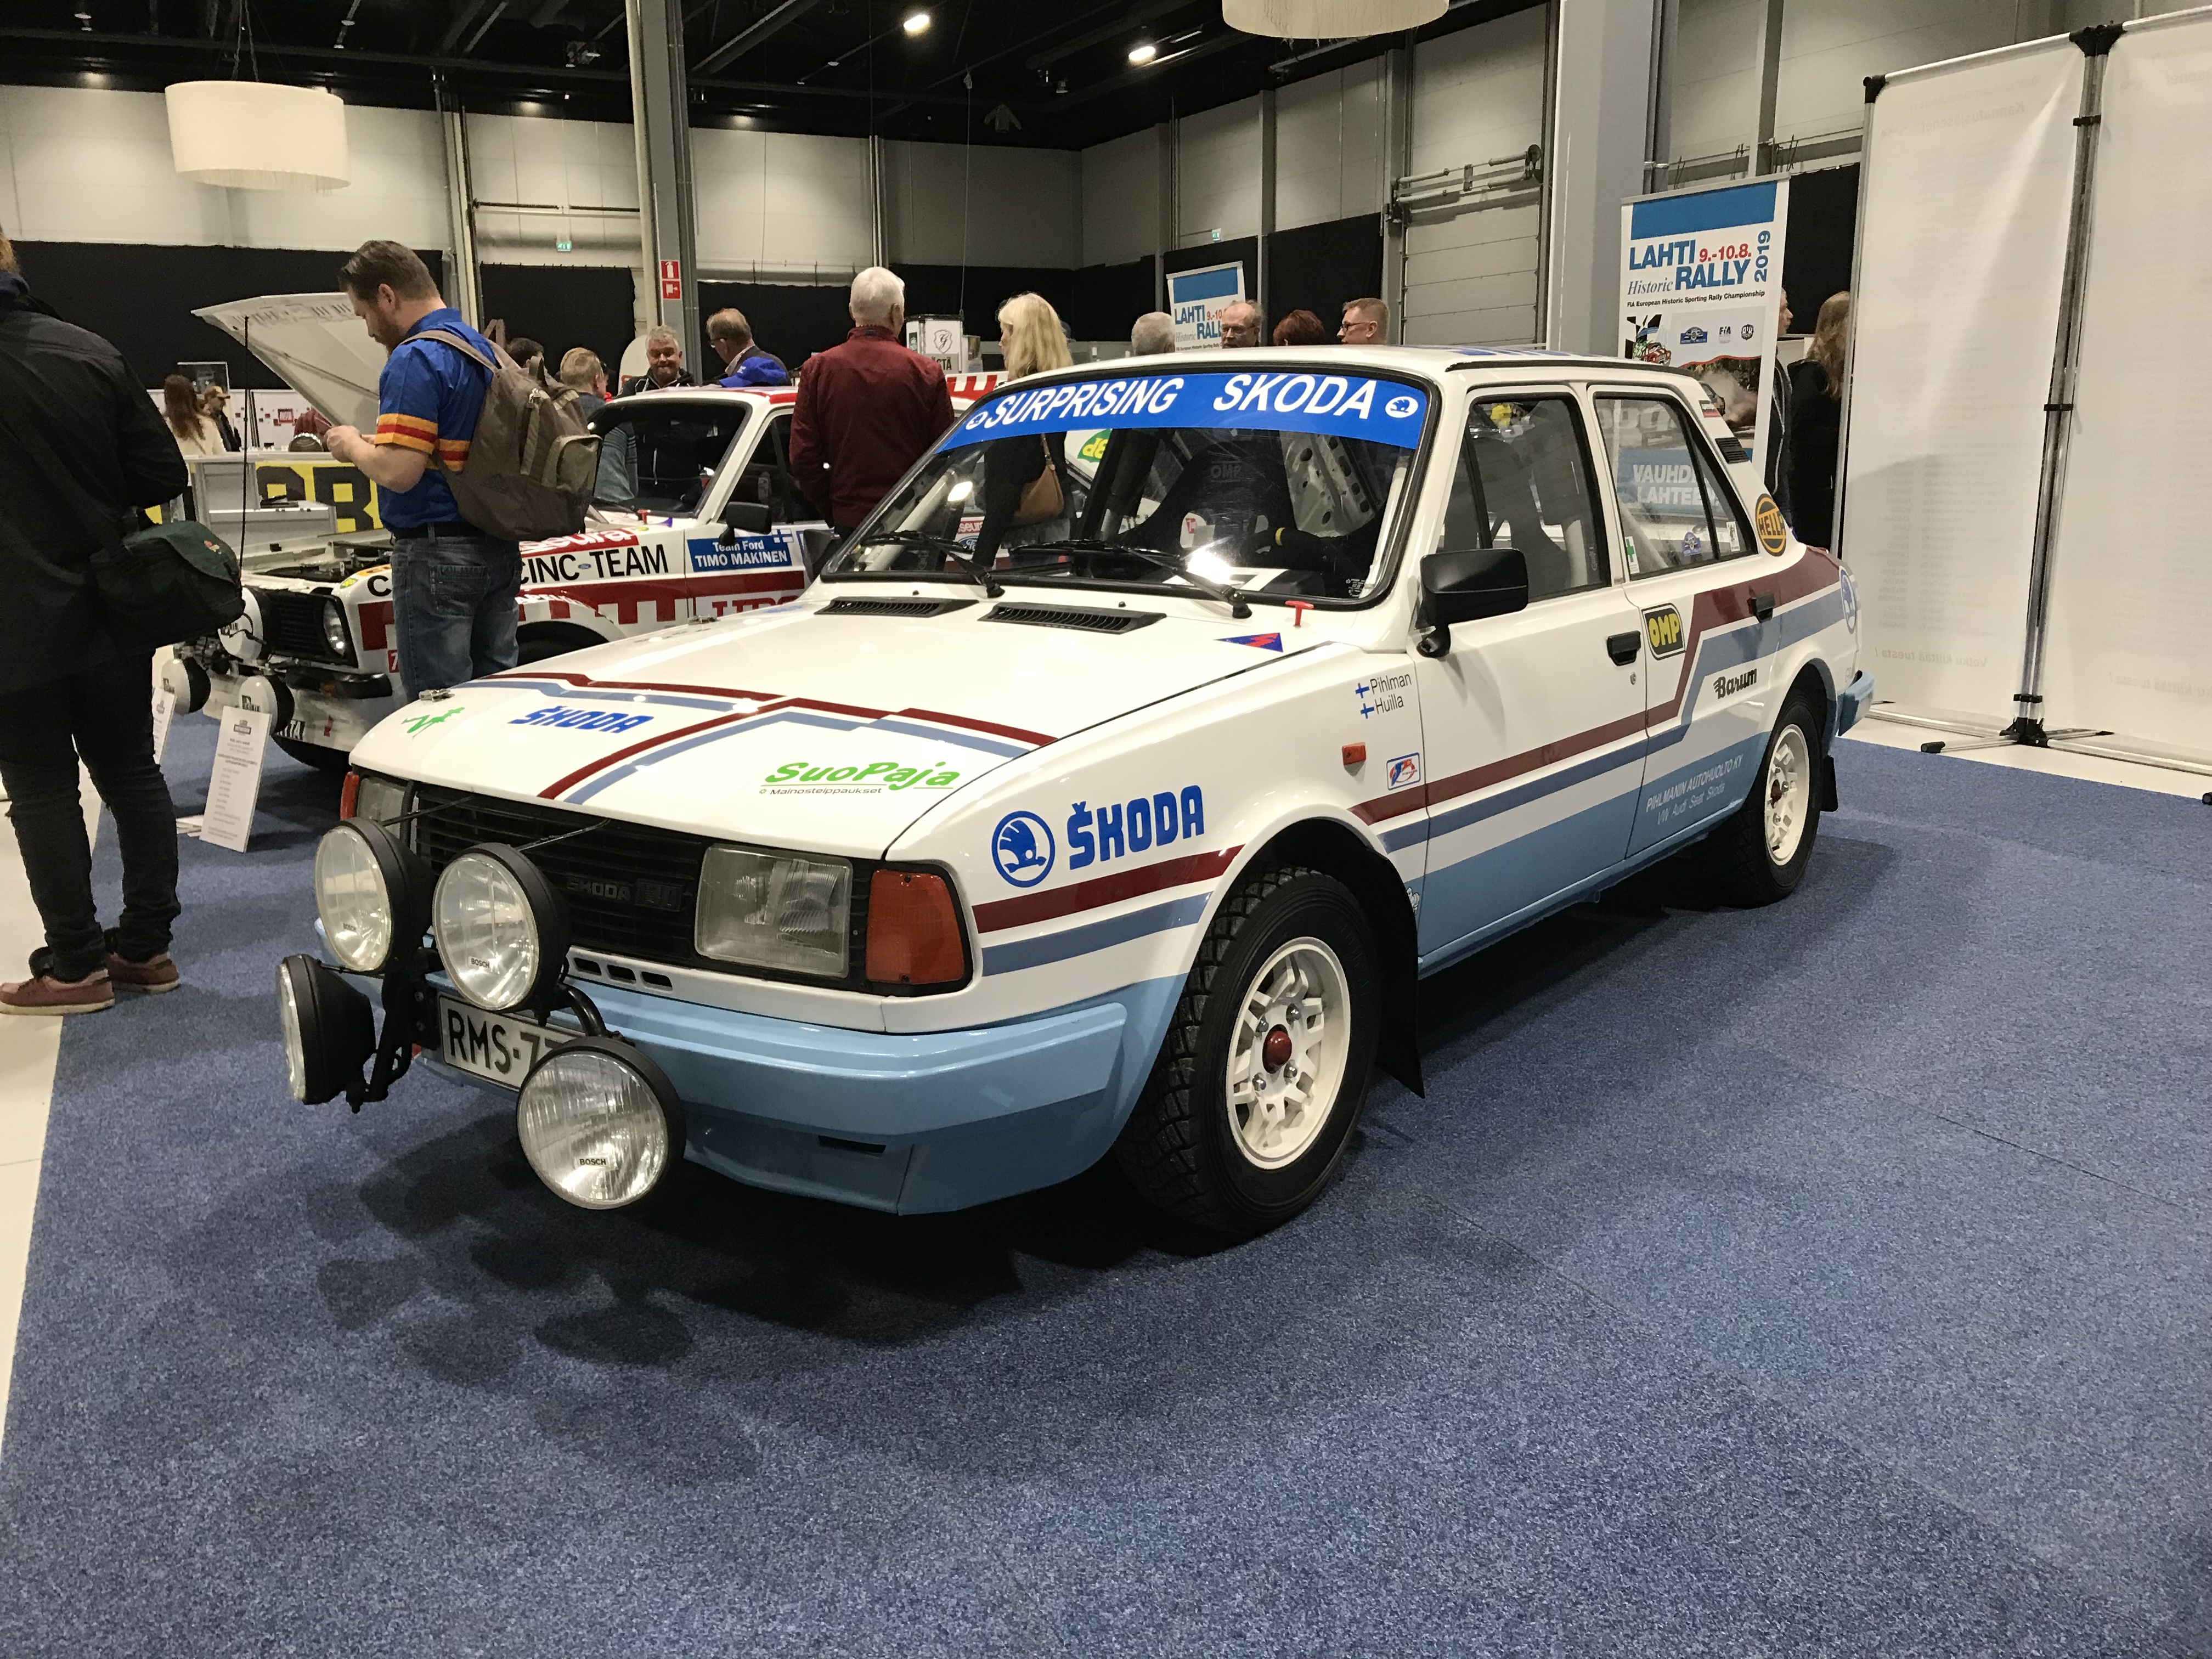
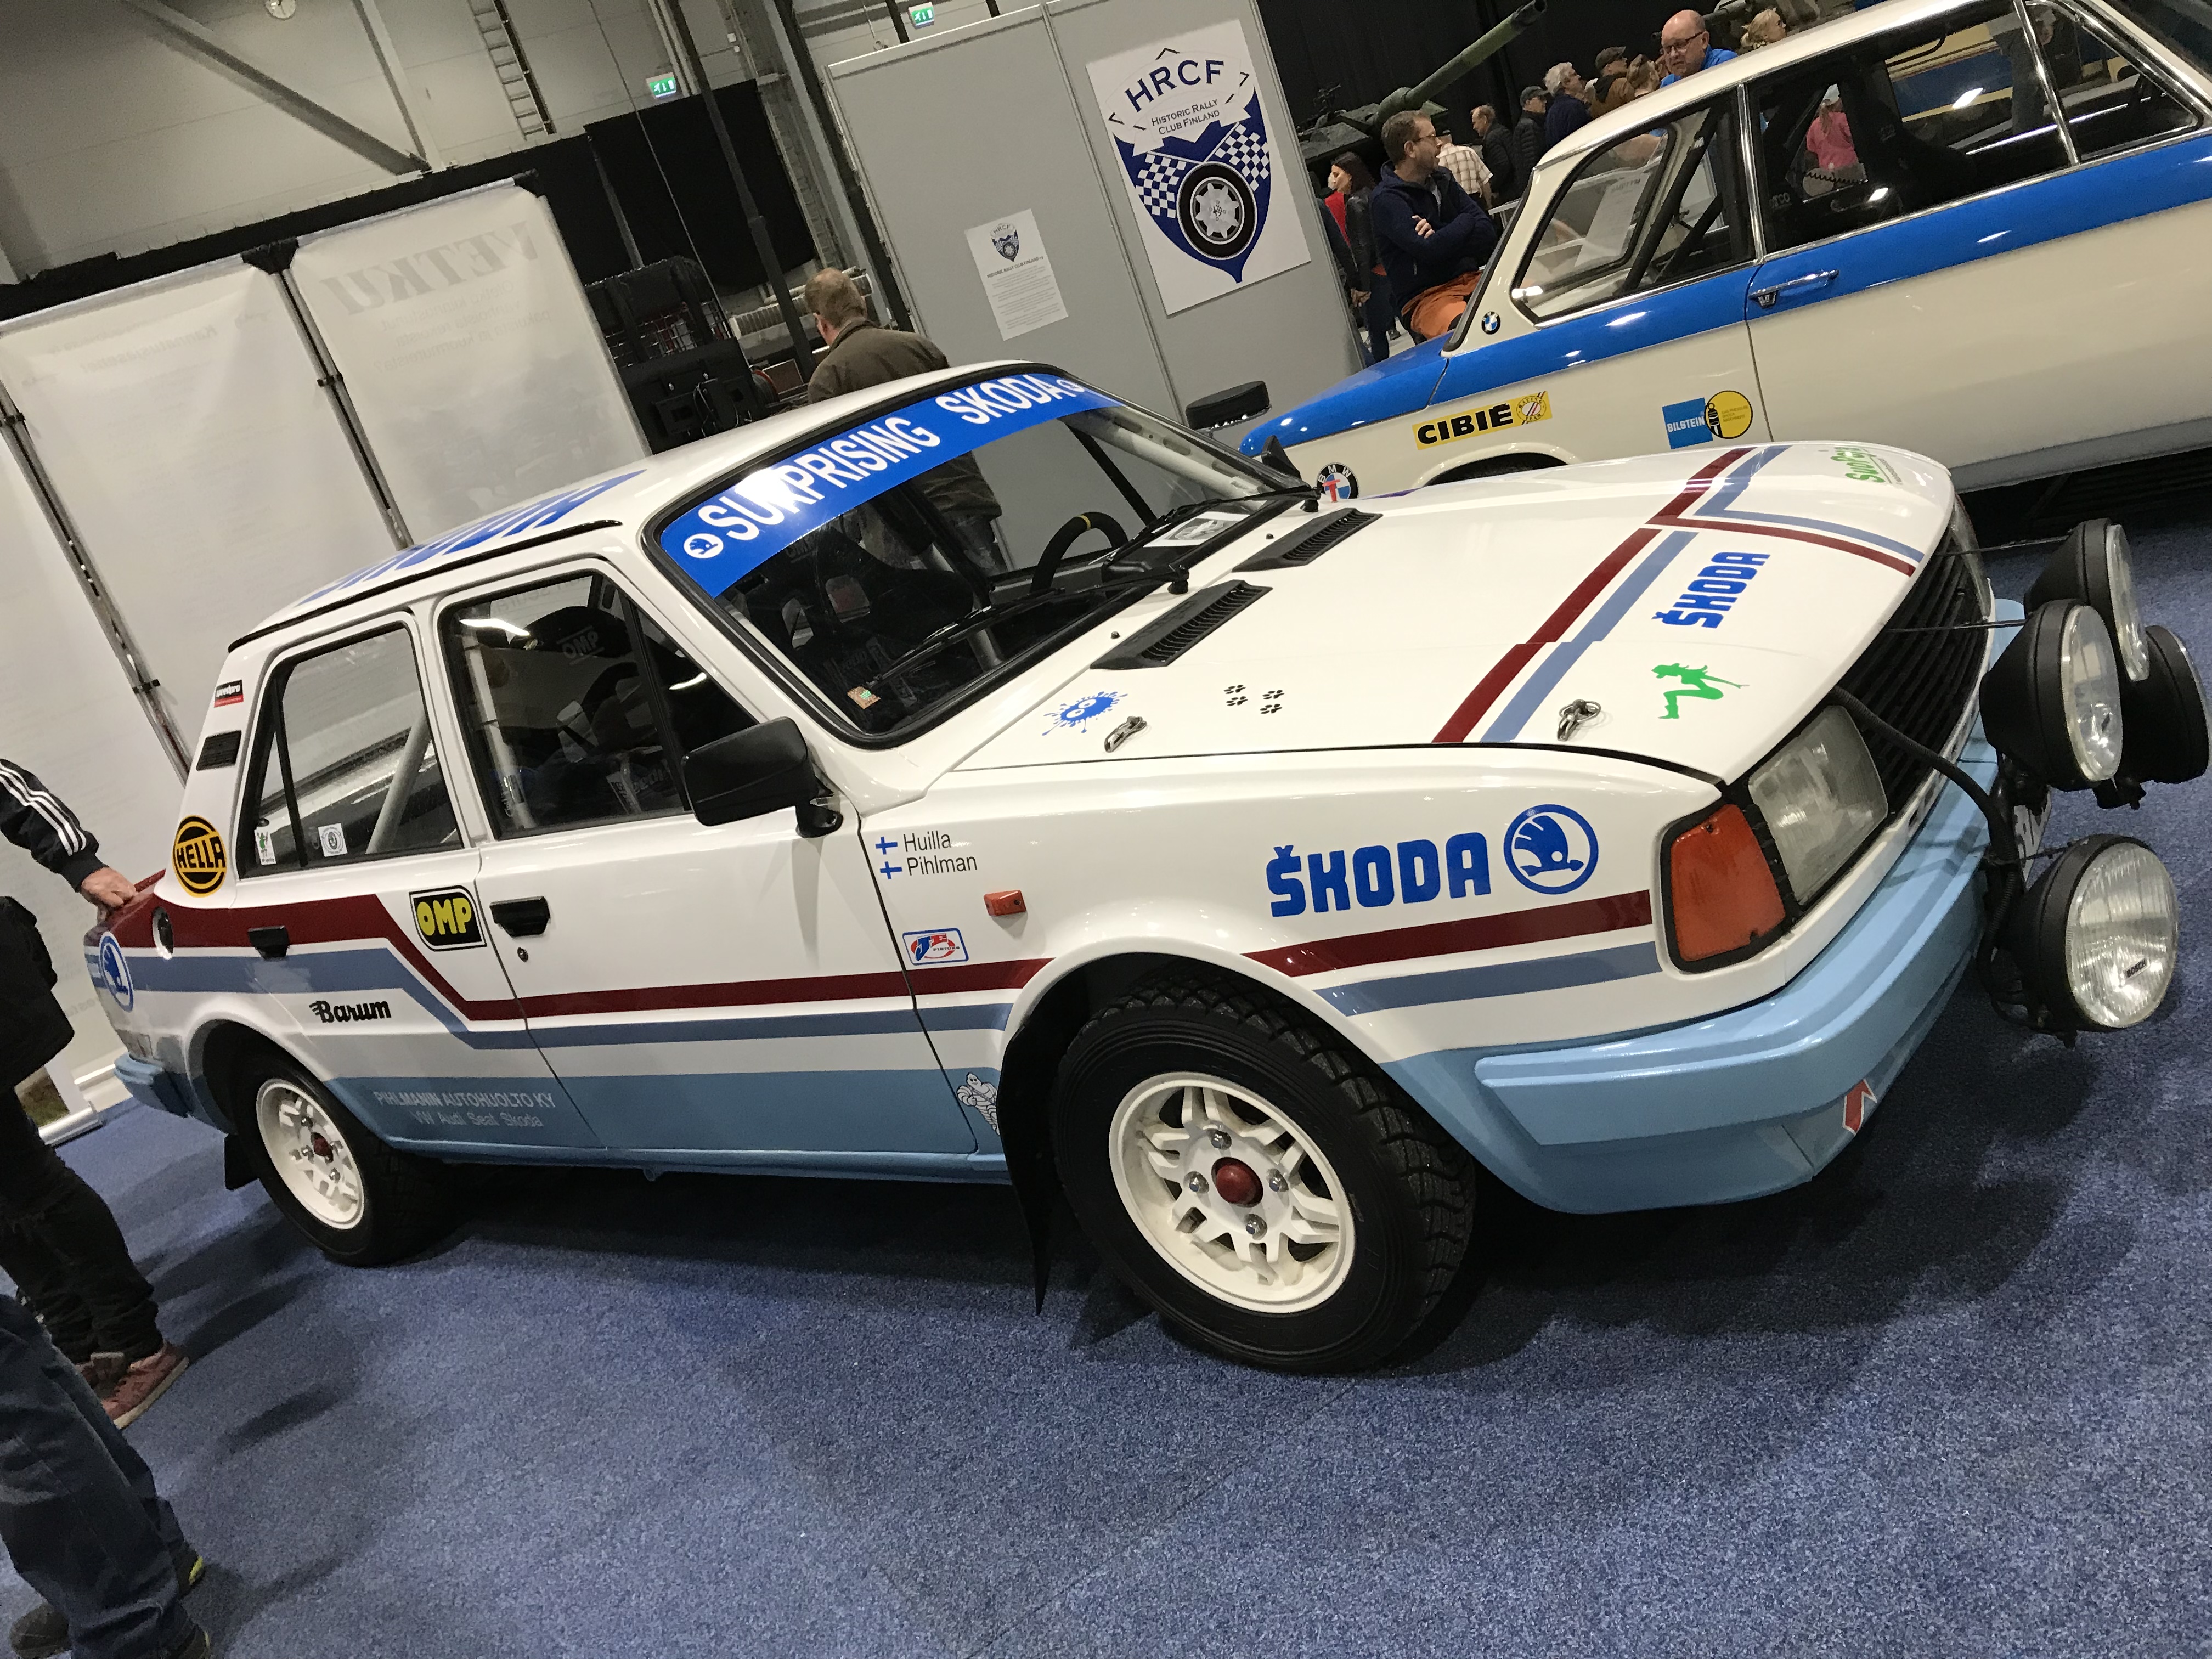
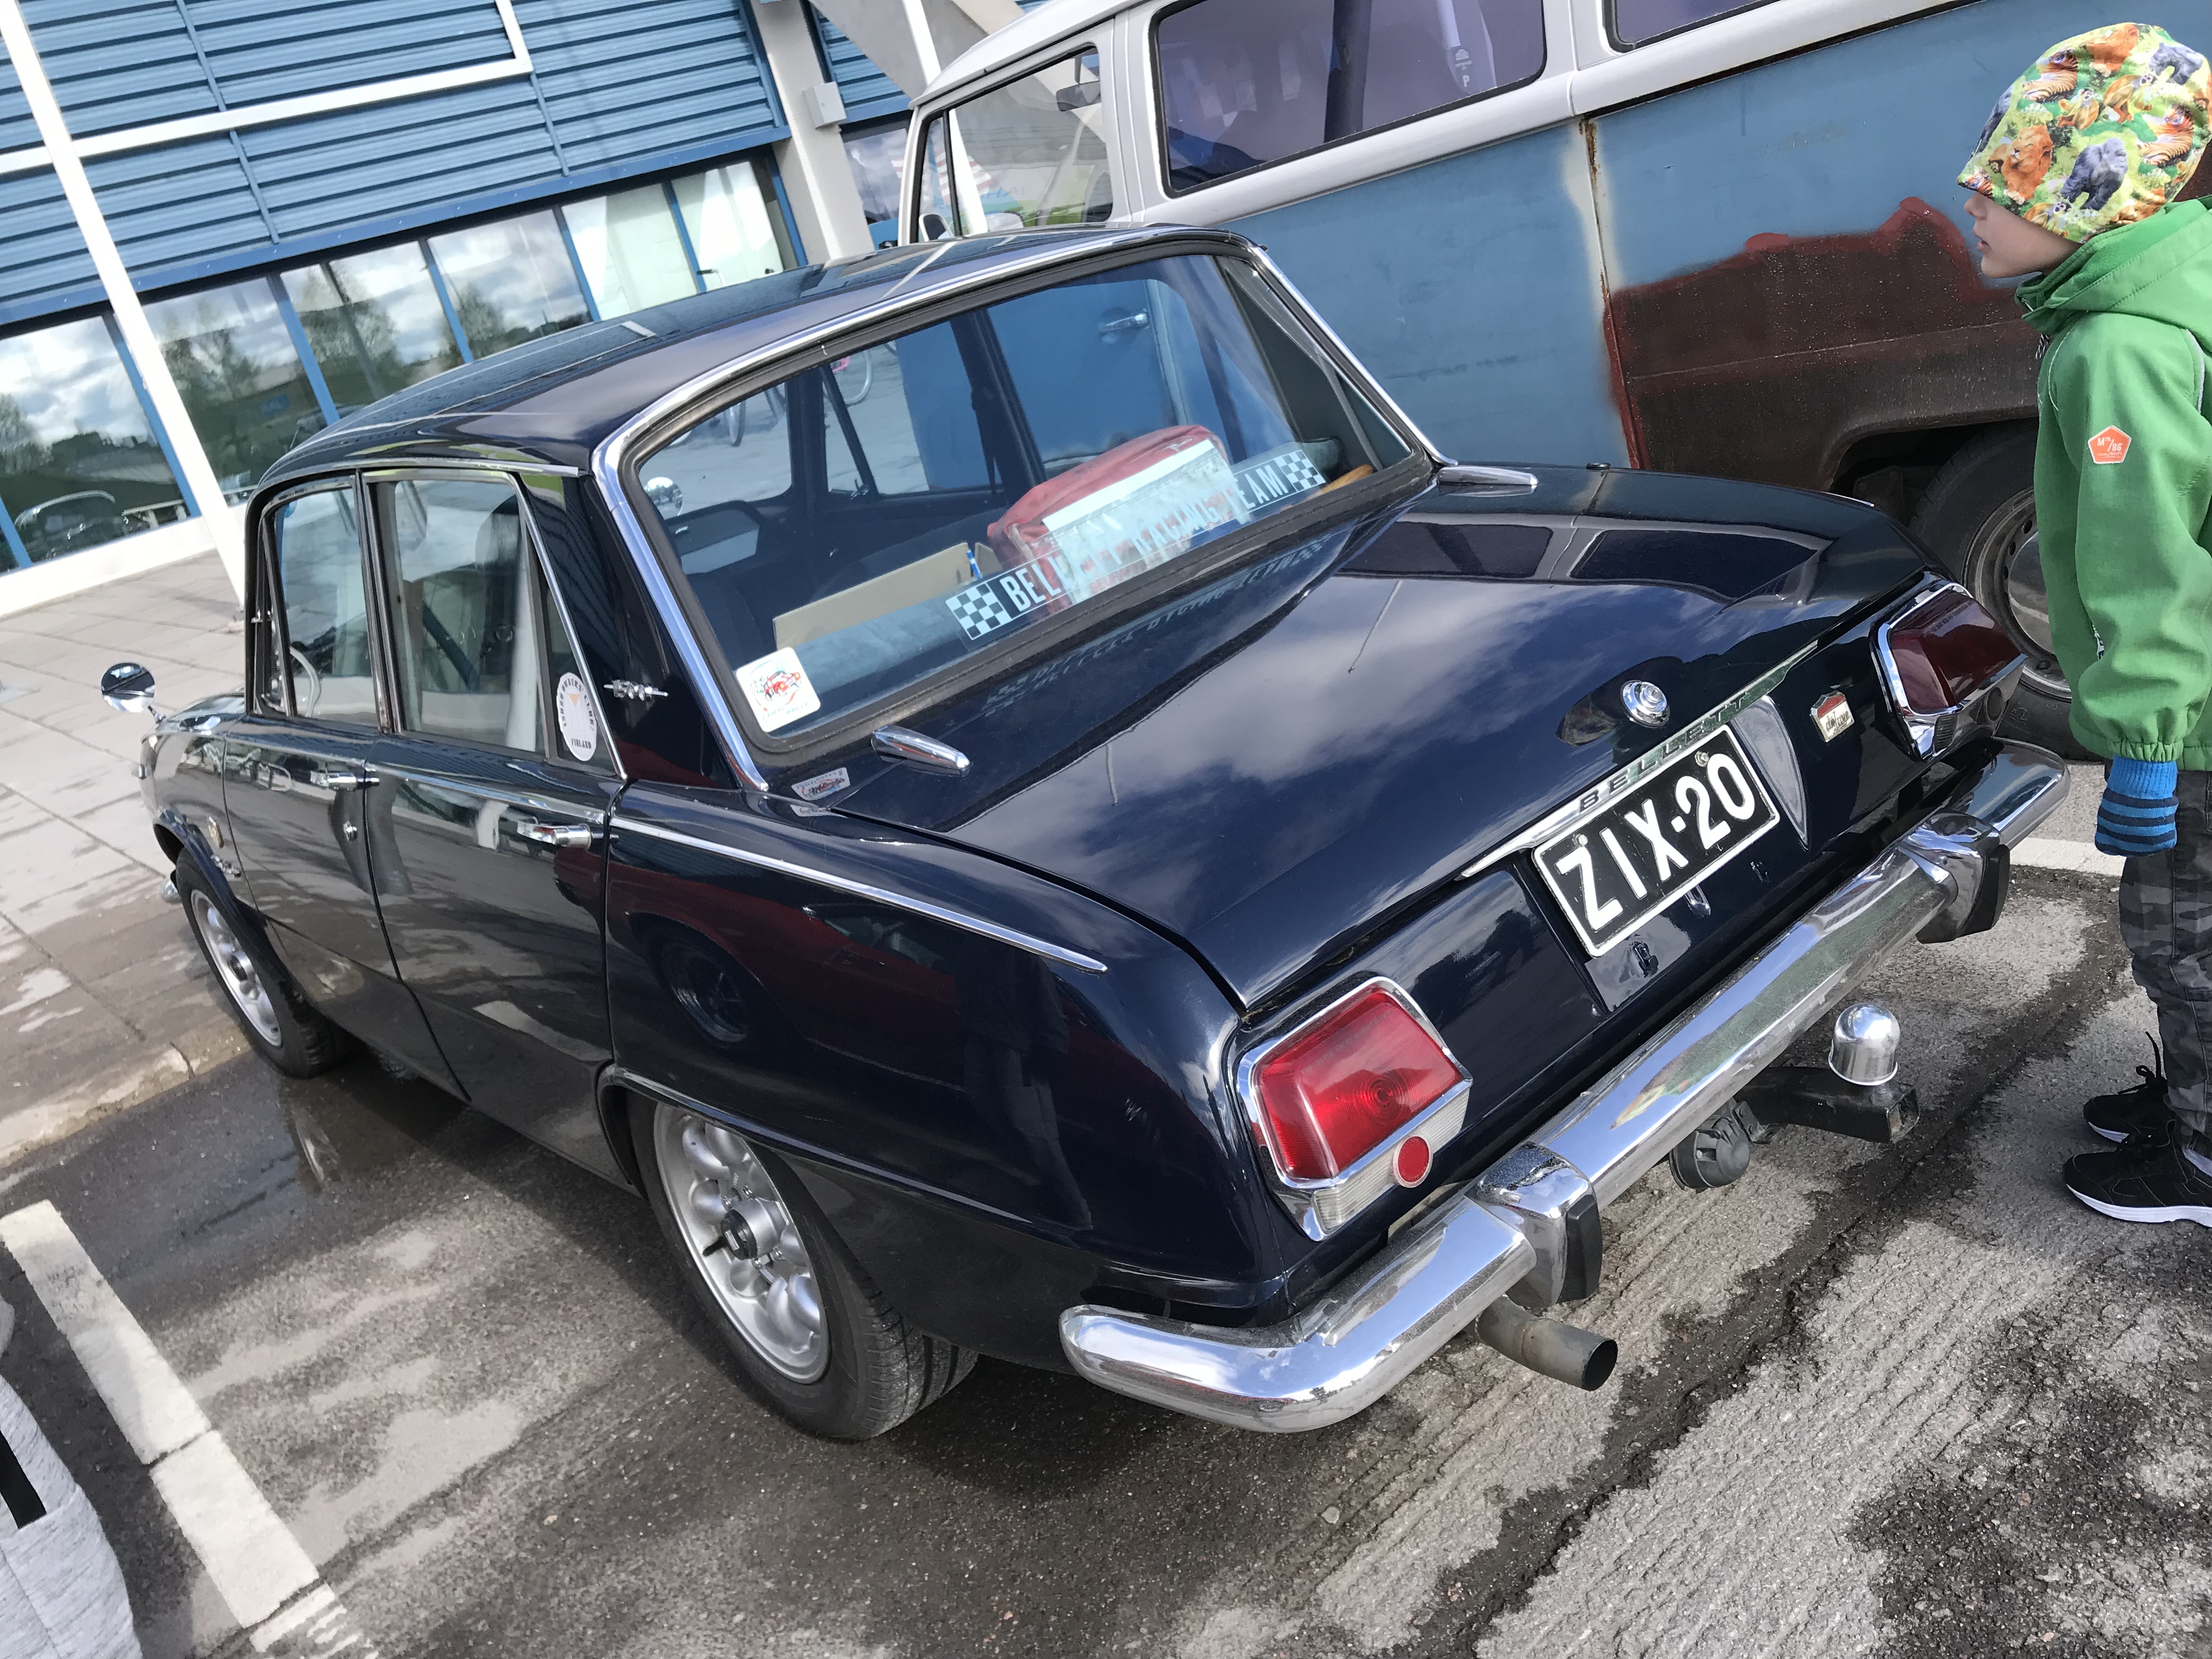
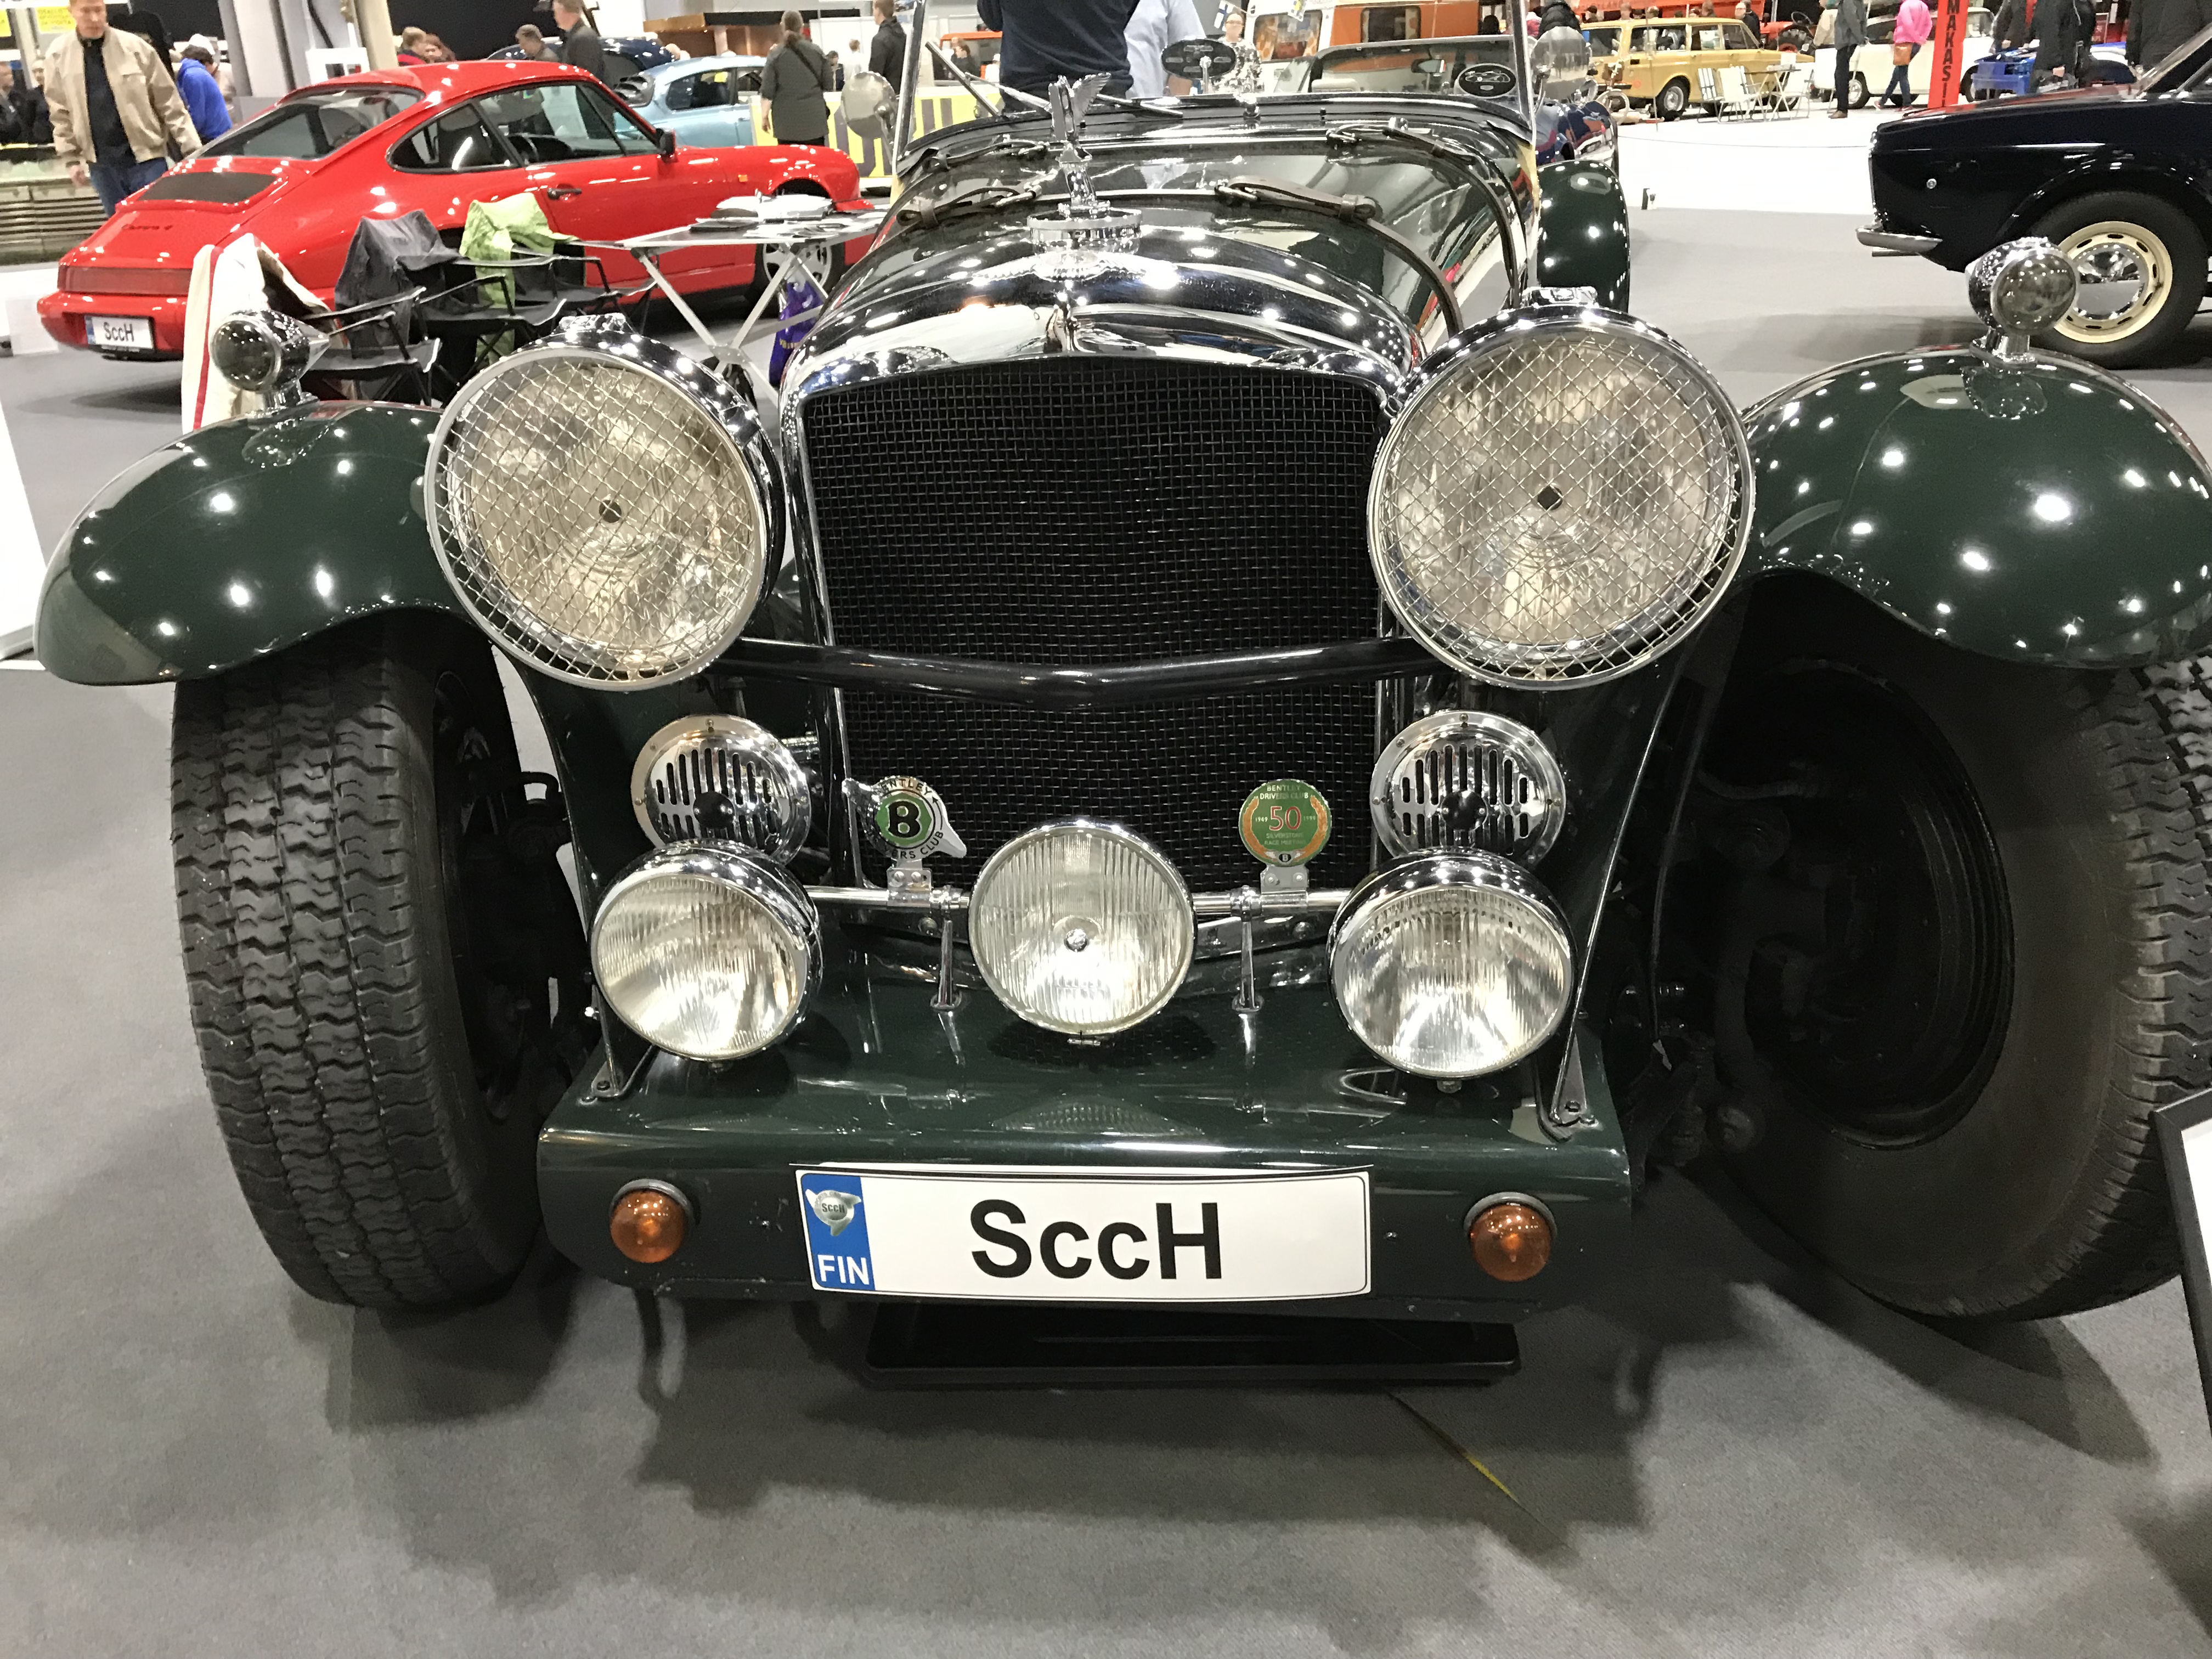
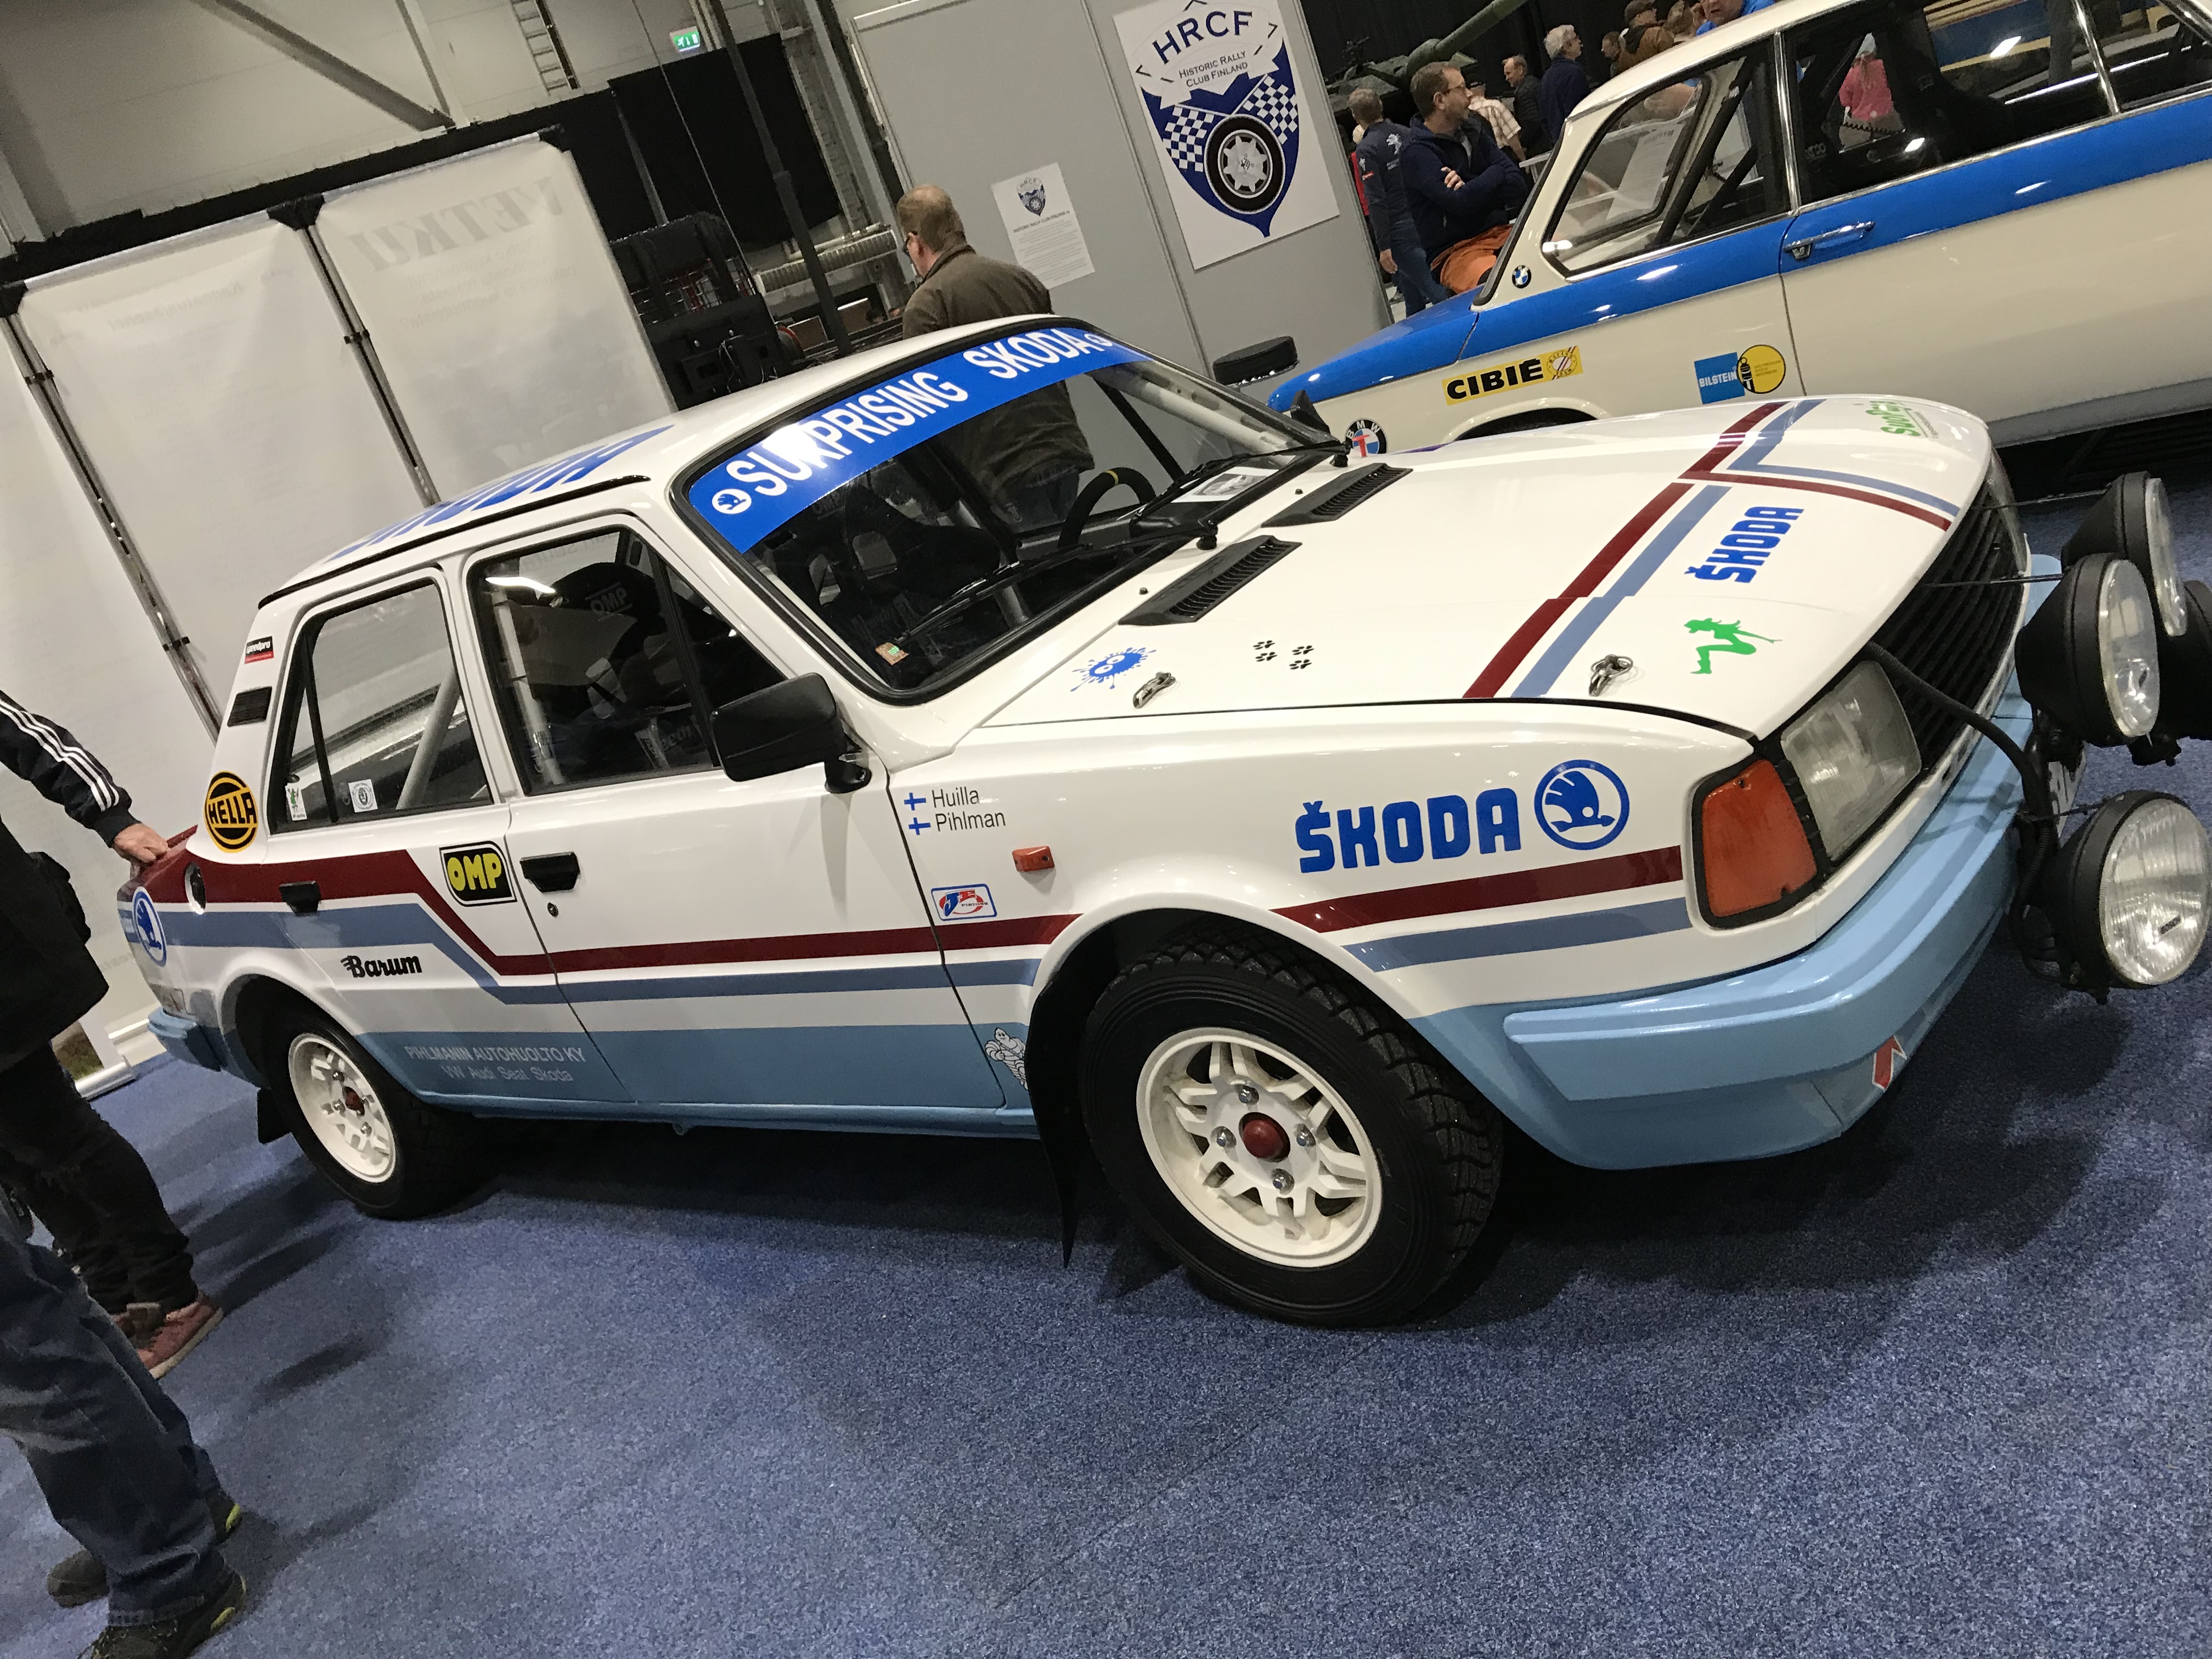
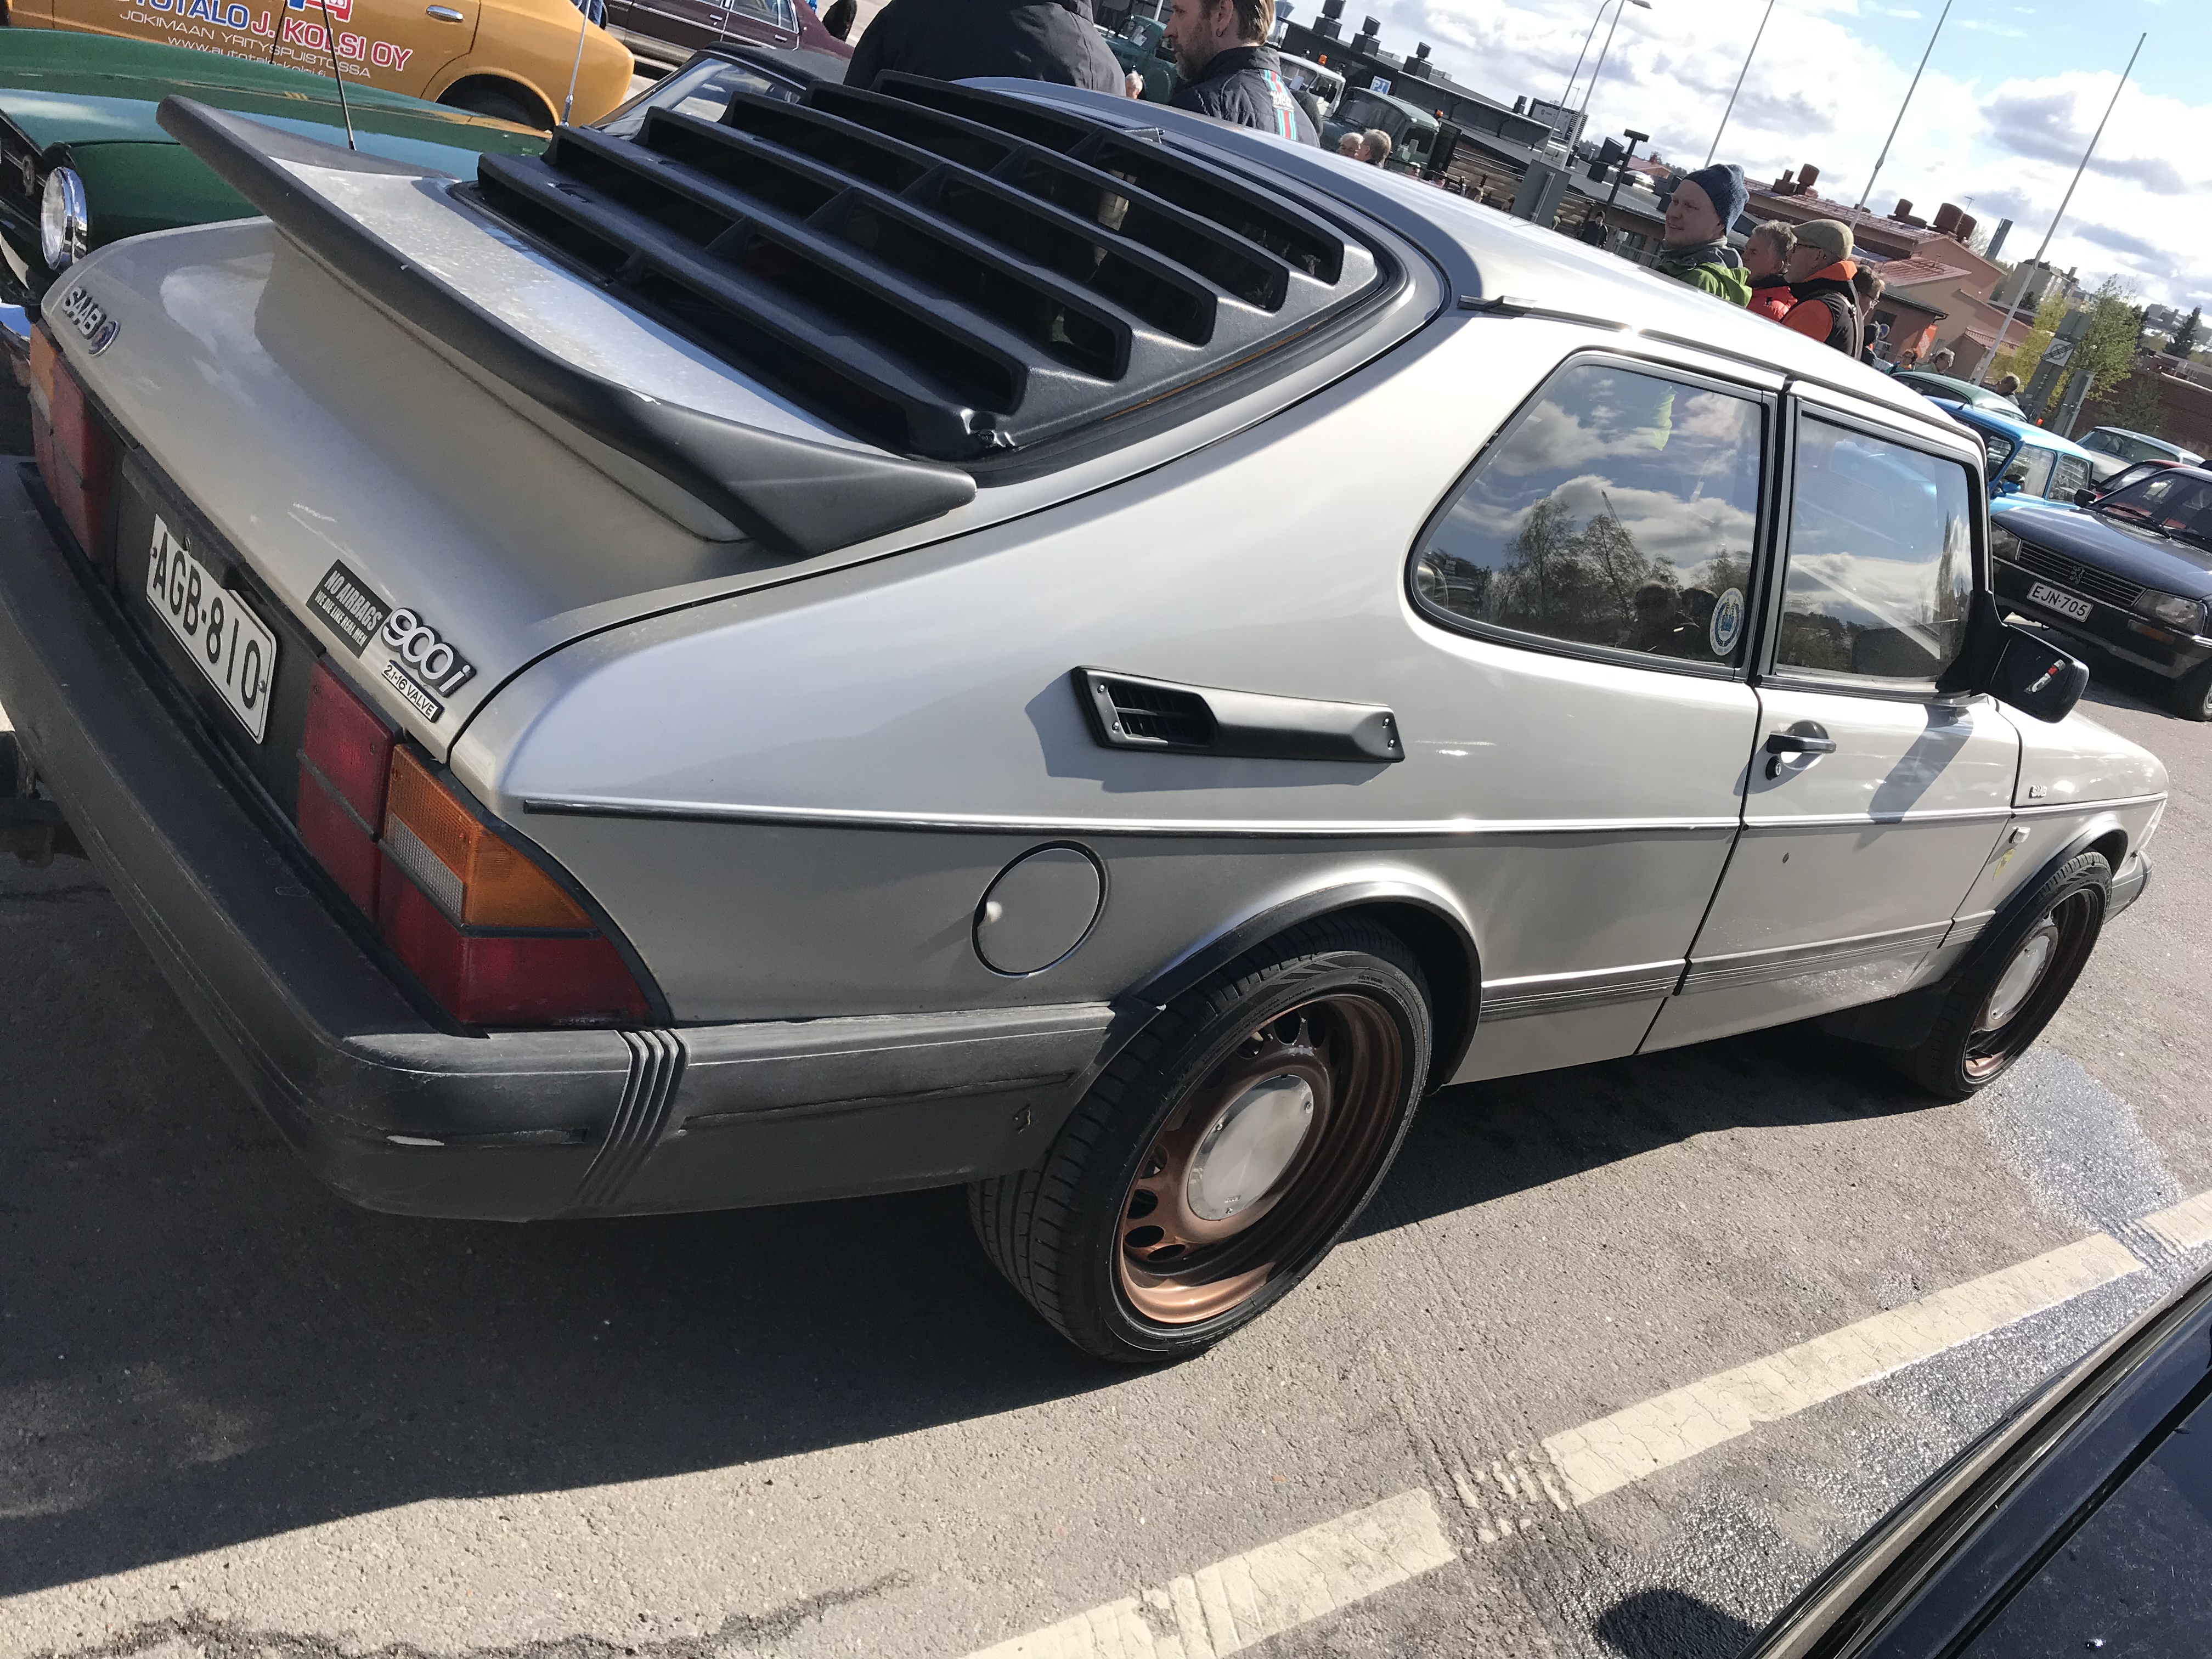
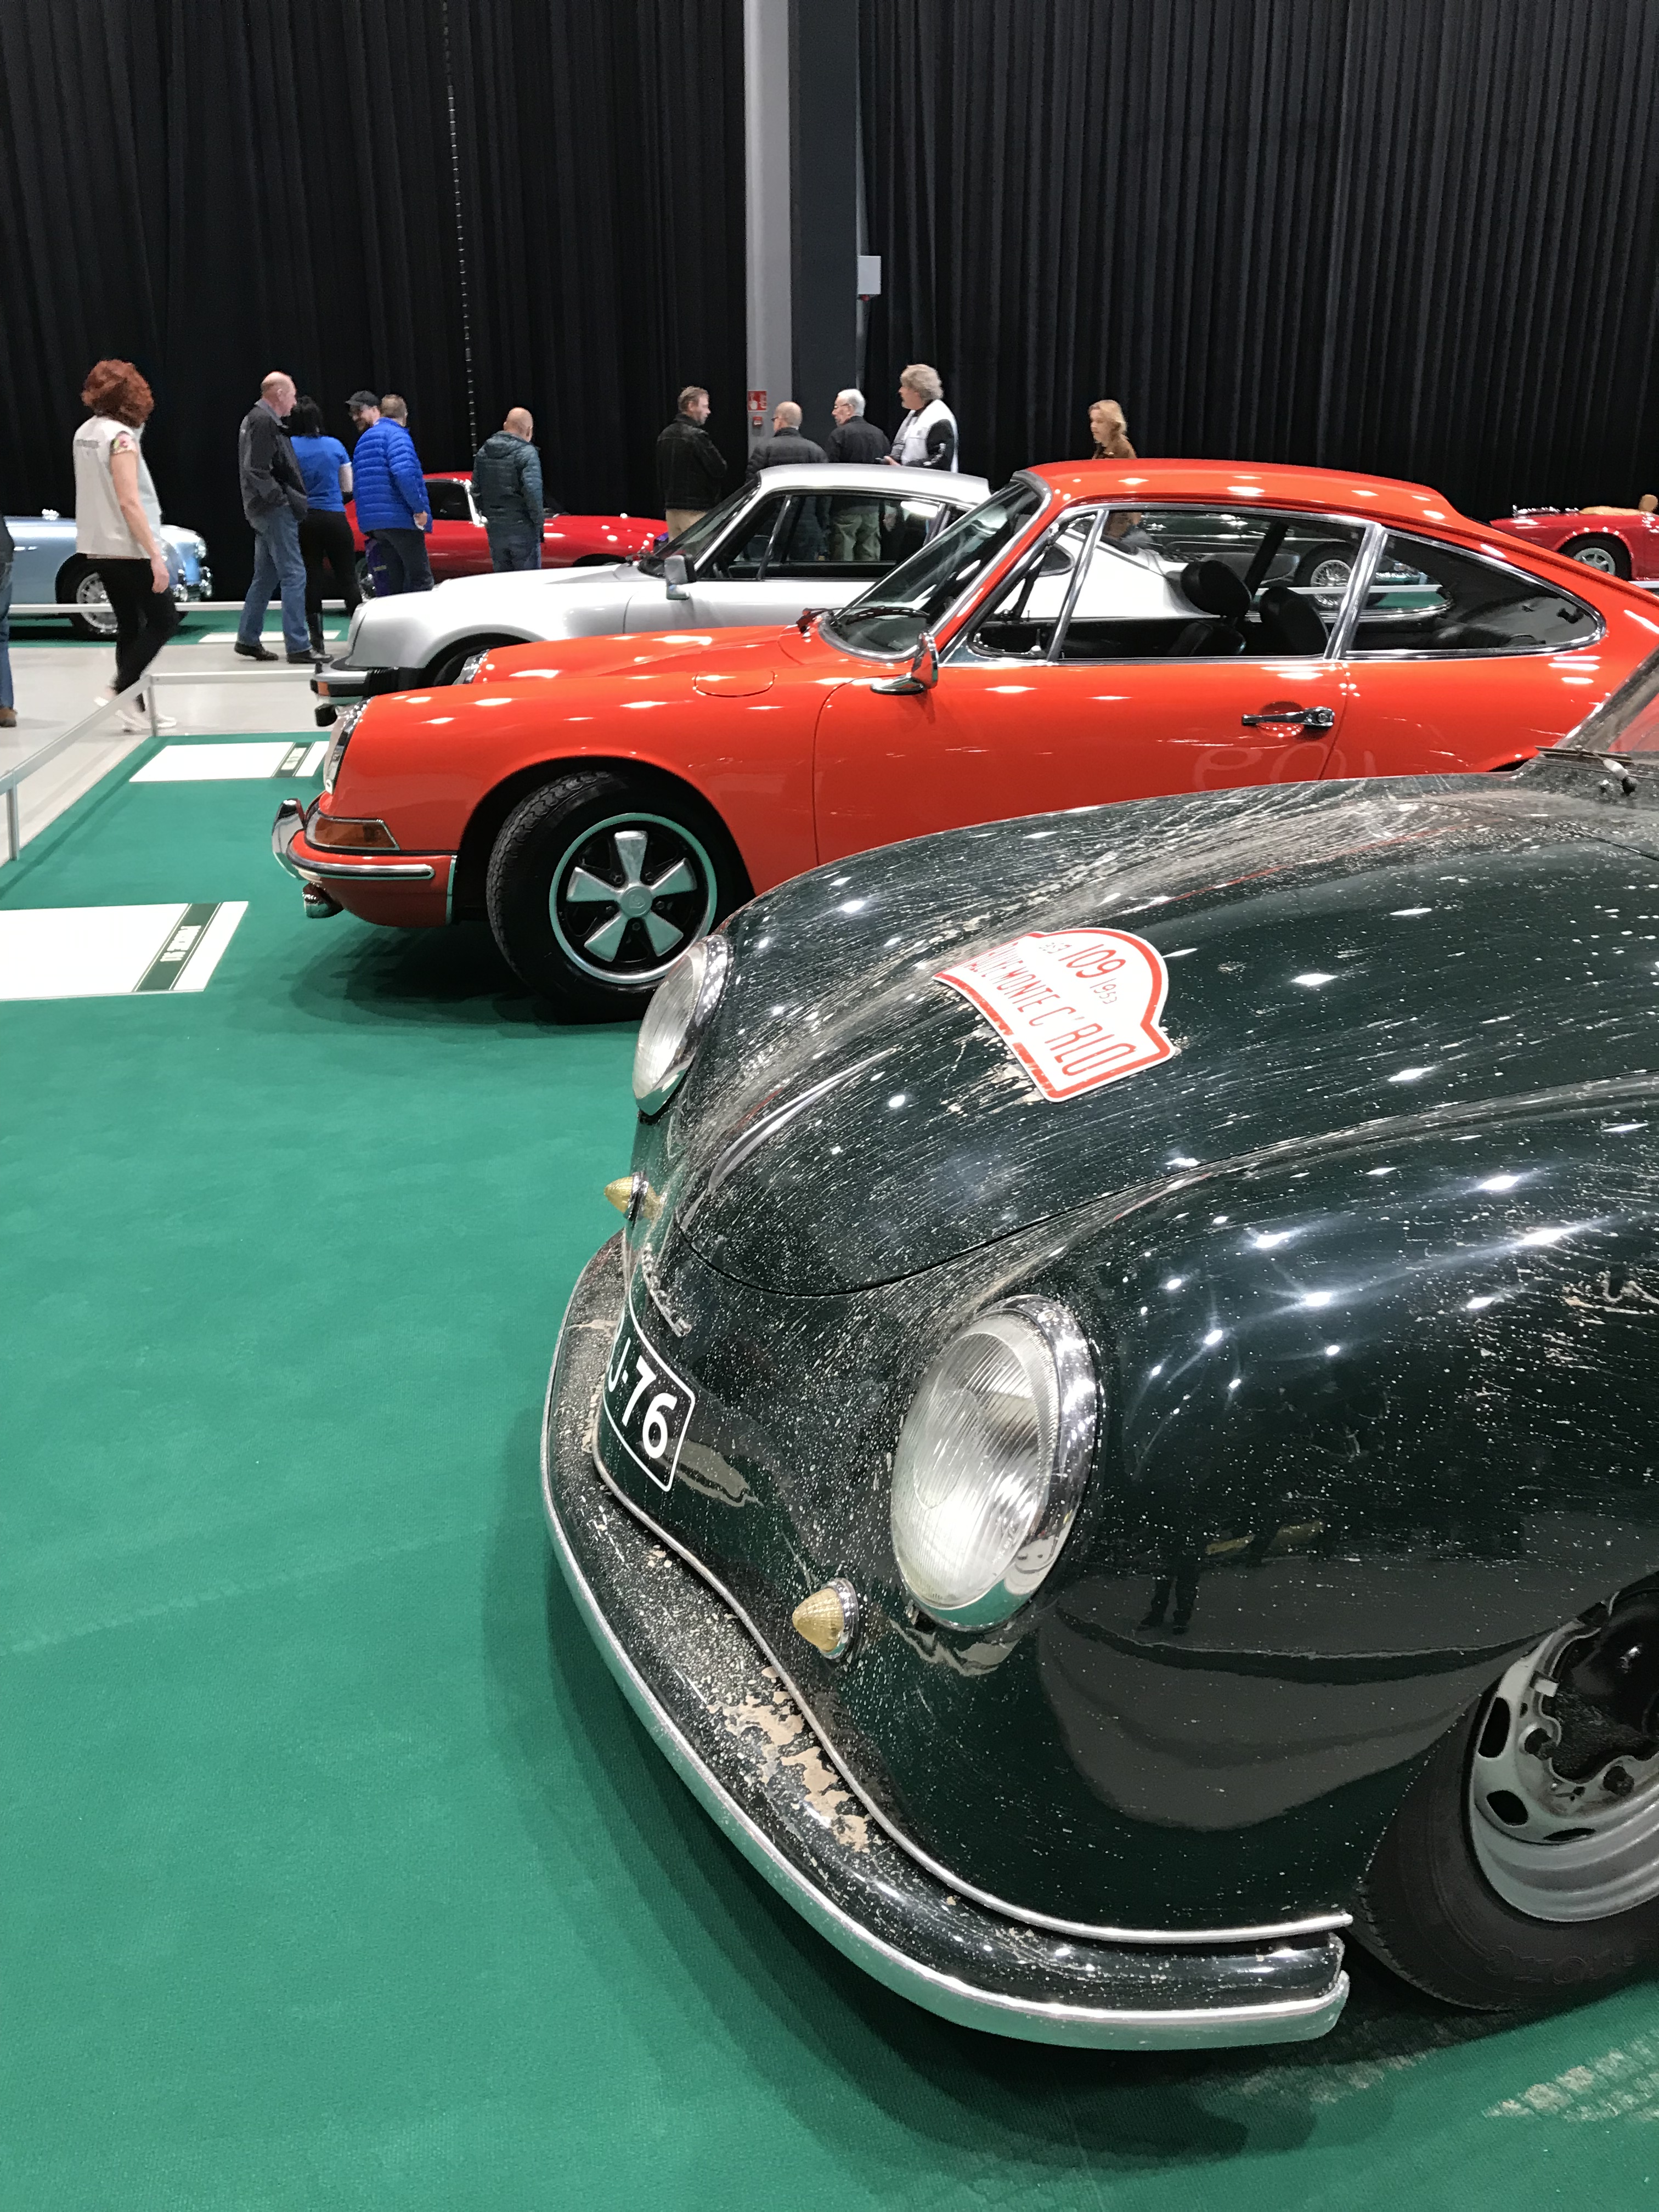
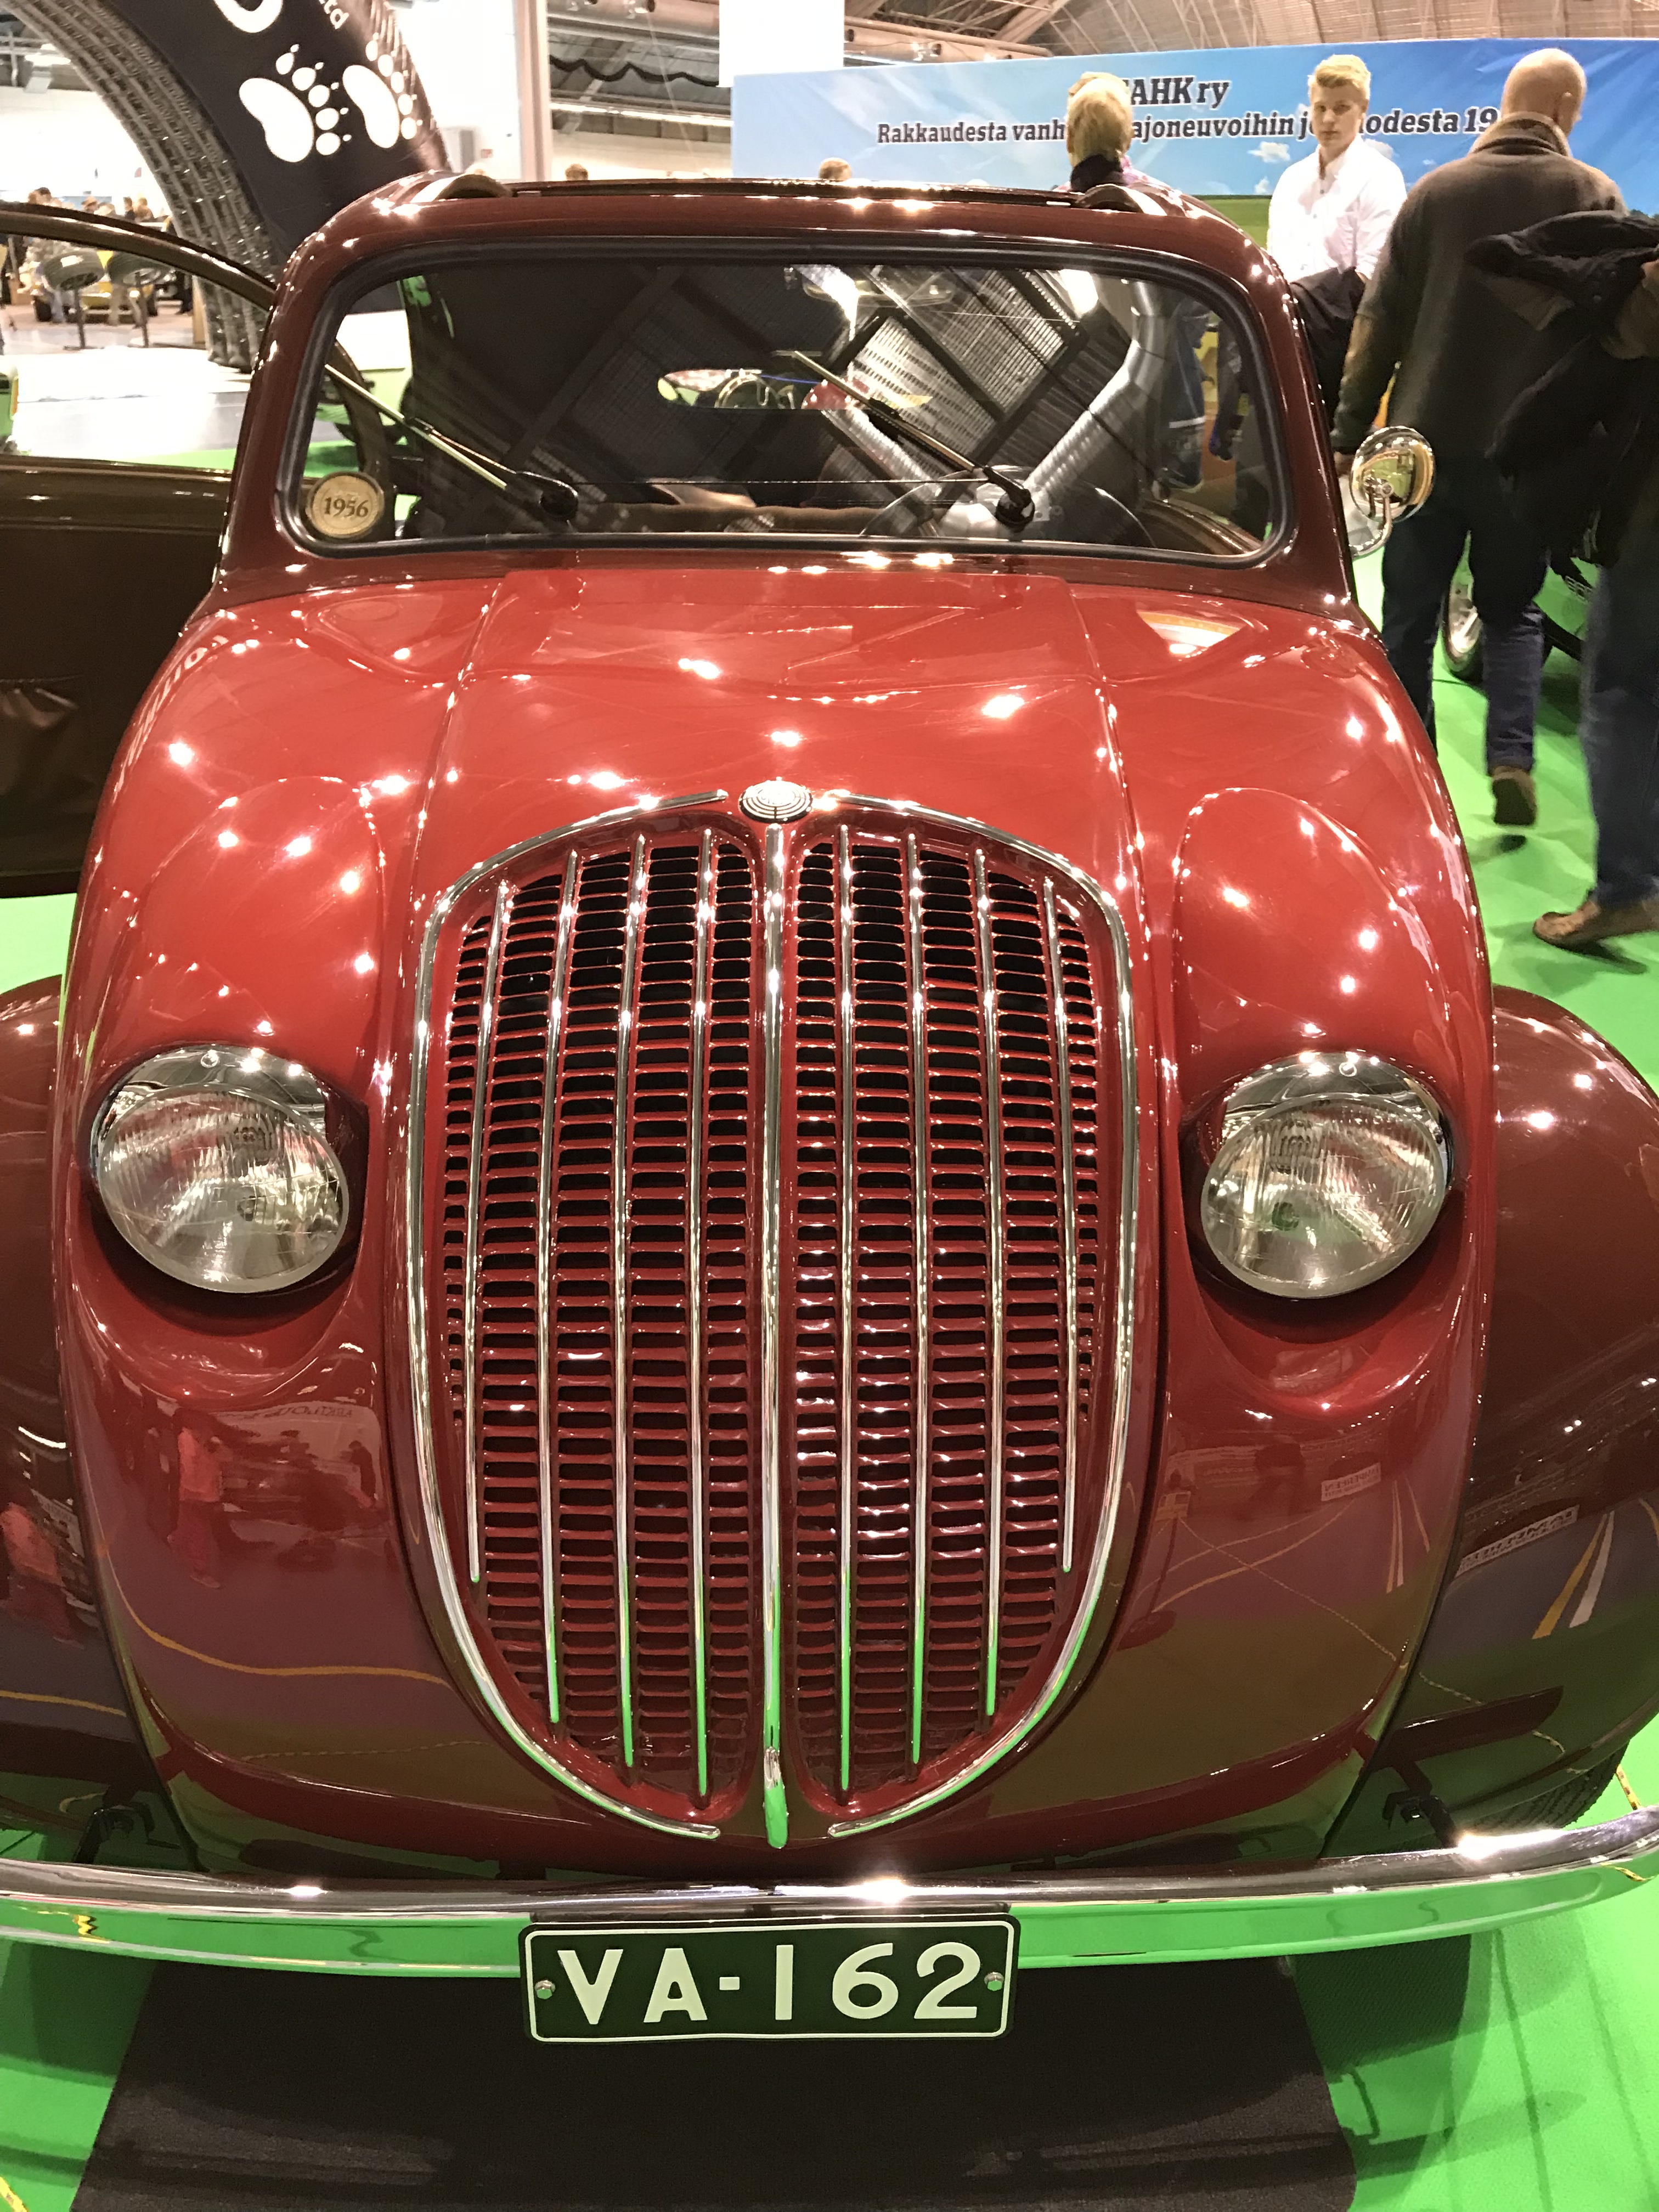
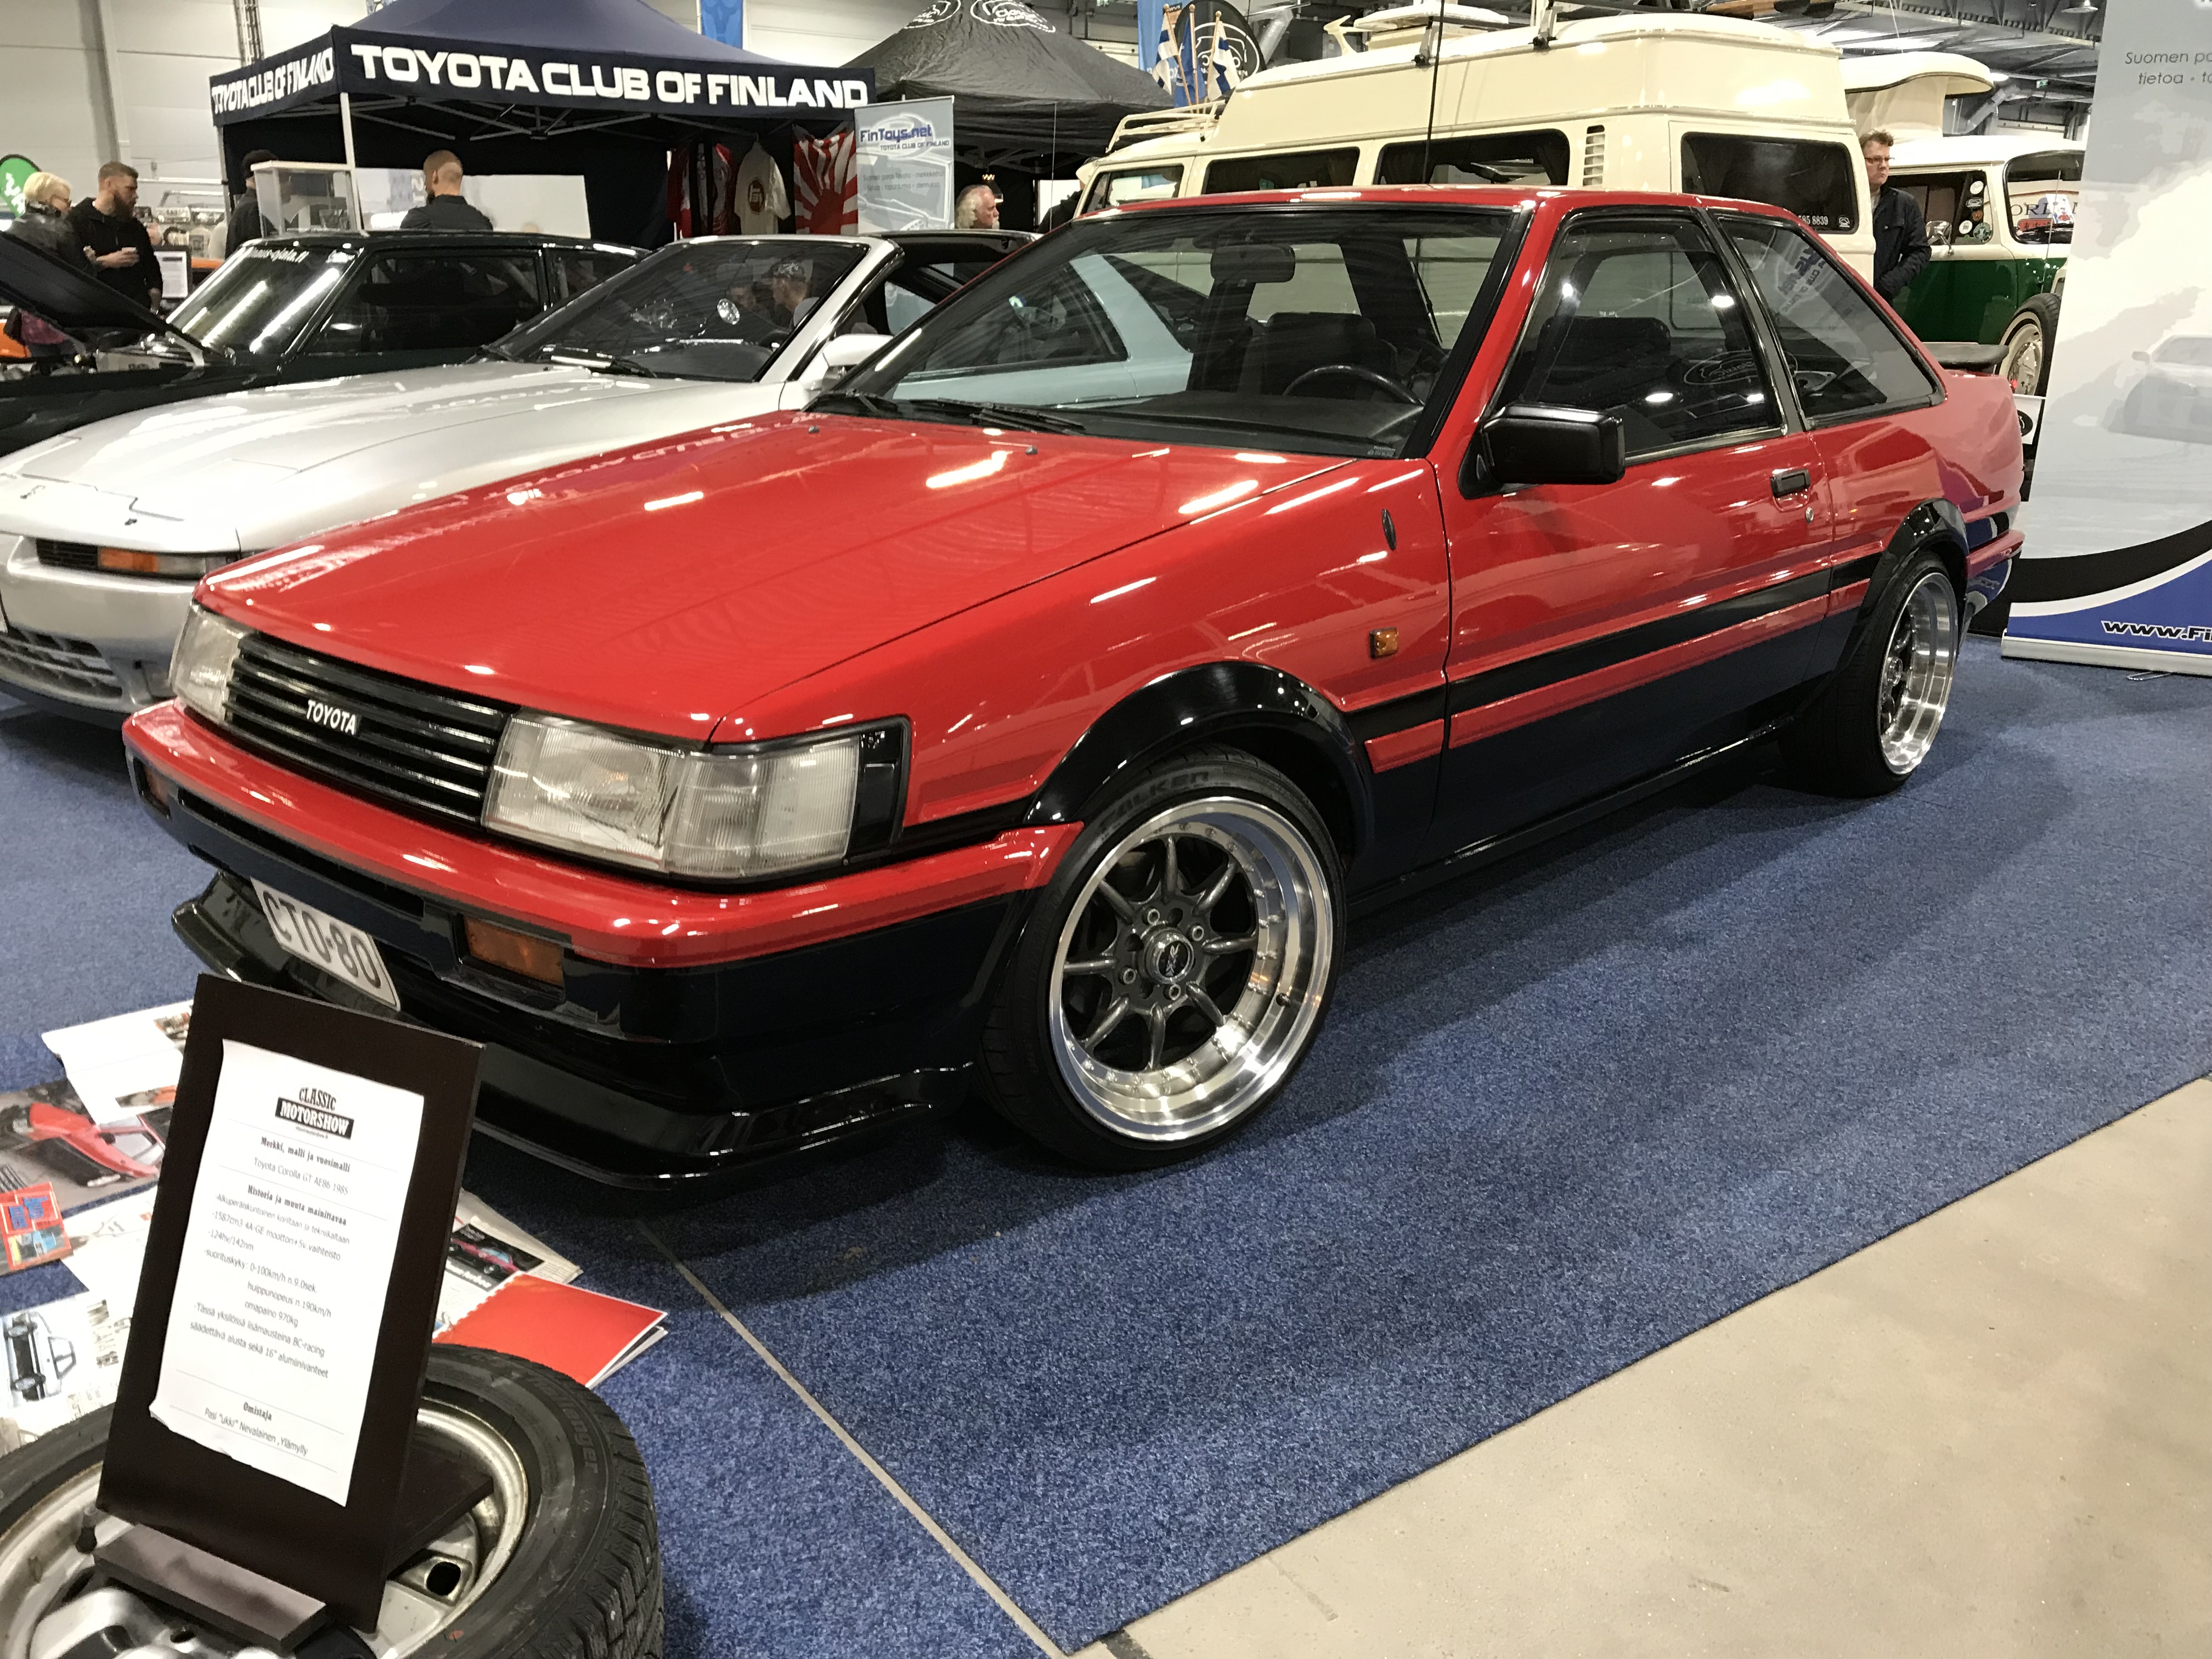
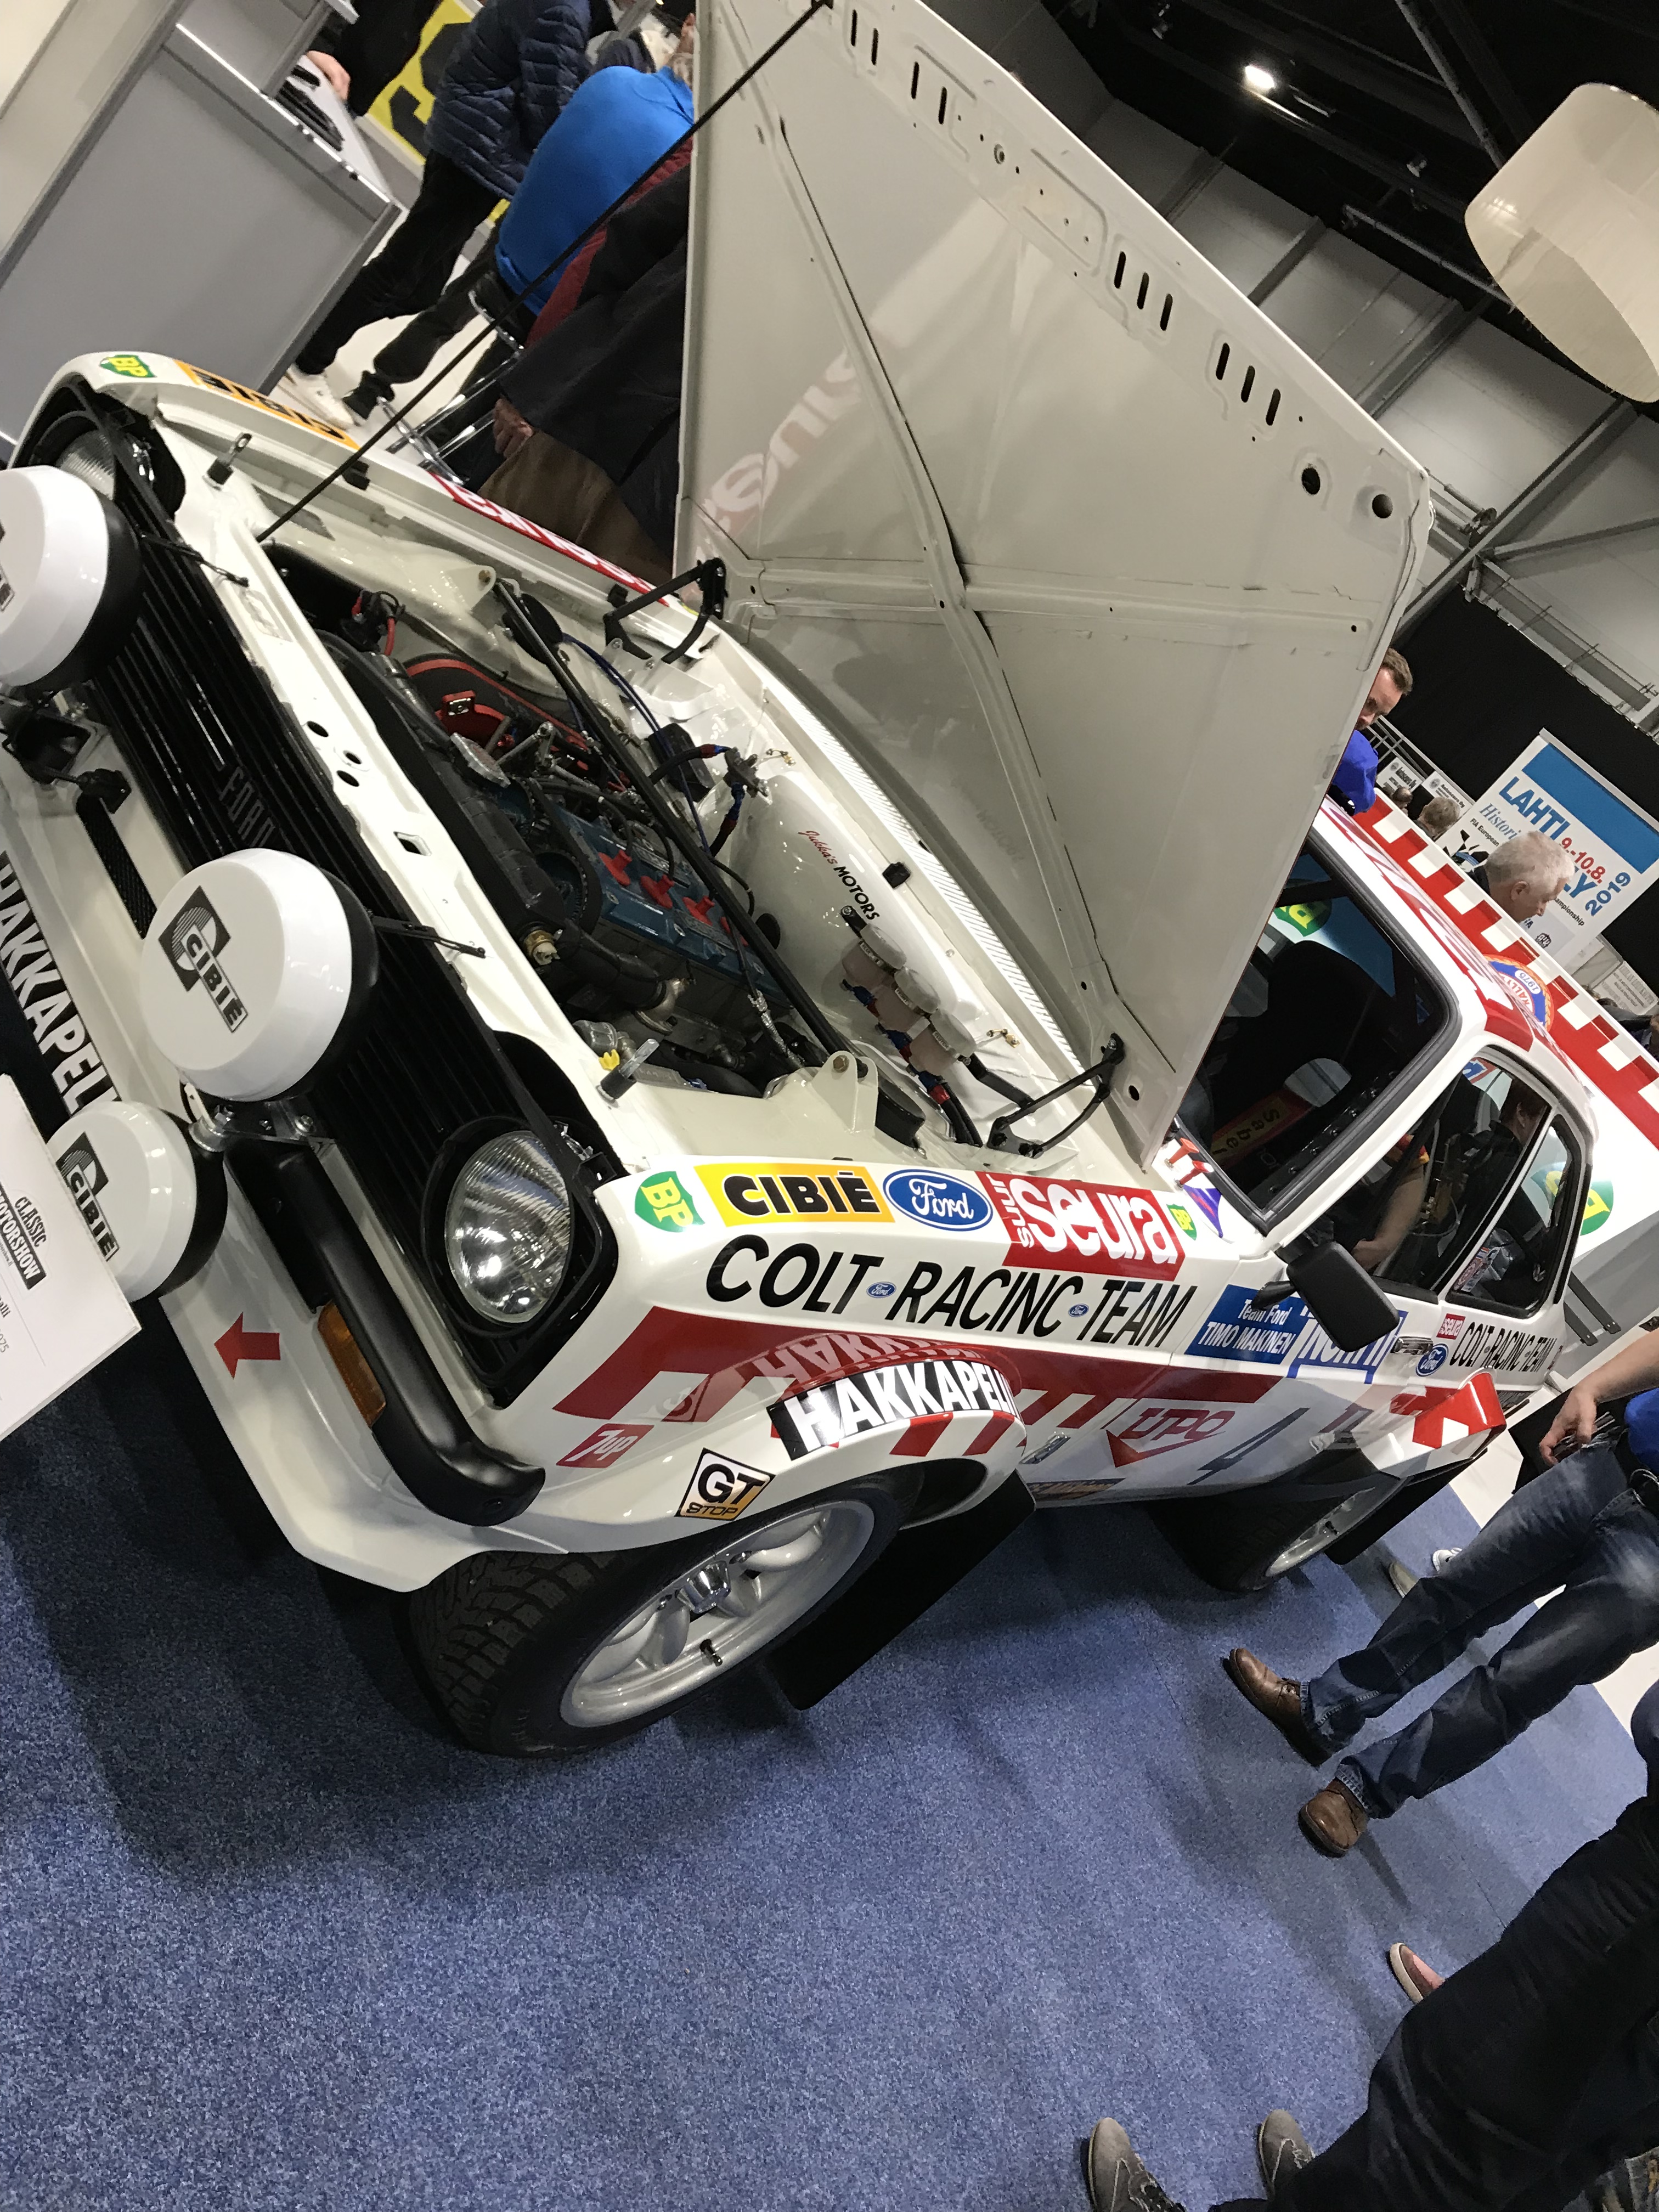
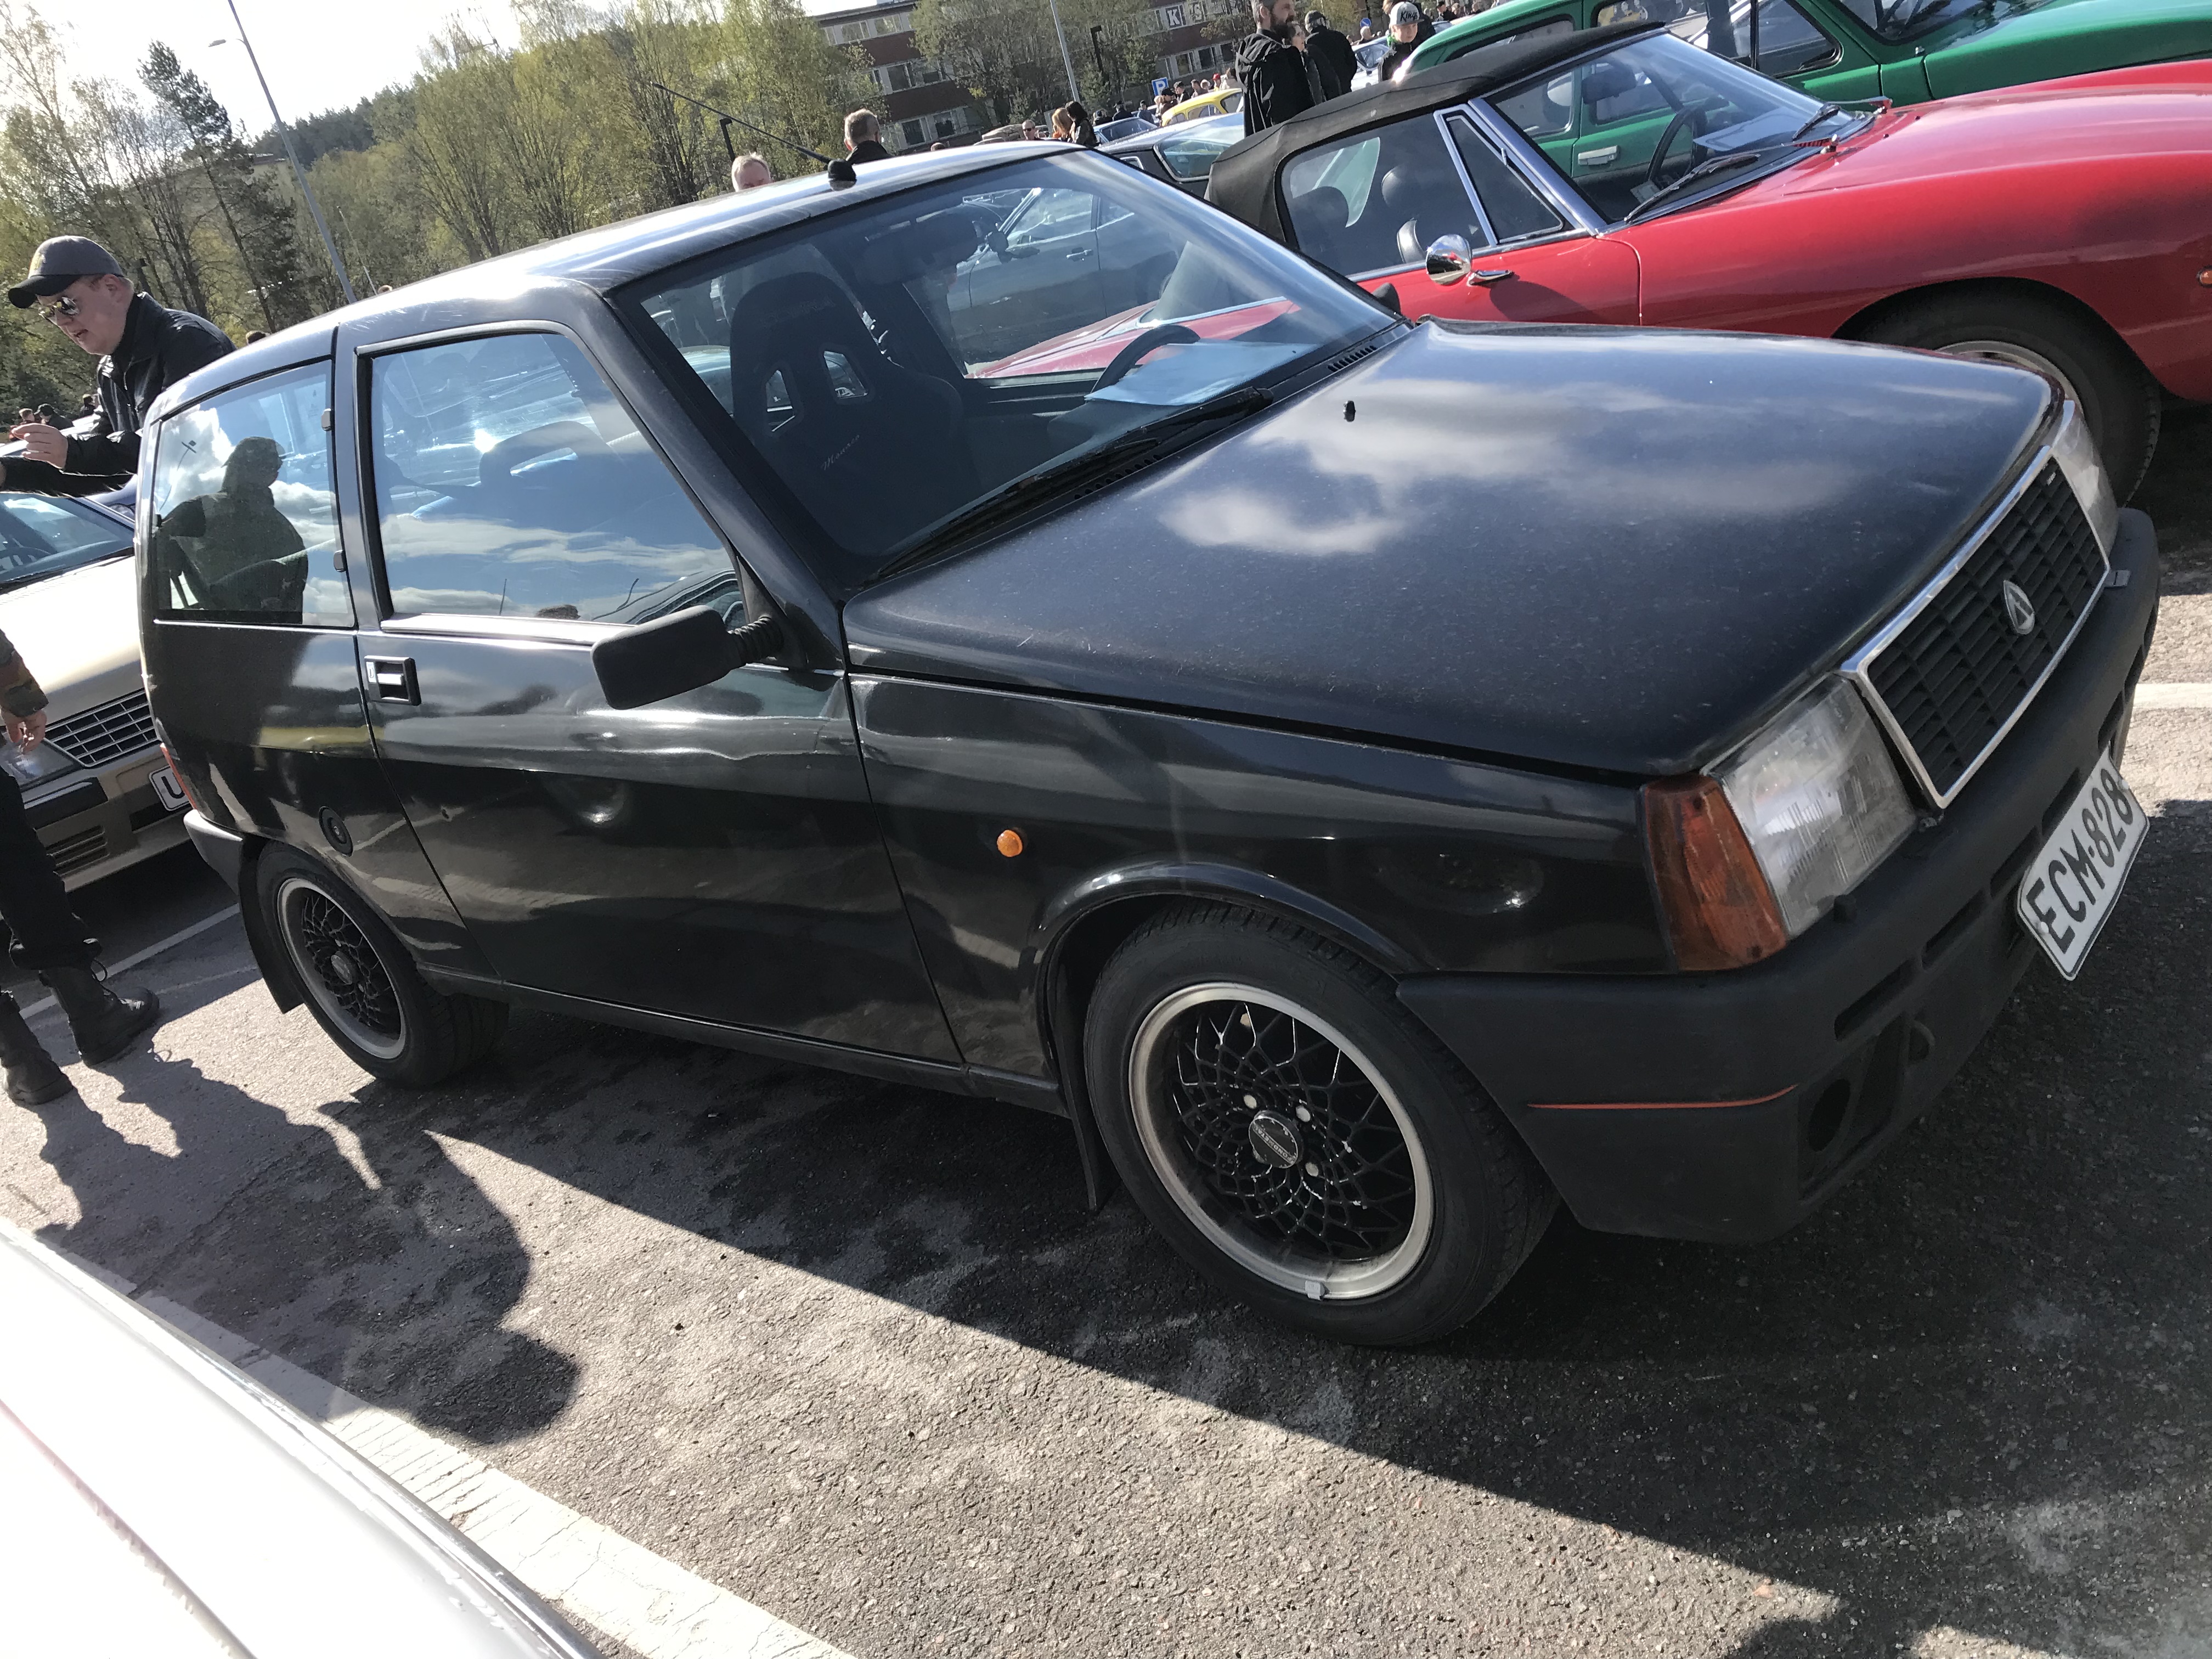
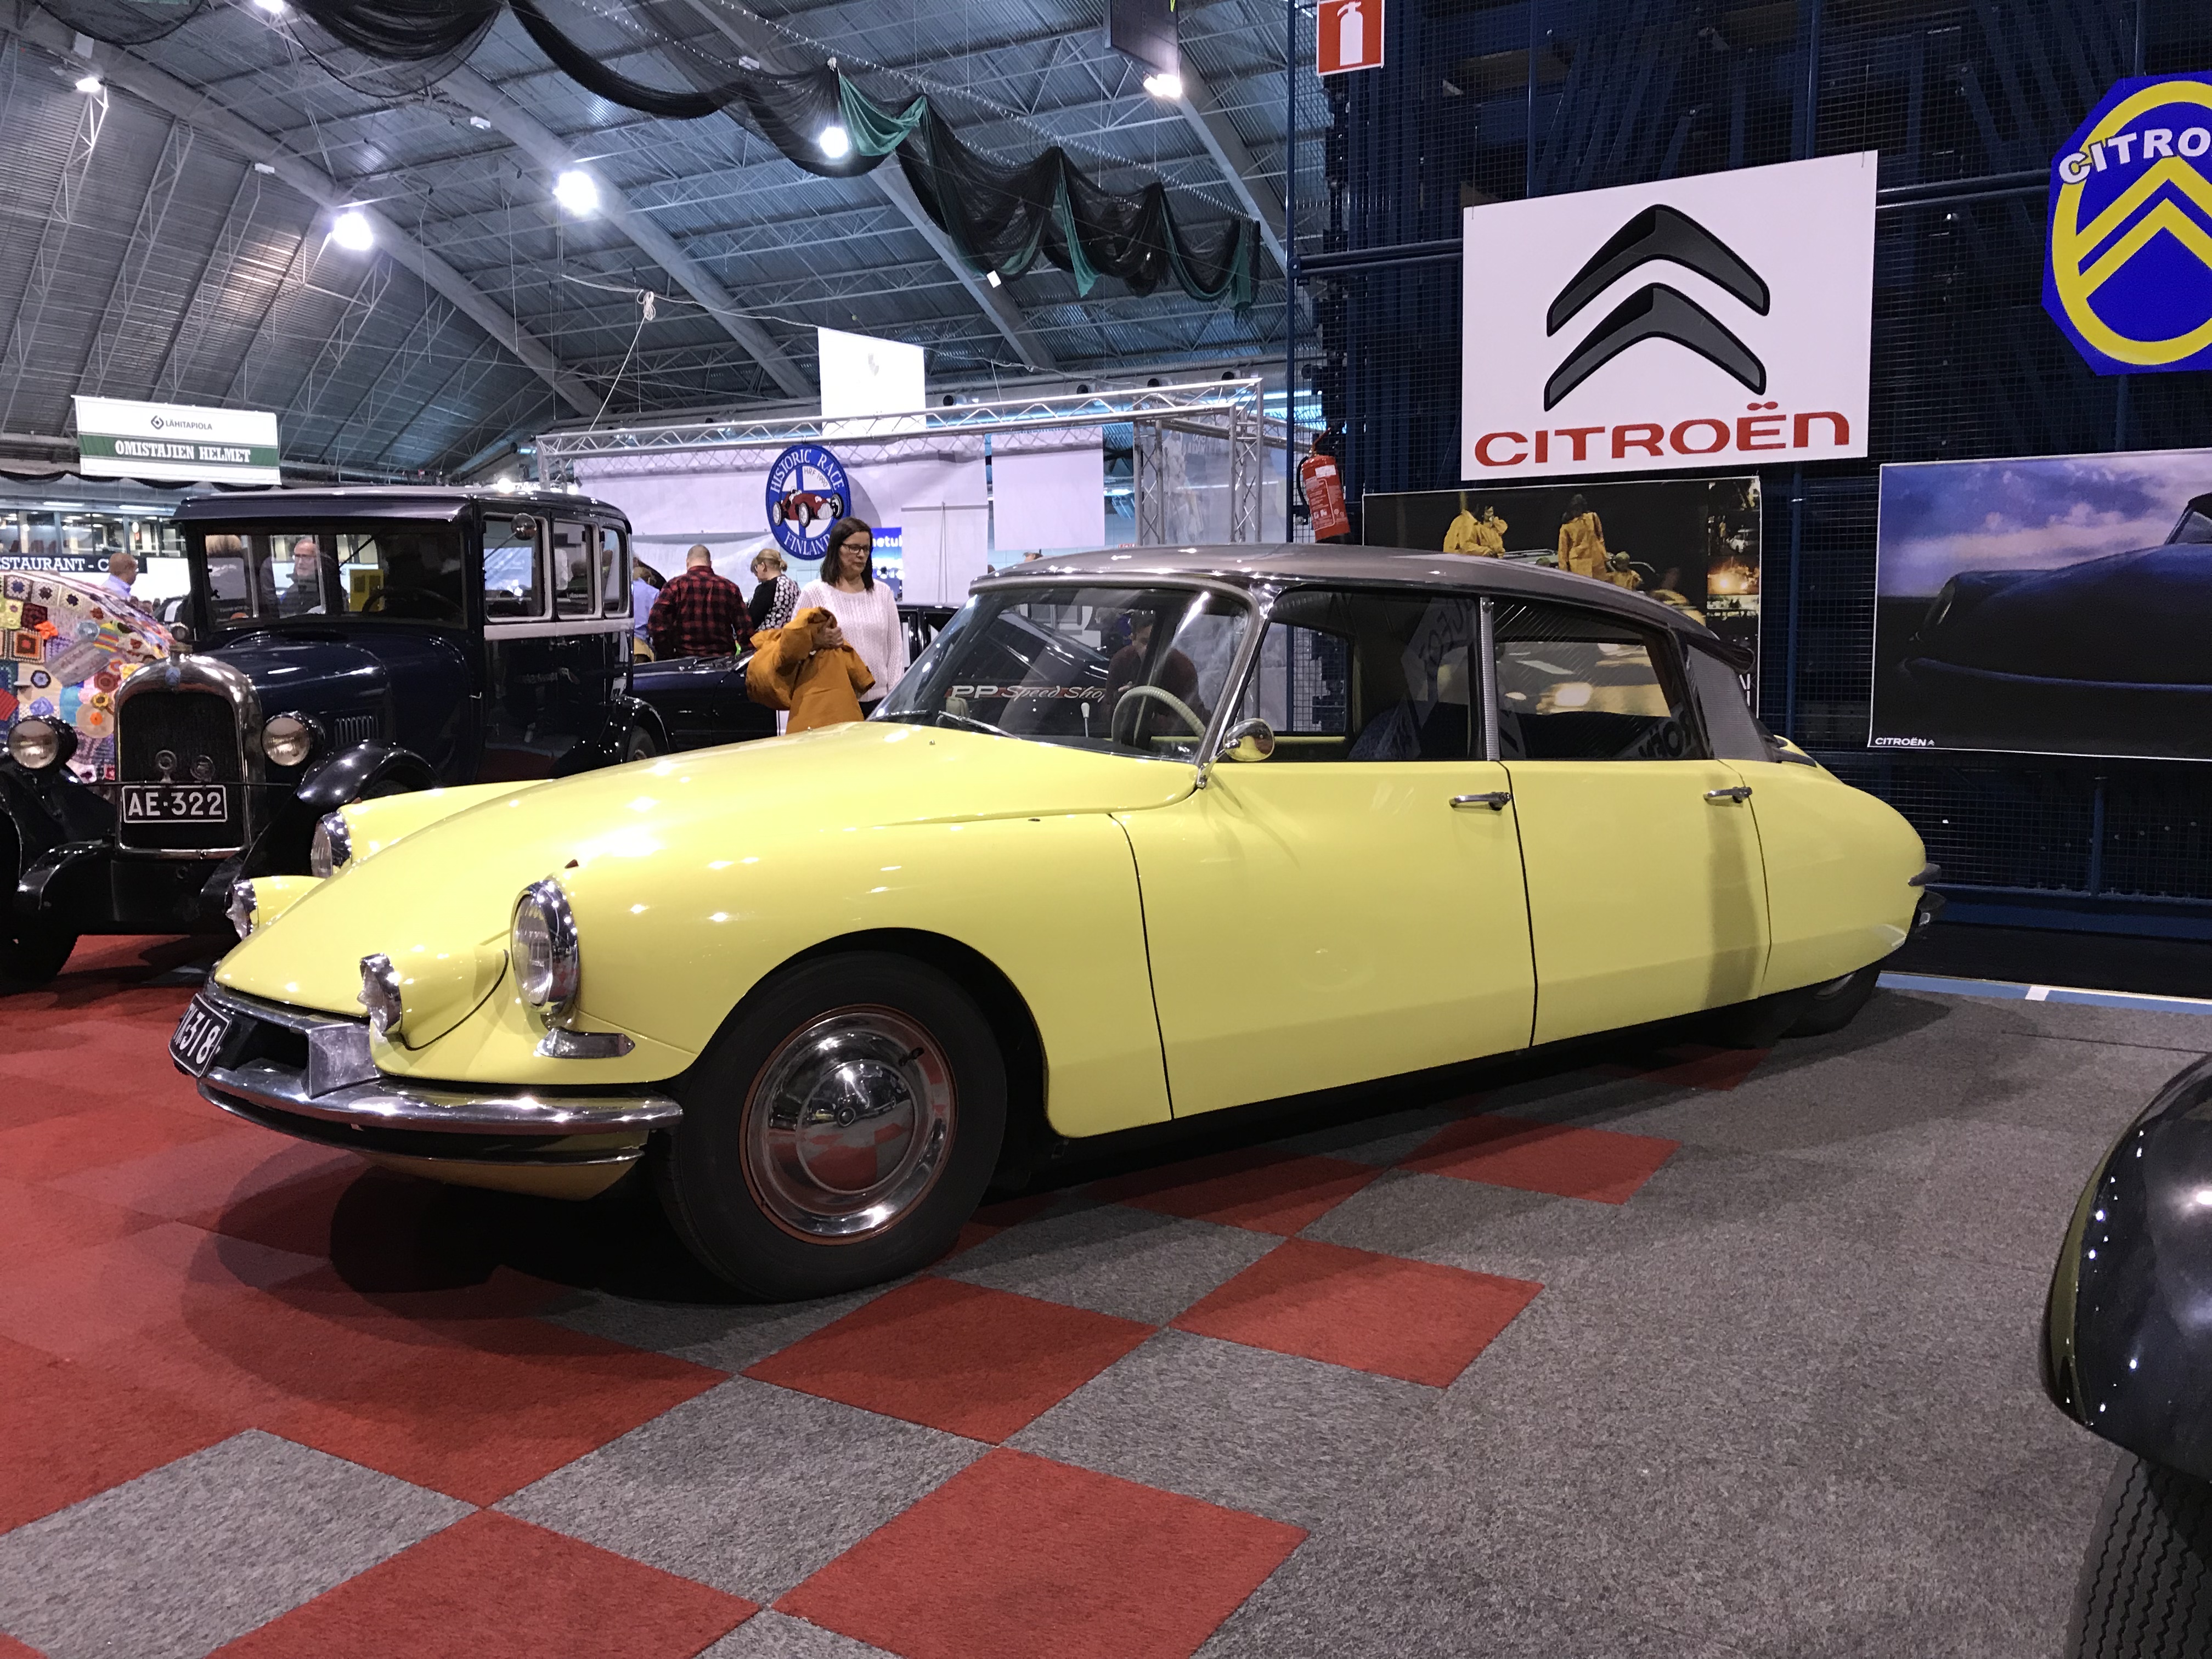
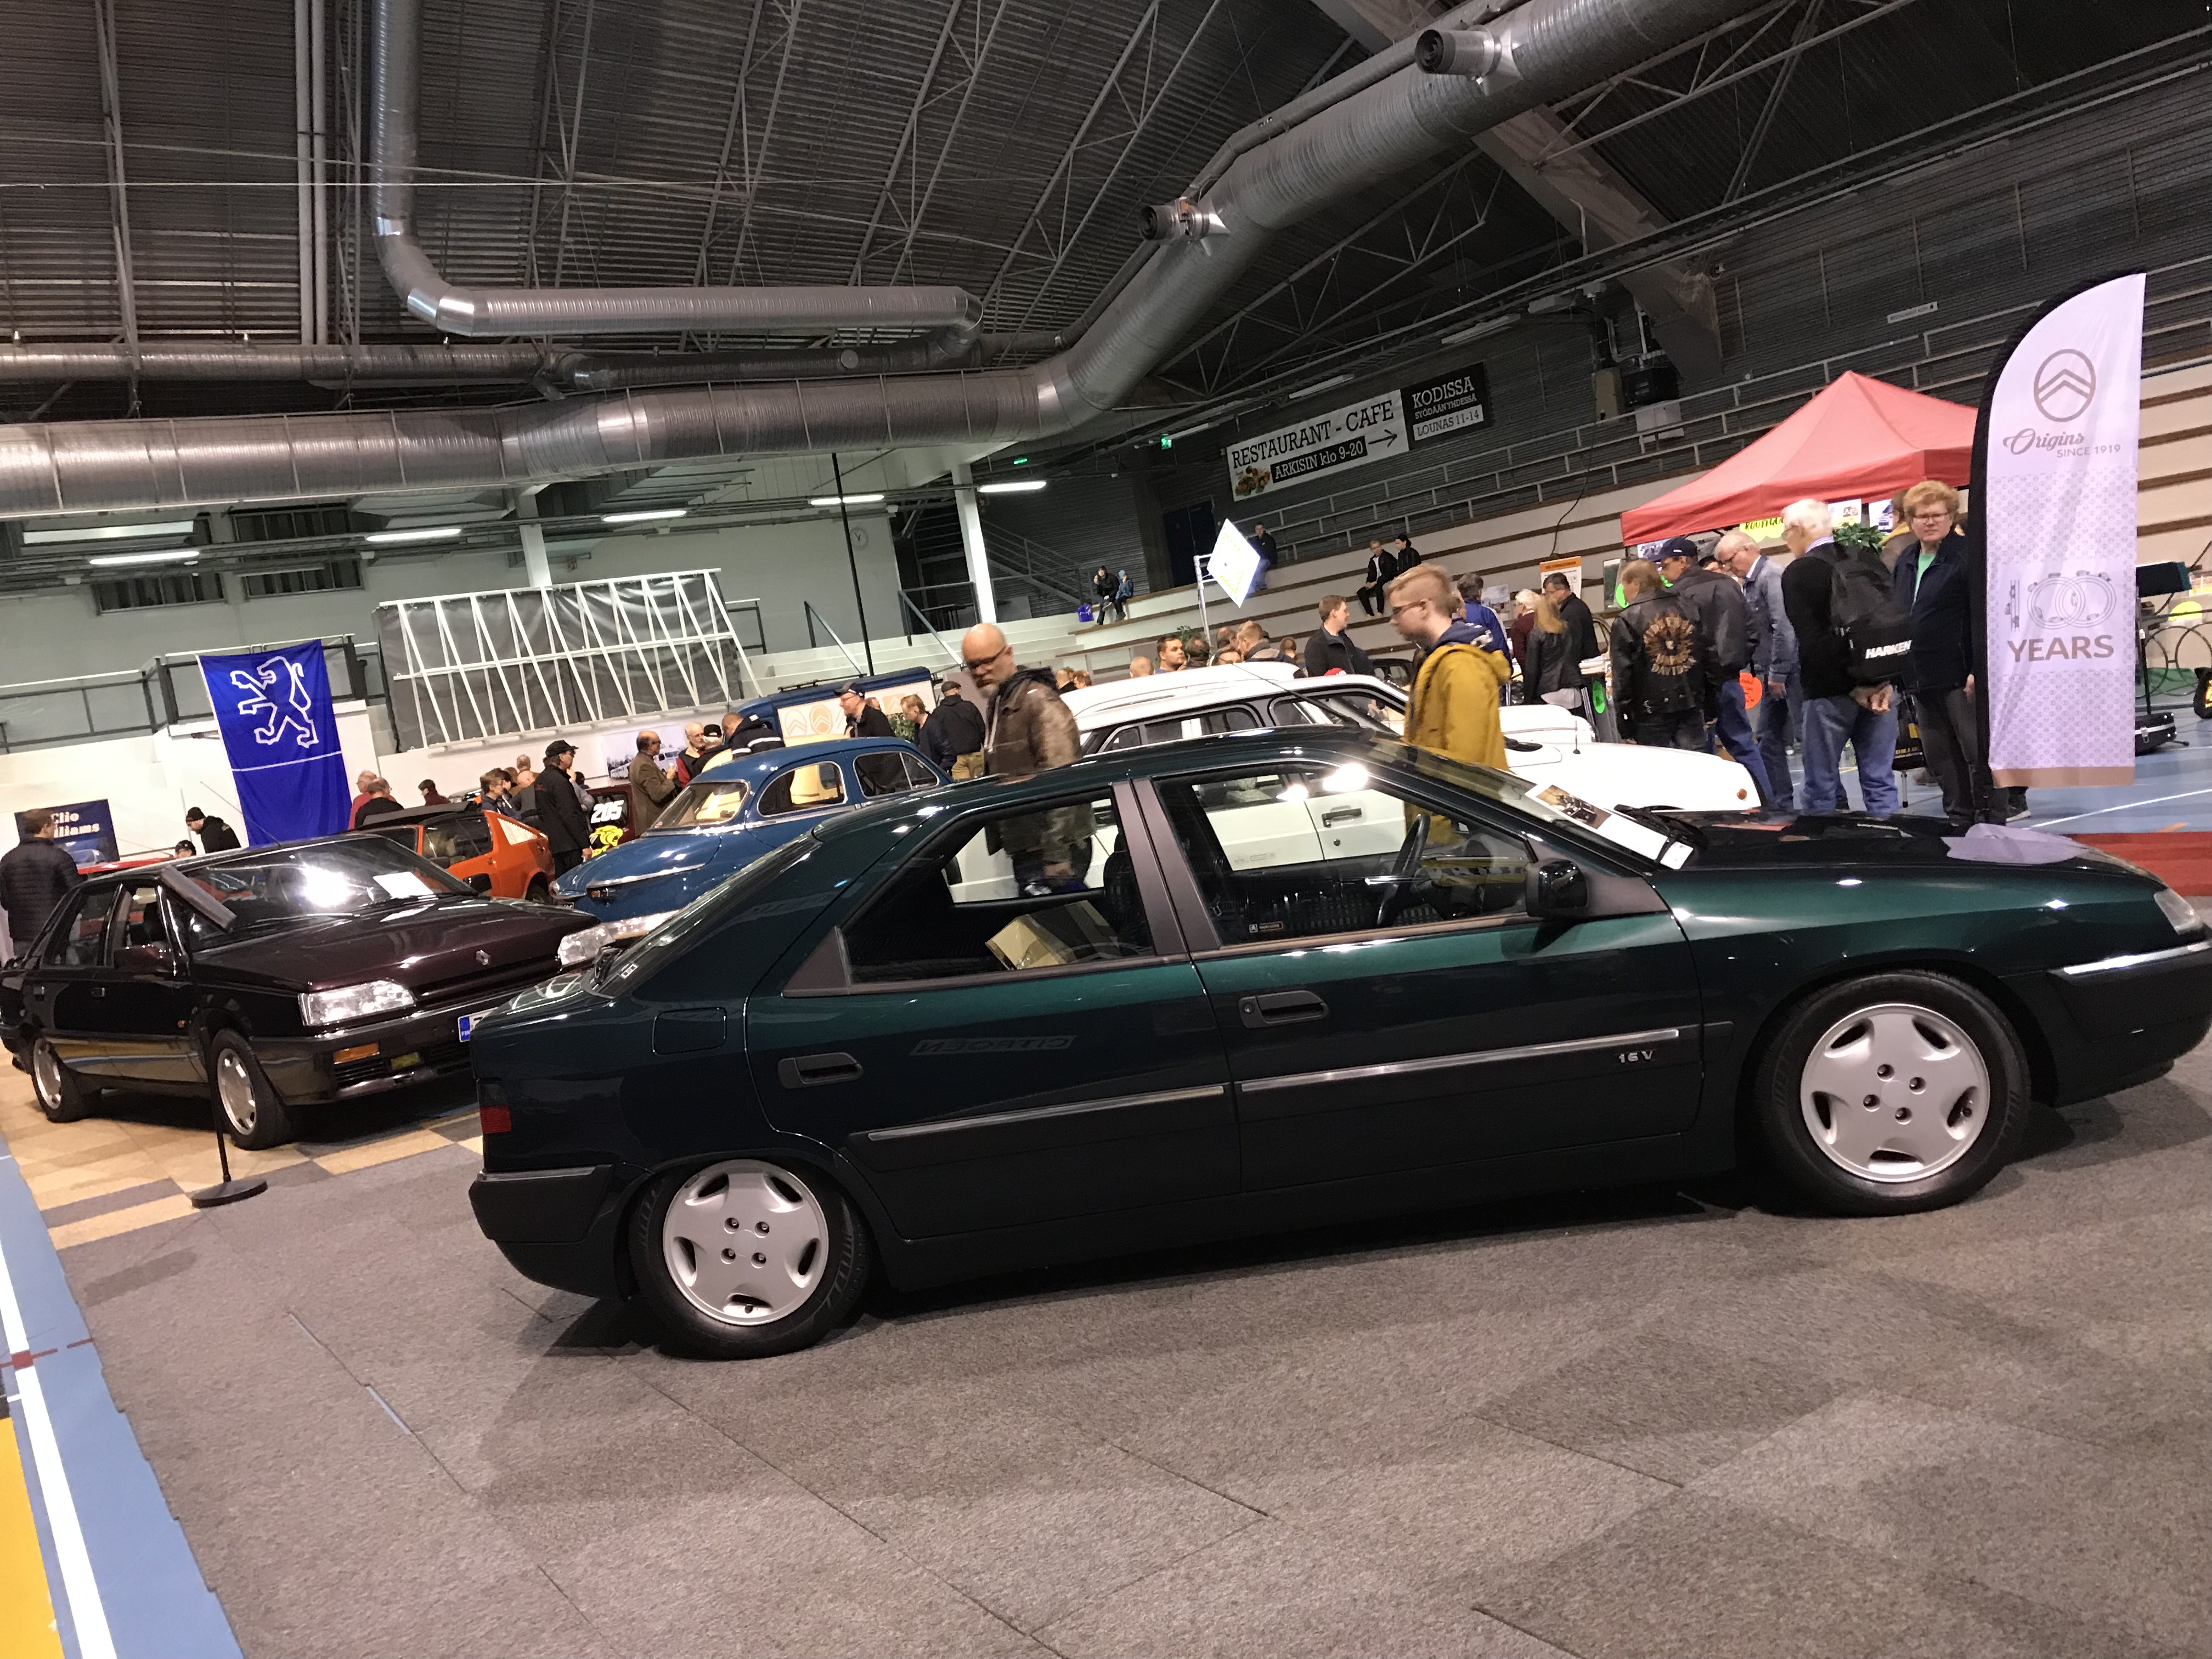
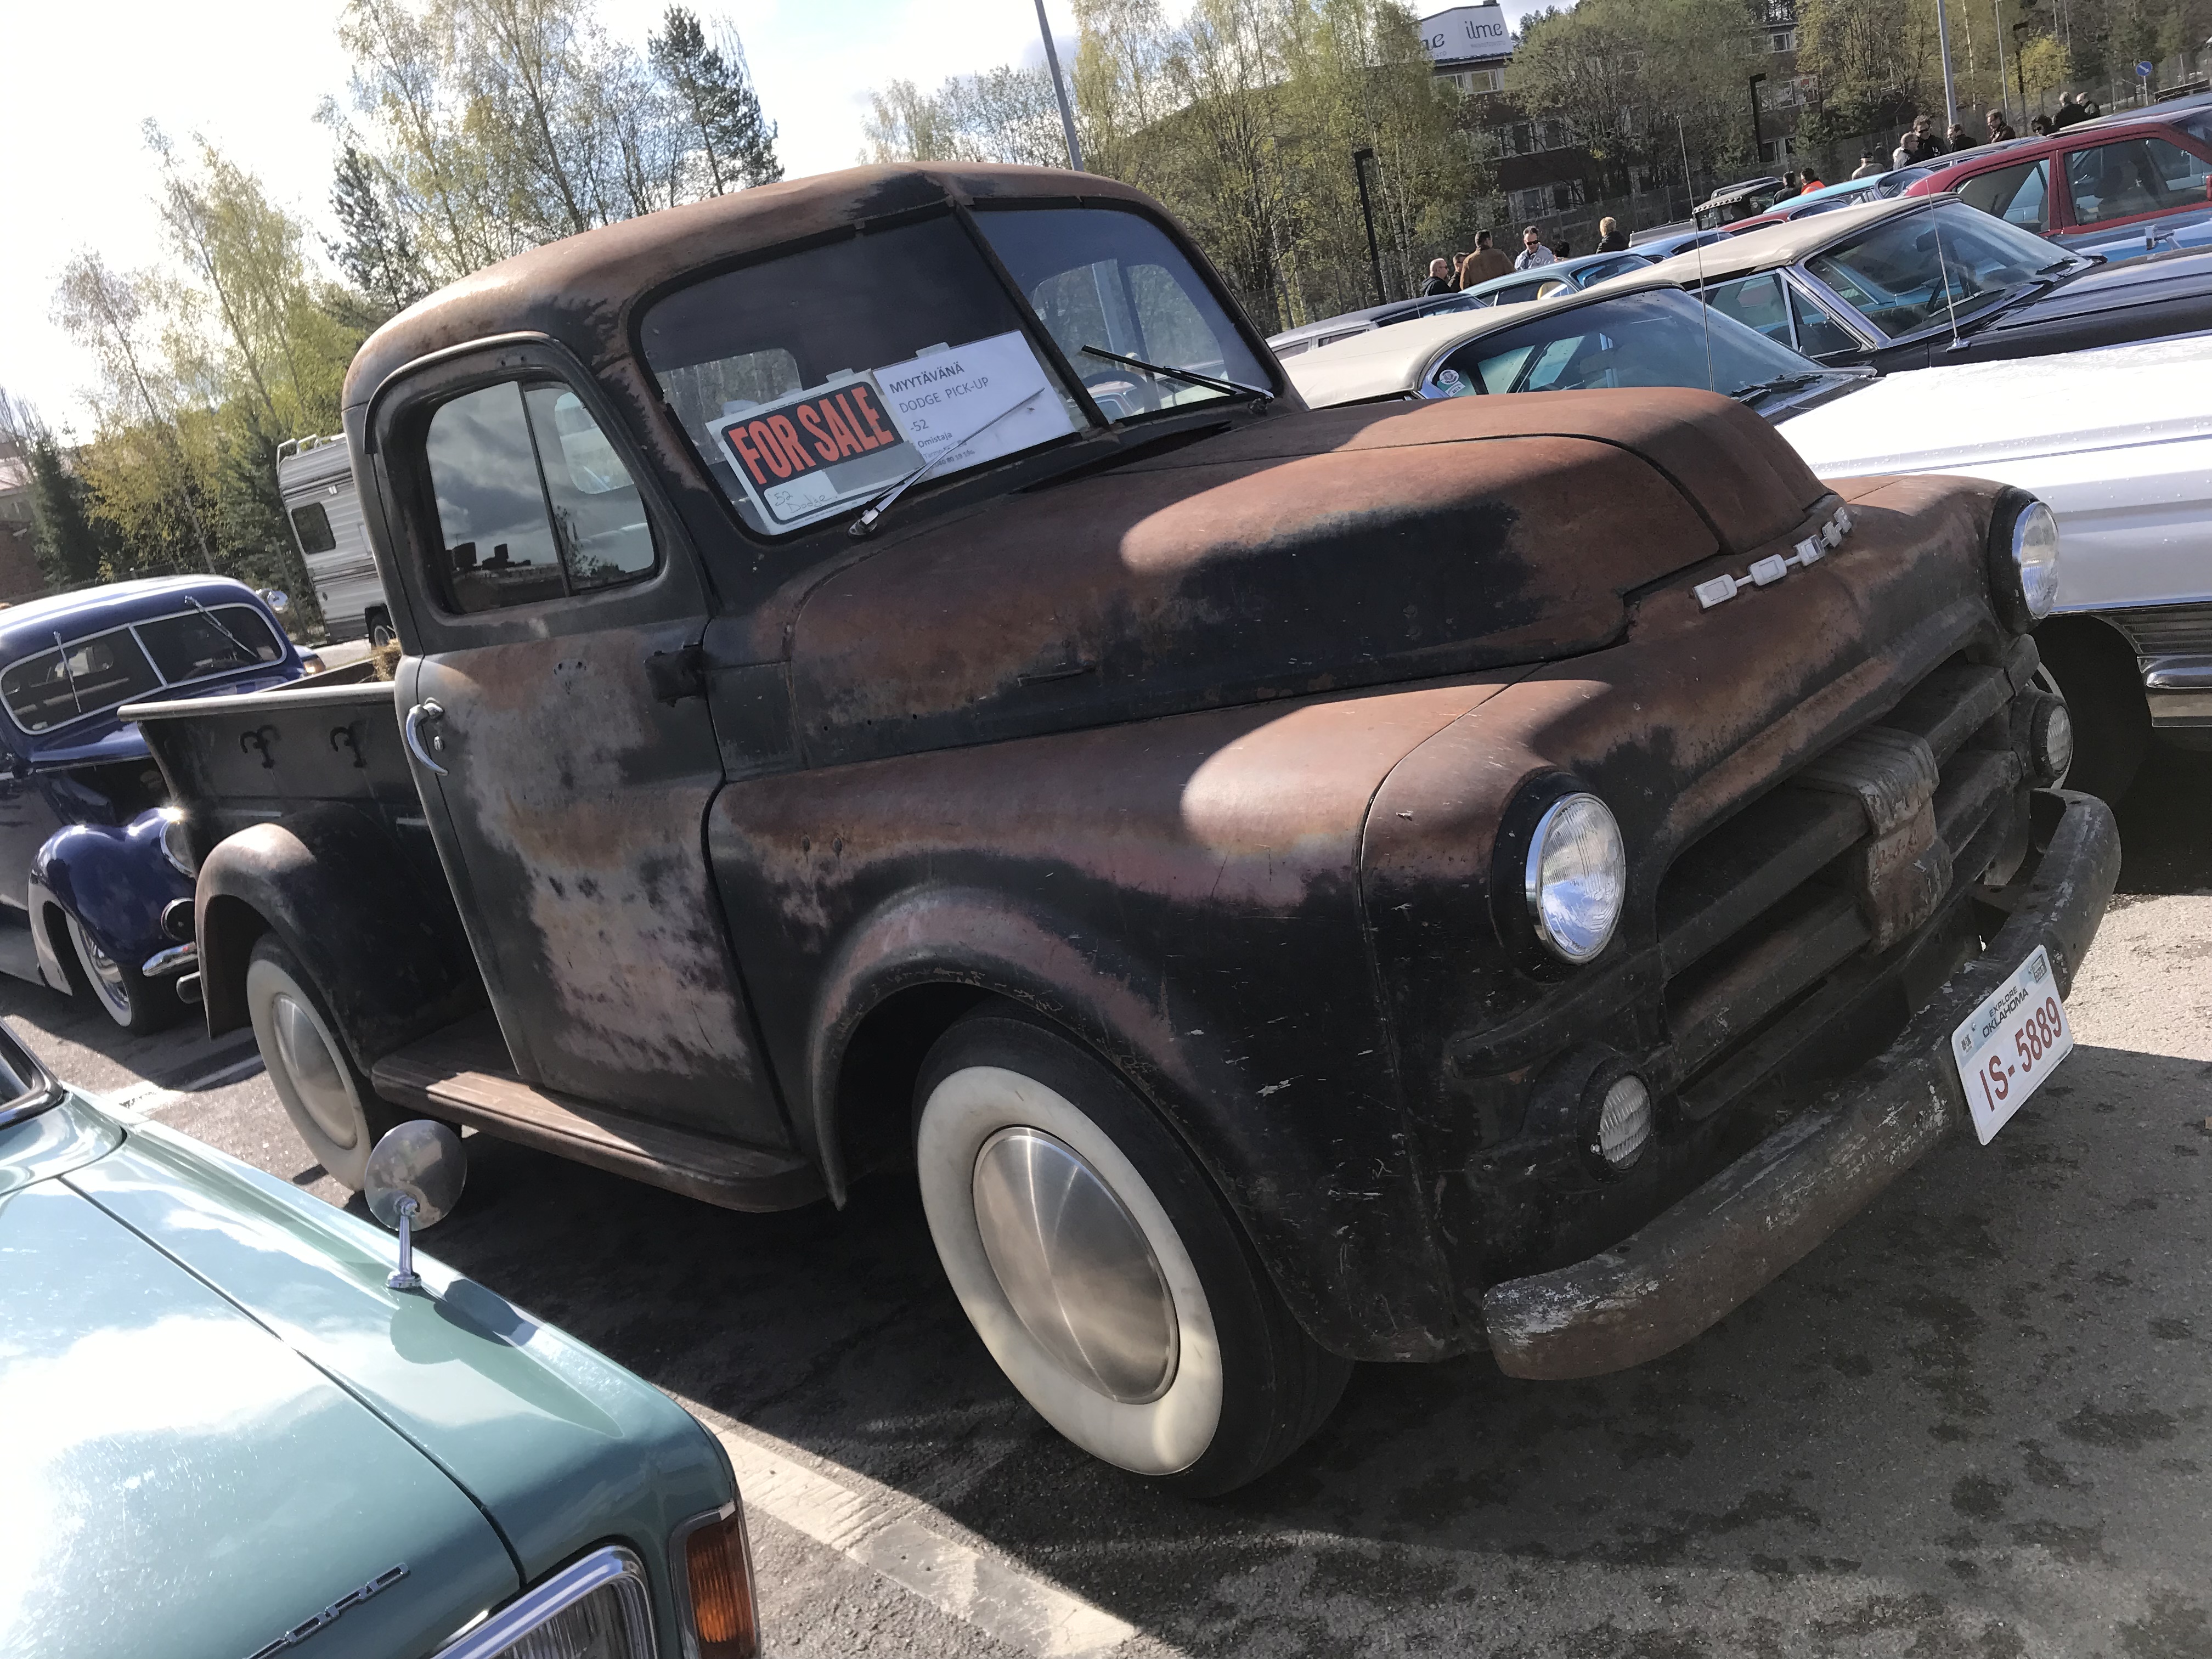
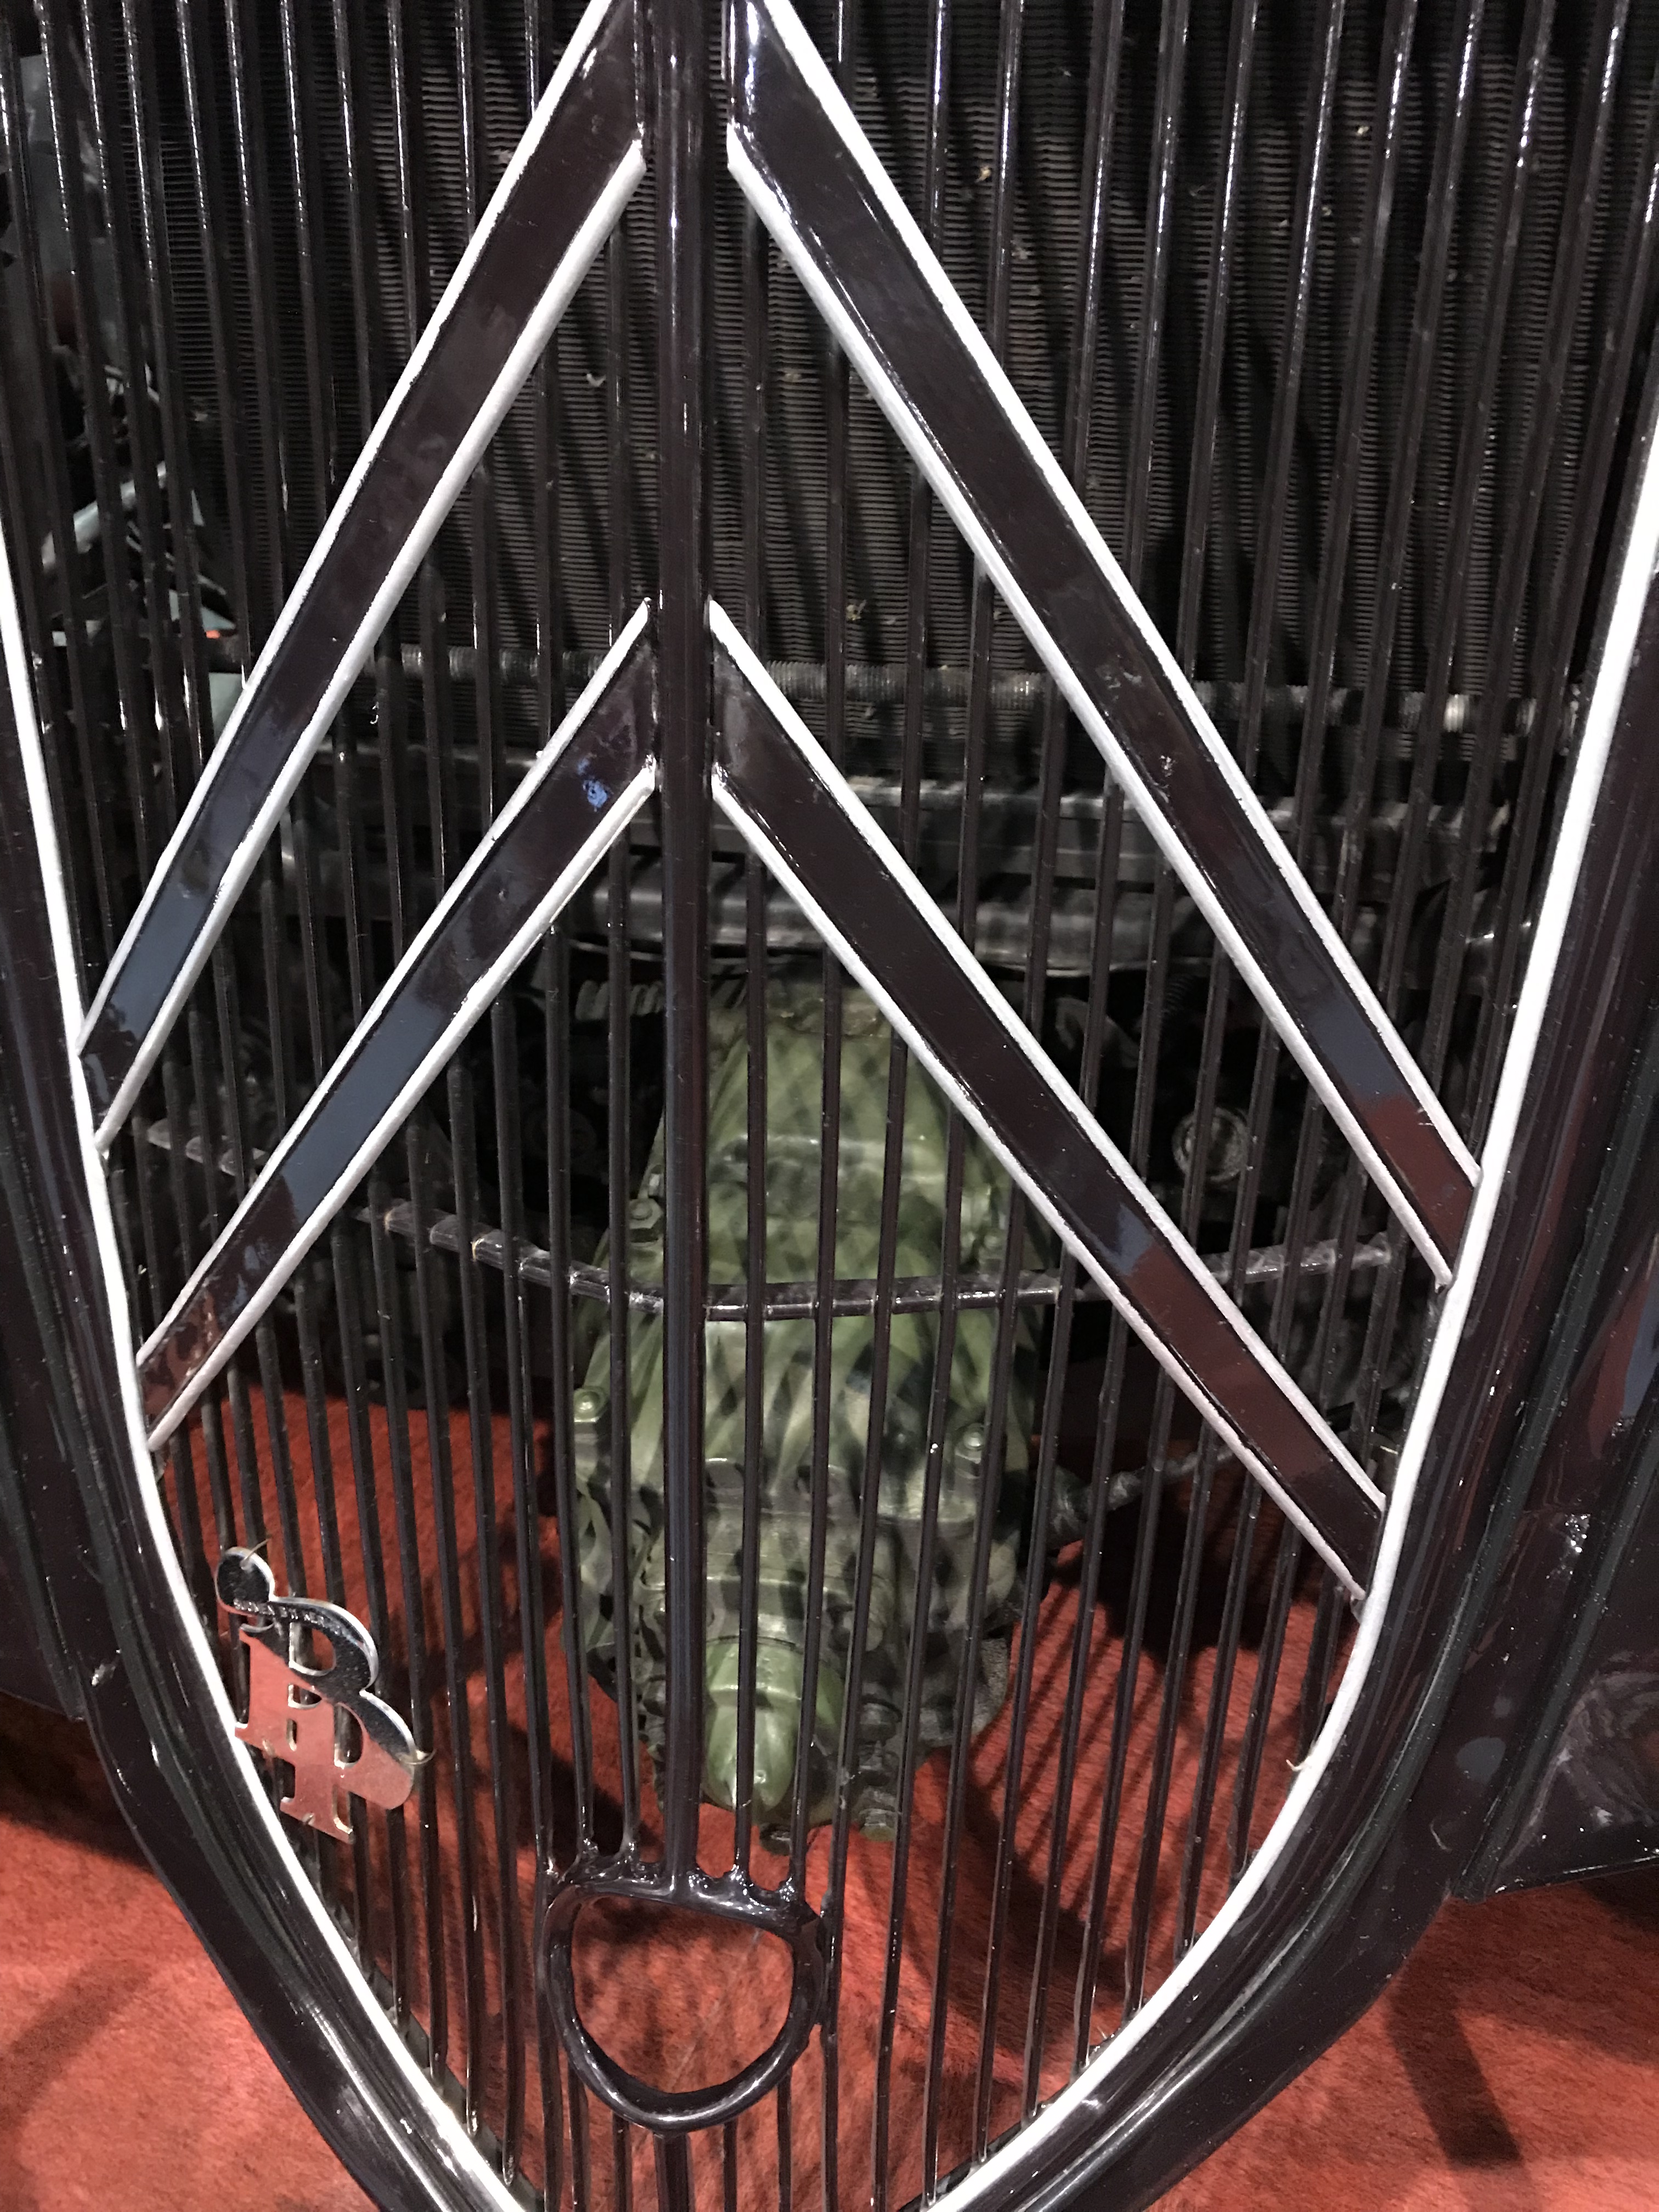
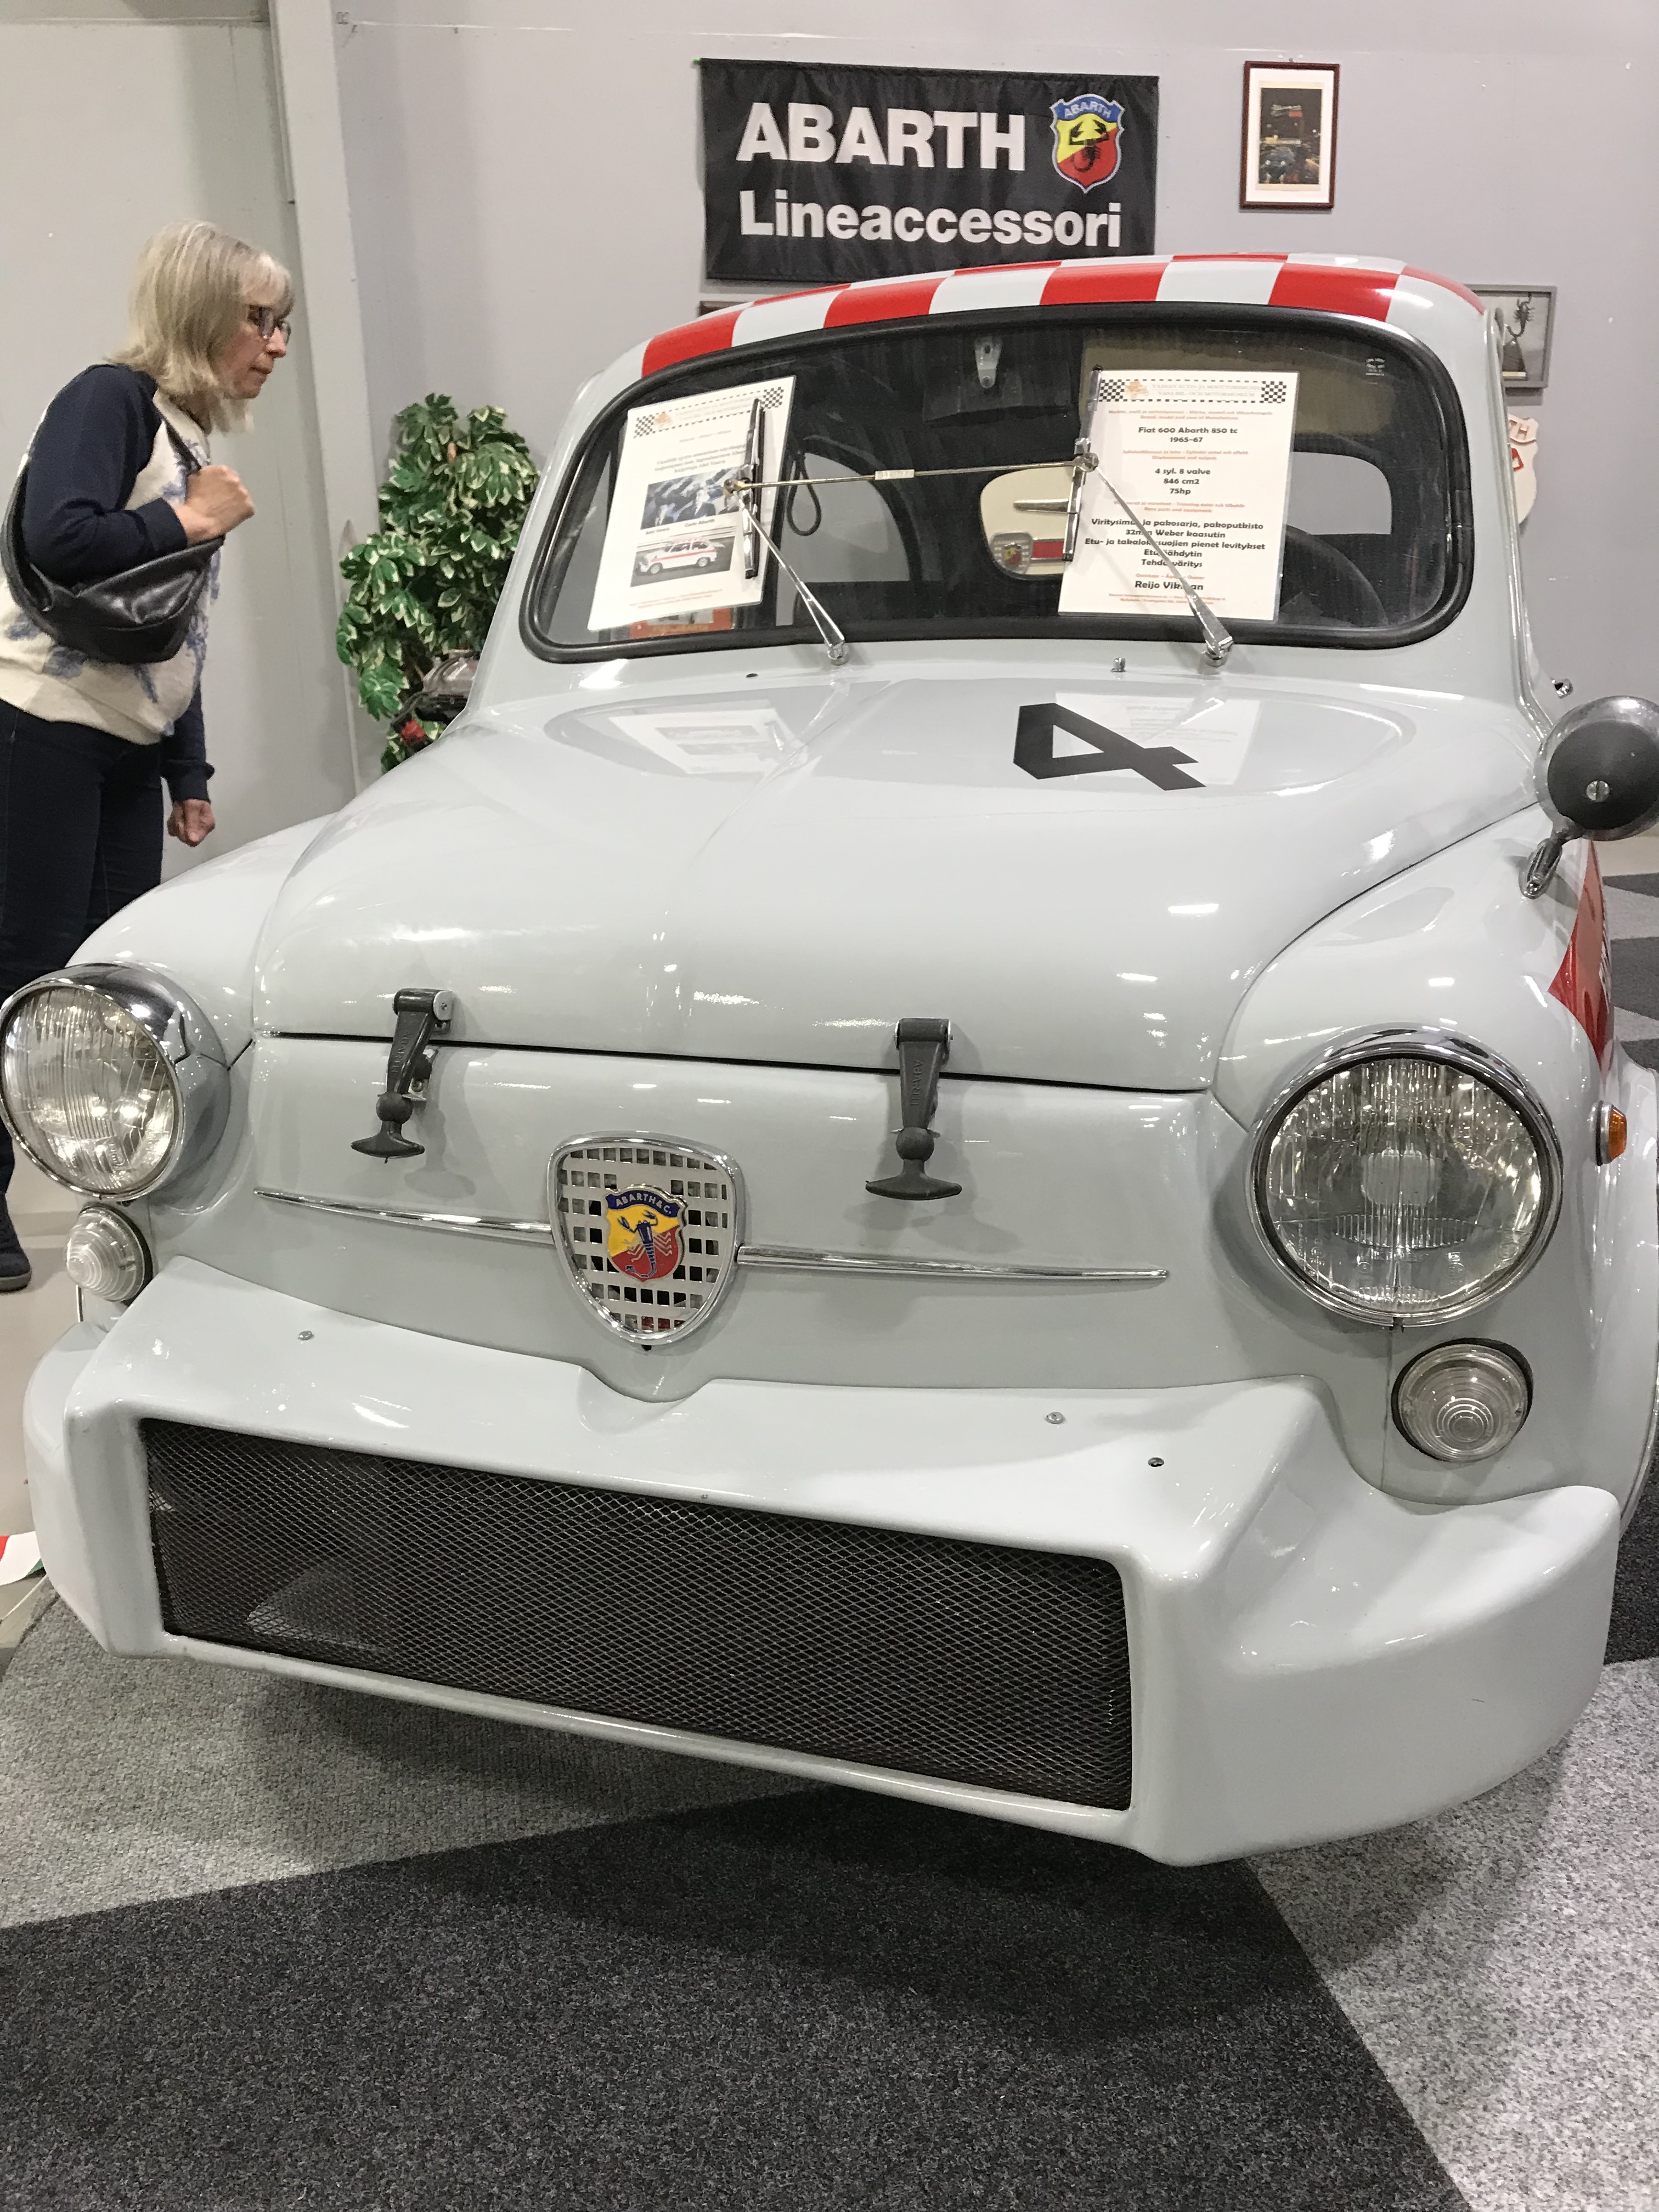
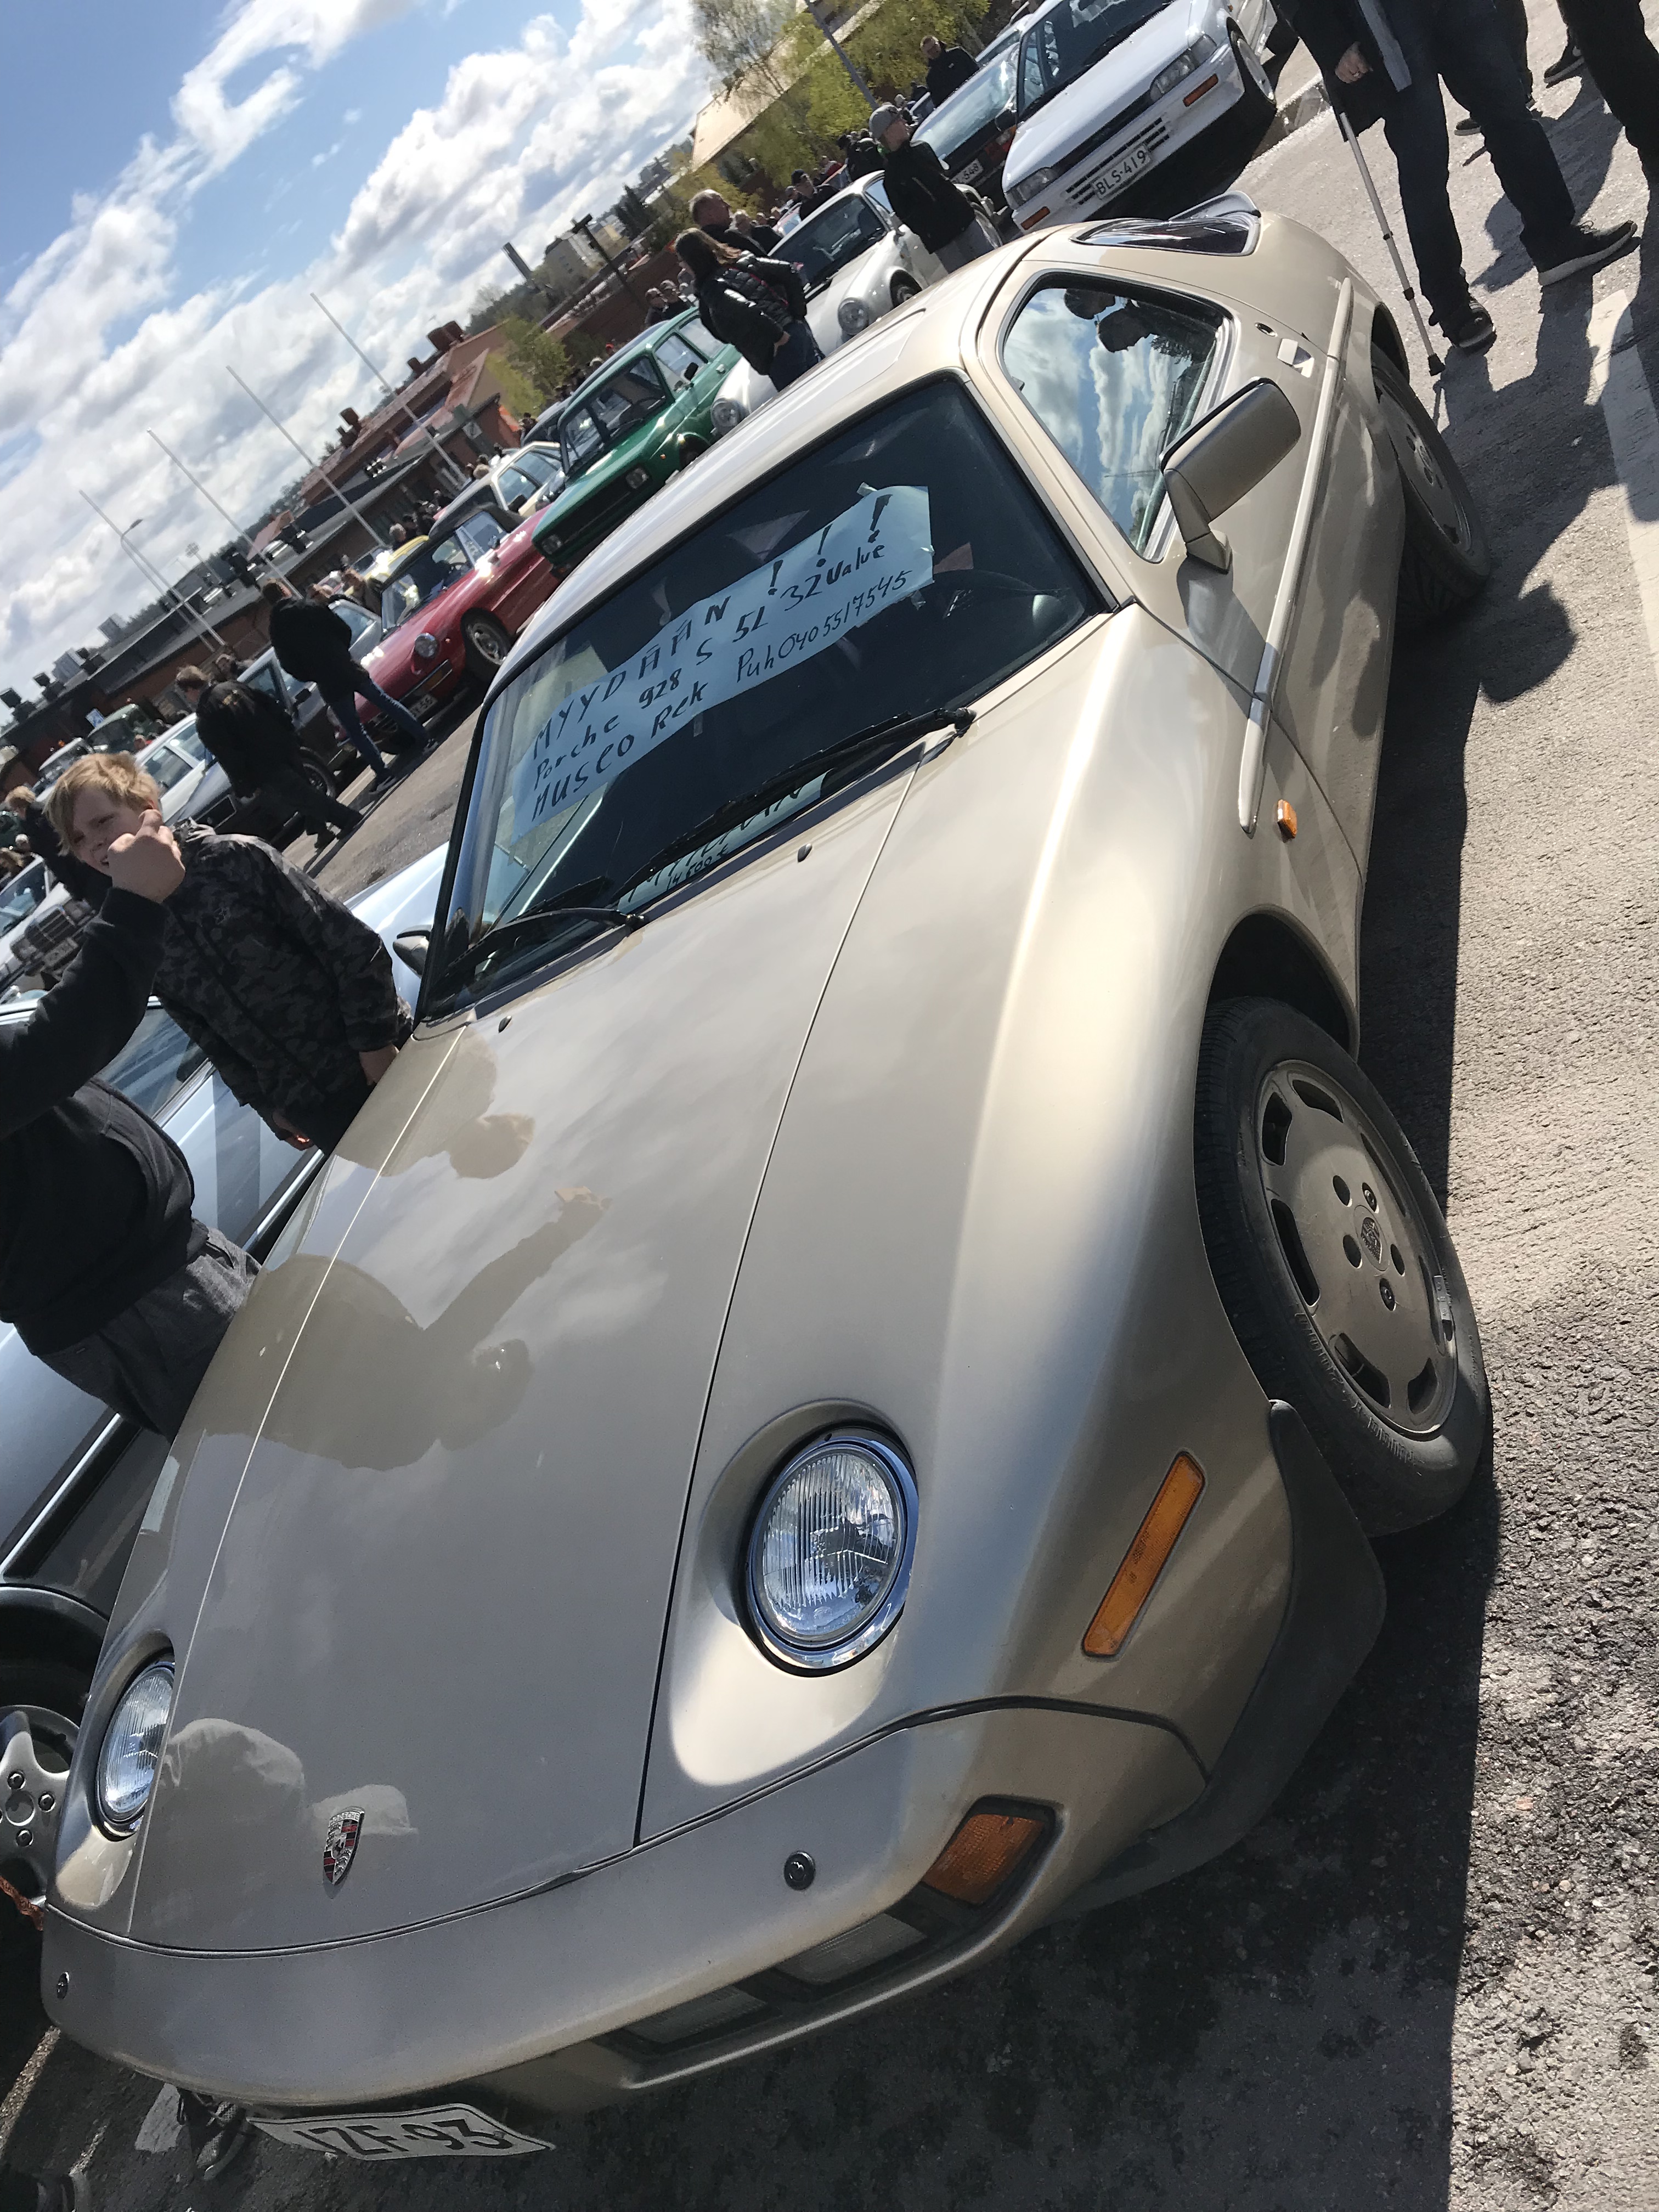
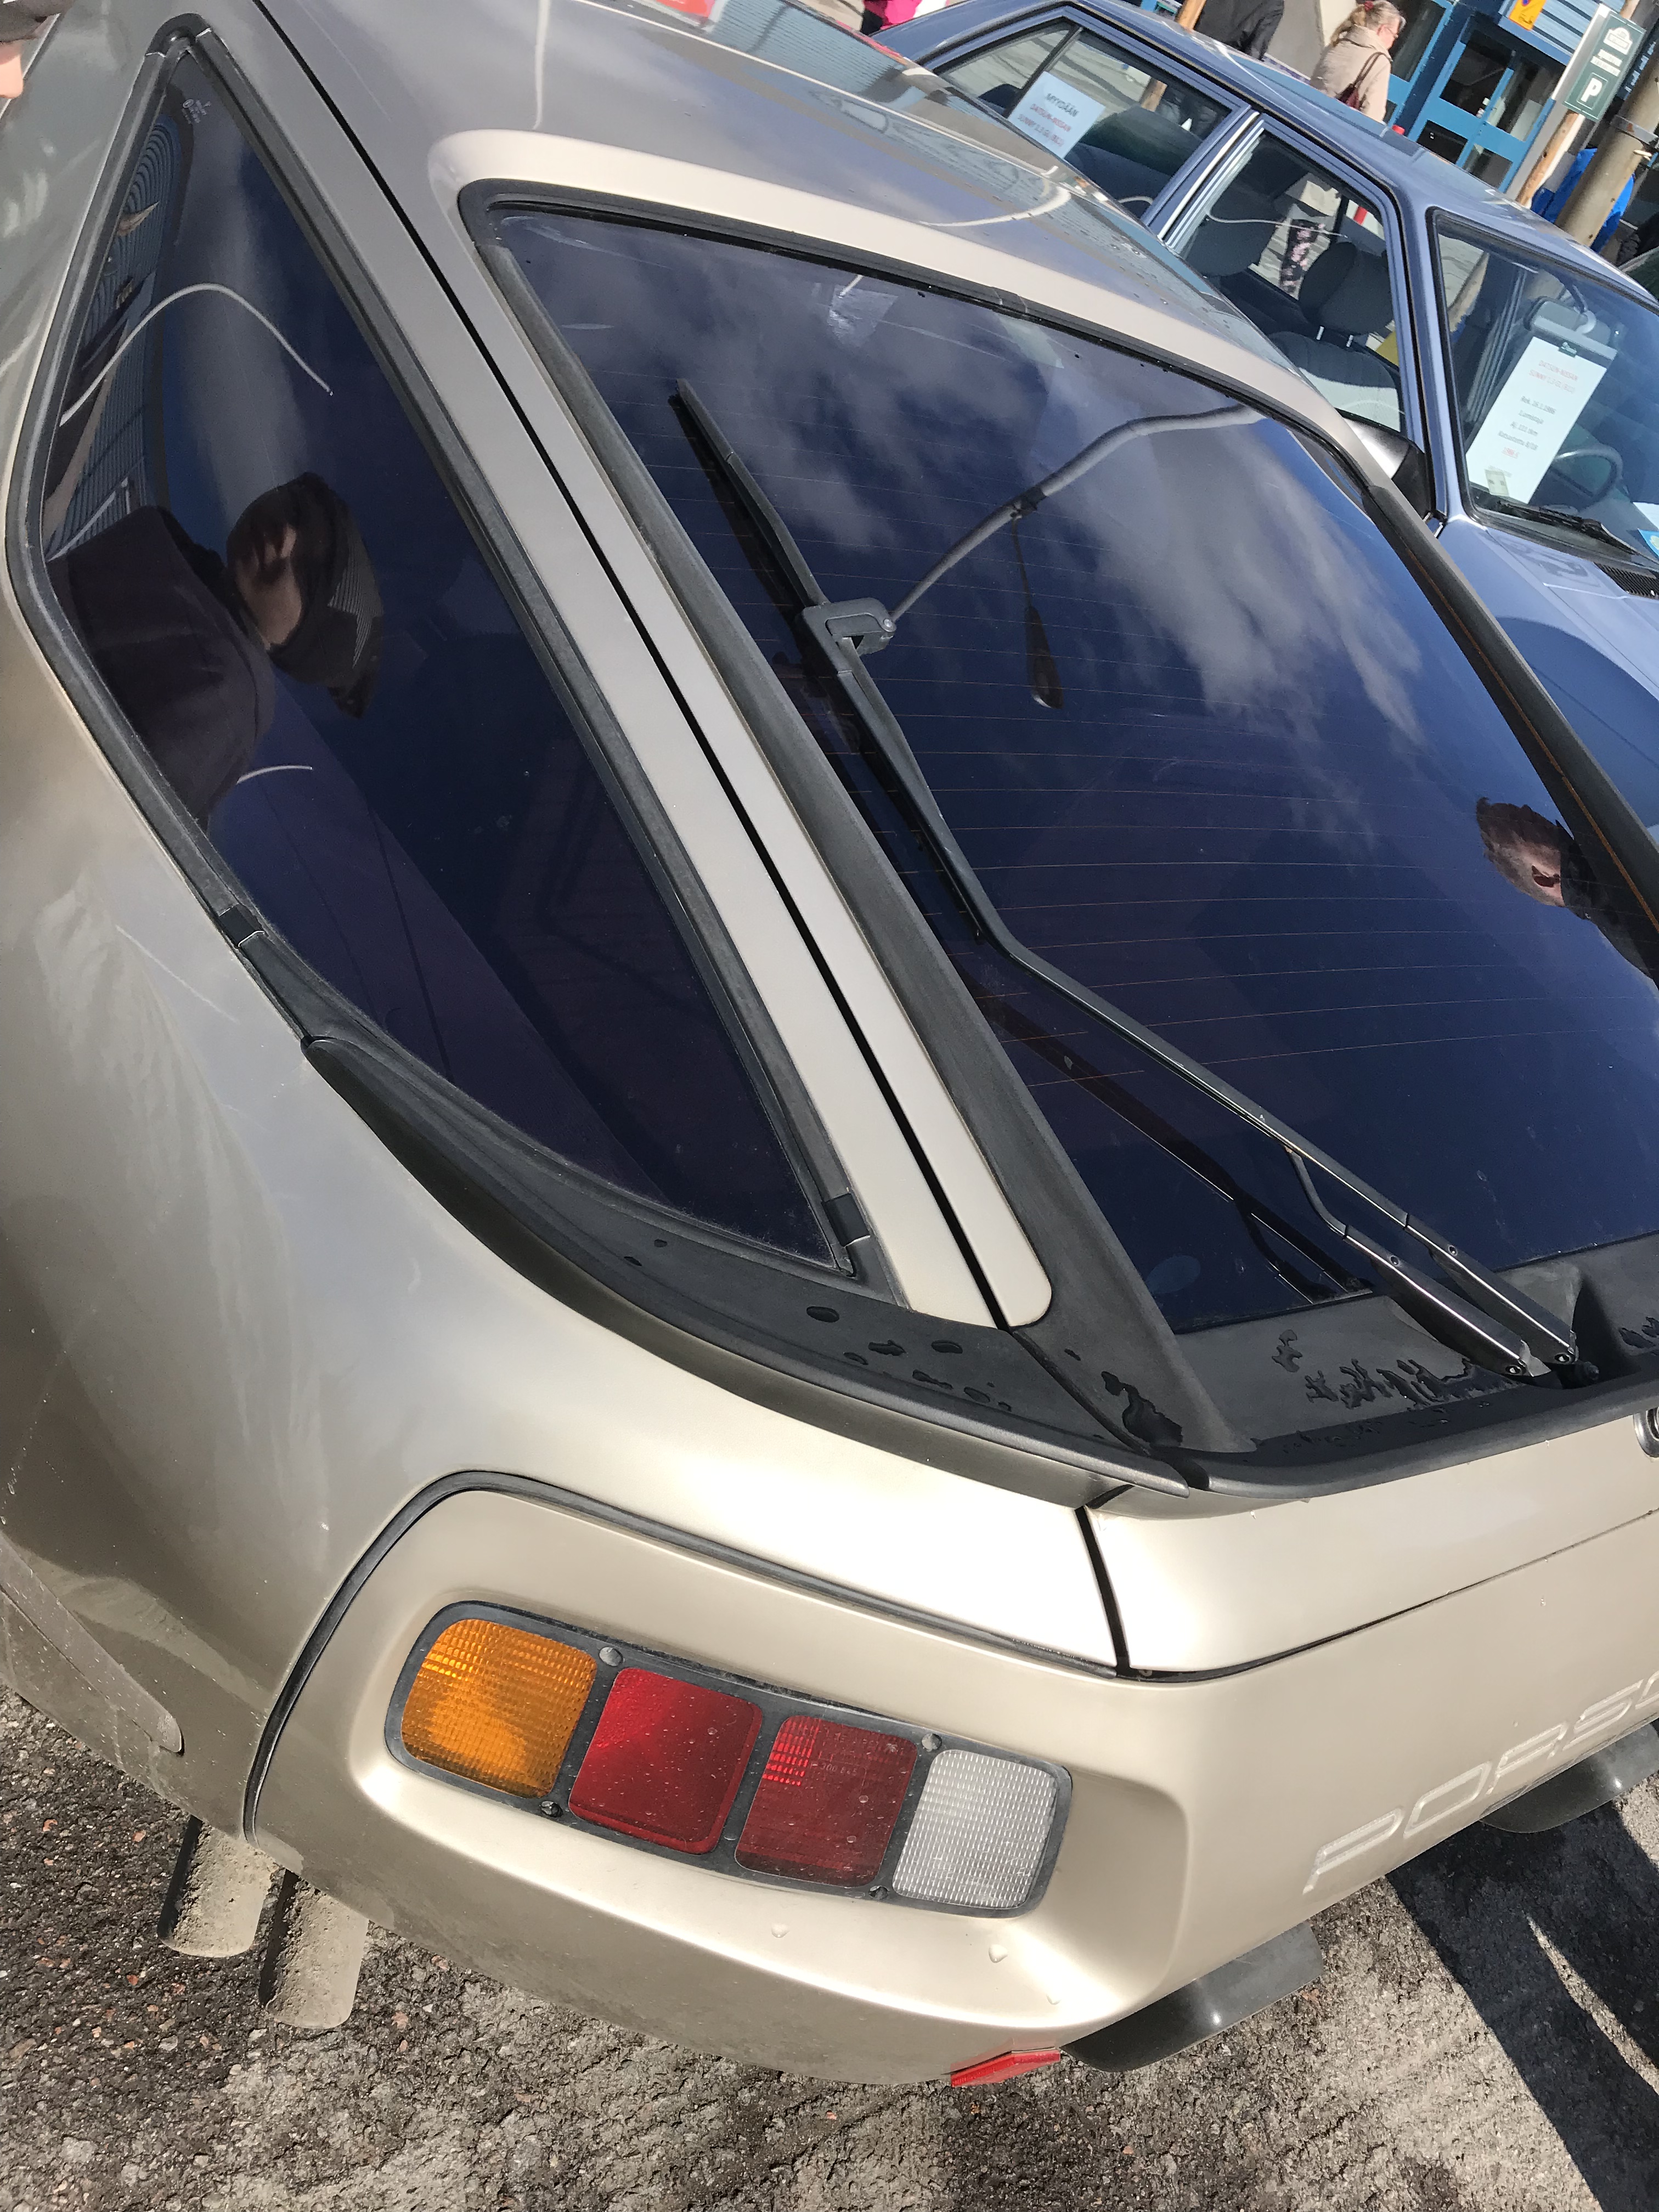
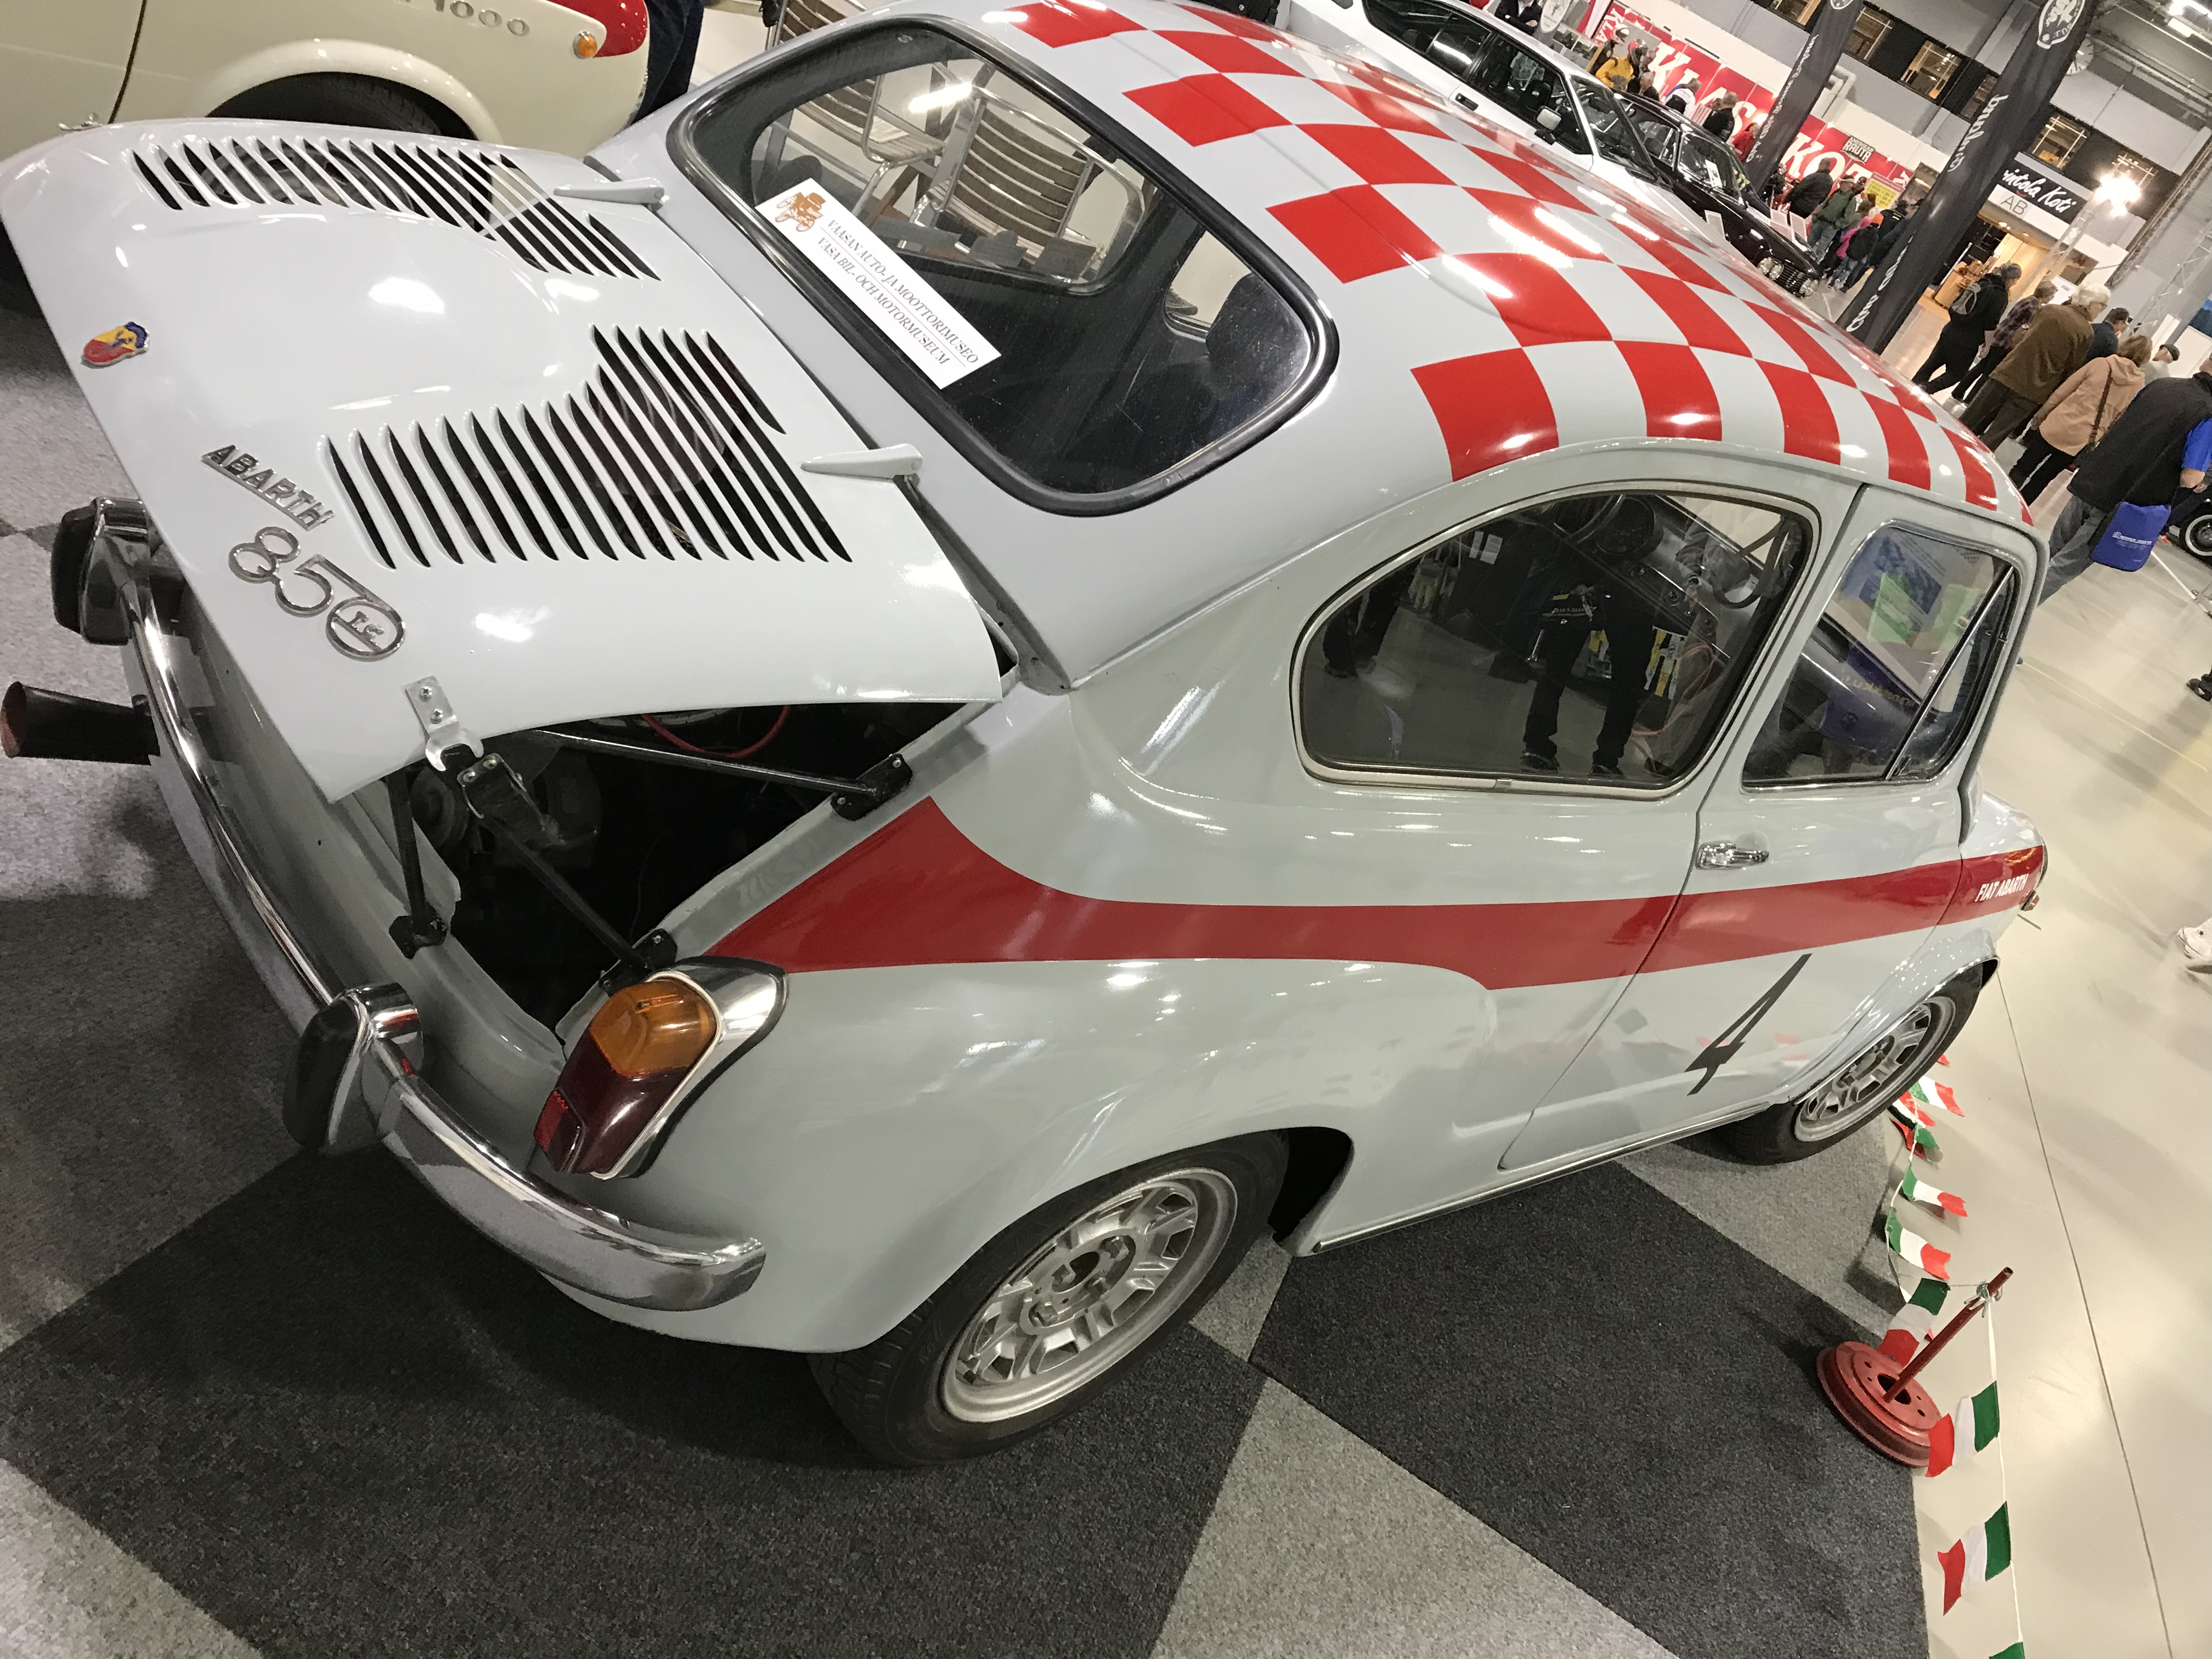
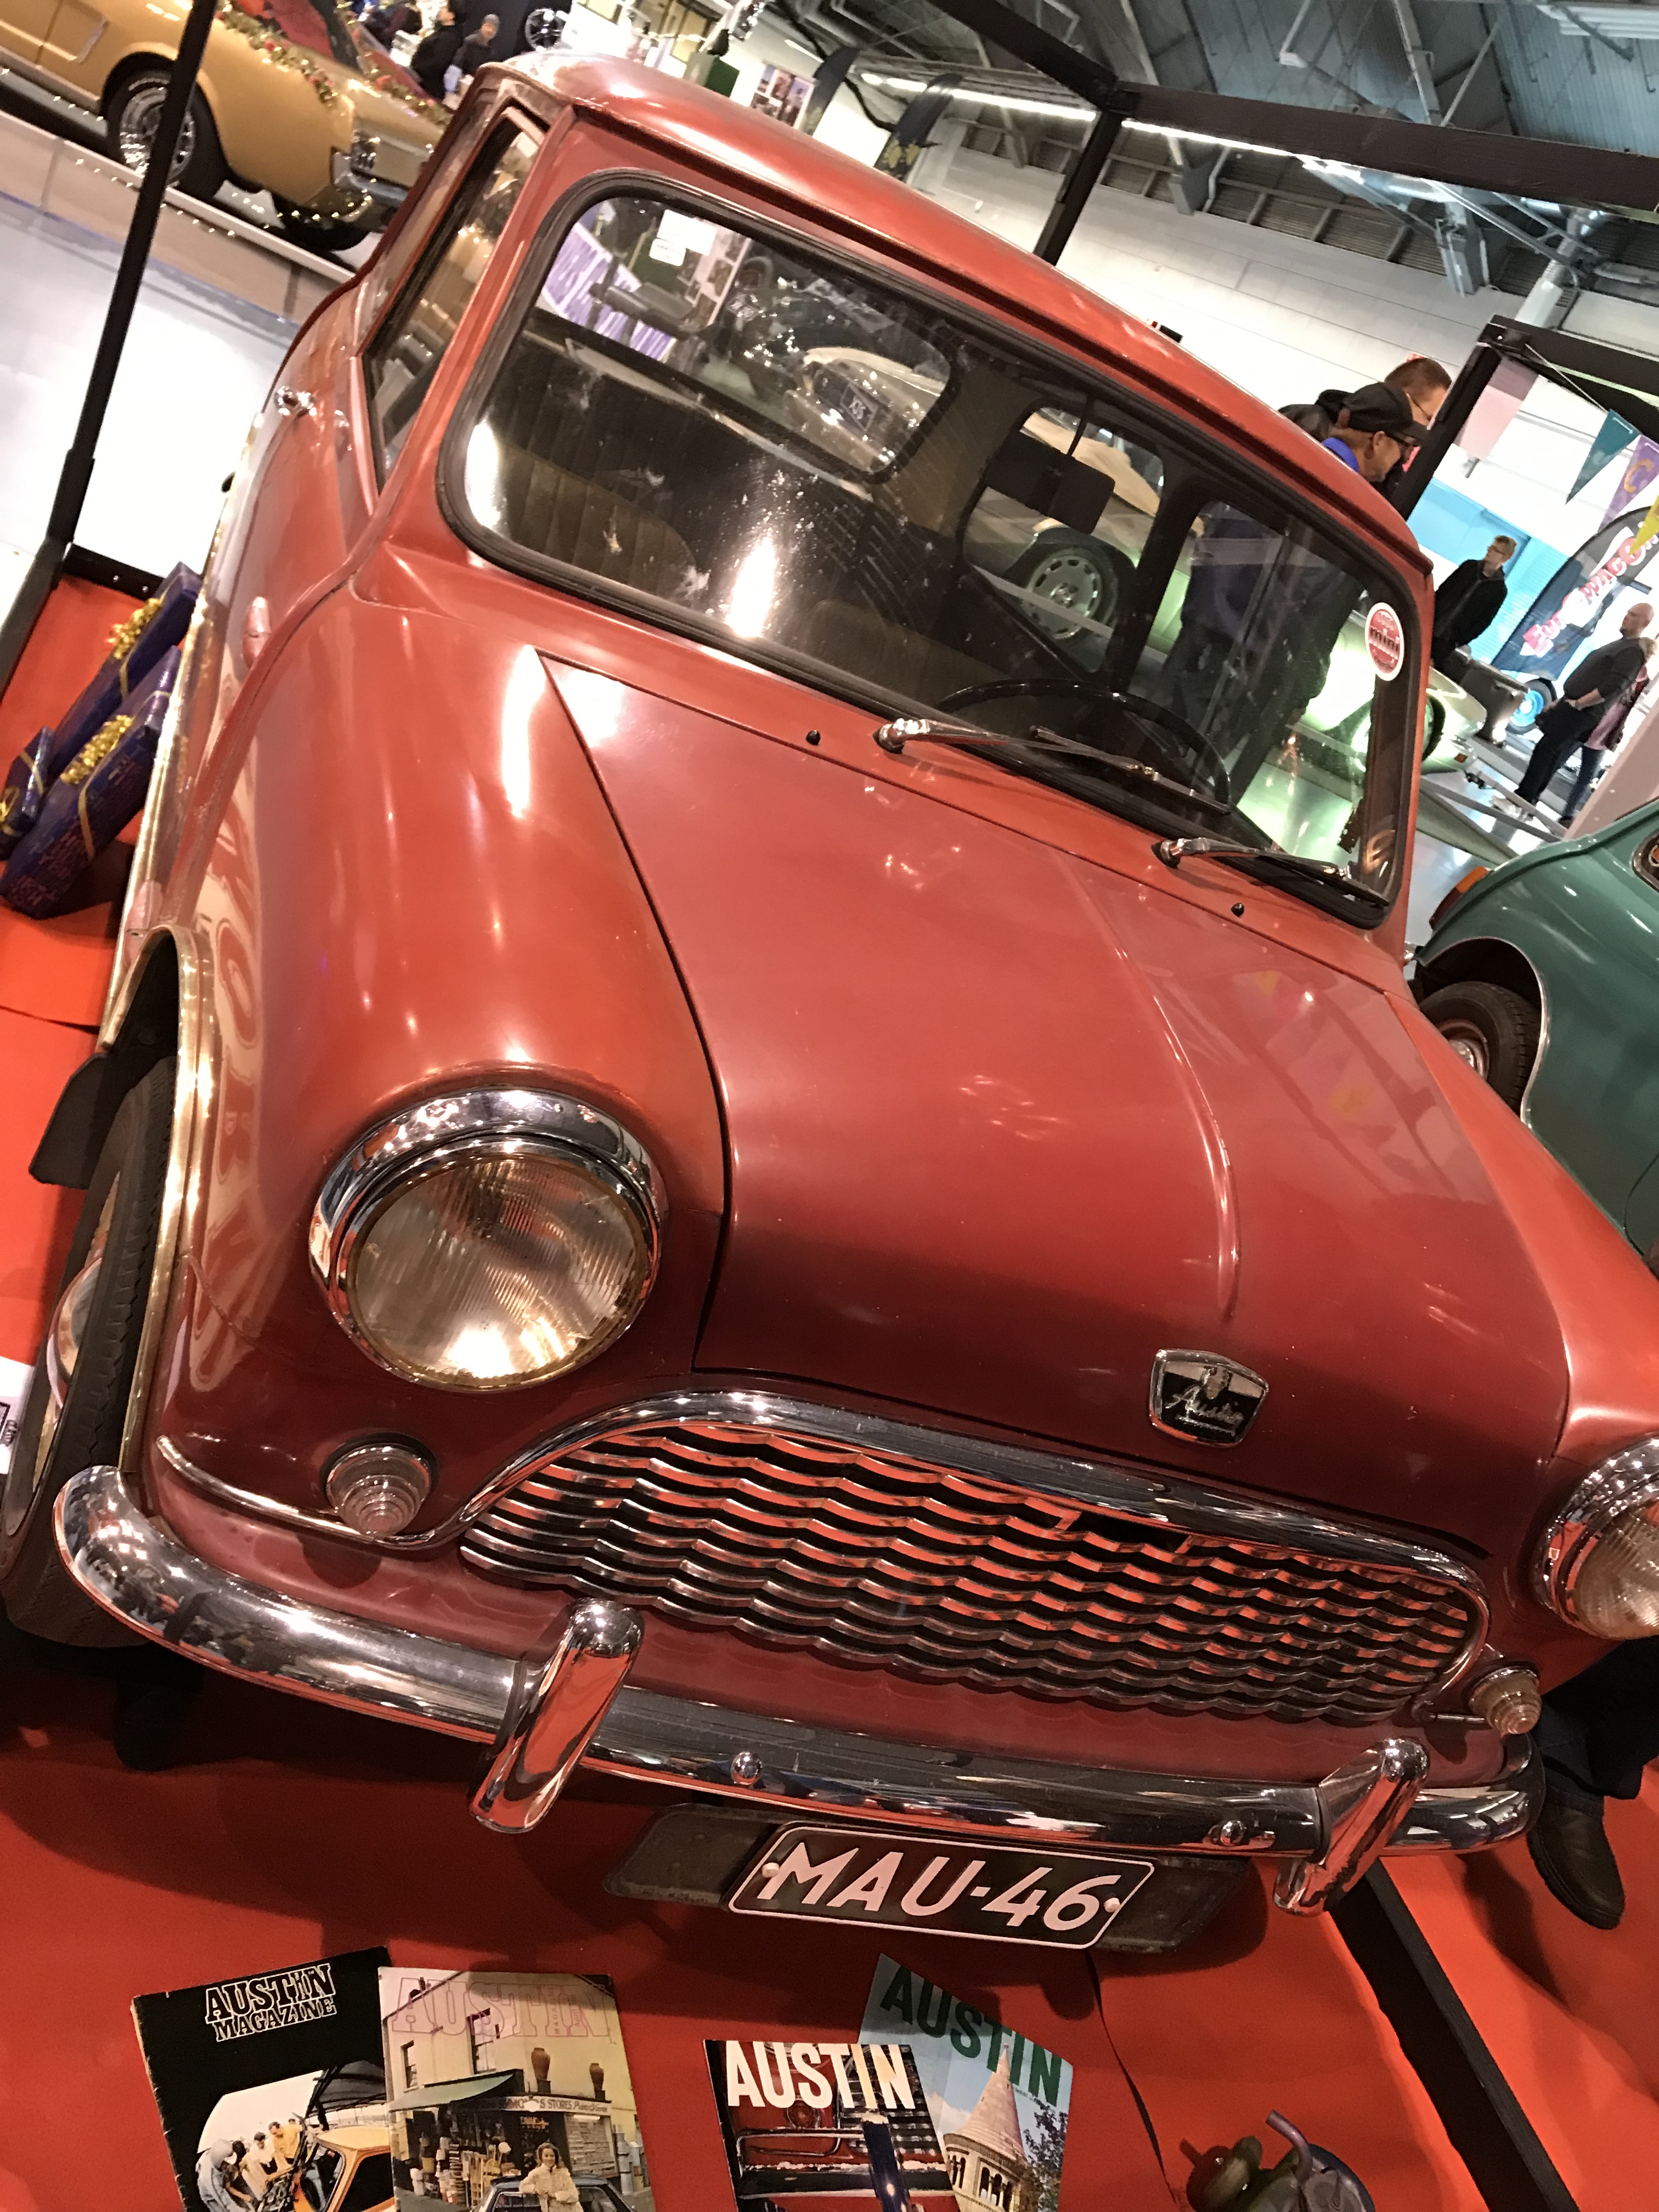
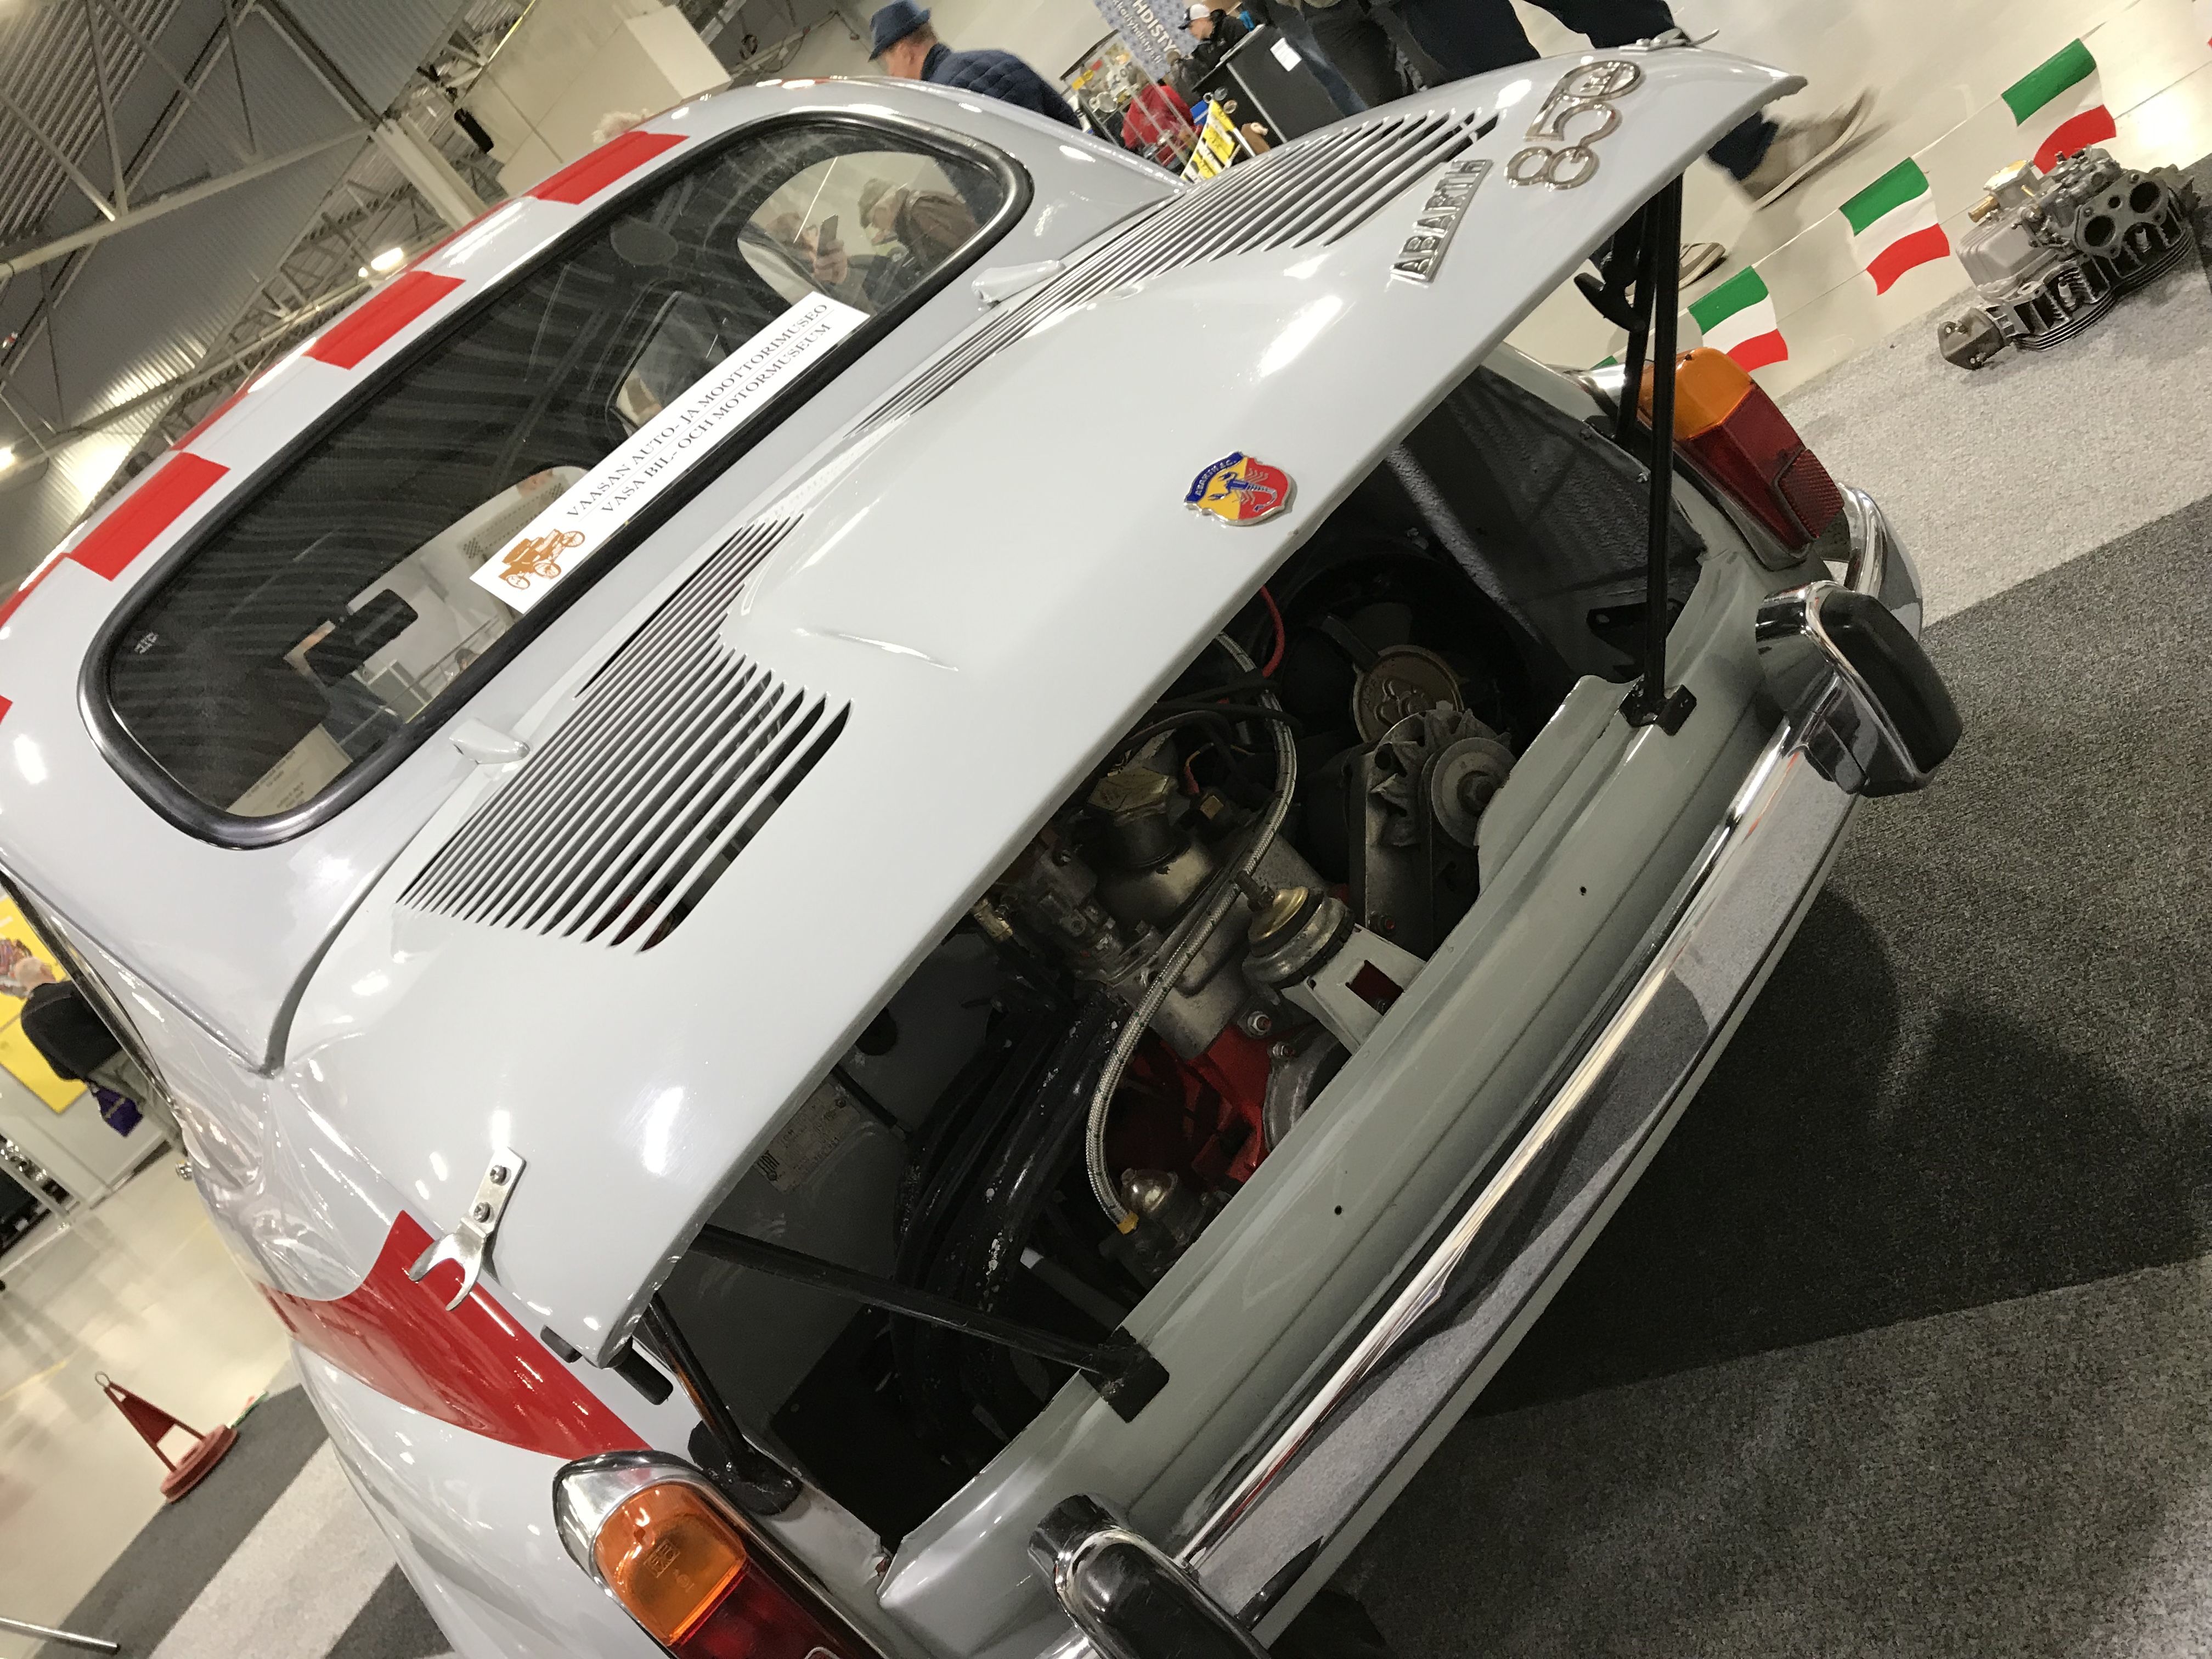
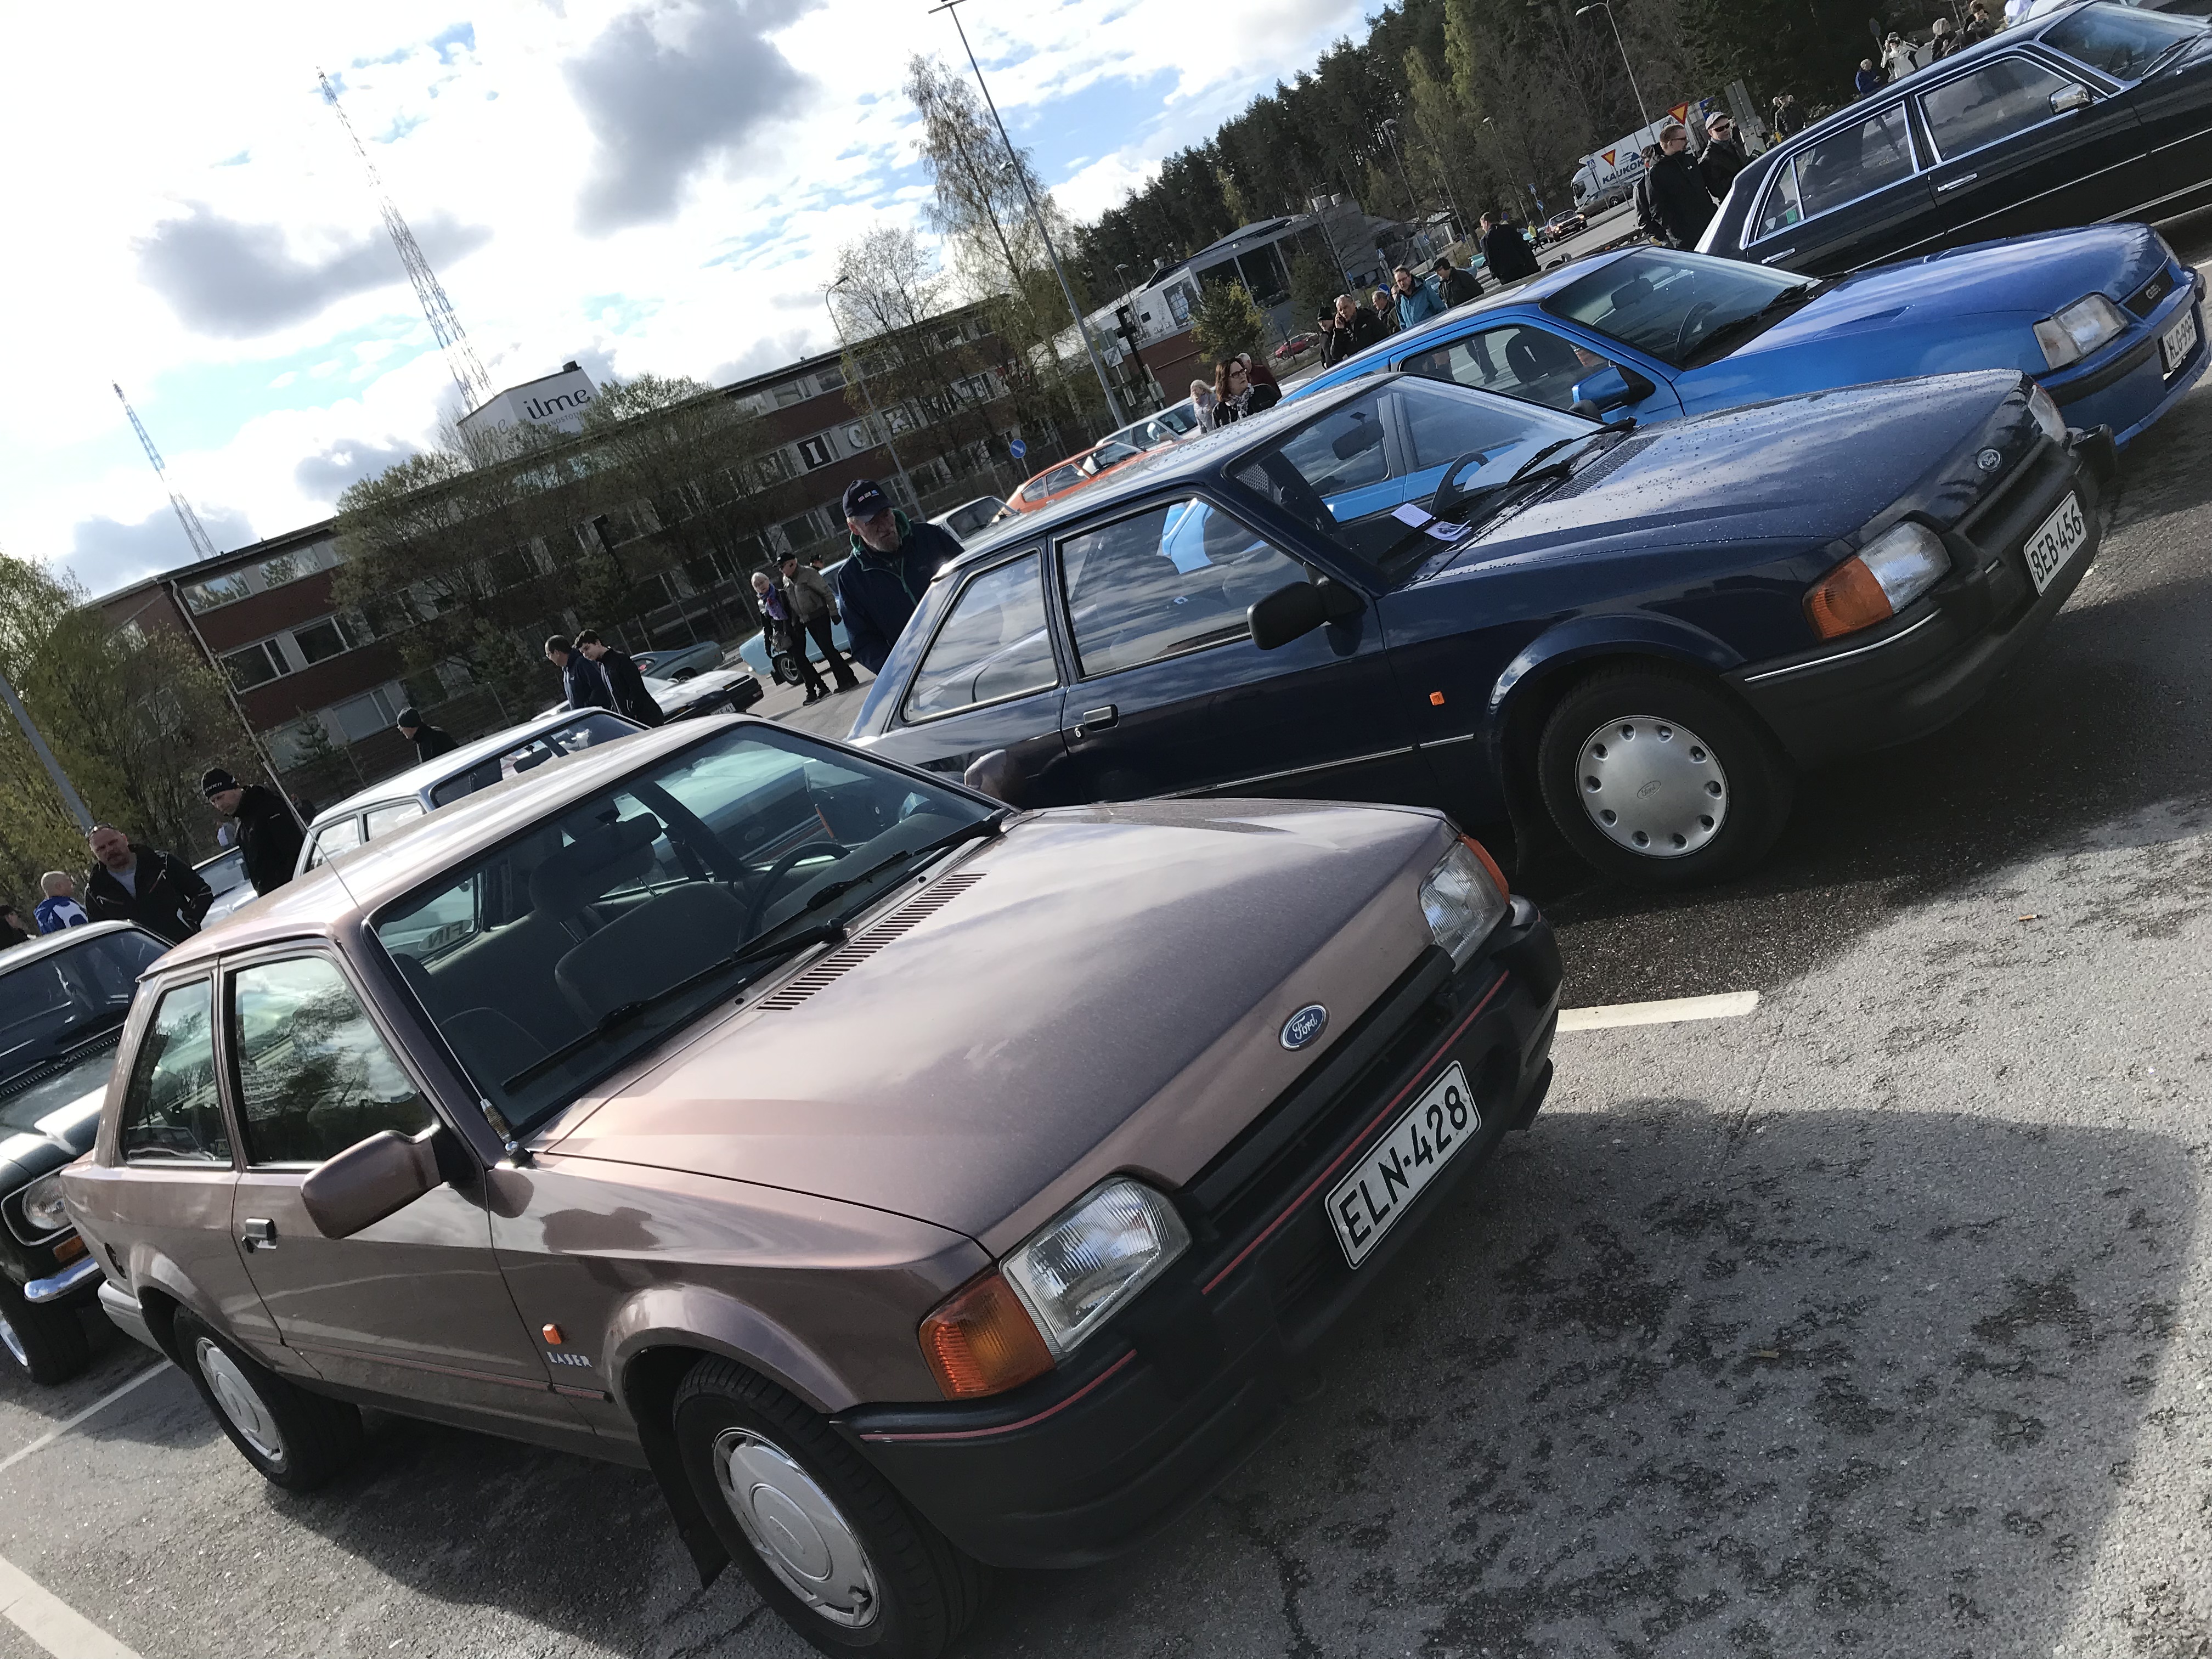
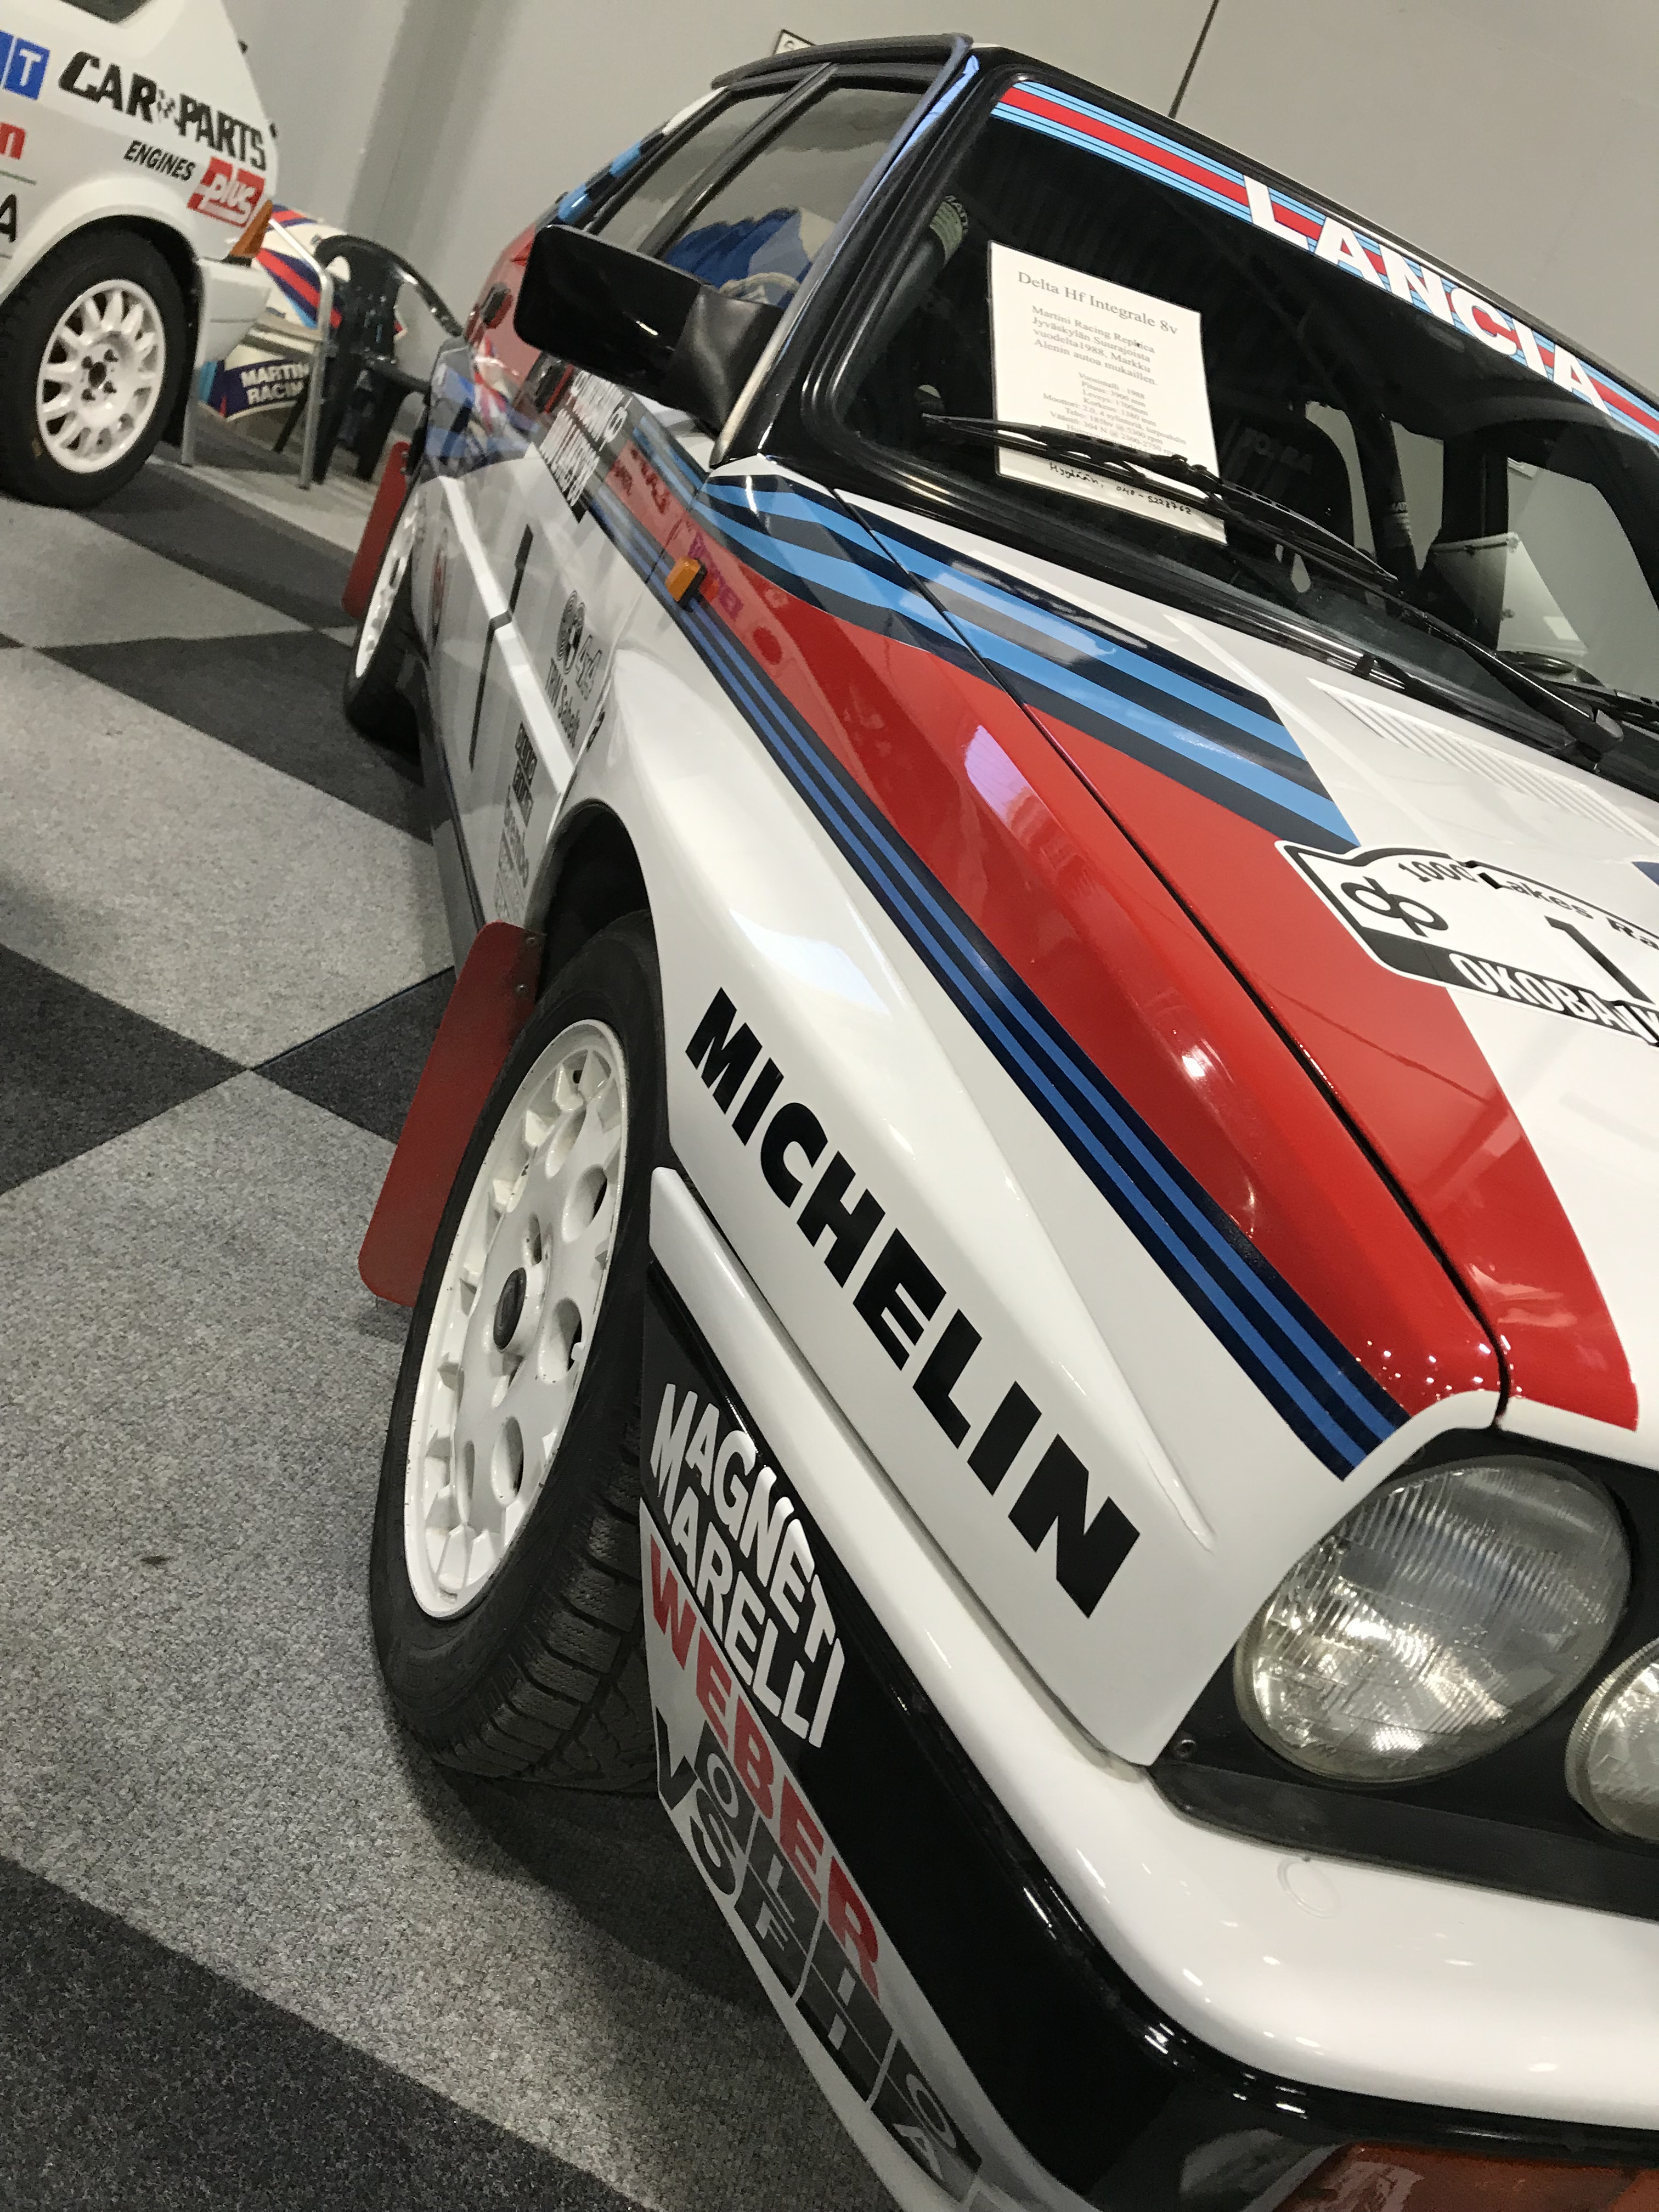
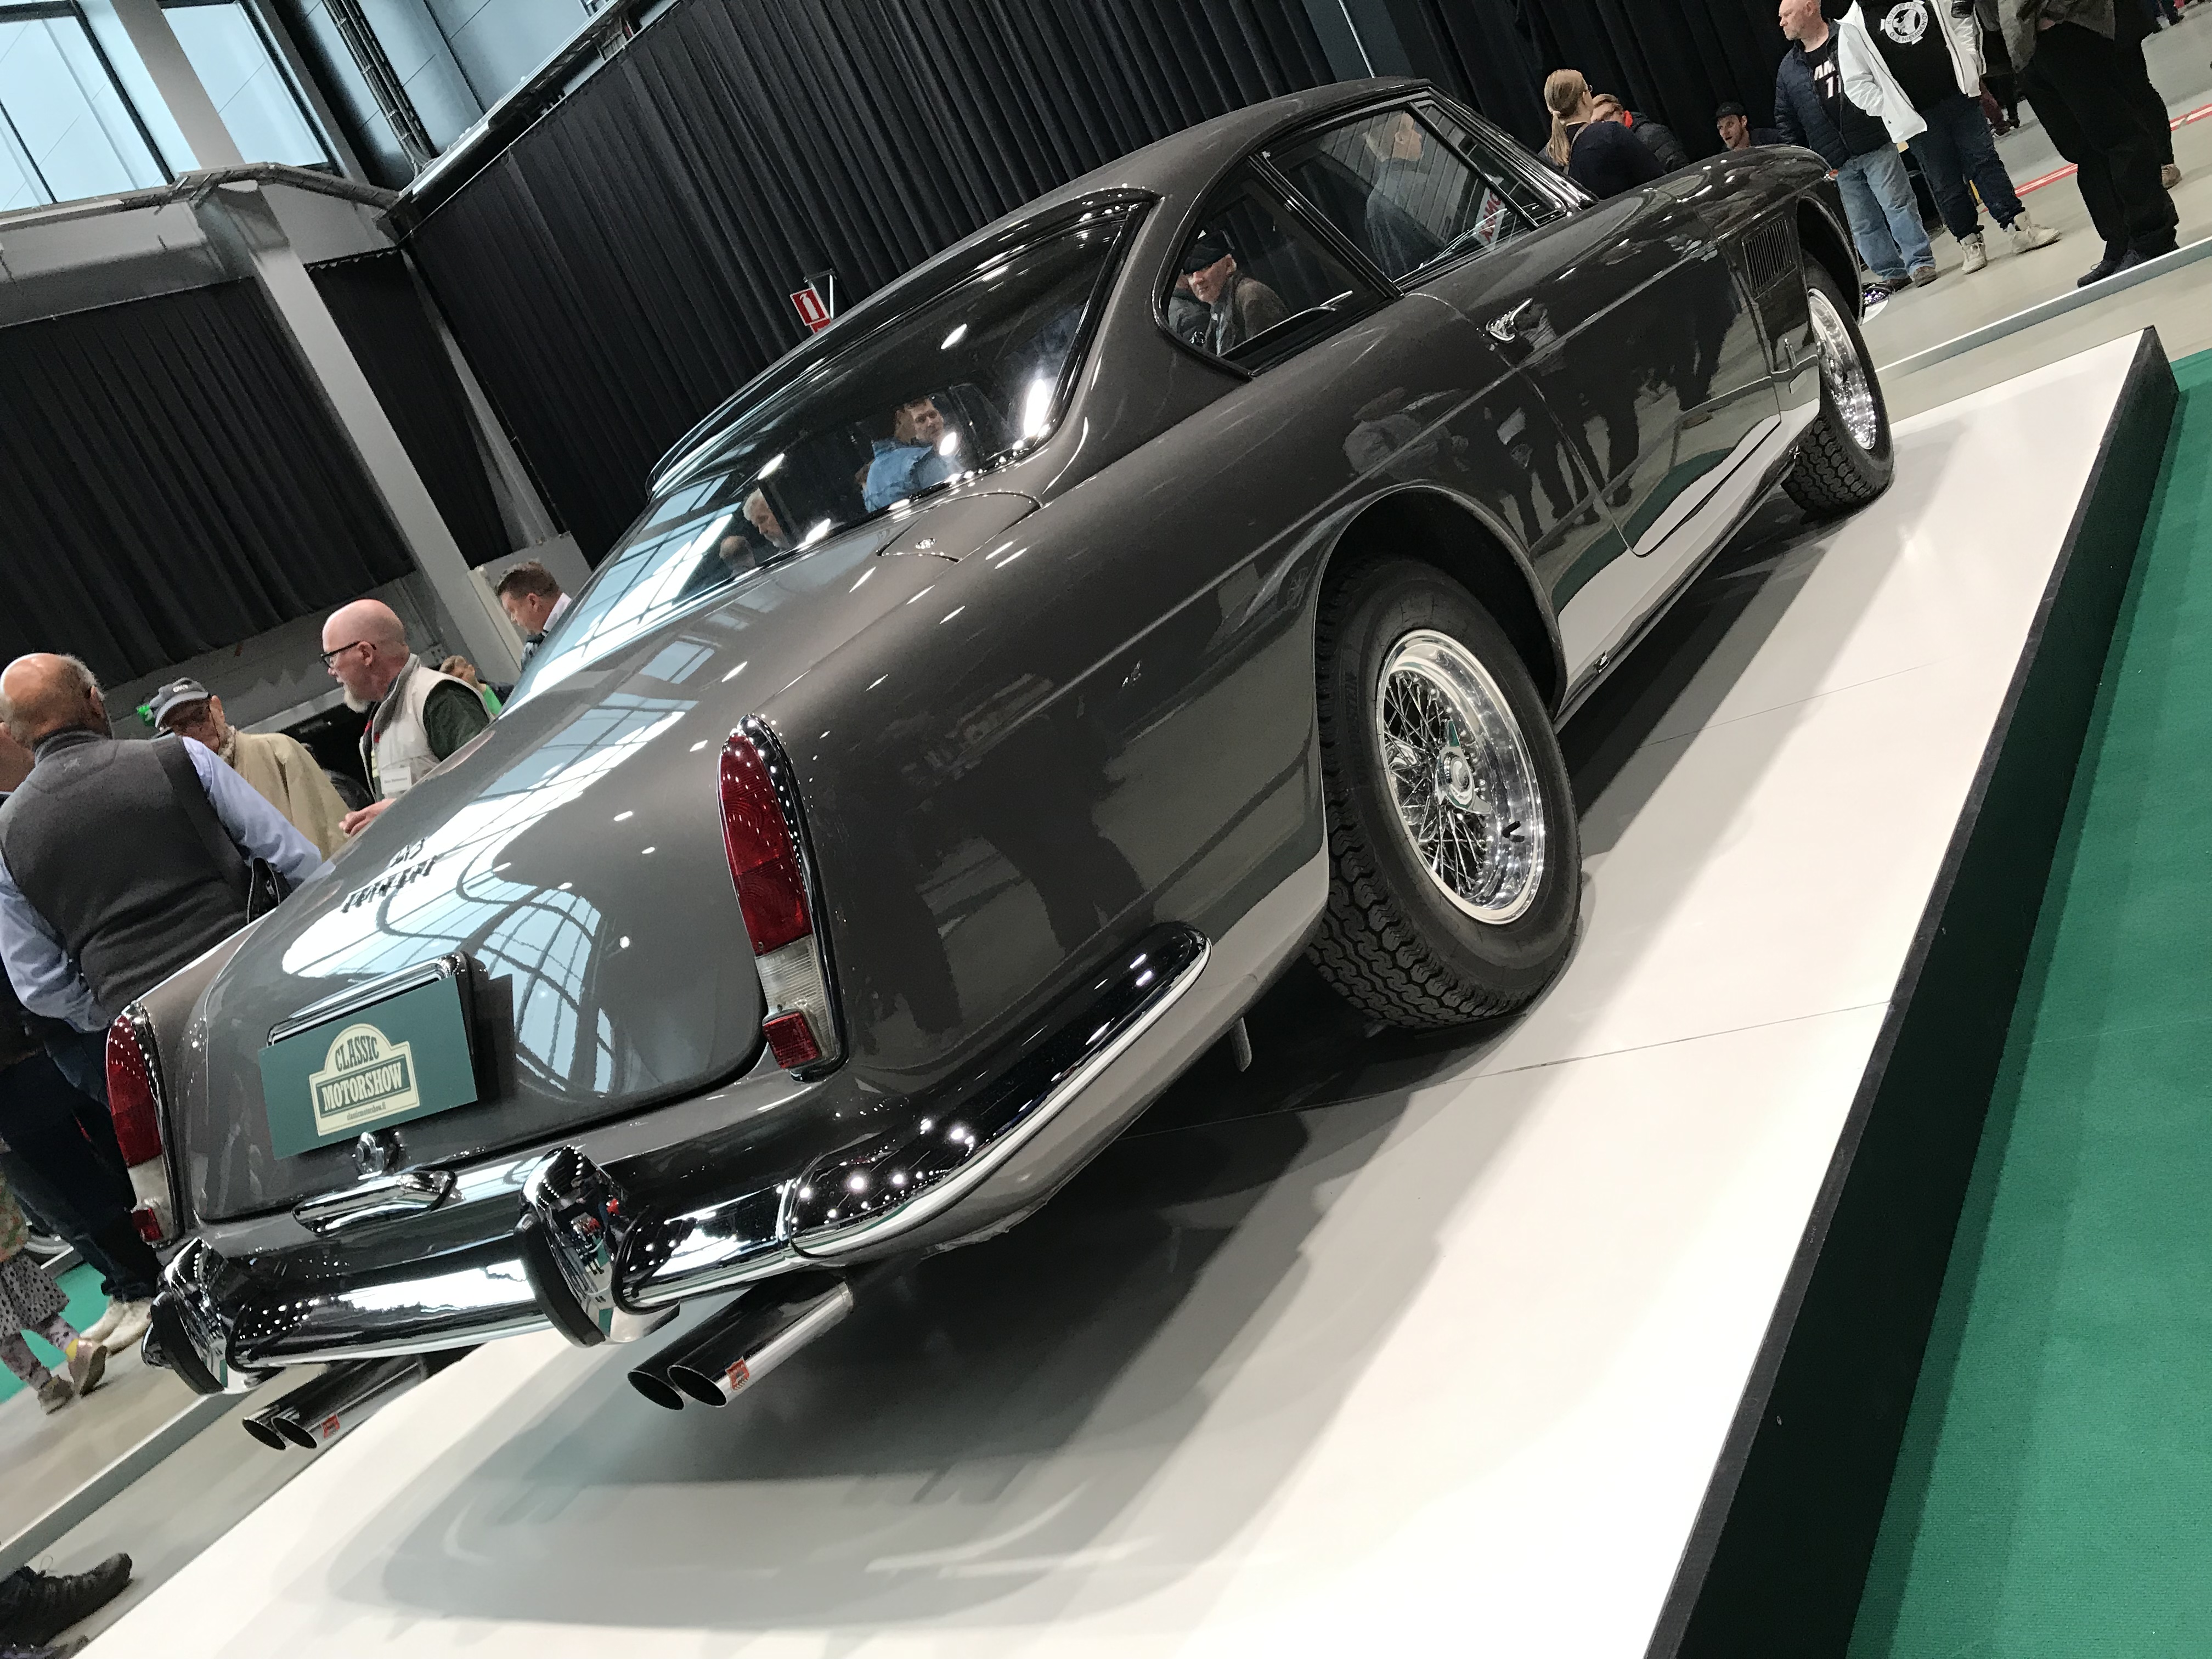
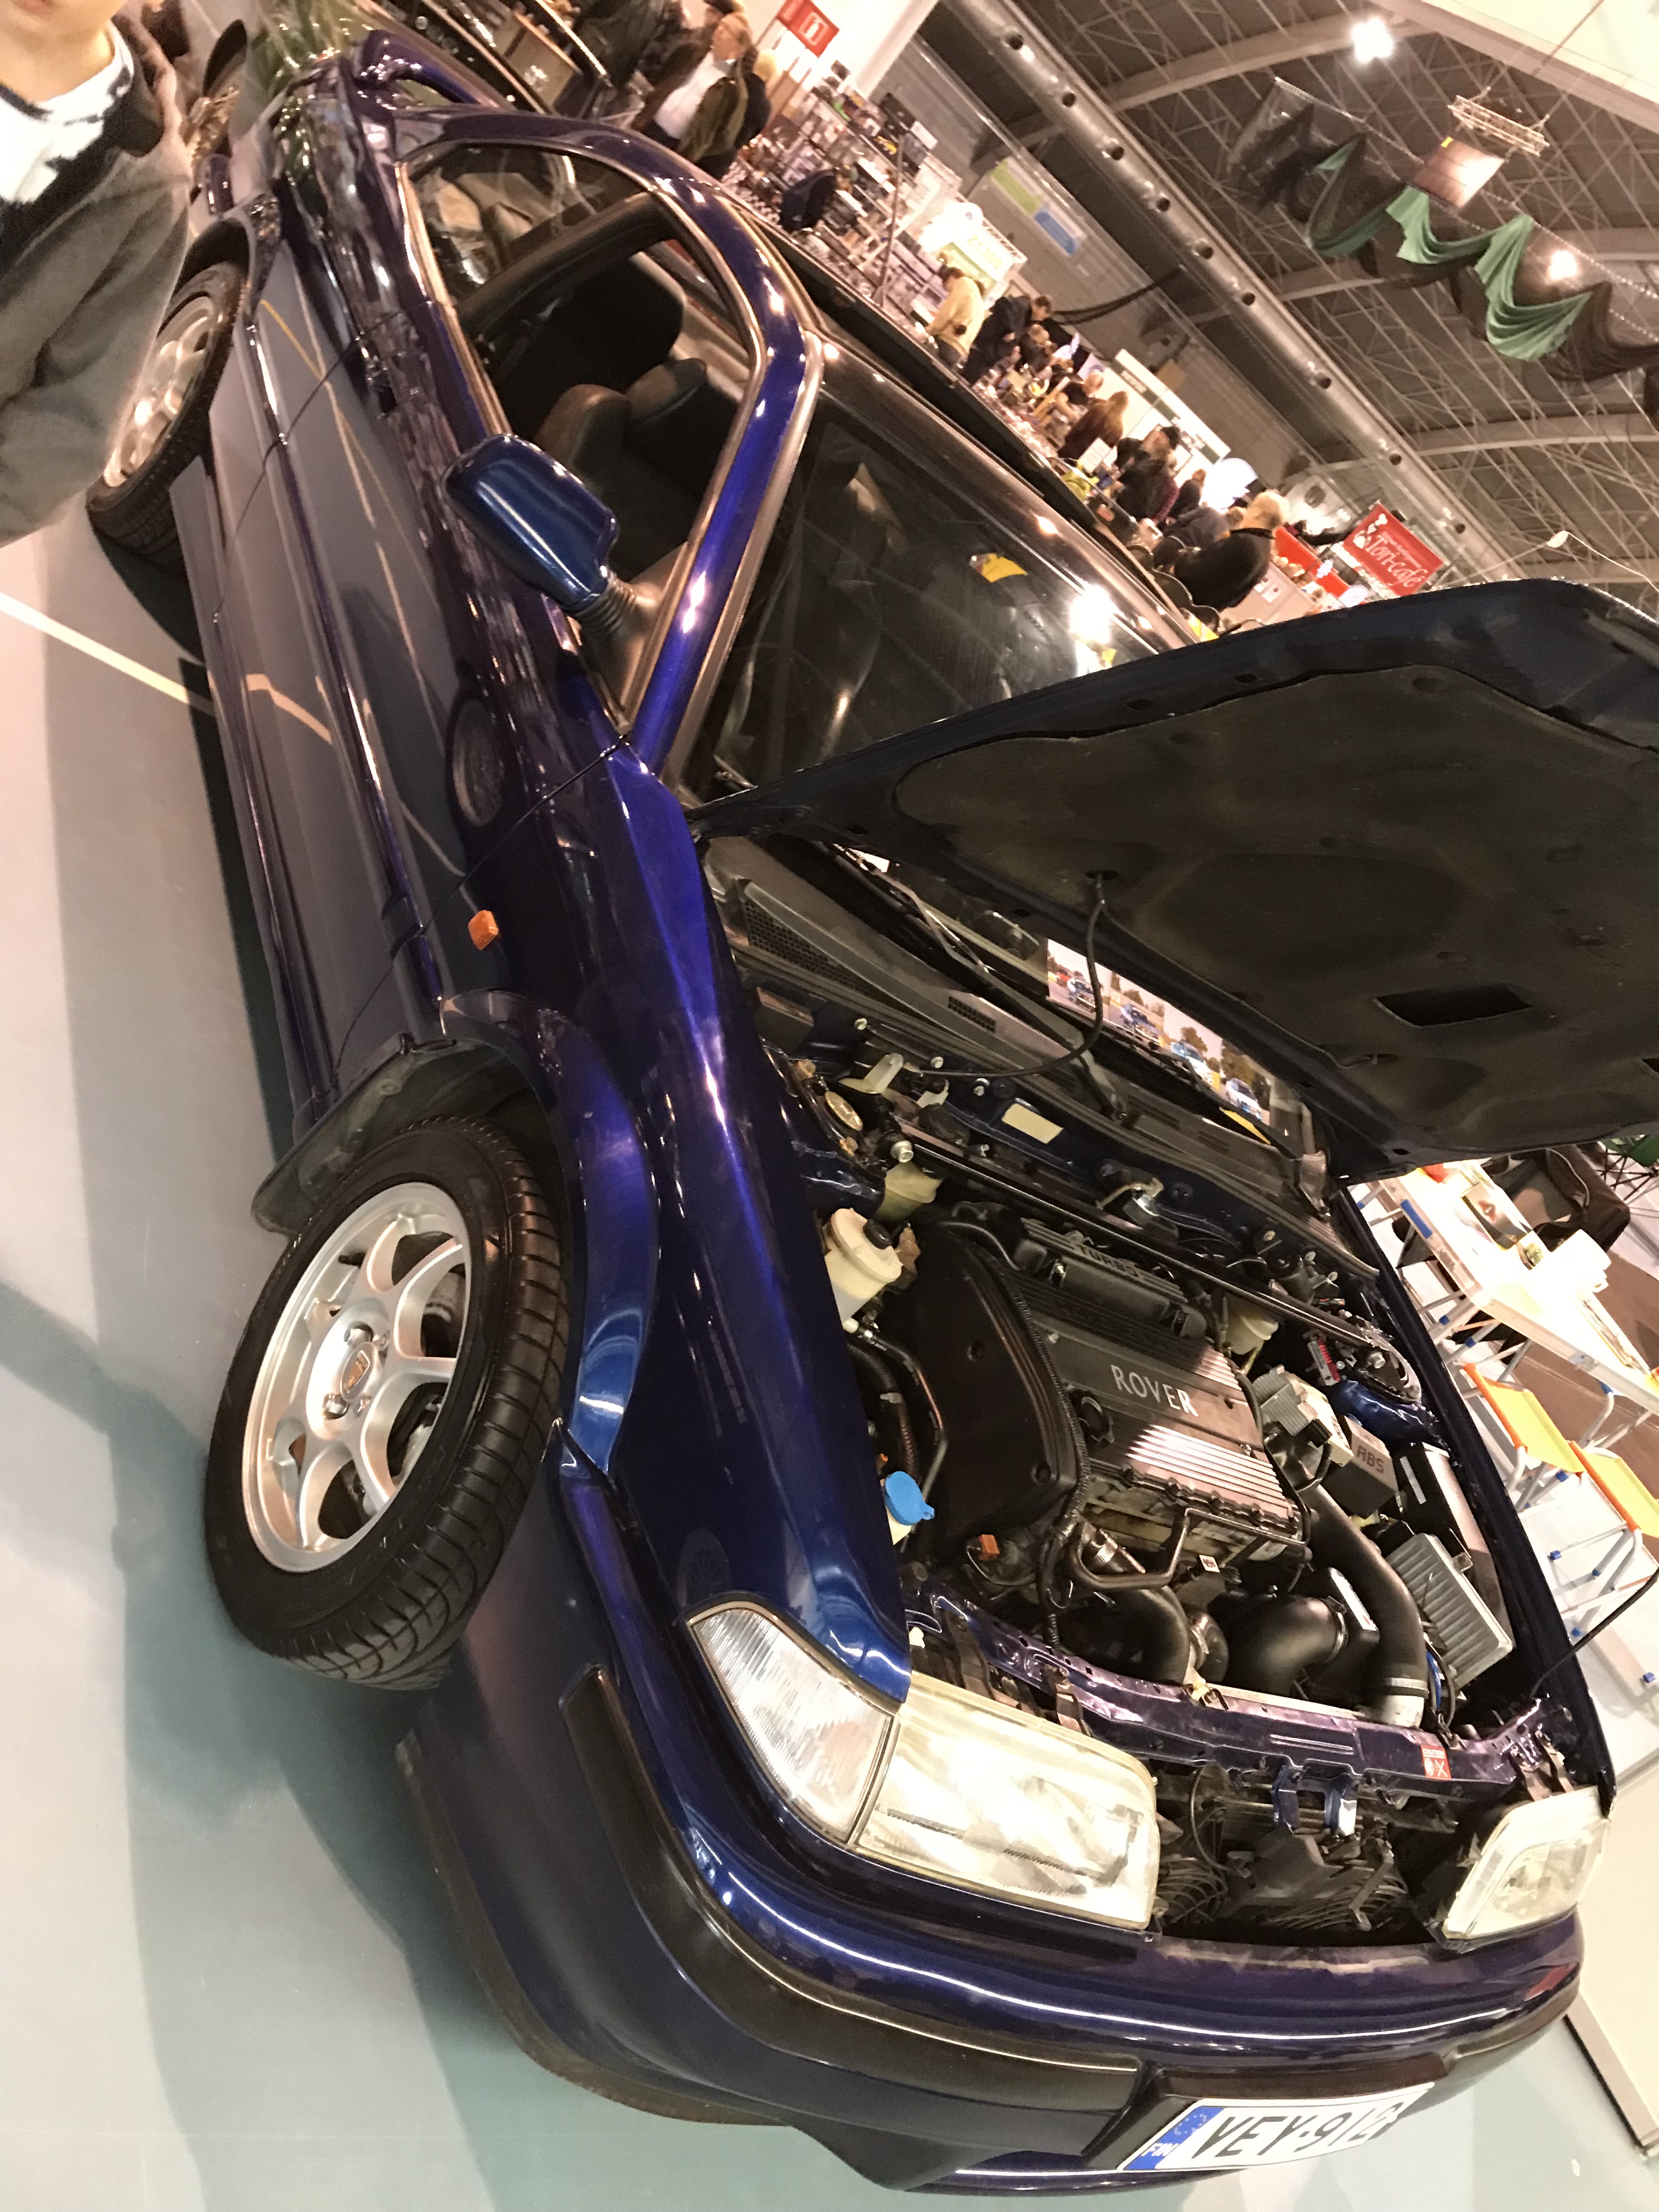
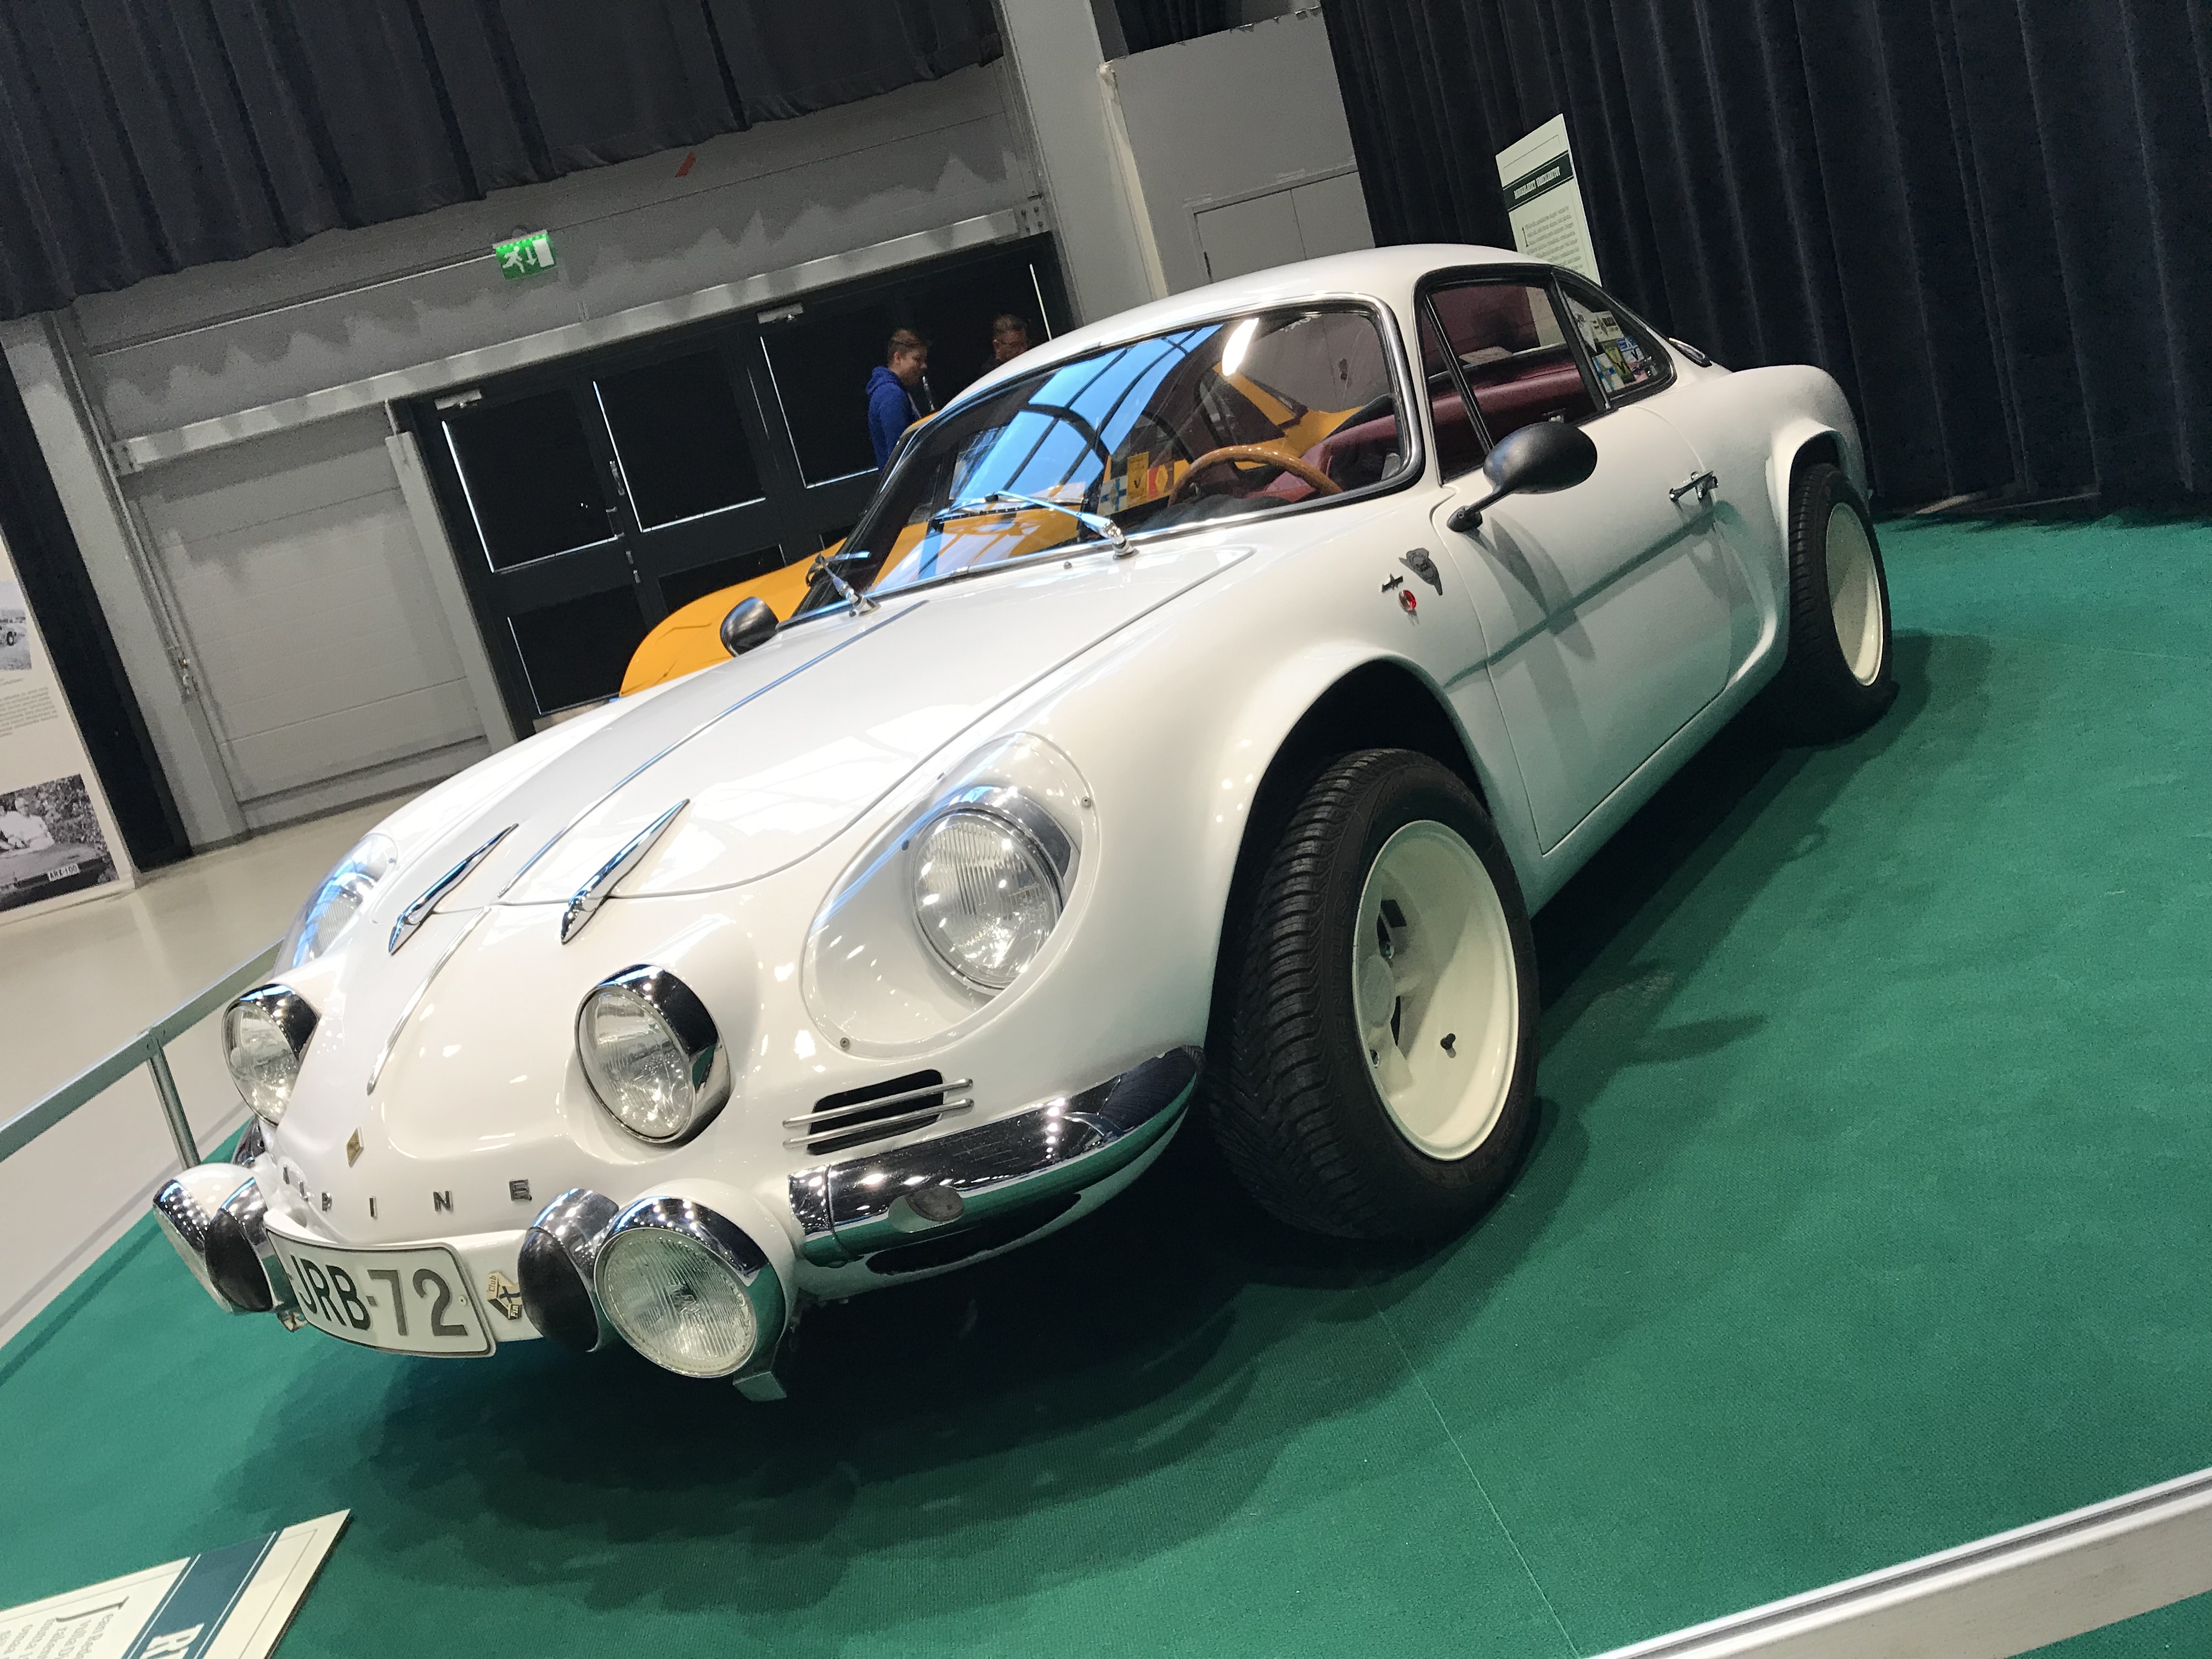
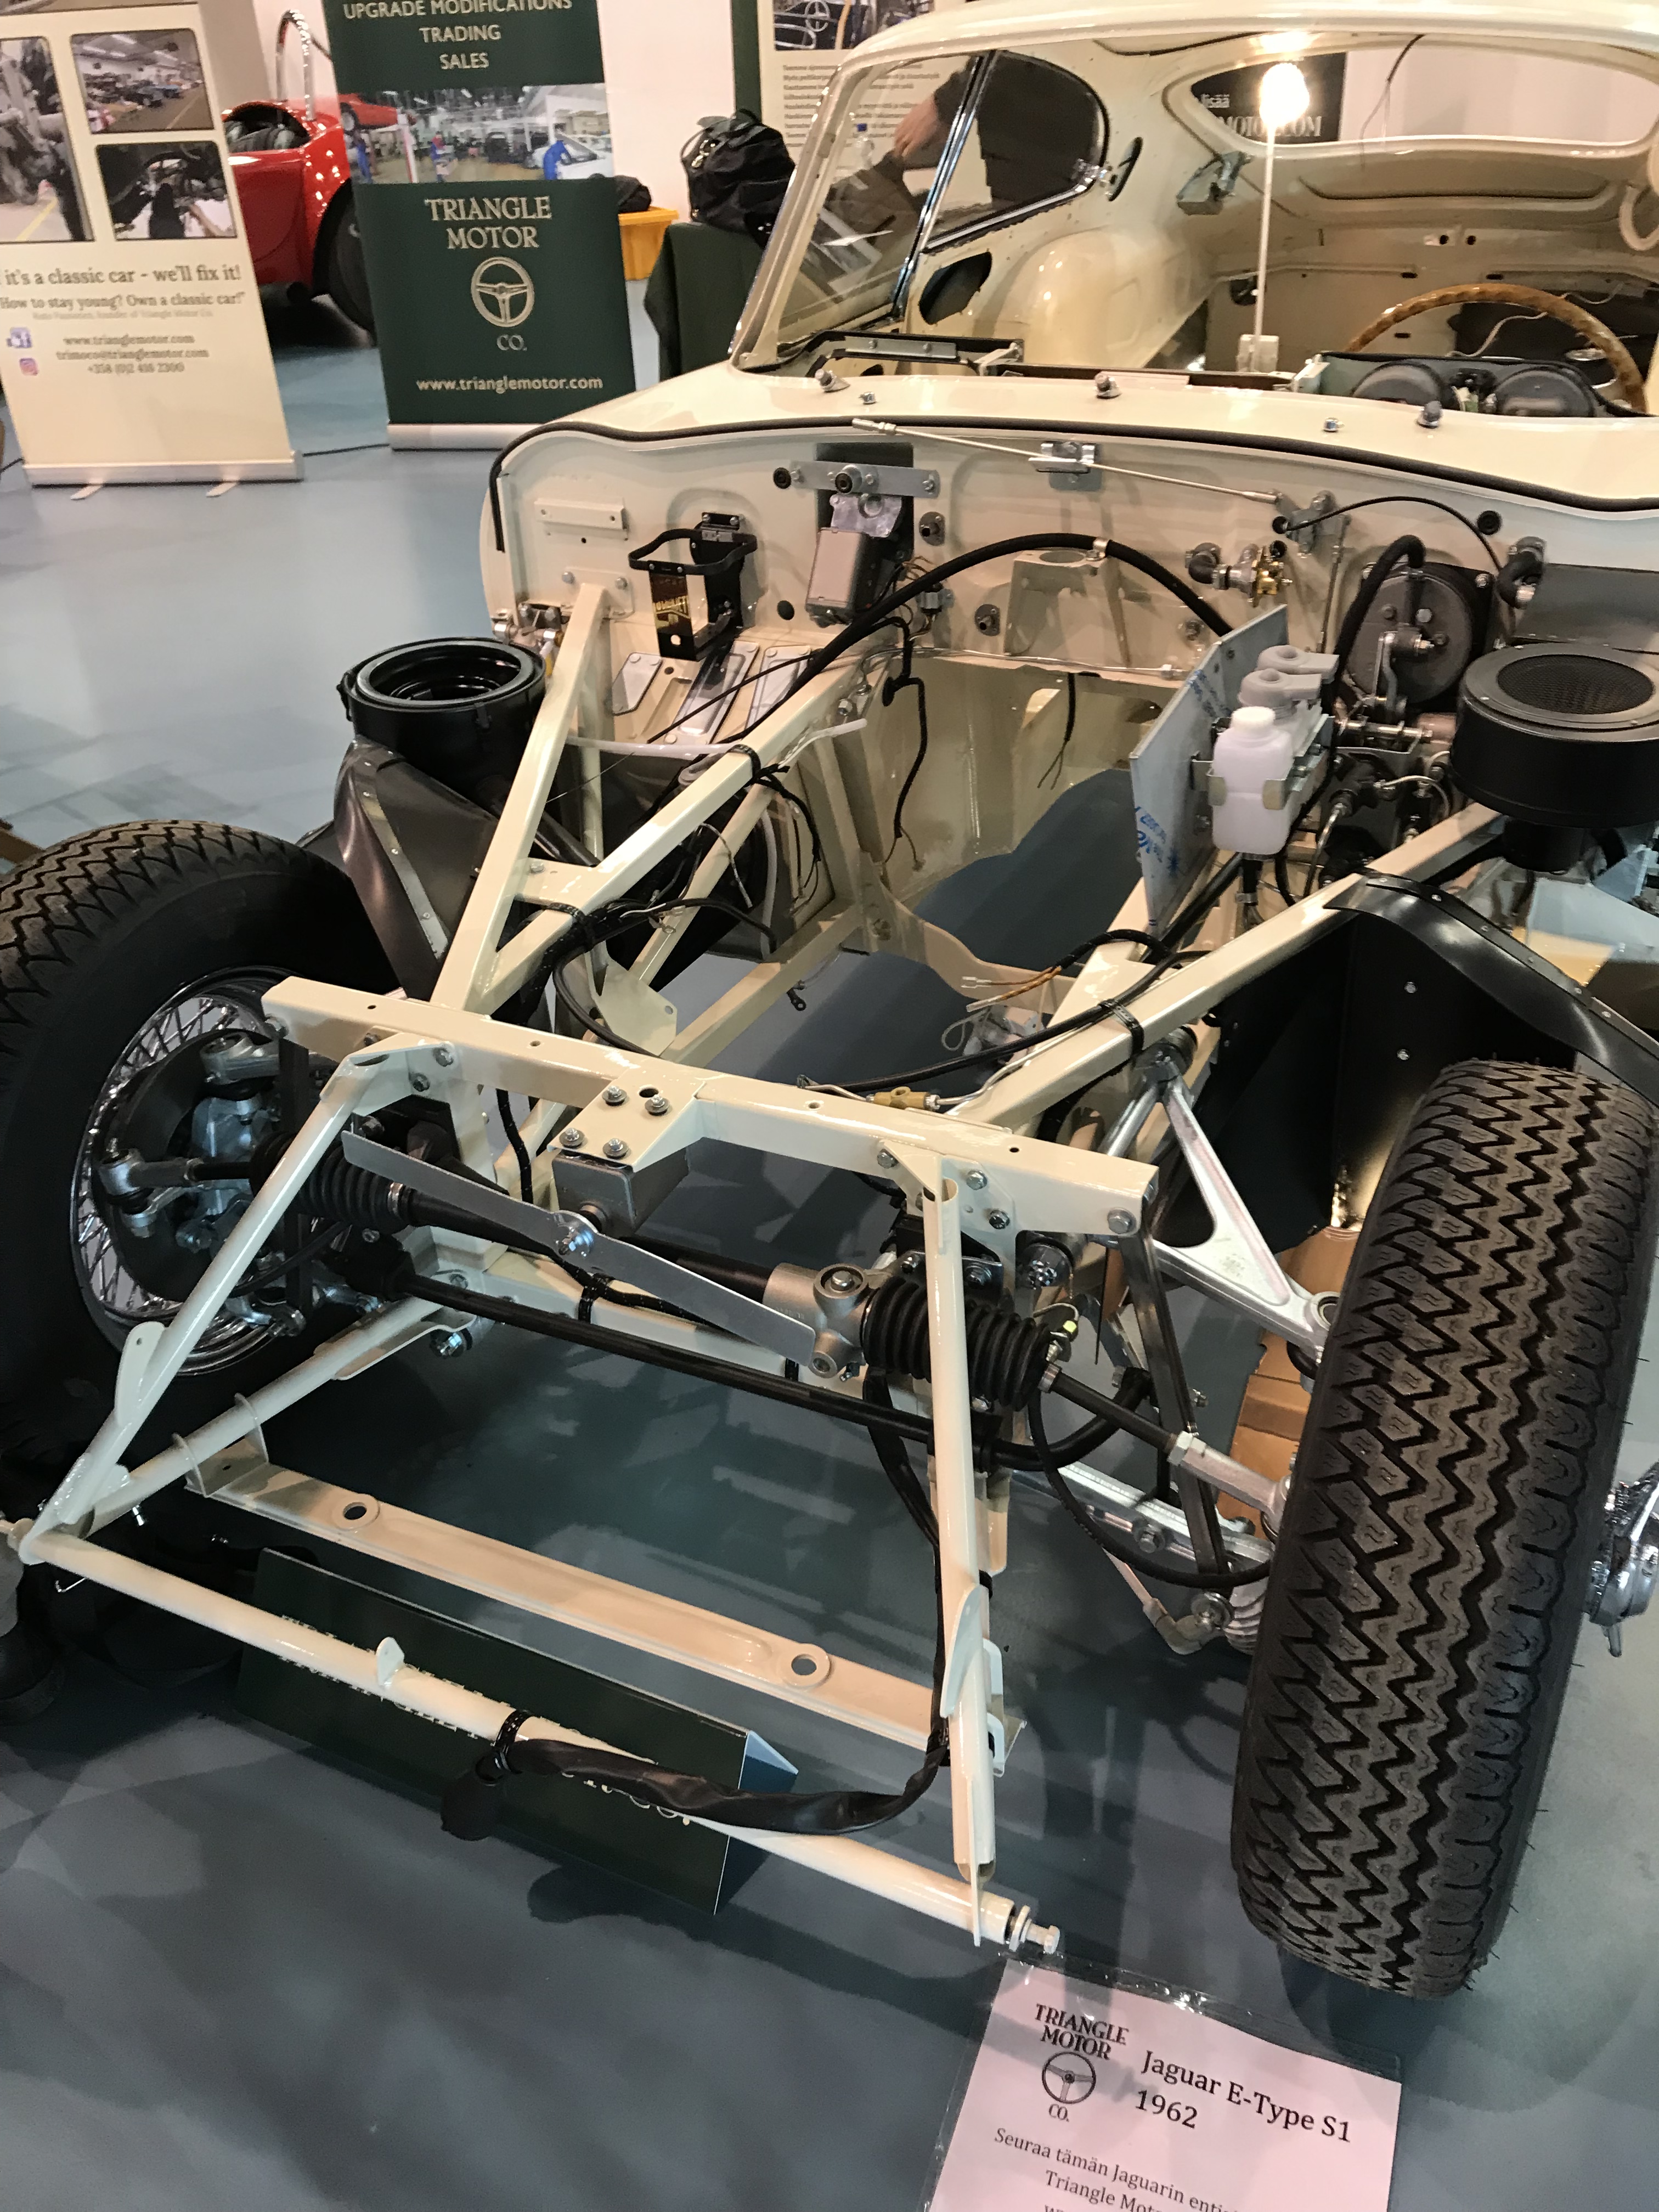
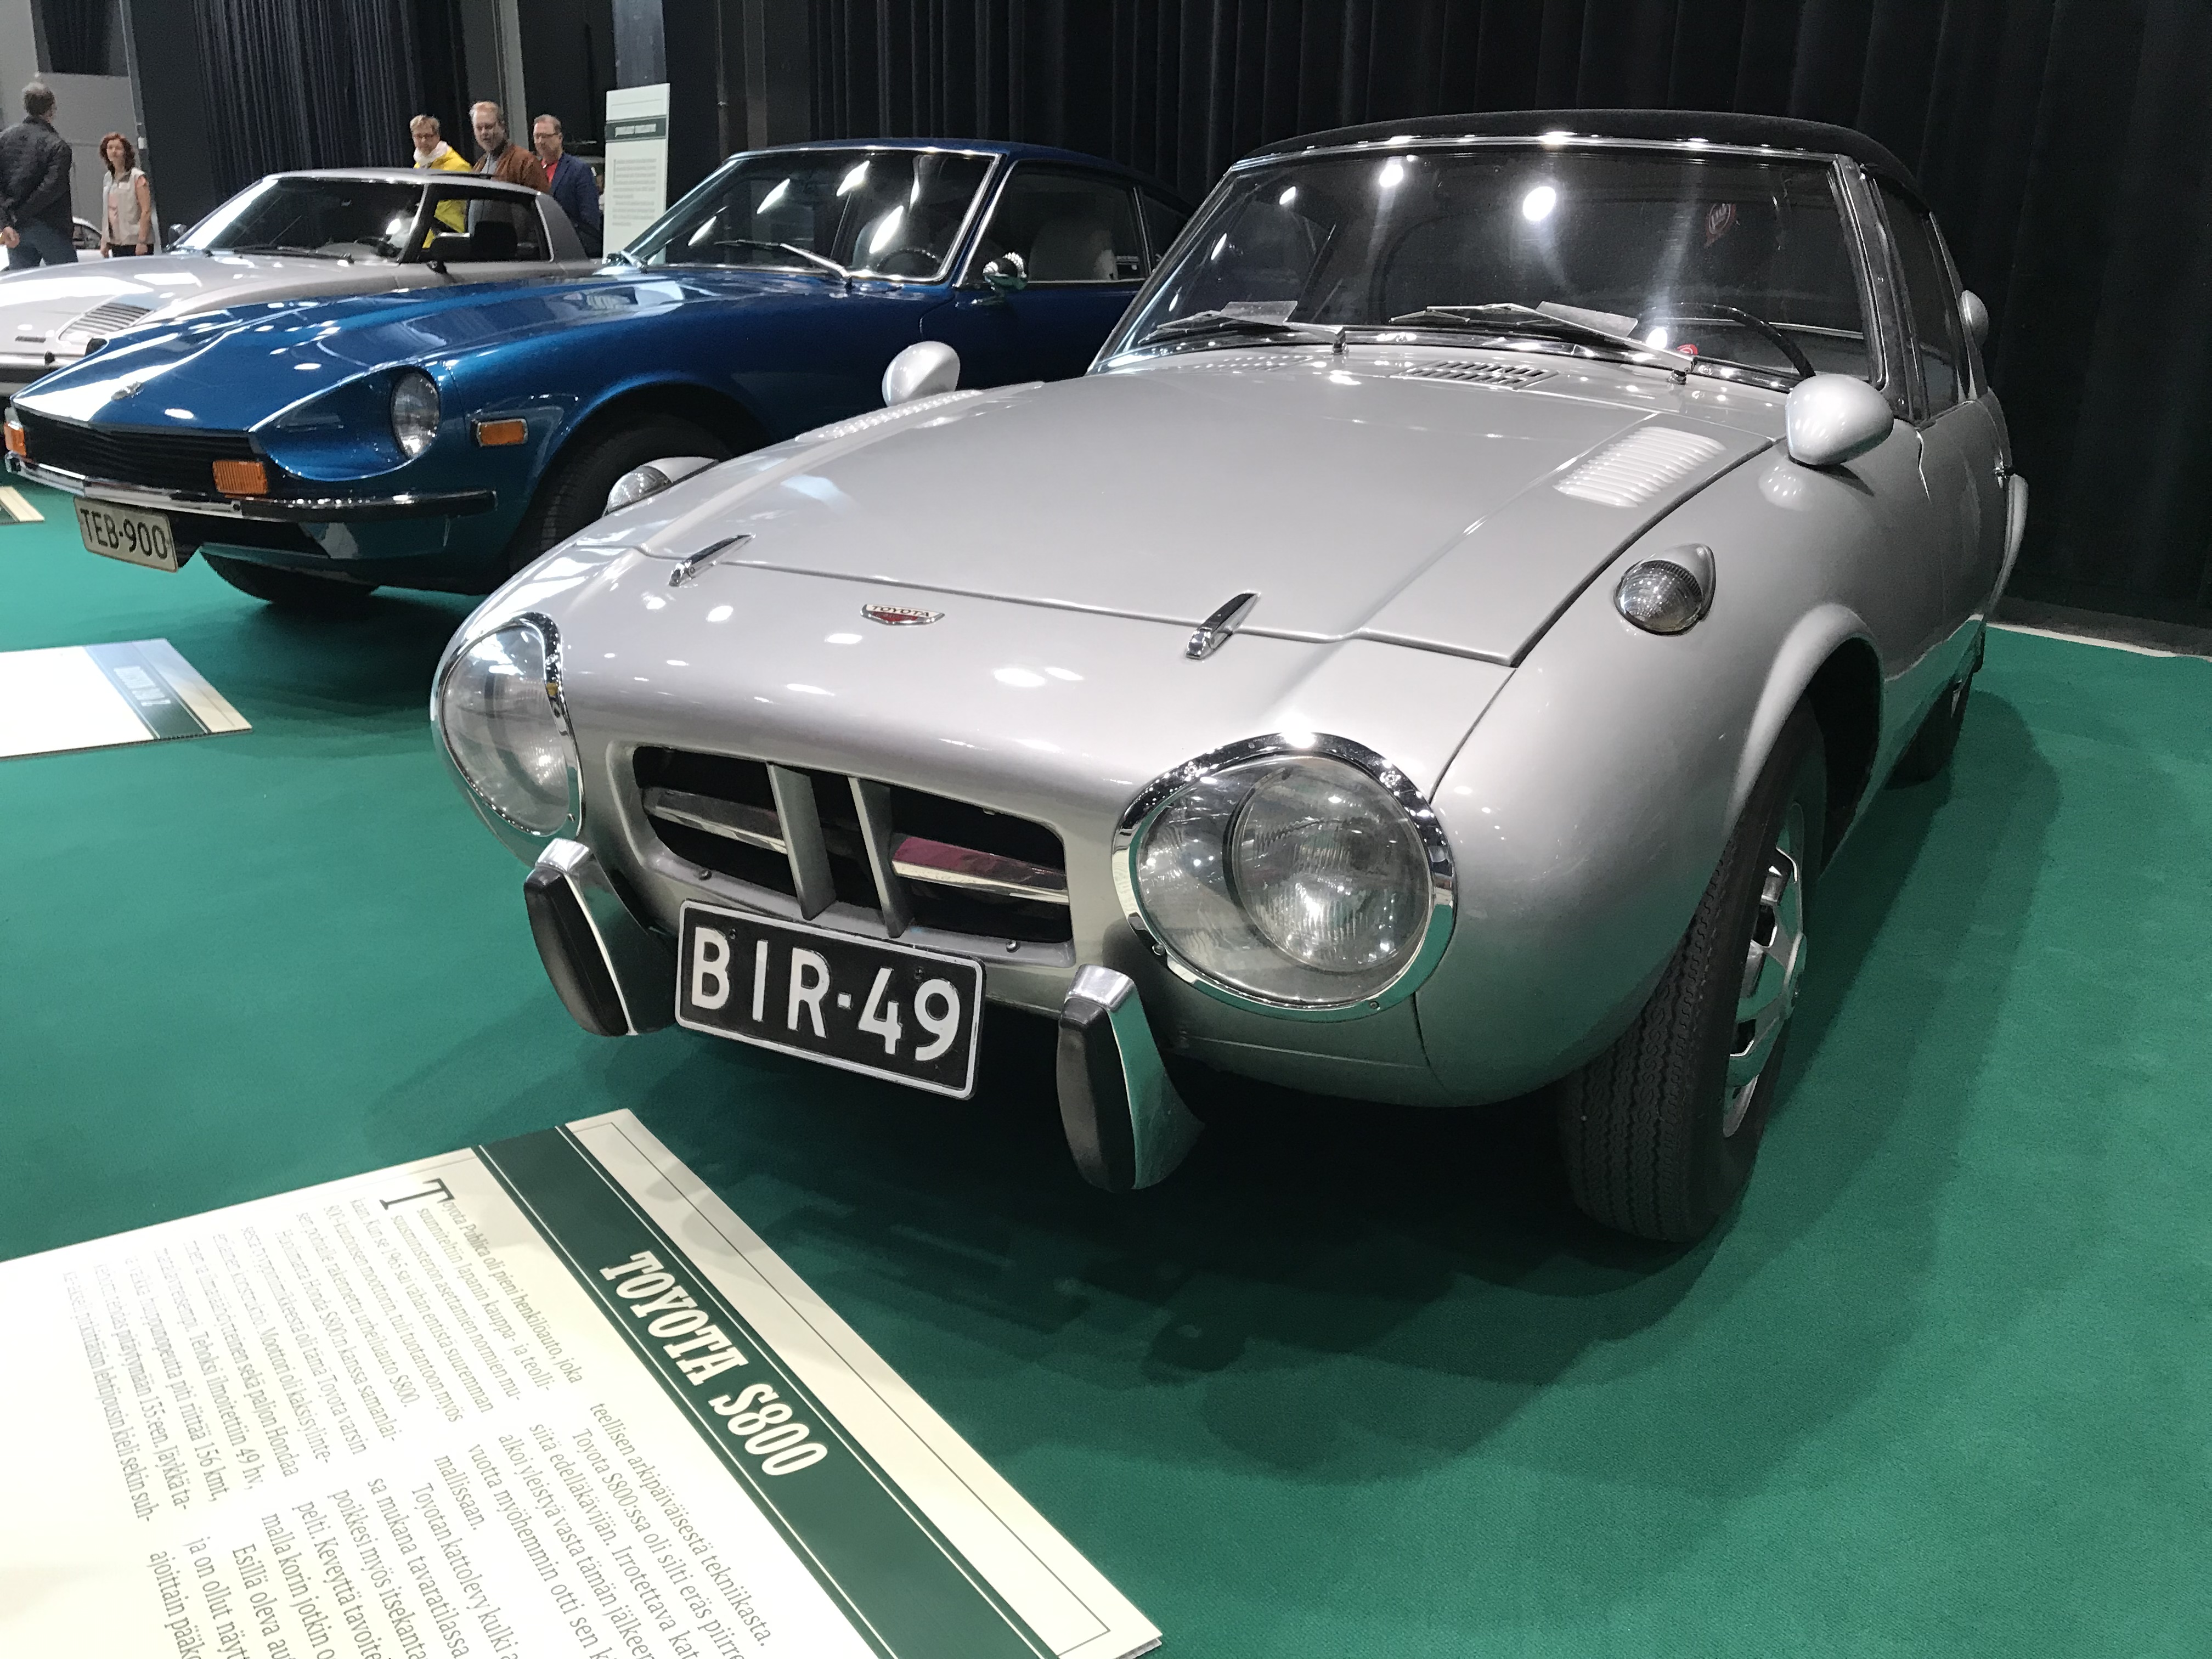
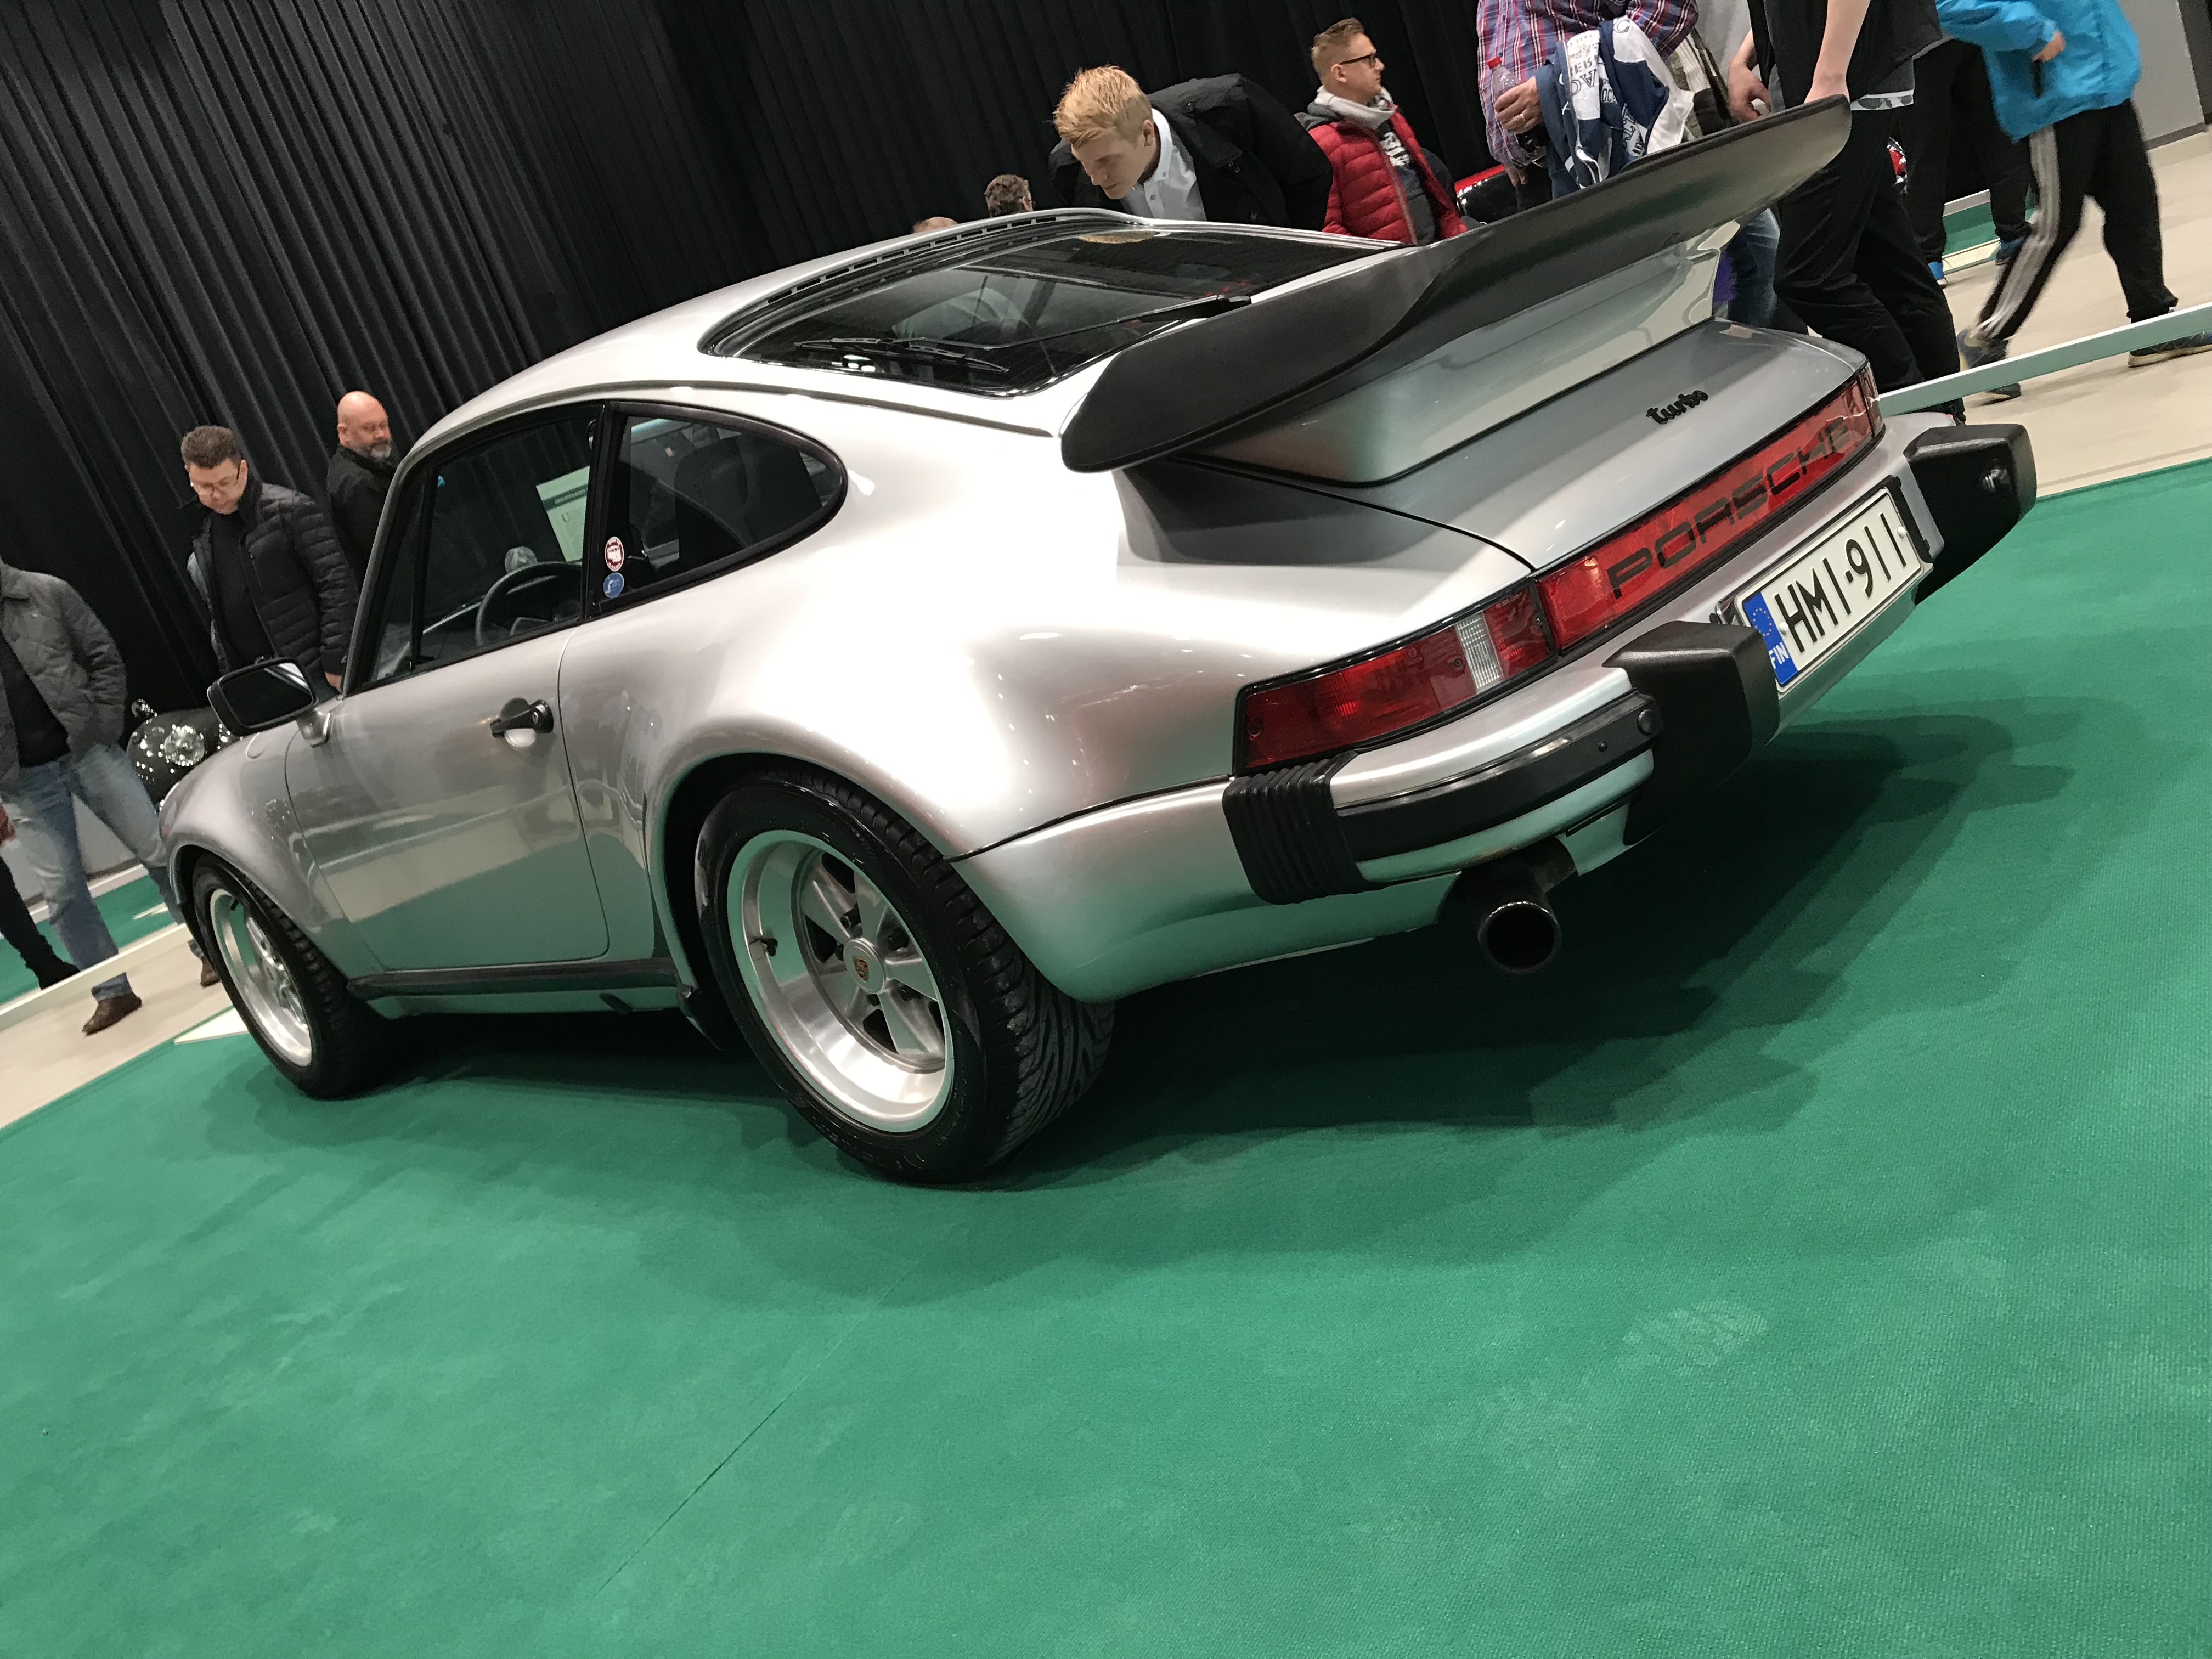
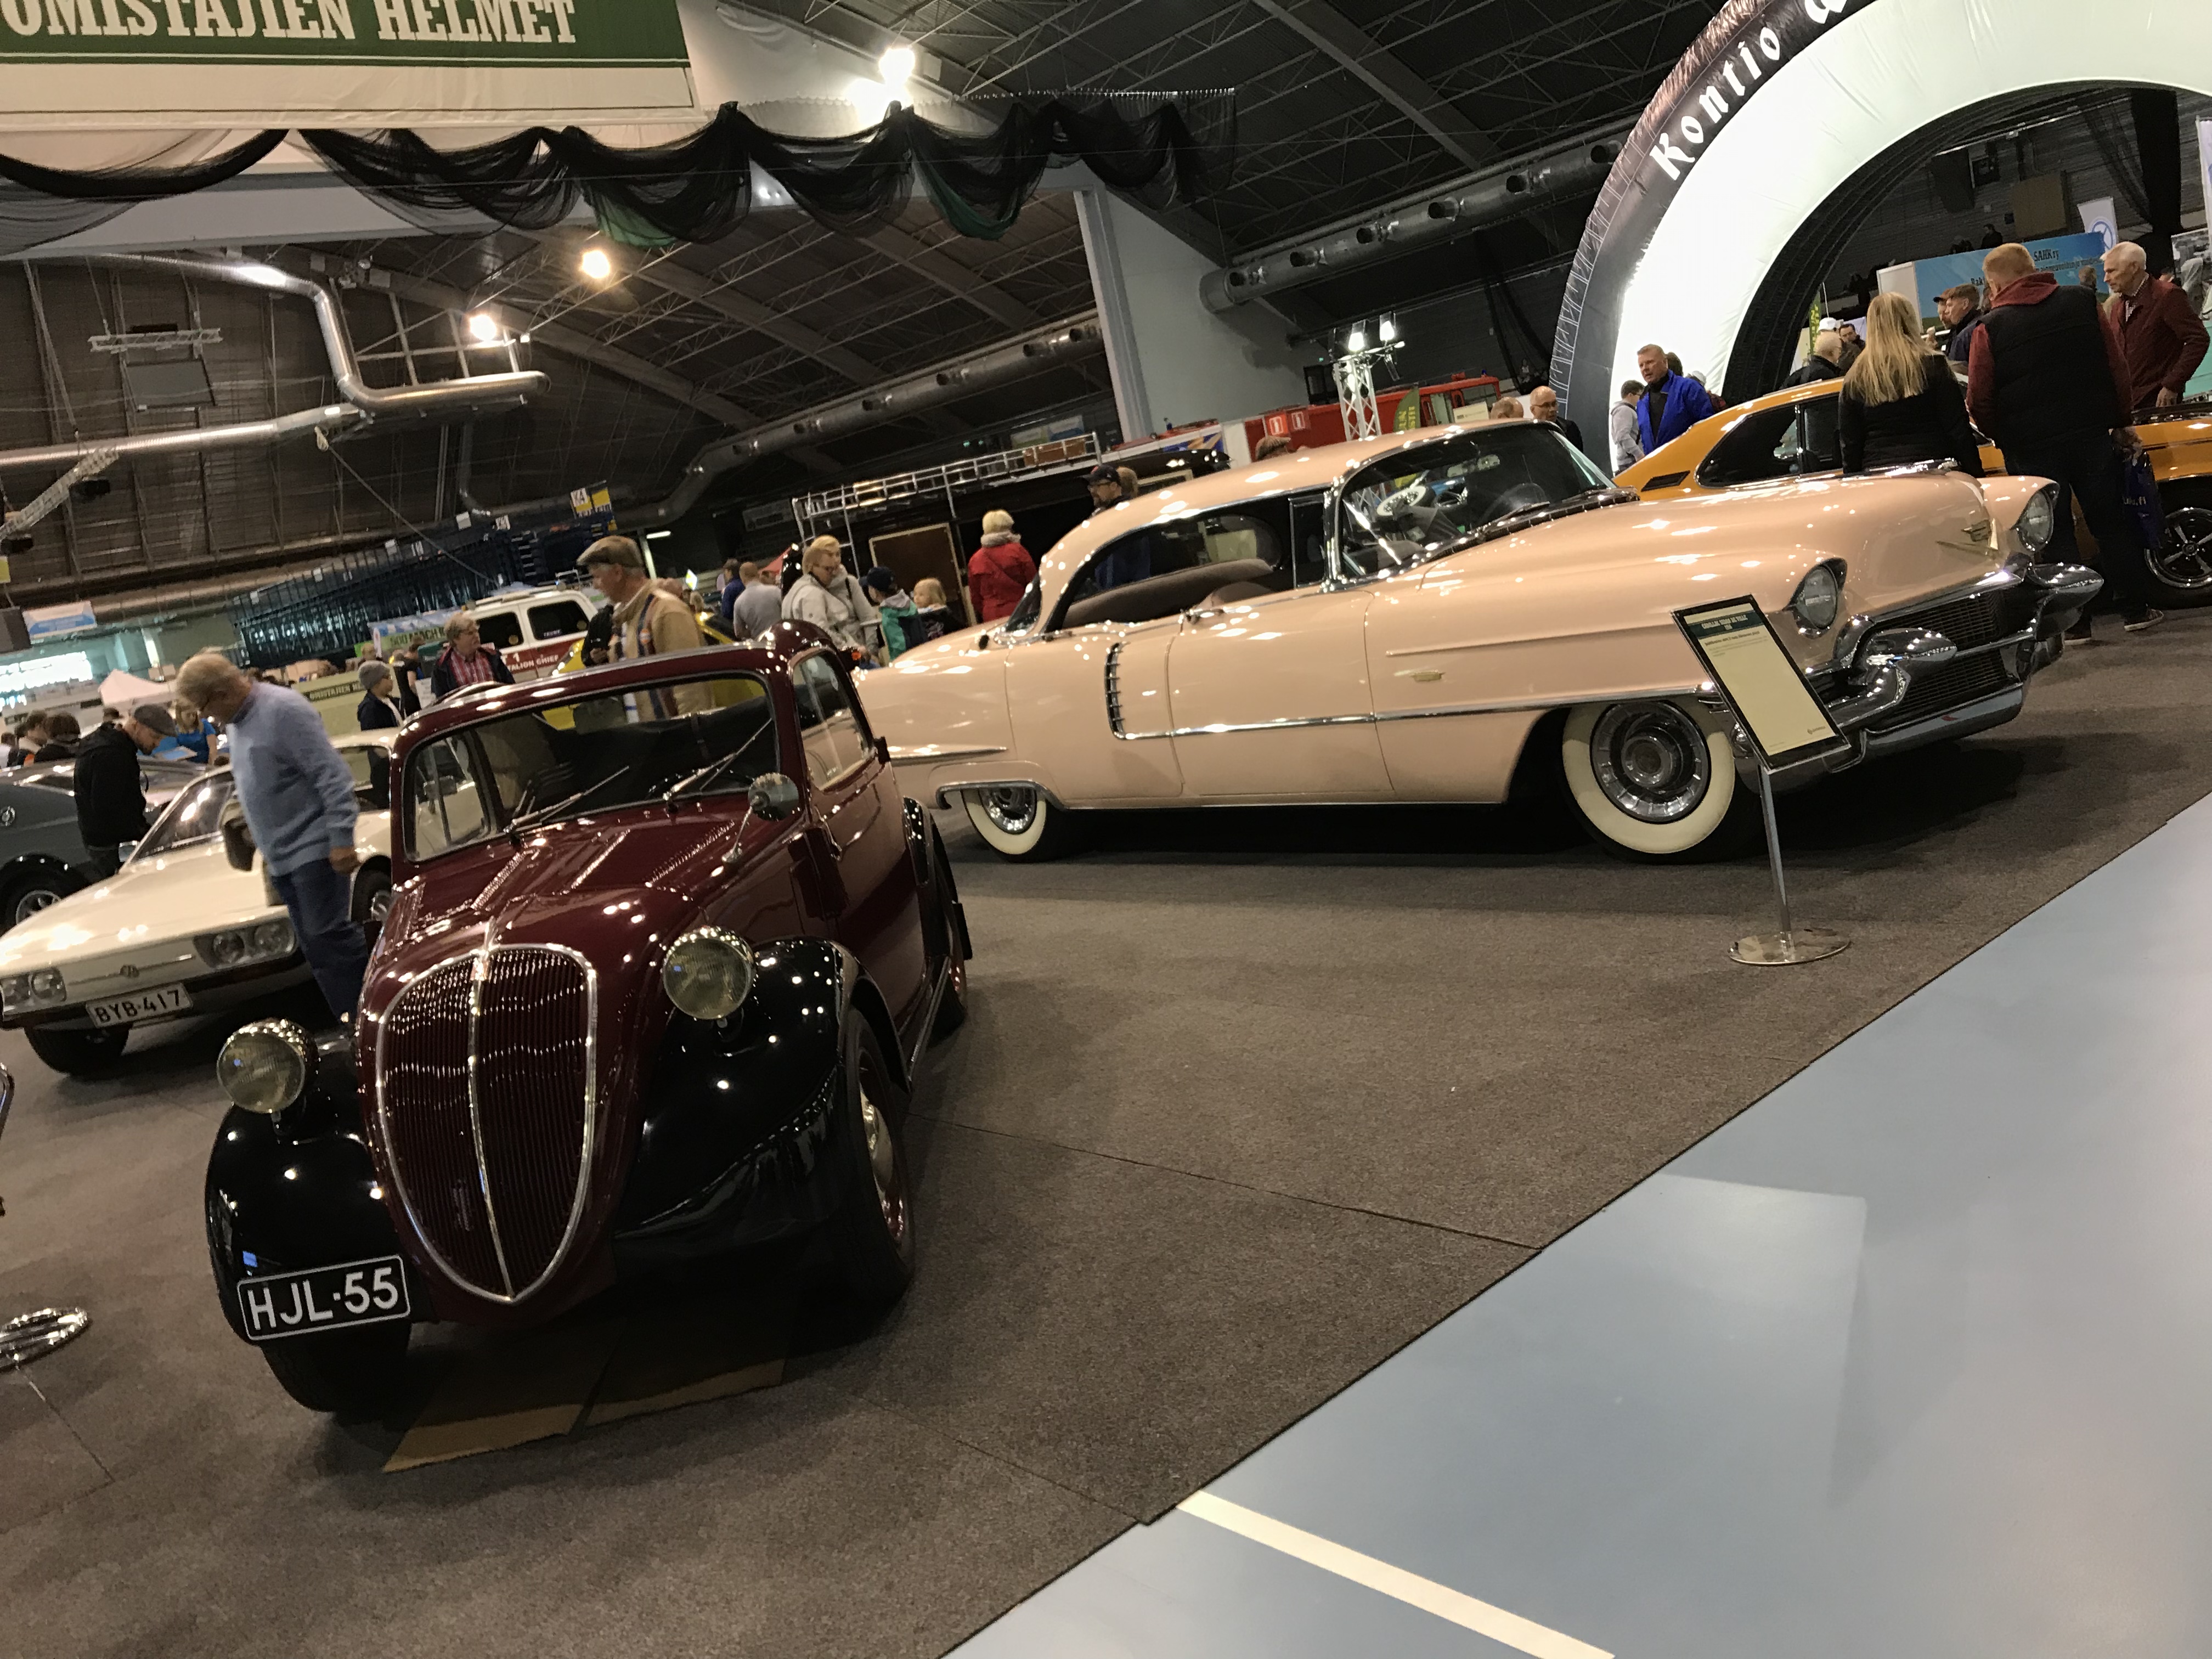
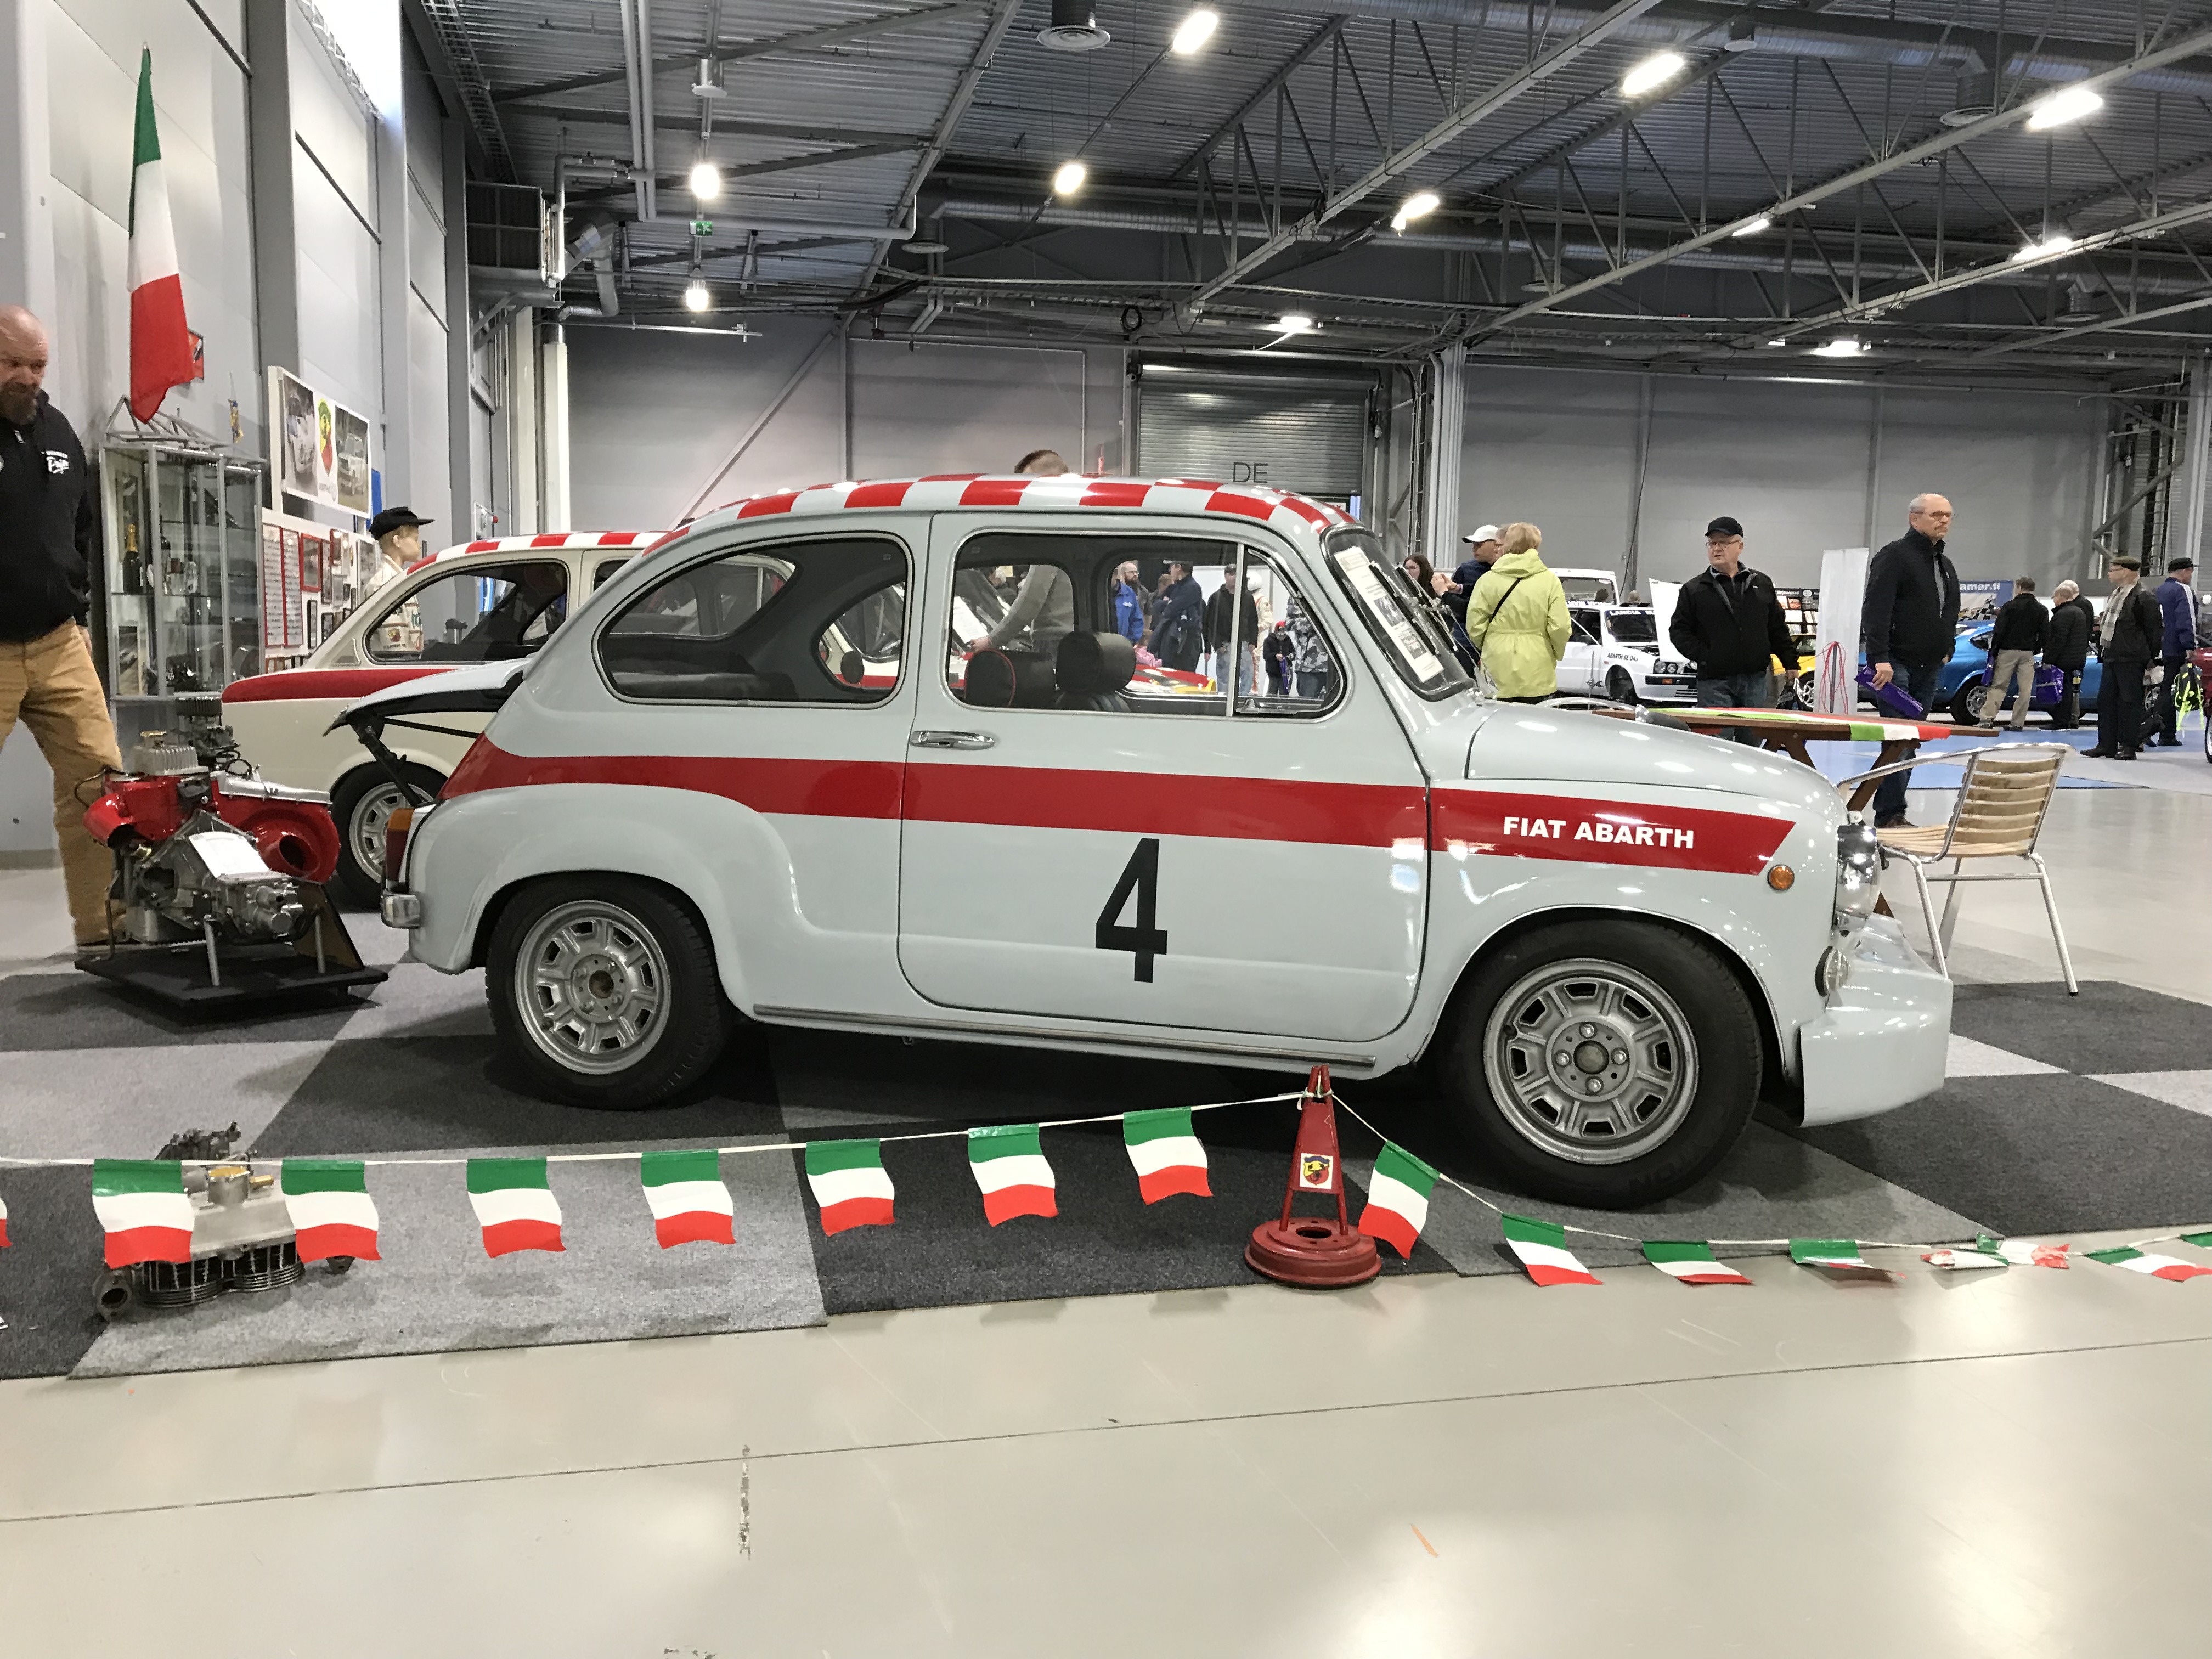
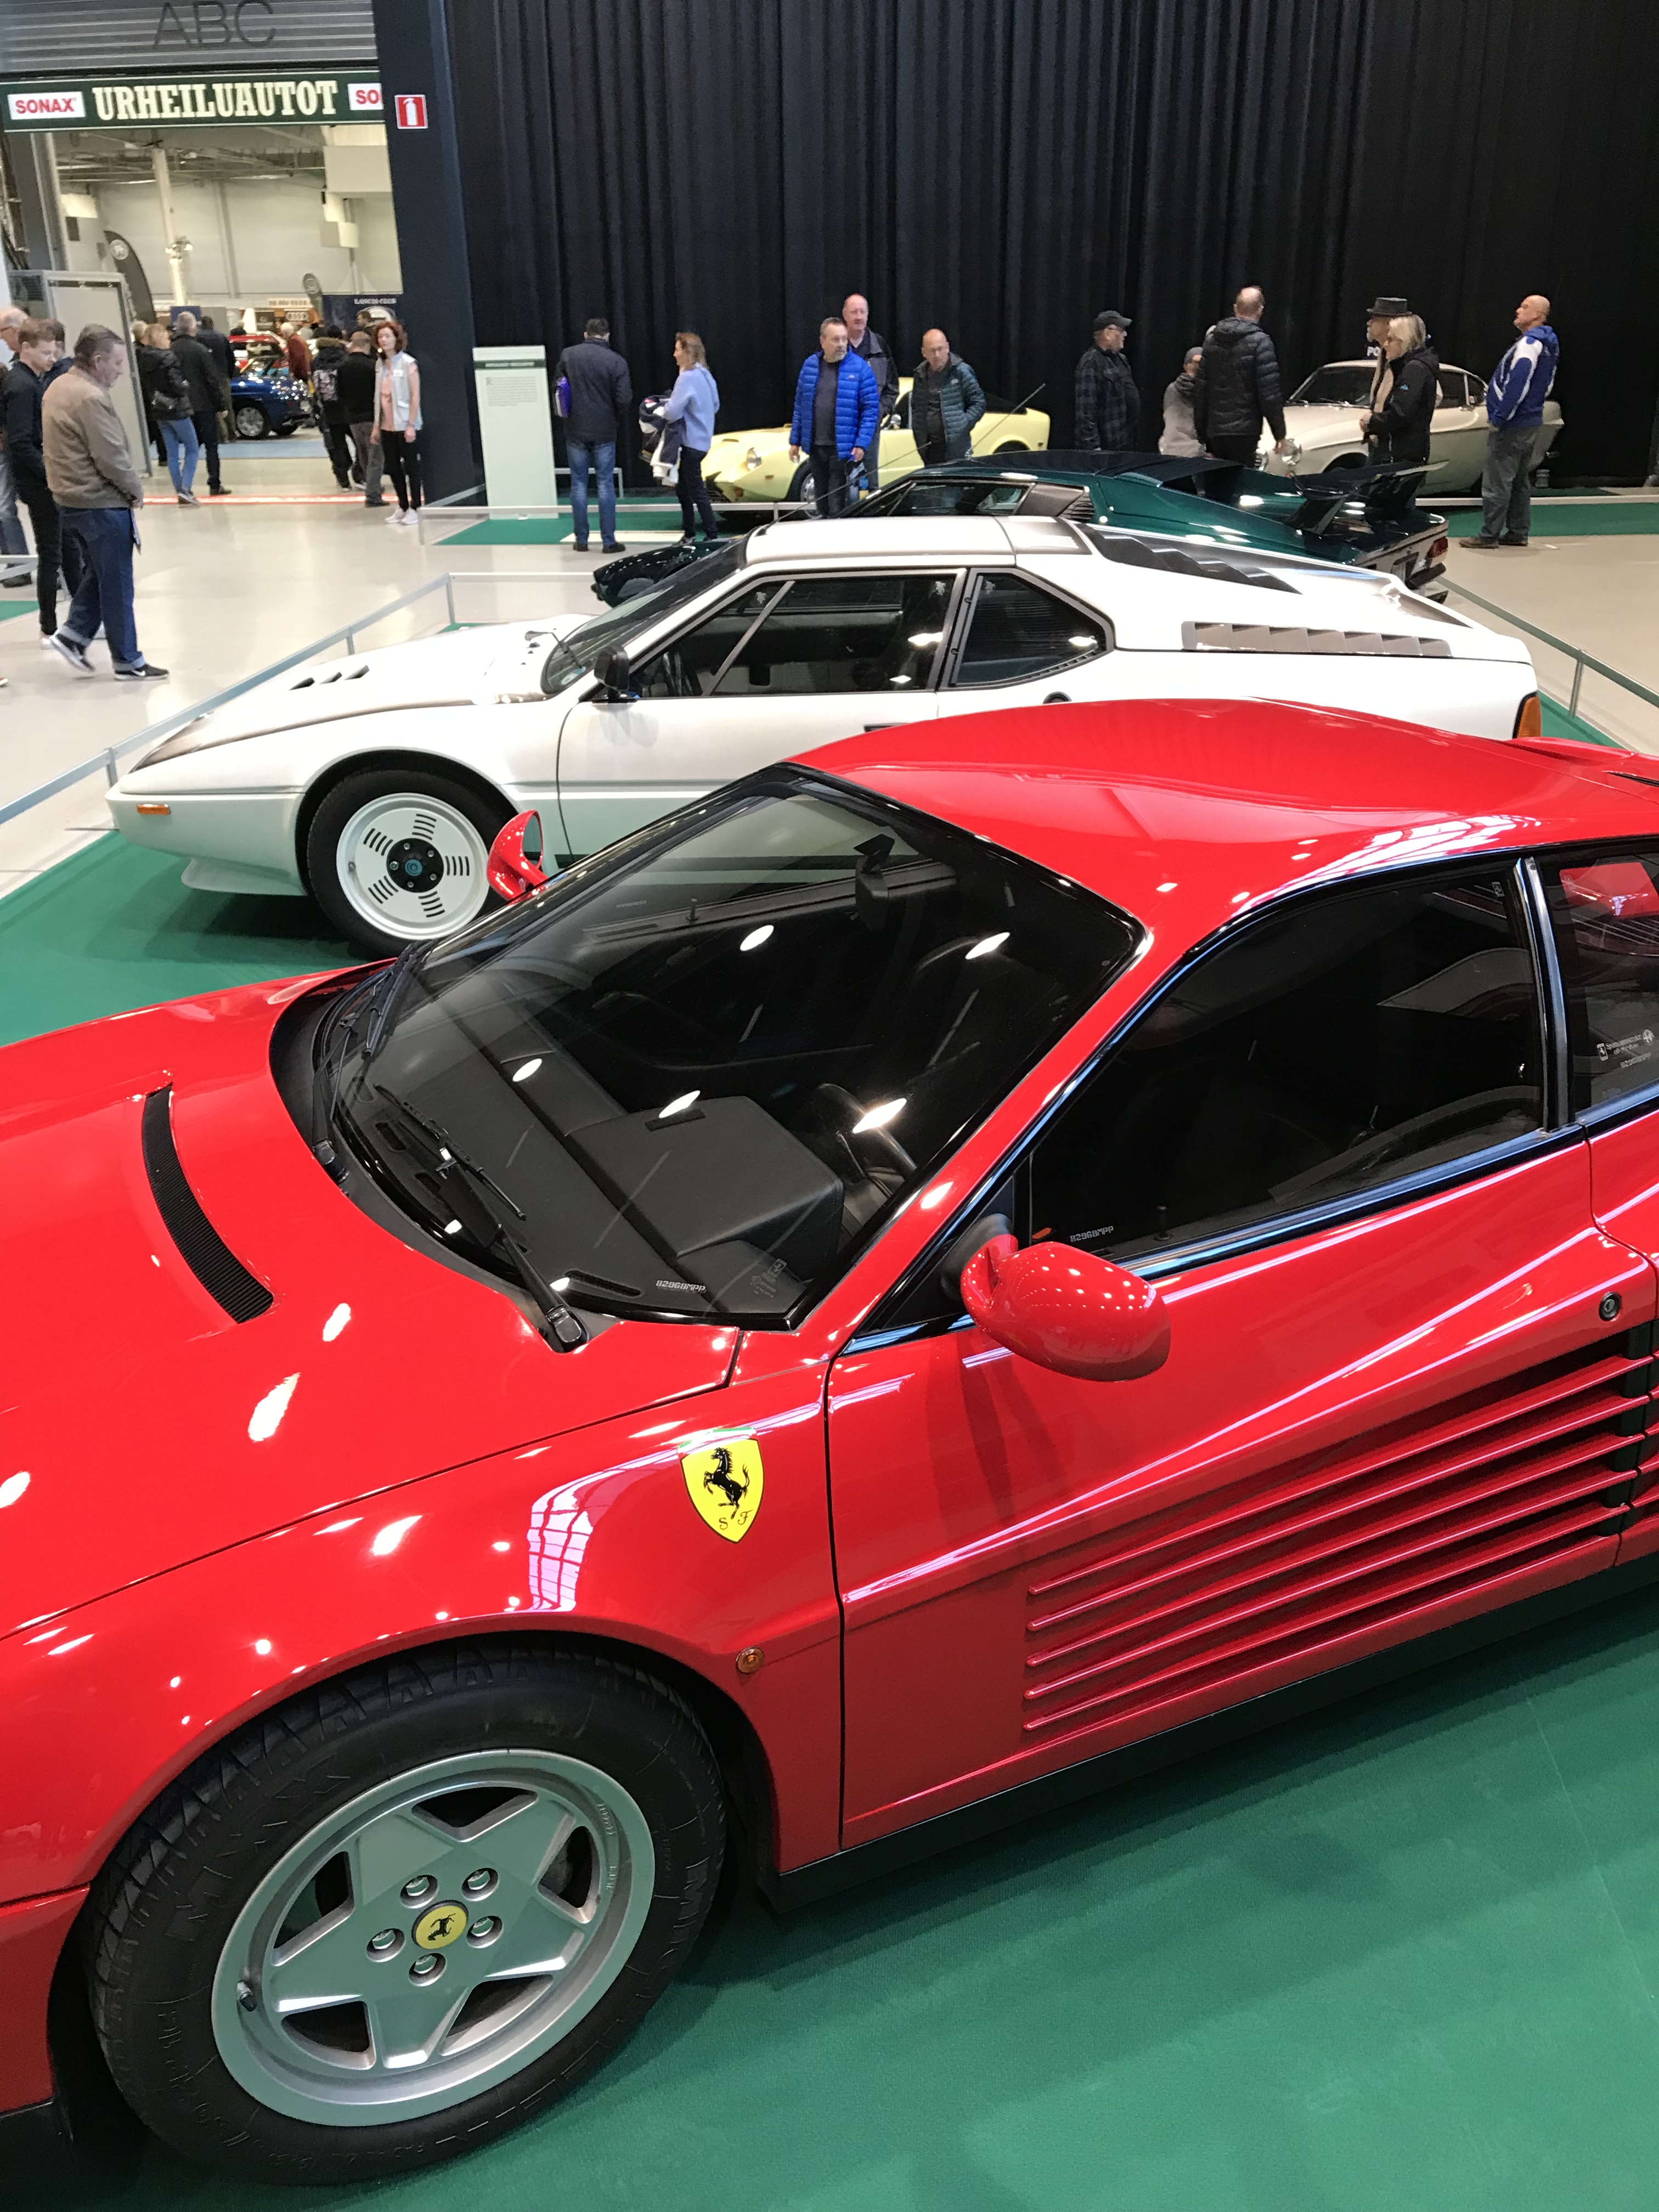
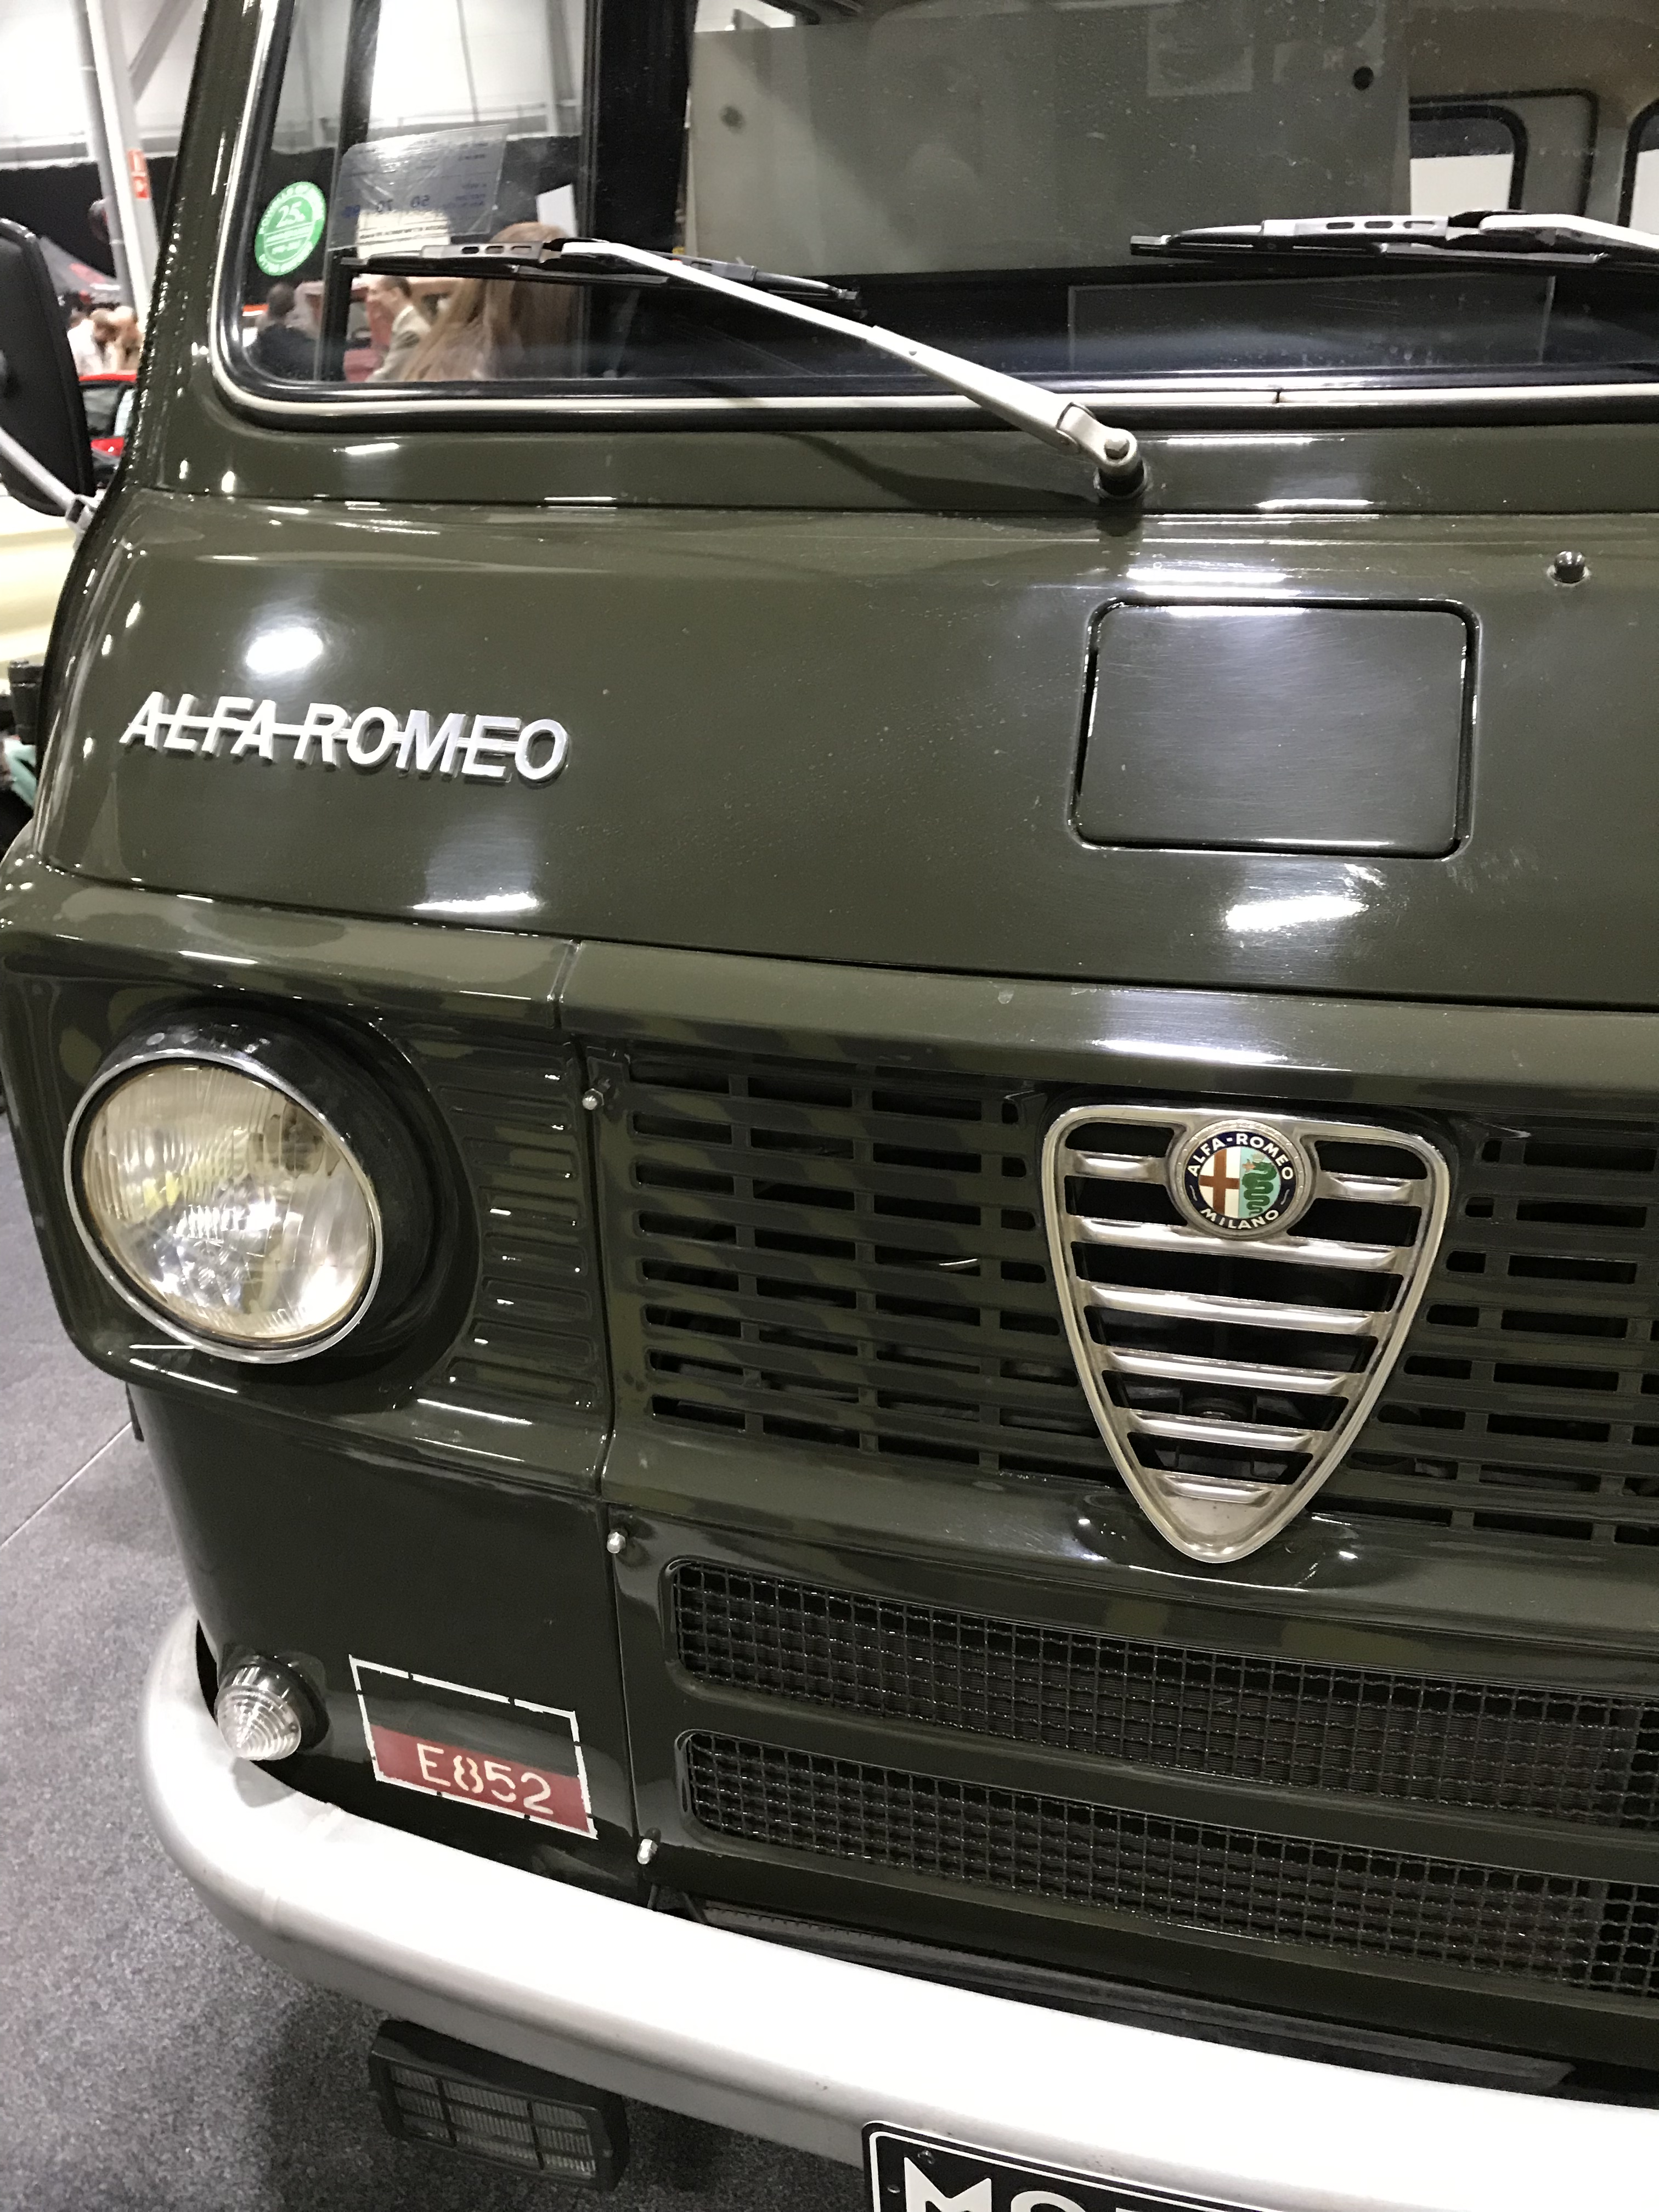
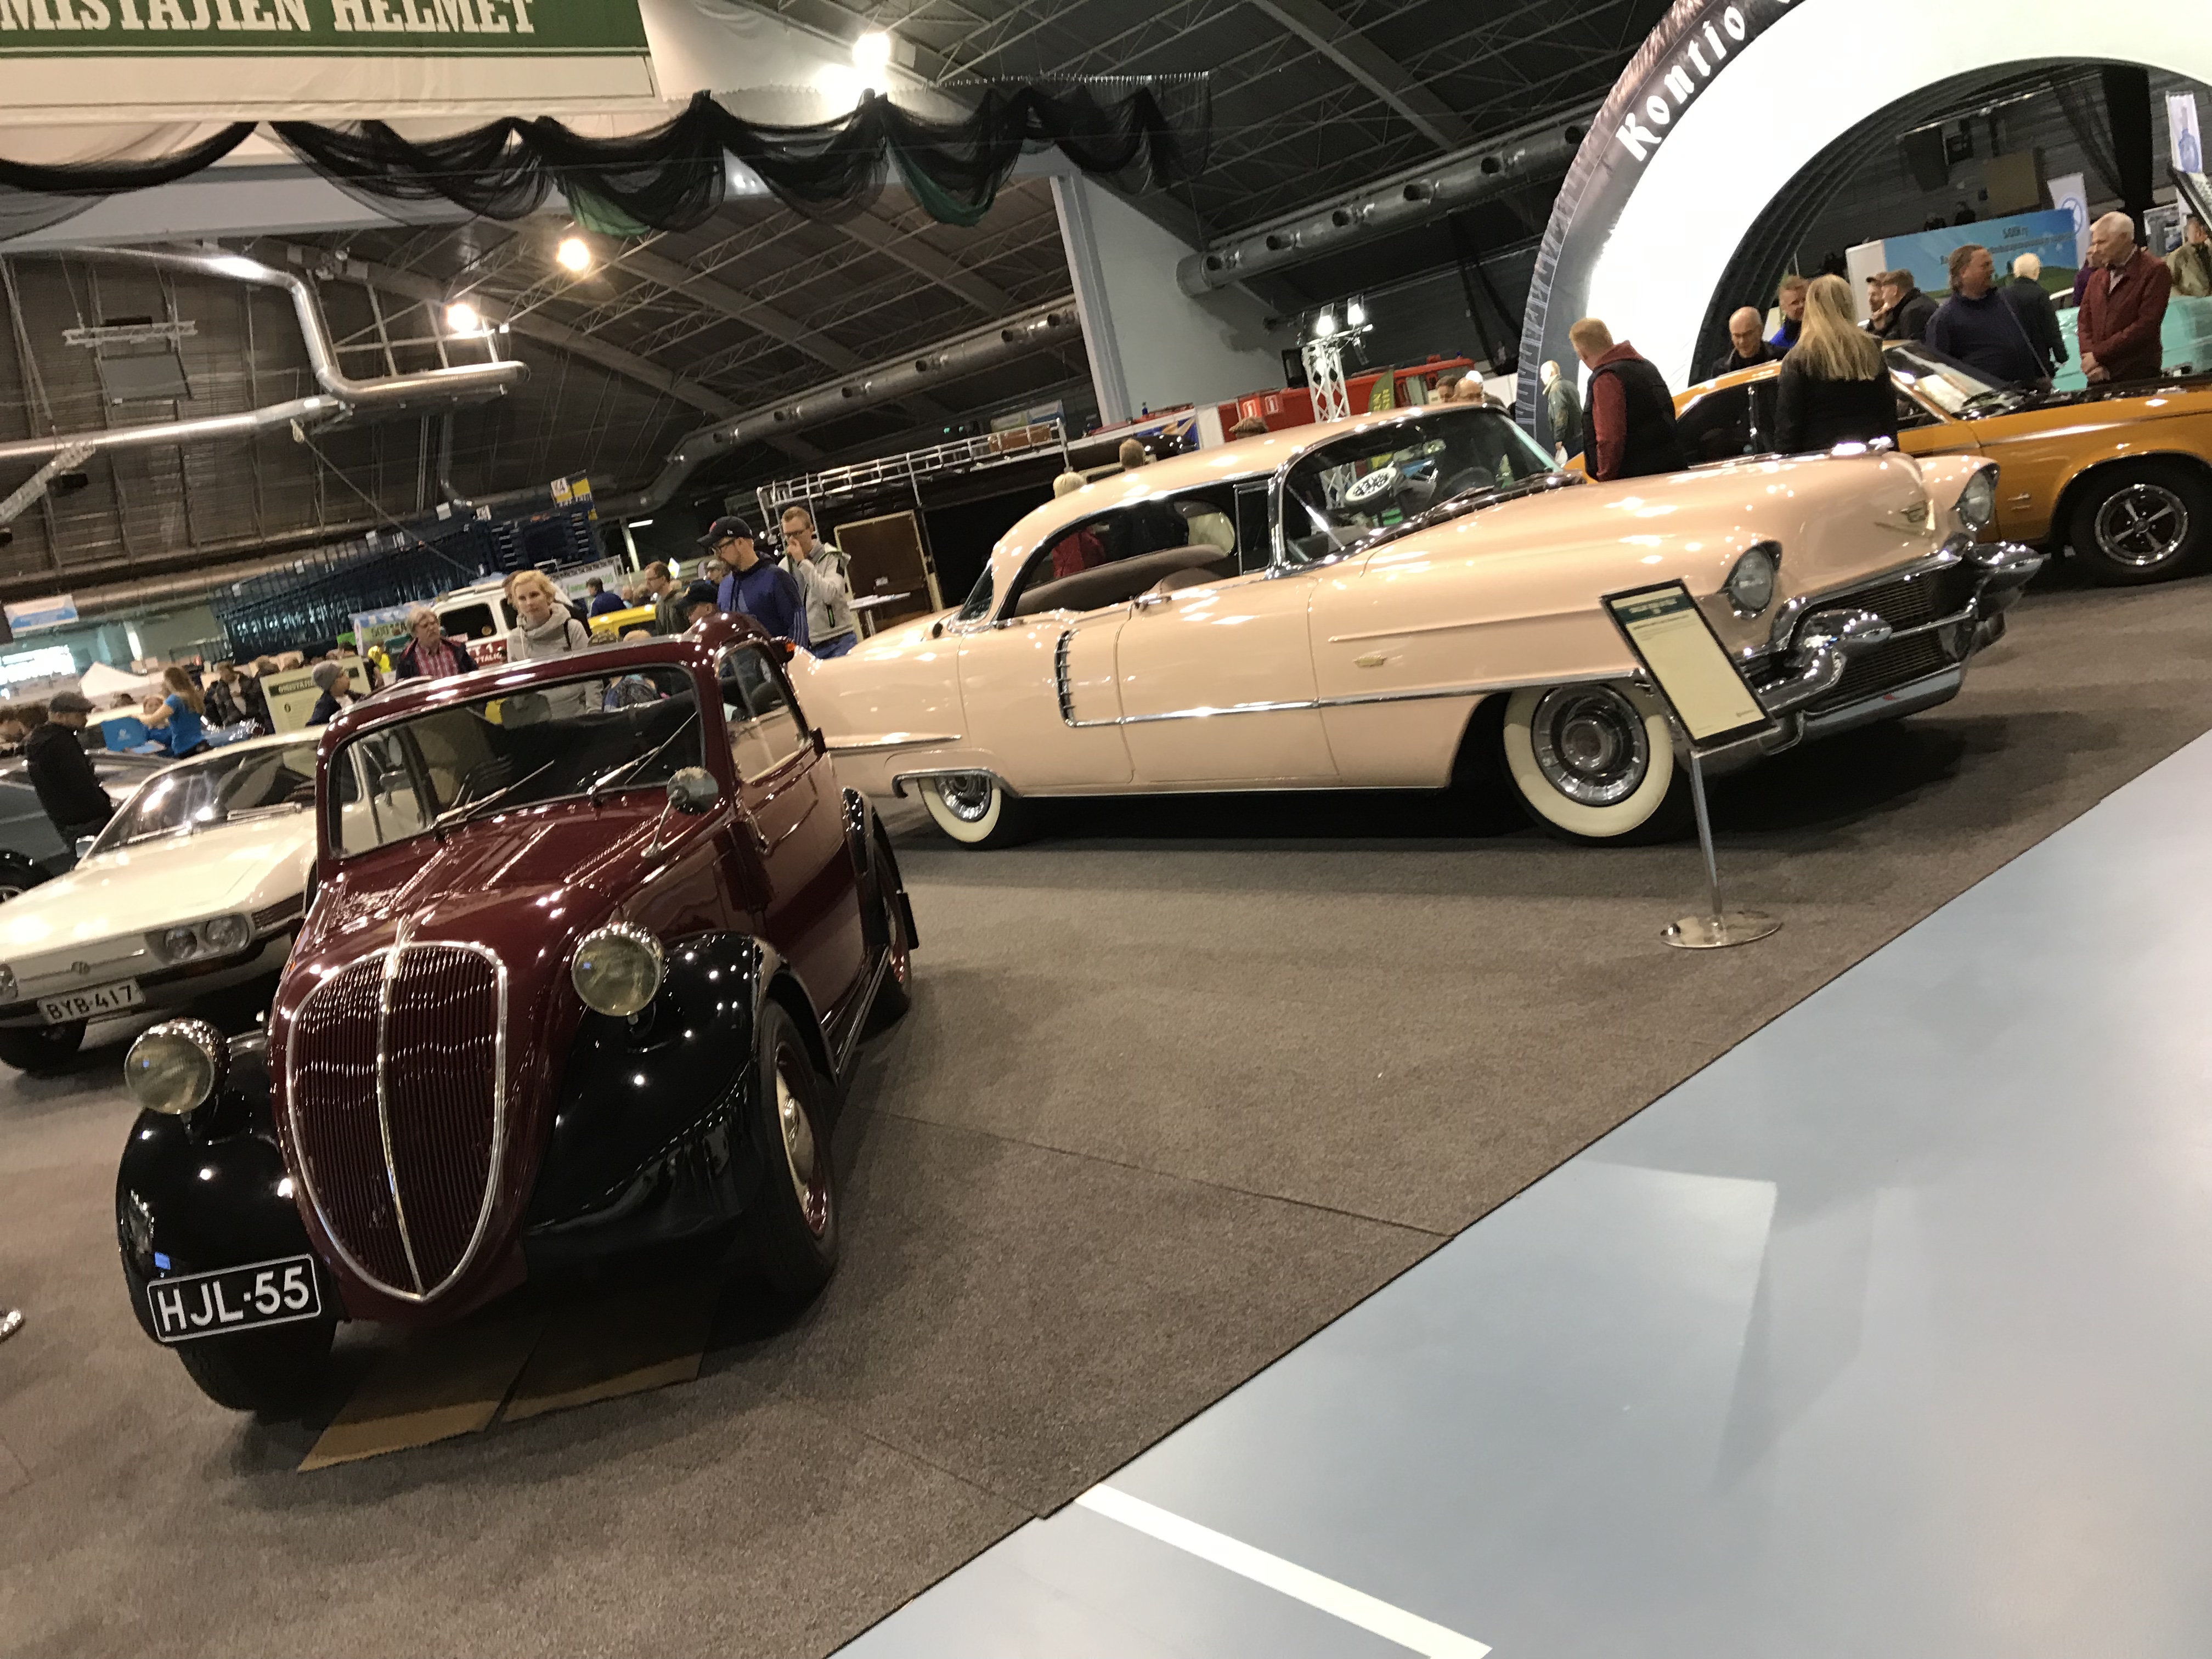
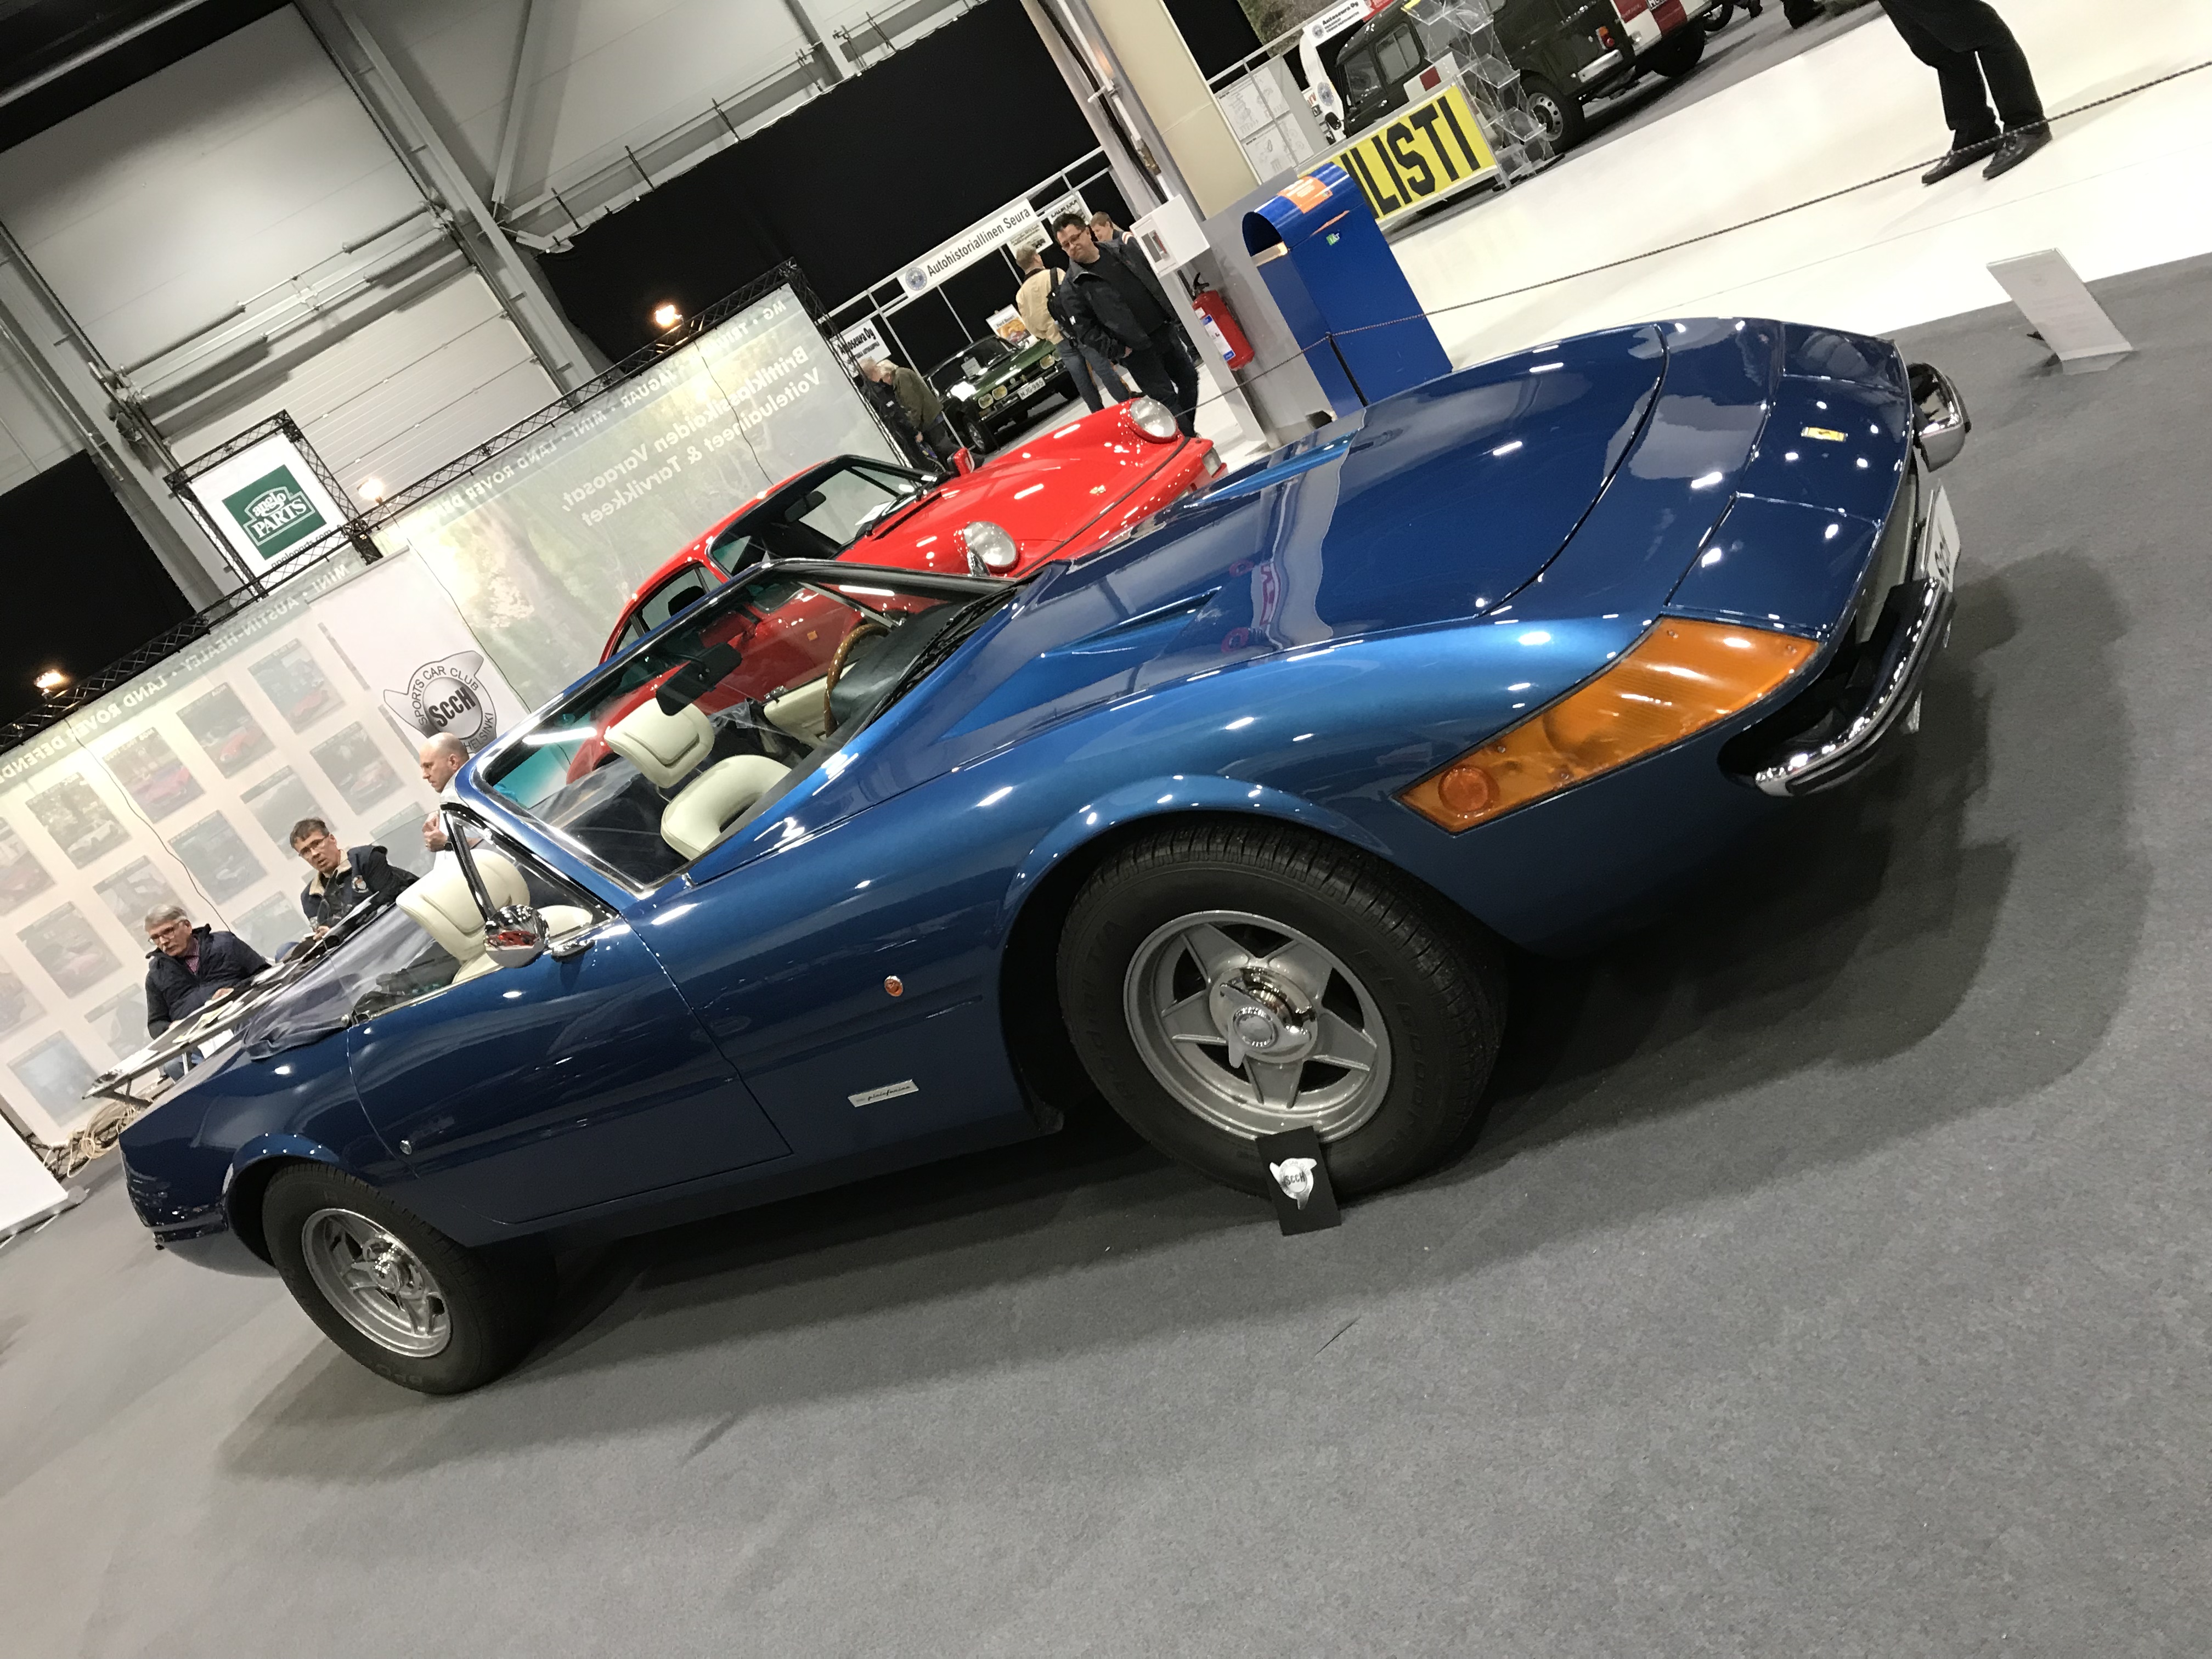
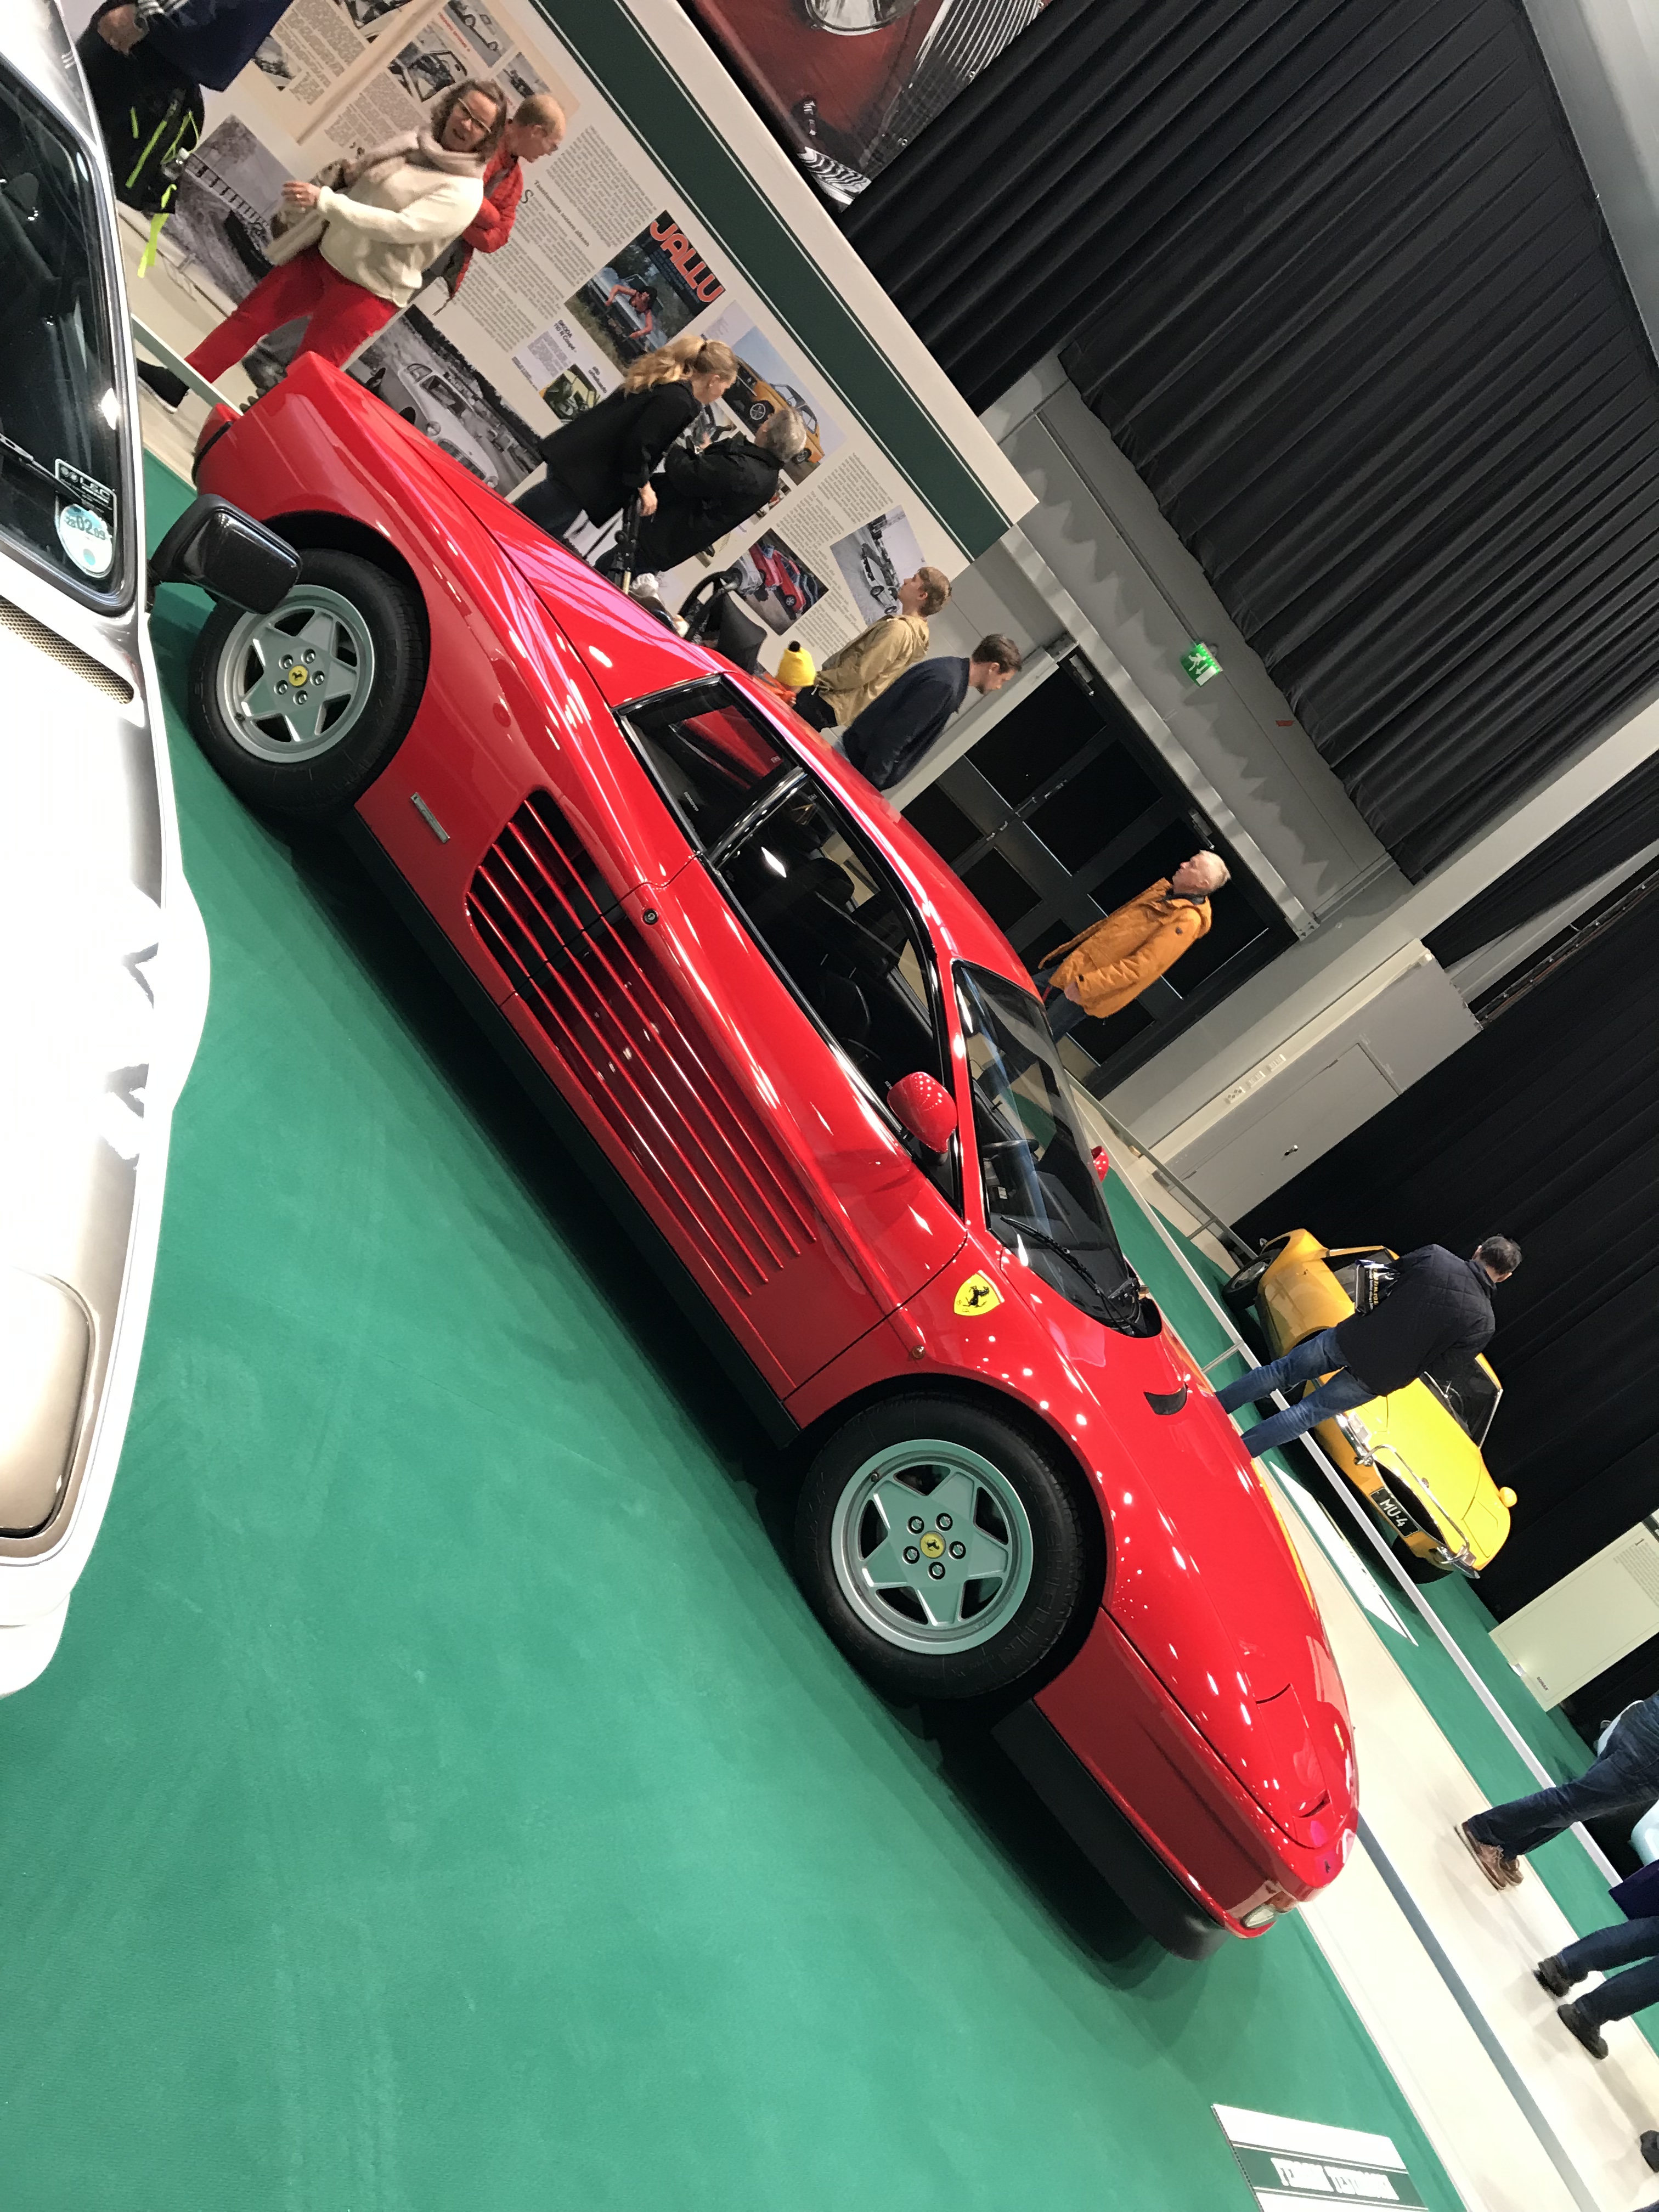
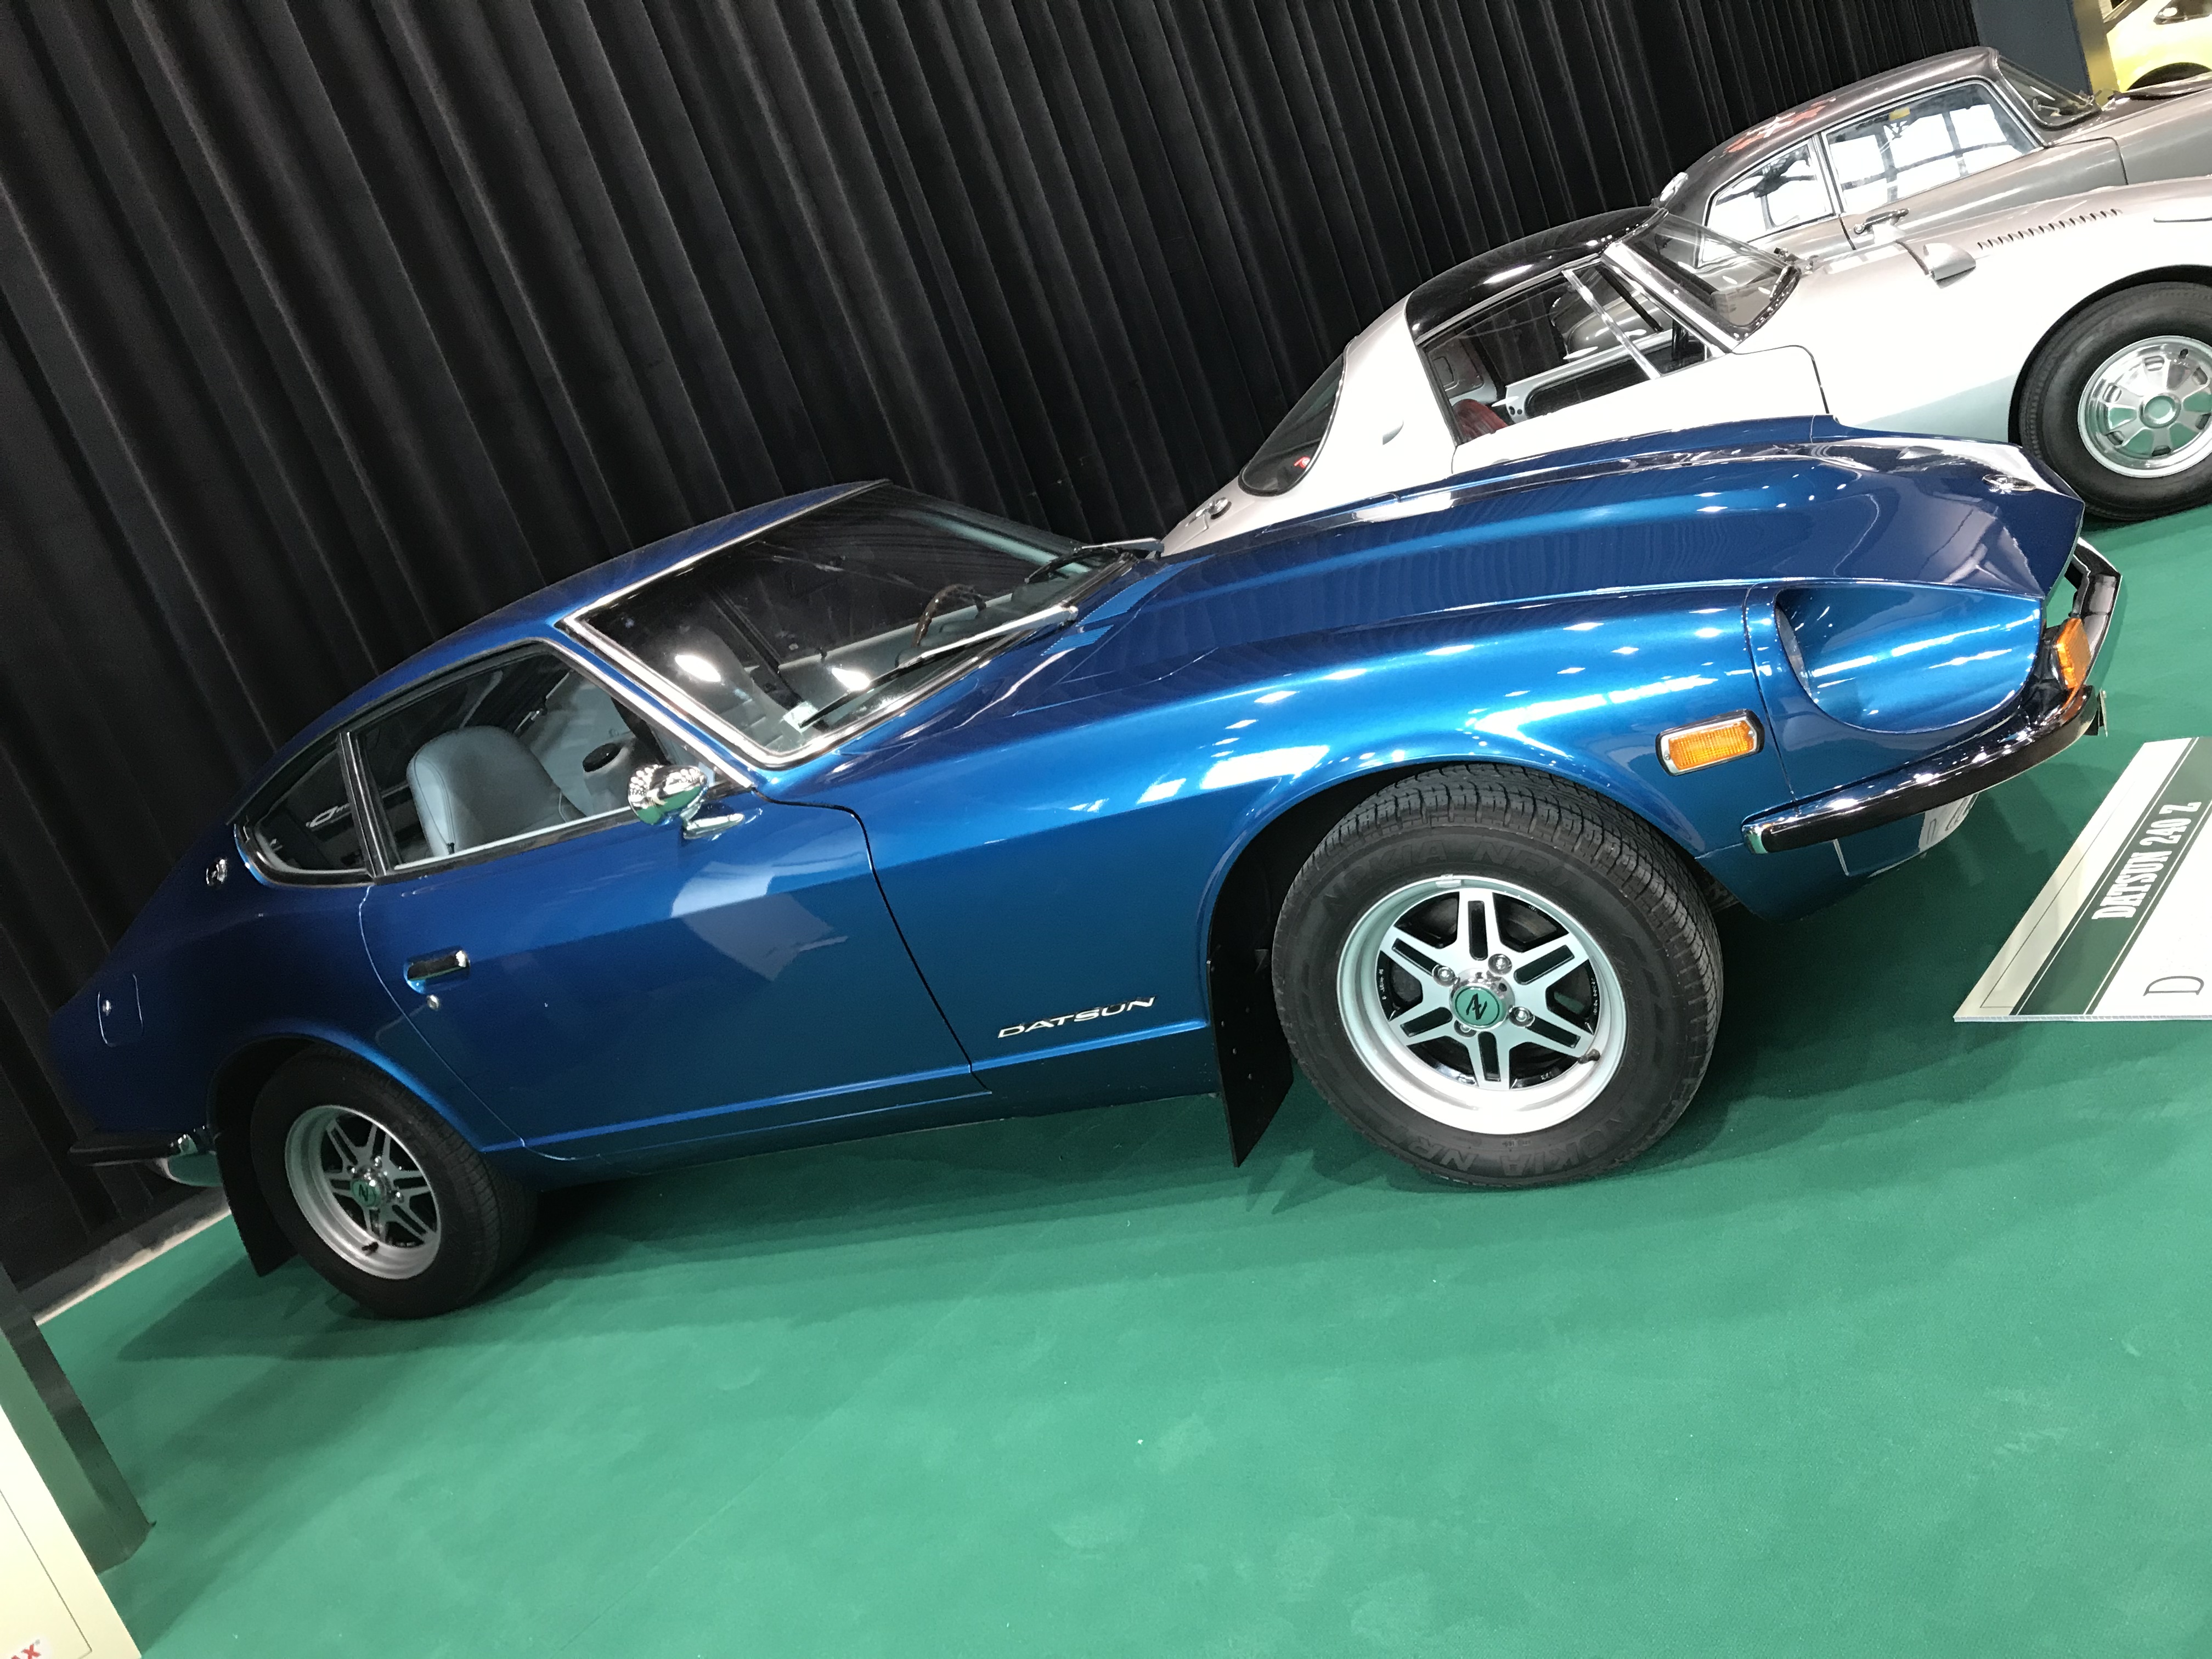
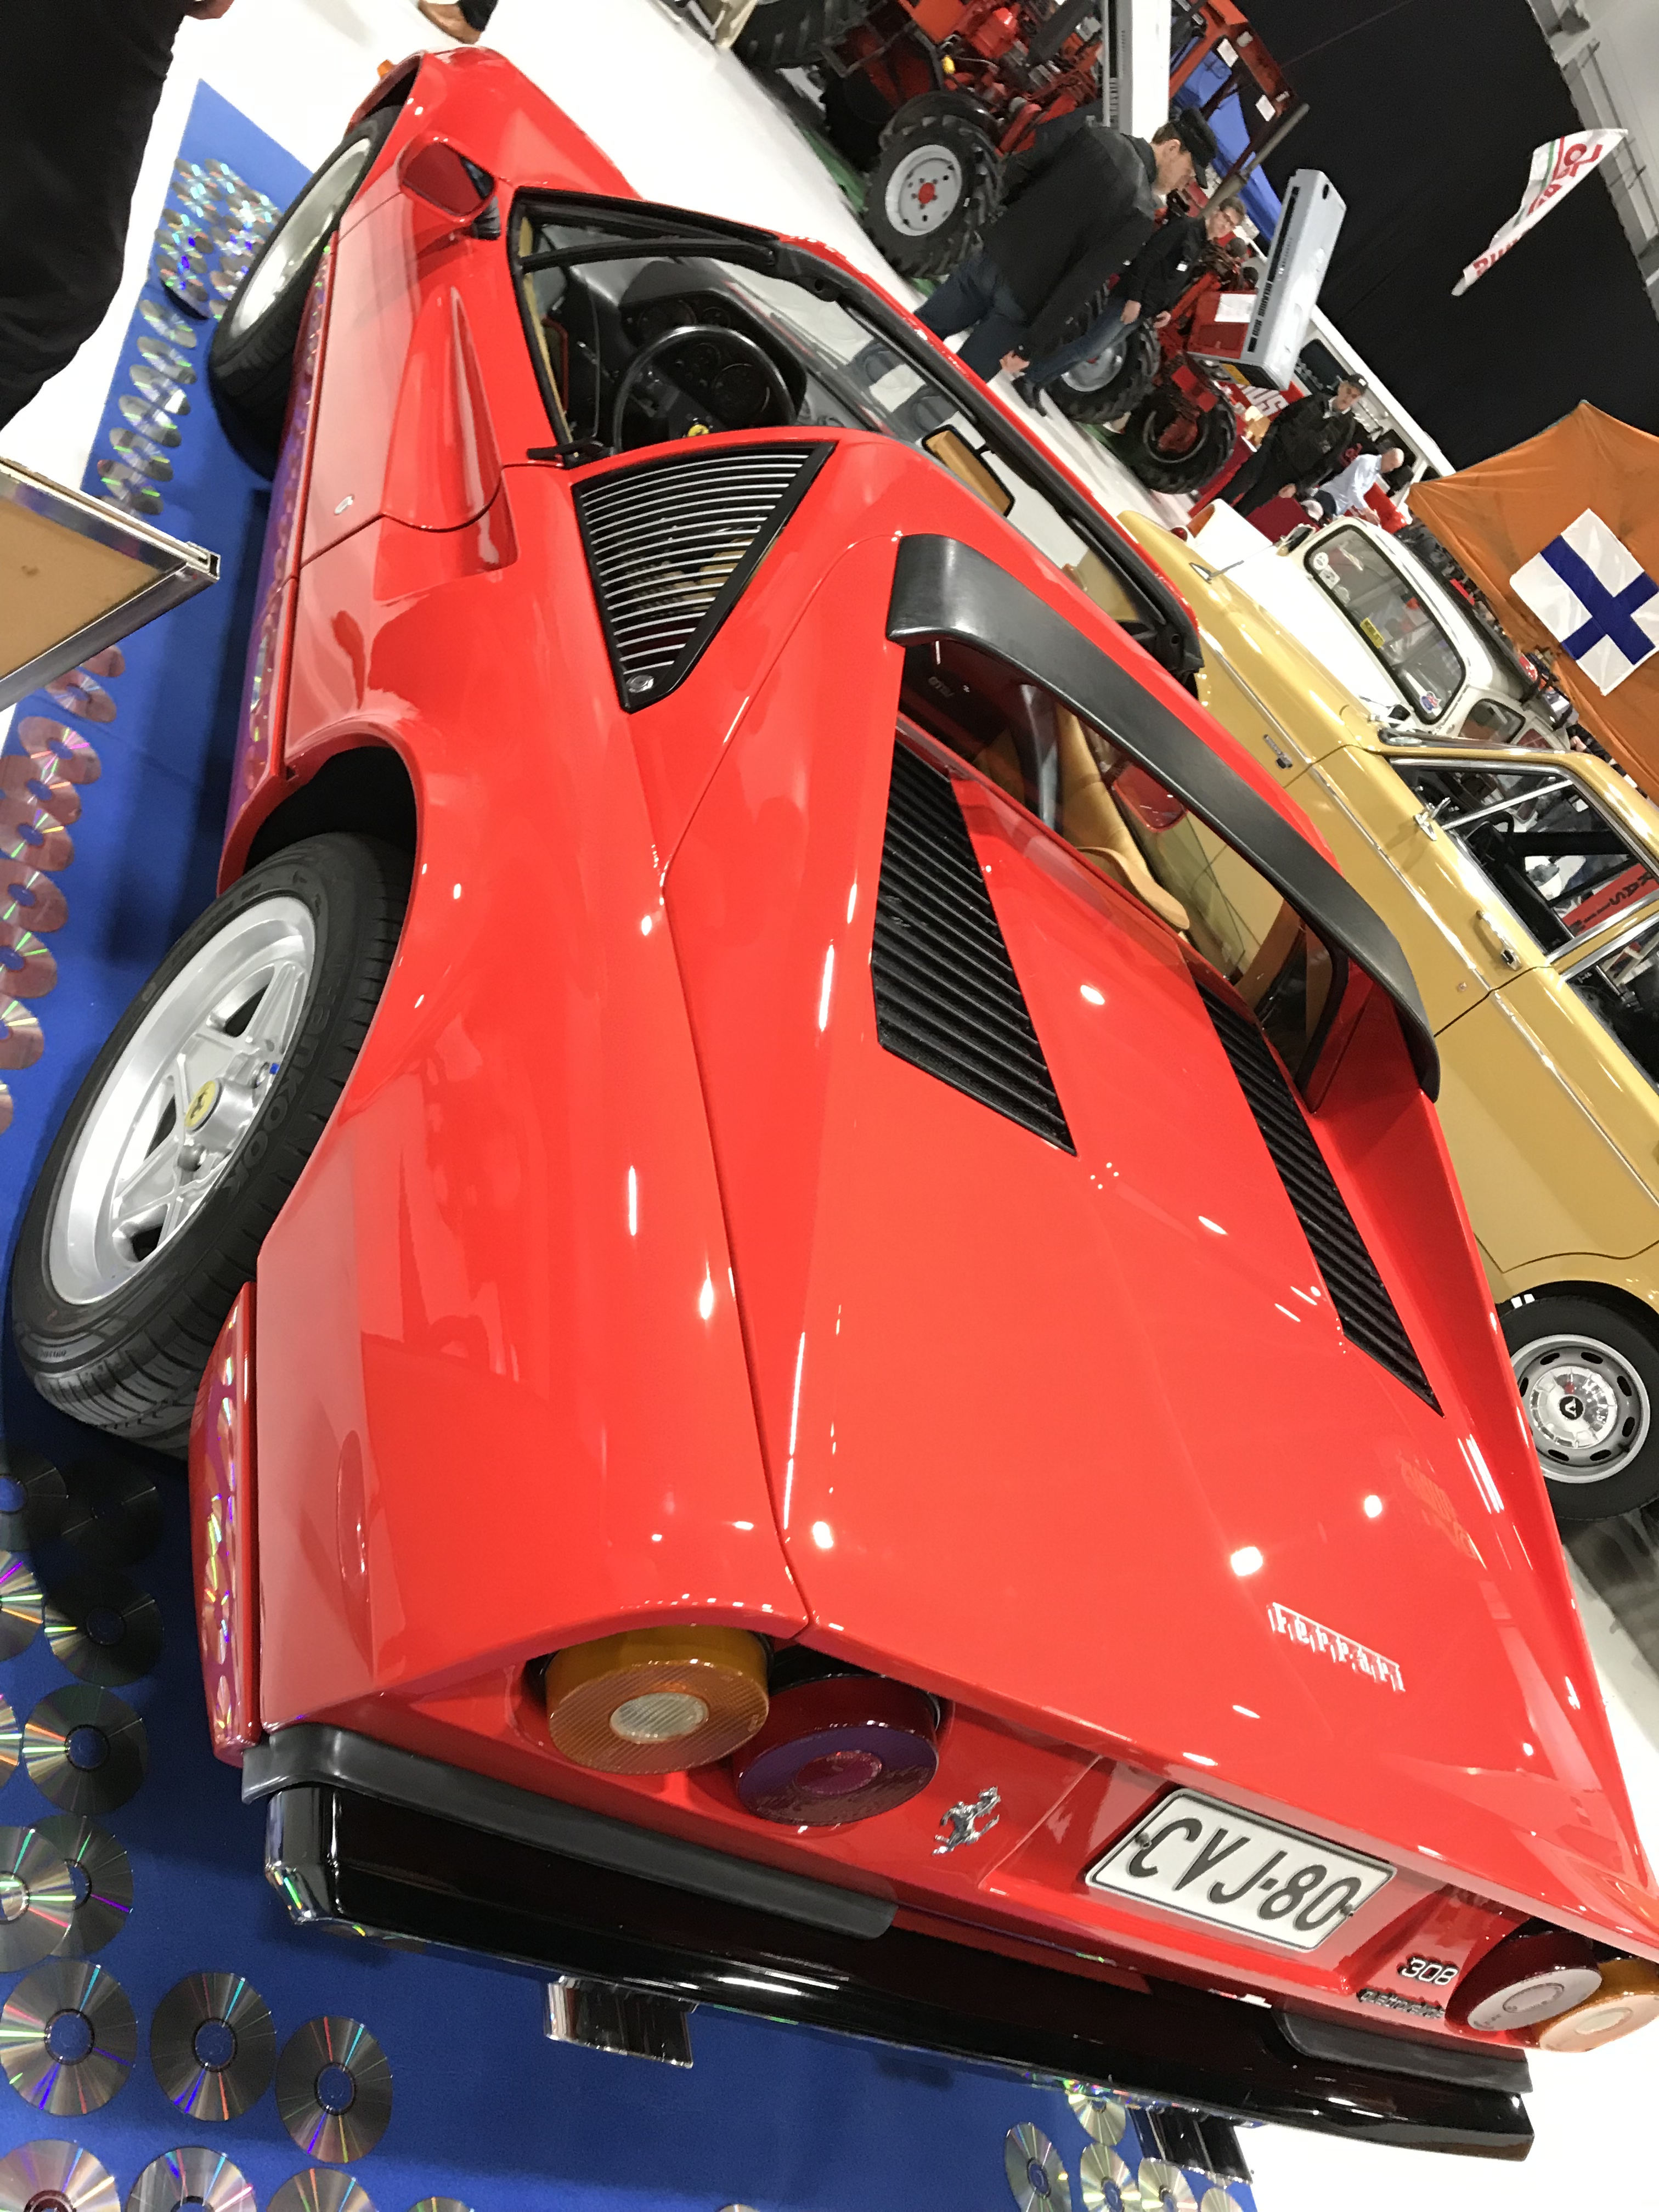
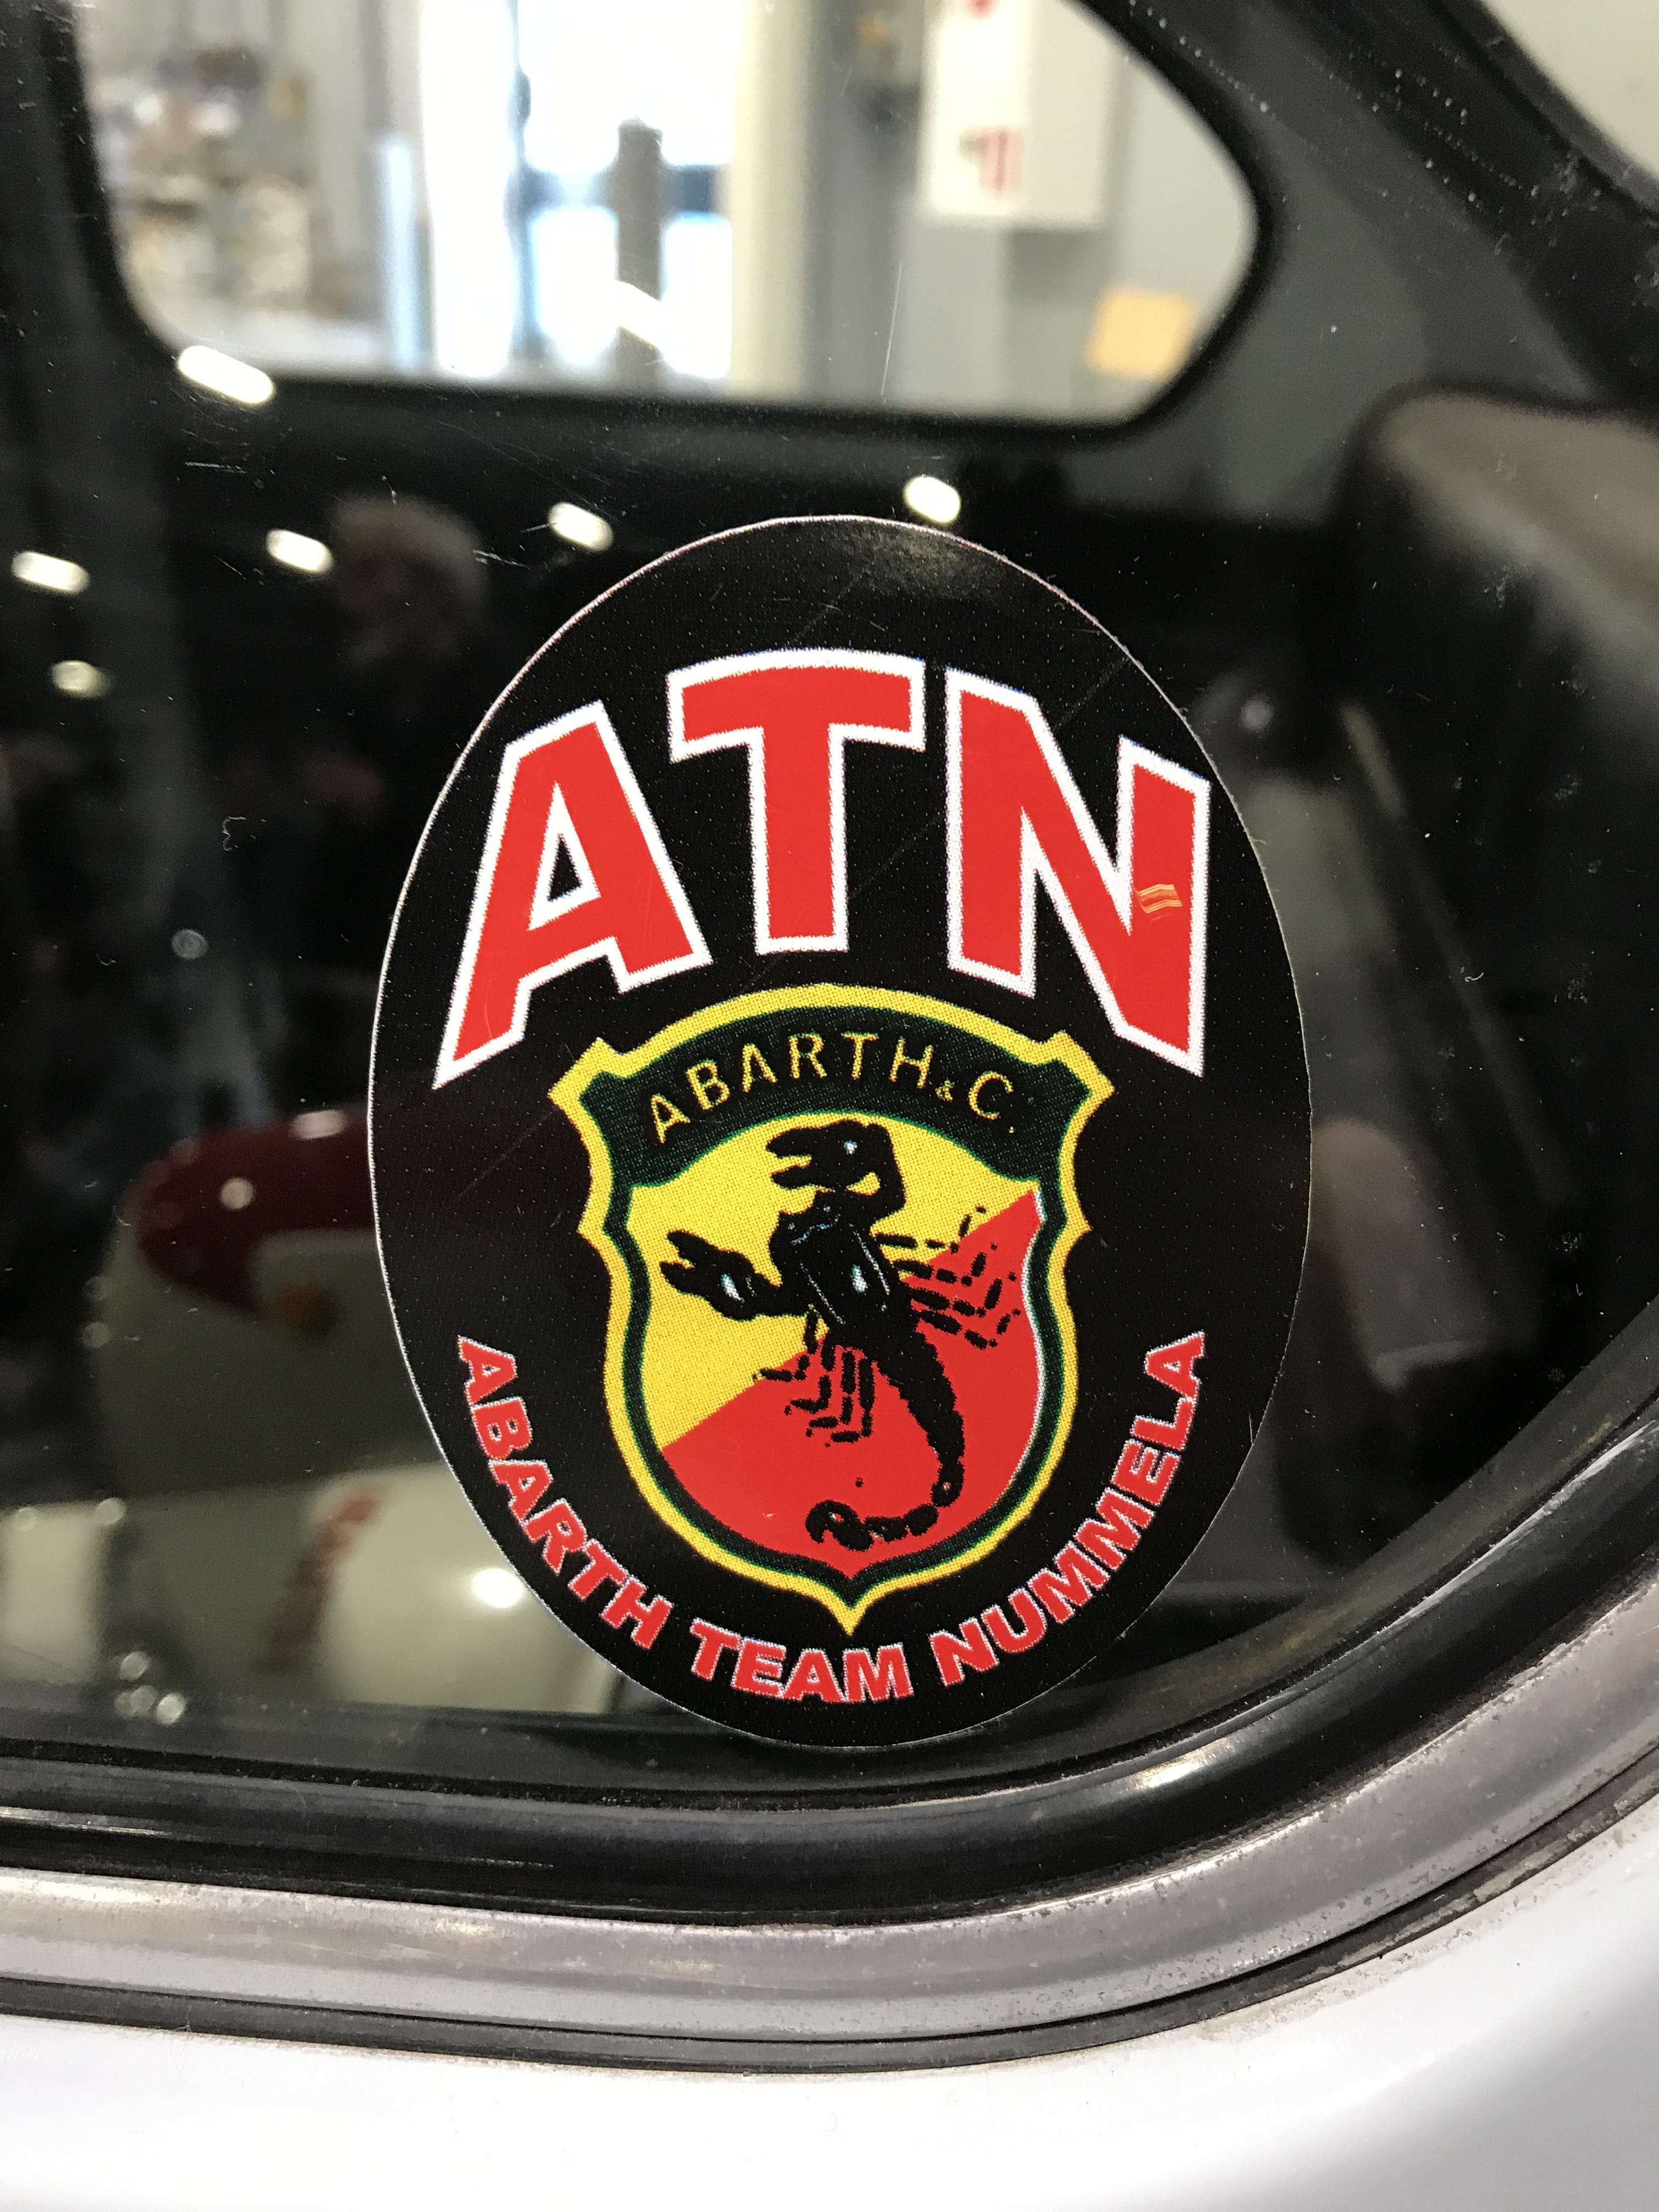
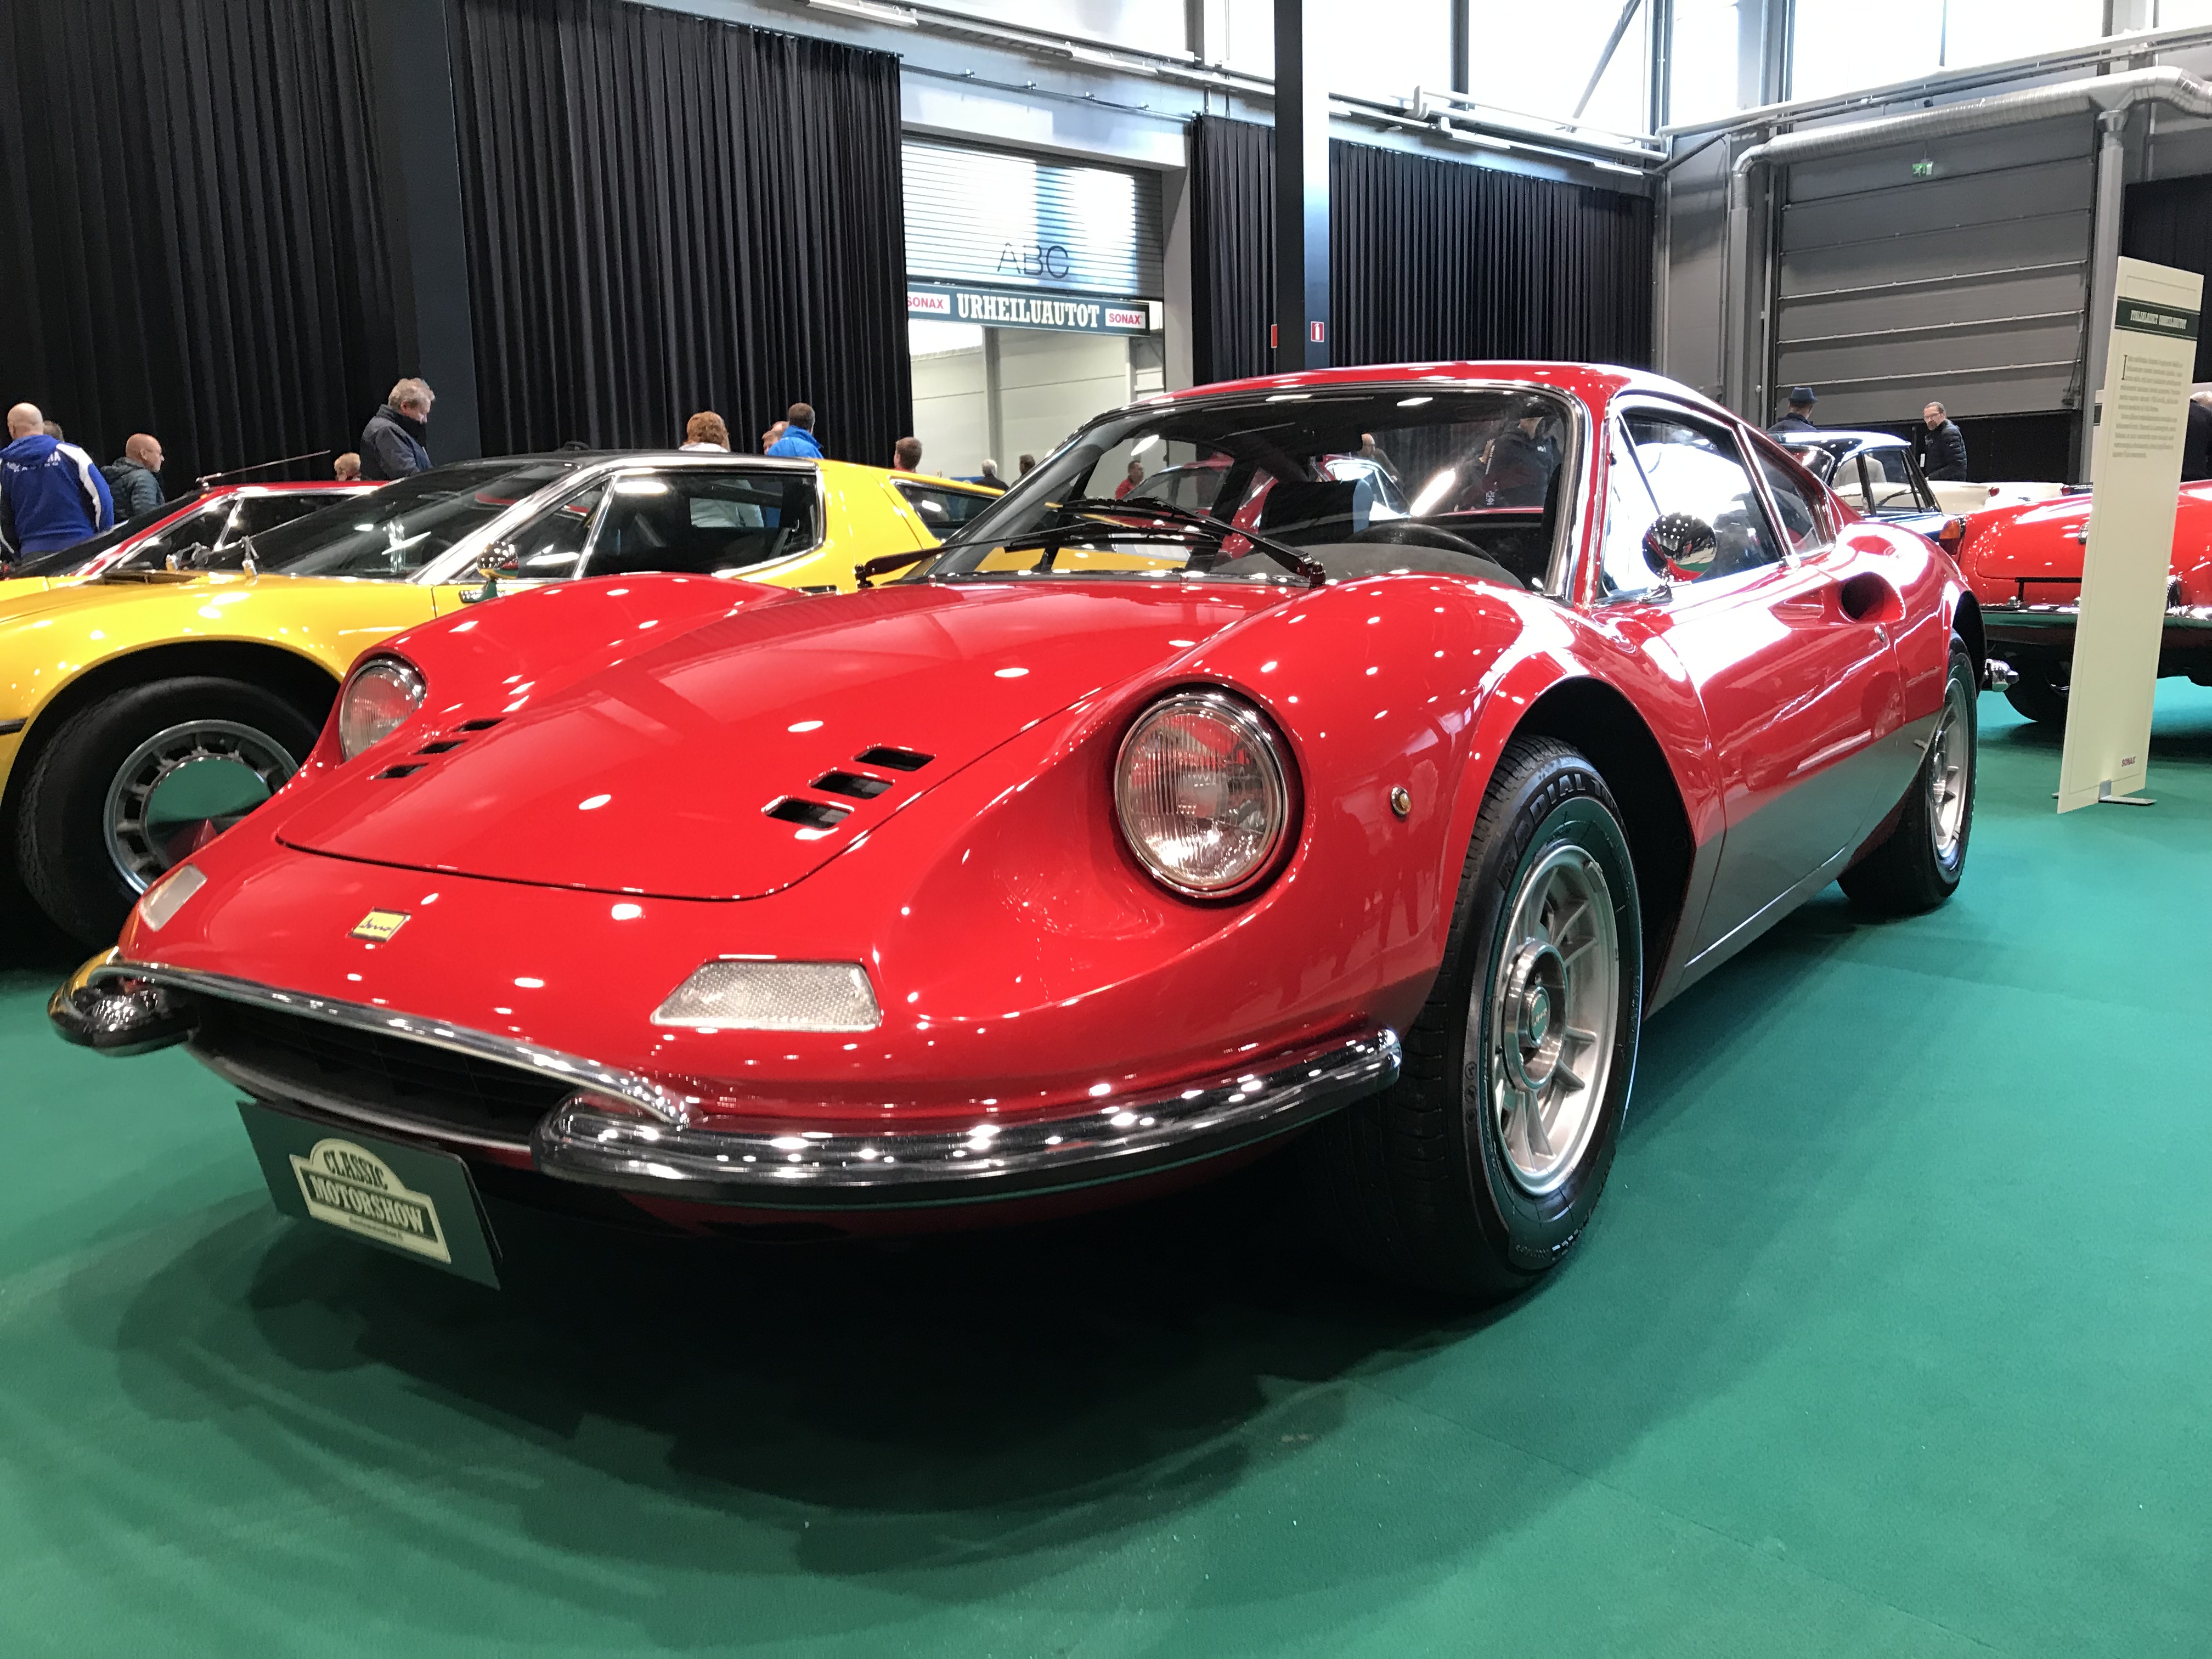
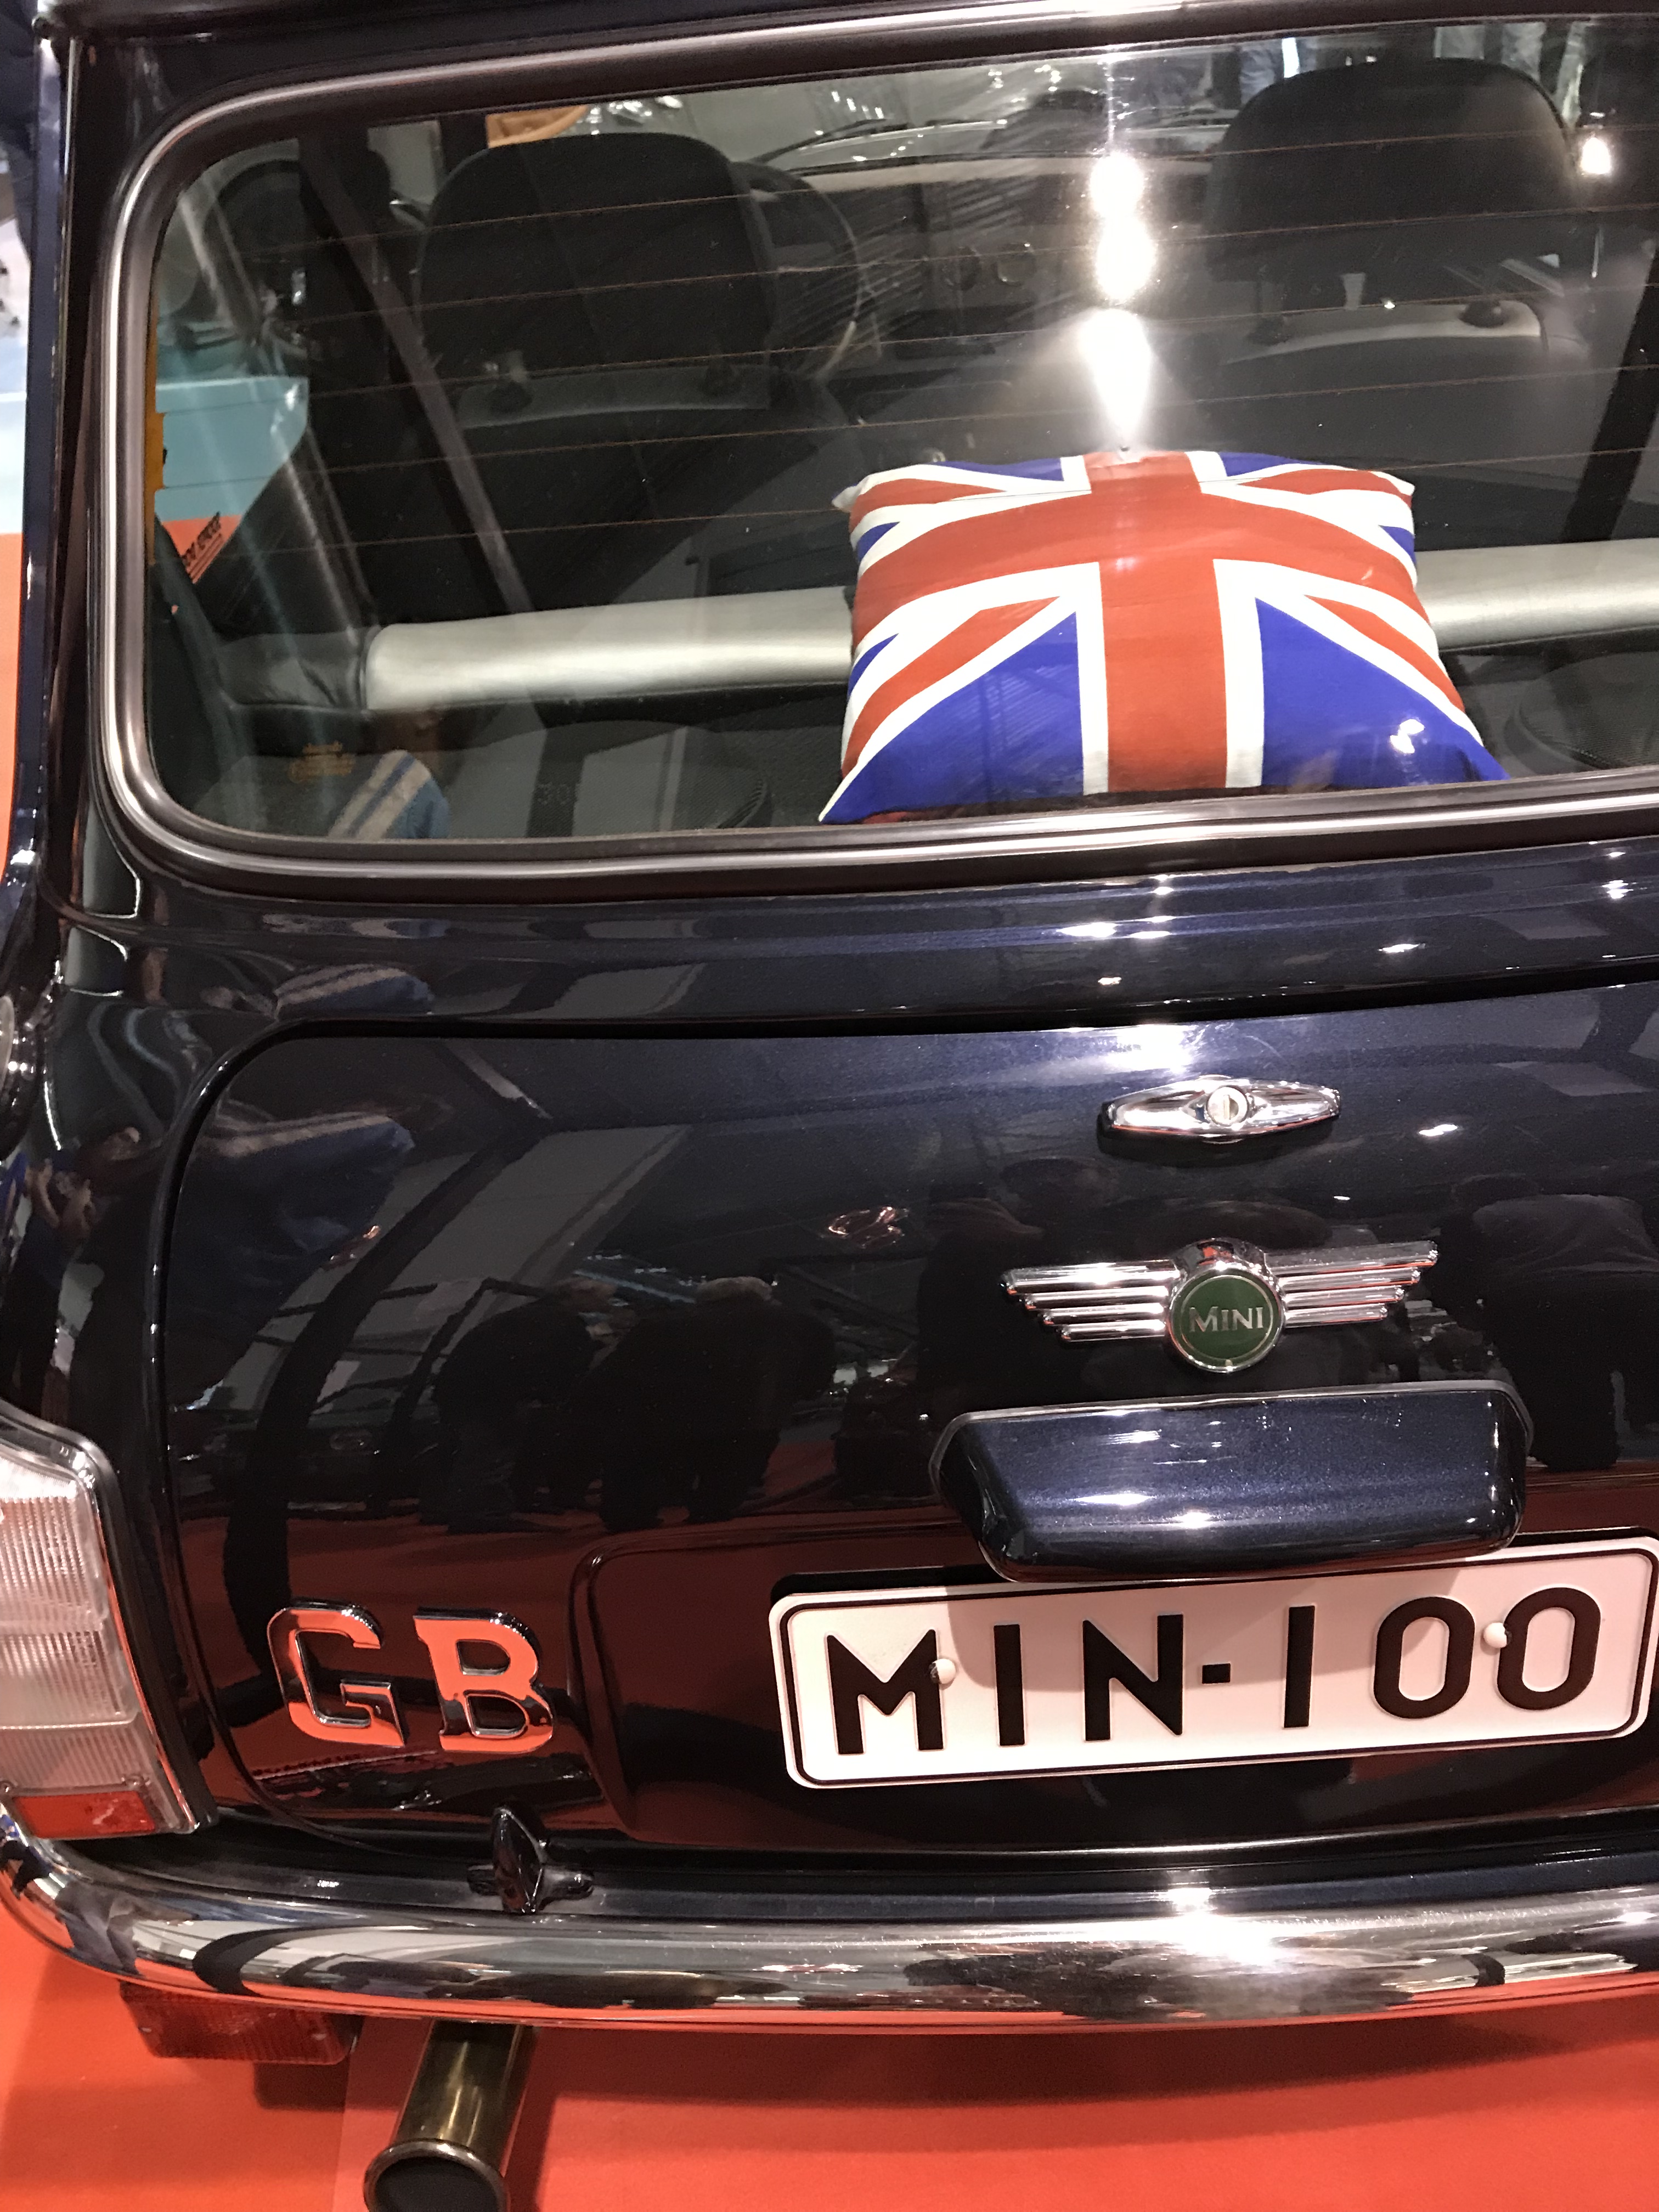
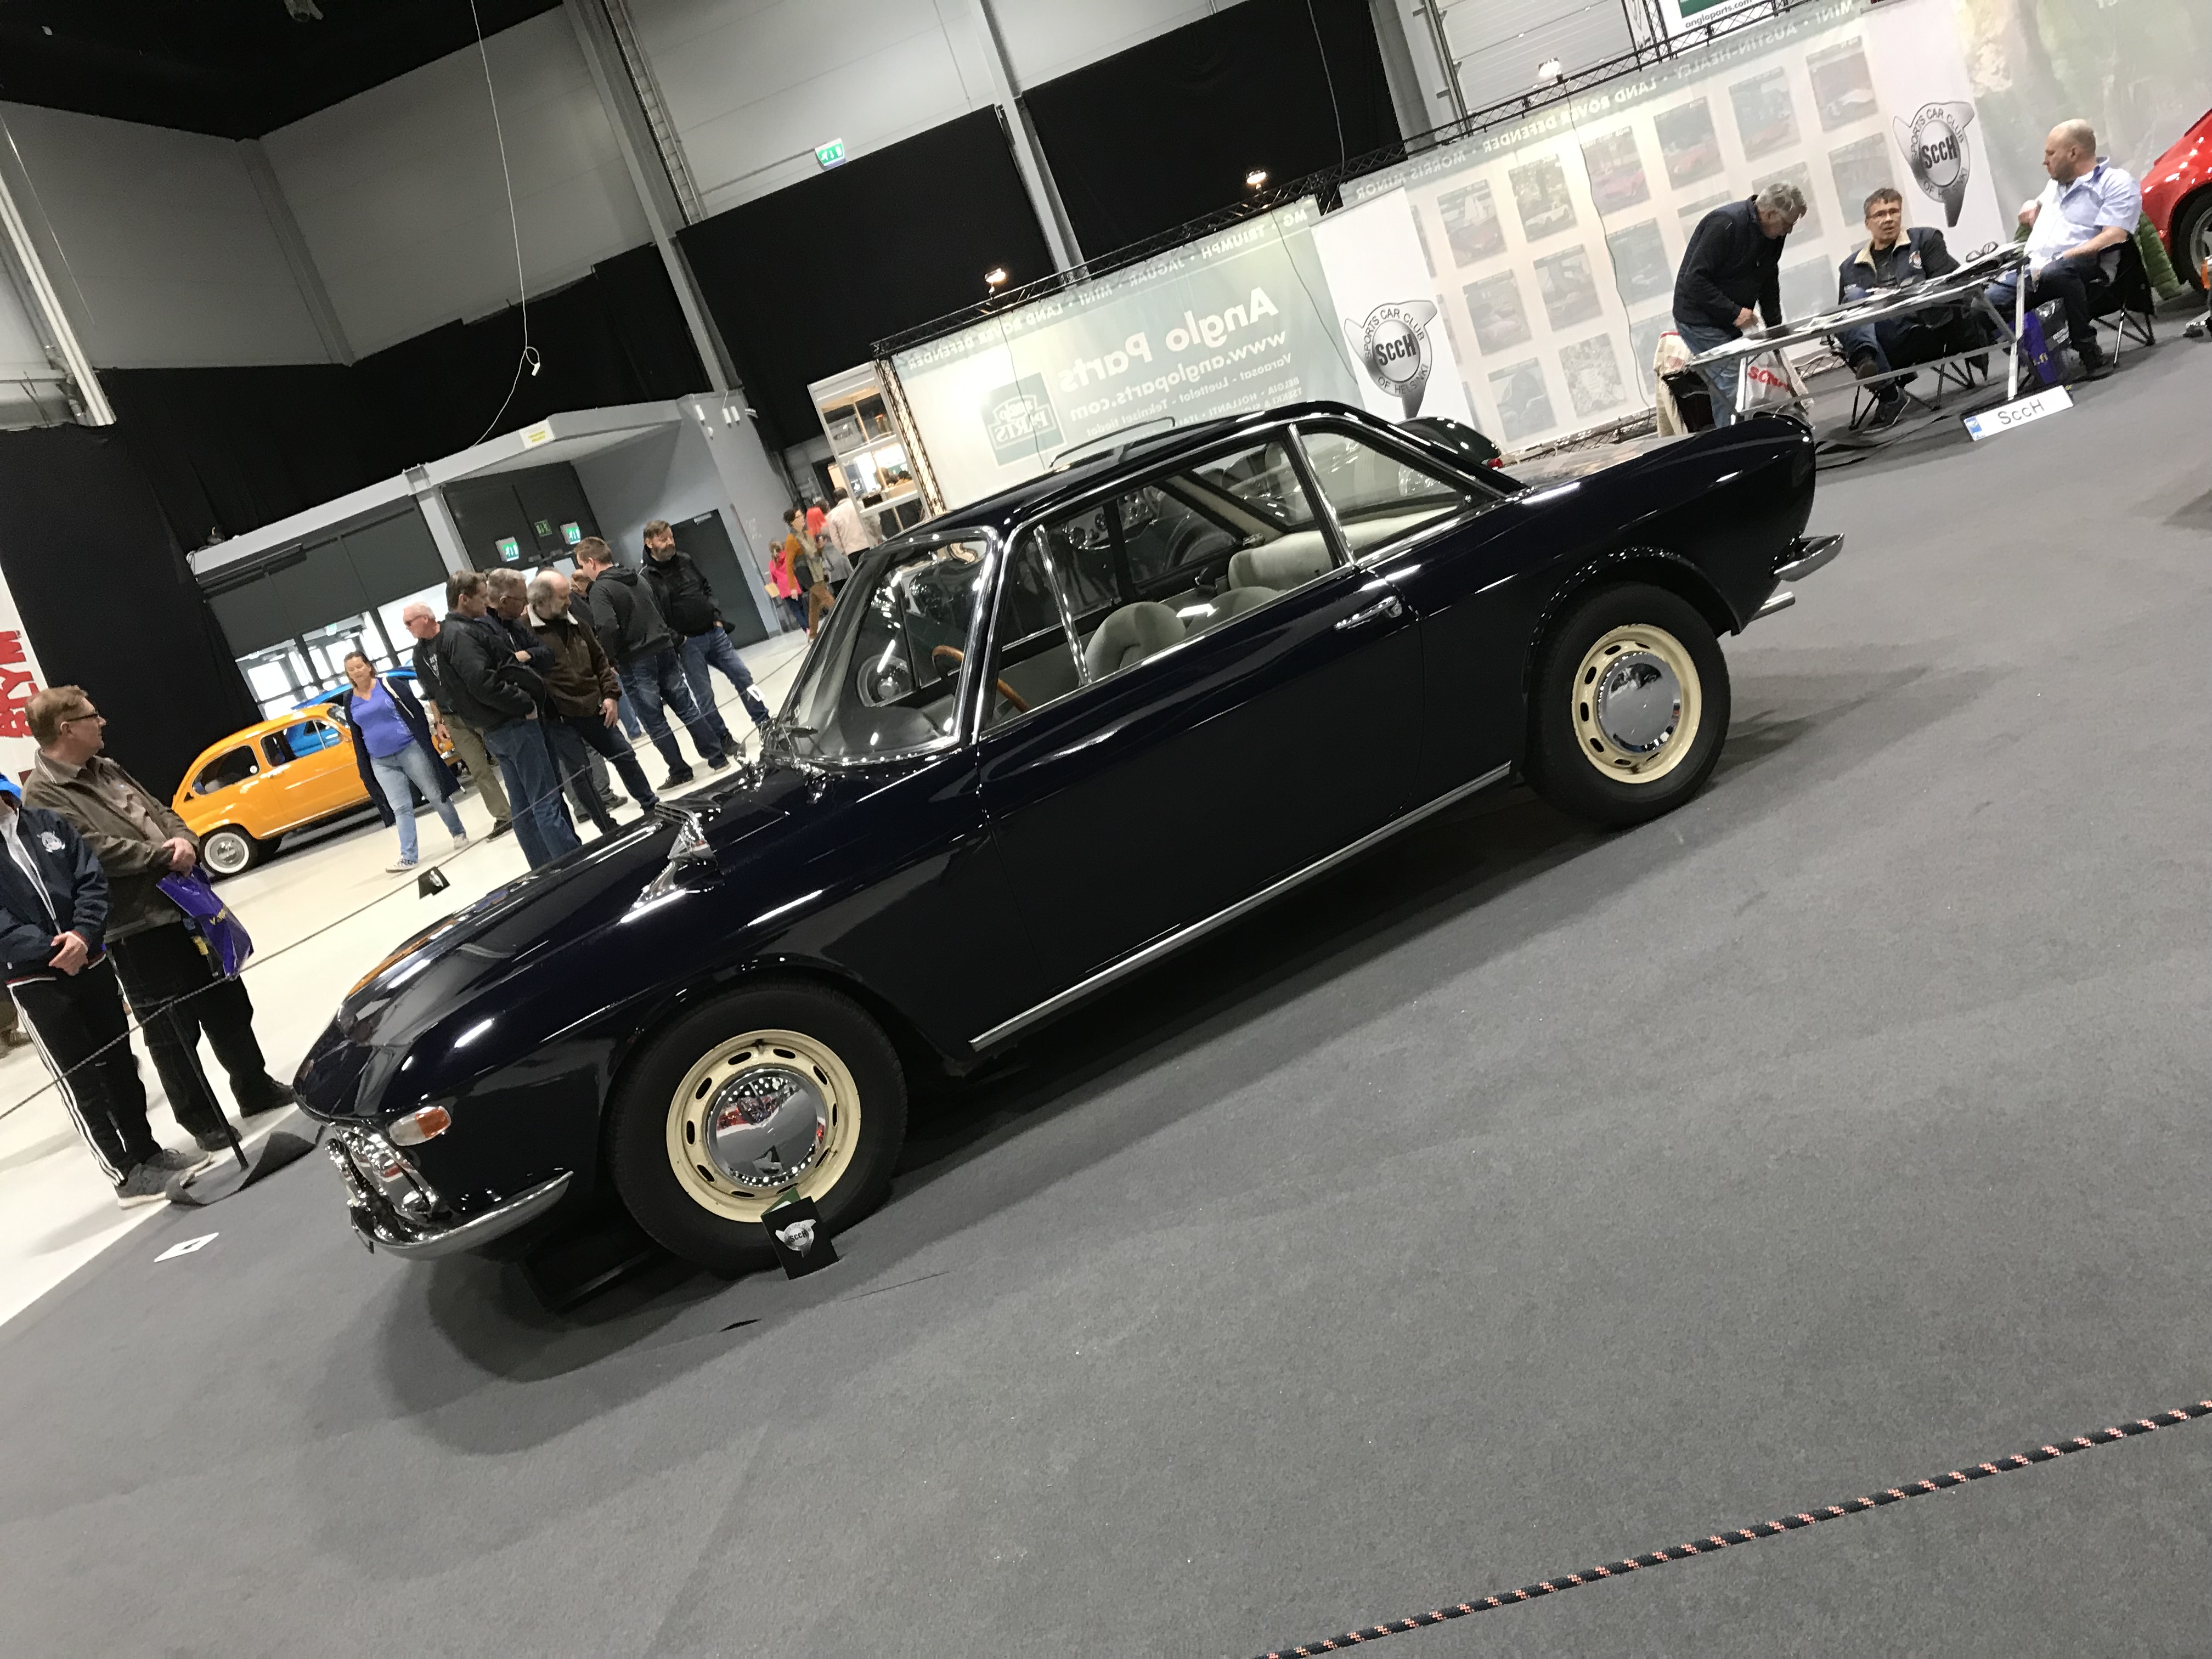
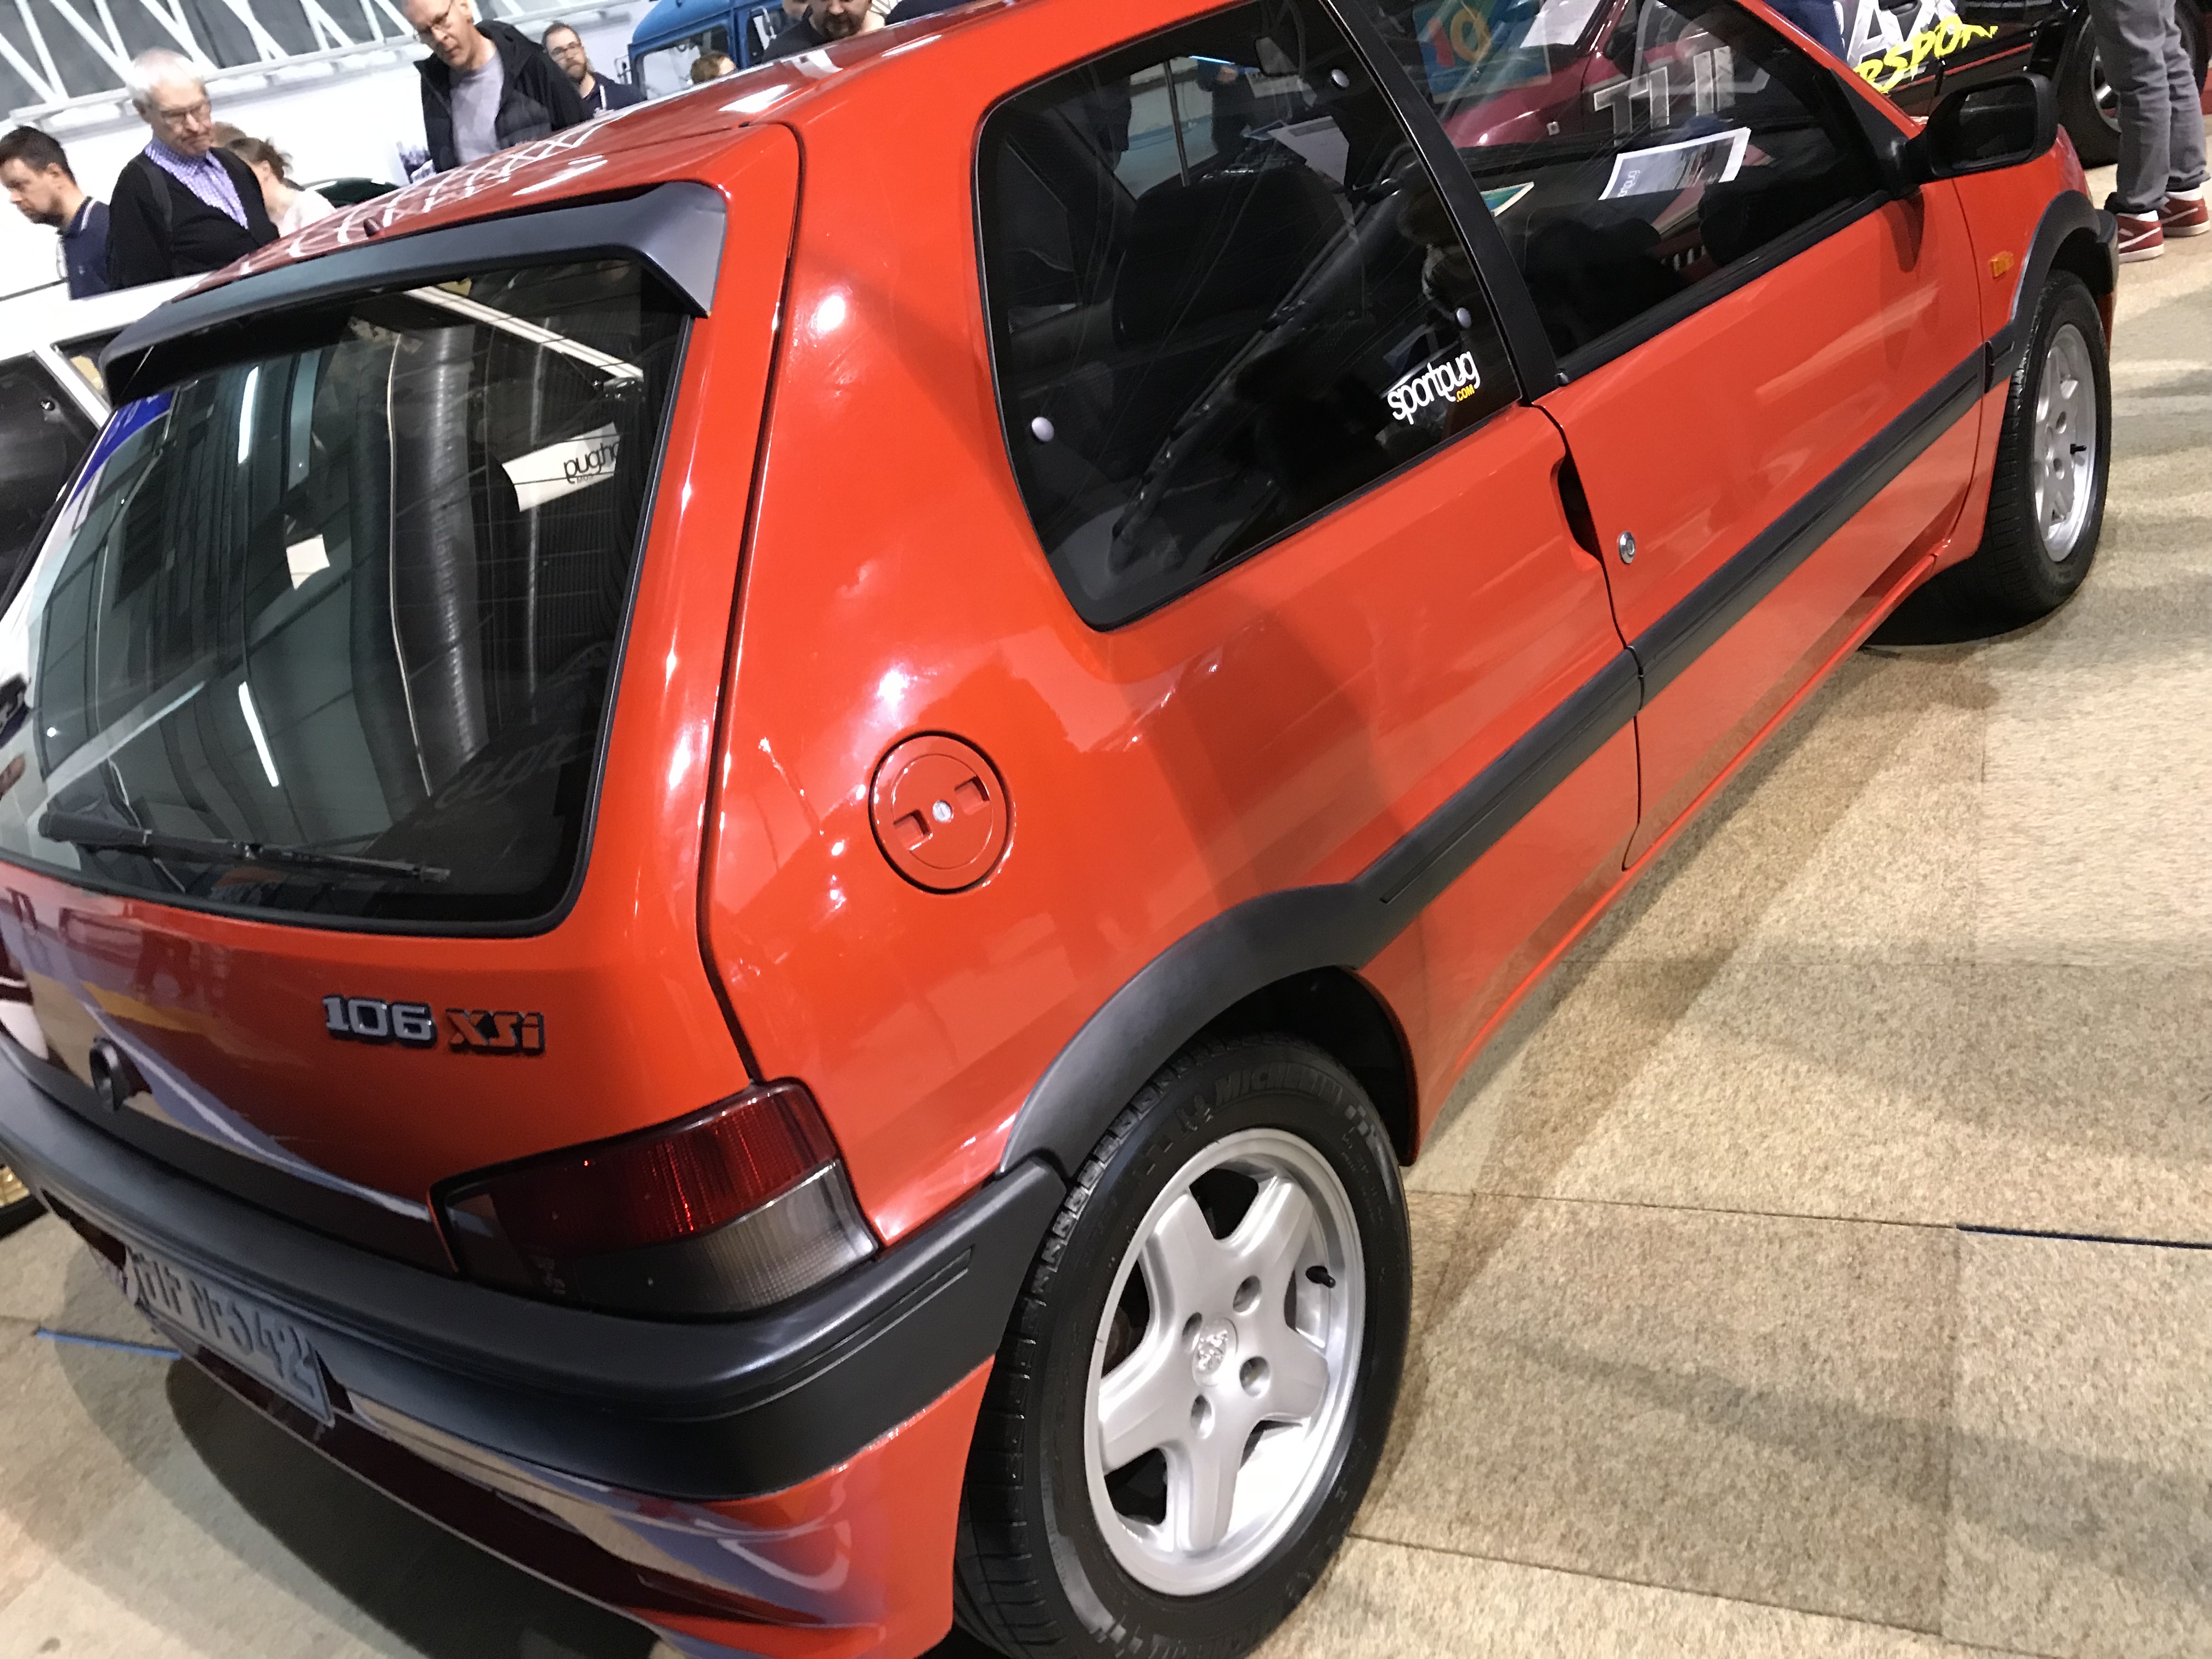
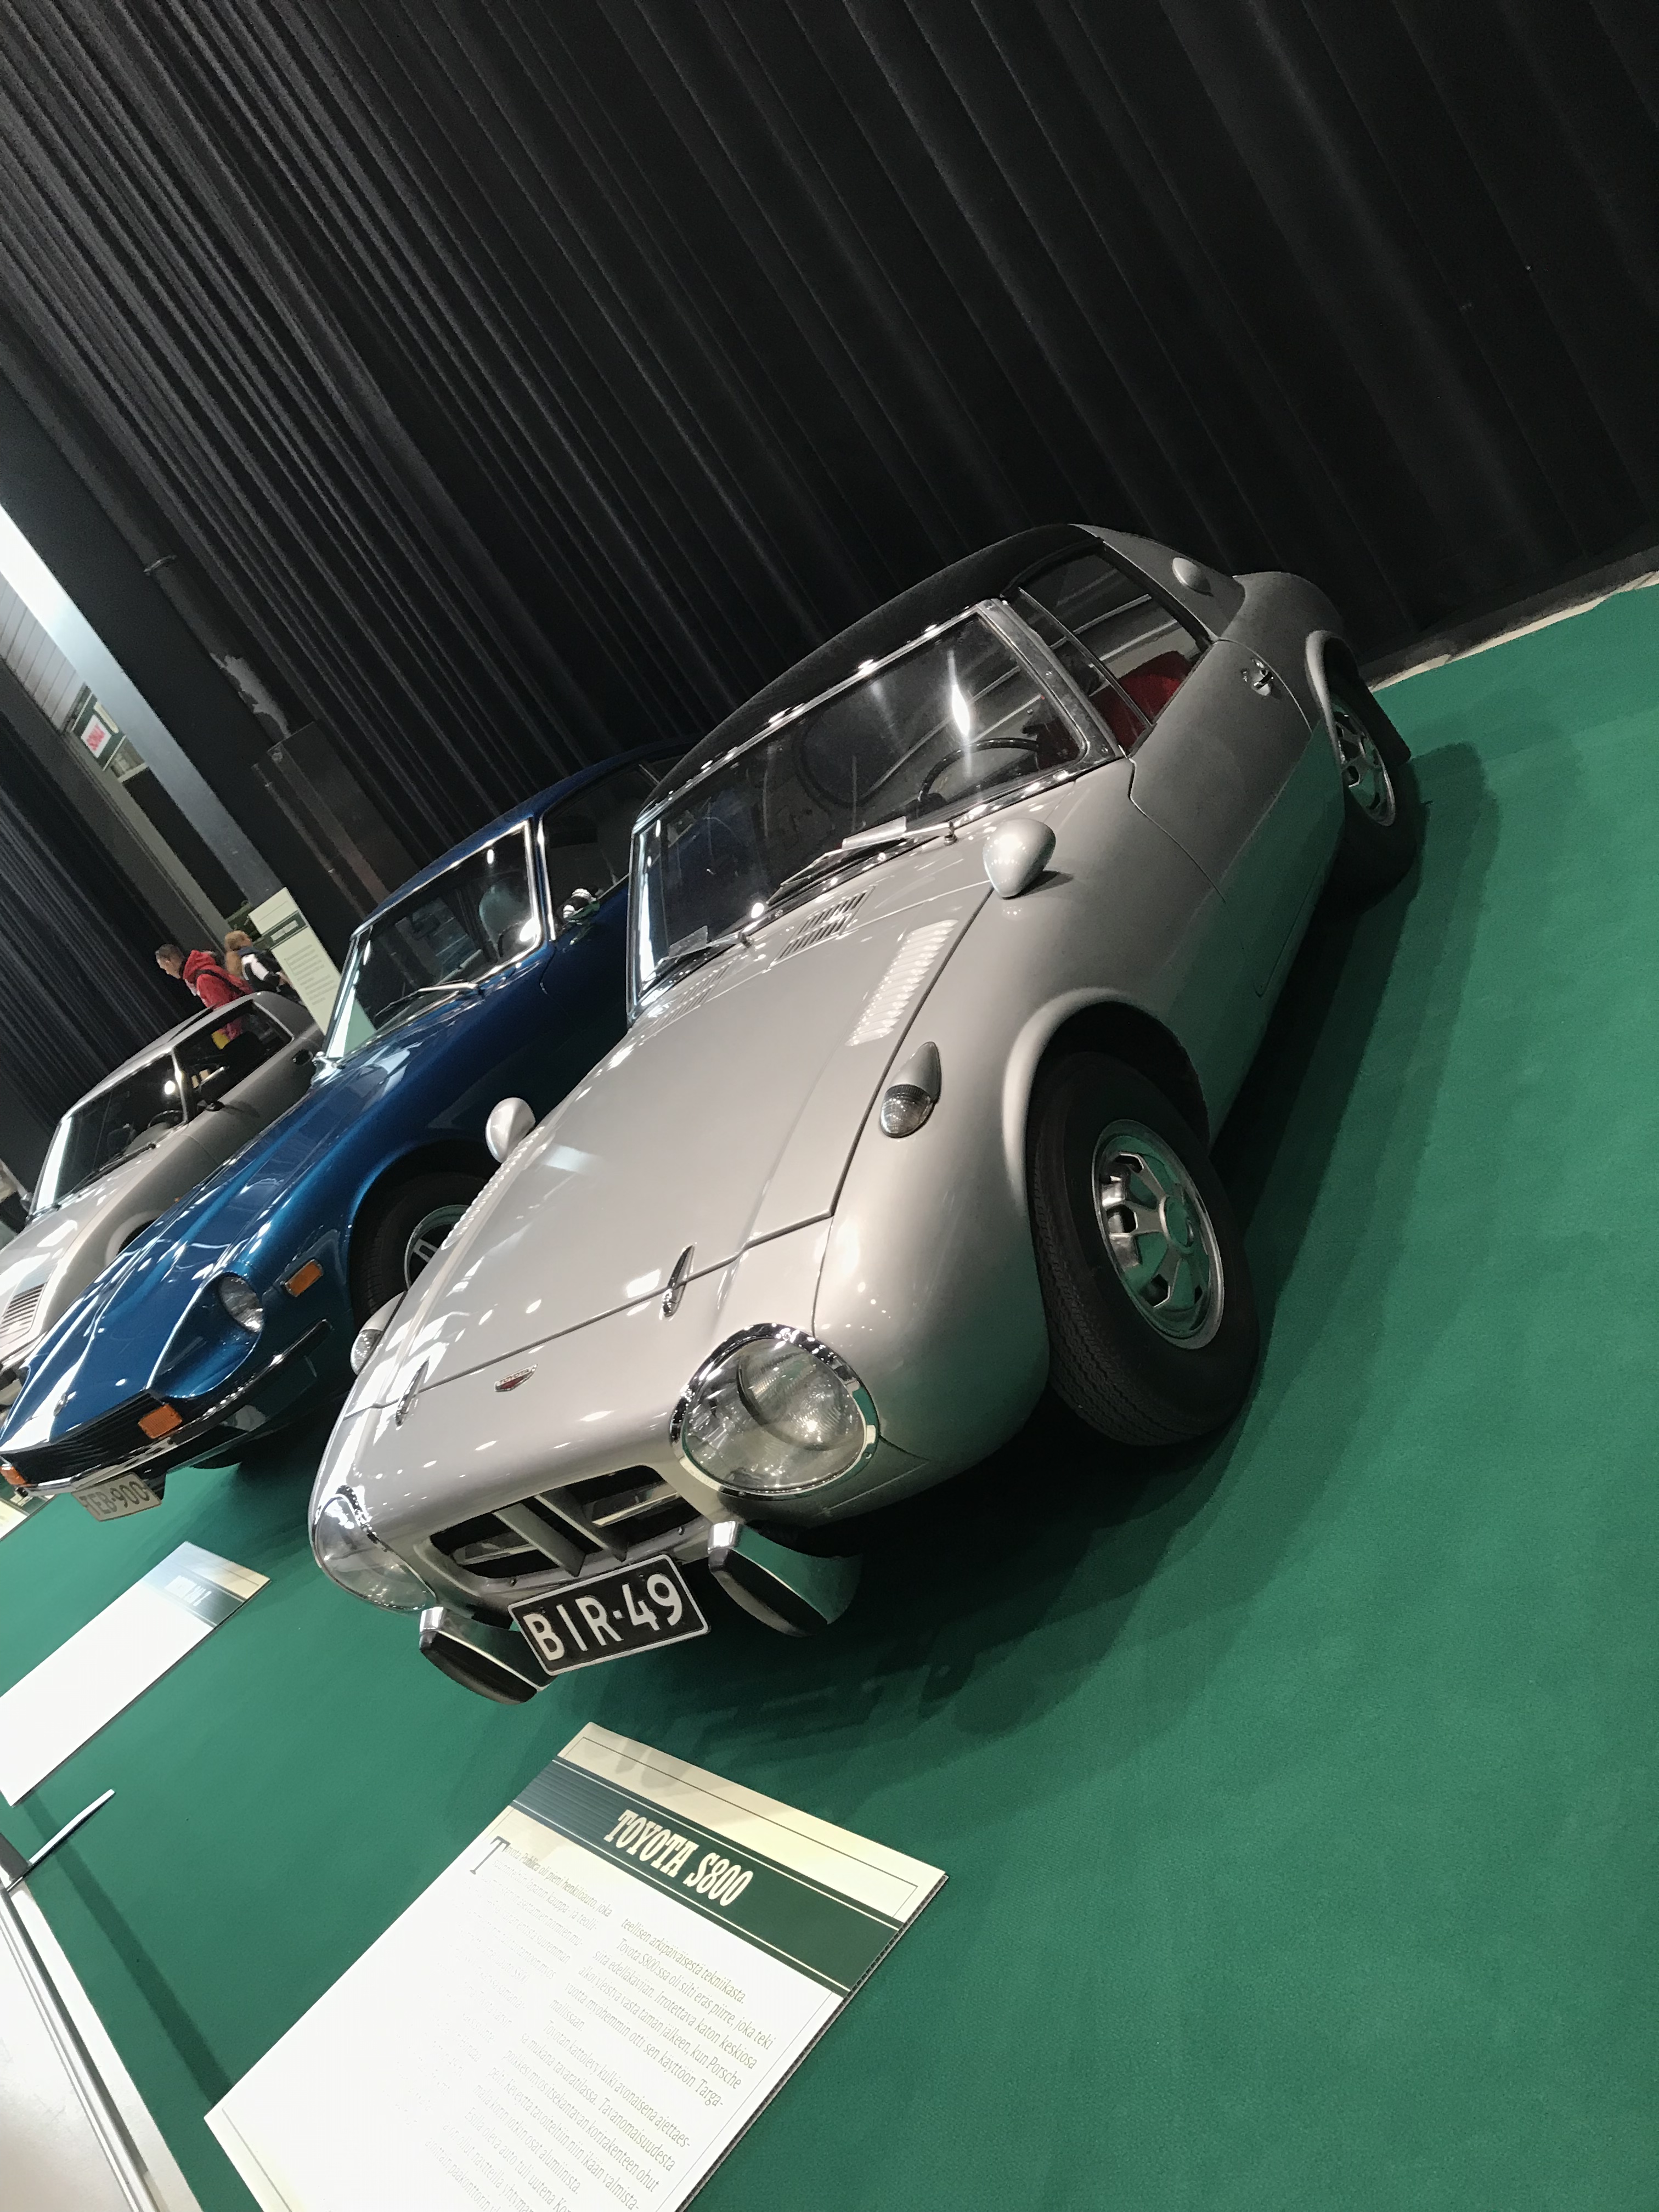
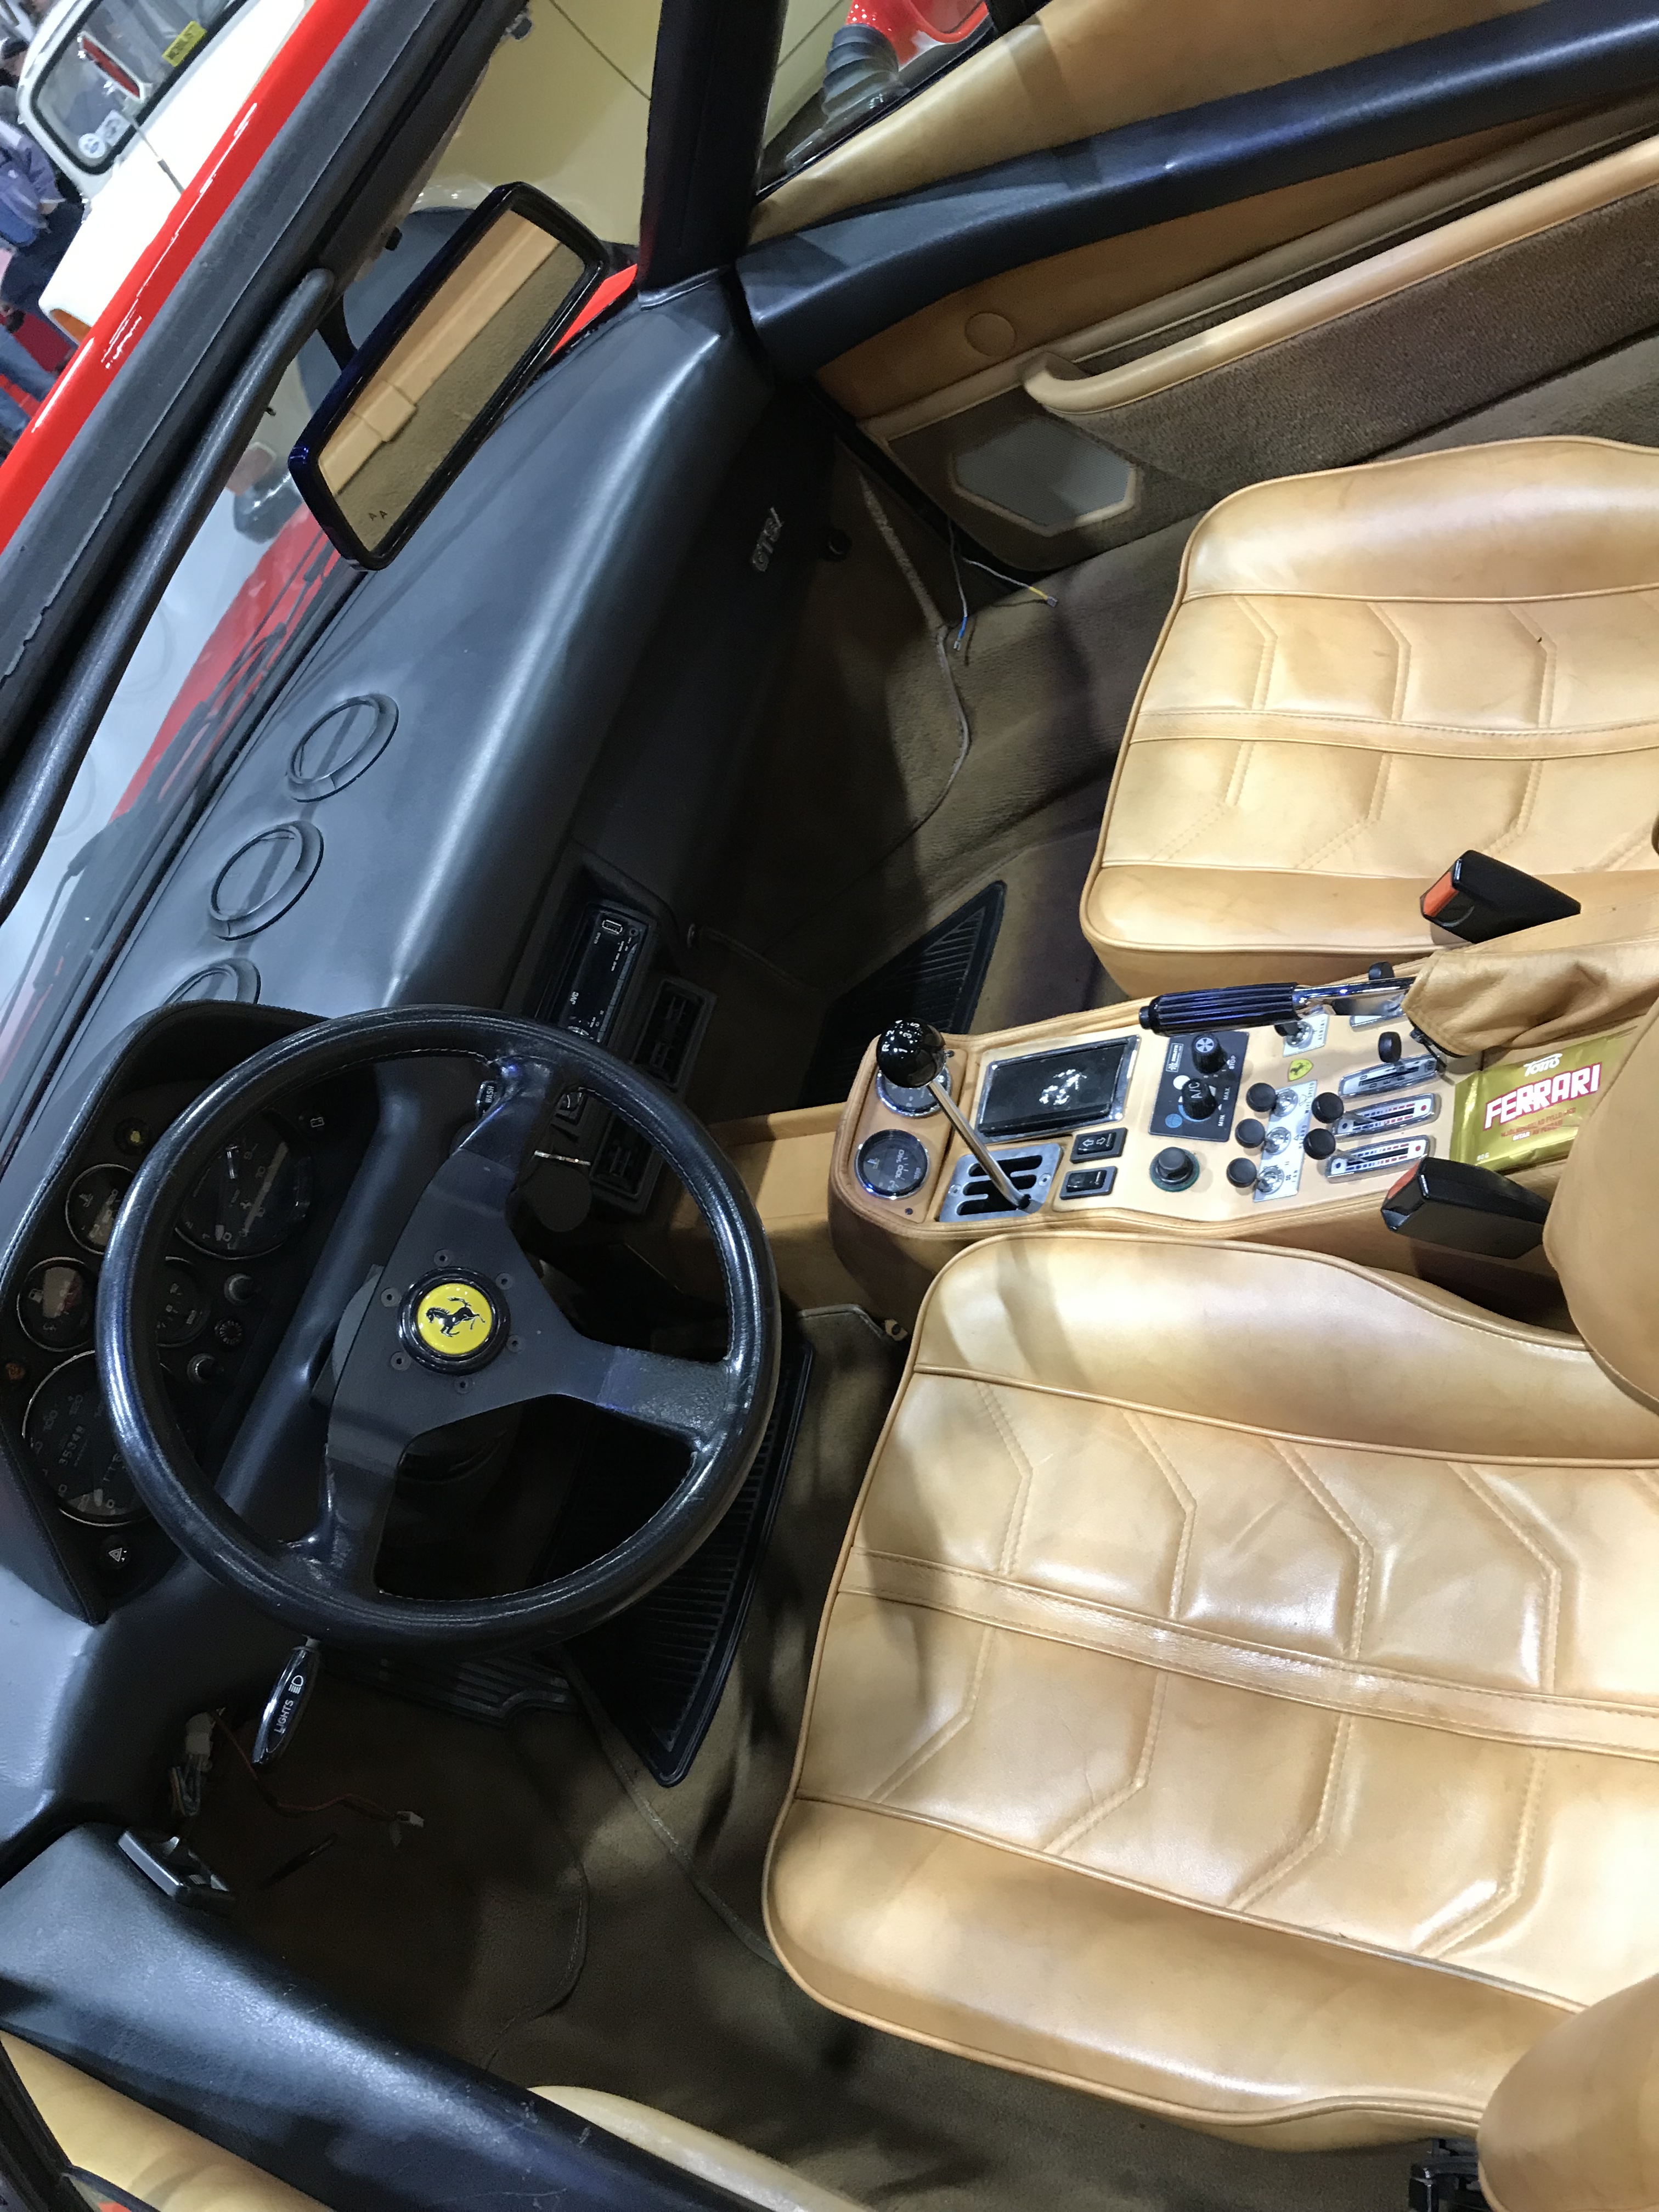
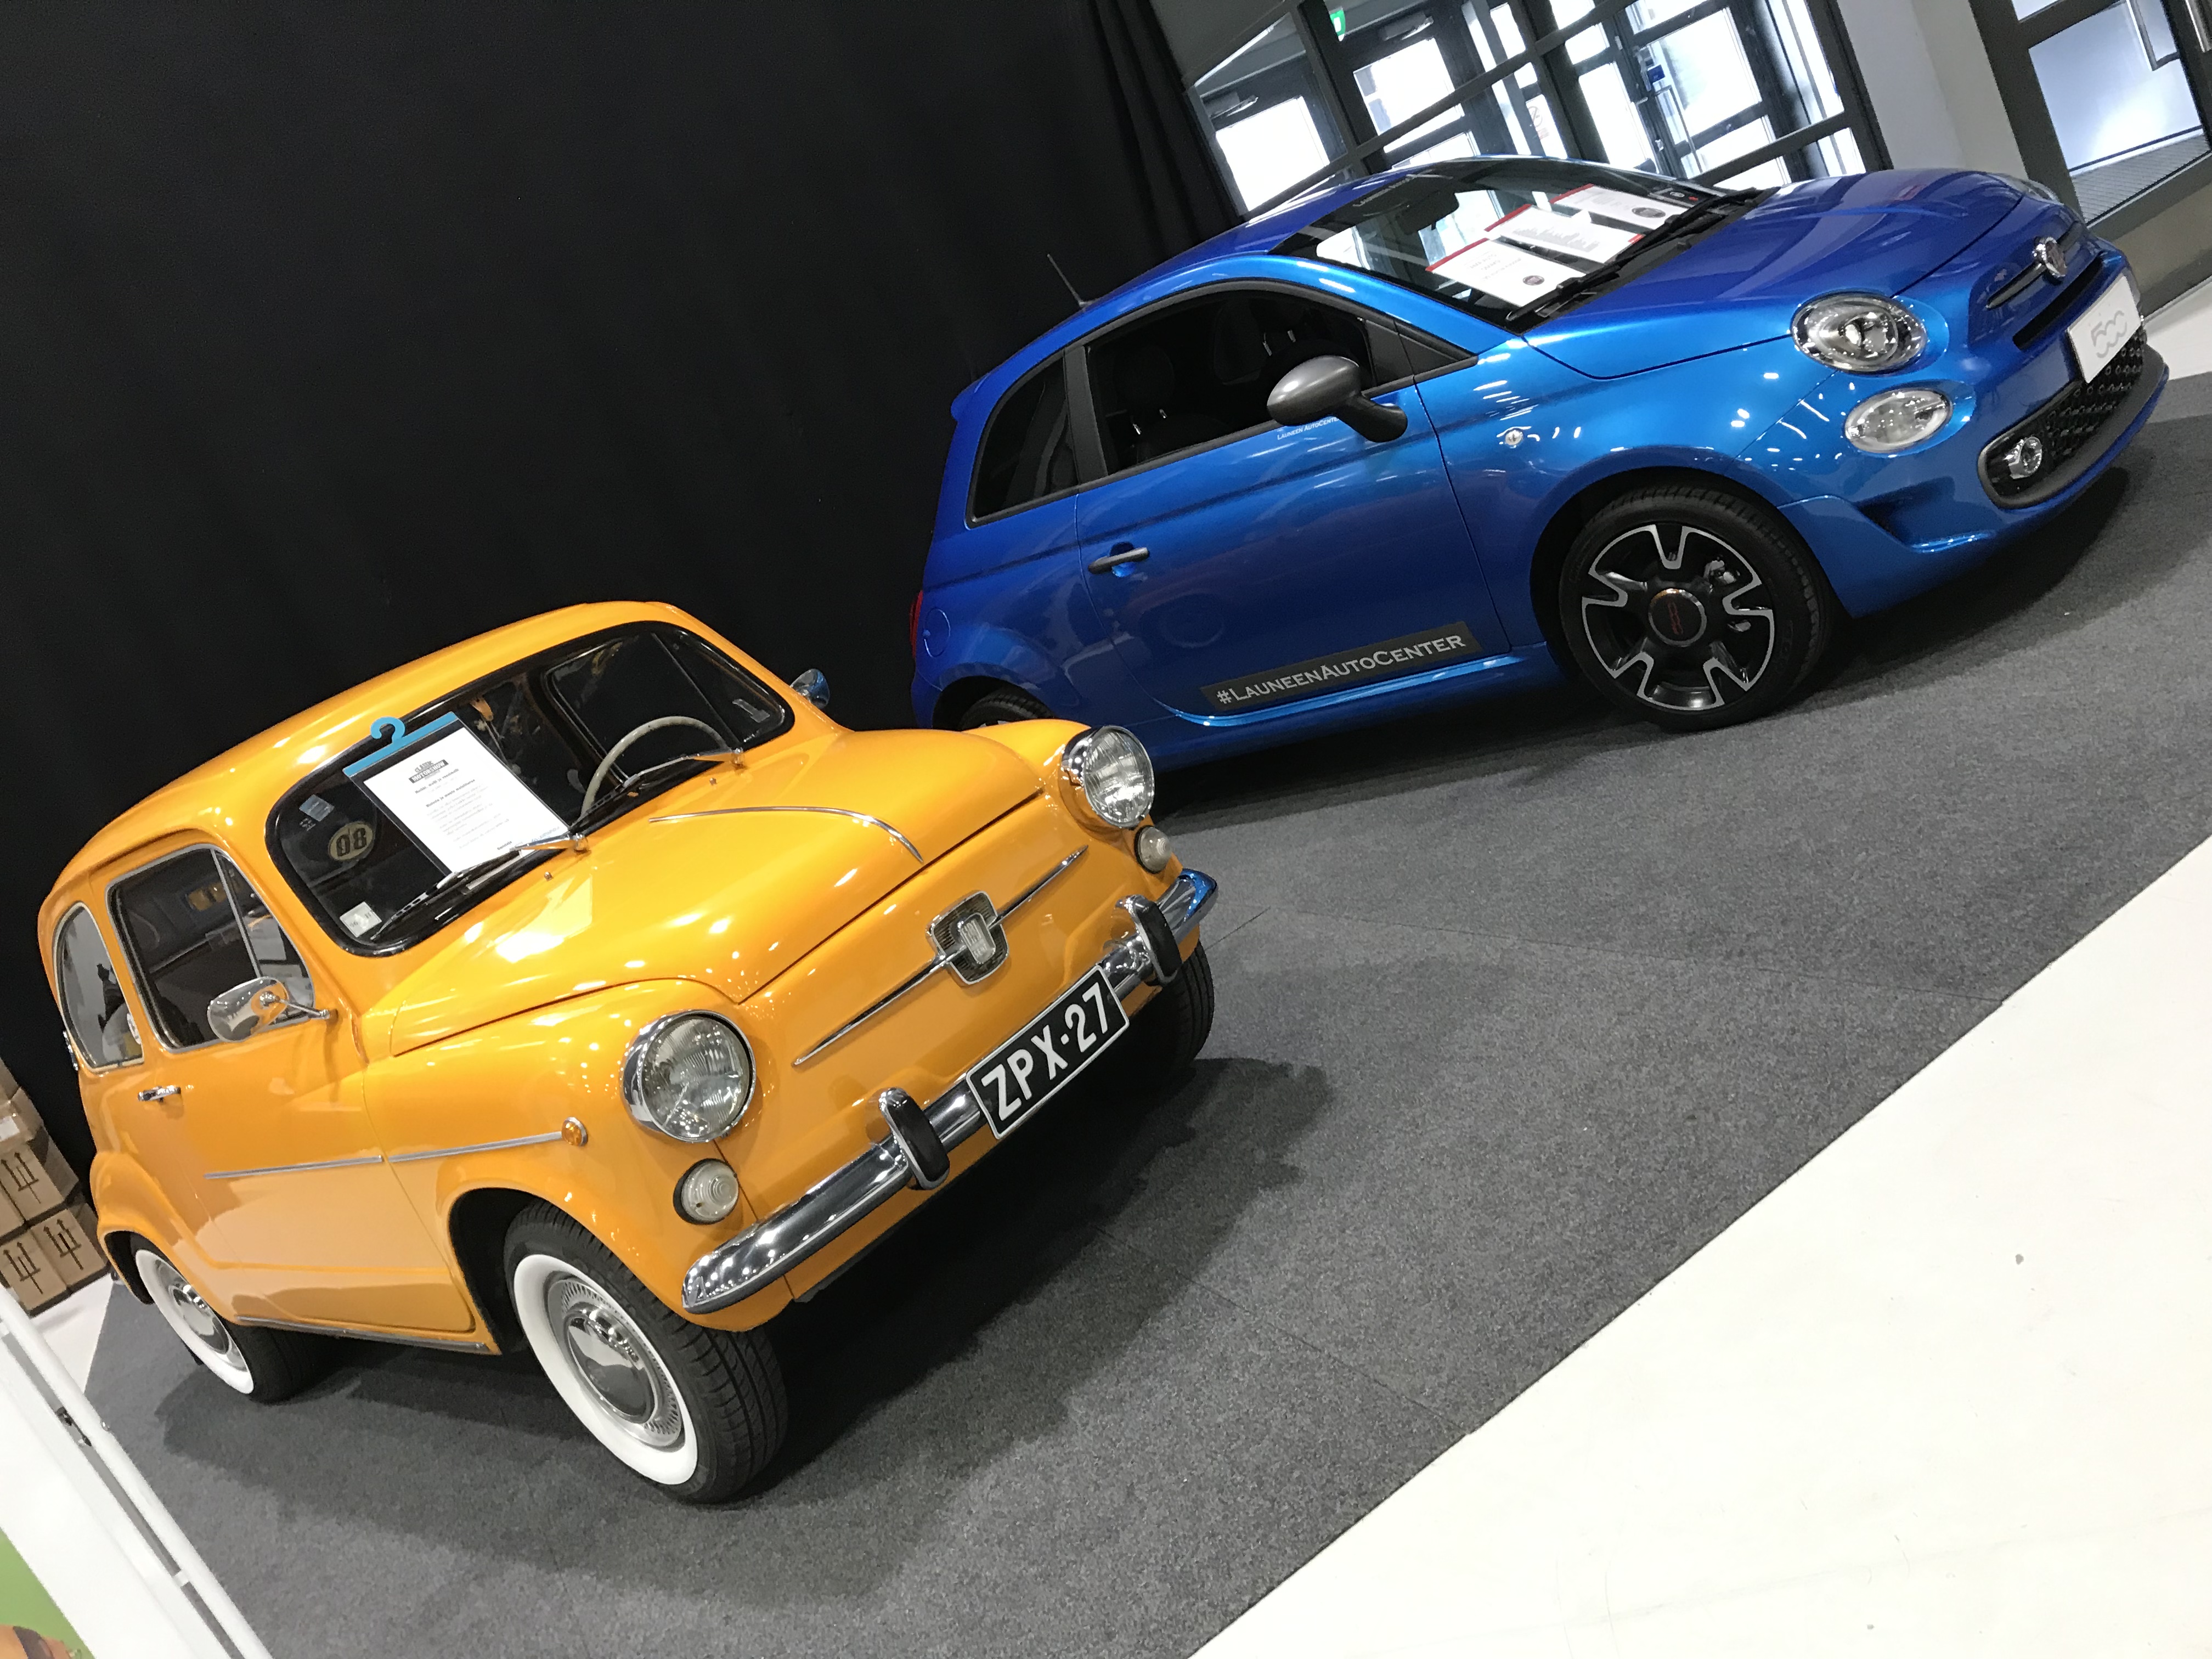
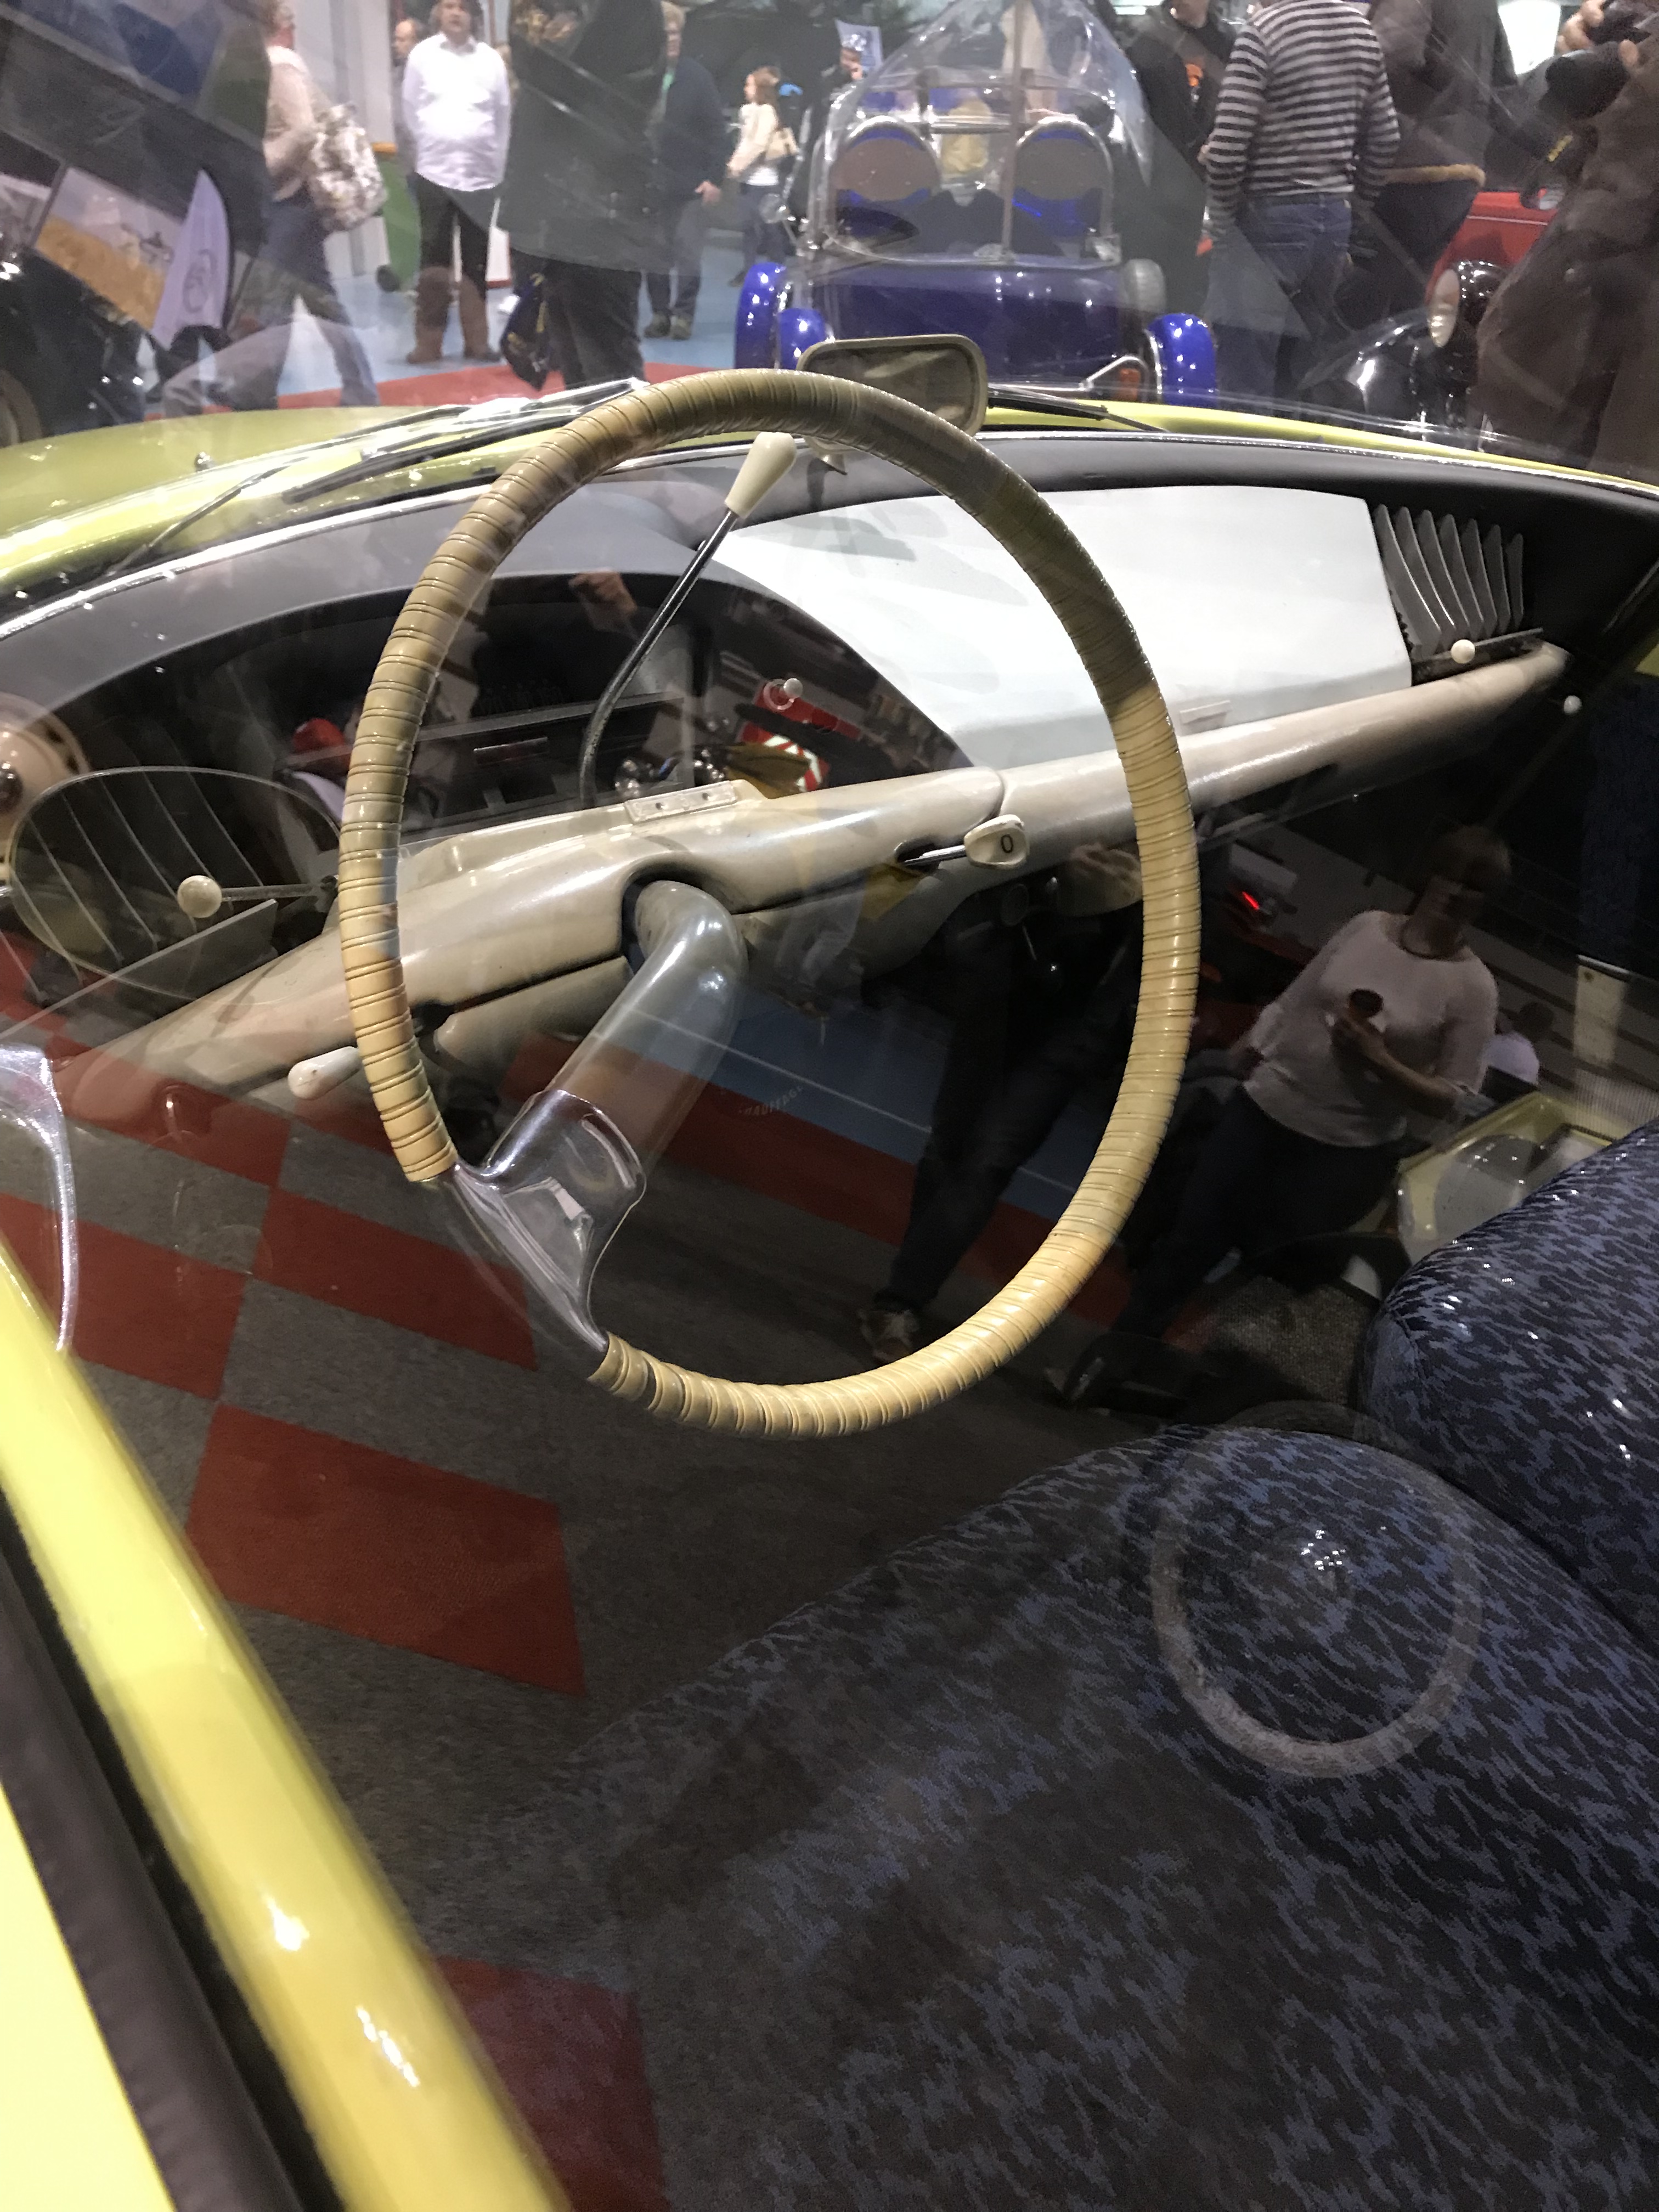
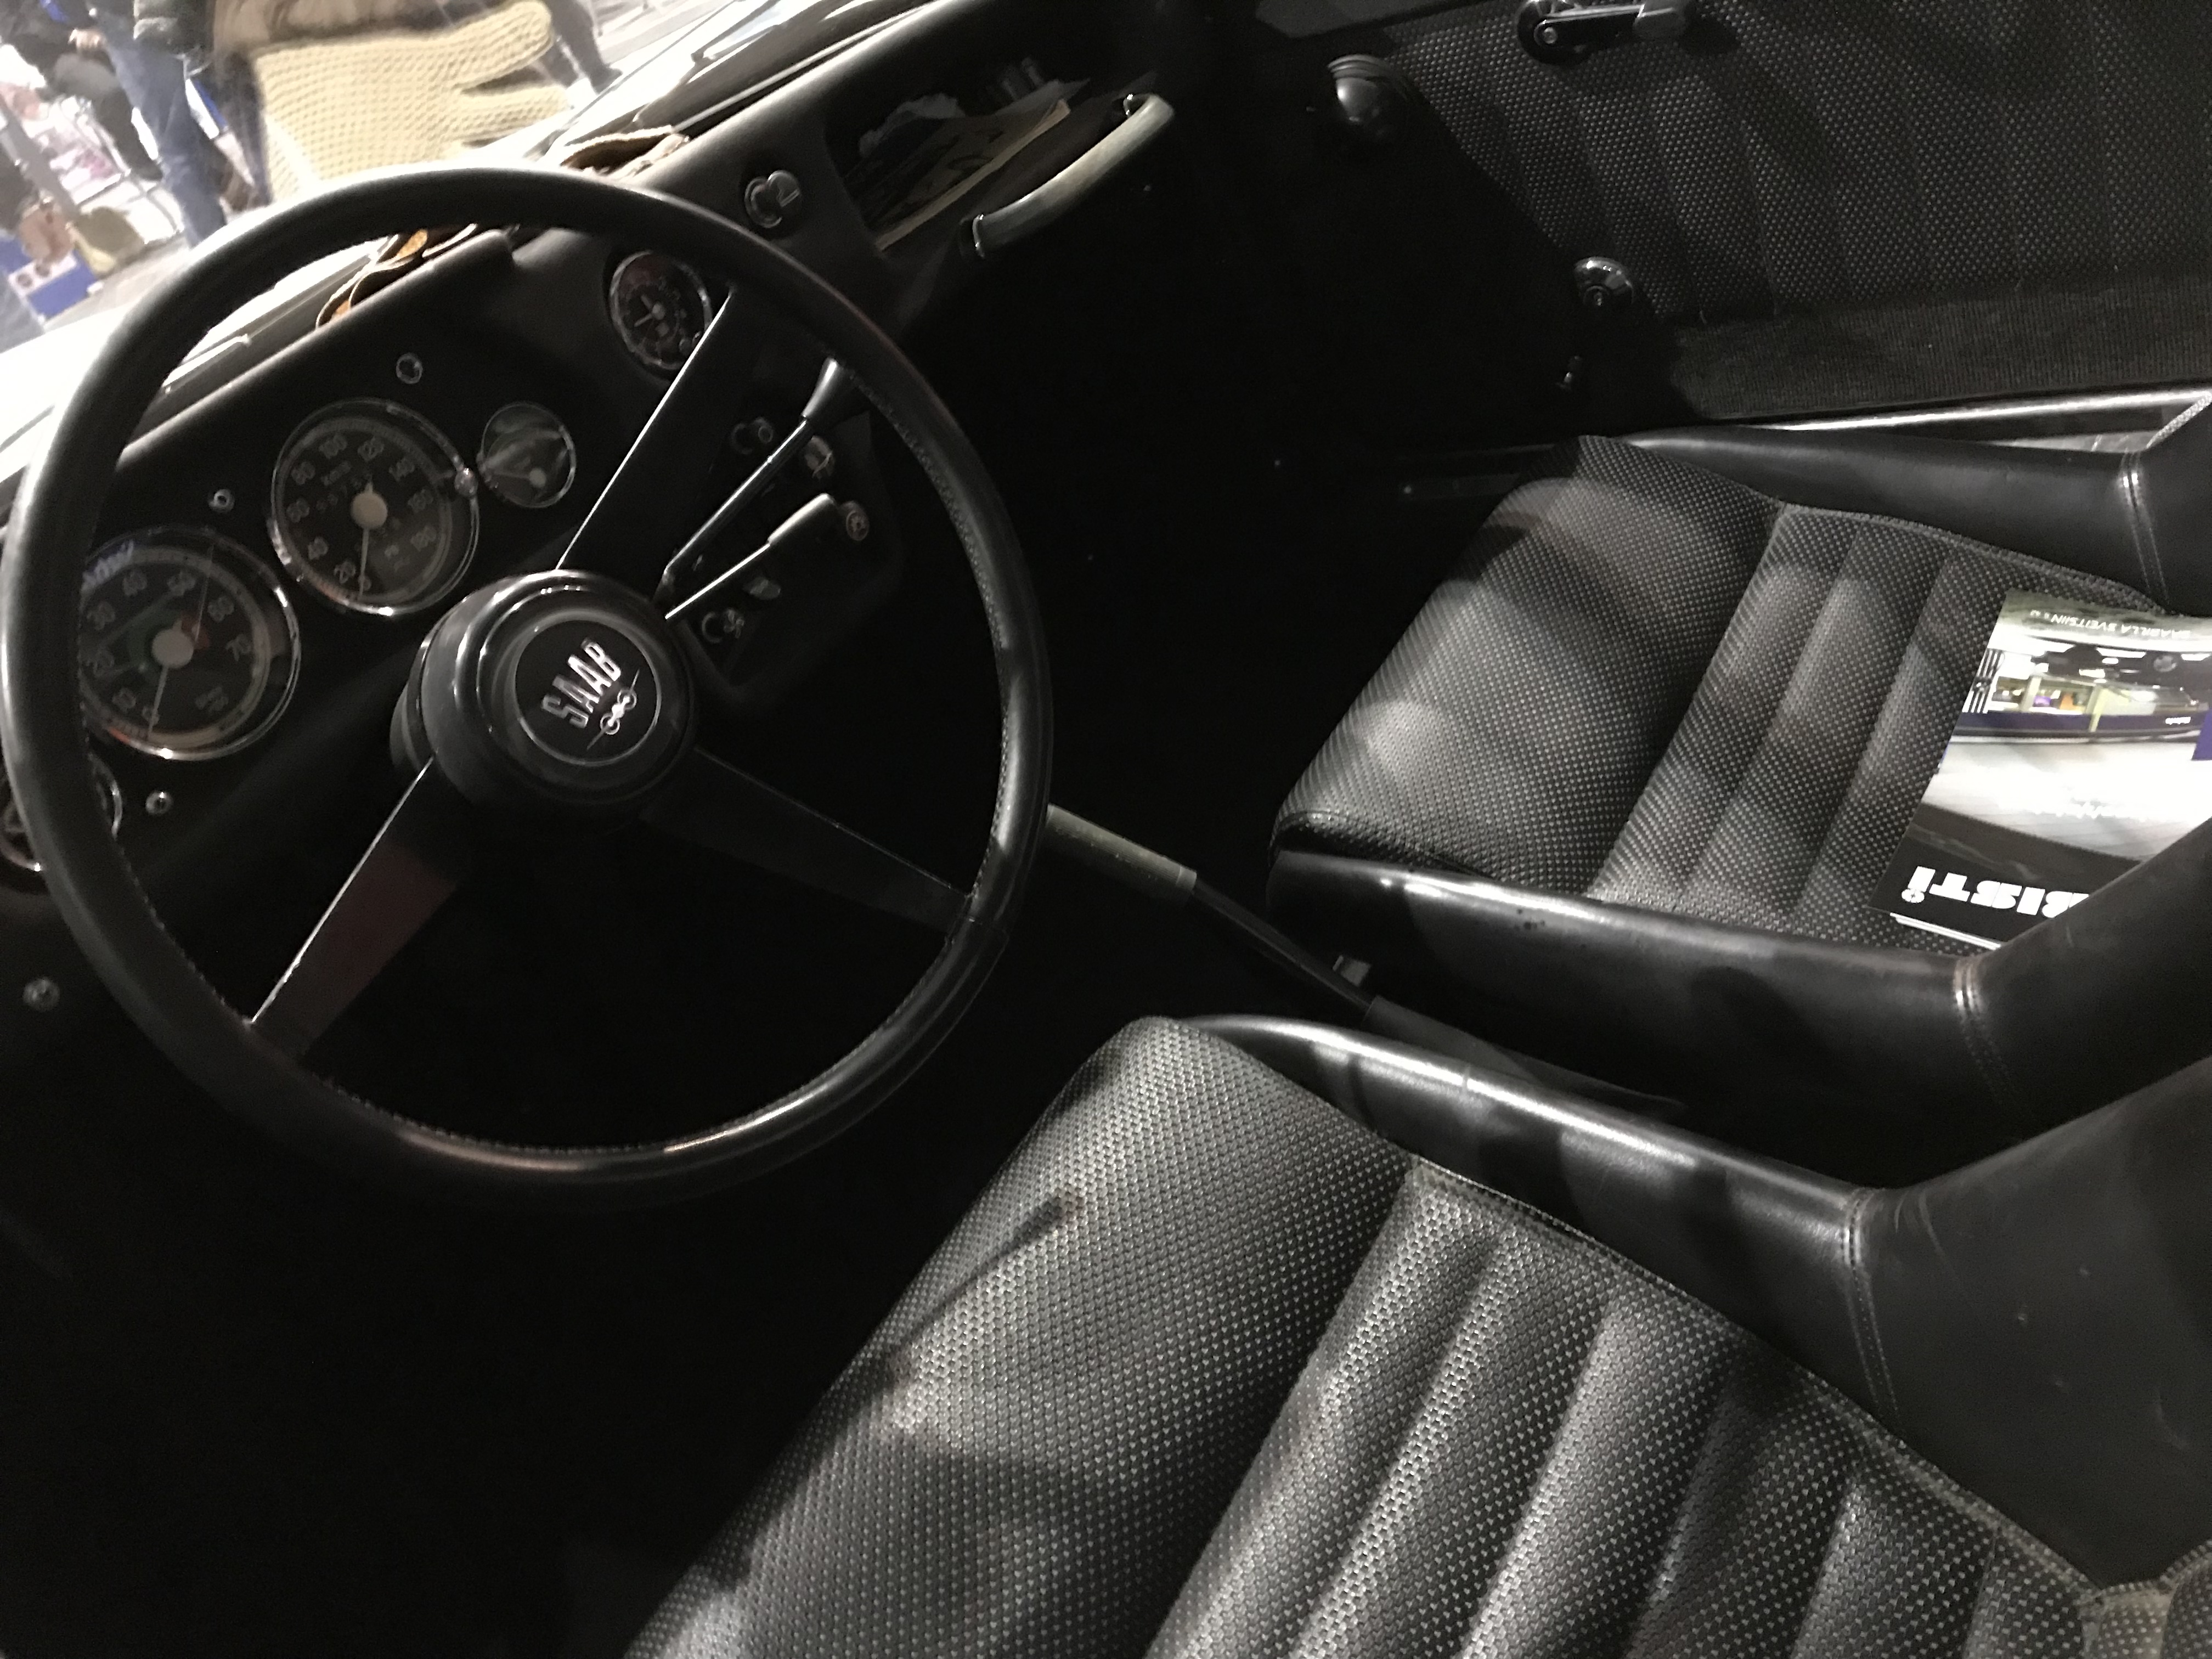
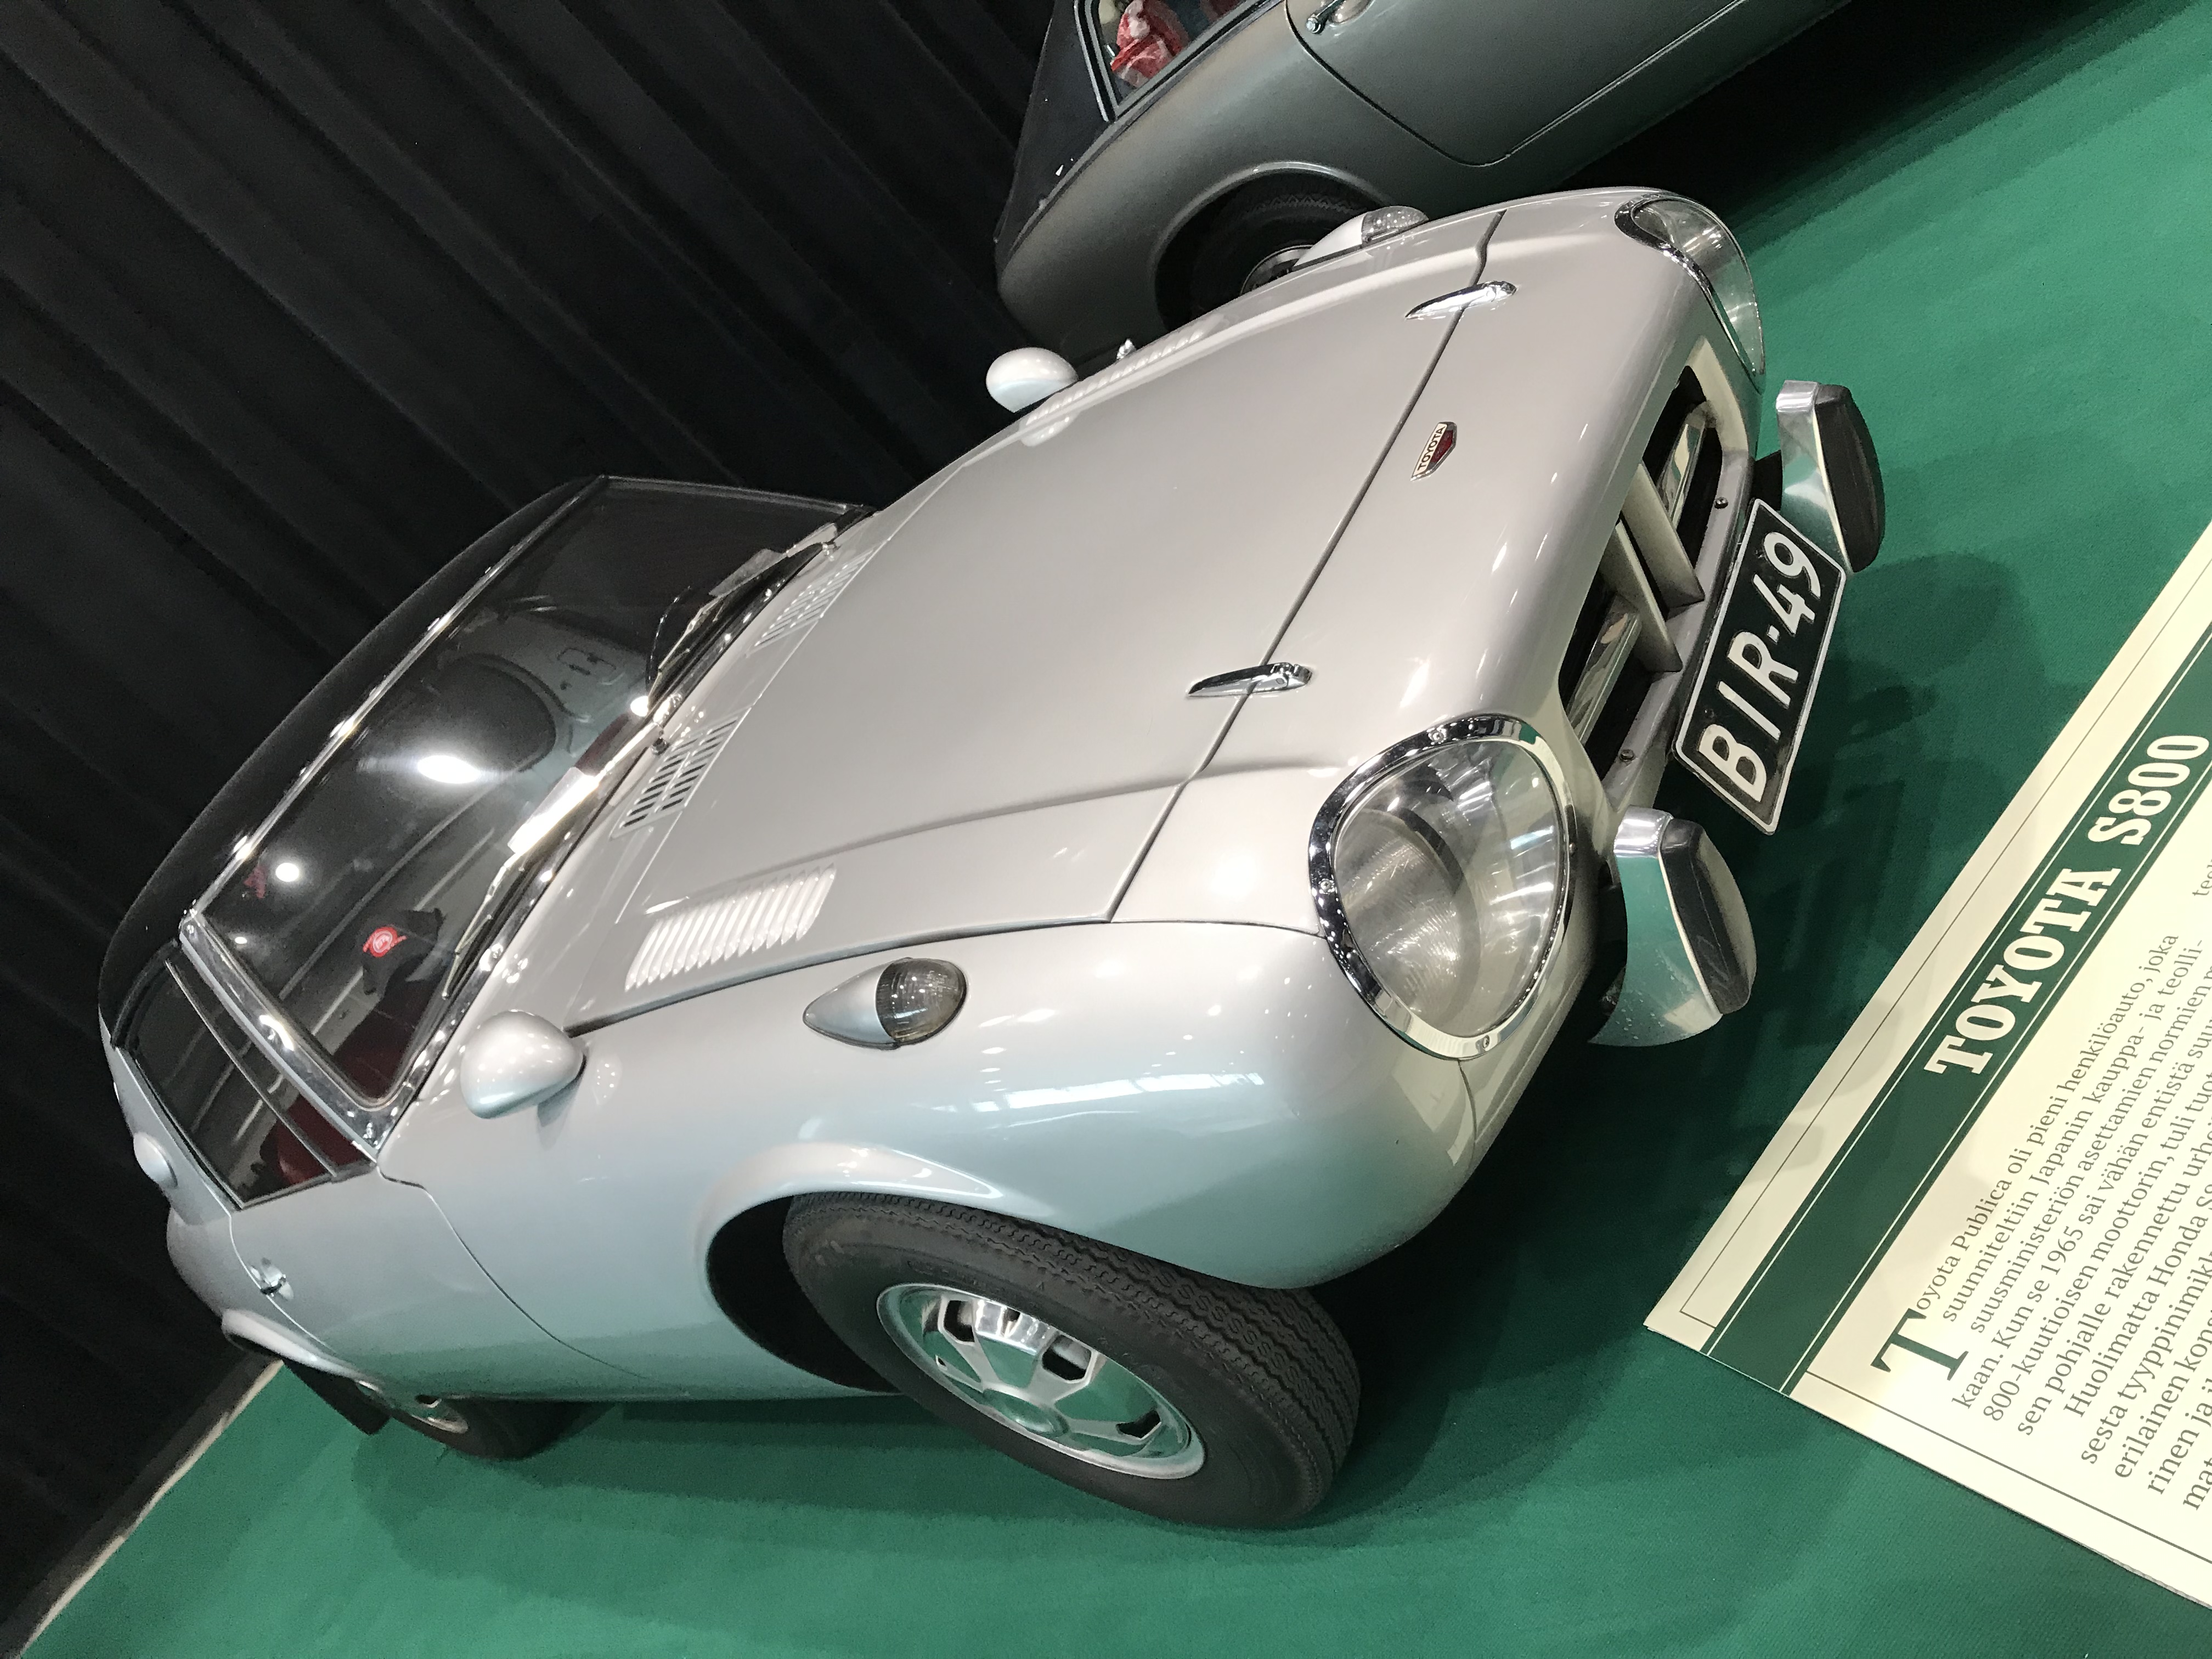
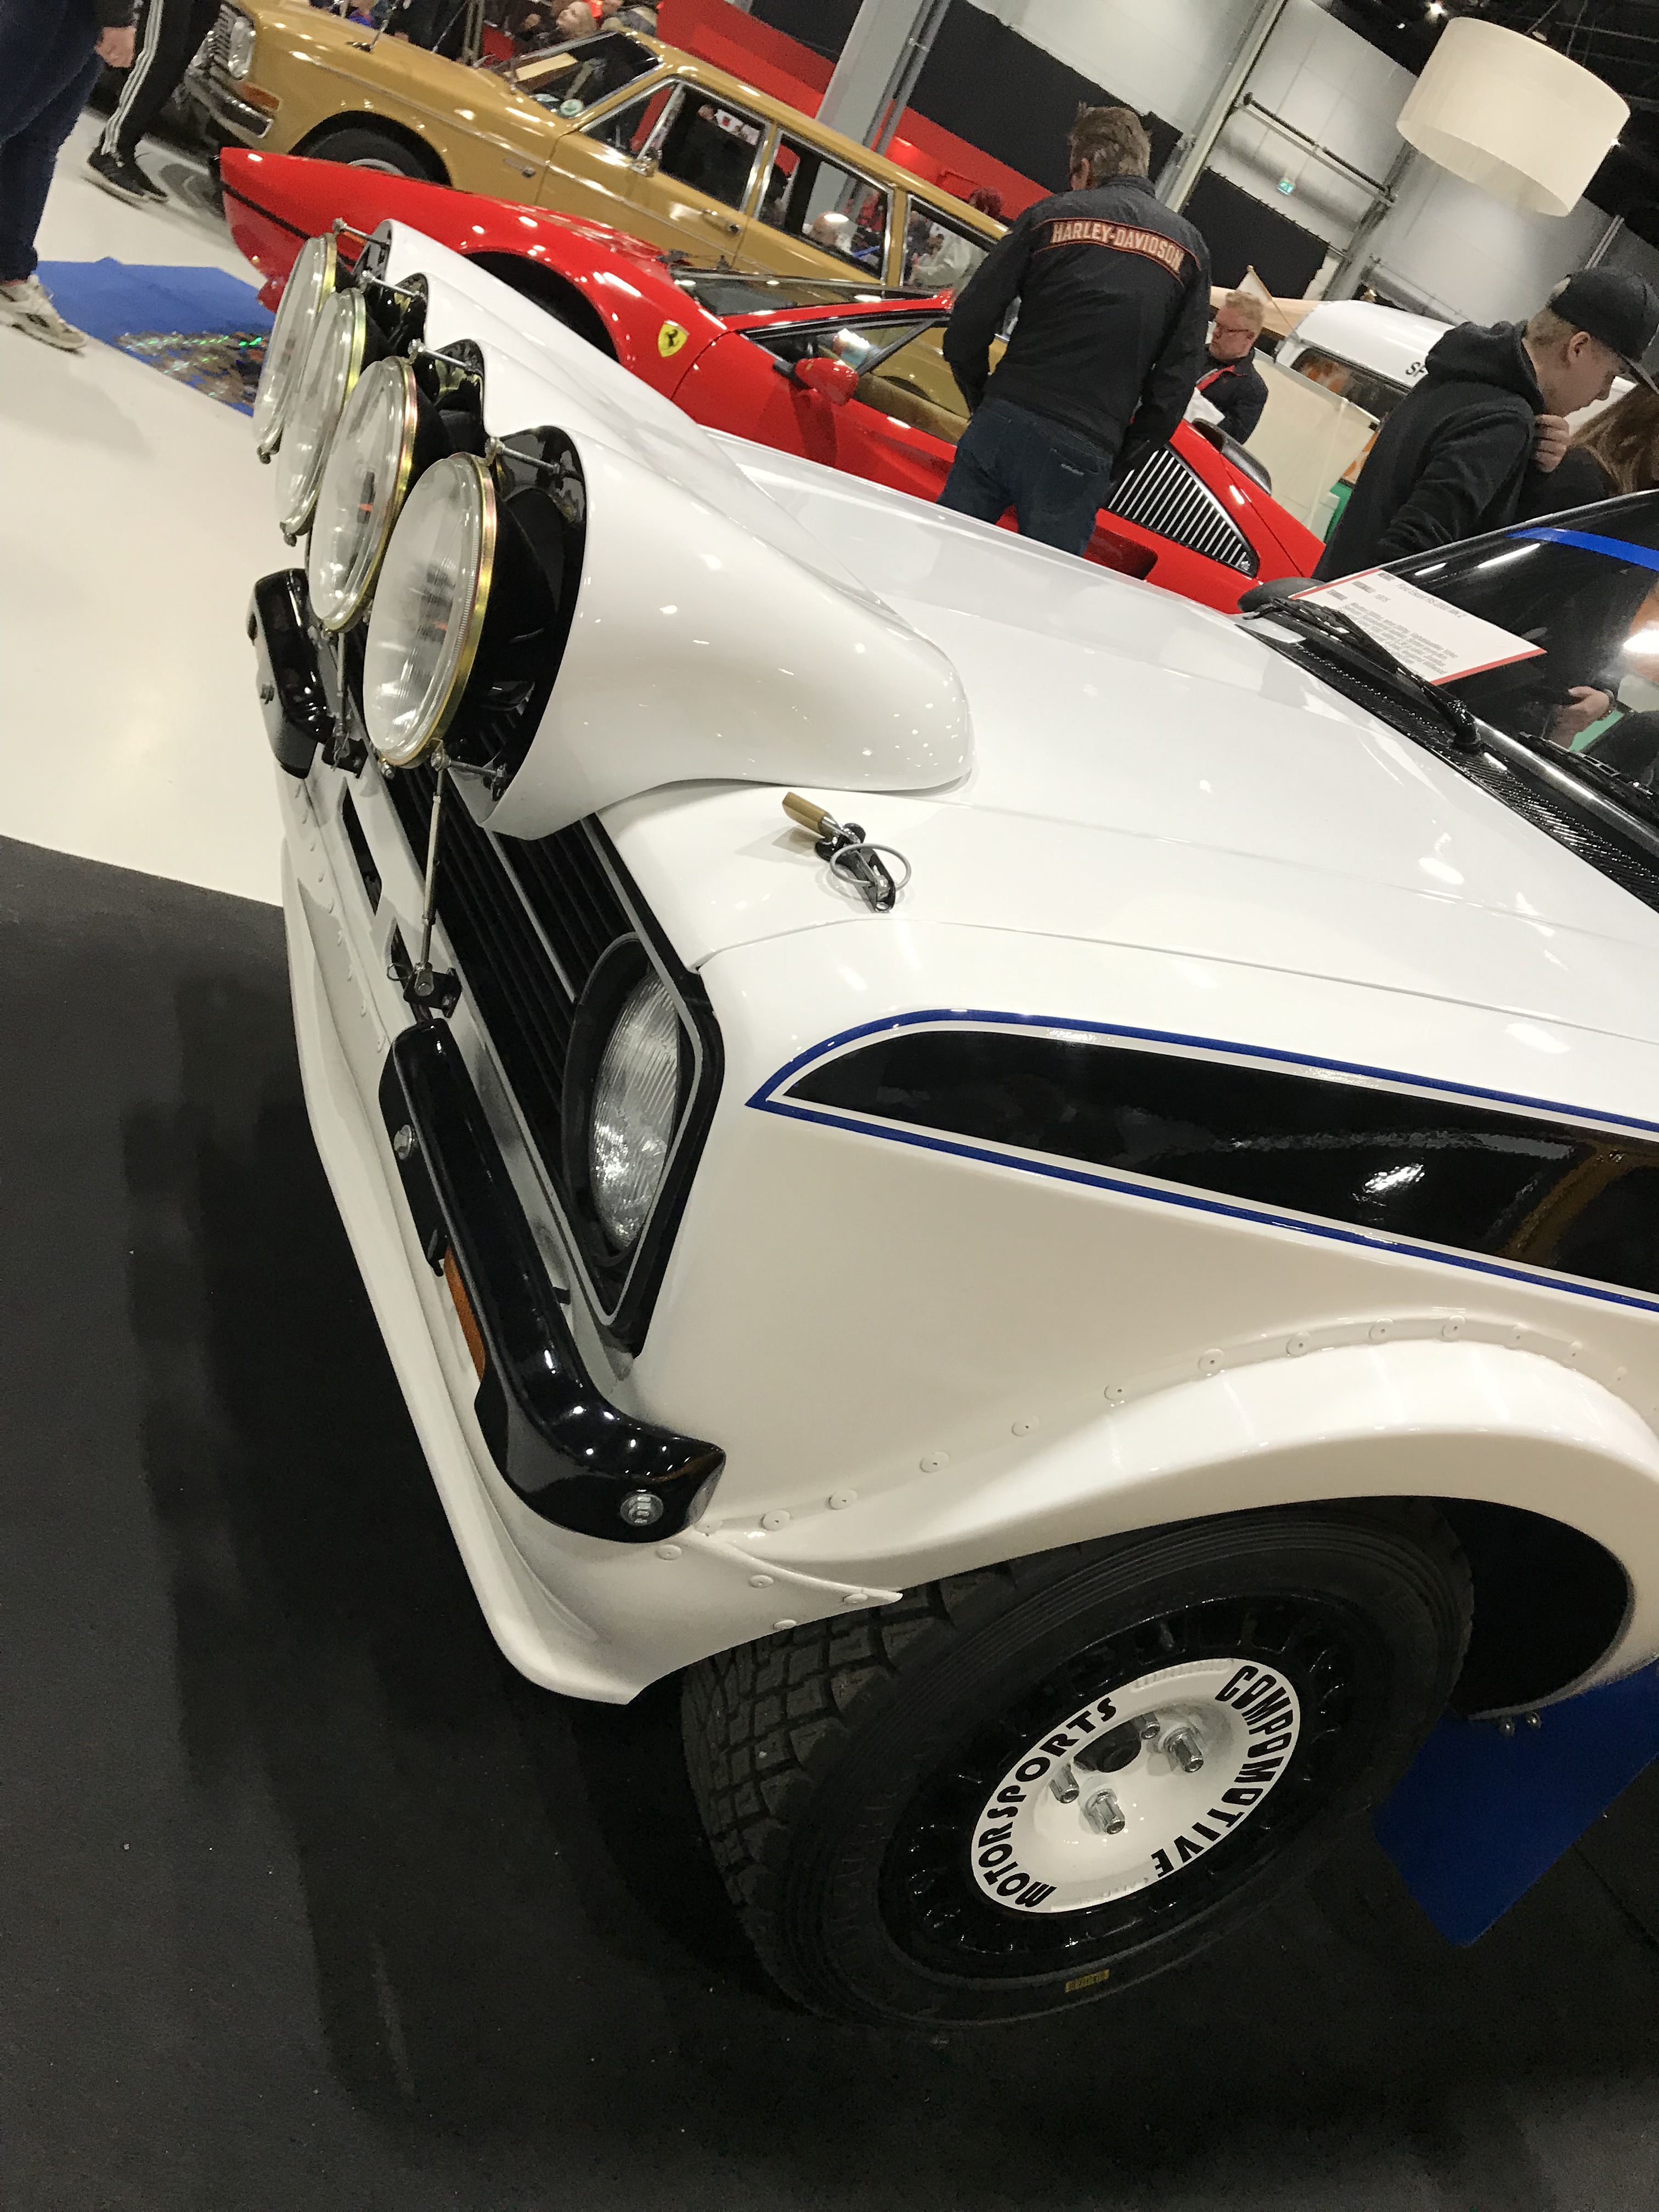
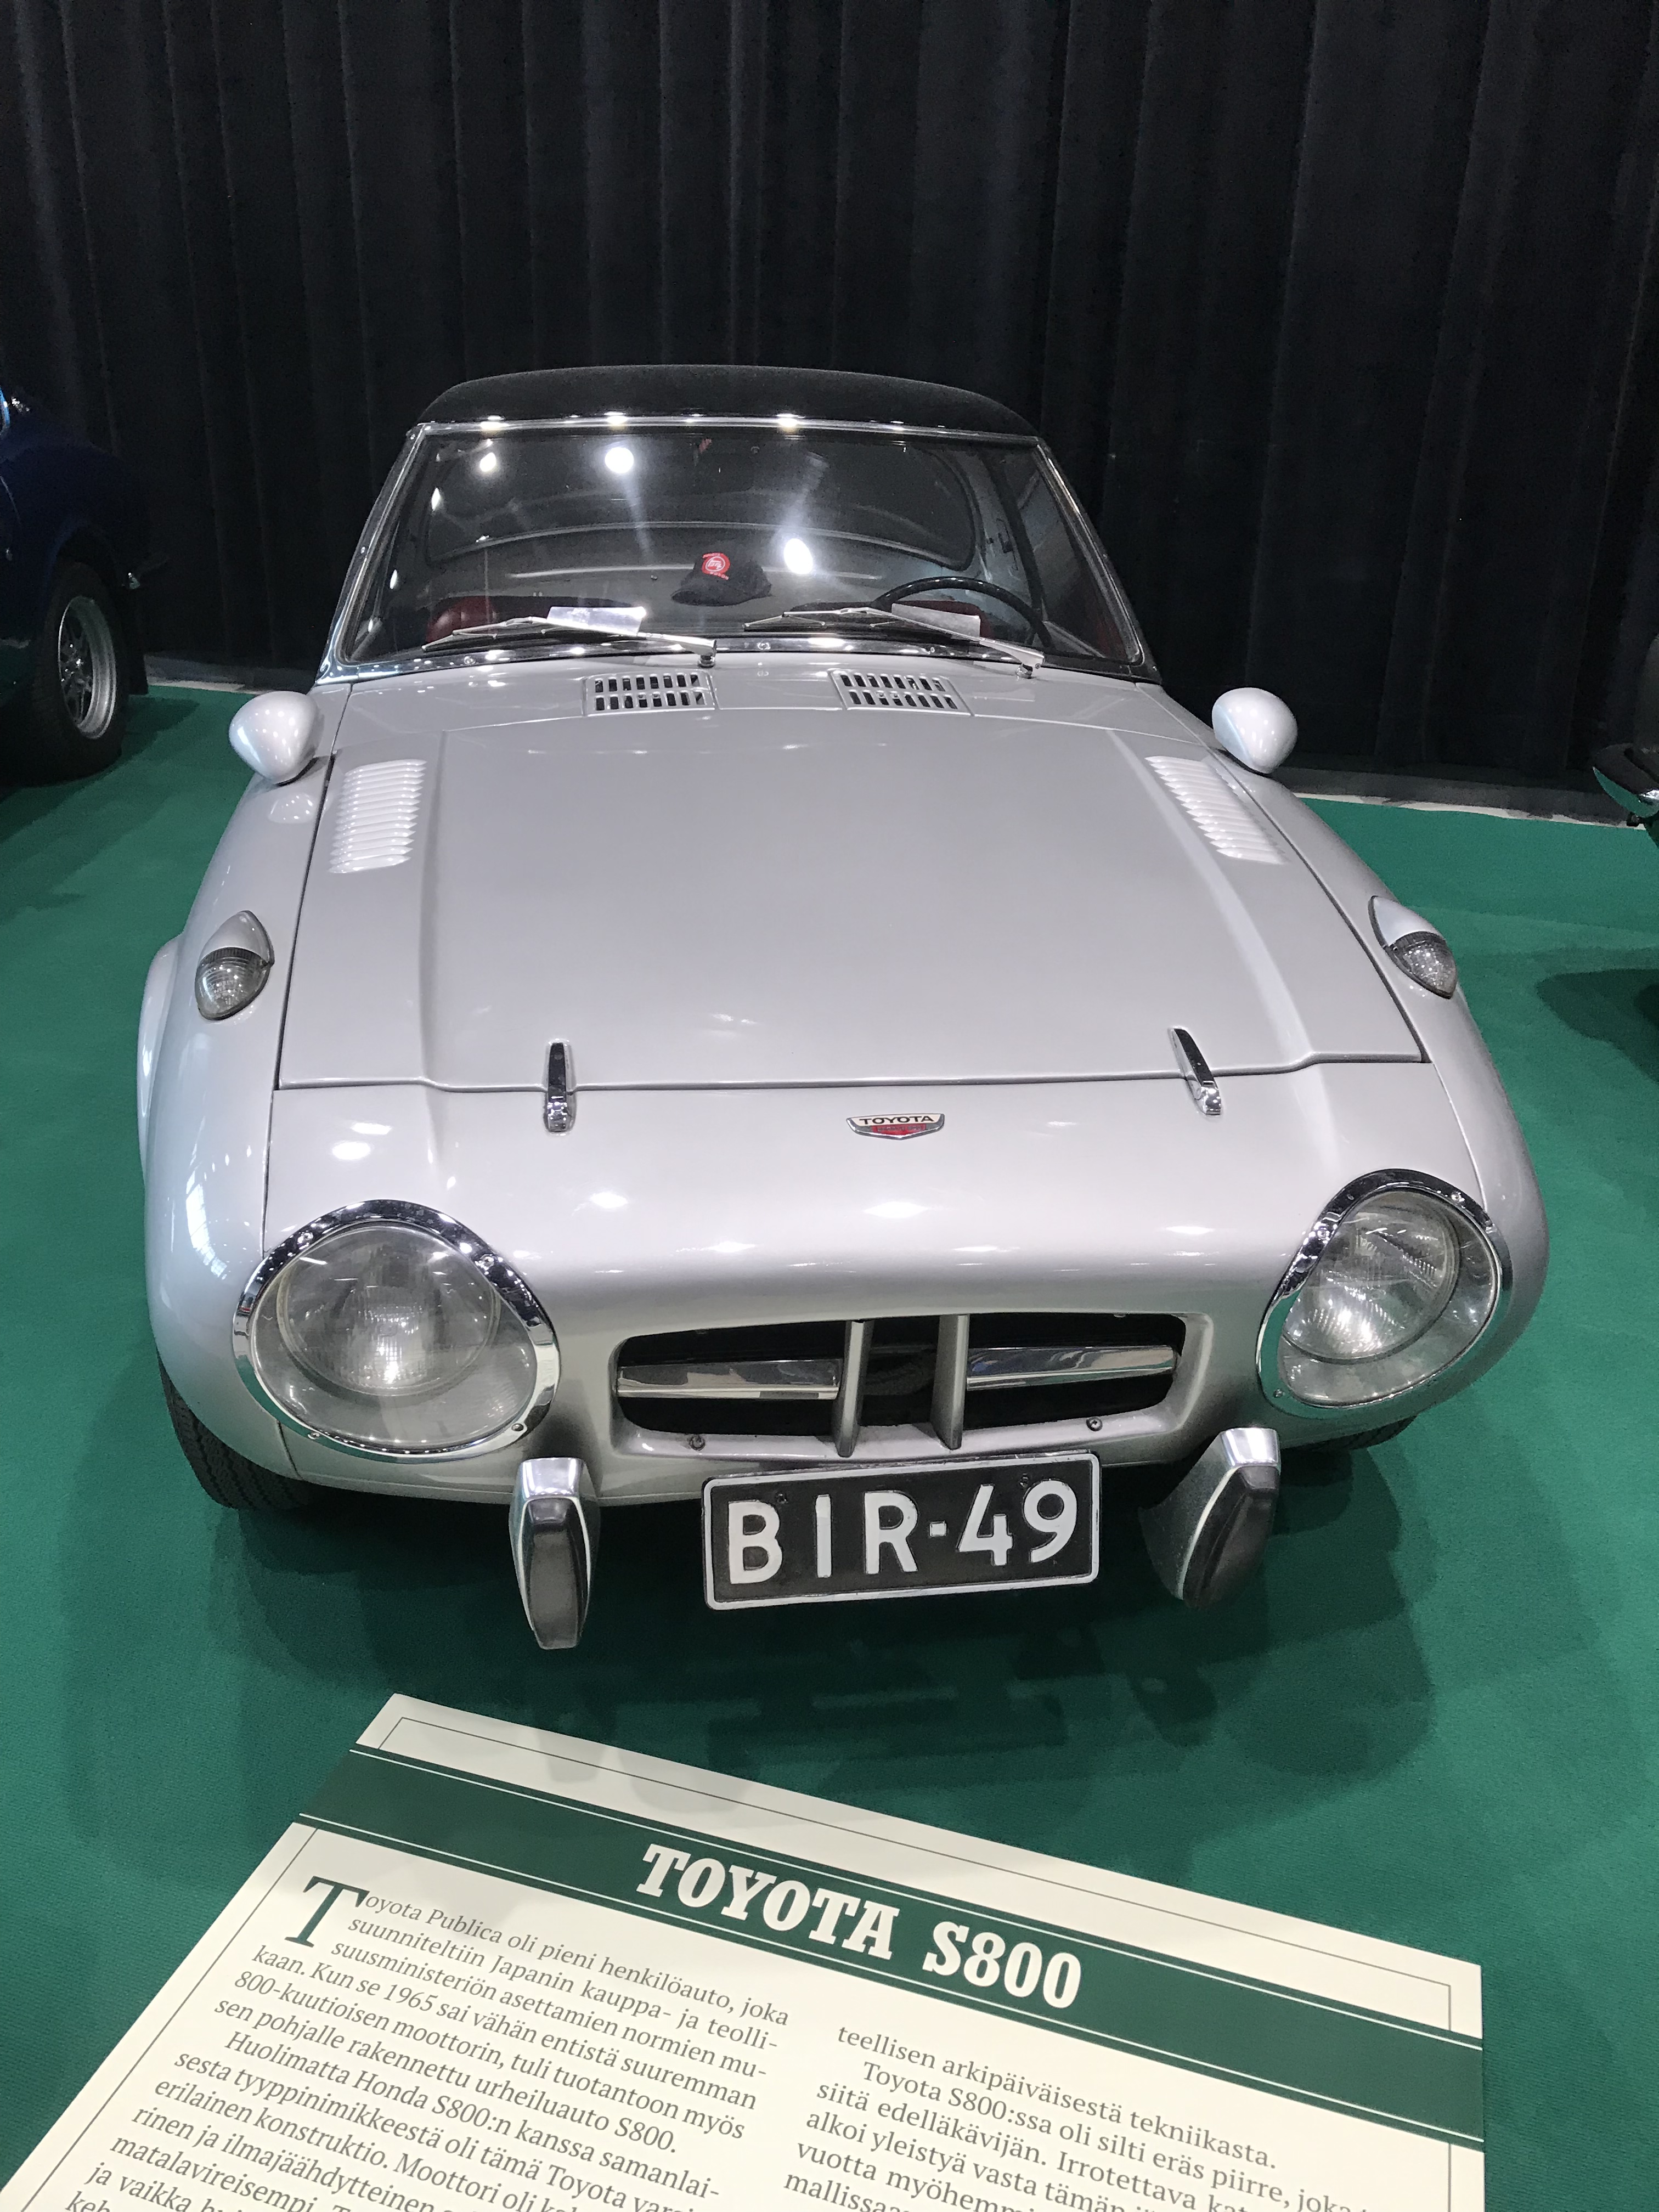
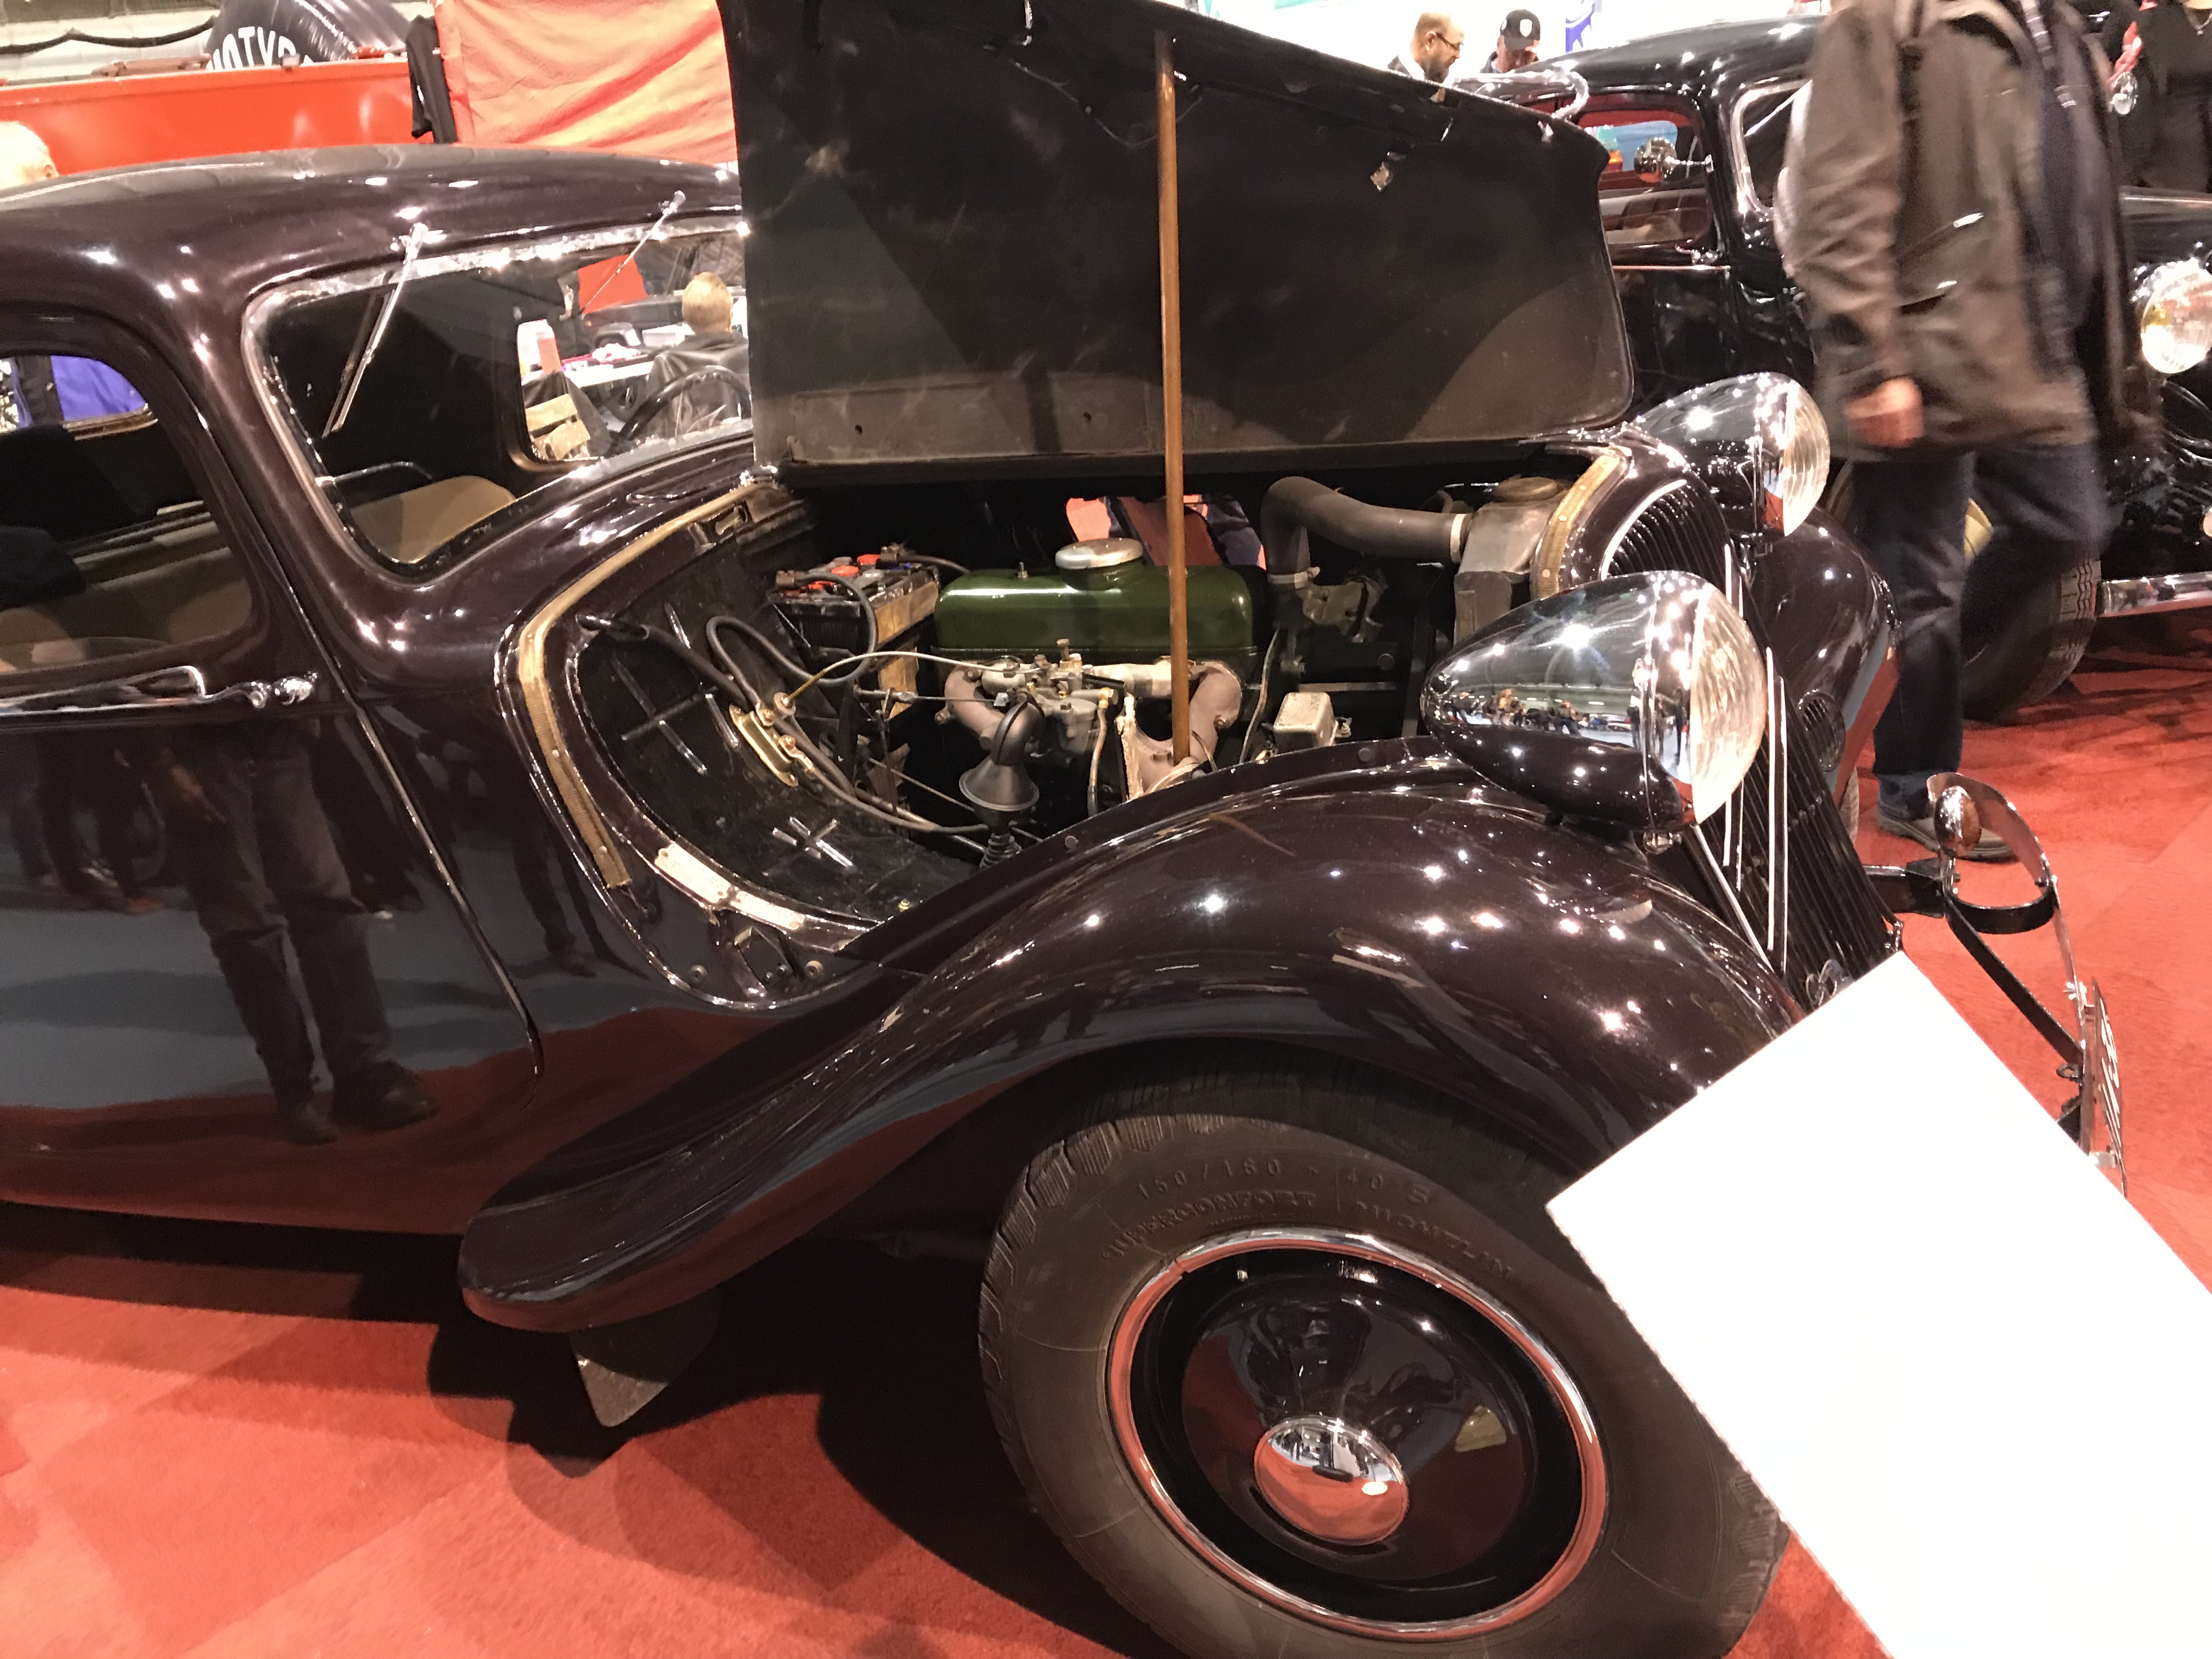
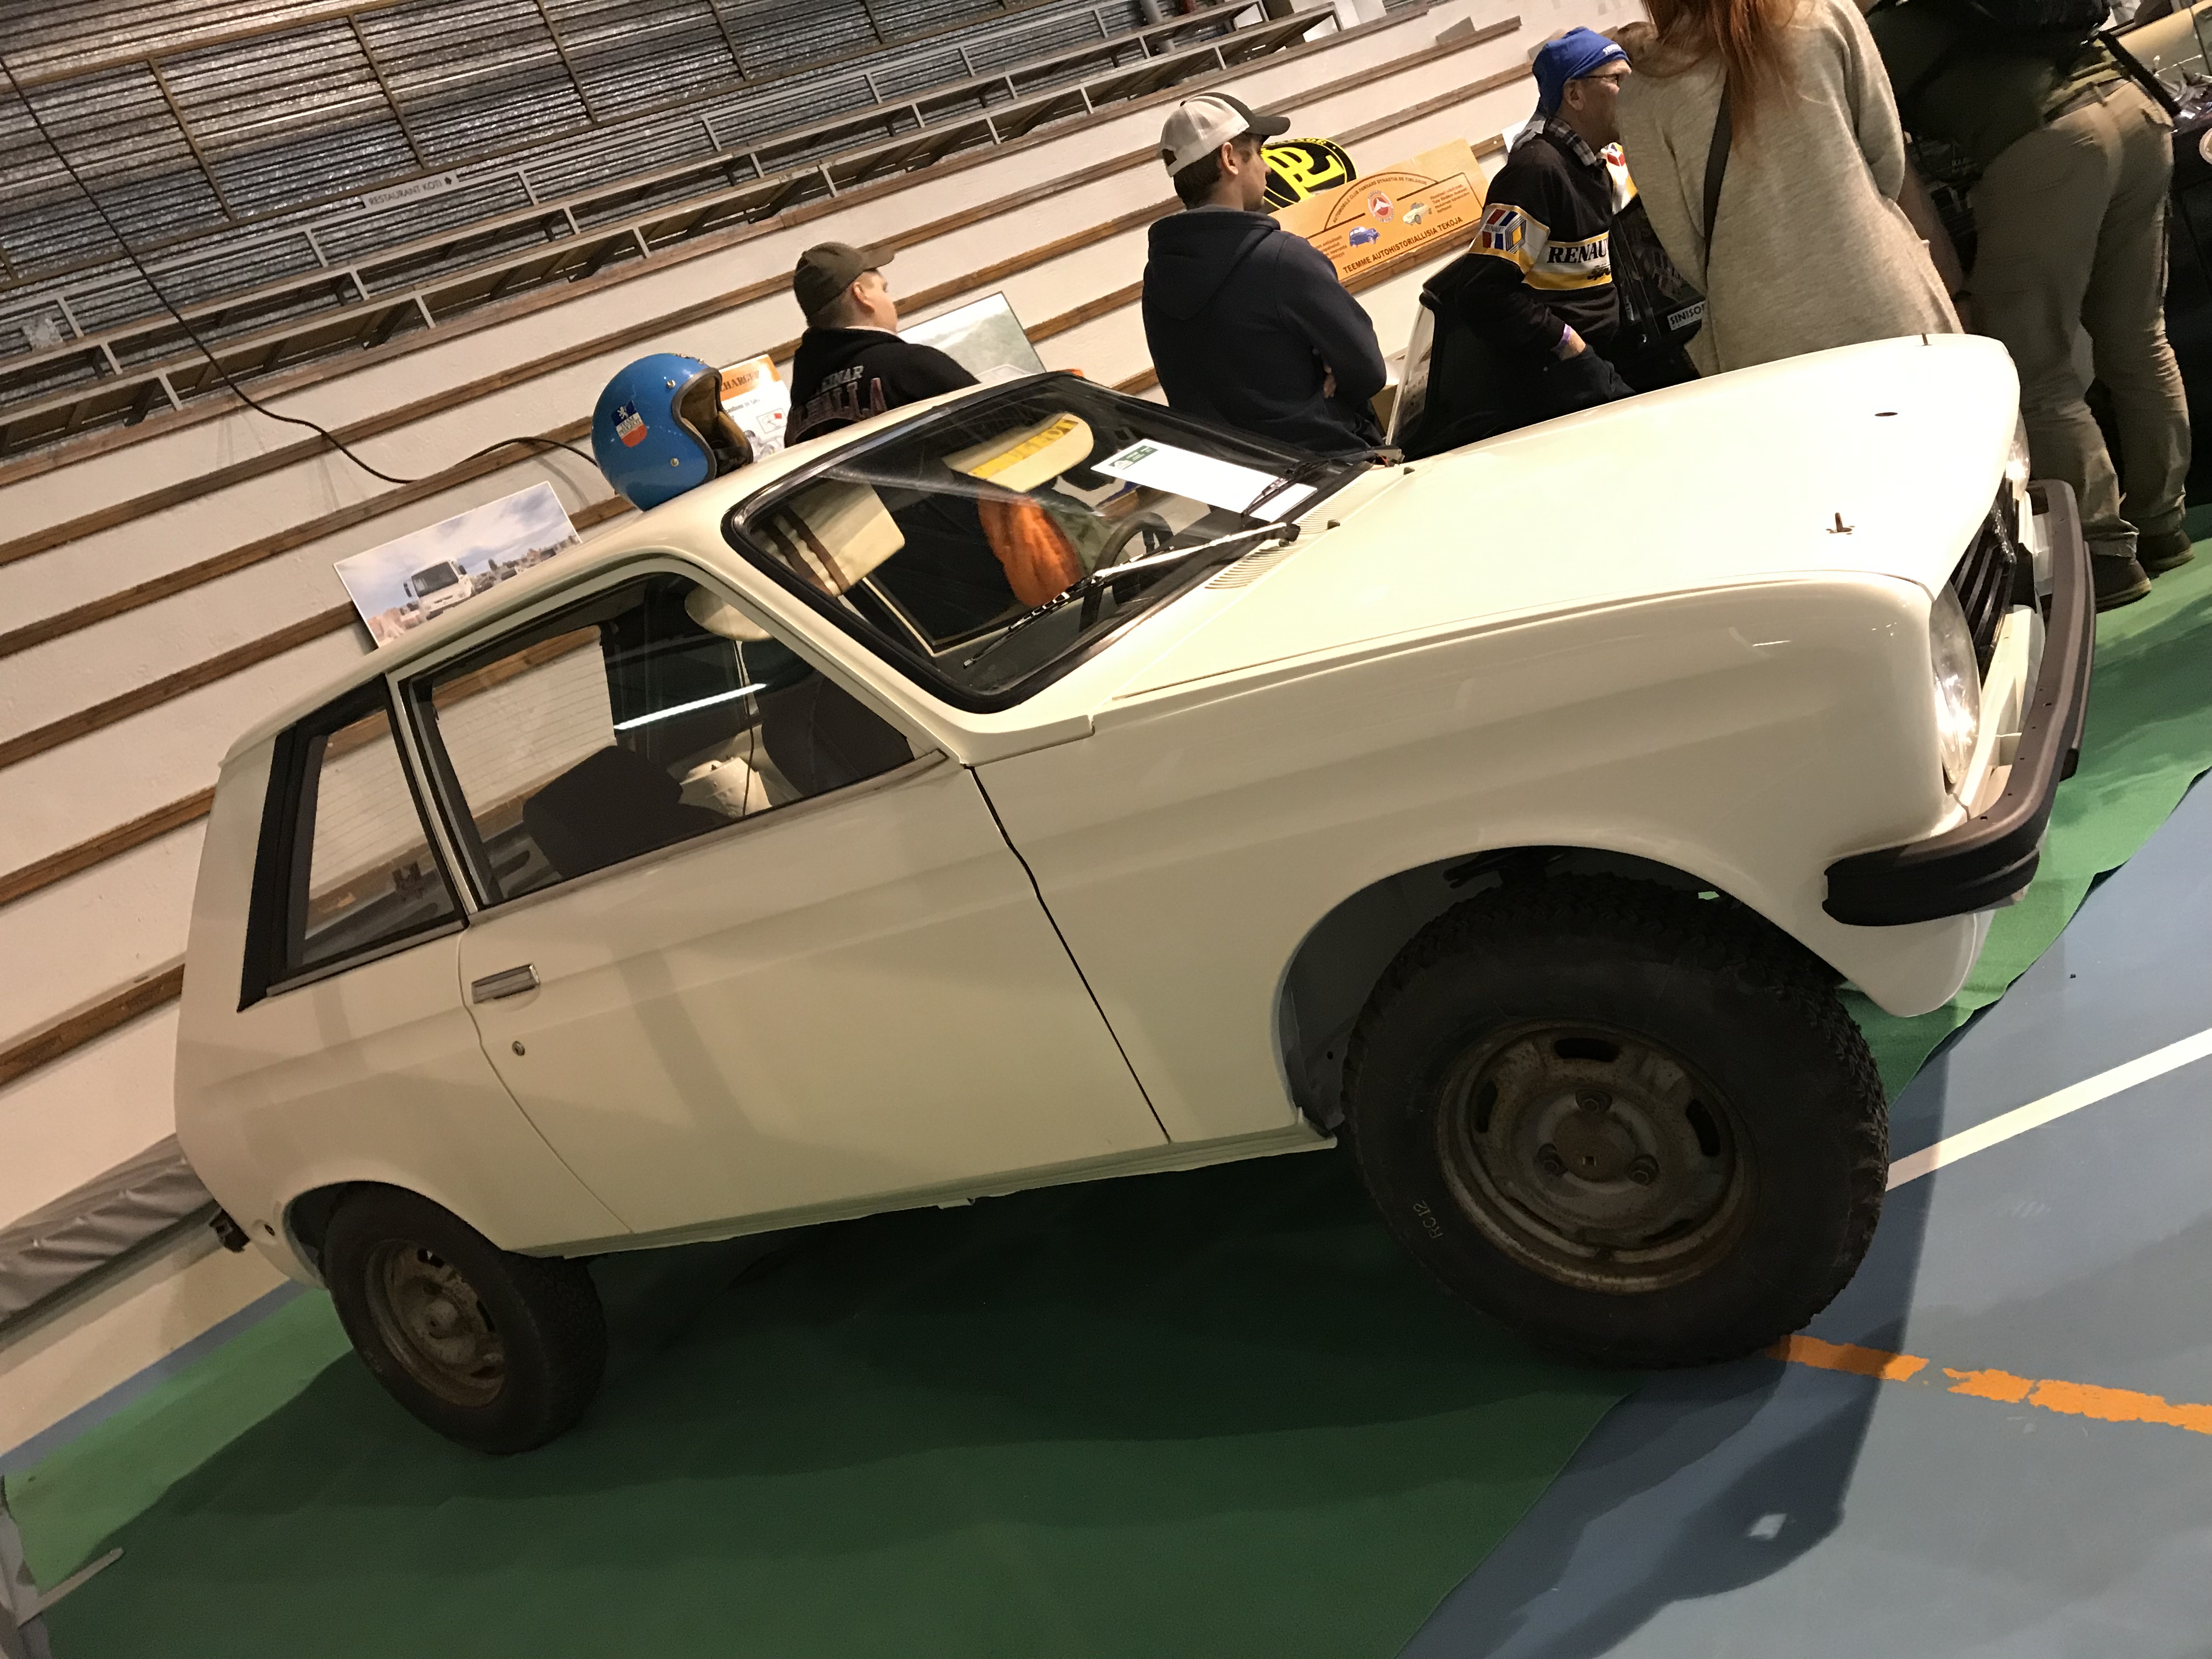
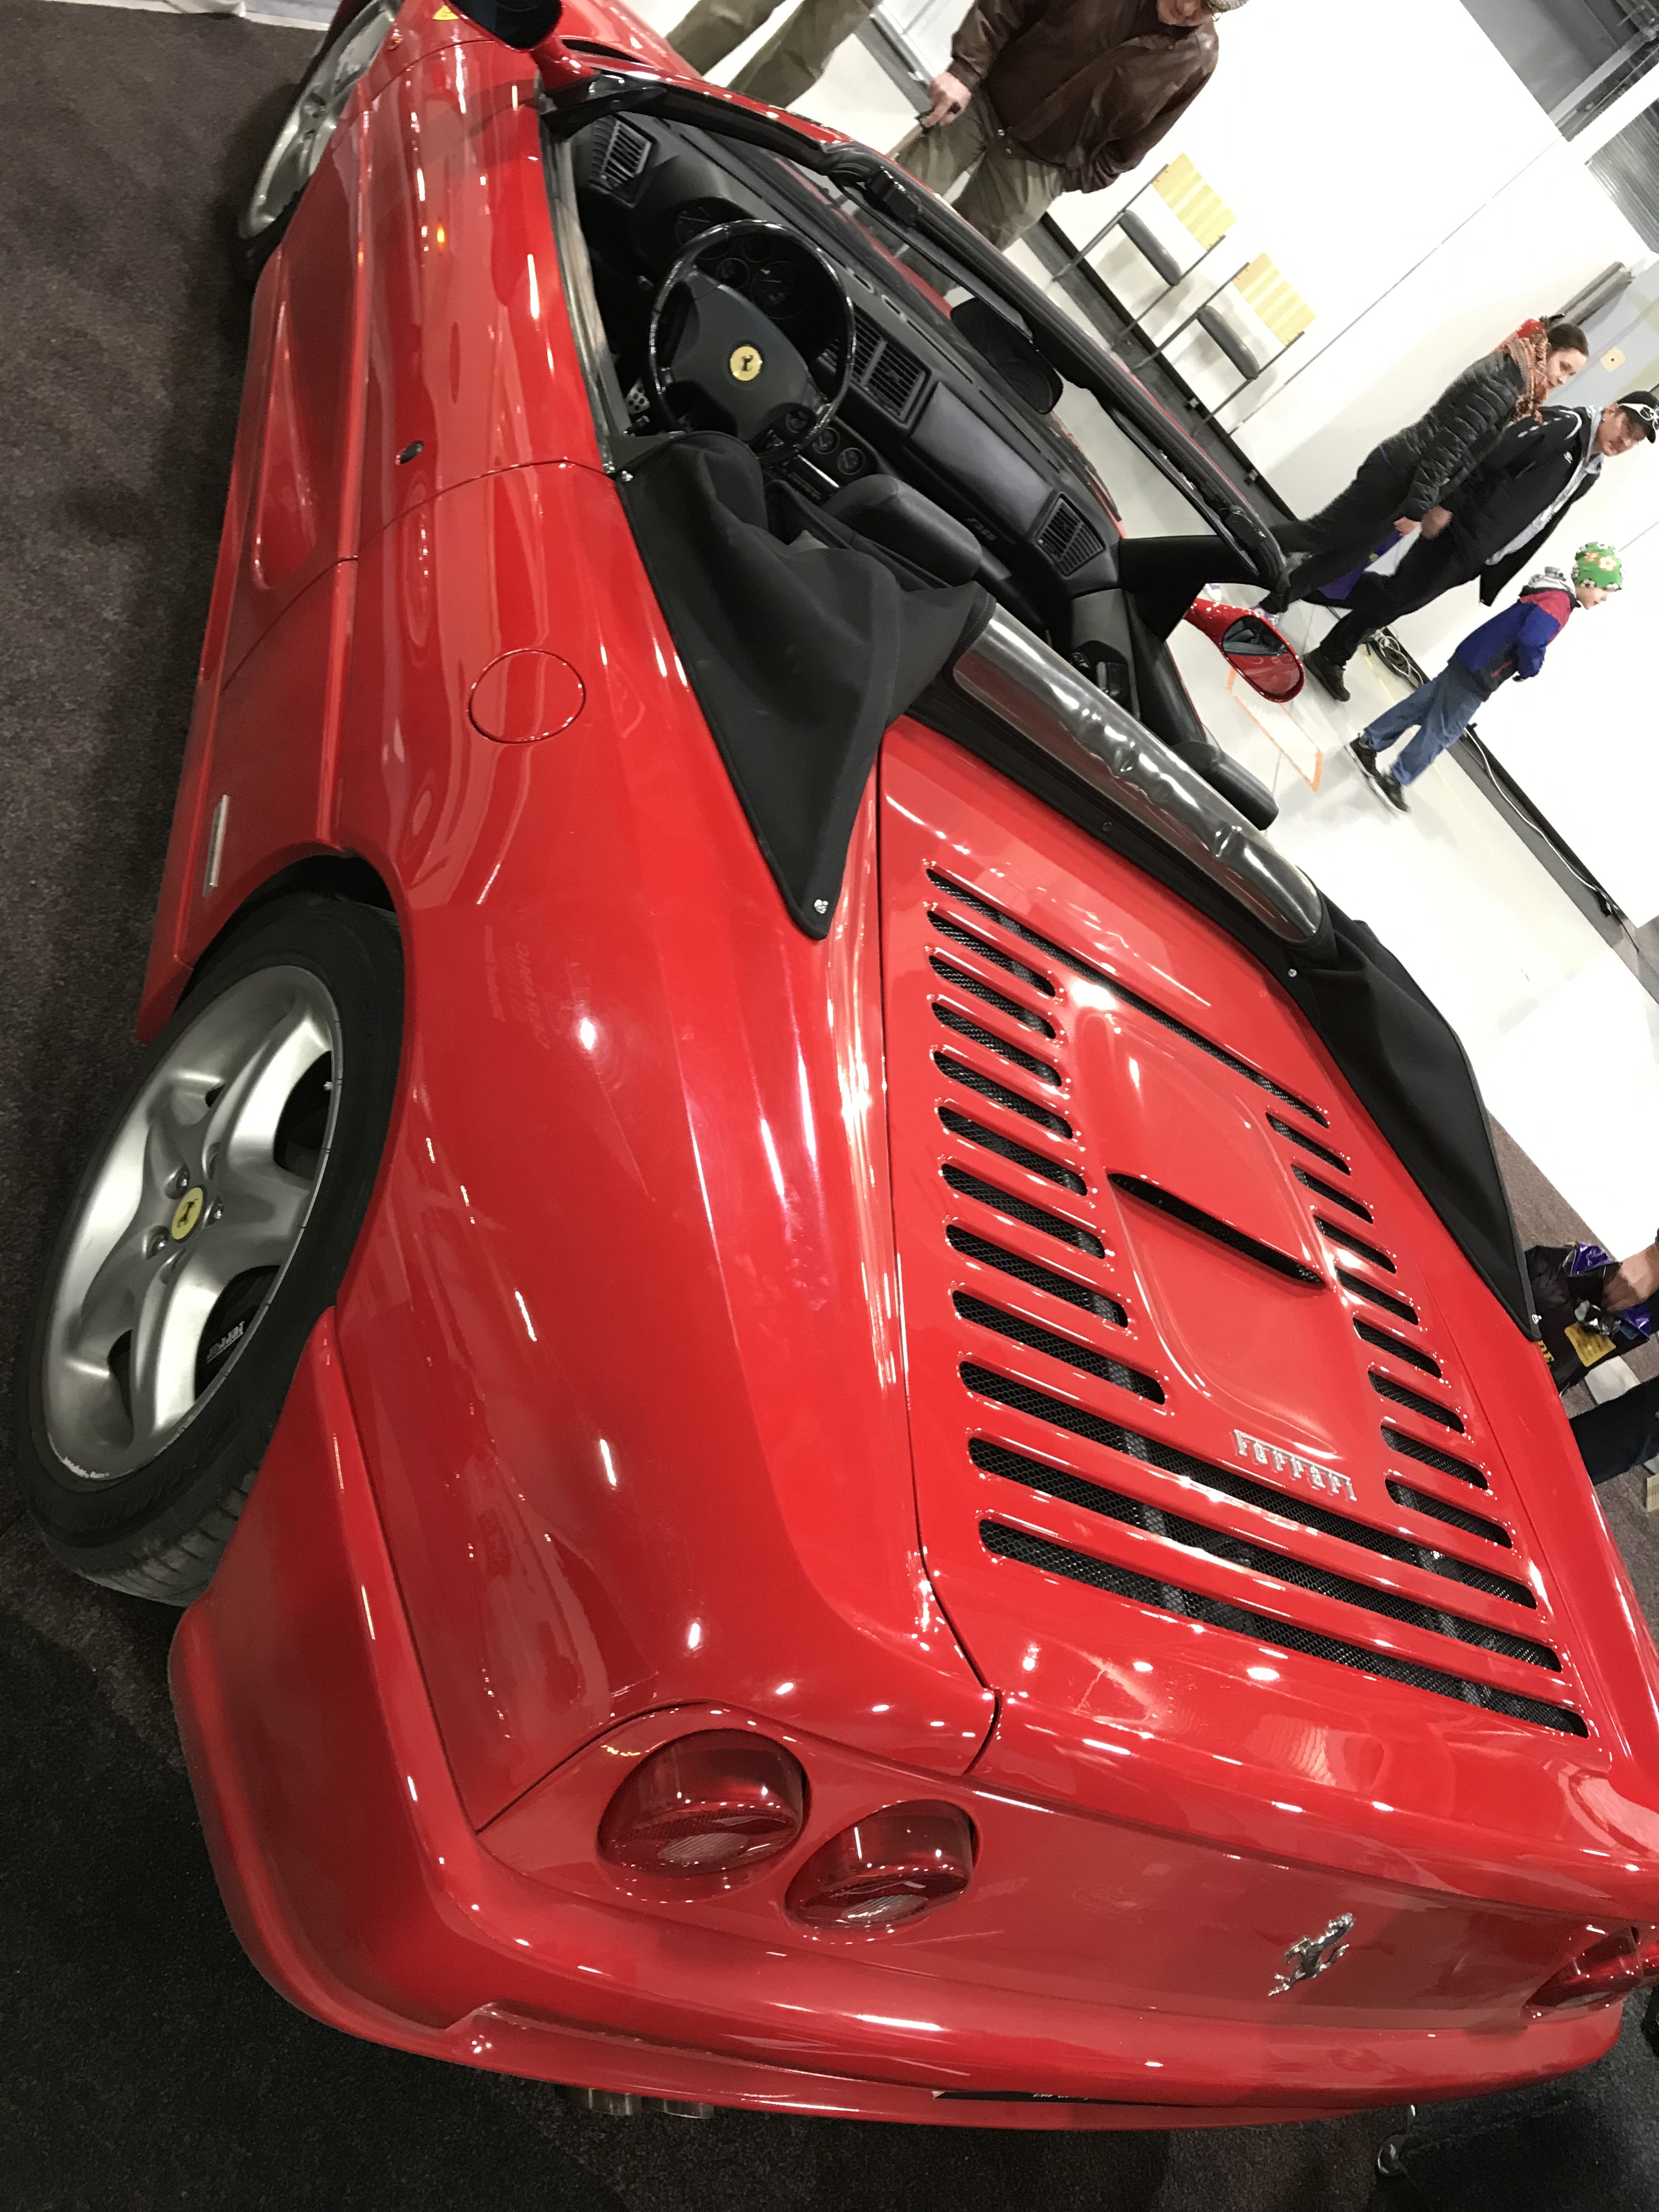
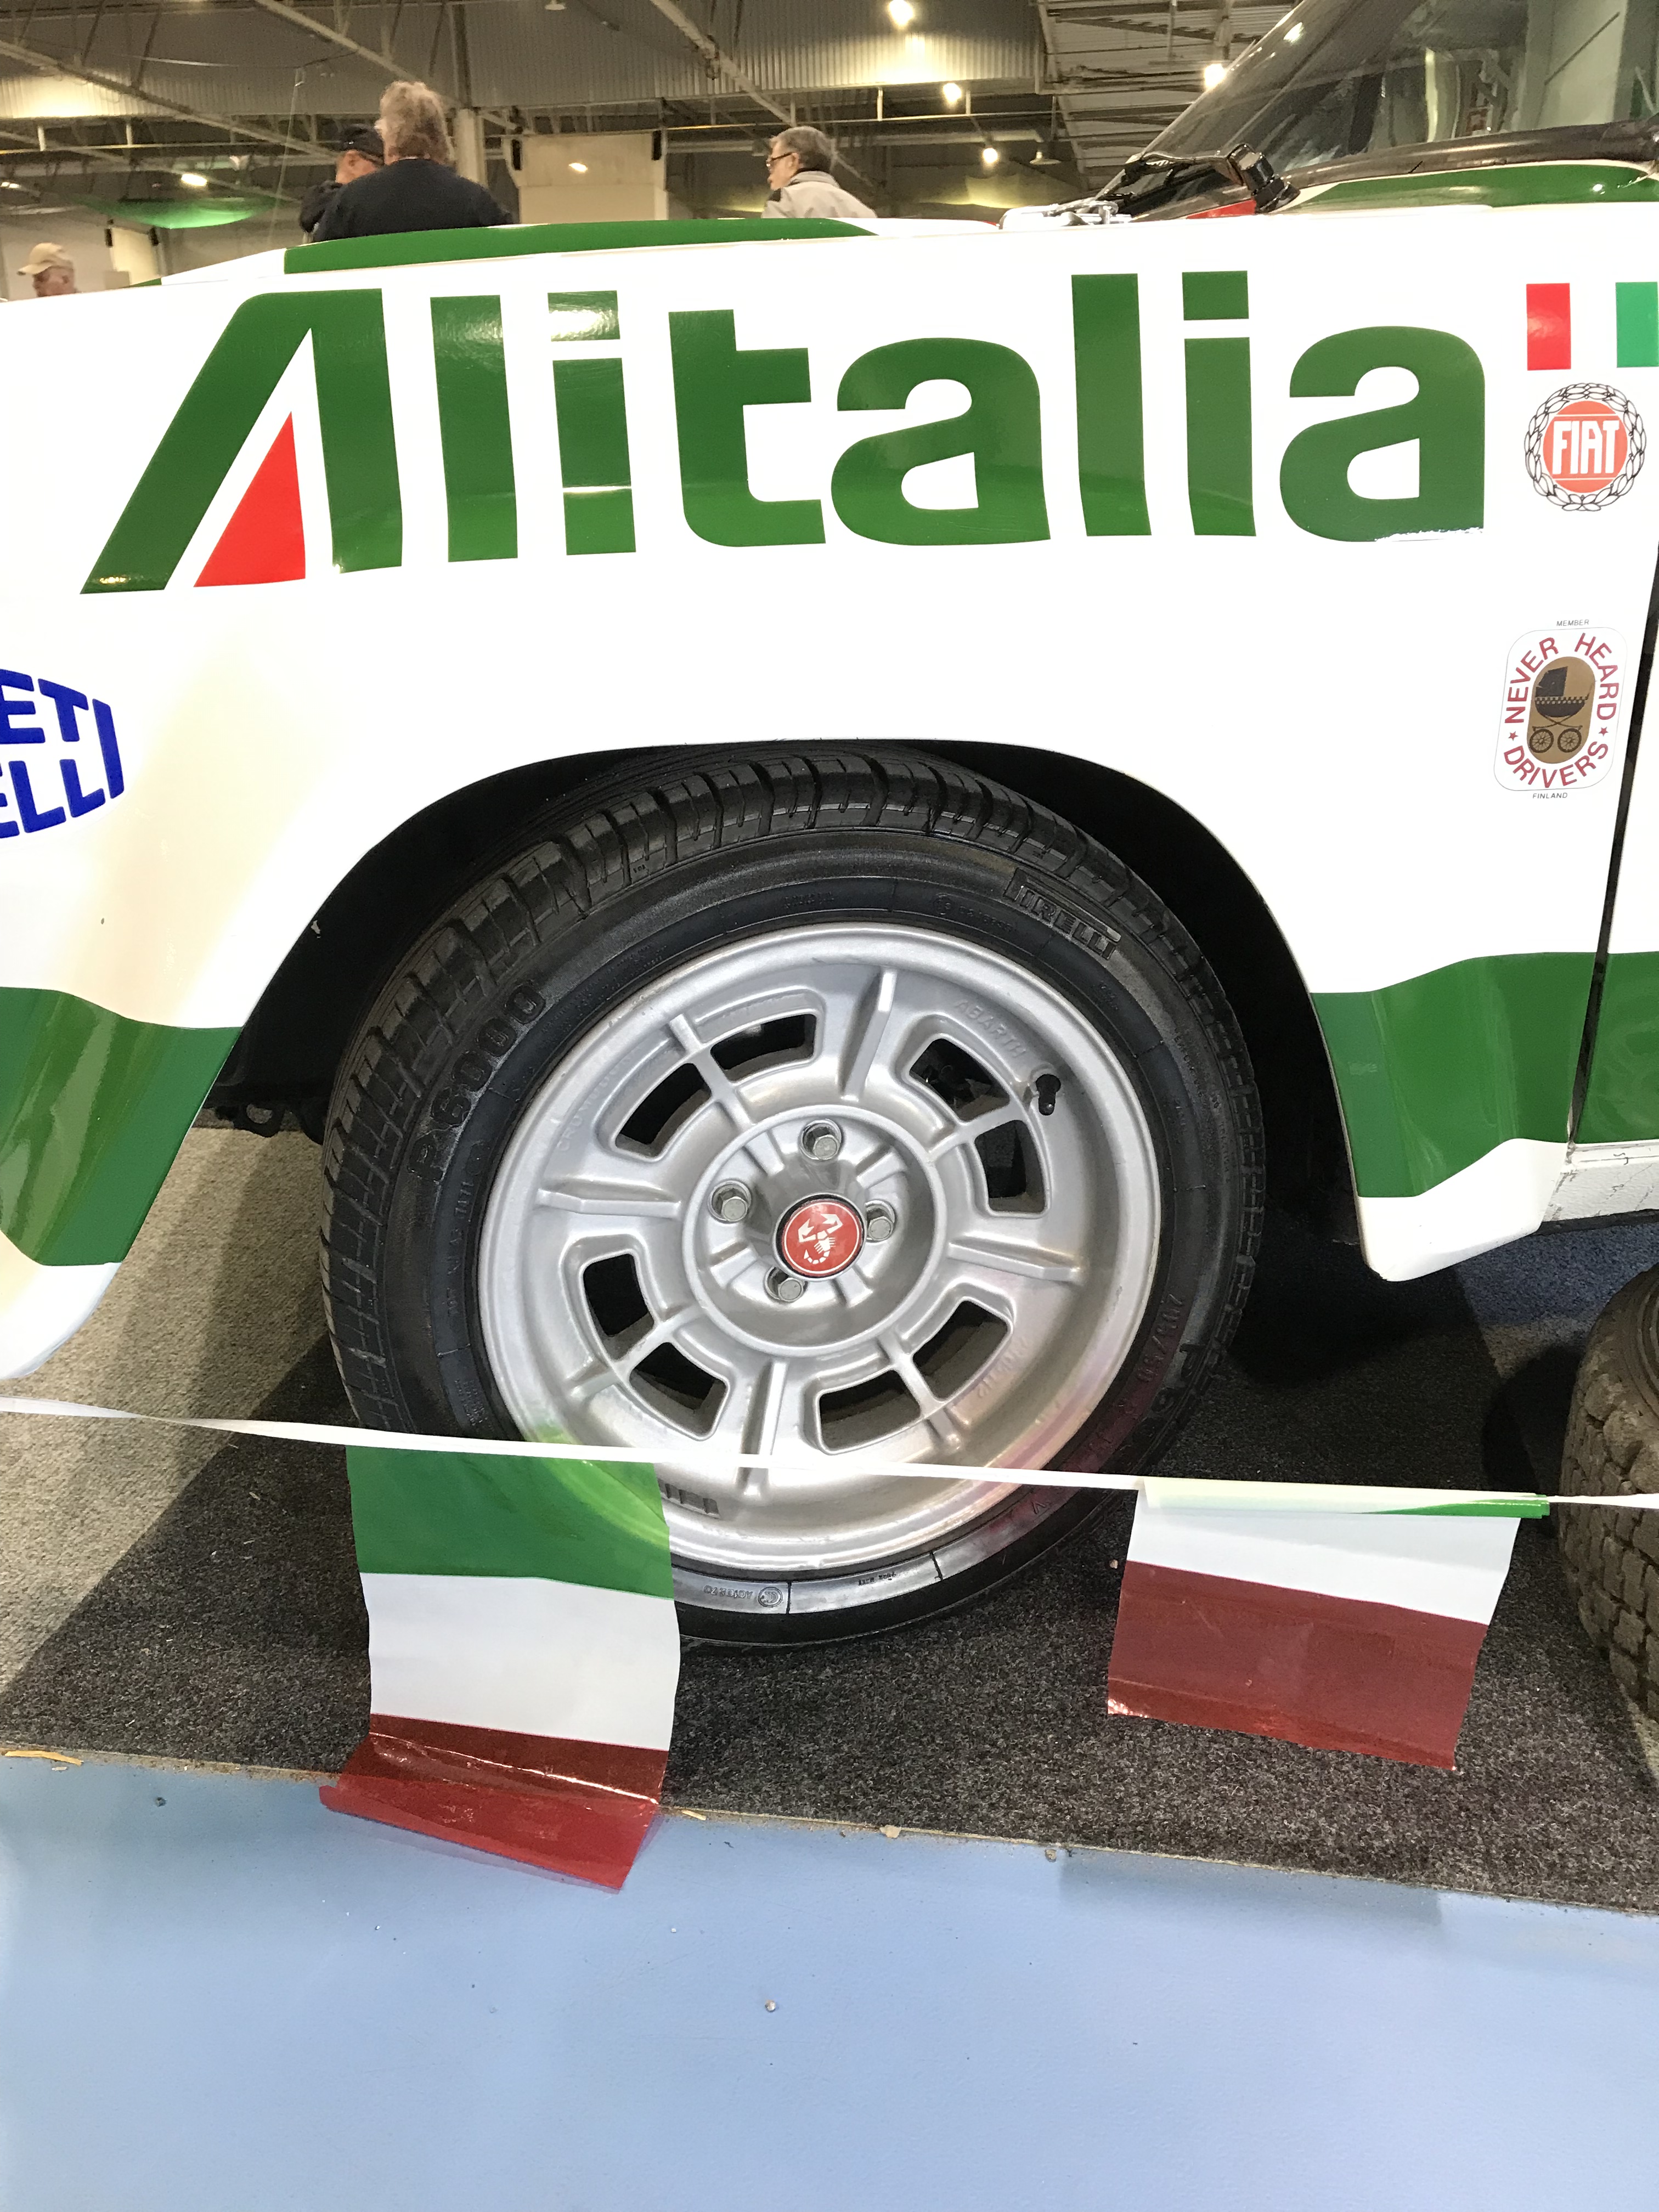
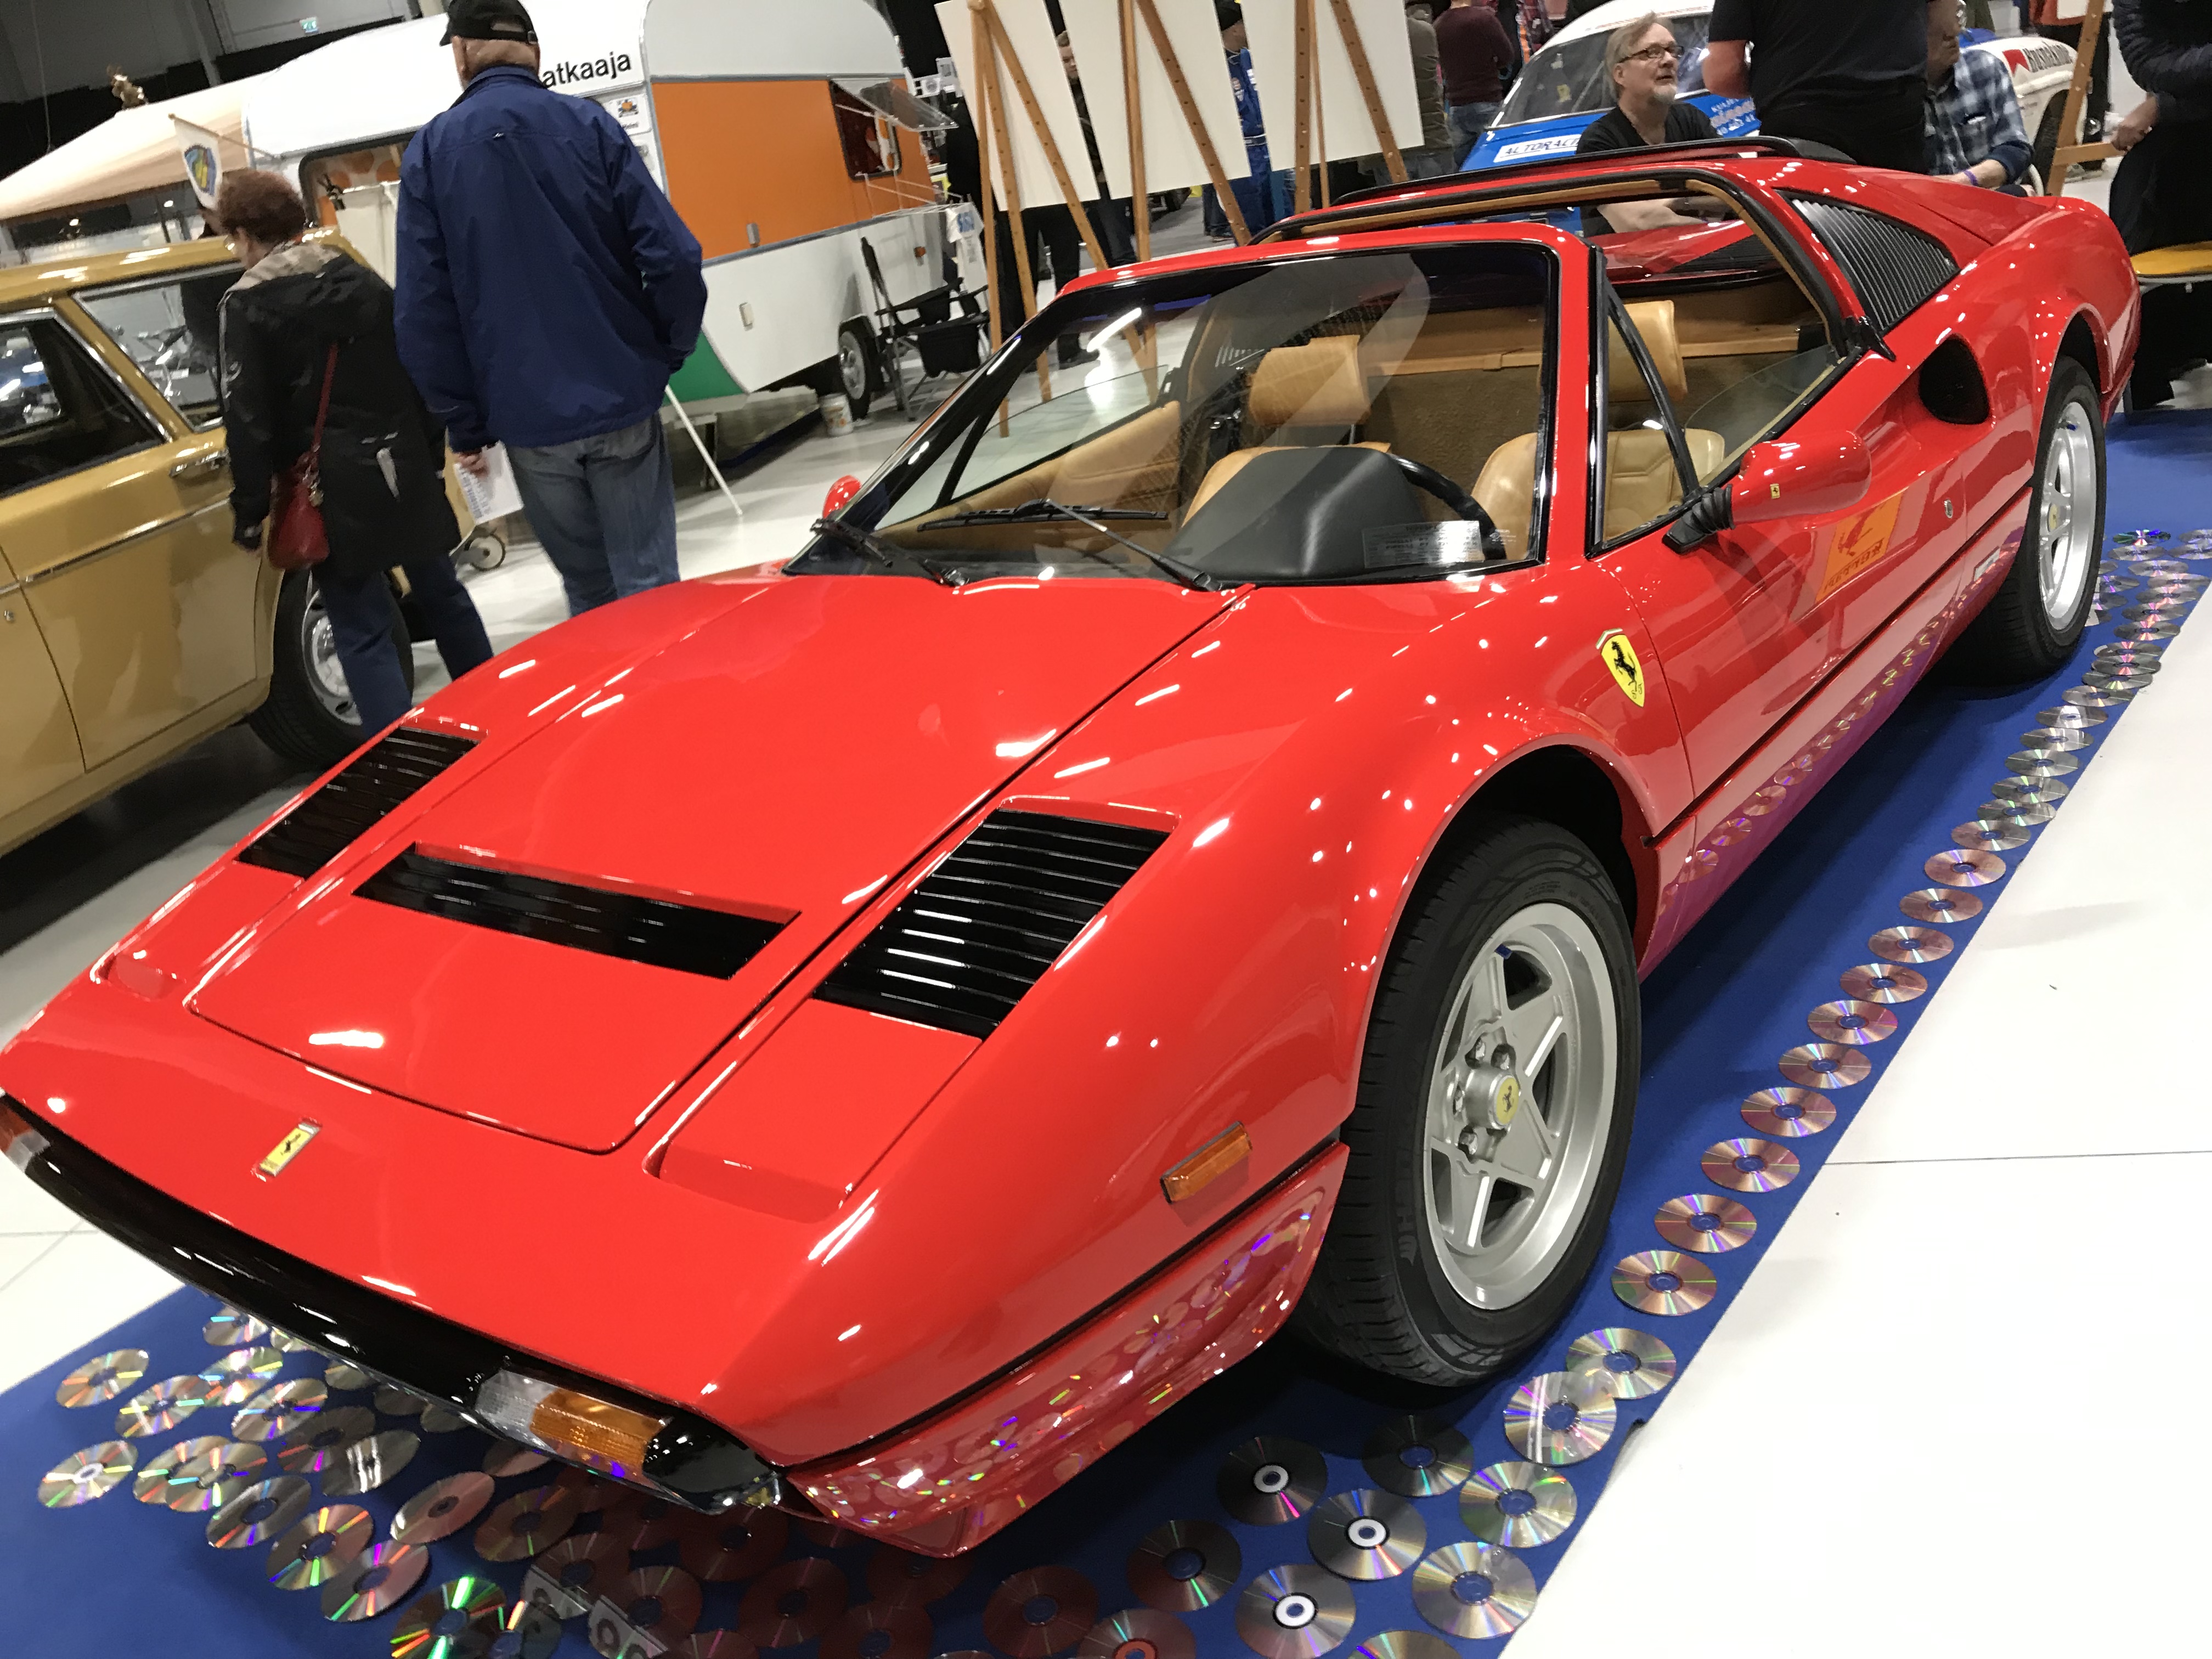
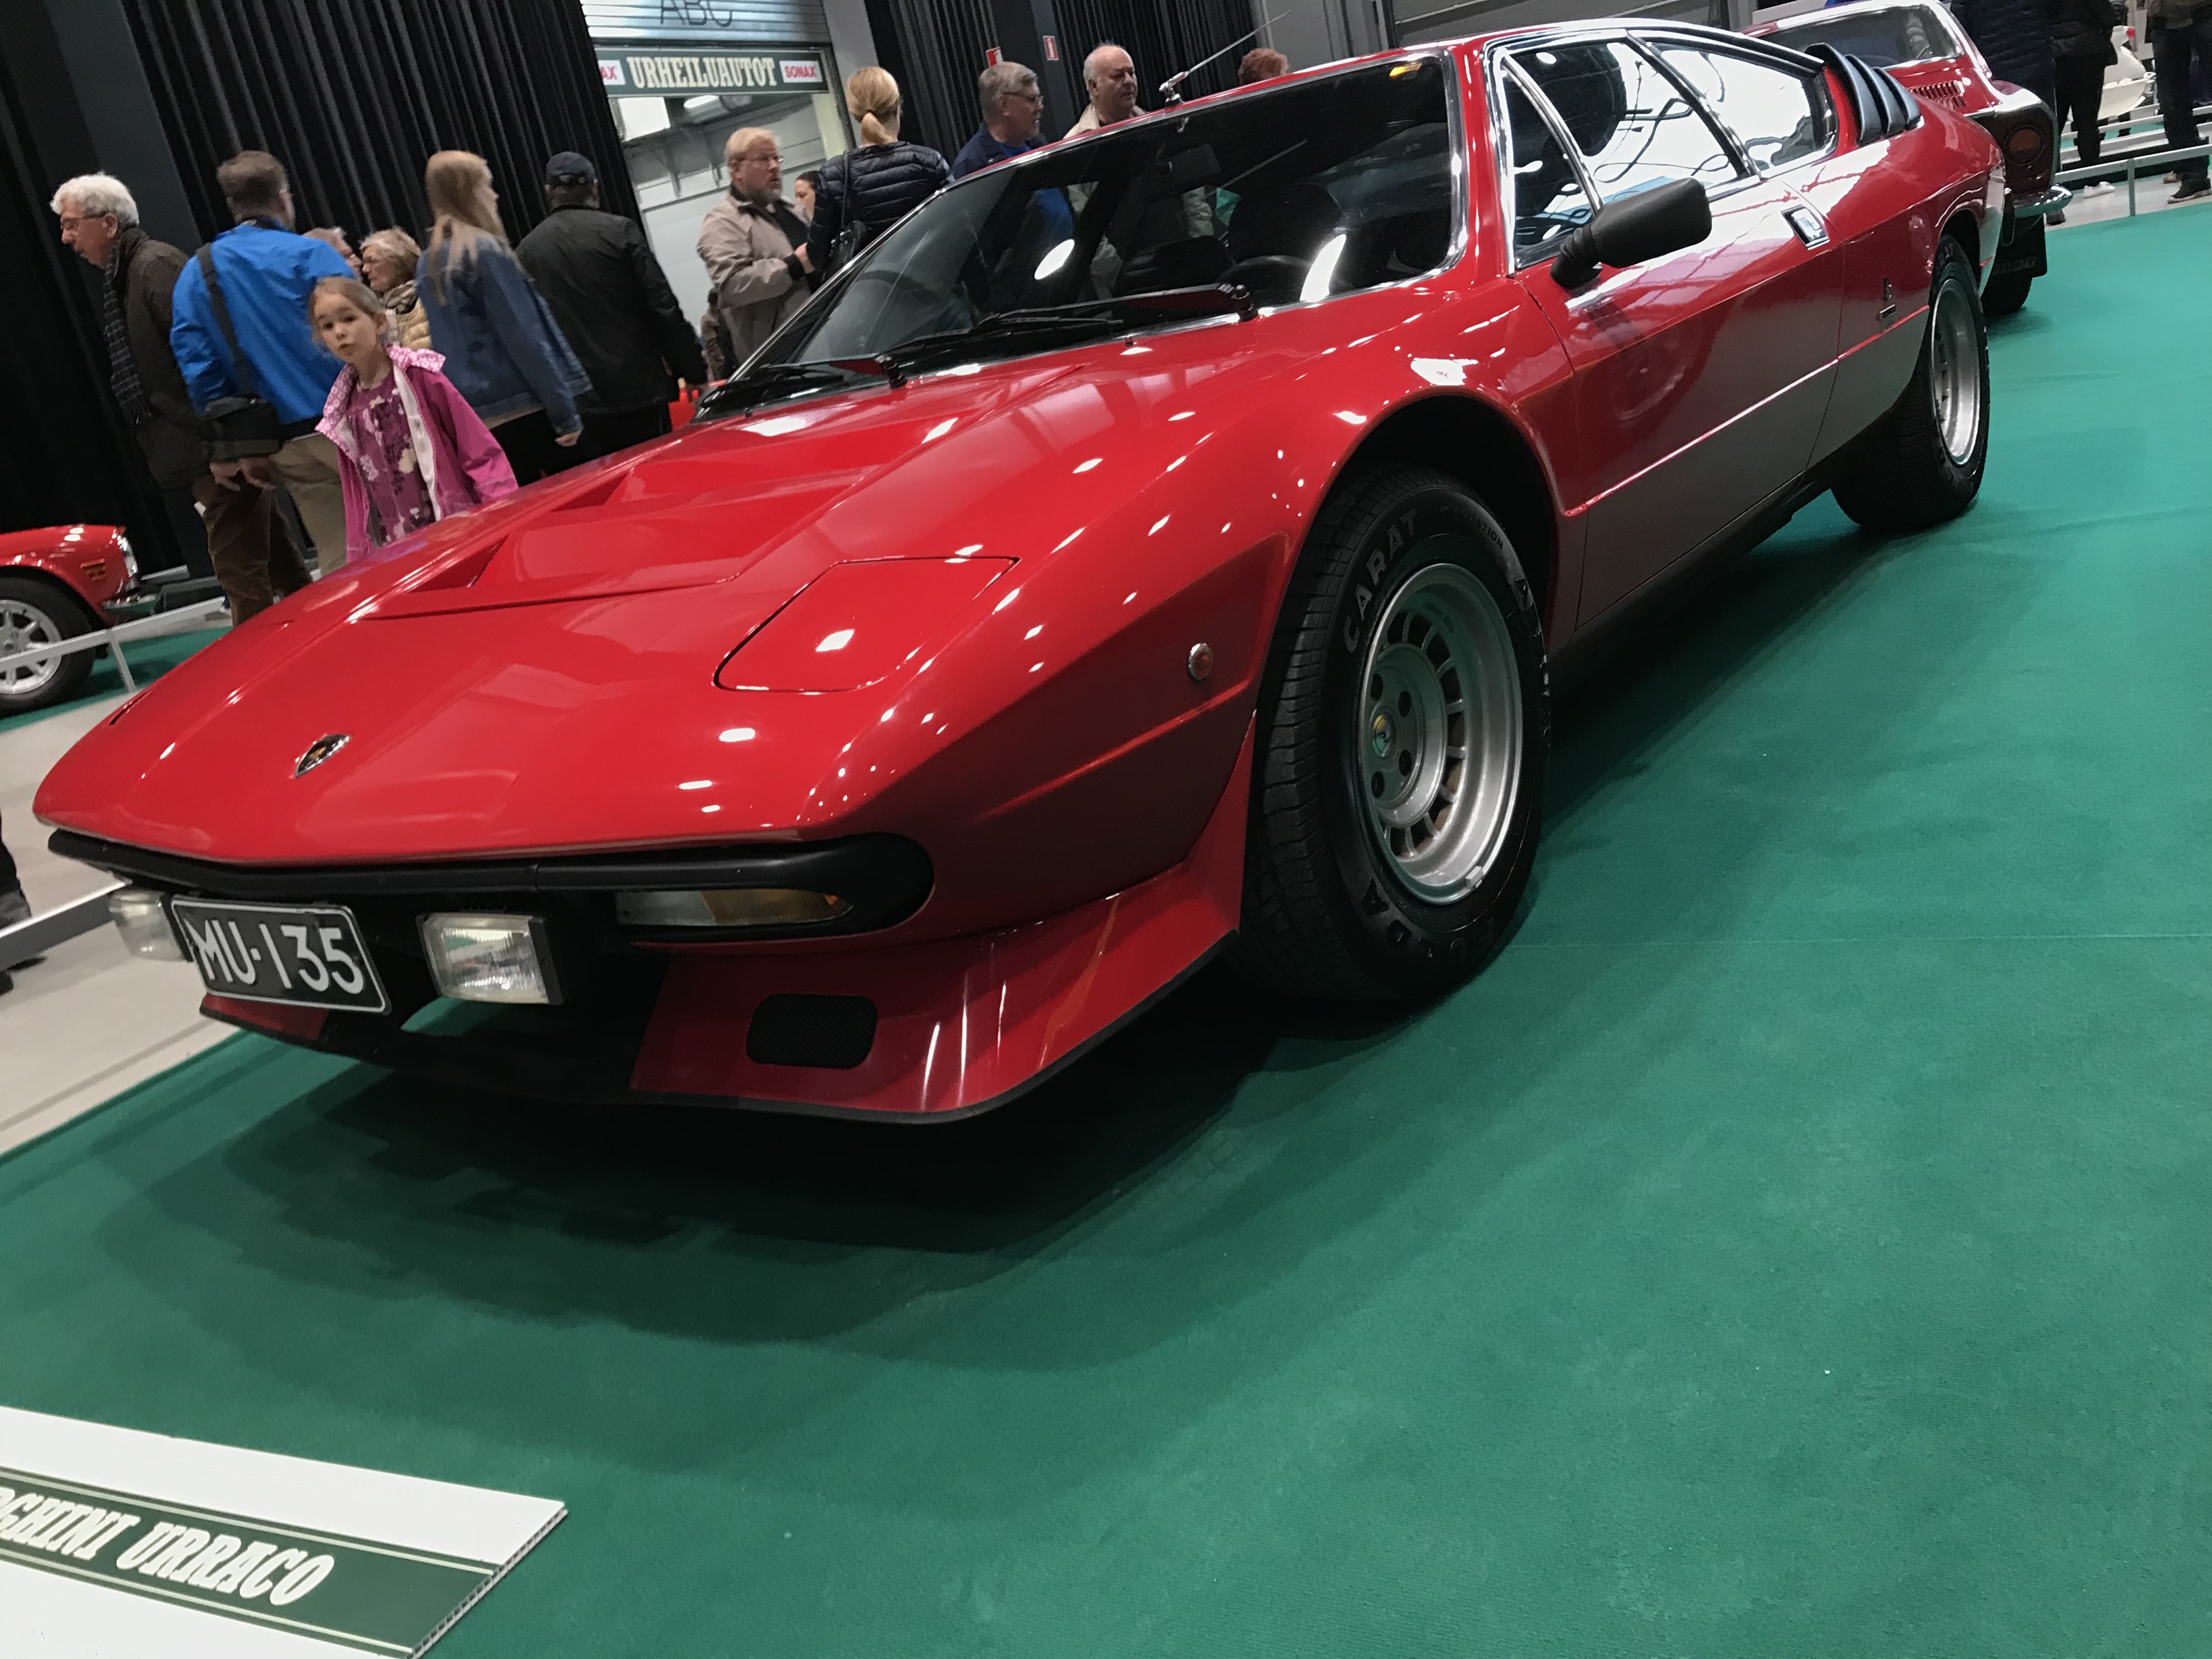
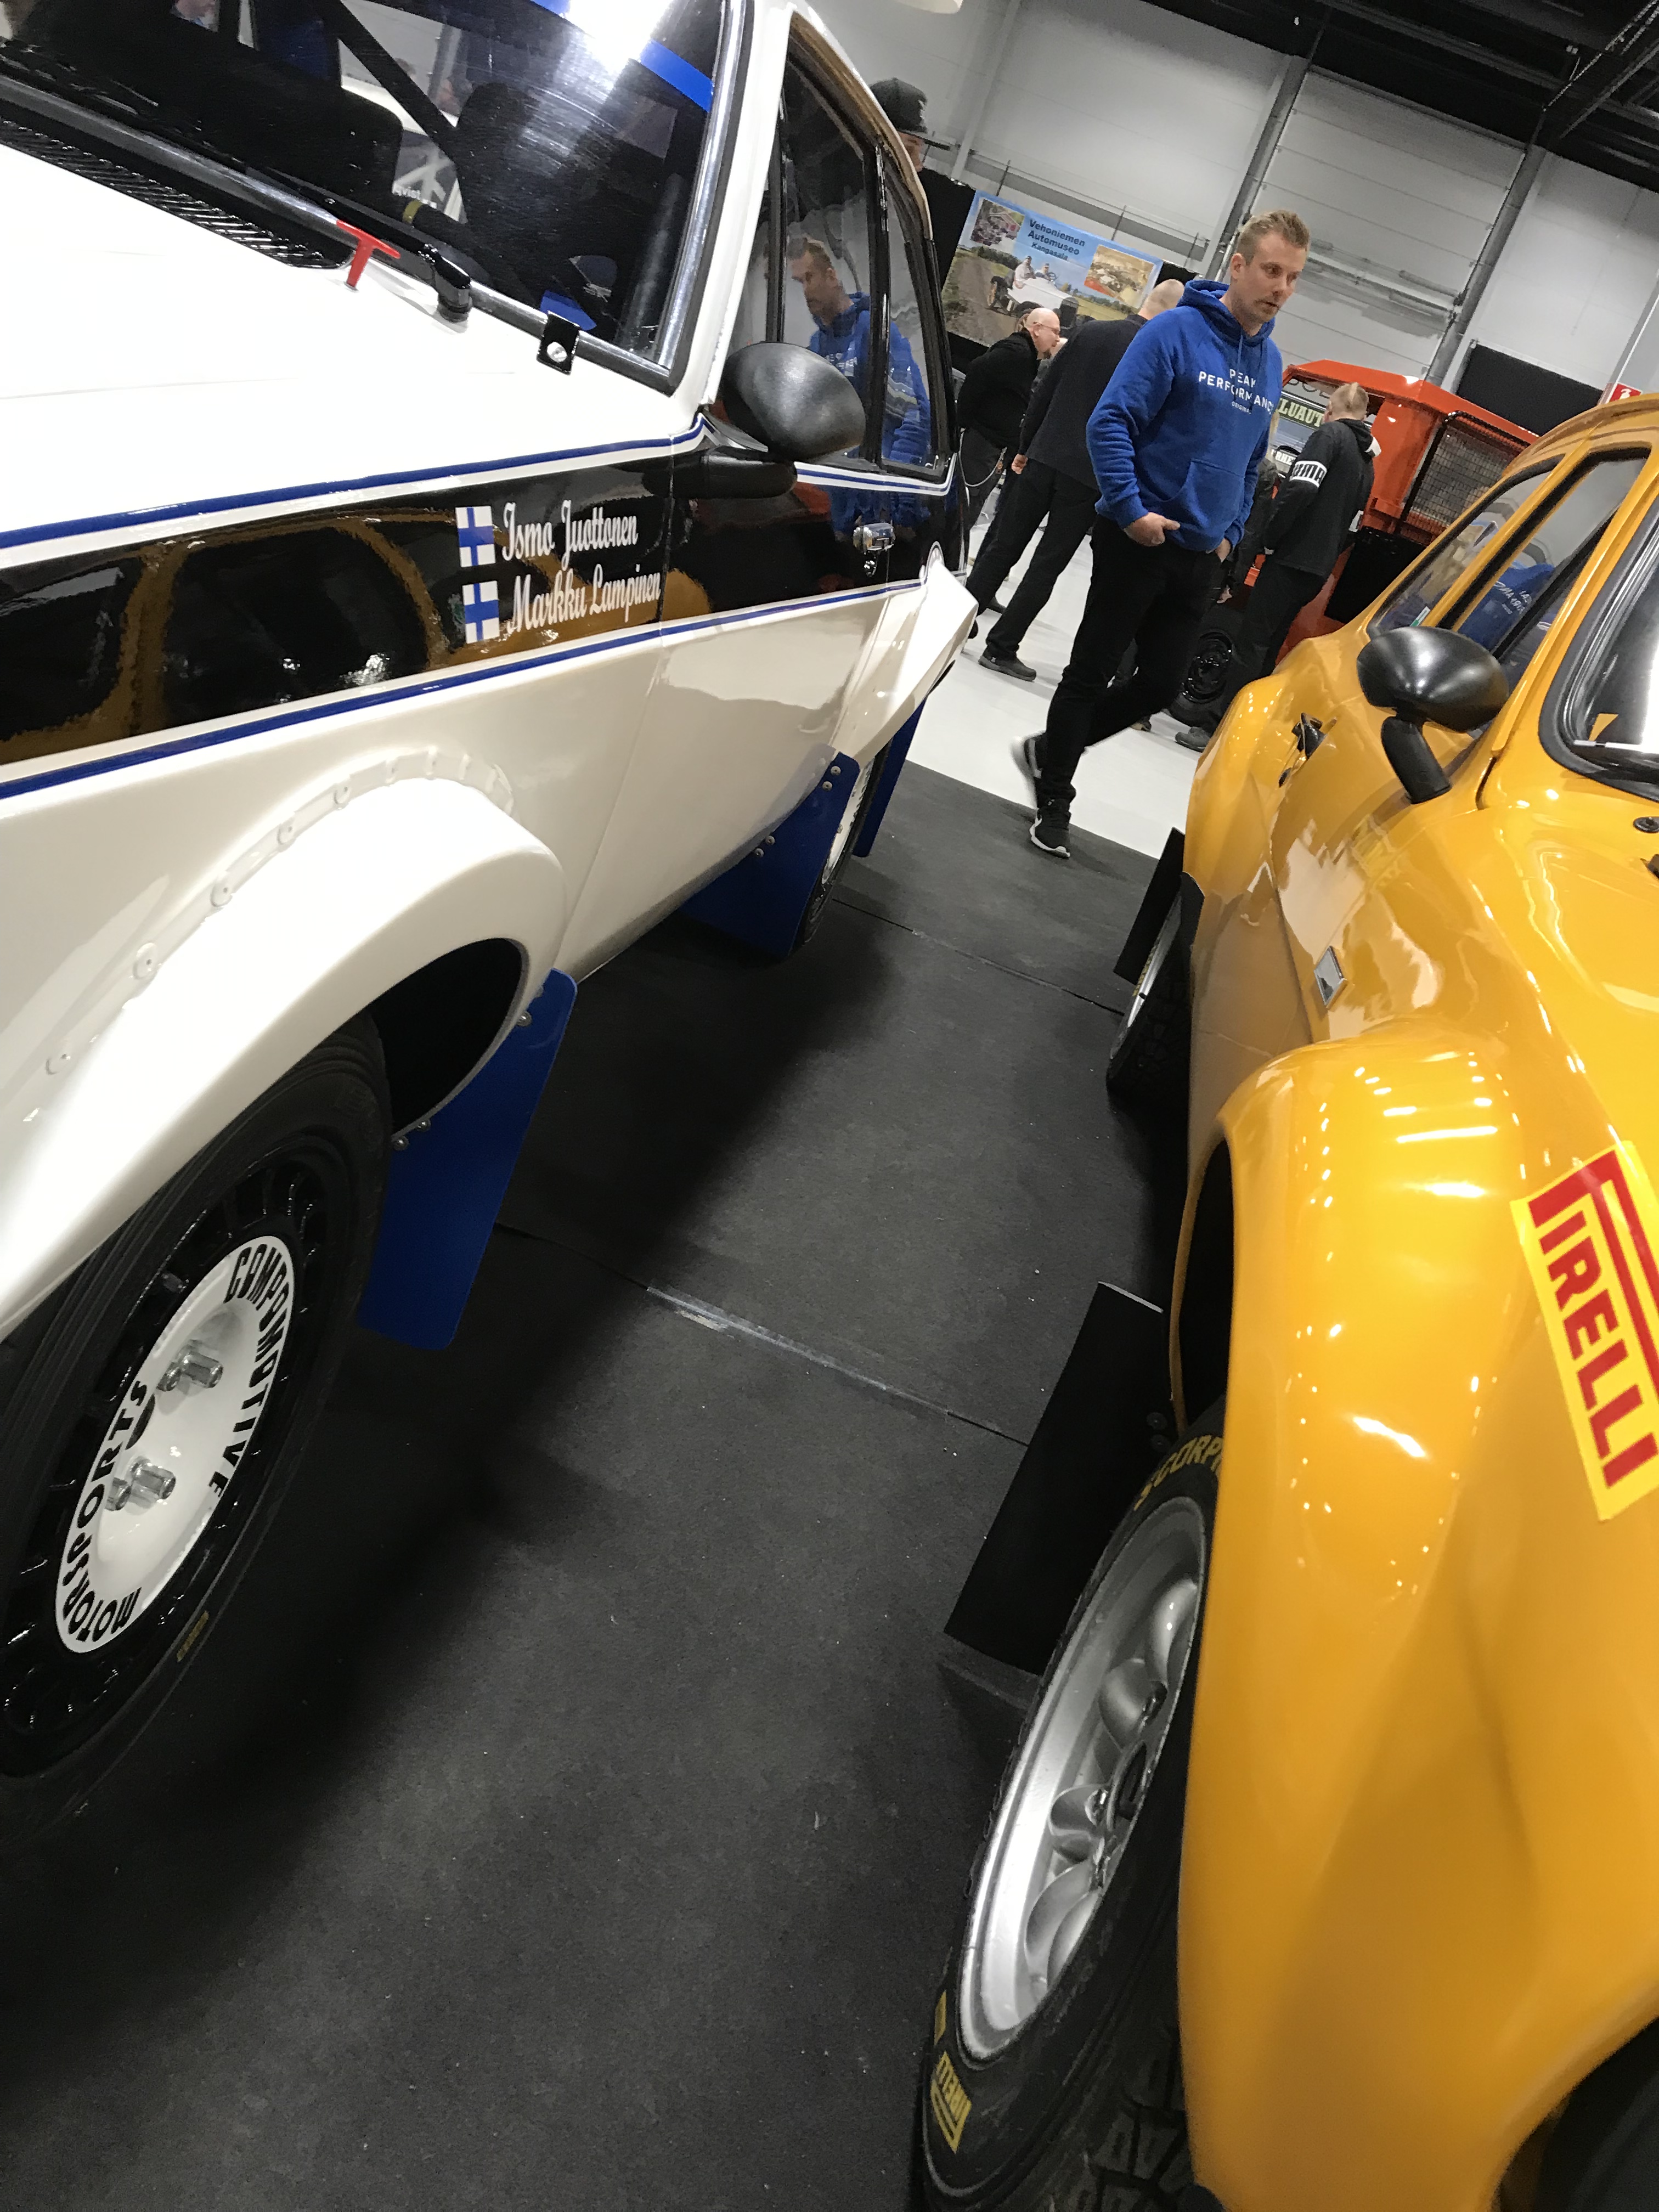
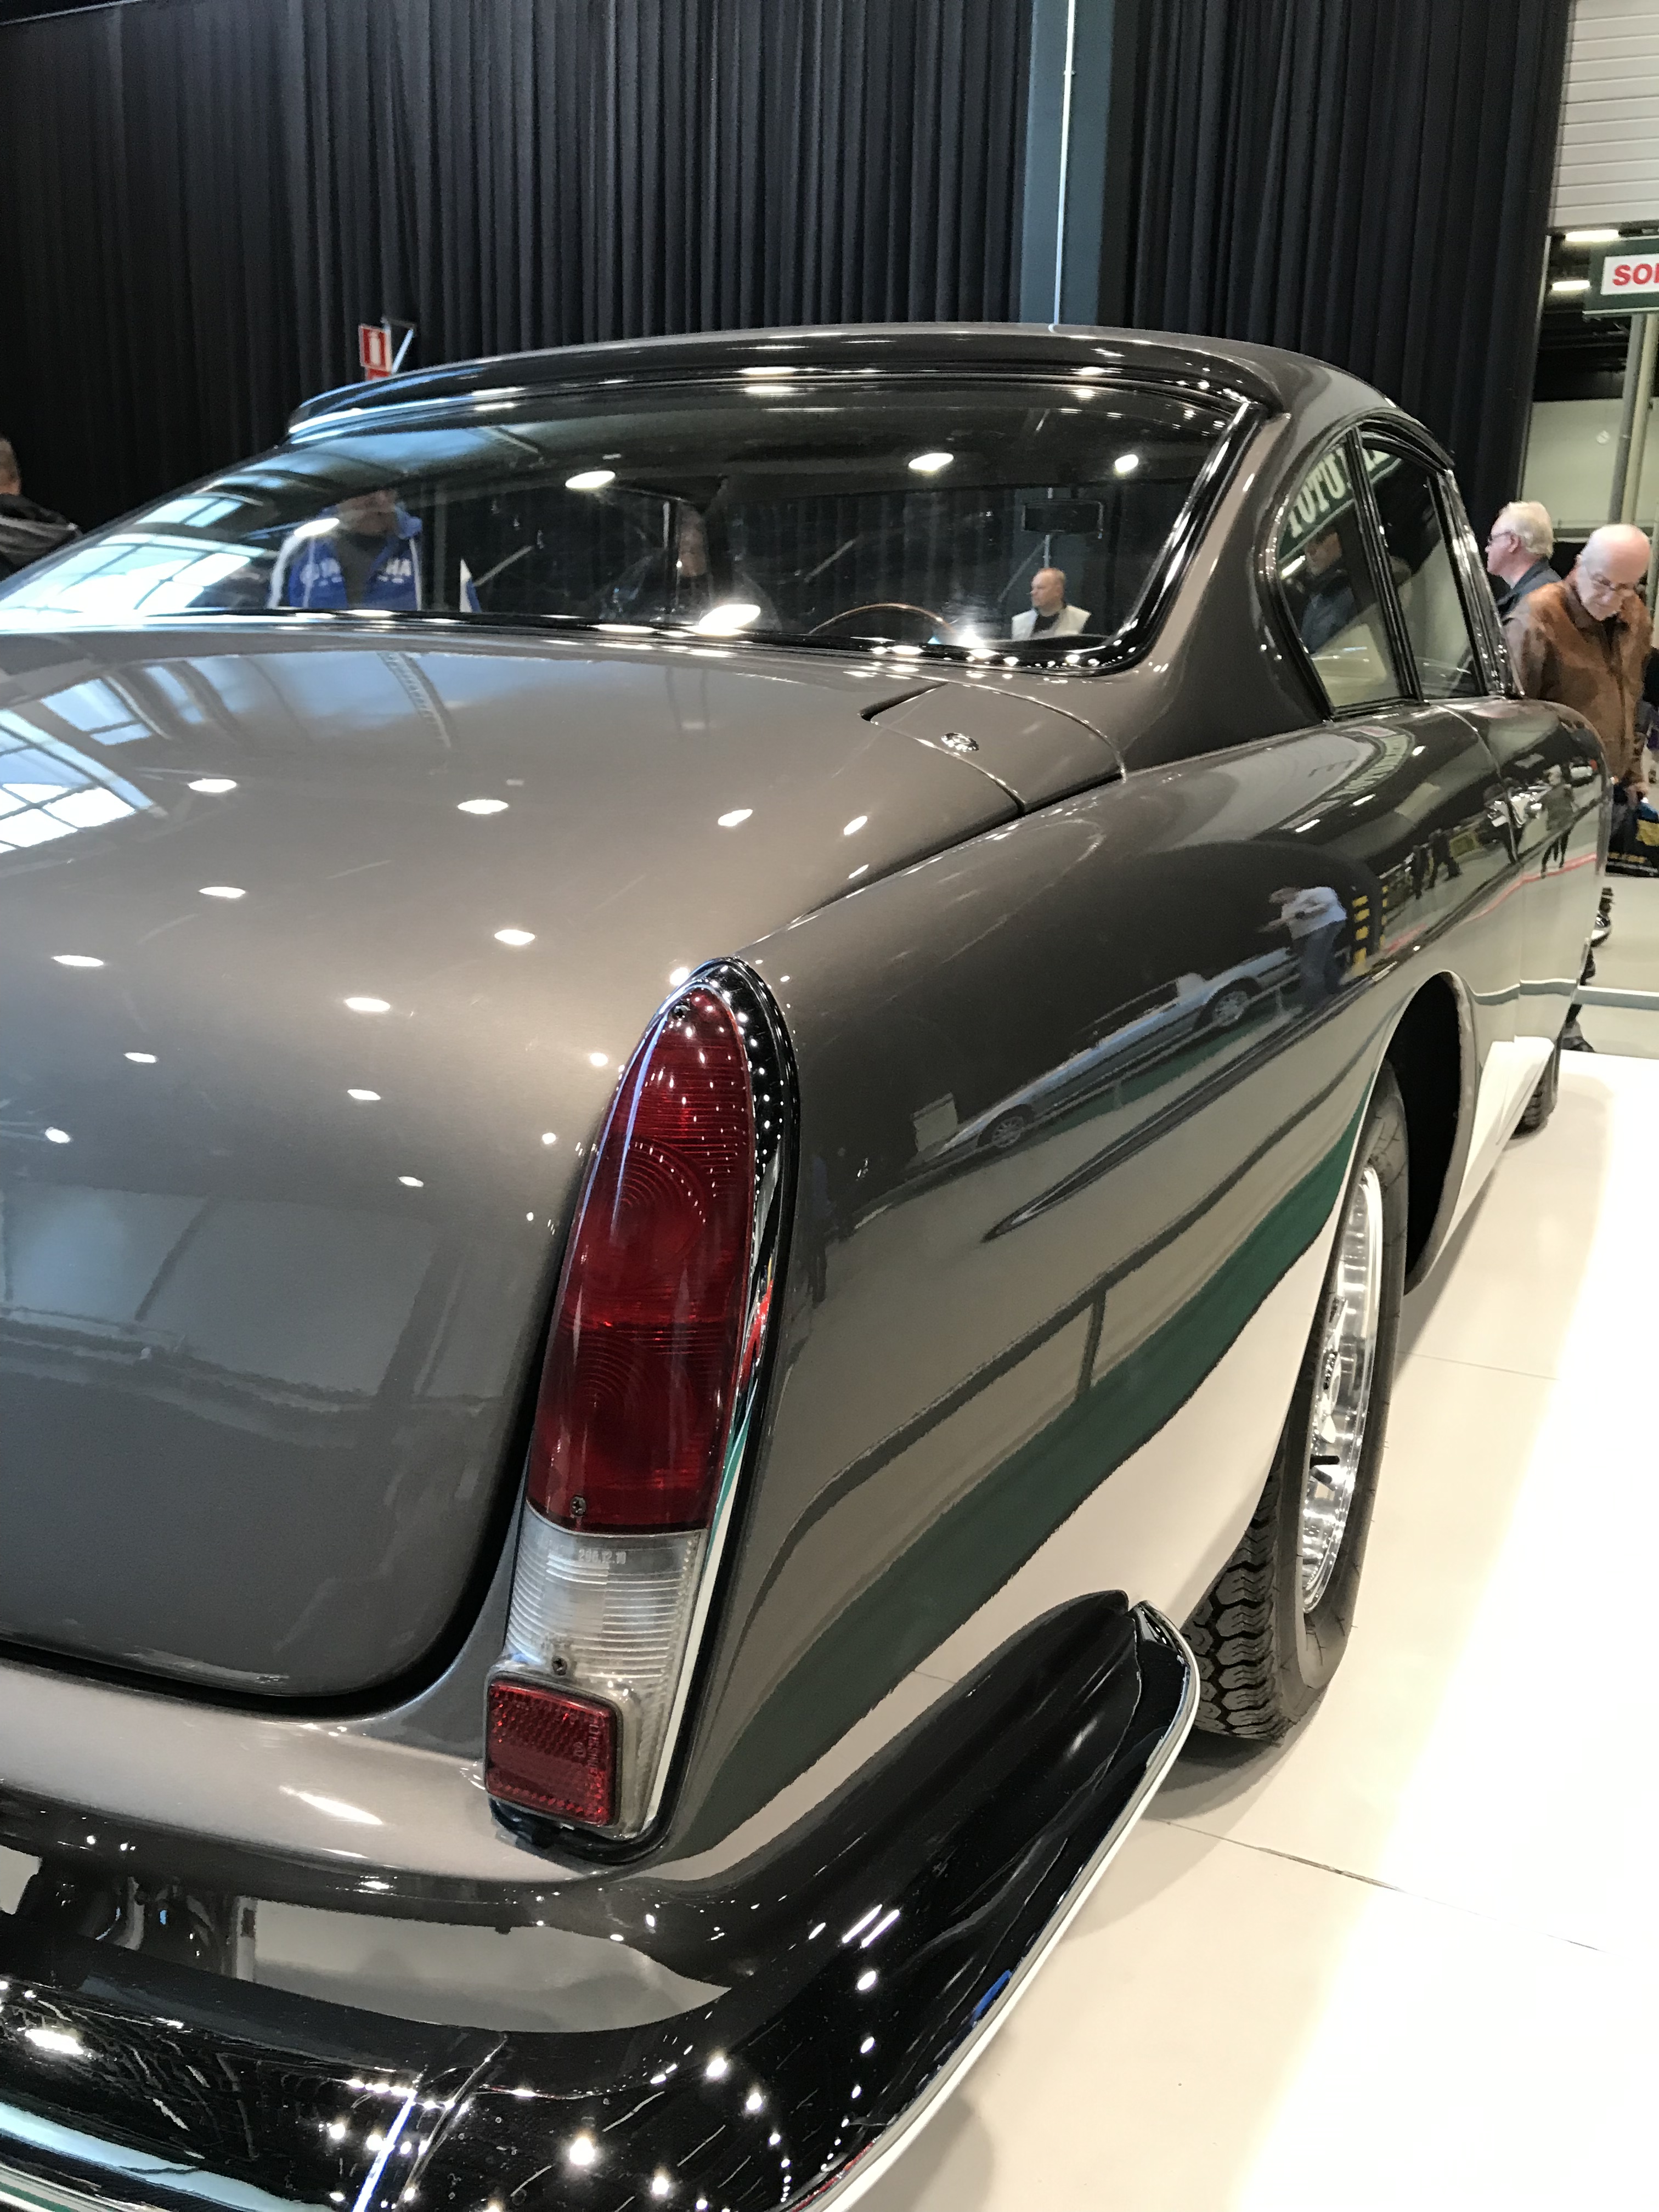
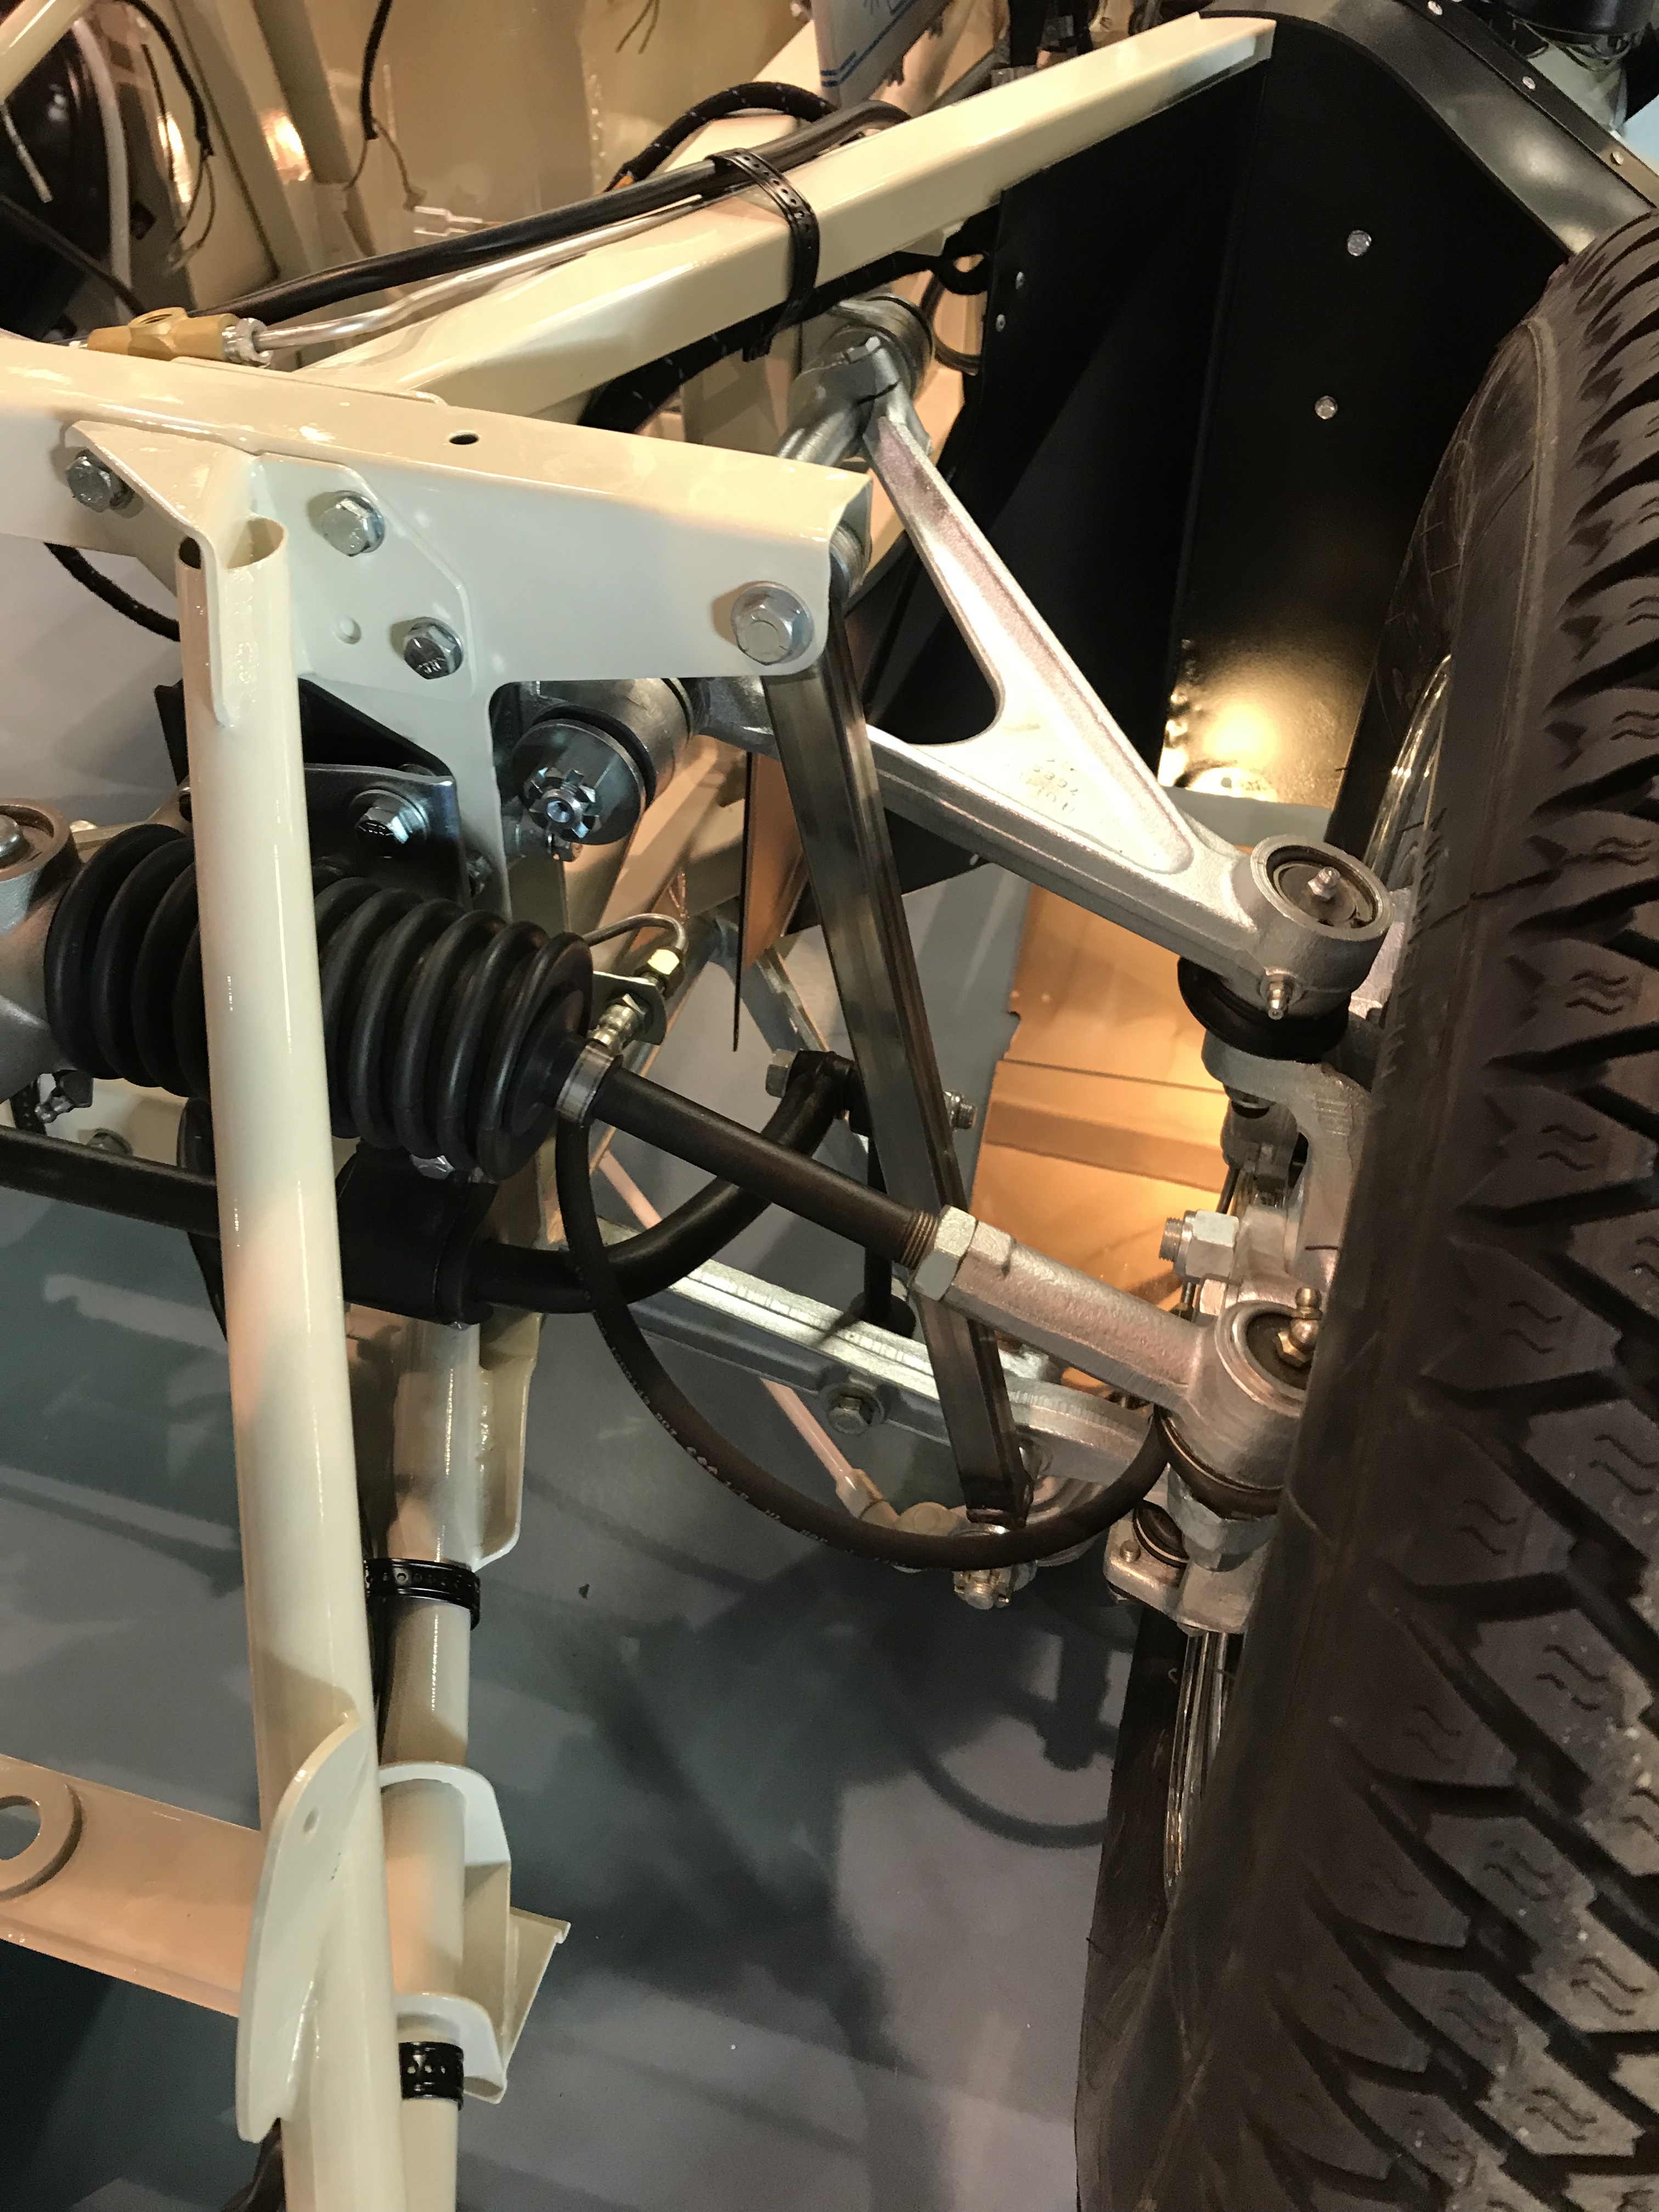
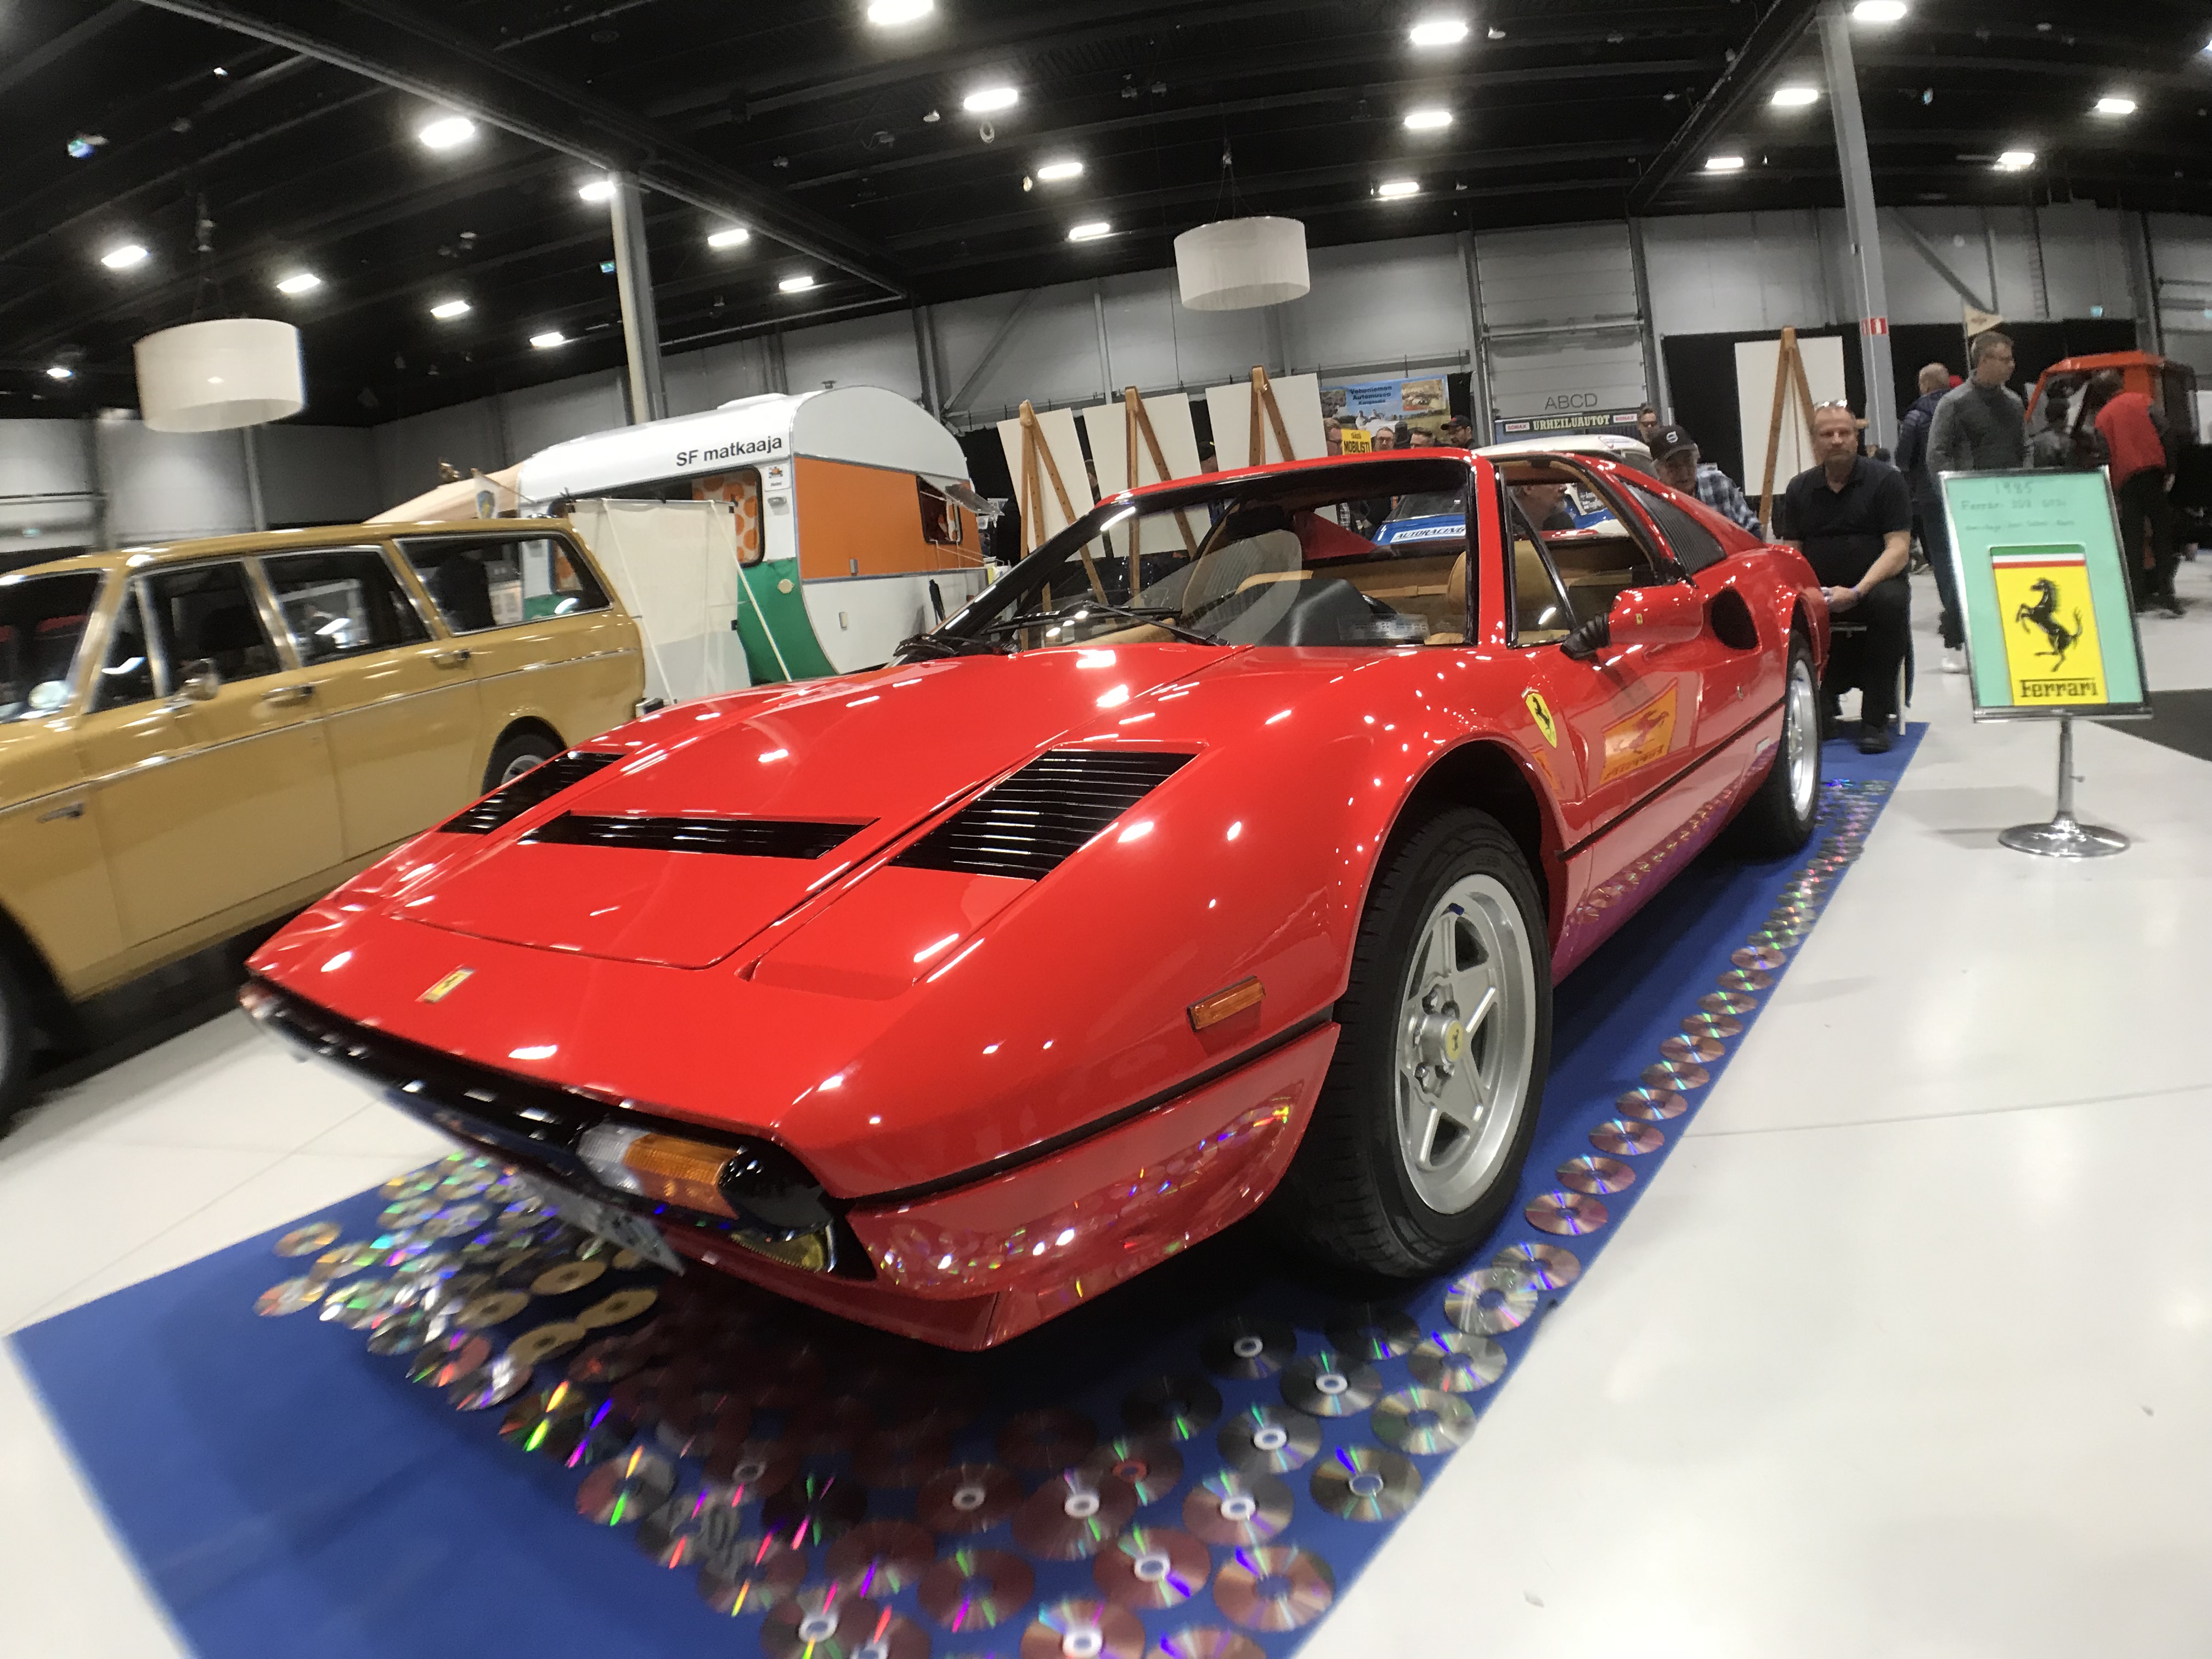
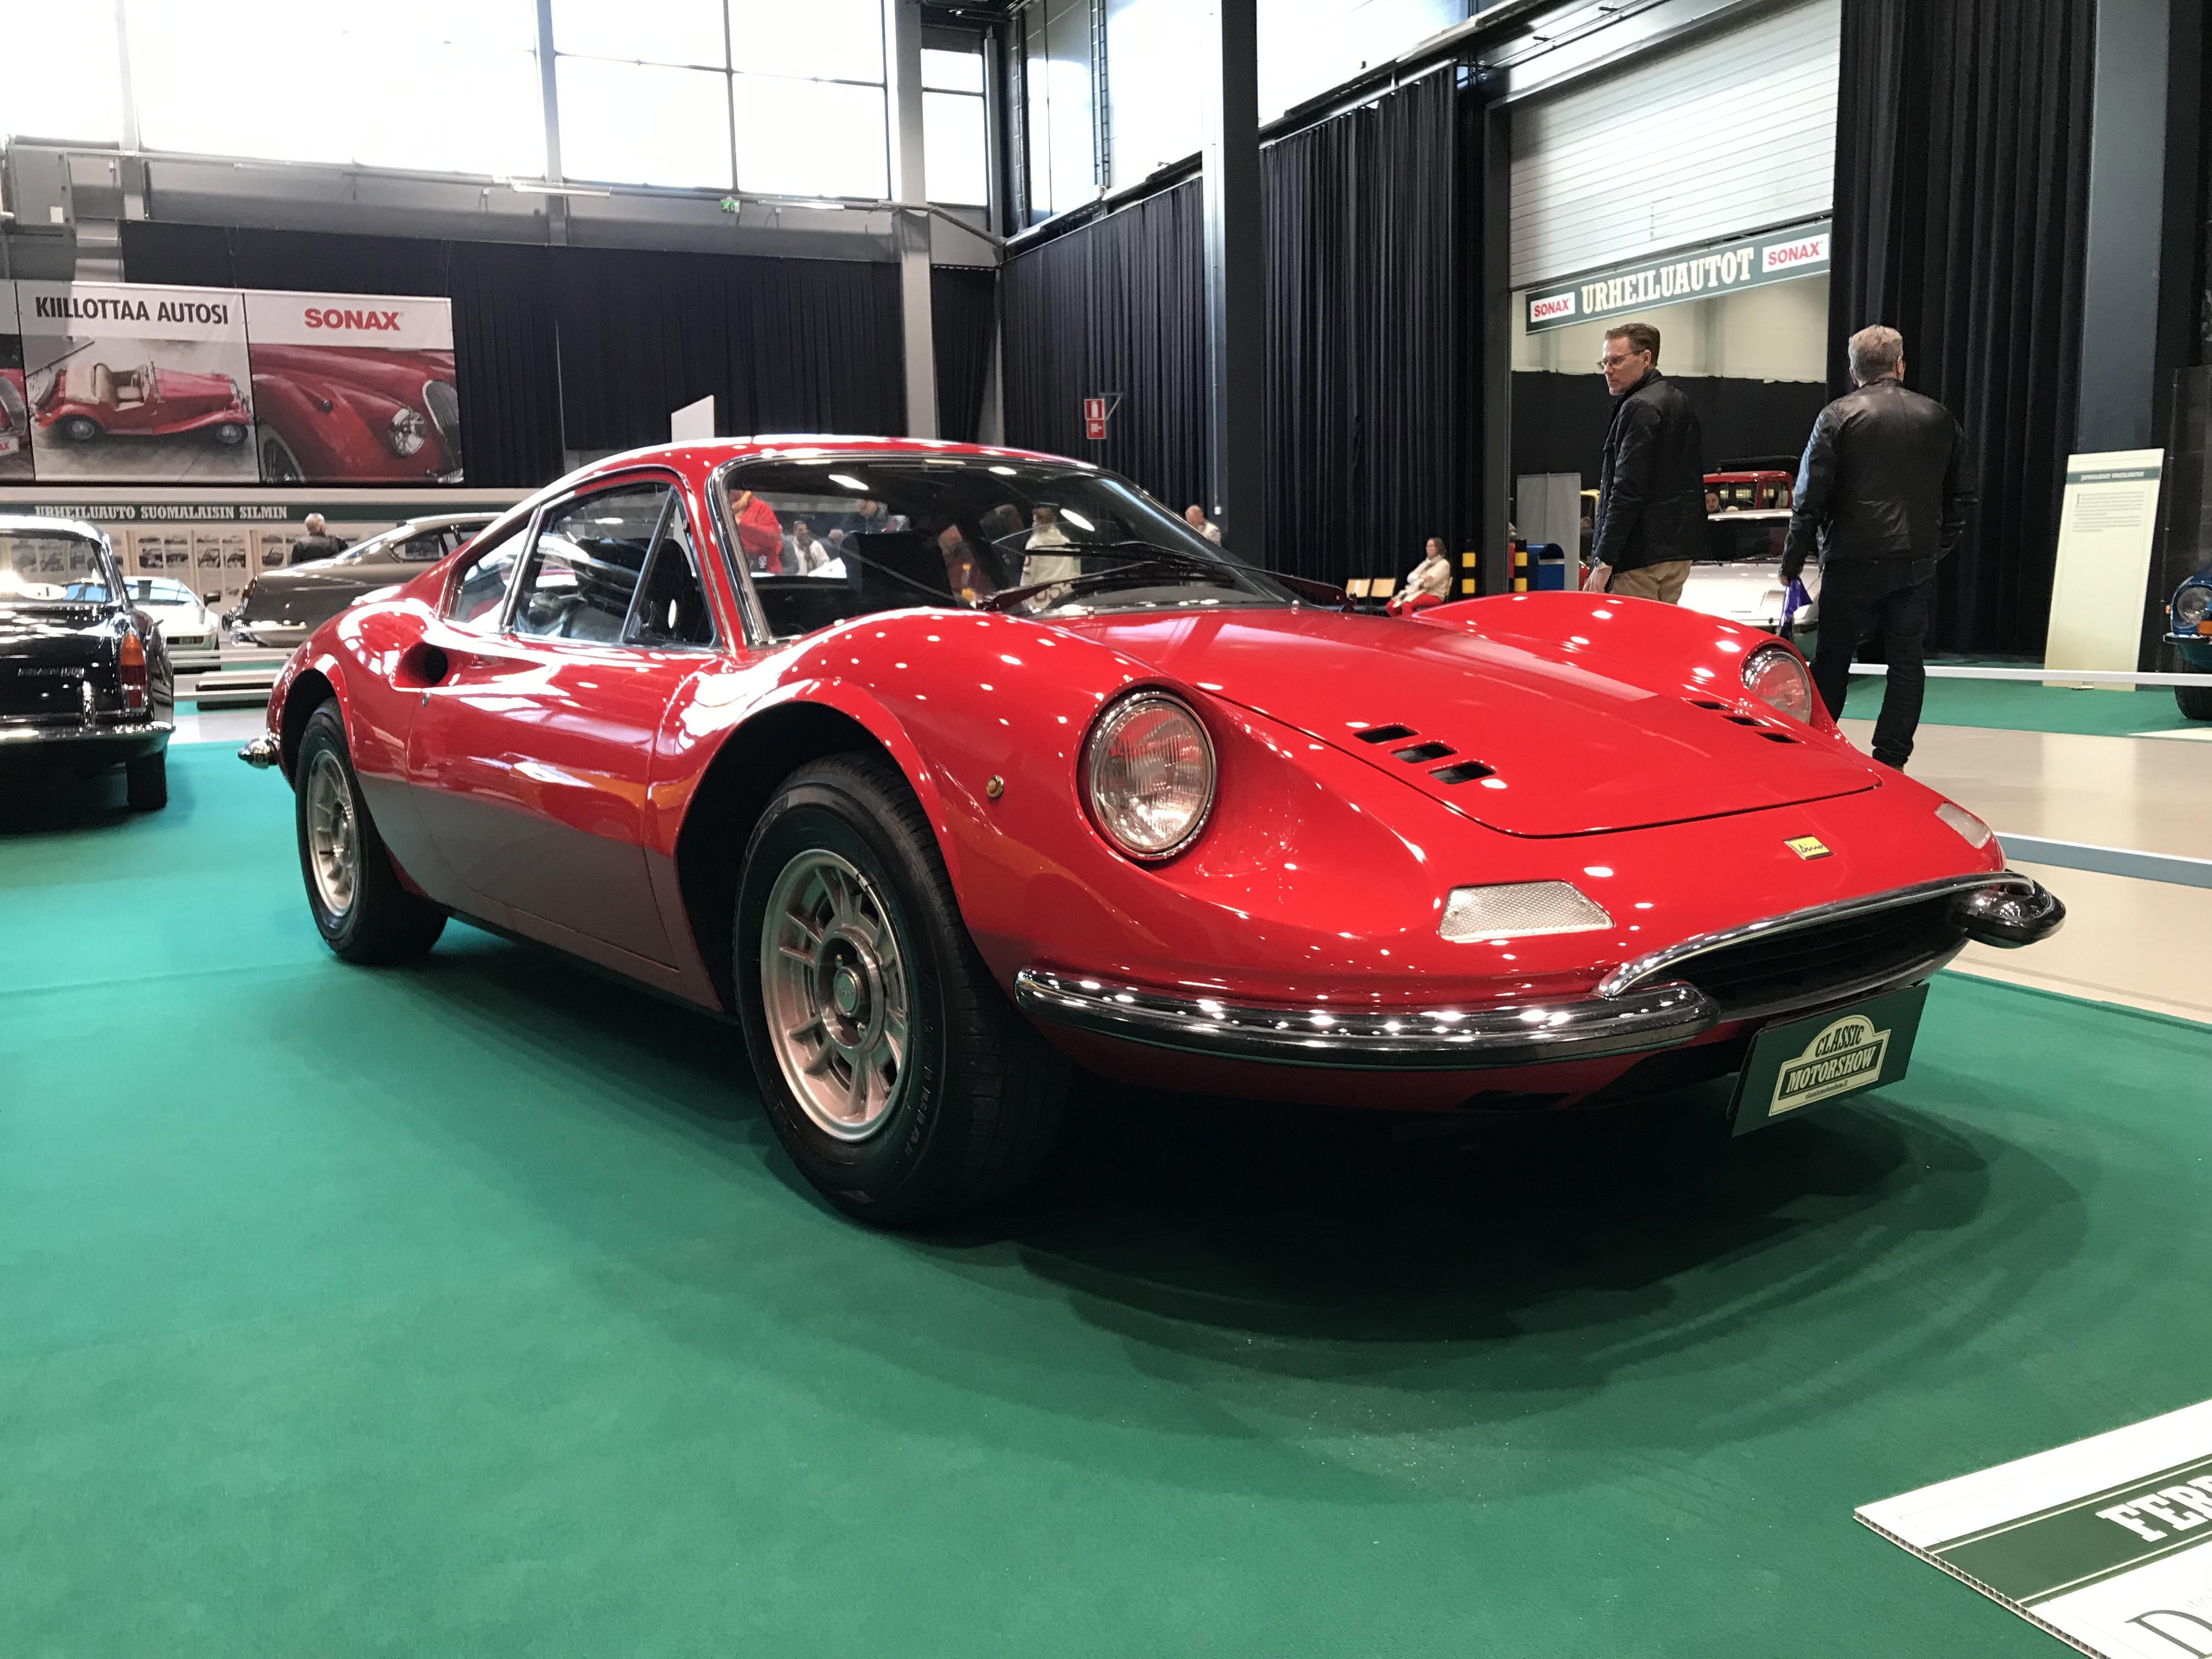
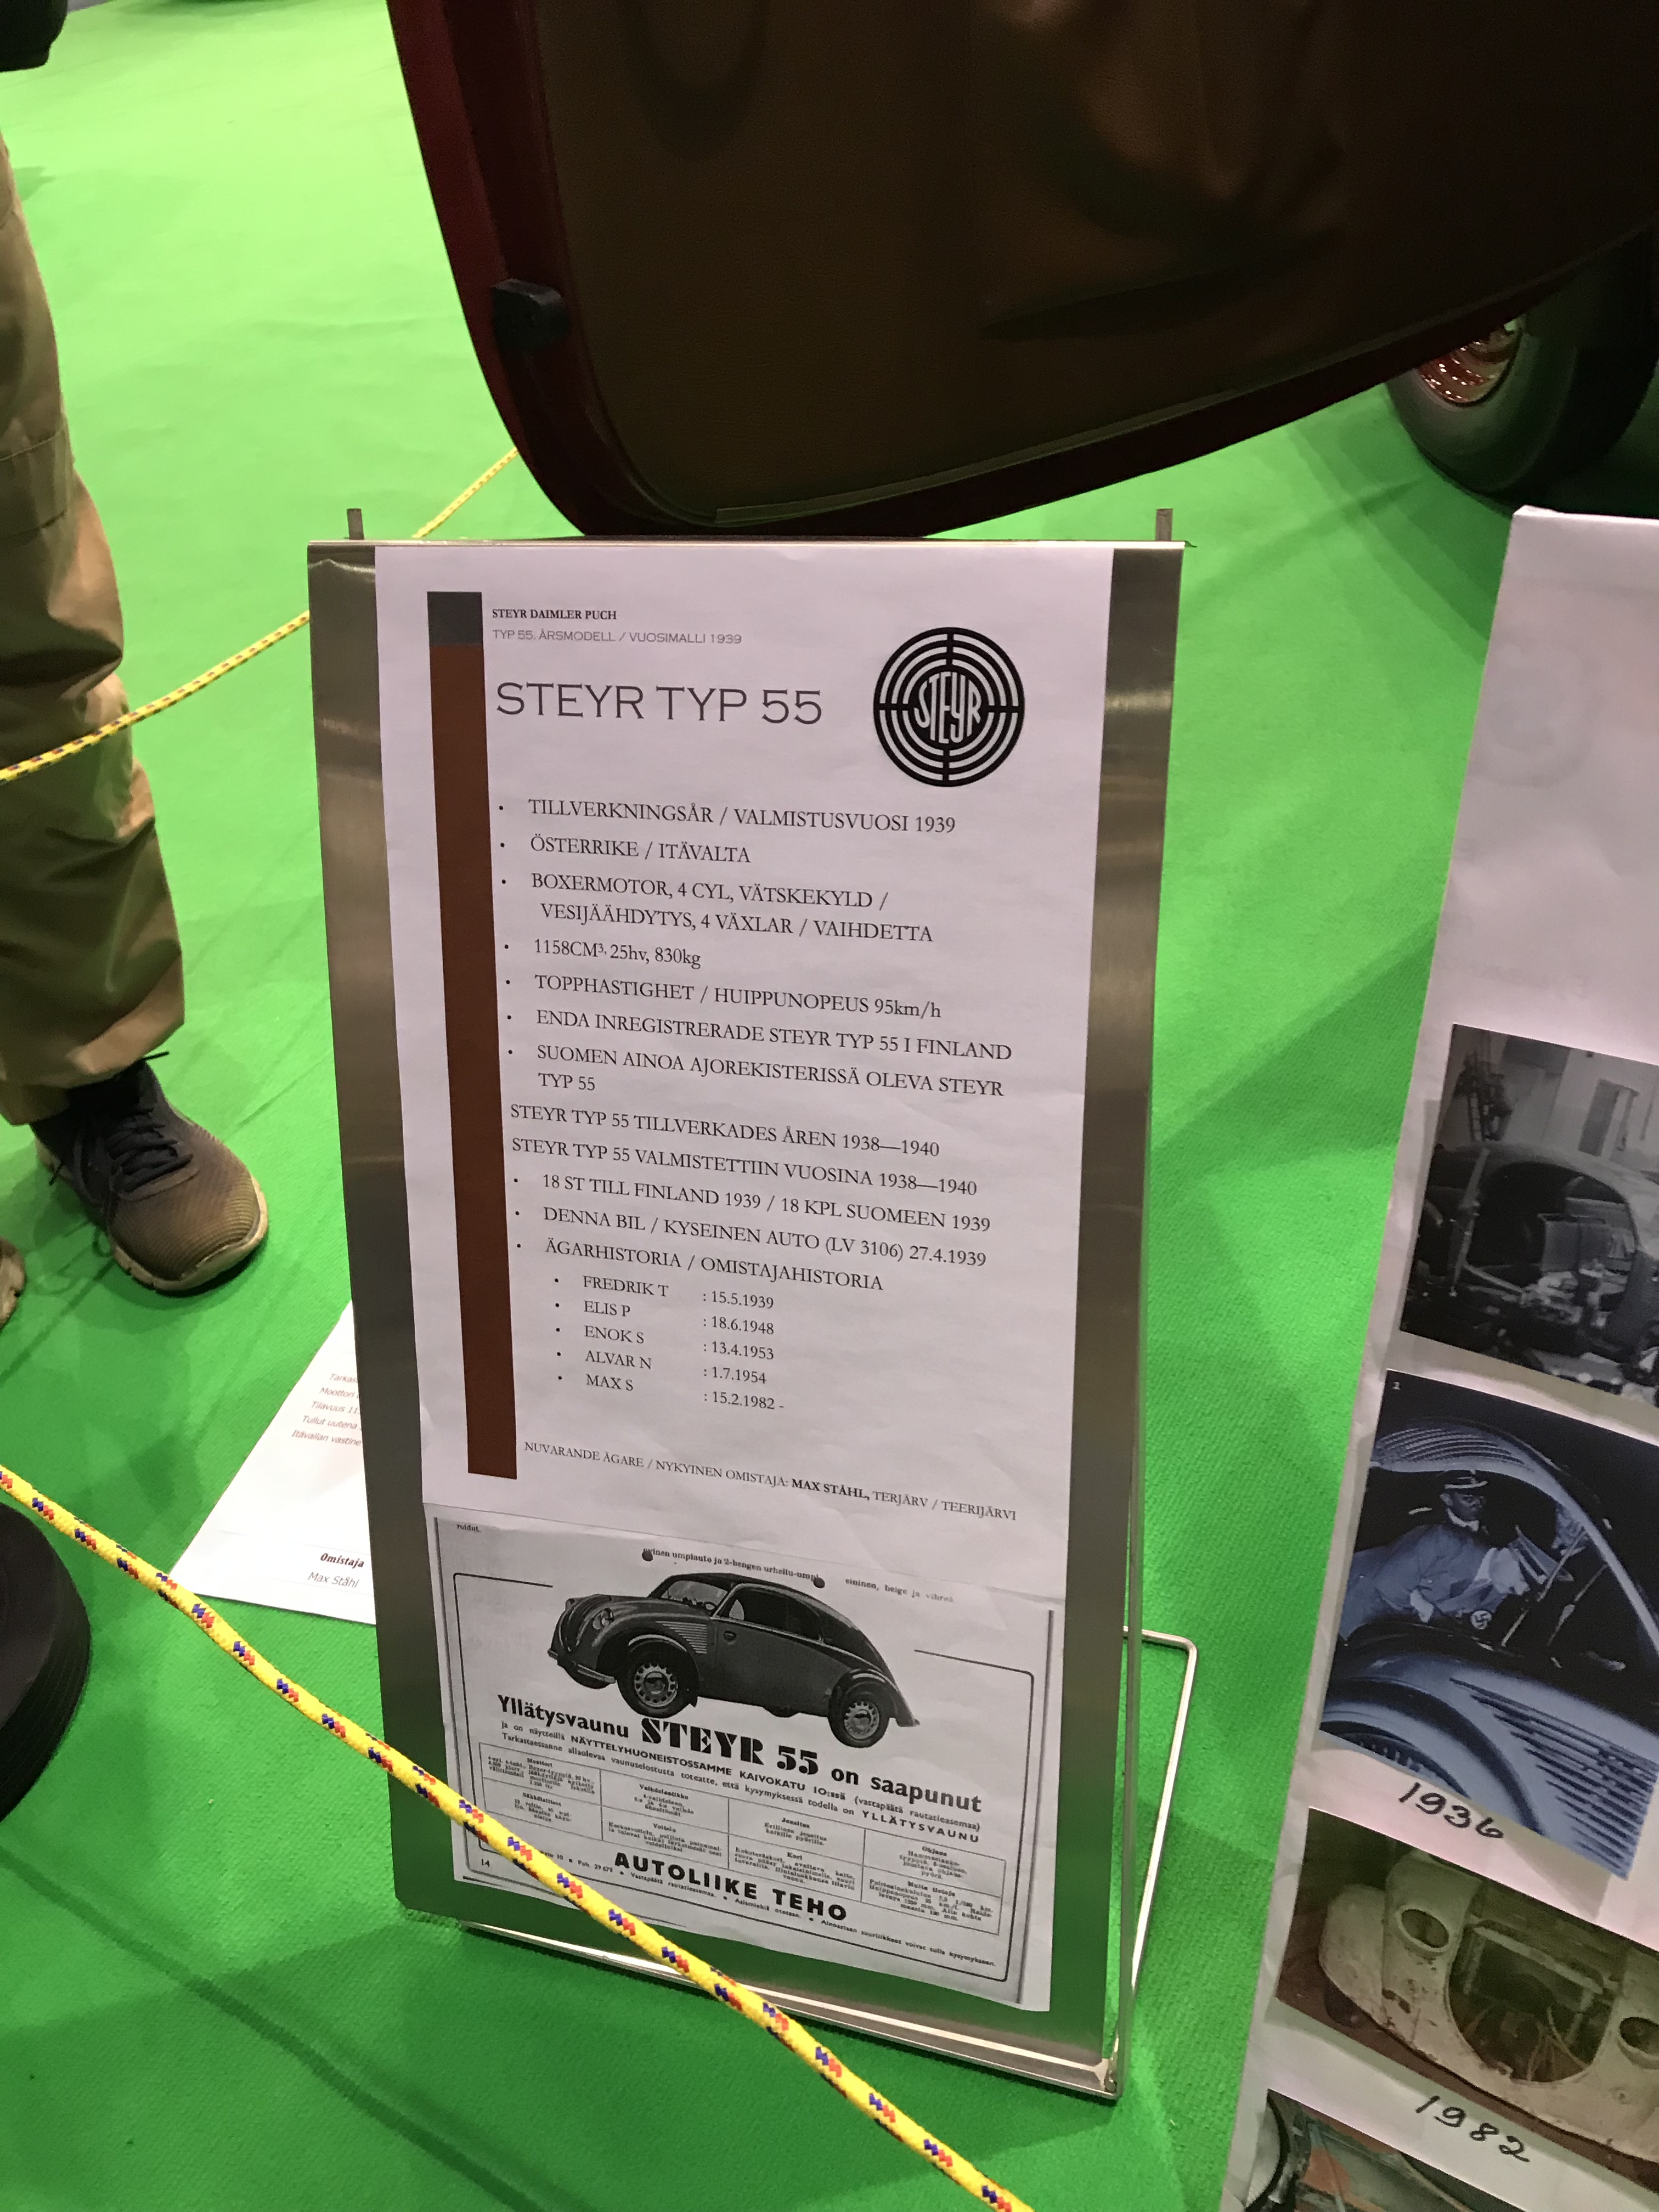
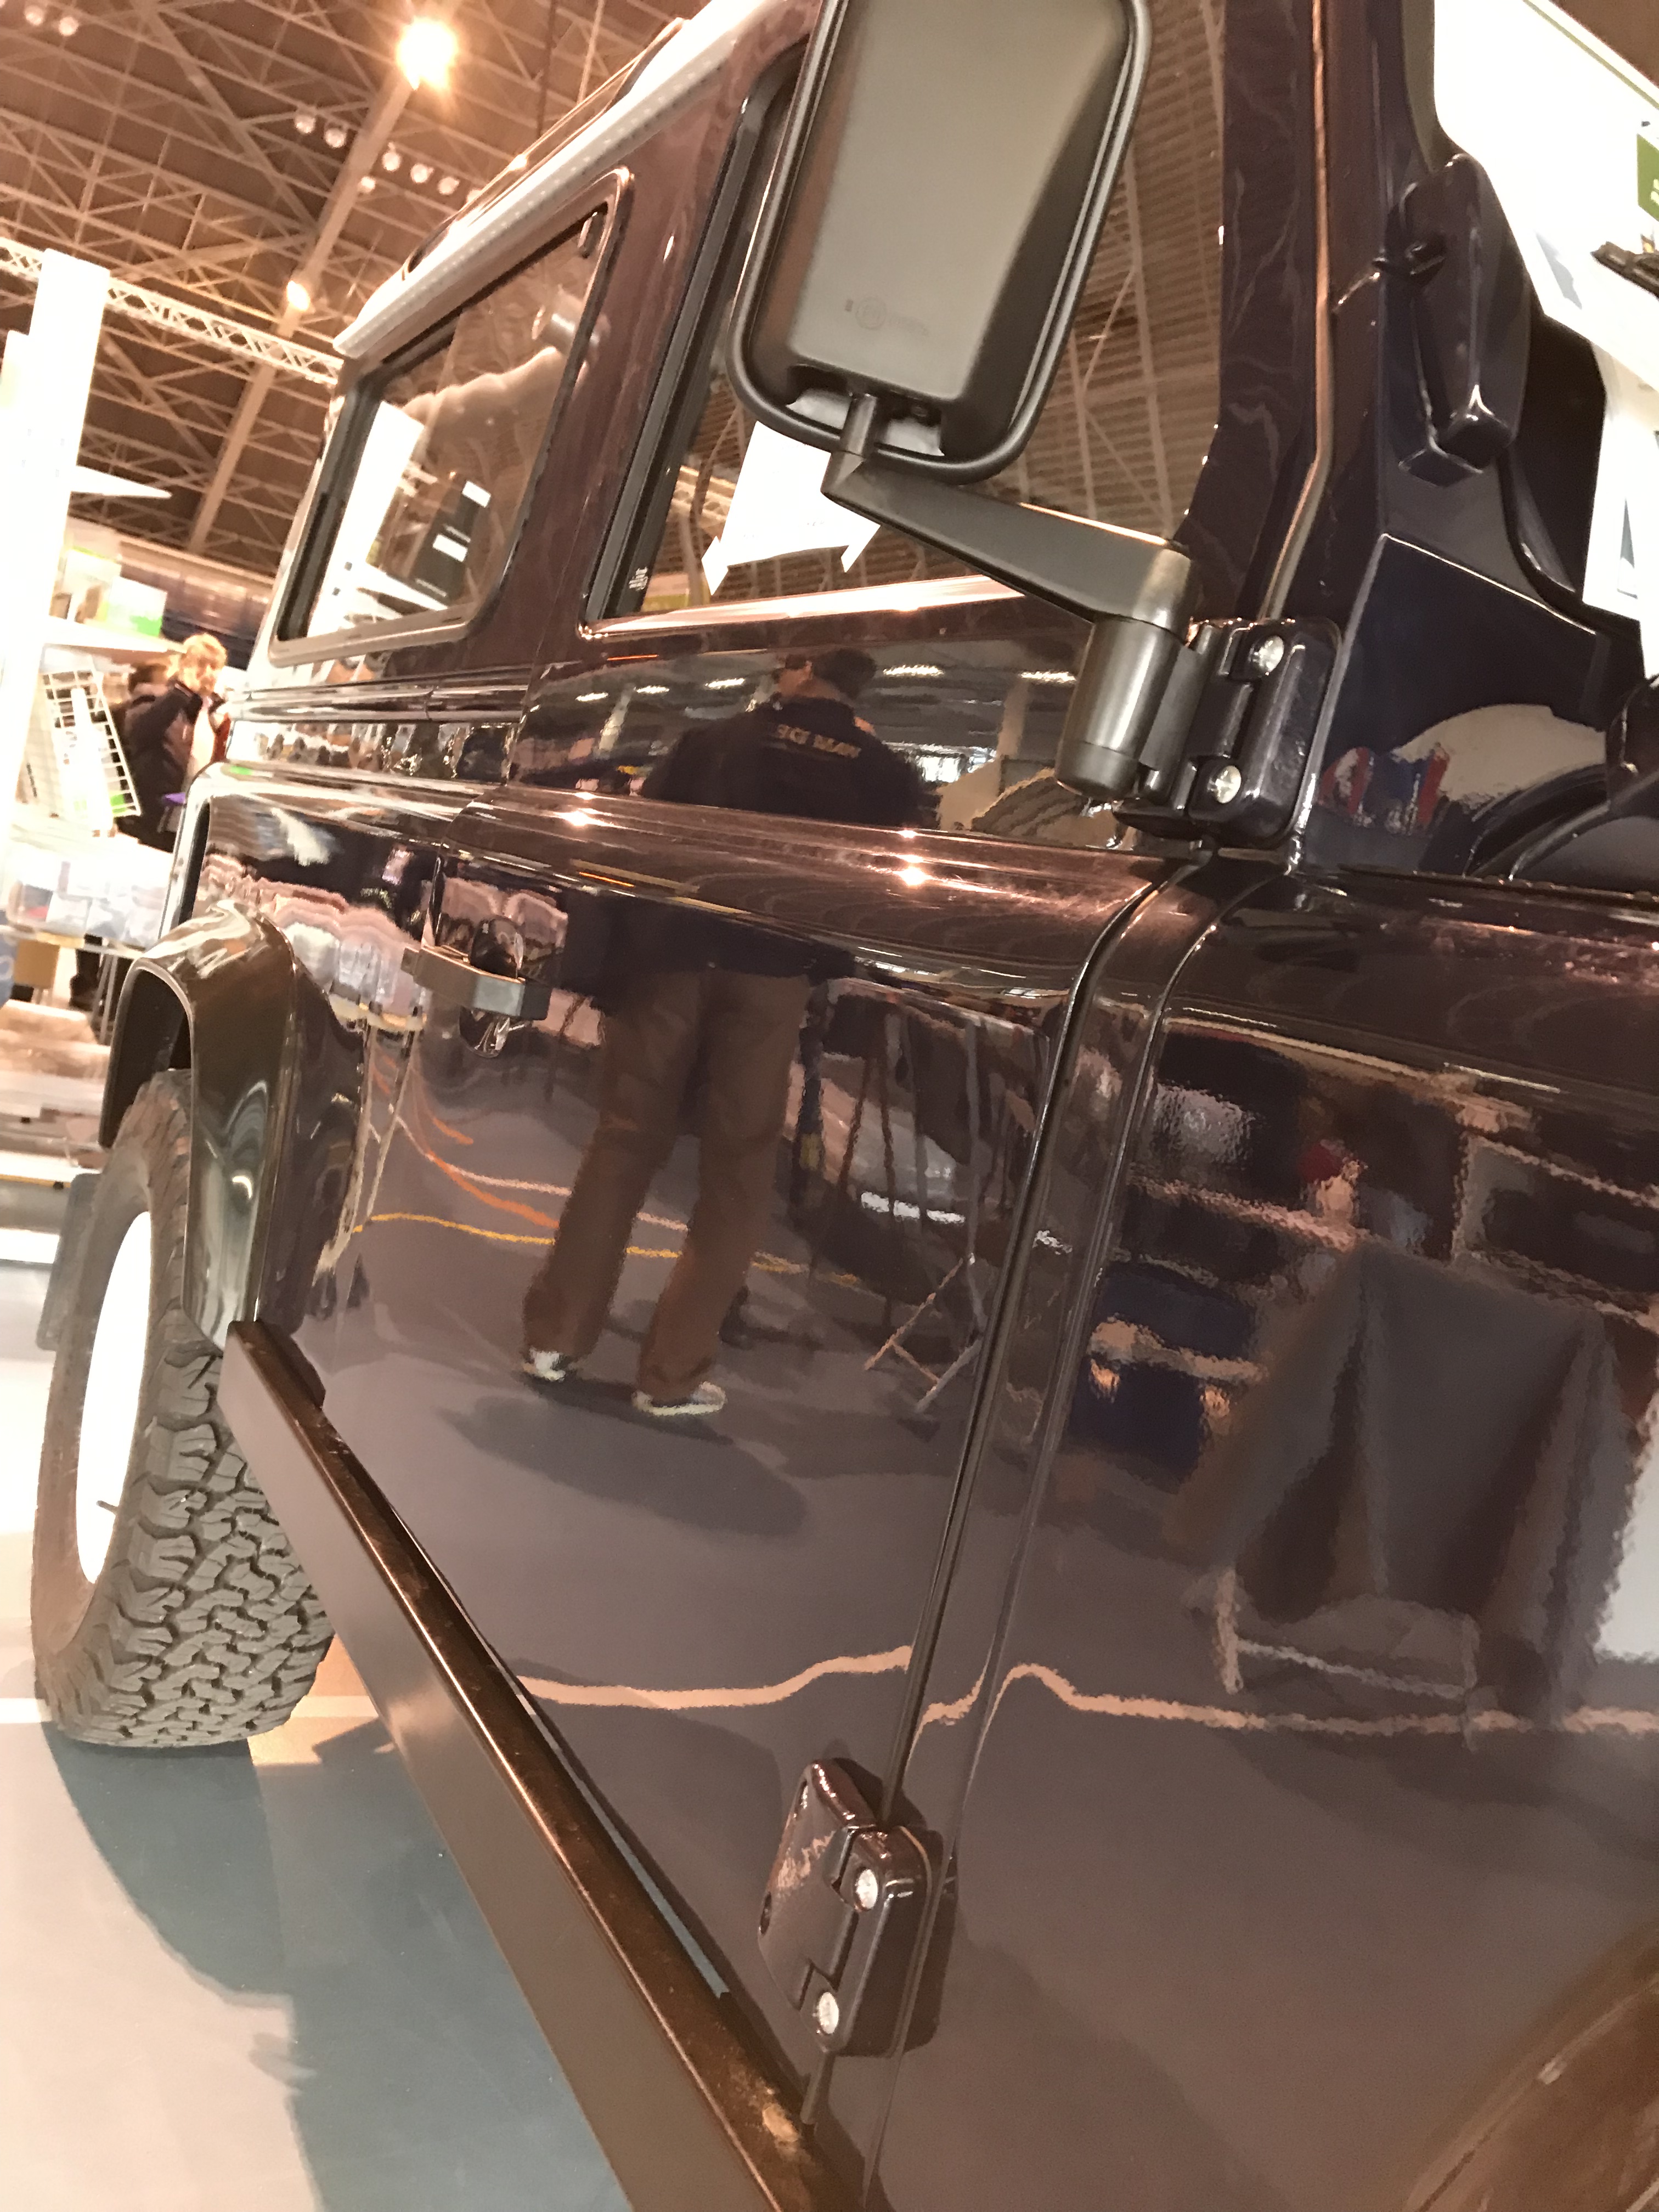
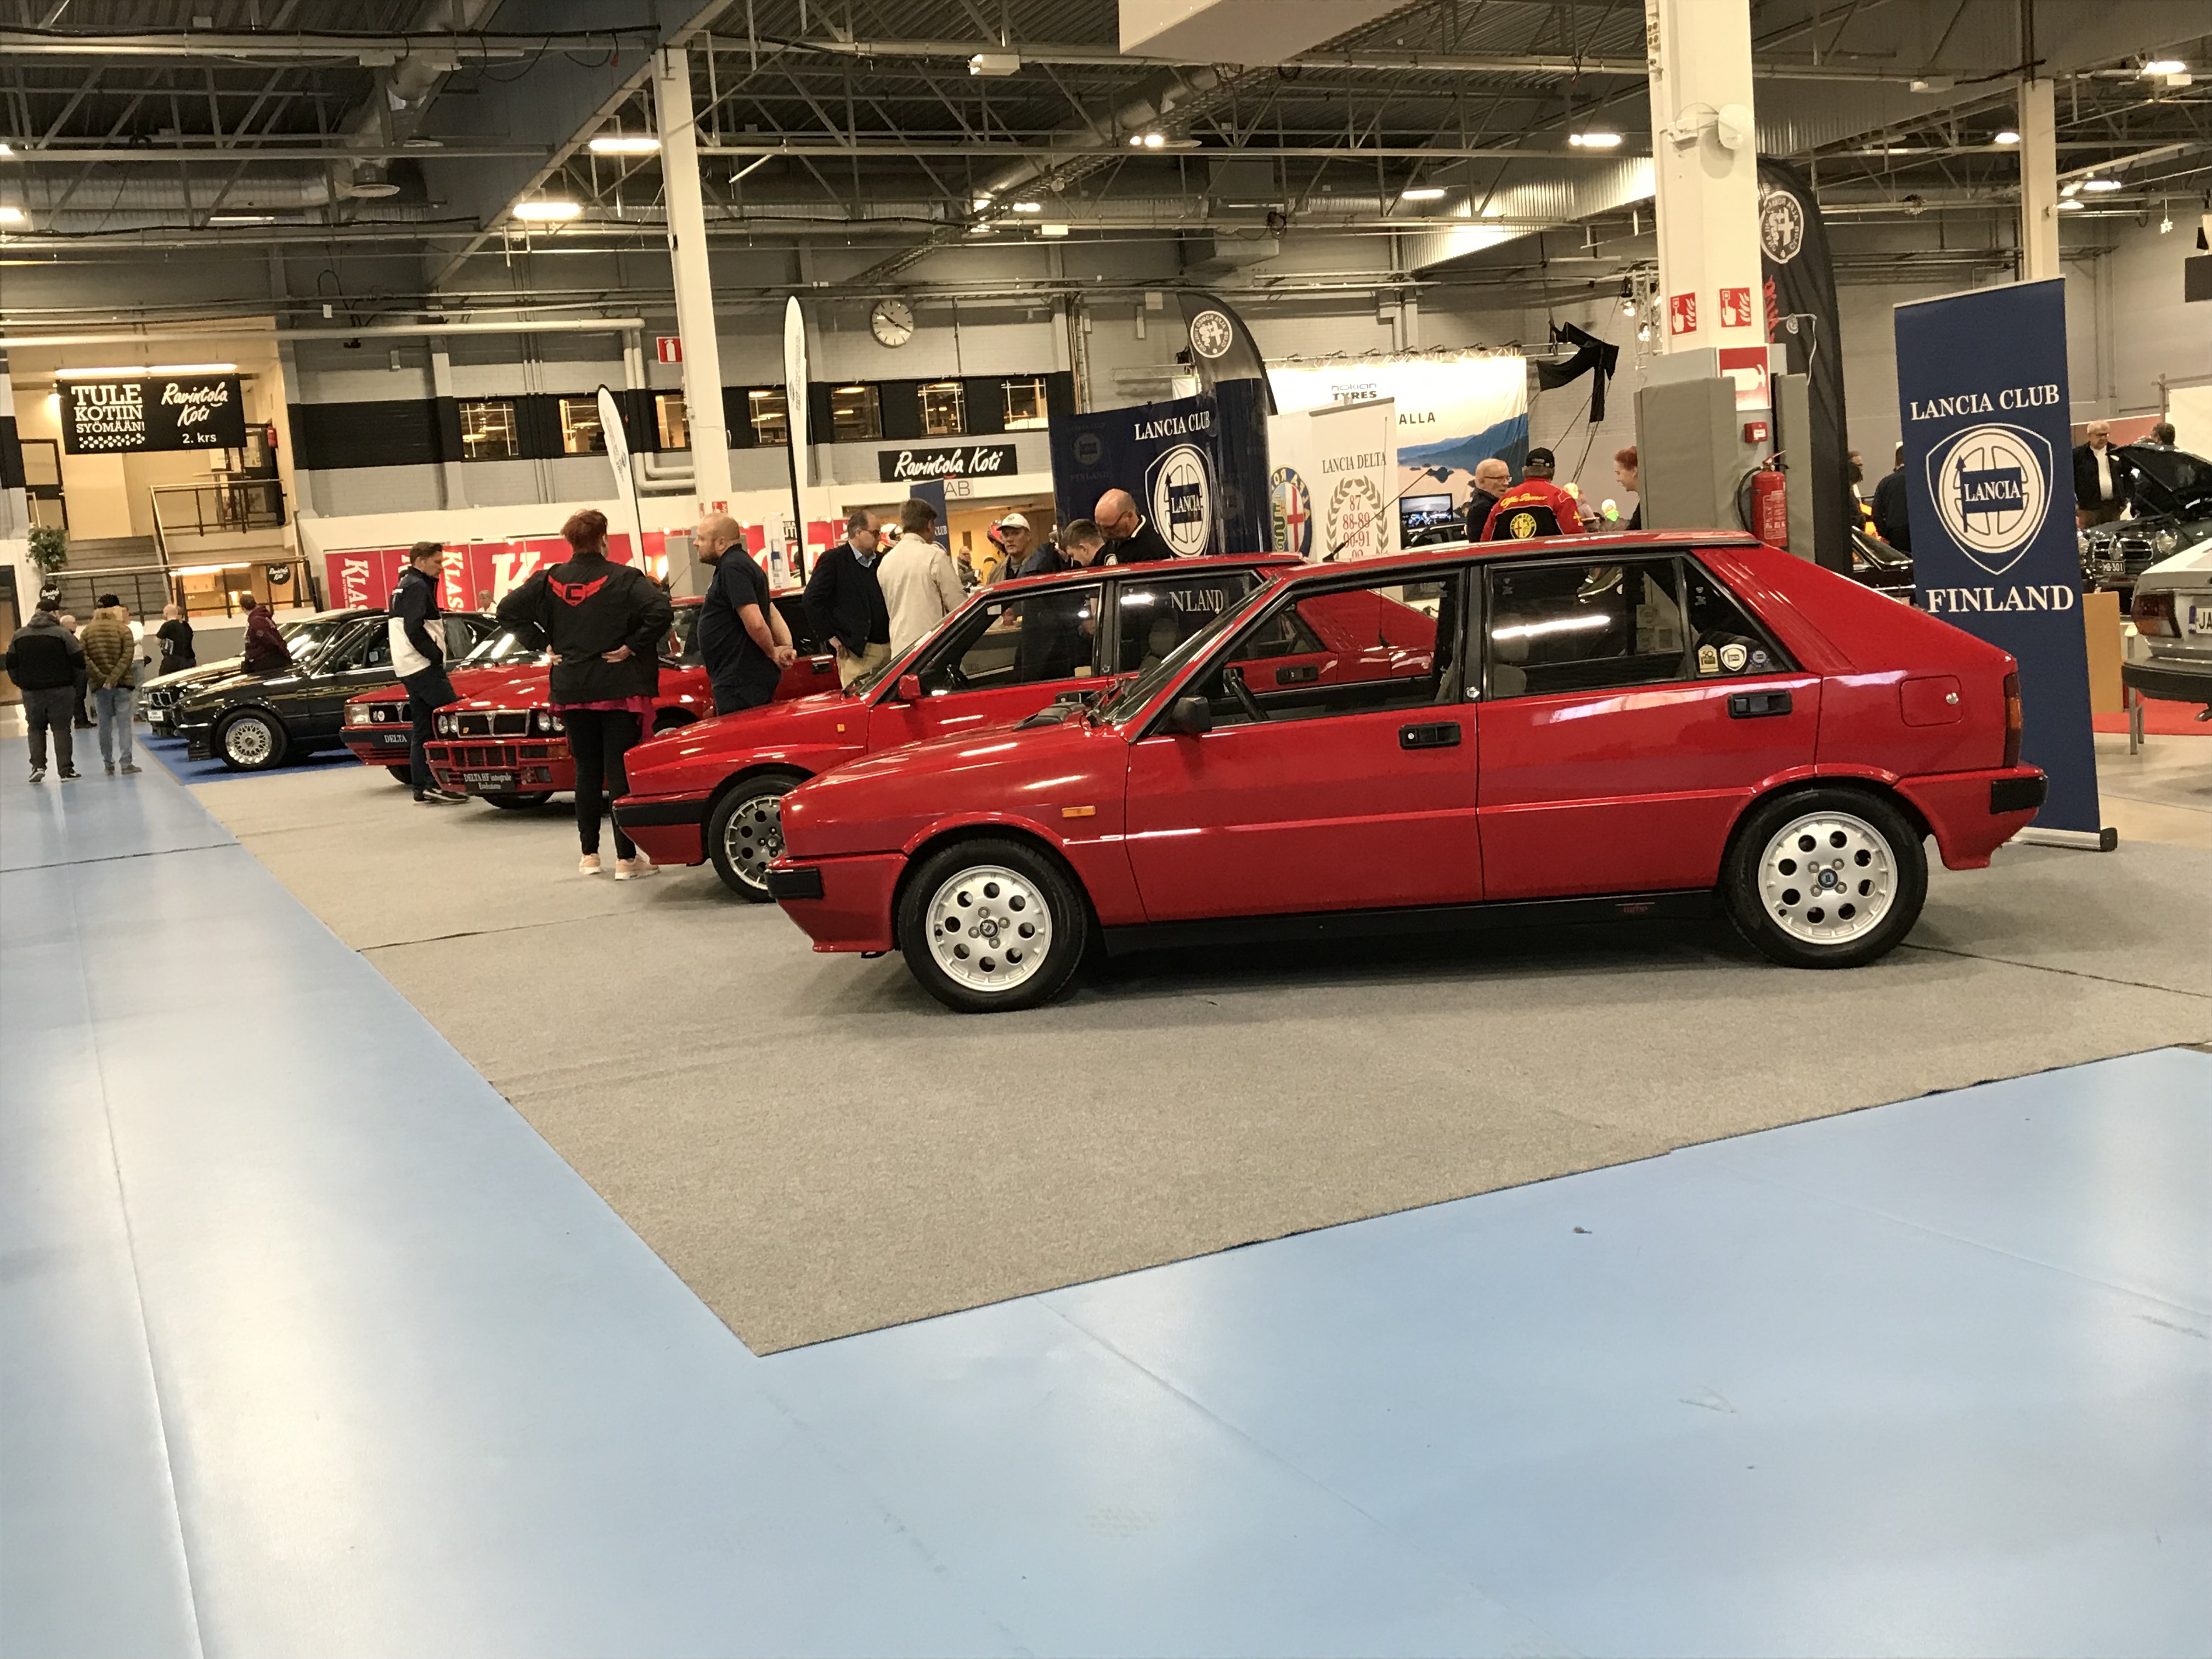
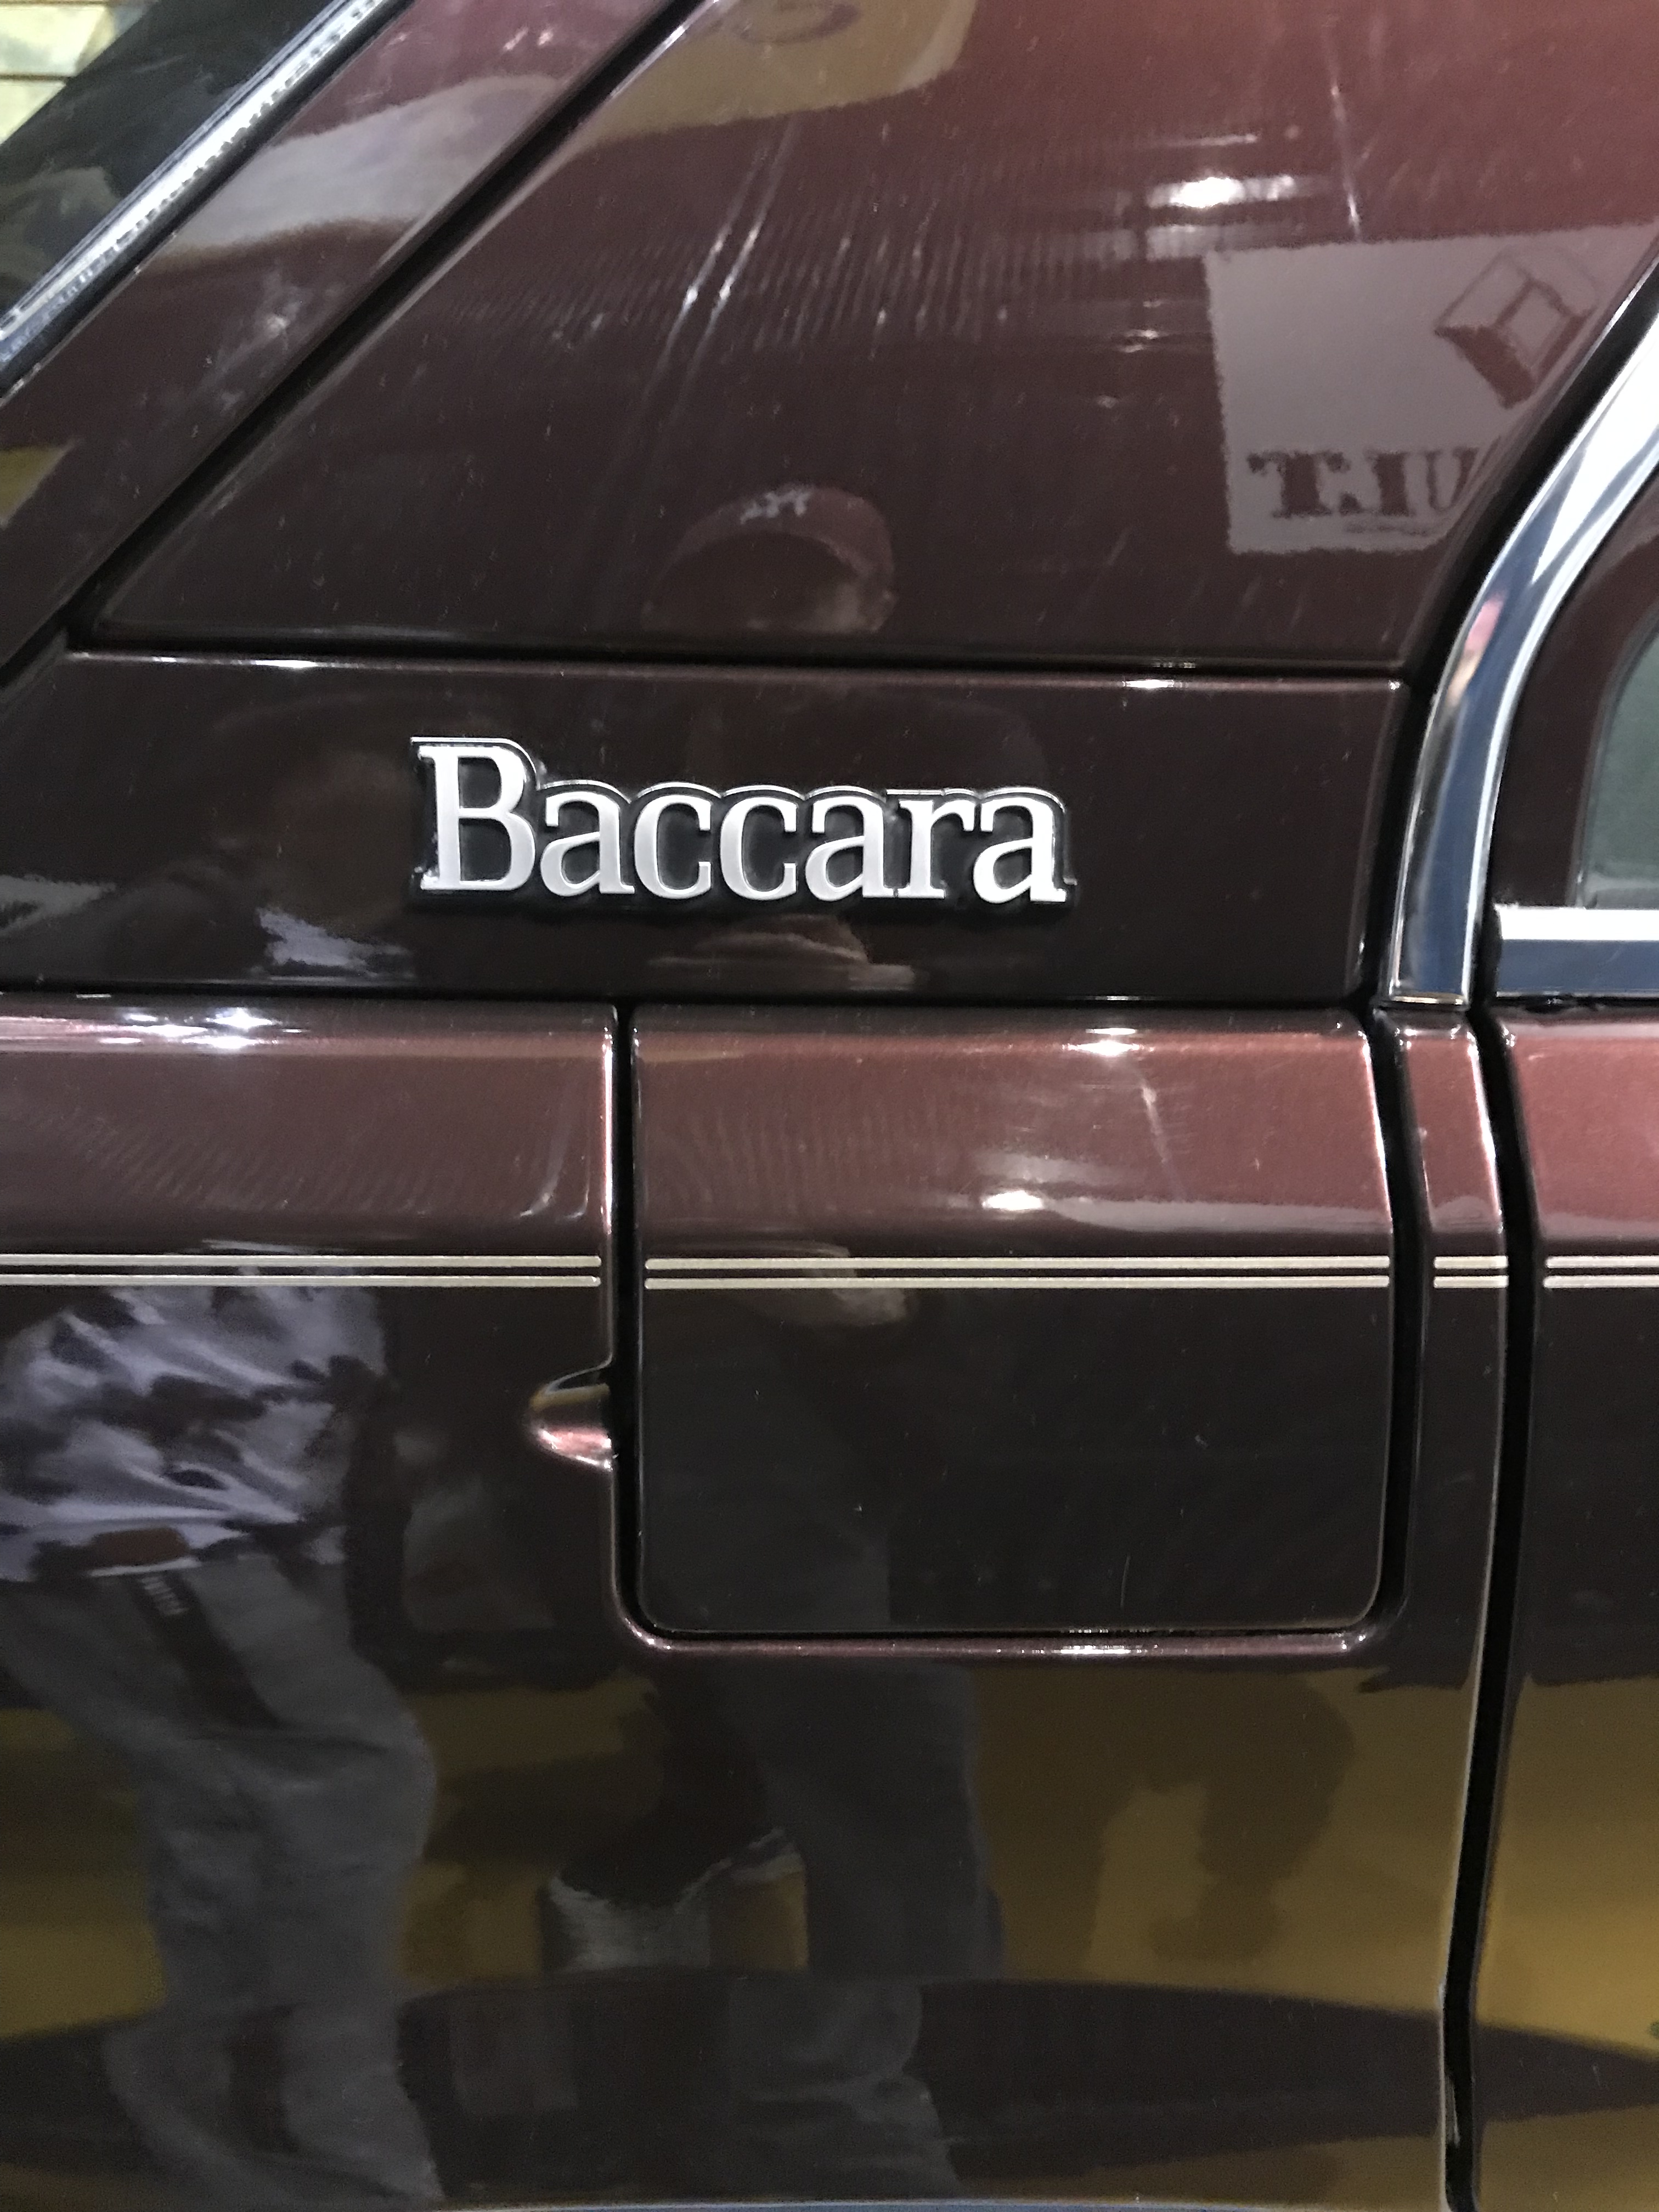
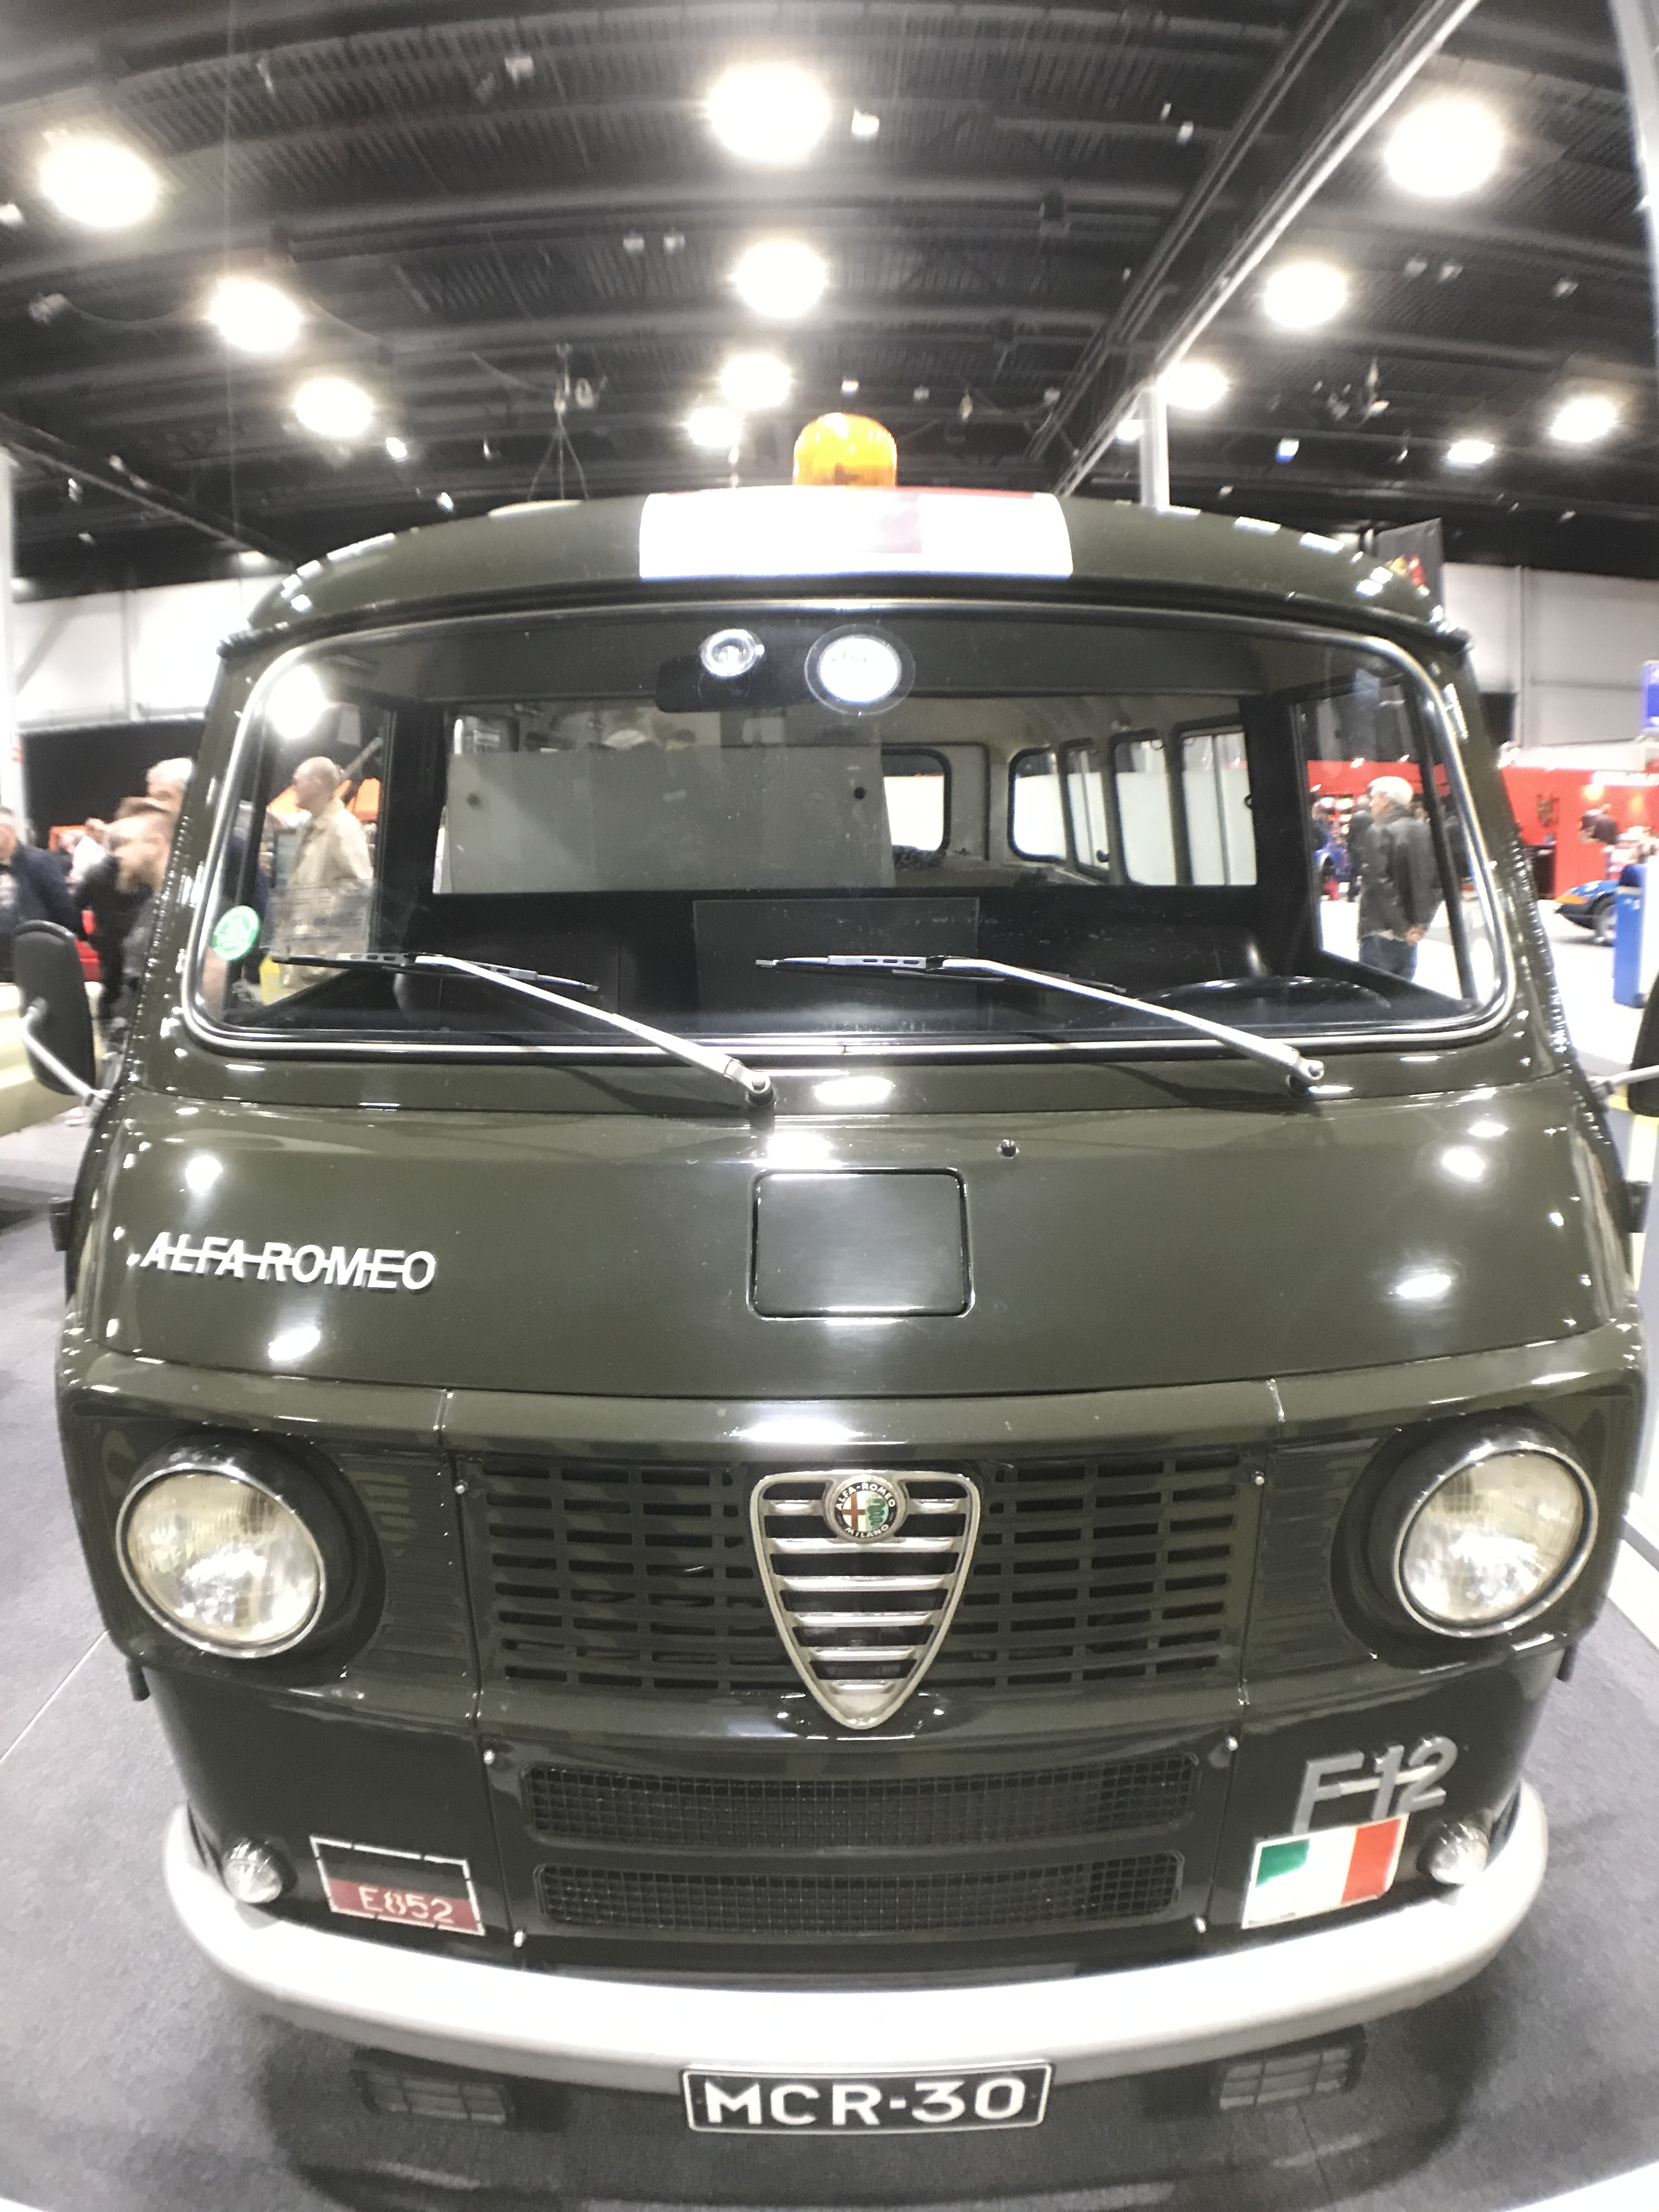
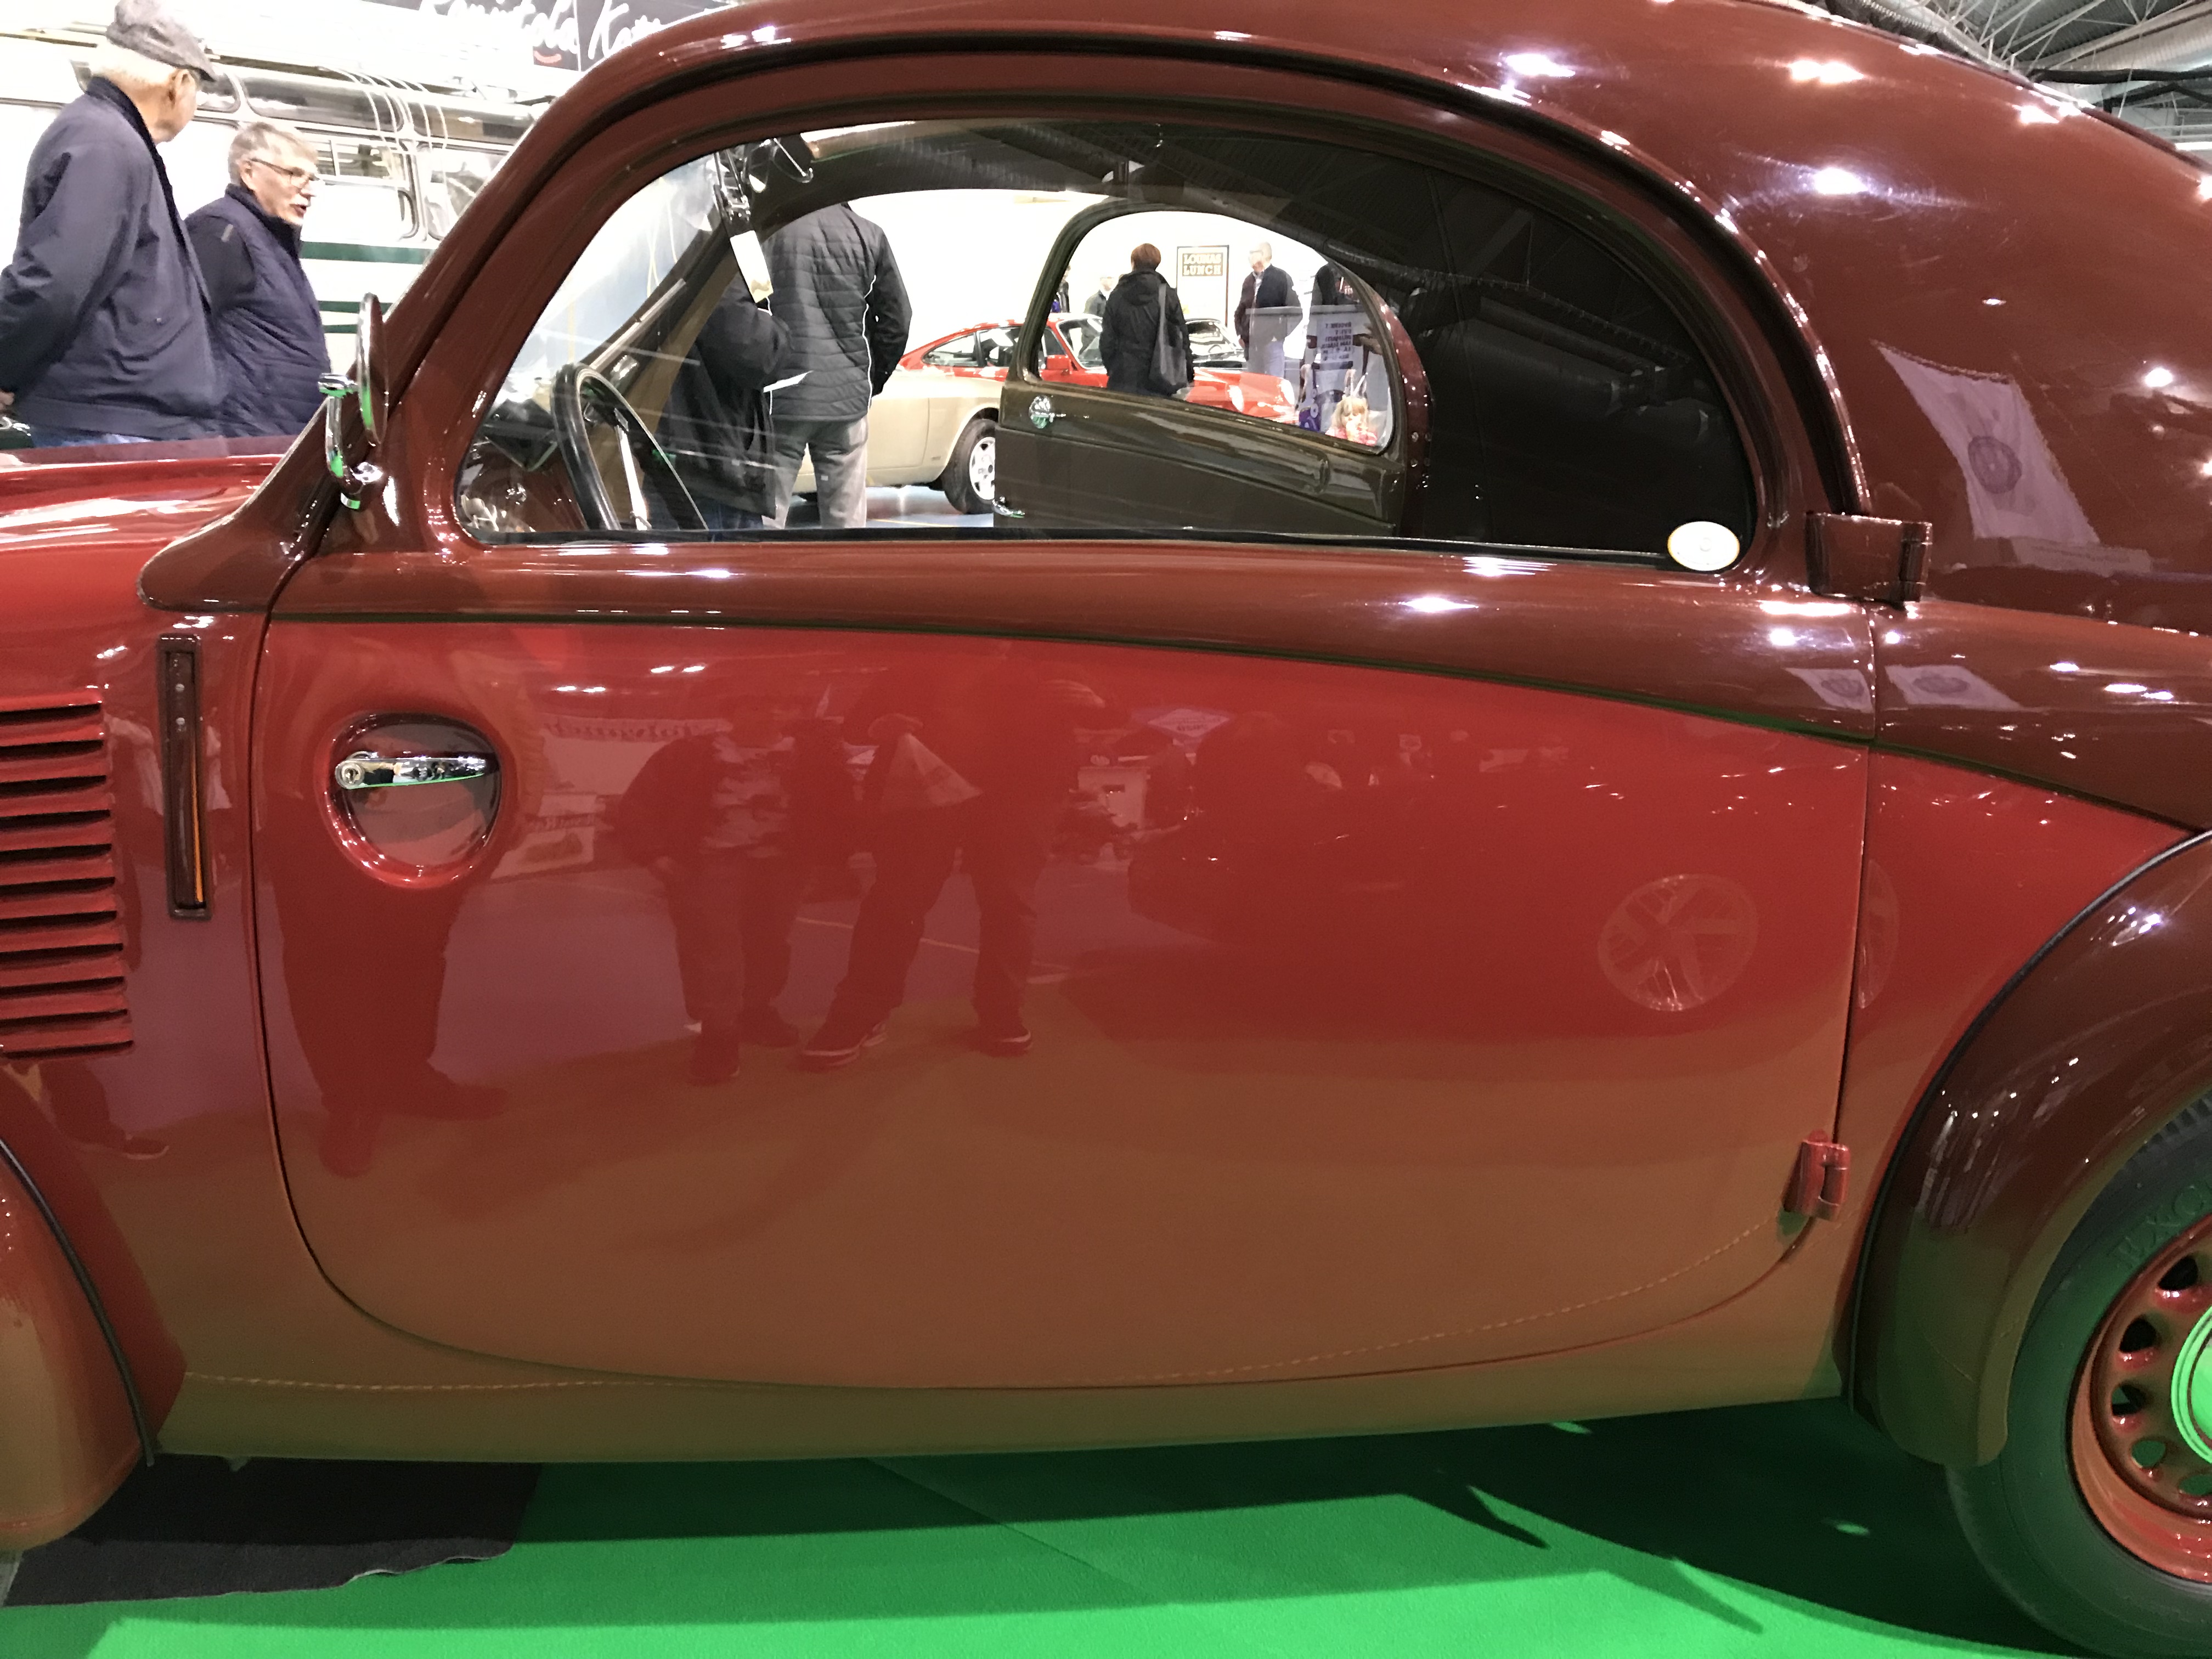
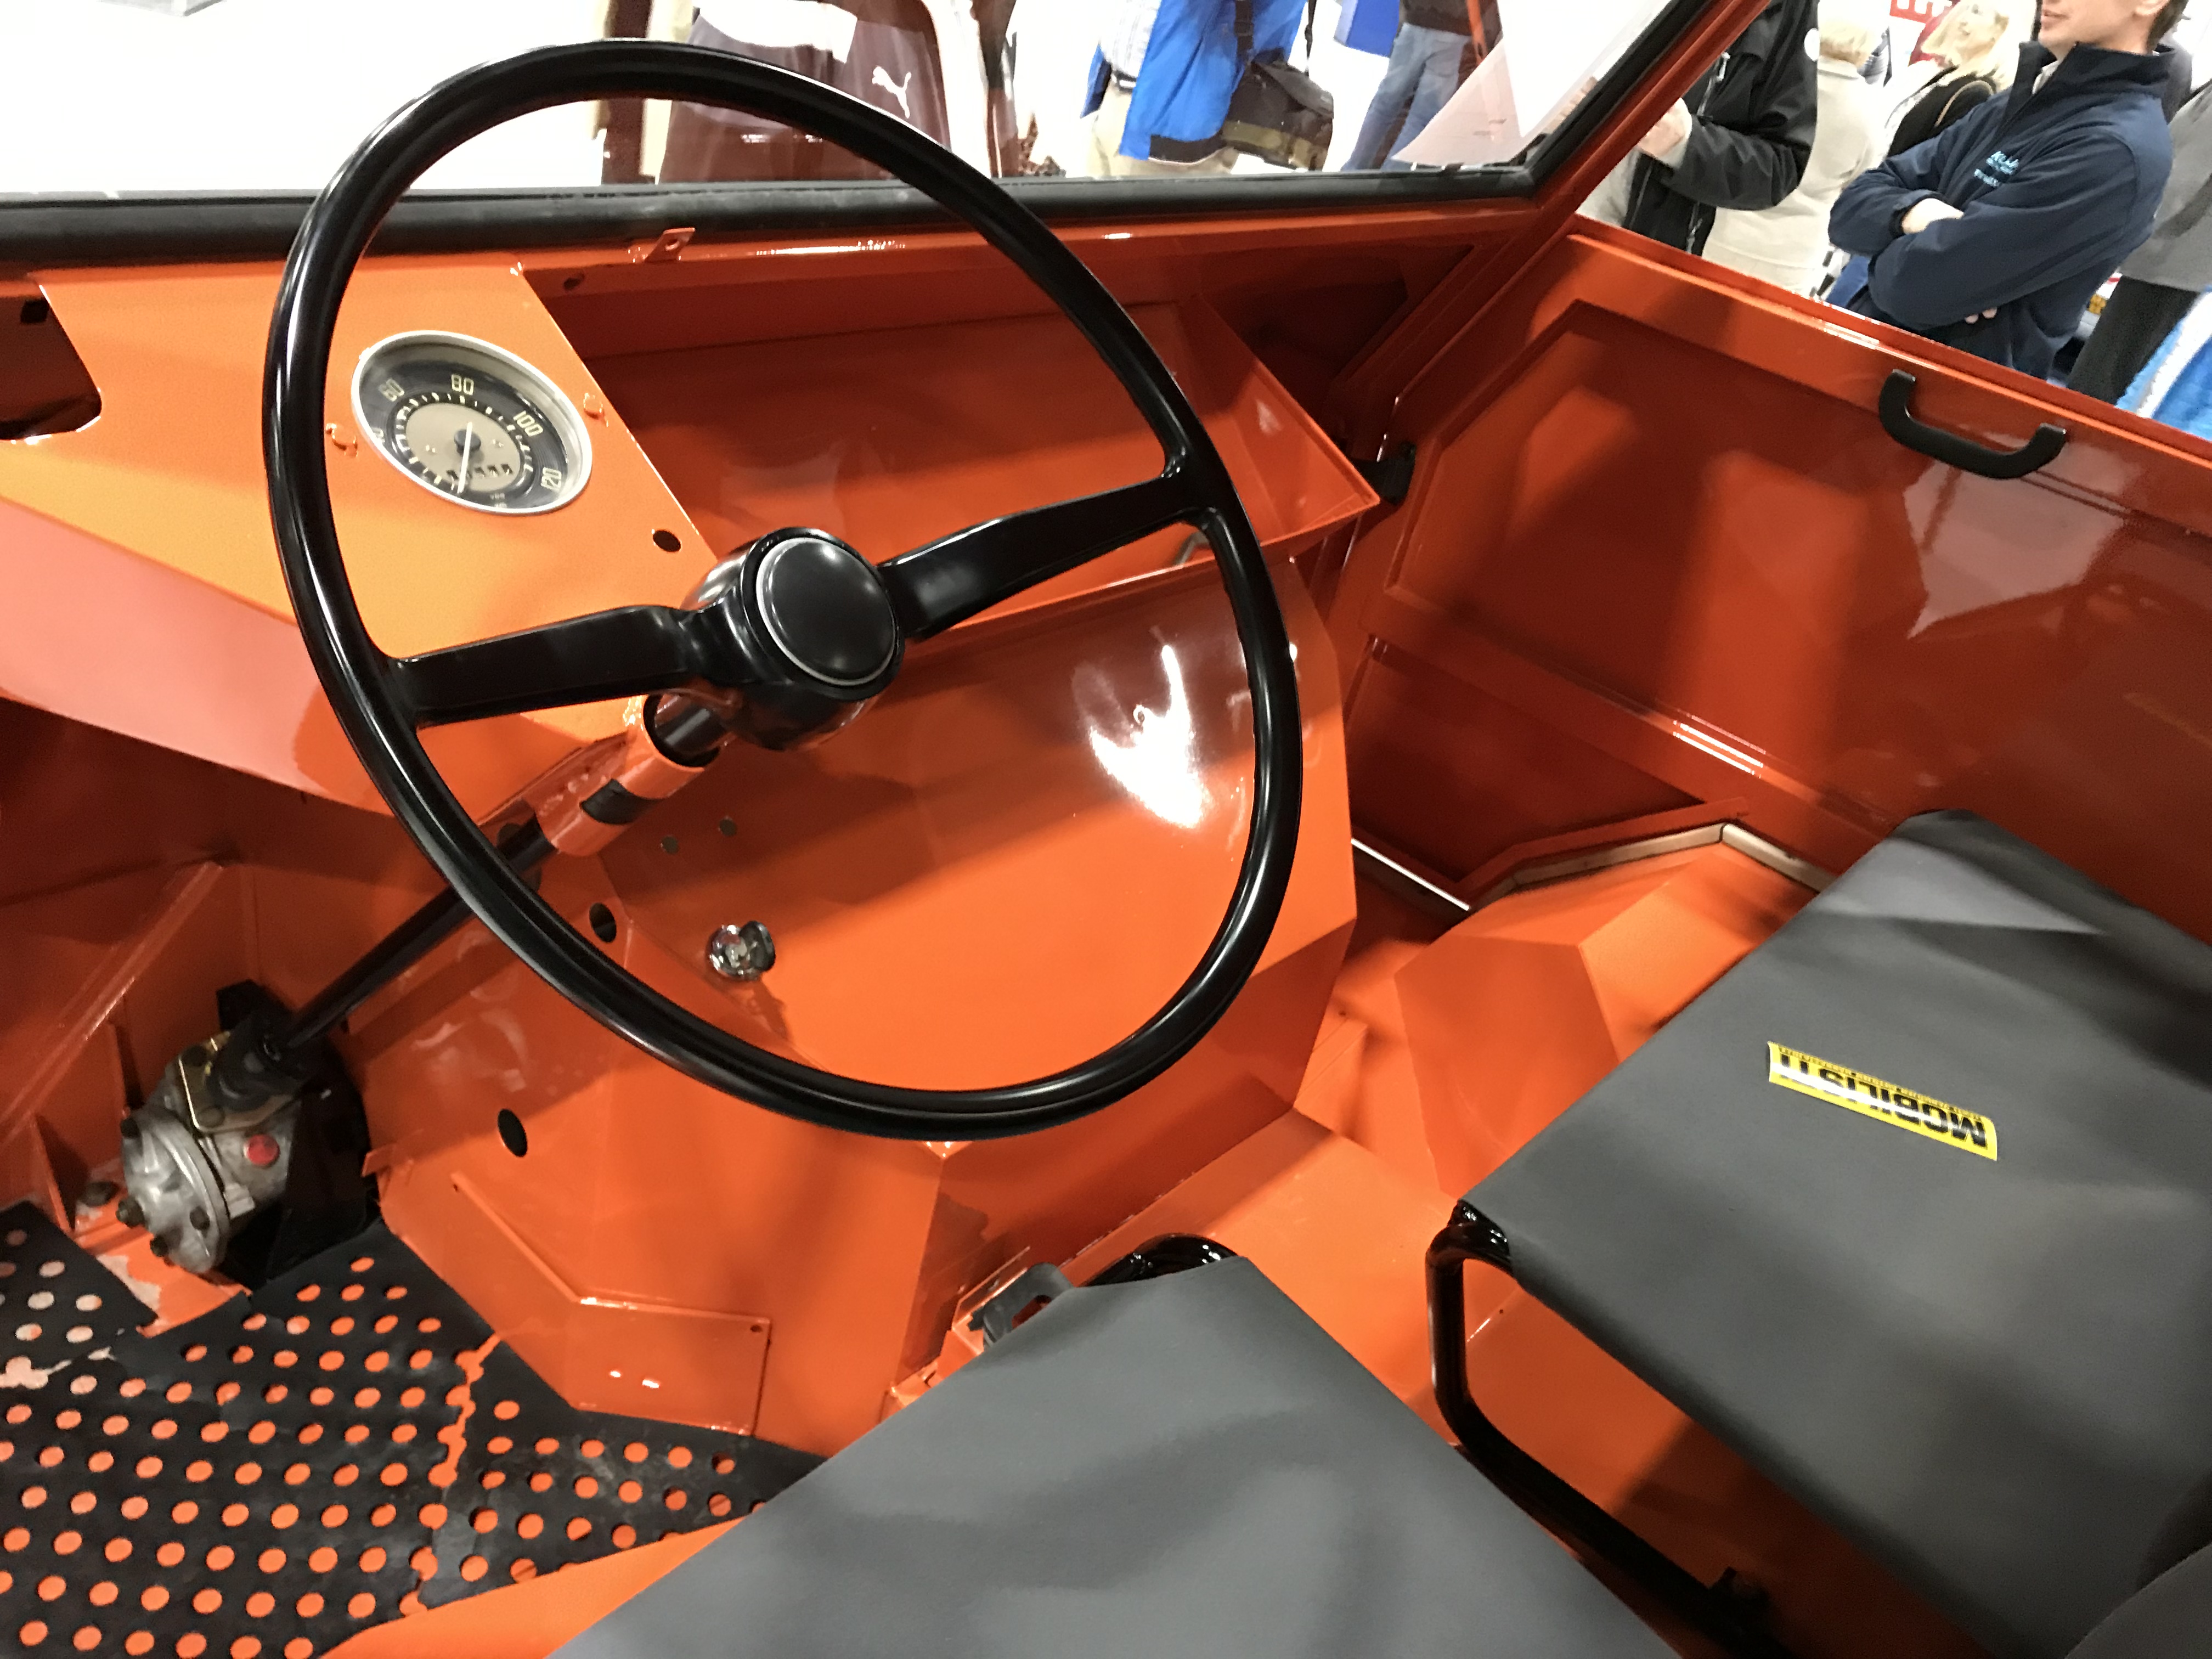
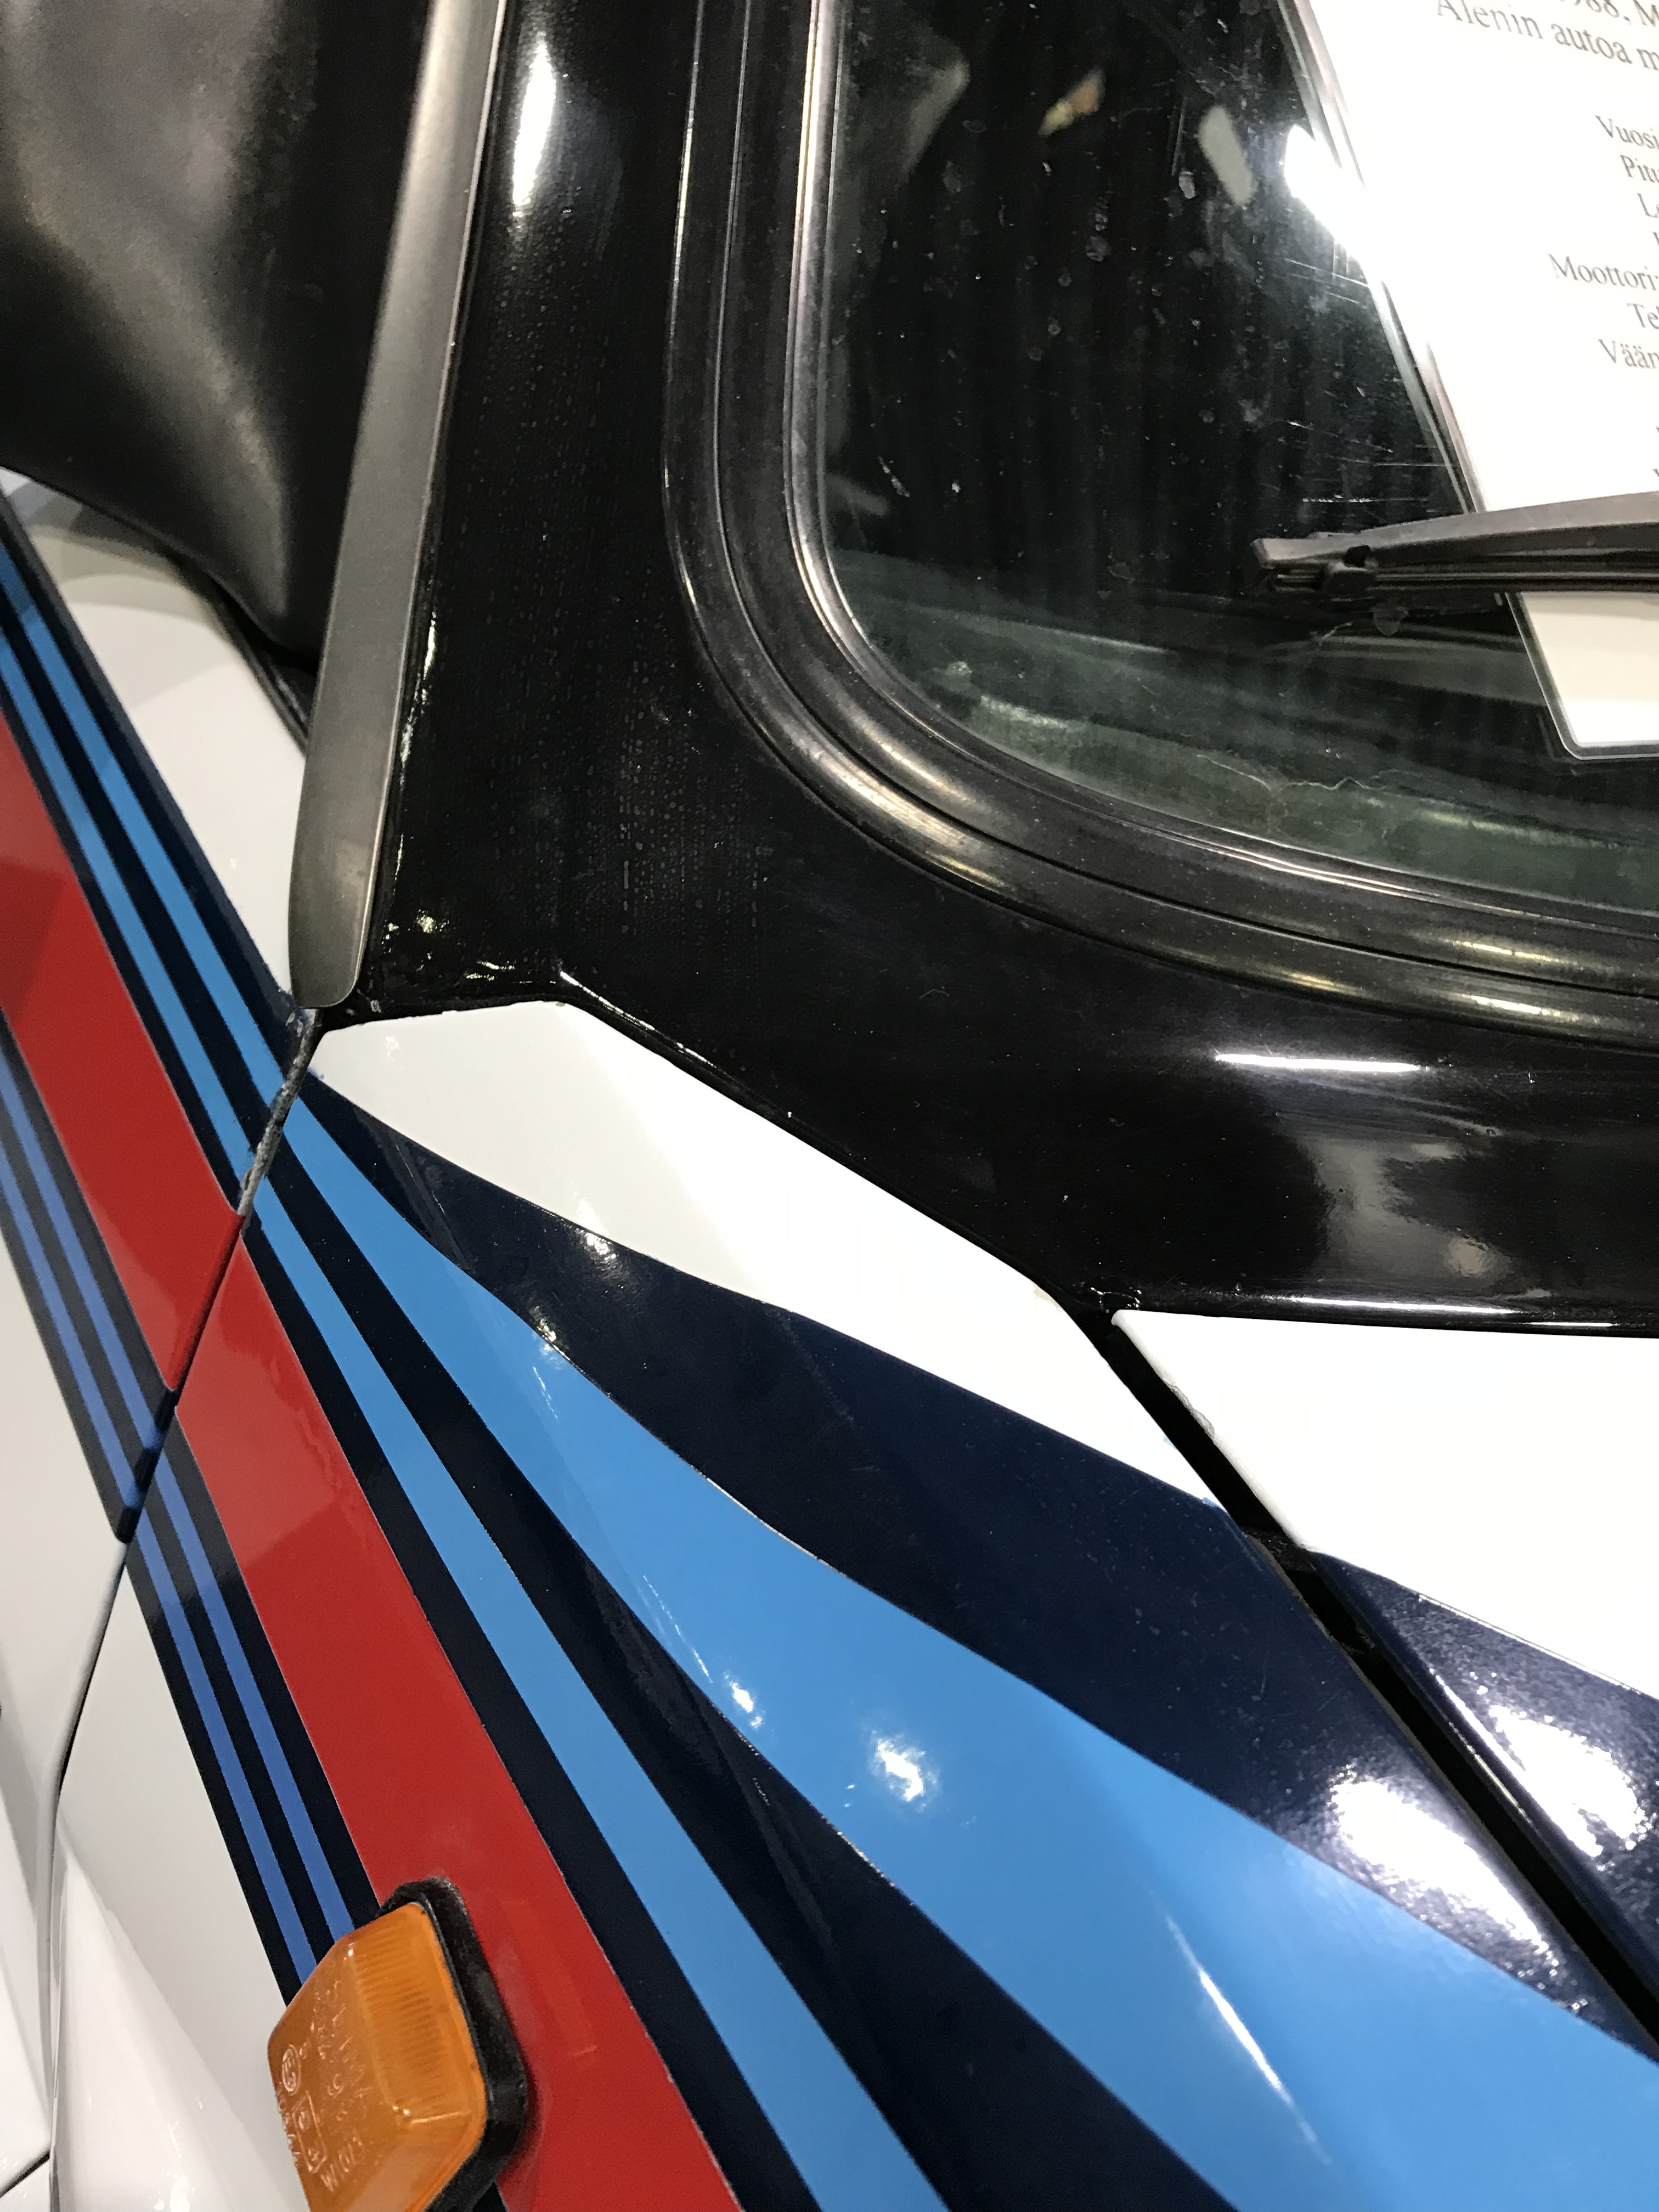
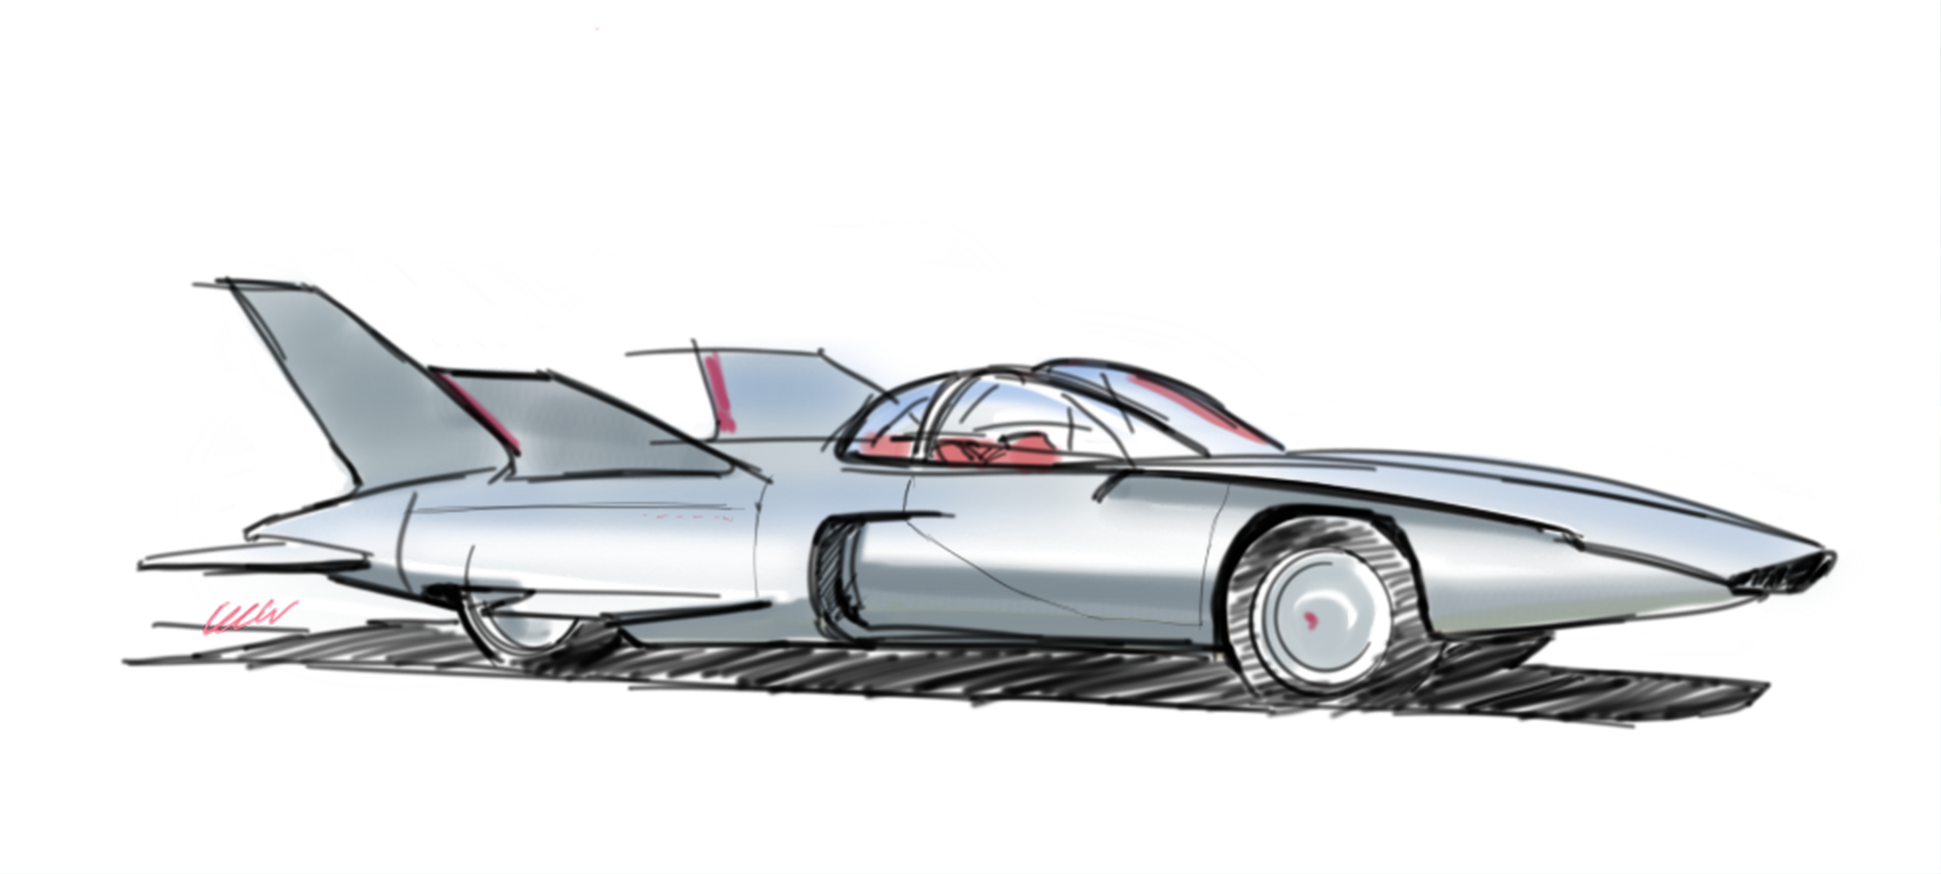
I just found that I uploaded my photos from last years Classic Car Show (here in Lahti, Finland) to my blog, but never shared them. Because of the cancellation this year it seems appropriate to remember this show. I’ll just create a gallery here for you all to browse. There was a great display from the Abarth club, and at the time I was a proud owner of an Abarth 500 Esseesse model. Great little fun car, with so much character and soul. The main theme I think was to show a lot of Italian cars in 2019. More car design commentary to follow soon!
Enjoy.
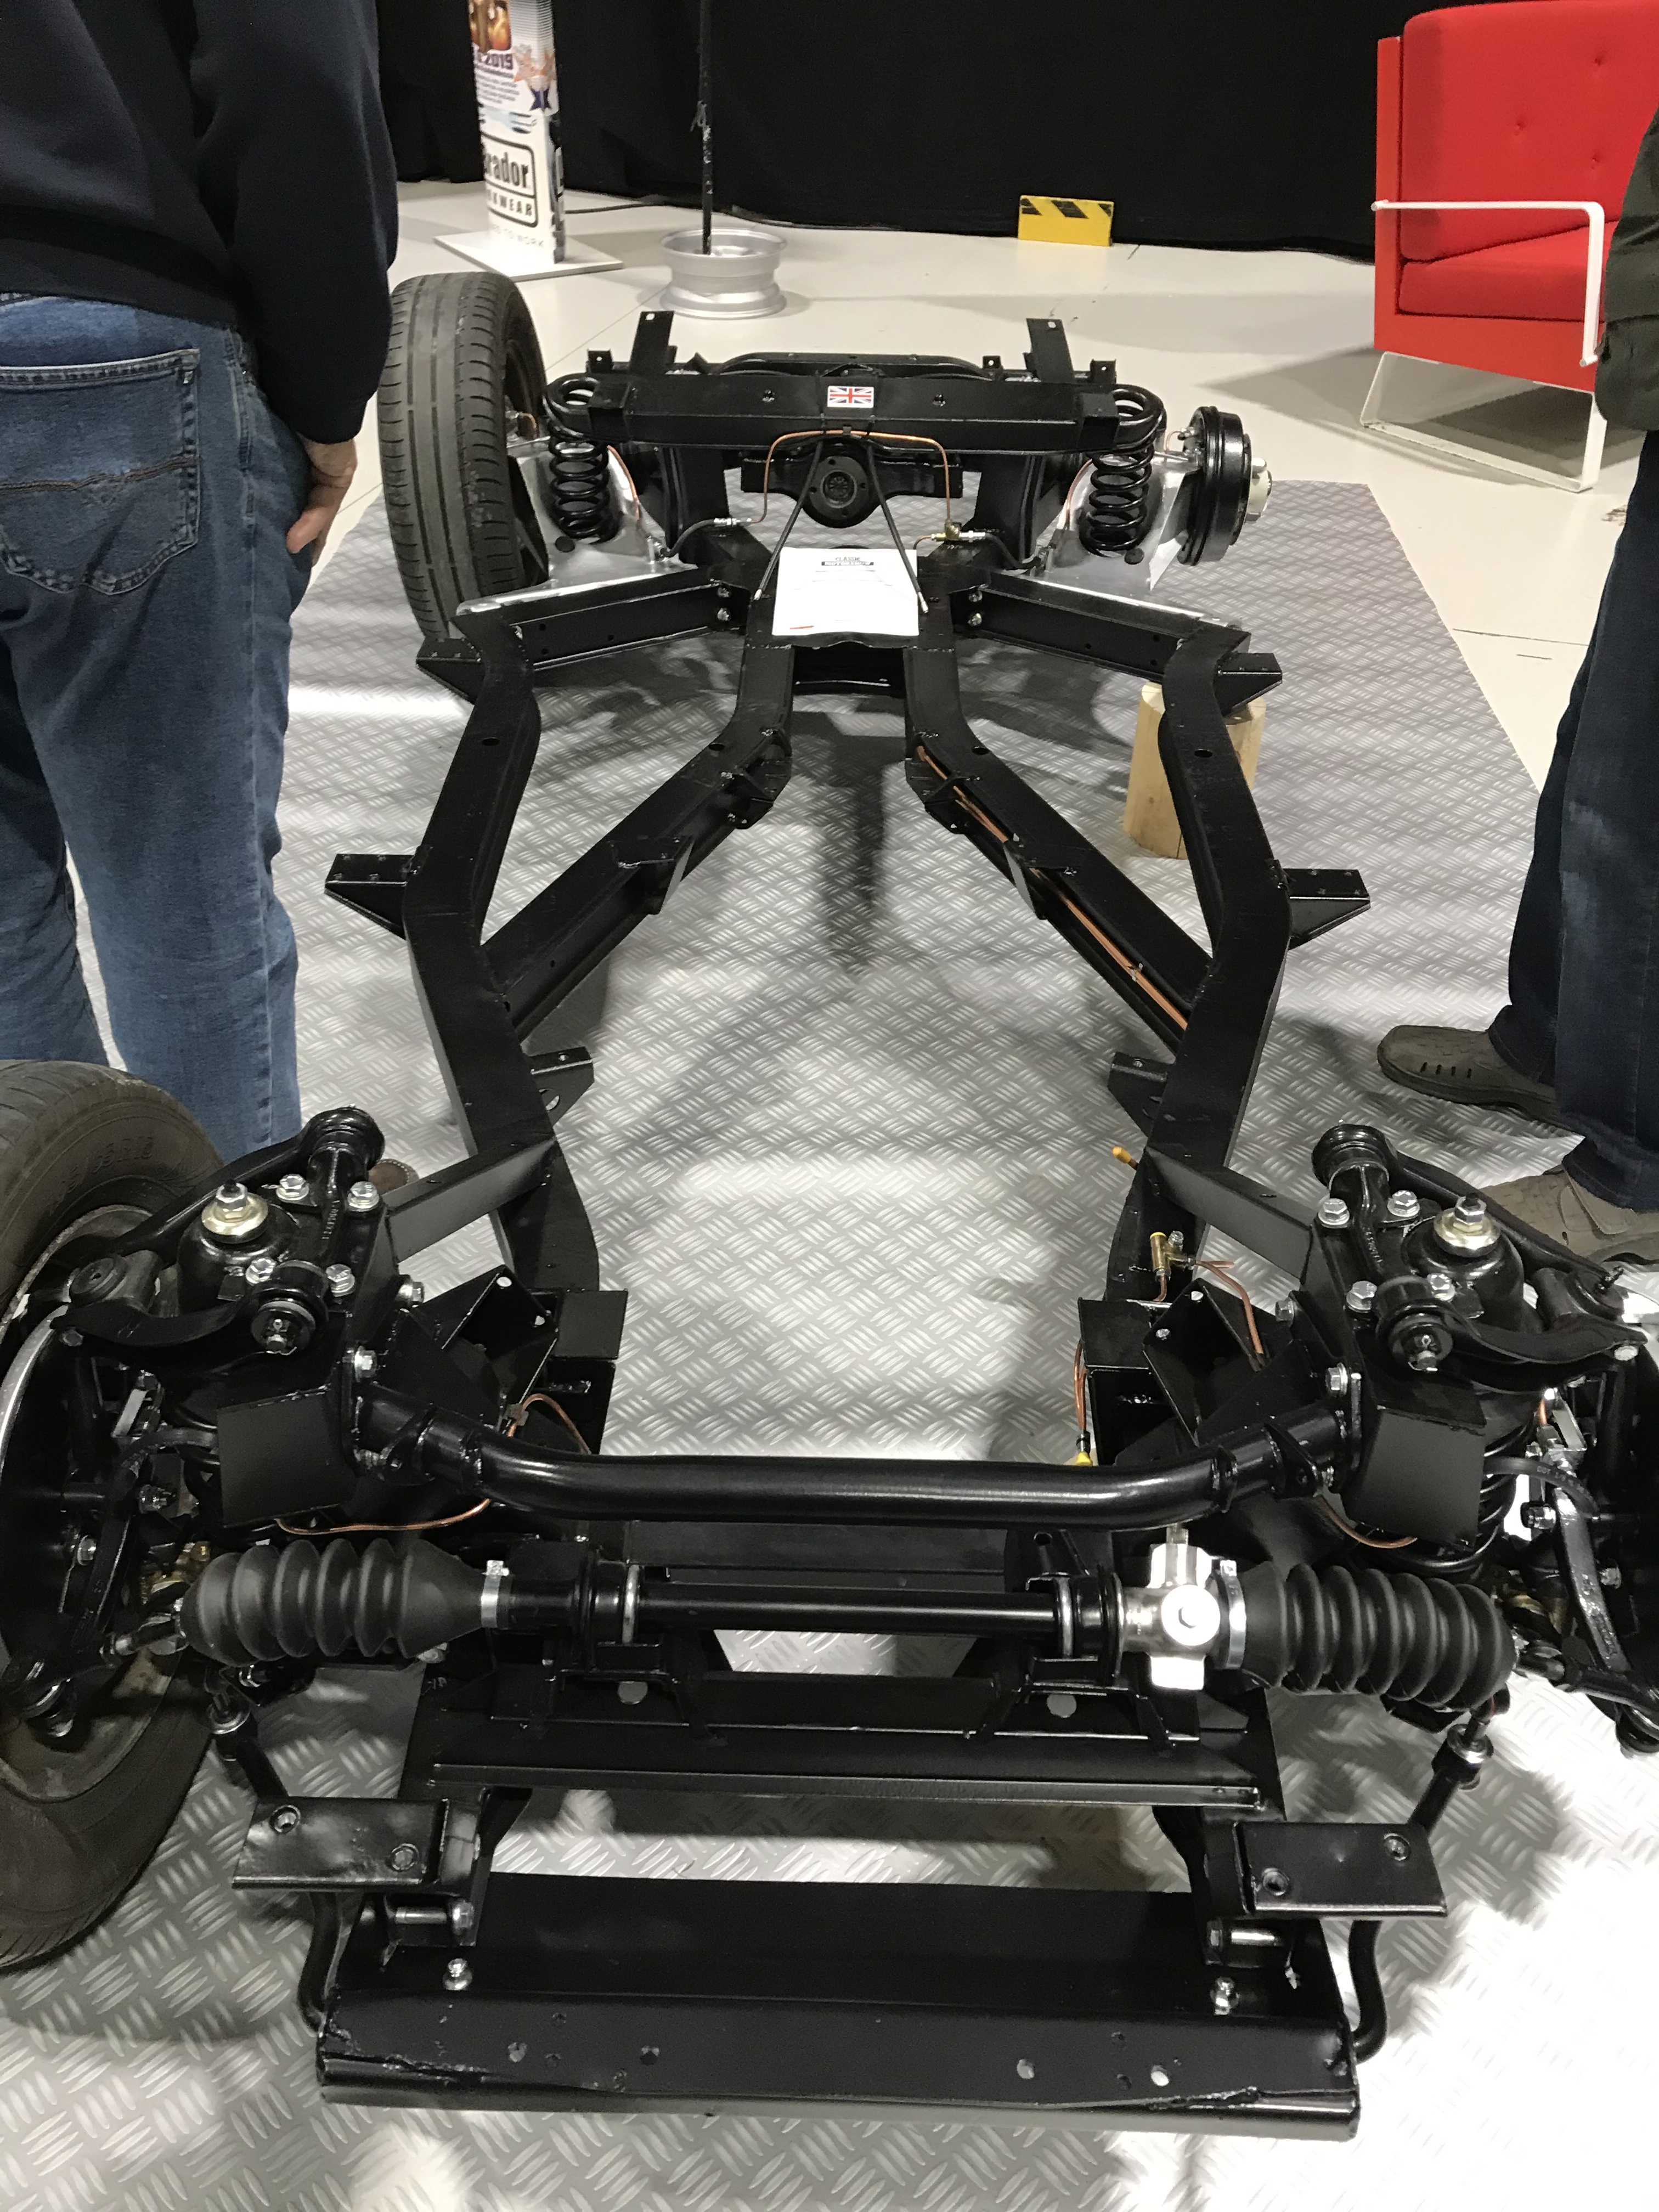
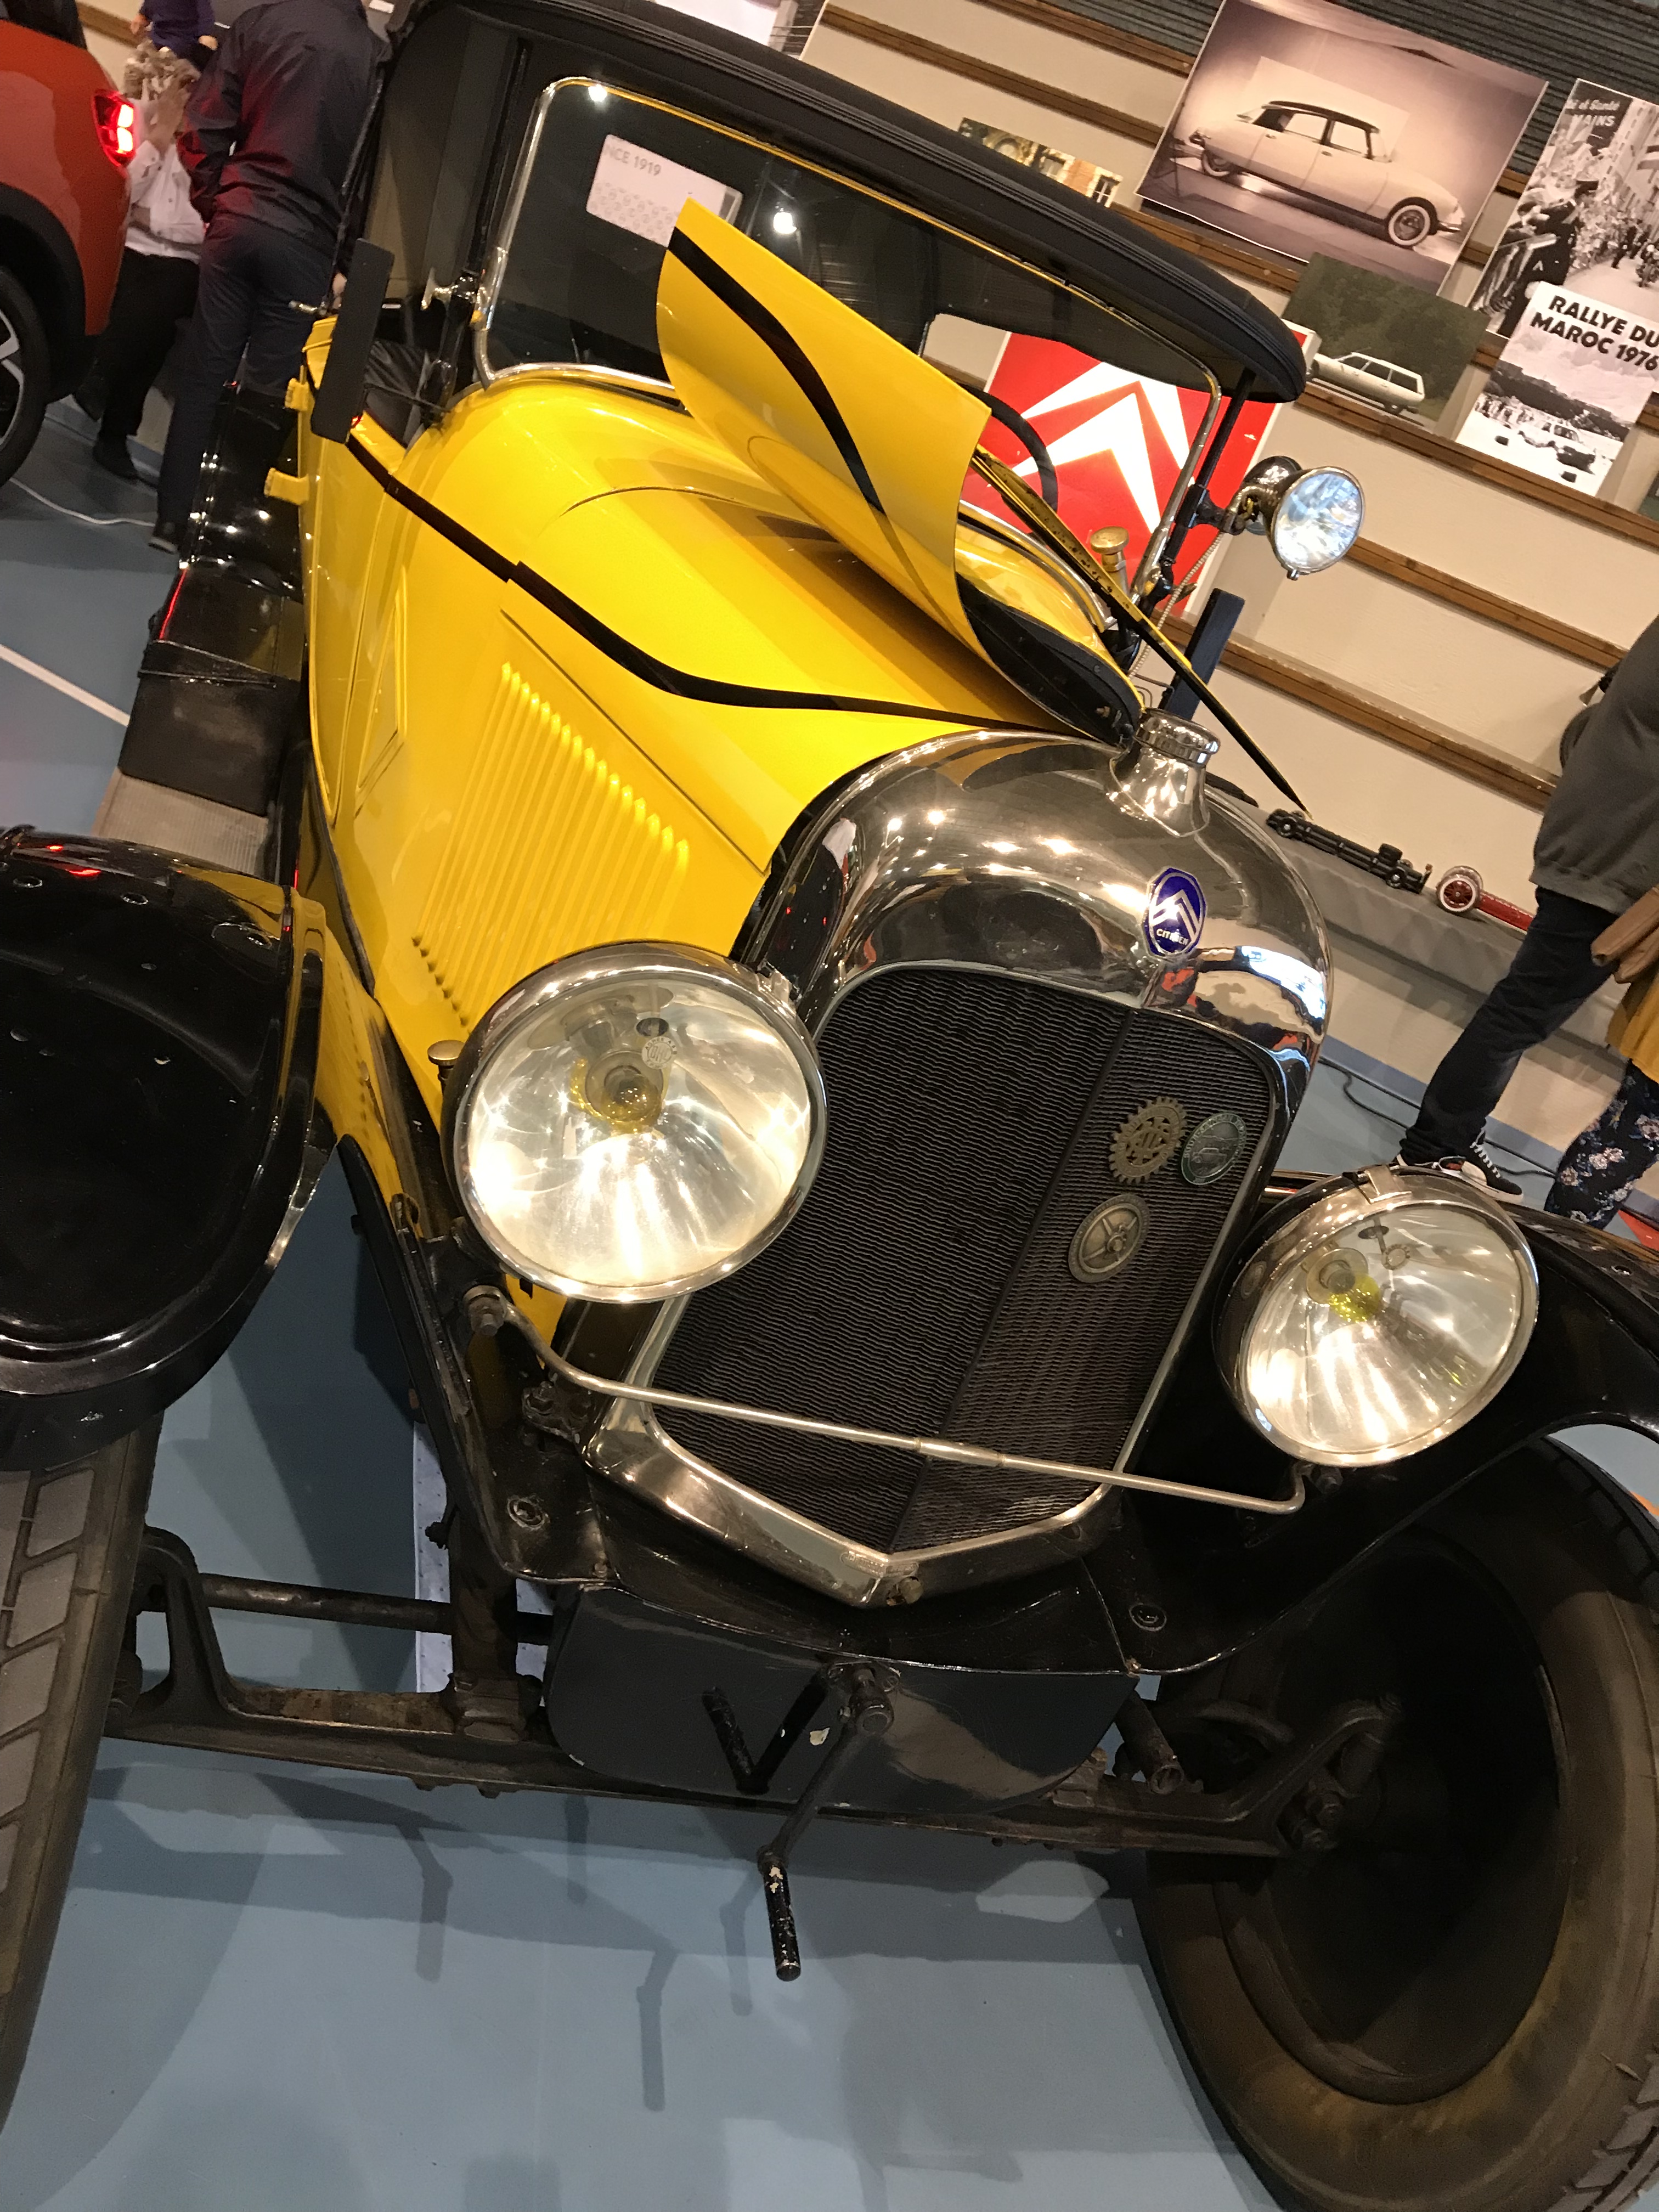
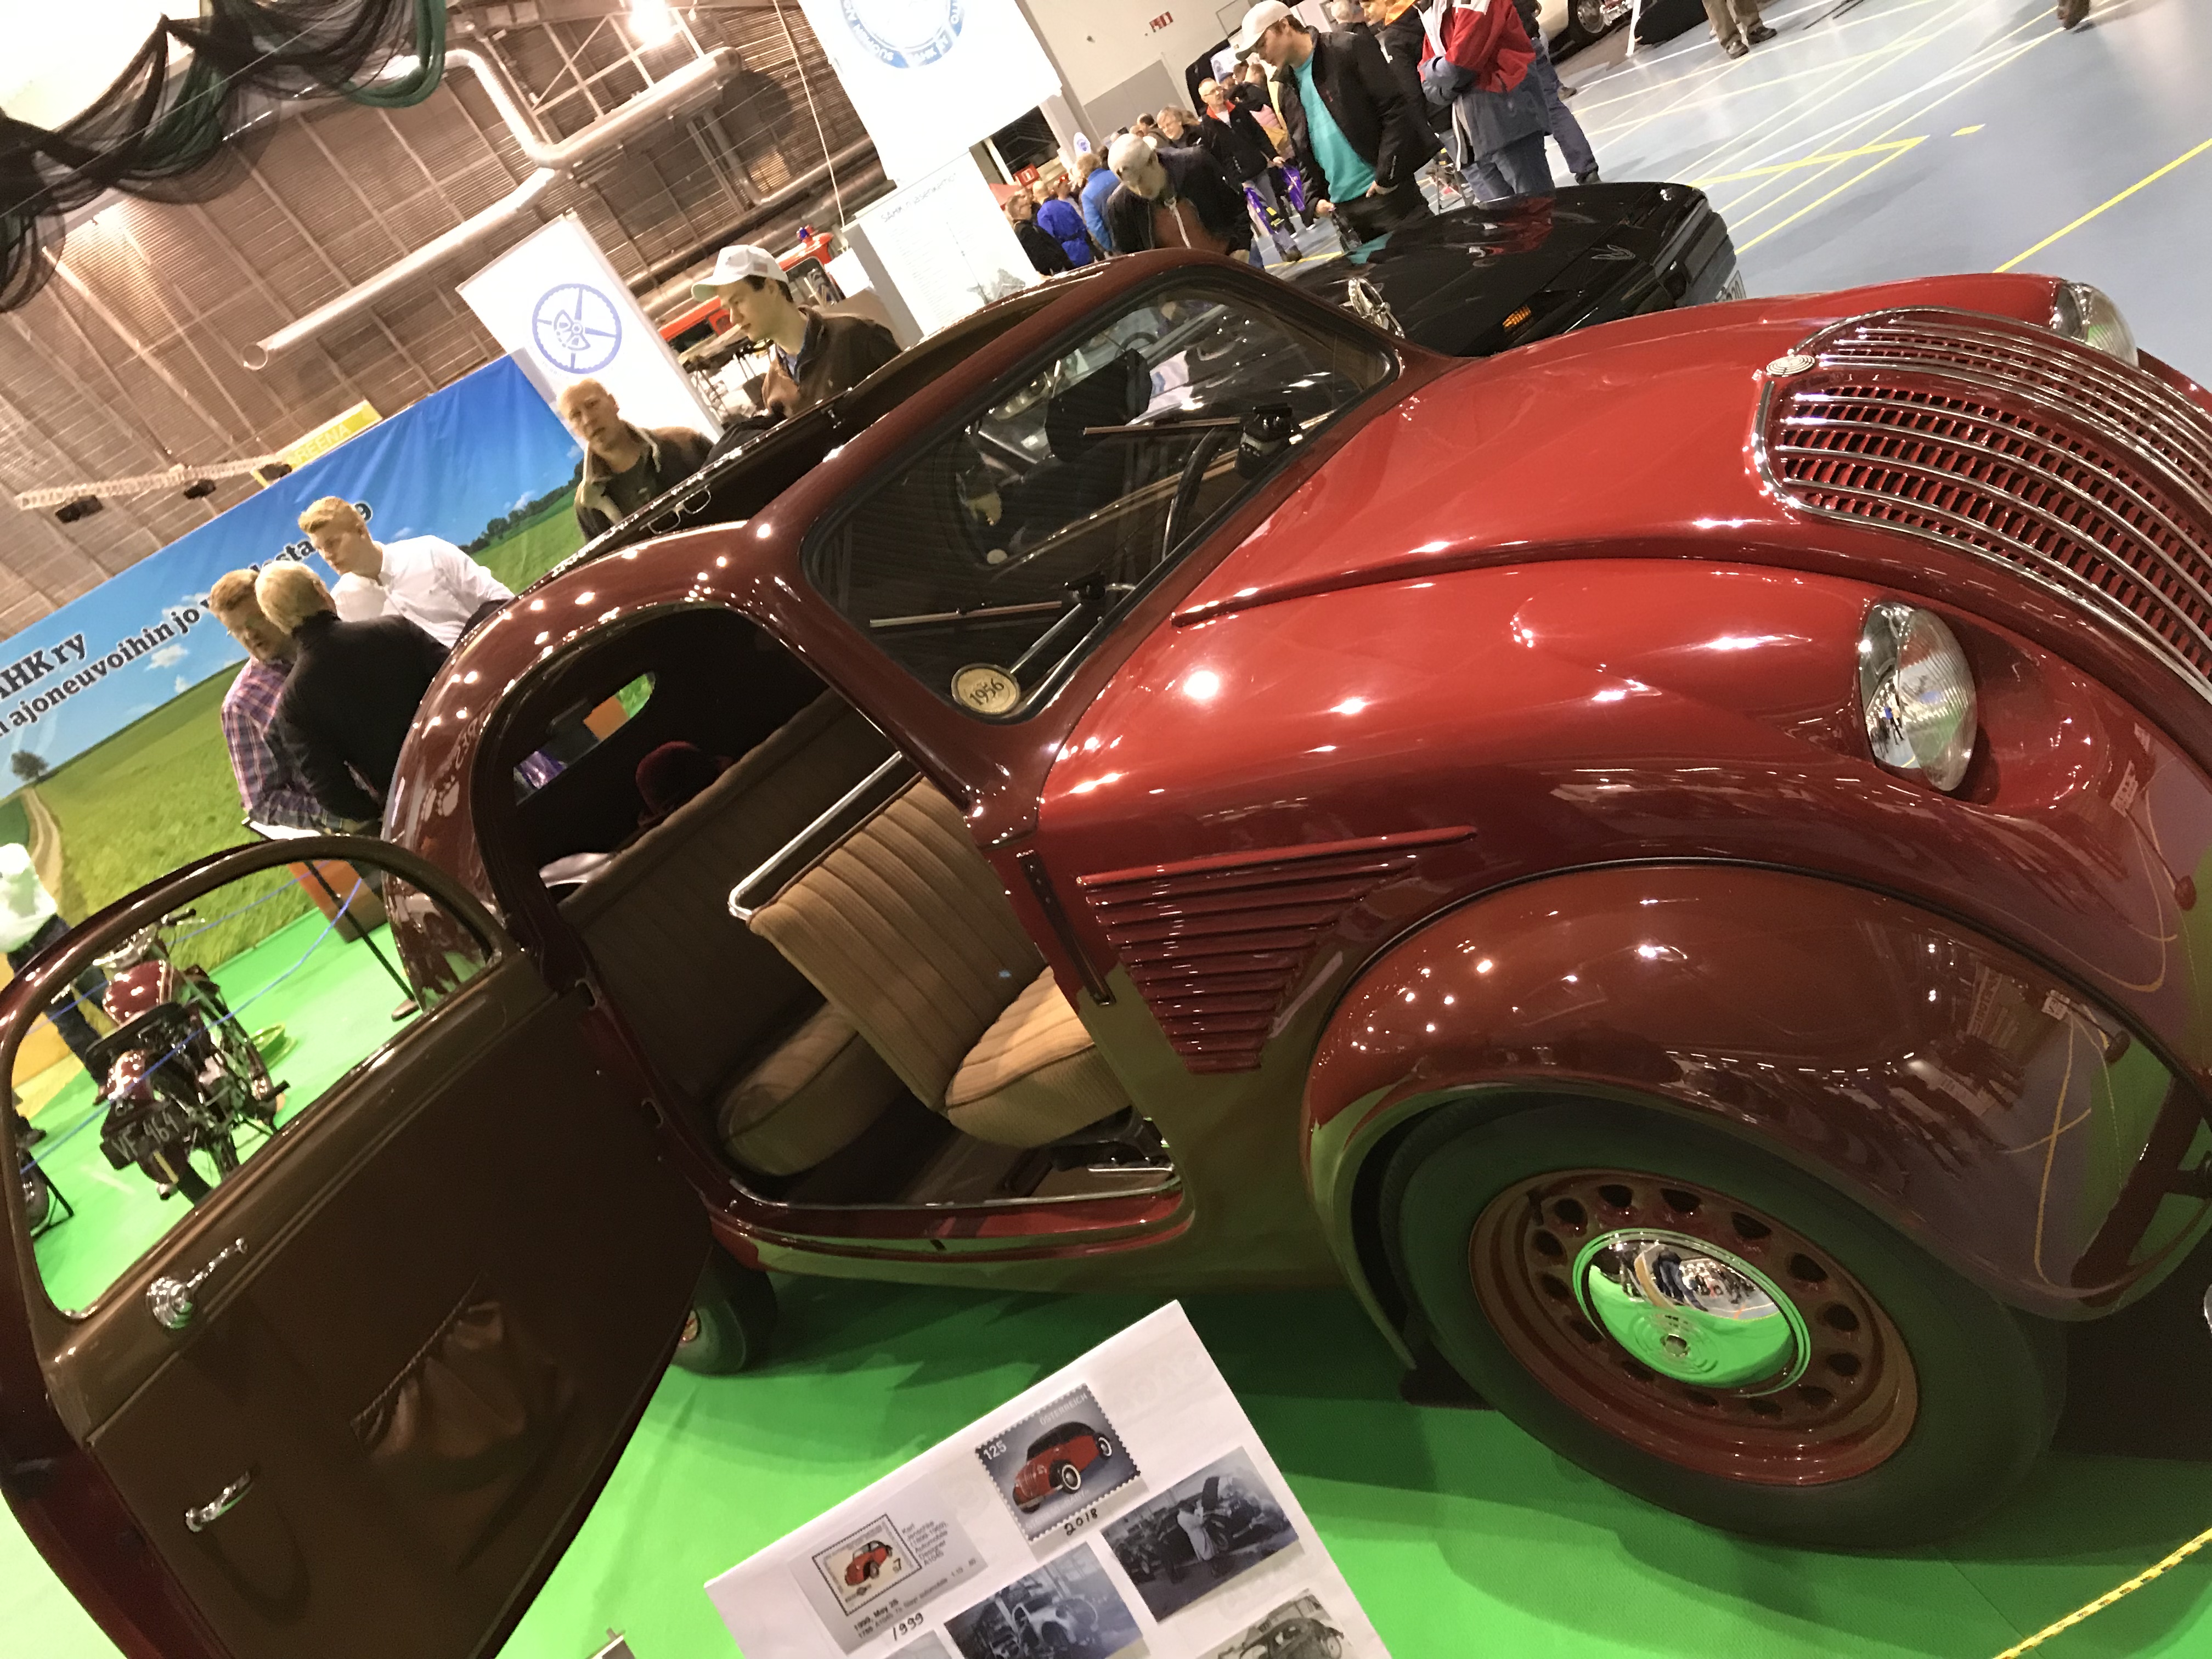
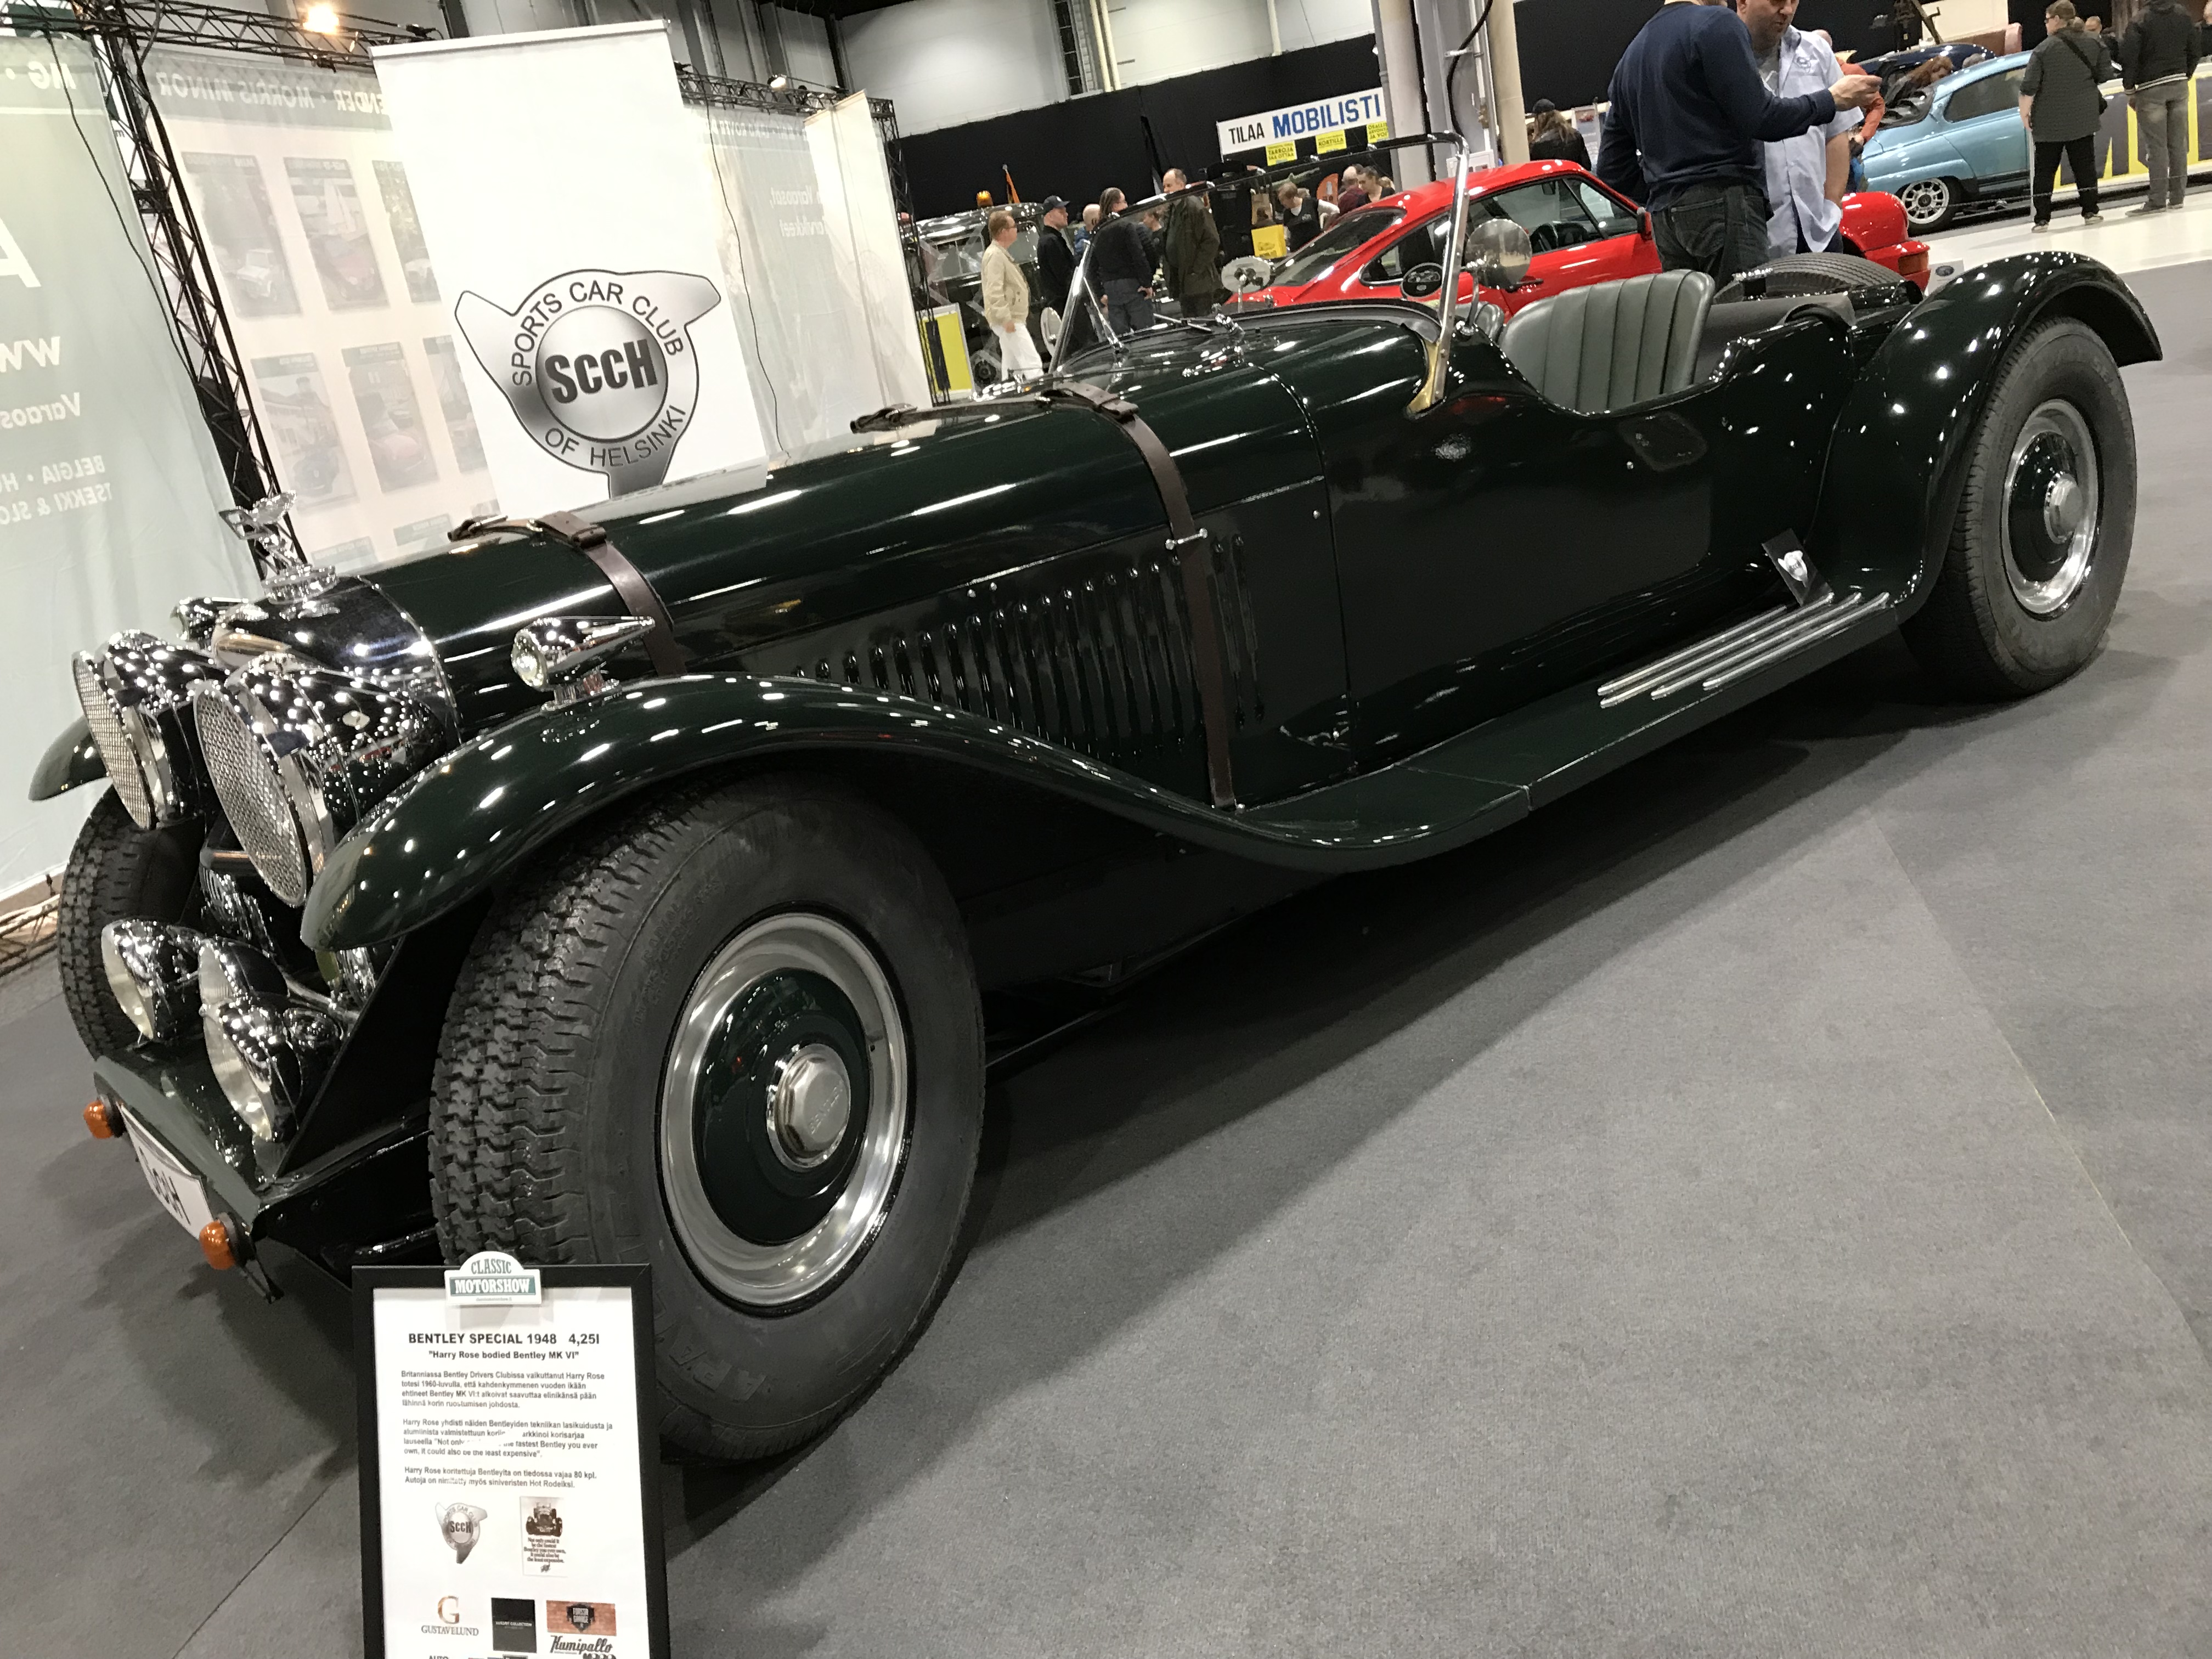
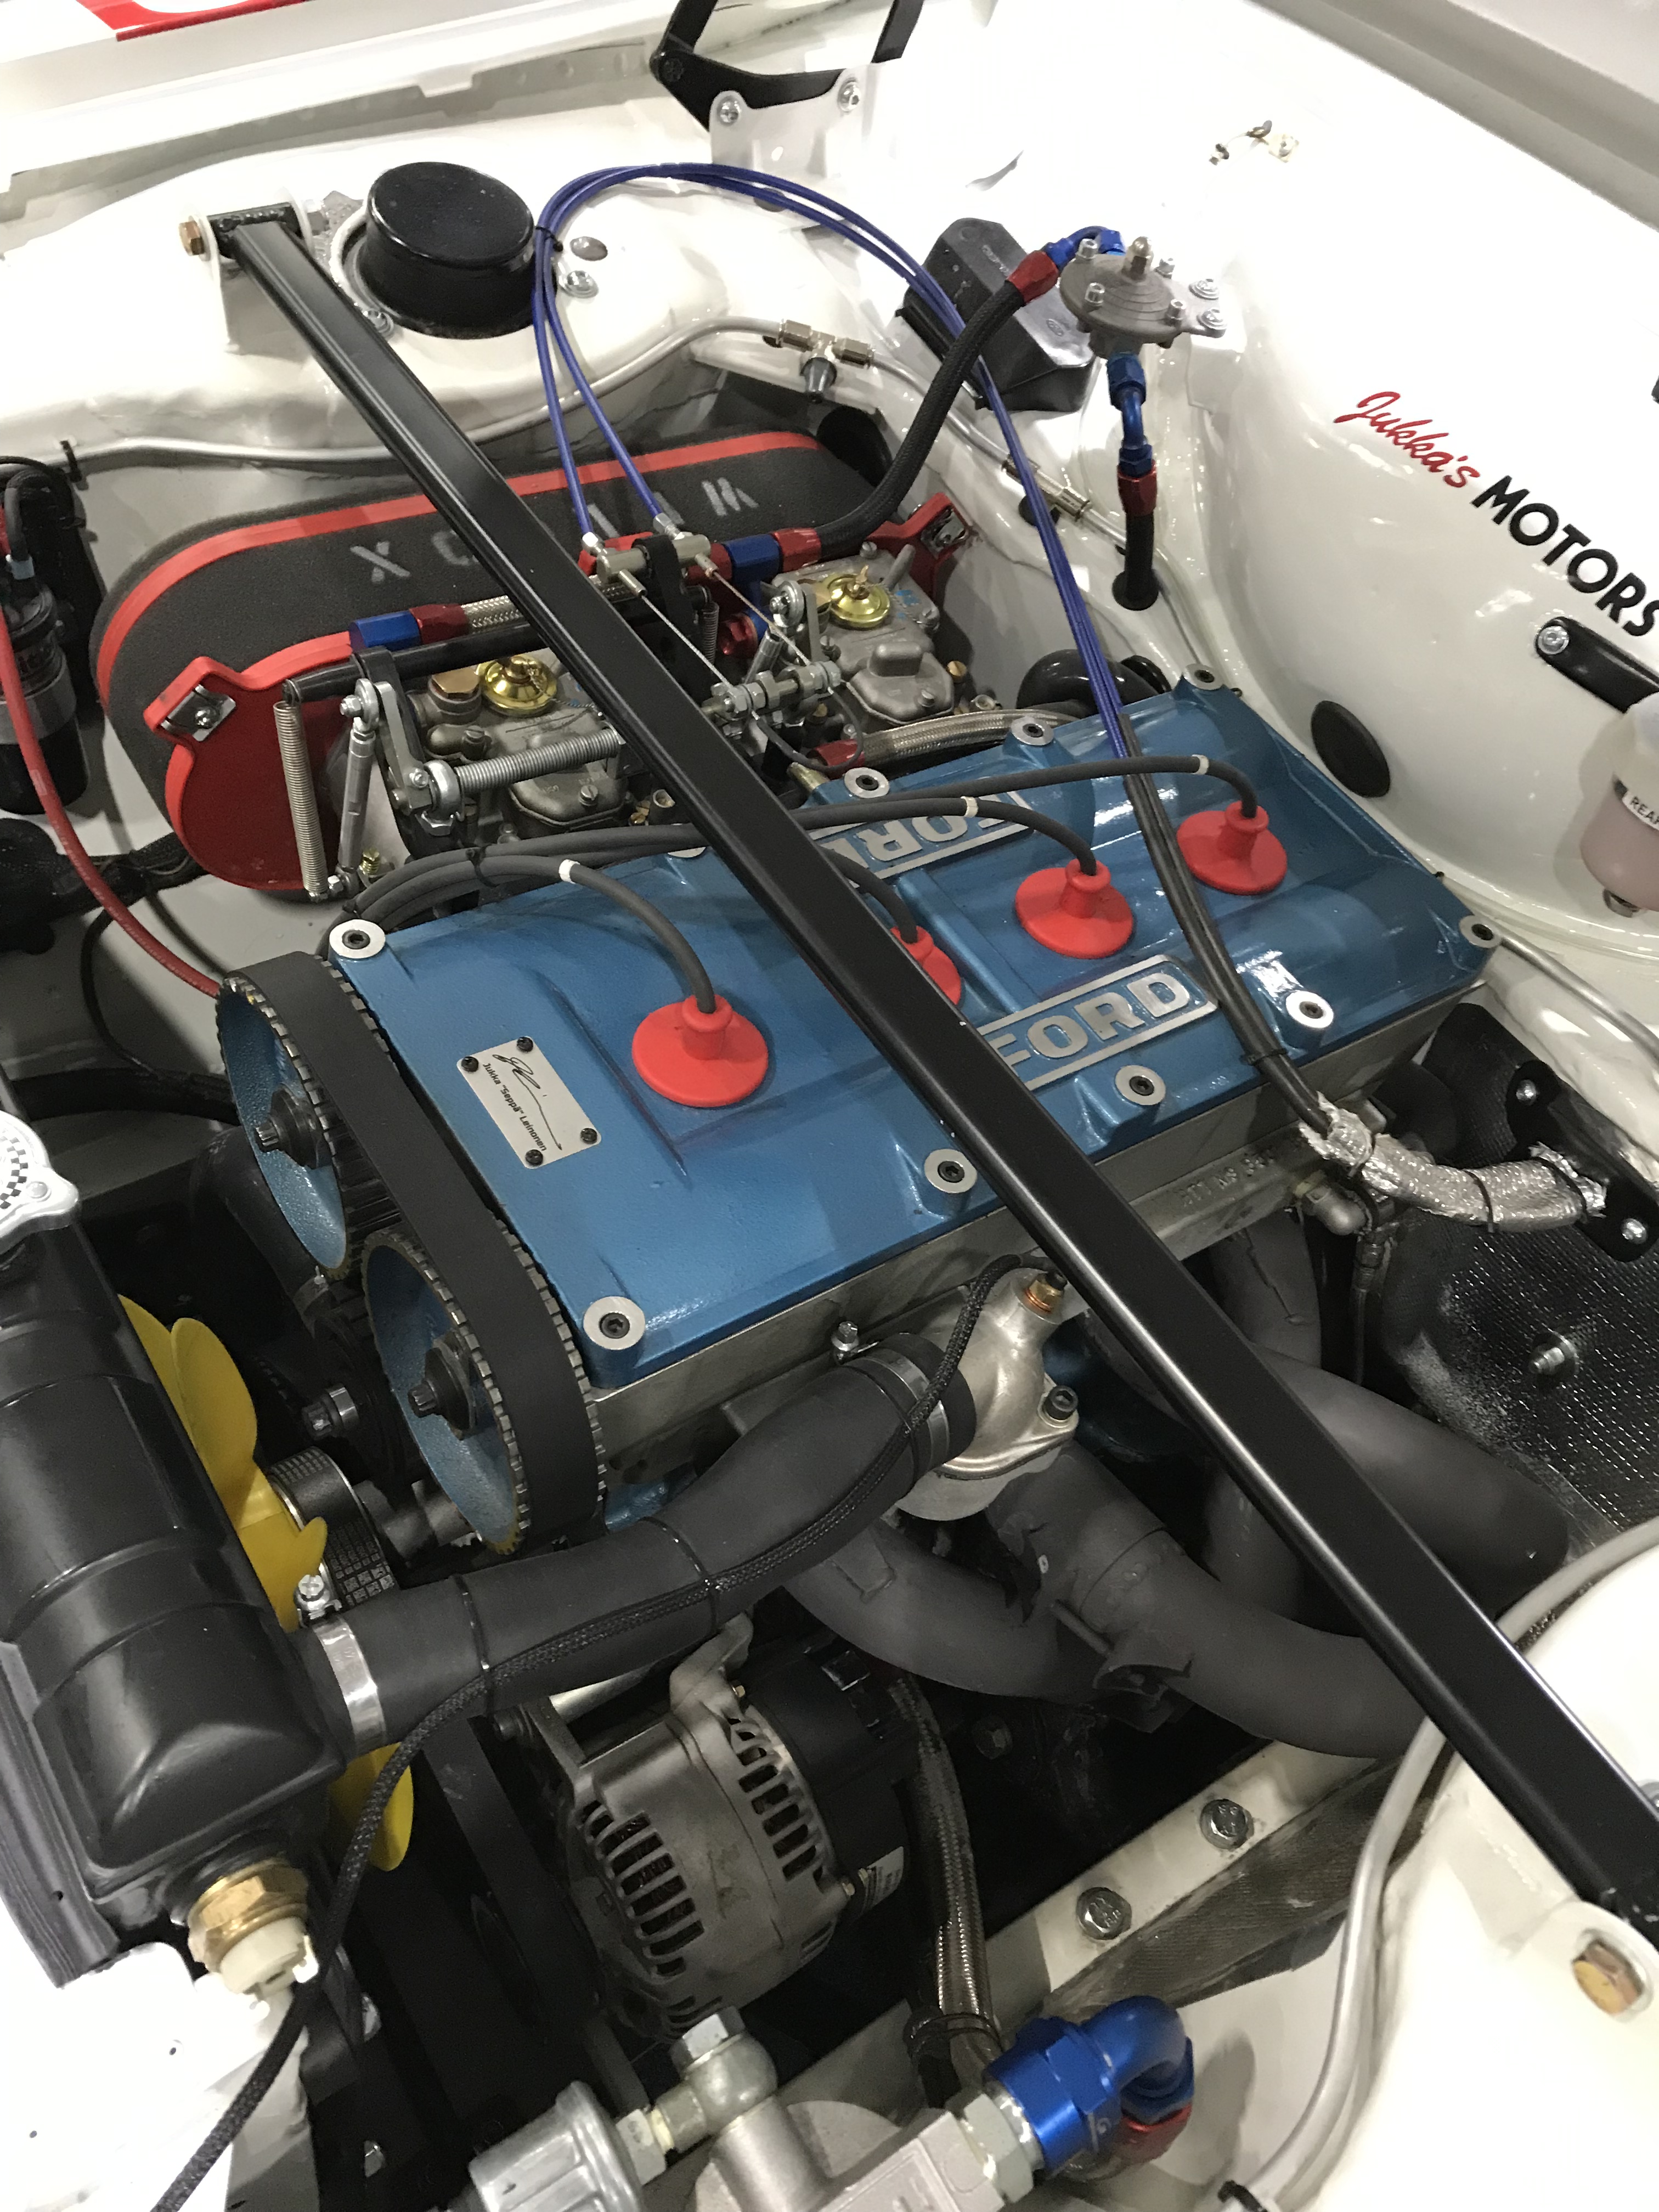
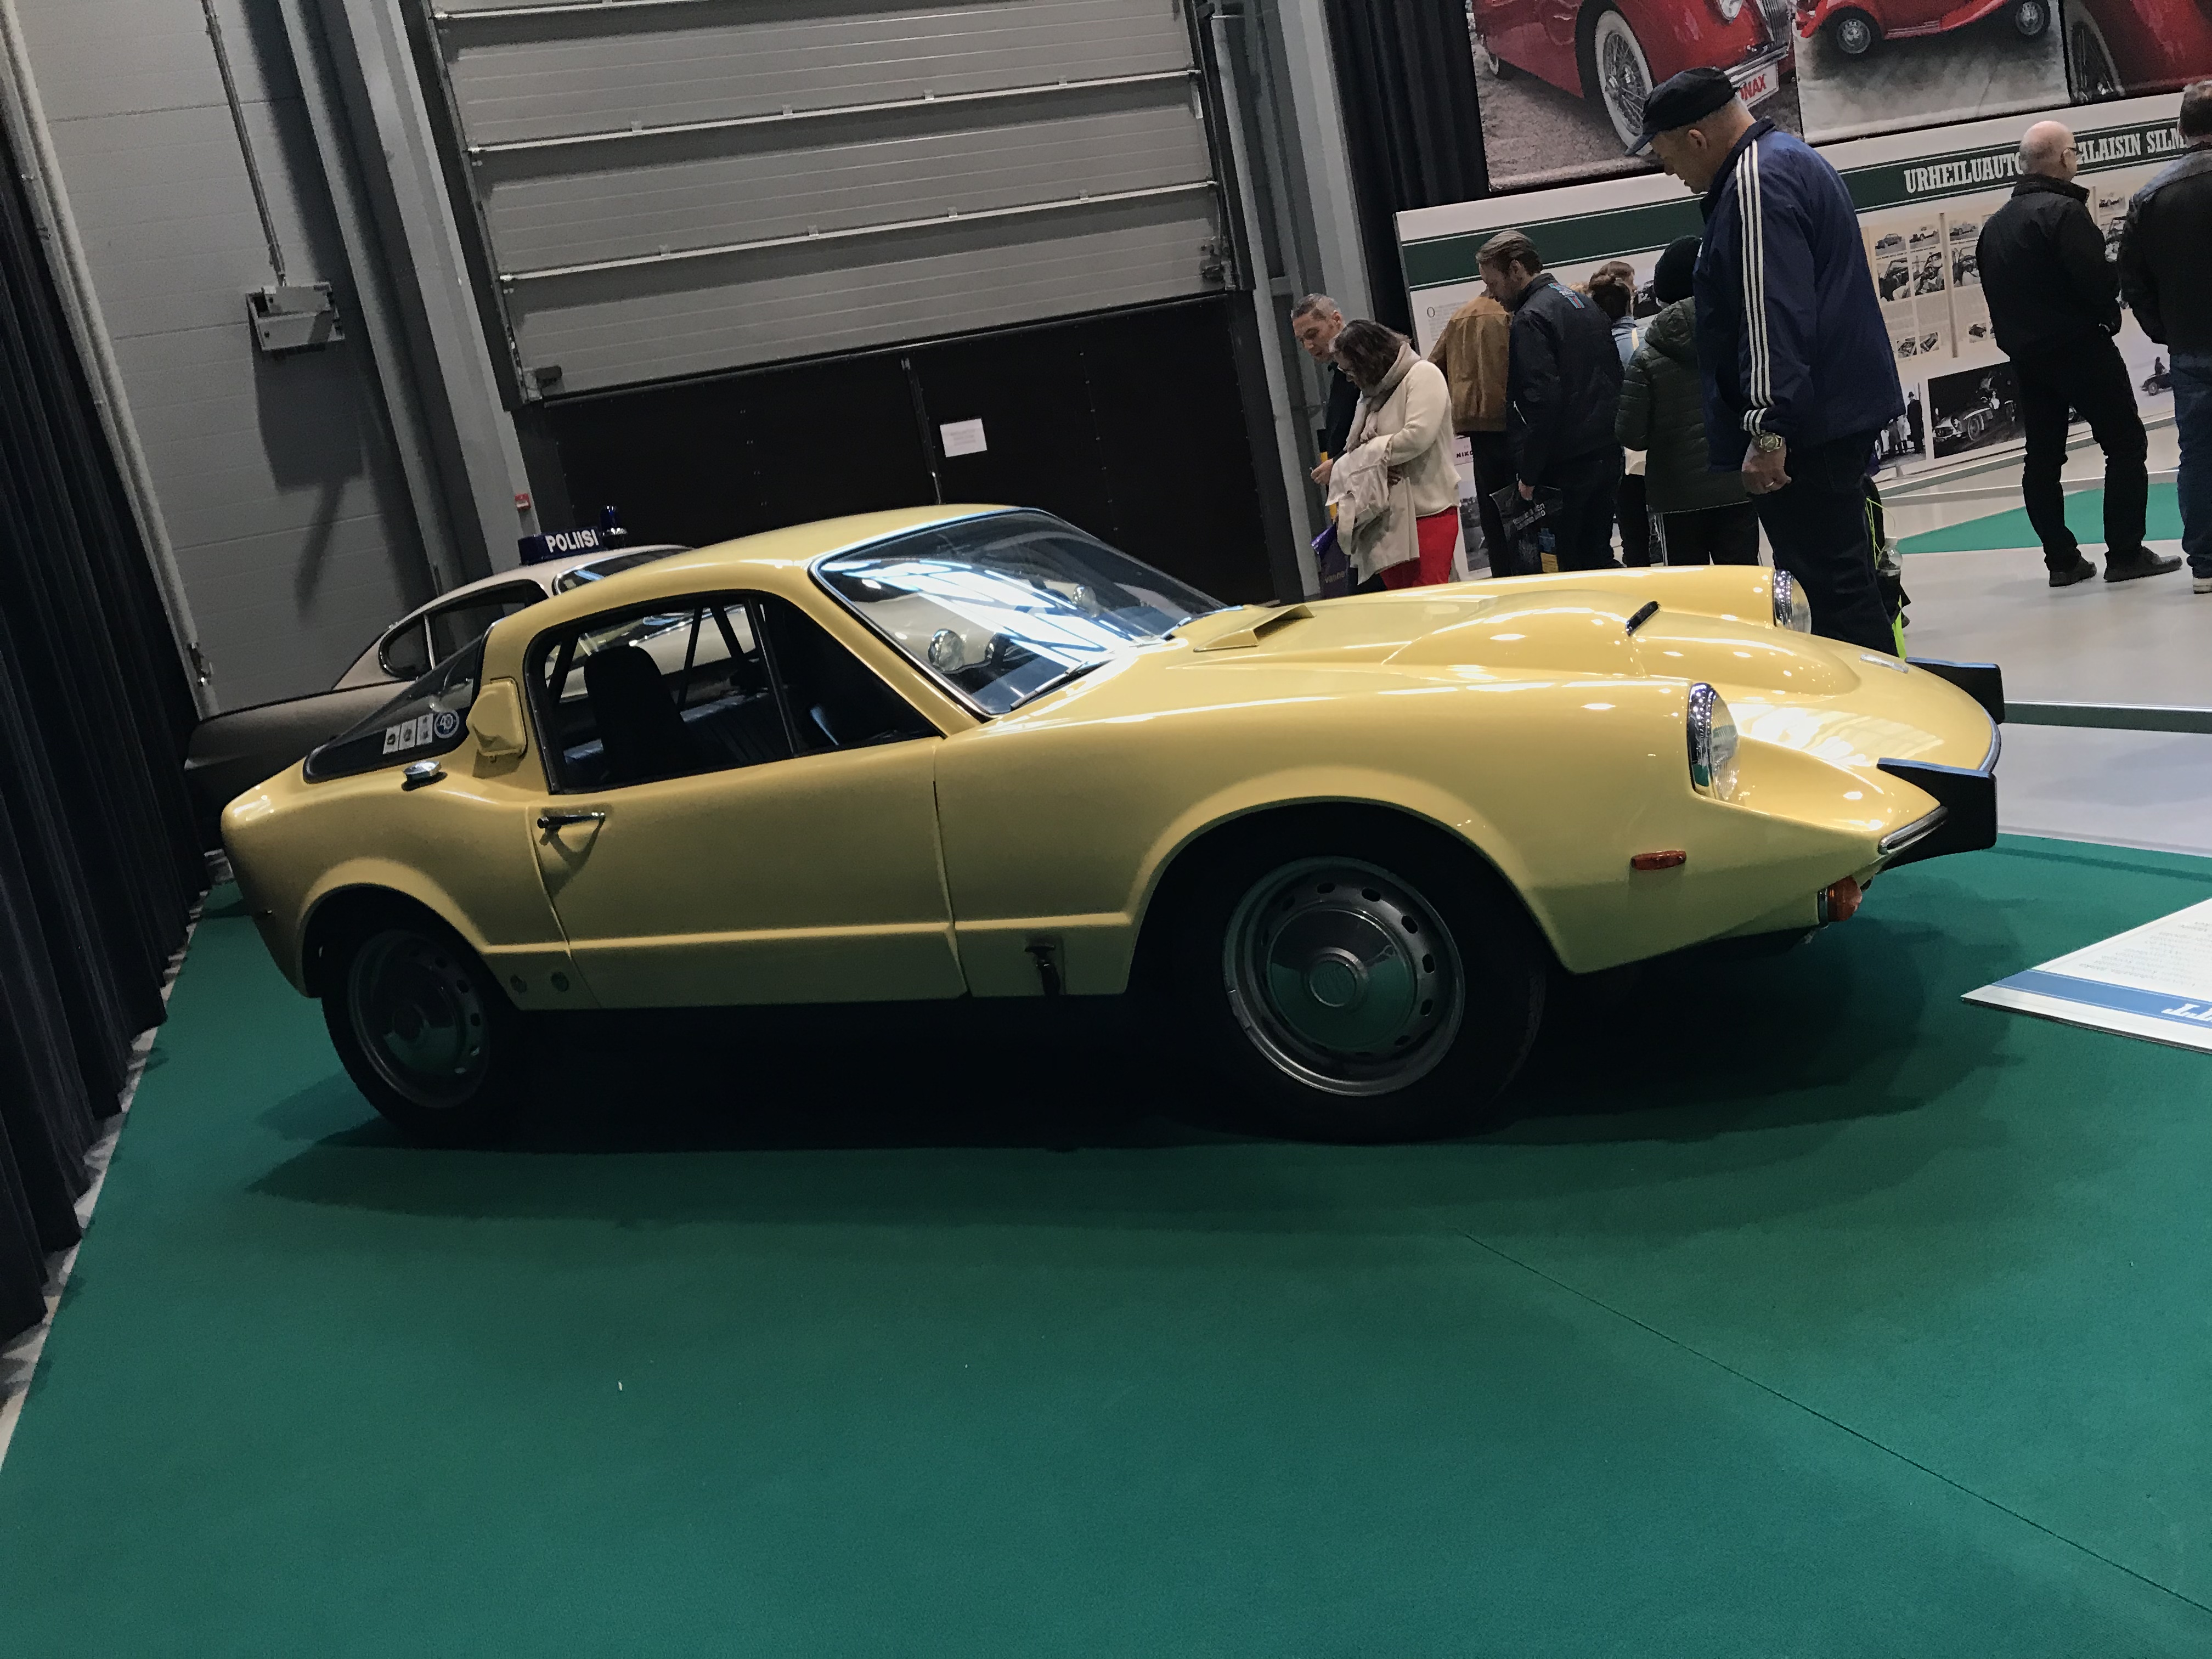
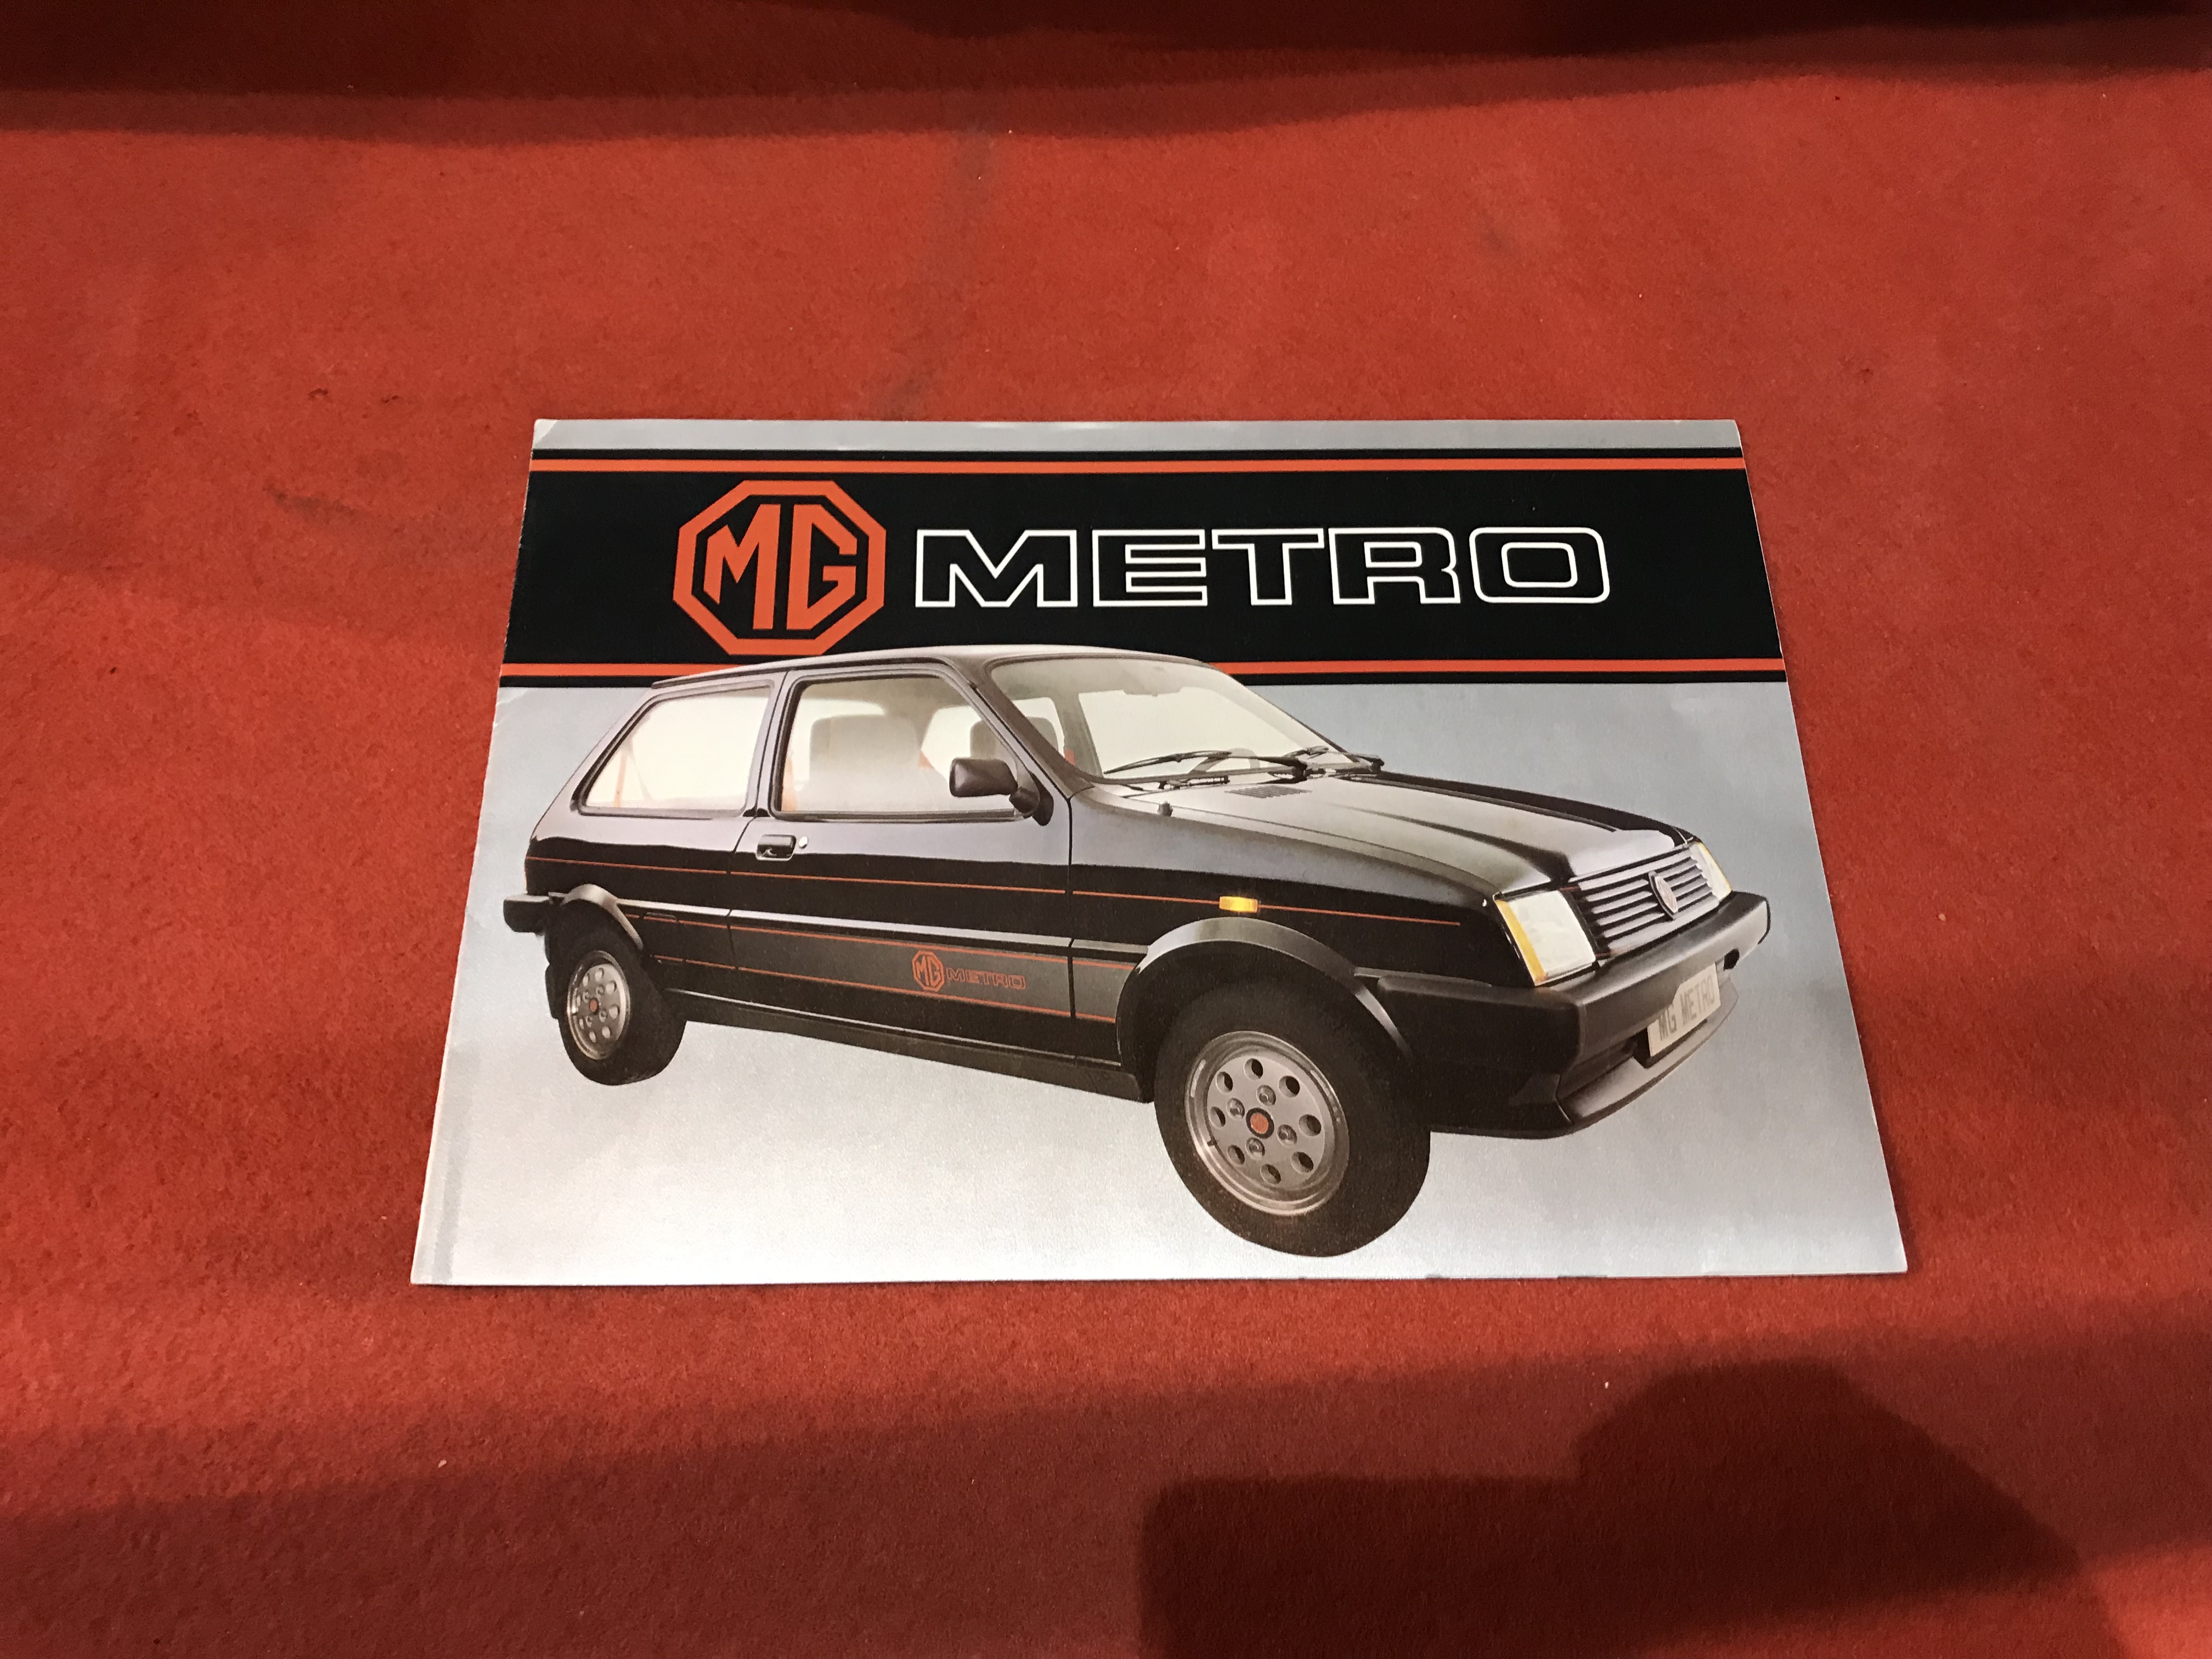
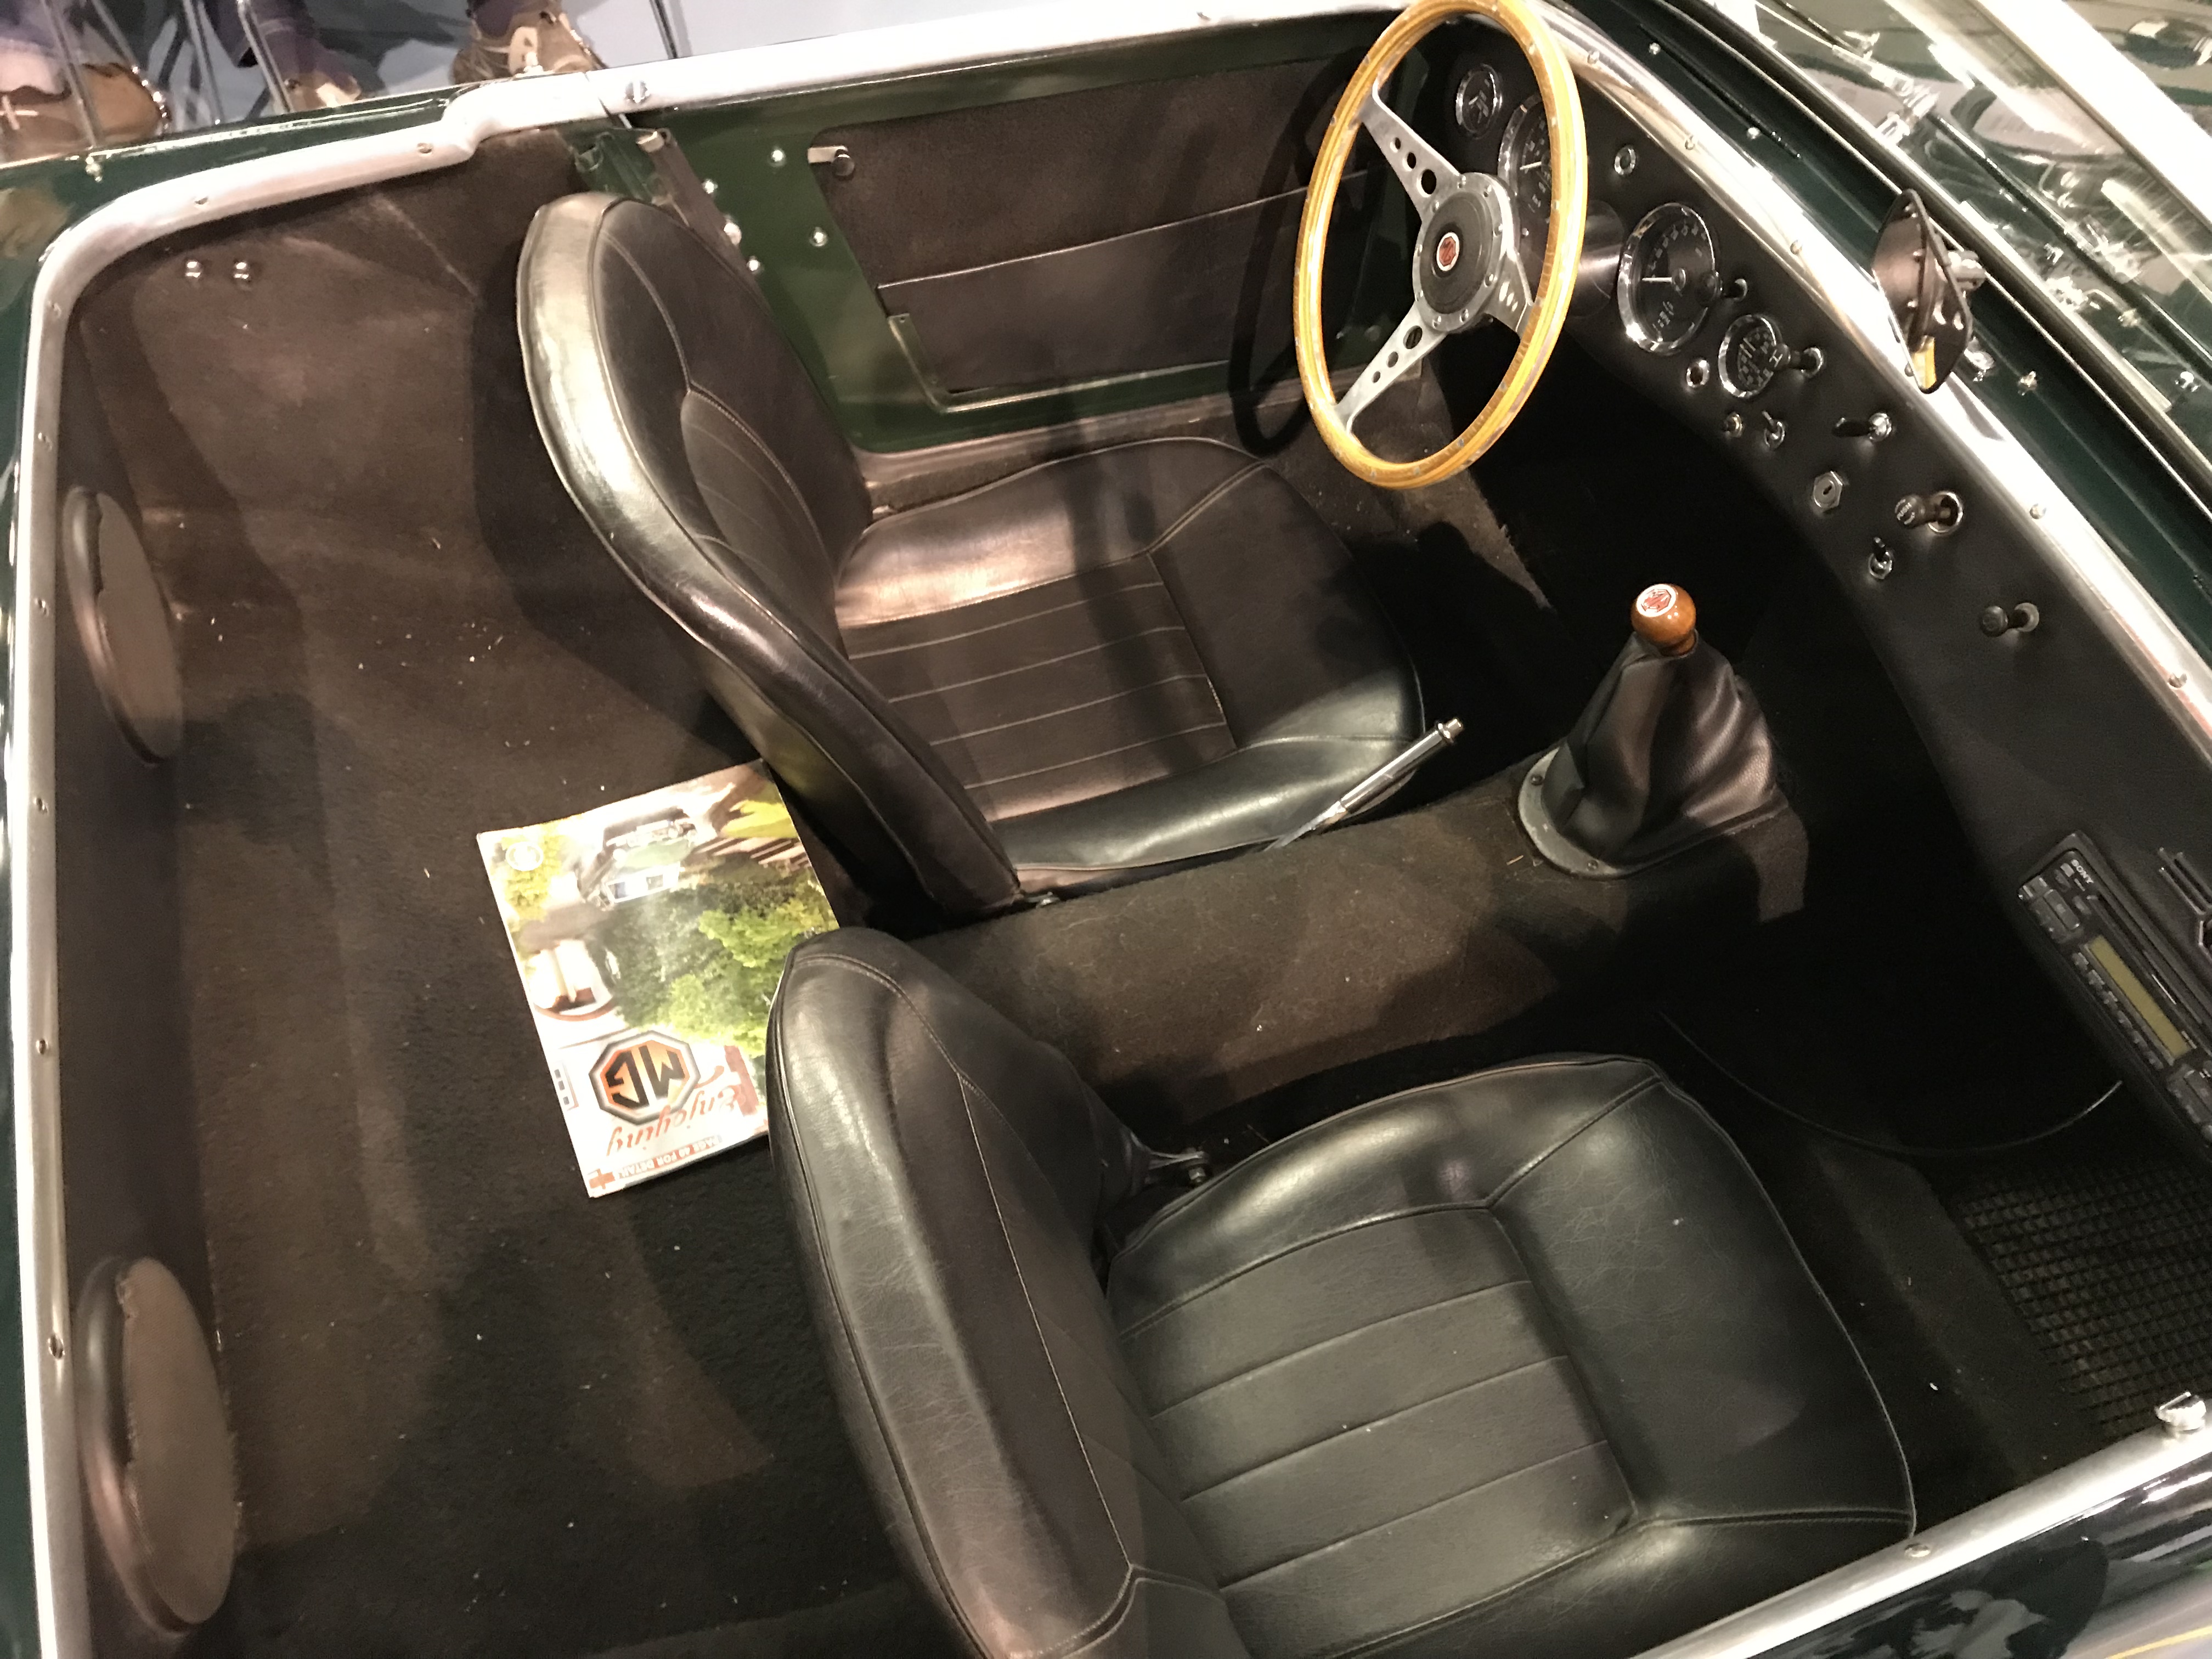
VERY randomly ordered images – from Lahti Classic Car Show 2019.
The purpose of this tutrial is to give you an idea of how to best start a new project in the world ofautomotive design. Both beginners, students and even professionals feel the same difficulties whendrawing a car type that they have never drawn before.
The purpose of this tutorial is to give you an idea of how to best start a new project in the world of automotive design. Beginners, students, and even professionals alike experience the same difficulties when drawing a car type that they have never drawn before.
Before starting a project, it is very helpful to know the basic proportions and hardpoints of the object. Familiarize yourself with the package and proportions first.
This example should encourage you to analyze the basic proportions of different vehicle types.
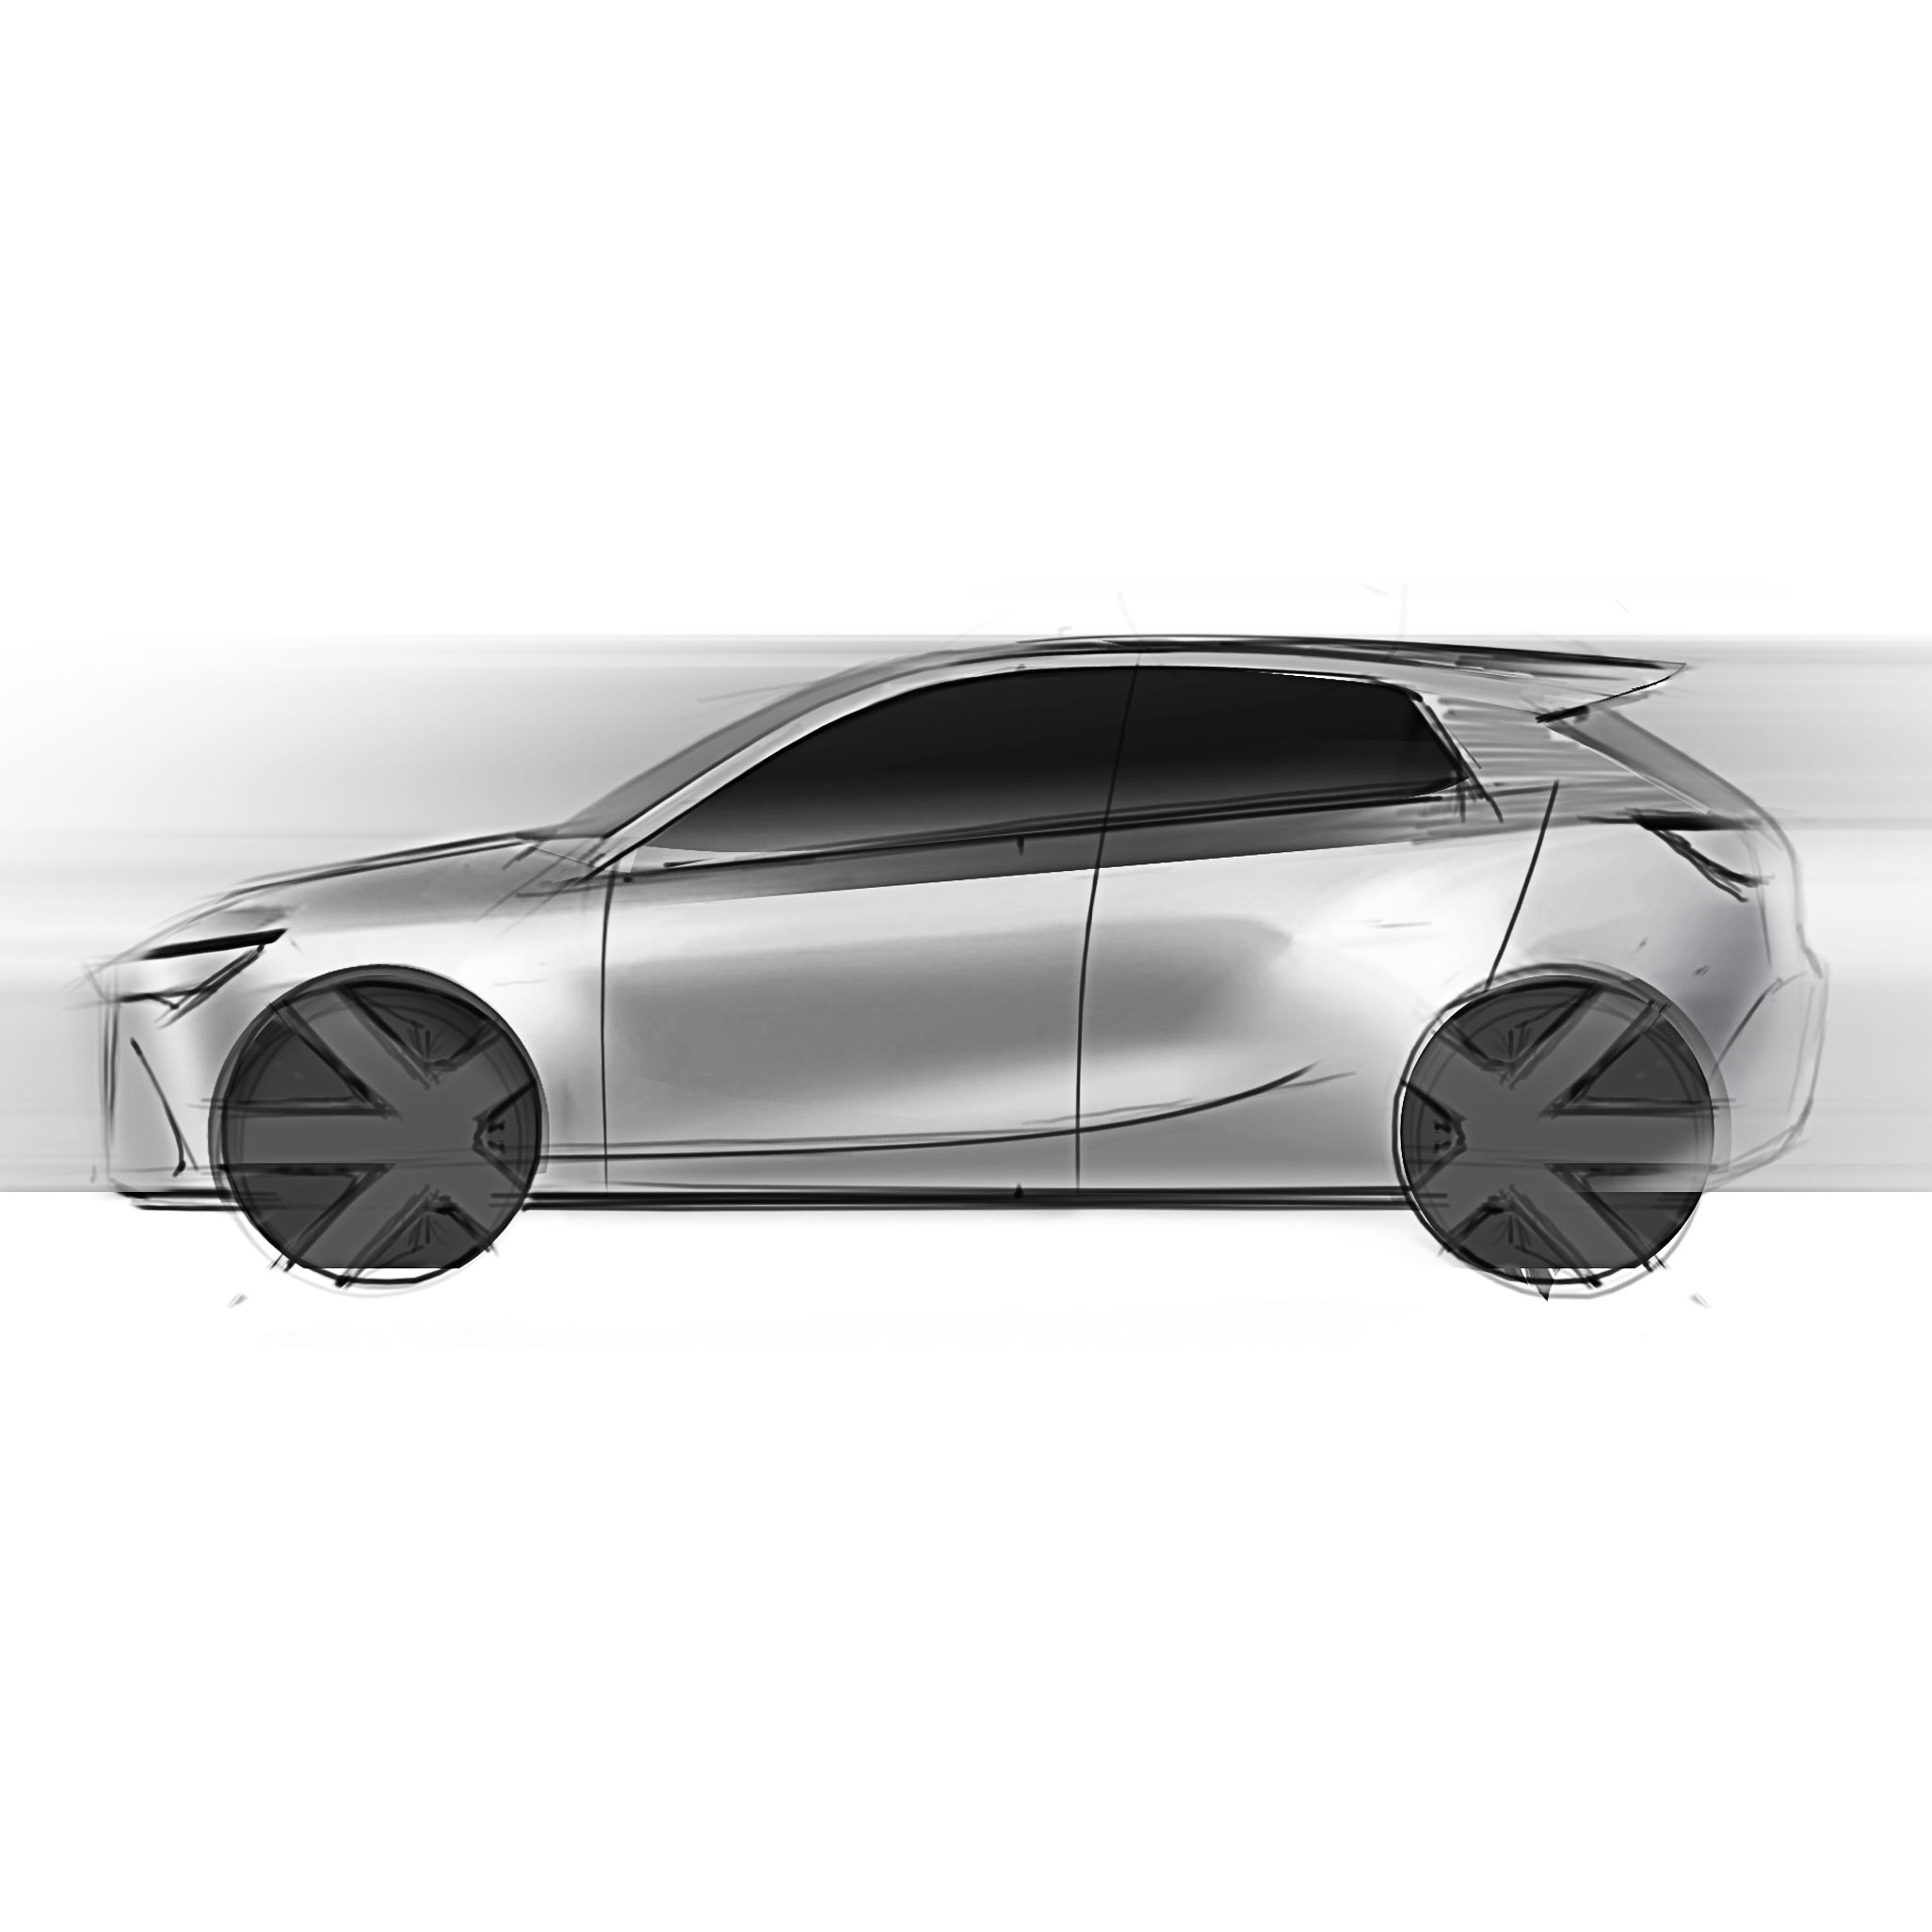
Mazda2
Always focus on the side view first. The side view contains all the necessary information you need to draw a car. After internalizing the basic proportions, it will be easier for you to get results since the basic architecture is correct.
For the purpose of this tutorial, let’s assume you need to design a city car. In the first picture below, you see the same car but with different proportions. Their overhang, wheel size, and cabin-to-body ratios are different.
The car can be built or designed like these. Nevertheless, between the two designs, the upper one is more convincing. This is mainly due to the cabin-to-body ratio. To avoid the mistake made in the second design and prevent other errors, take a close look at the proportions.
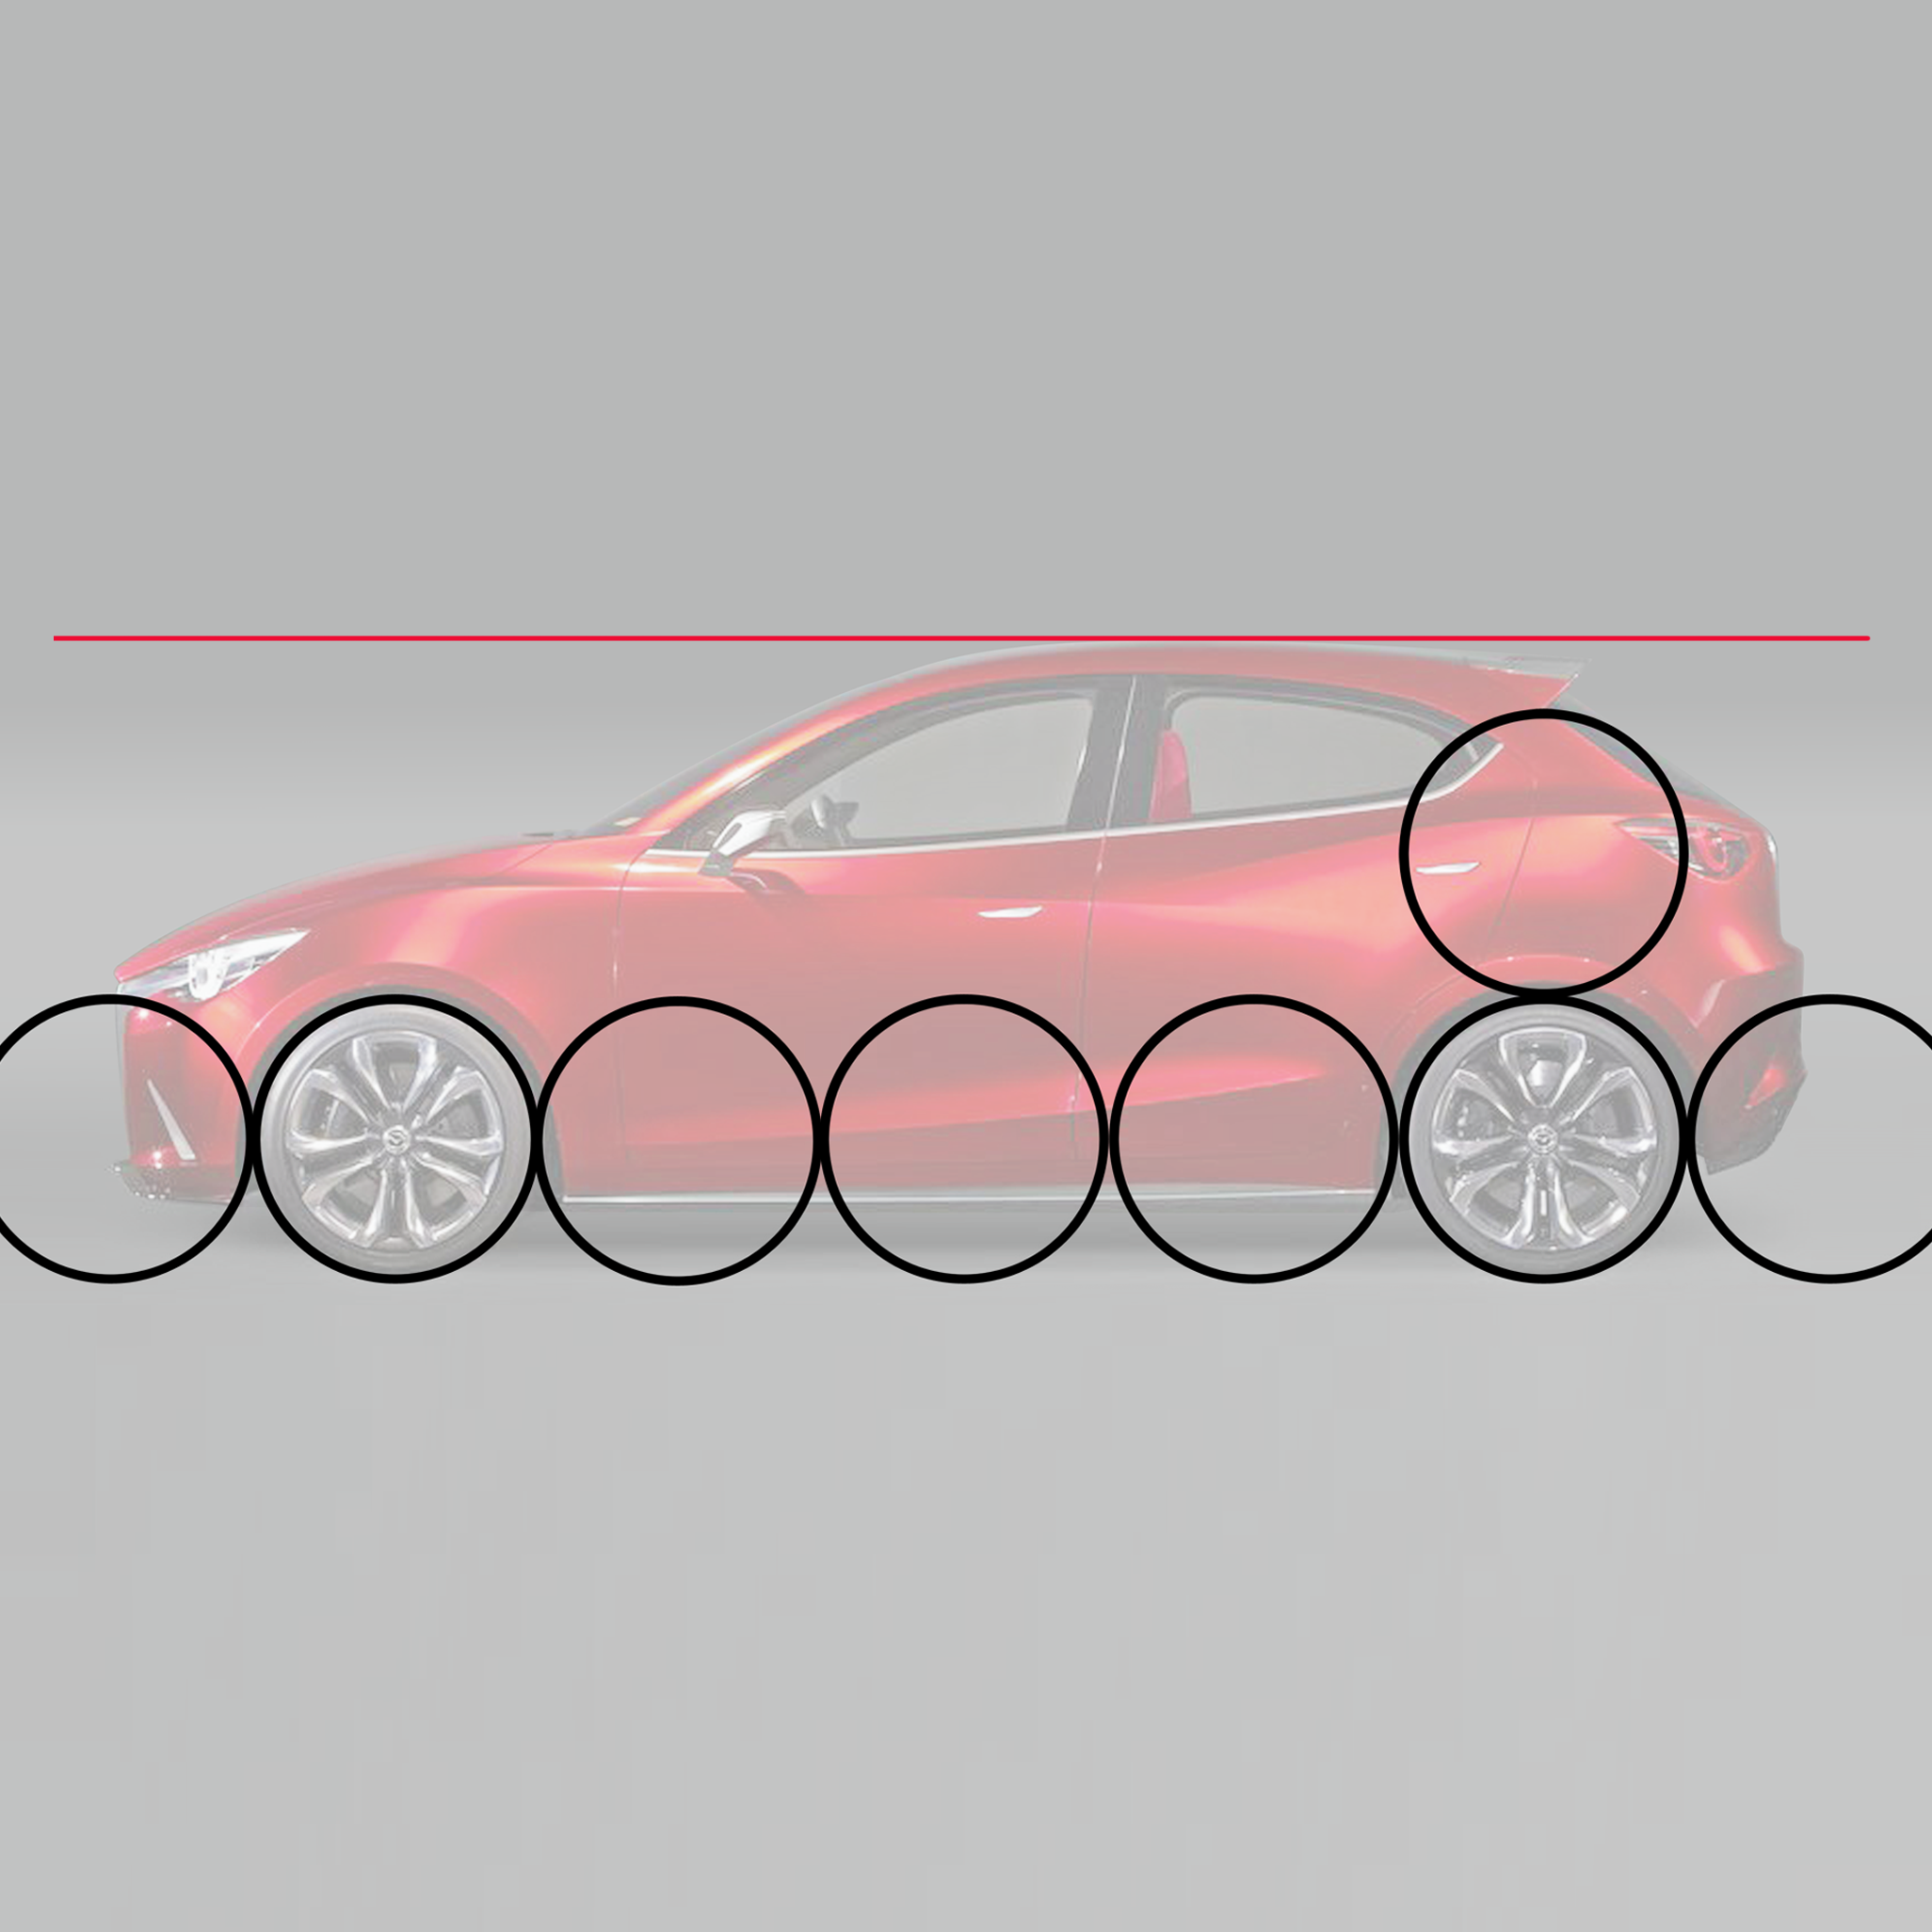
First, try to find out the length and height of the car. To find the correct wheelbase, it helps to take one wheel as a base unit. Now you can guess how many wheels fit between the front and rear axle.
Also, you can see that the overhang of the front and rear is about half a wheel. The rear is a bit shorter. The height is slightly more than one wheel.
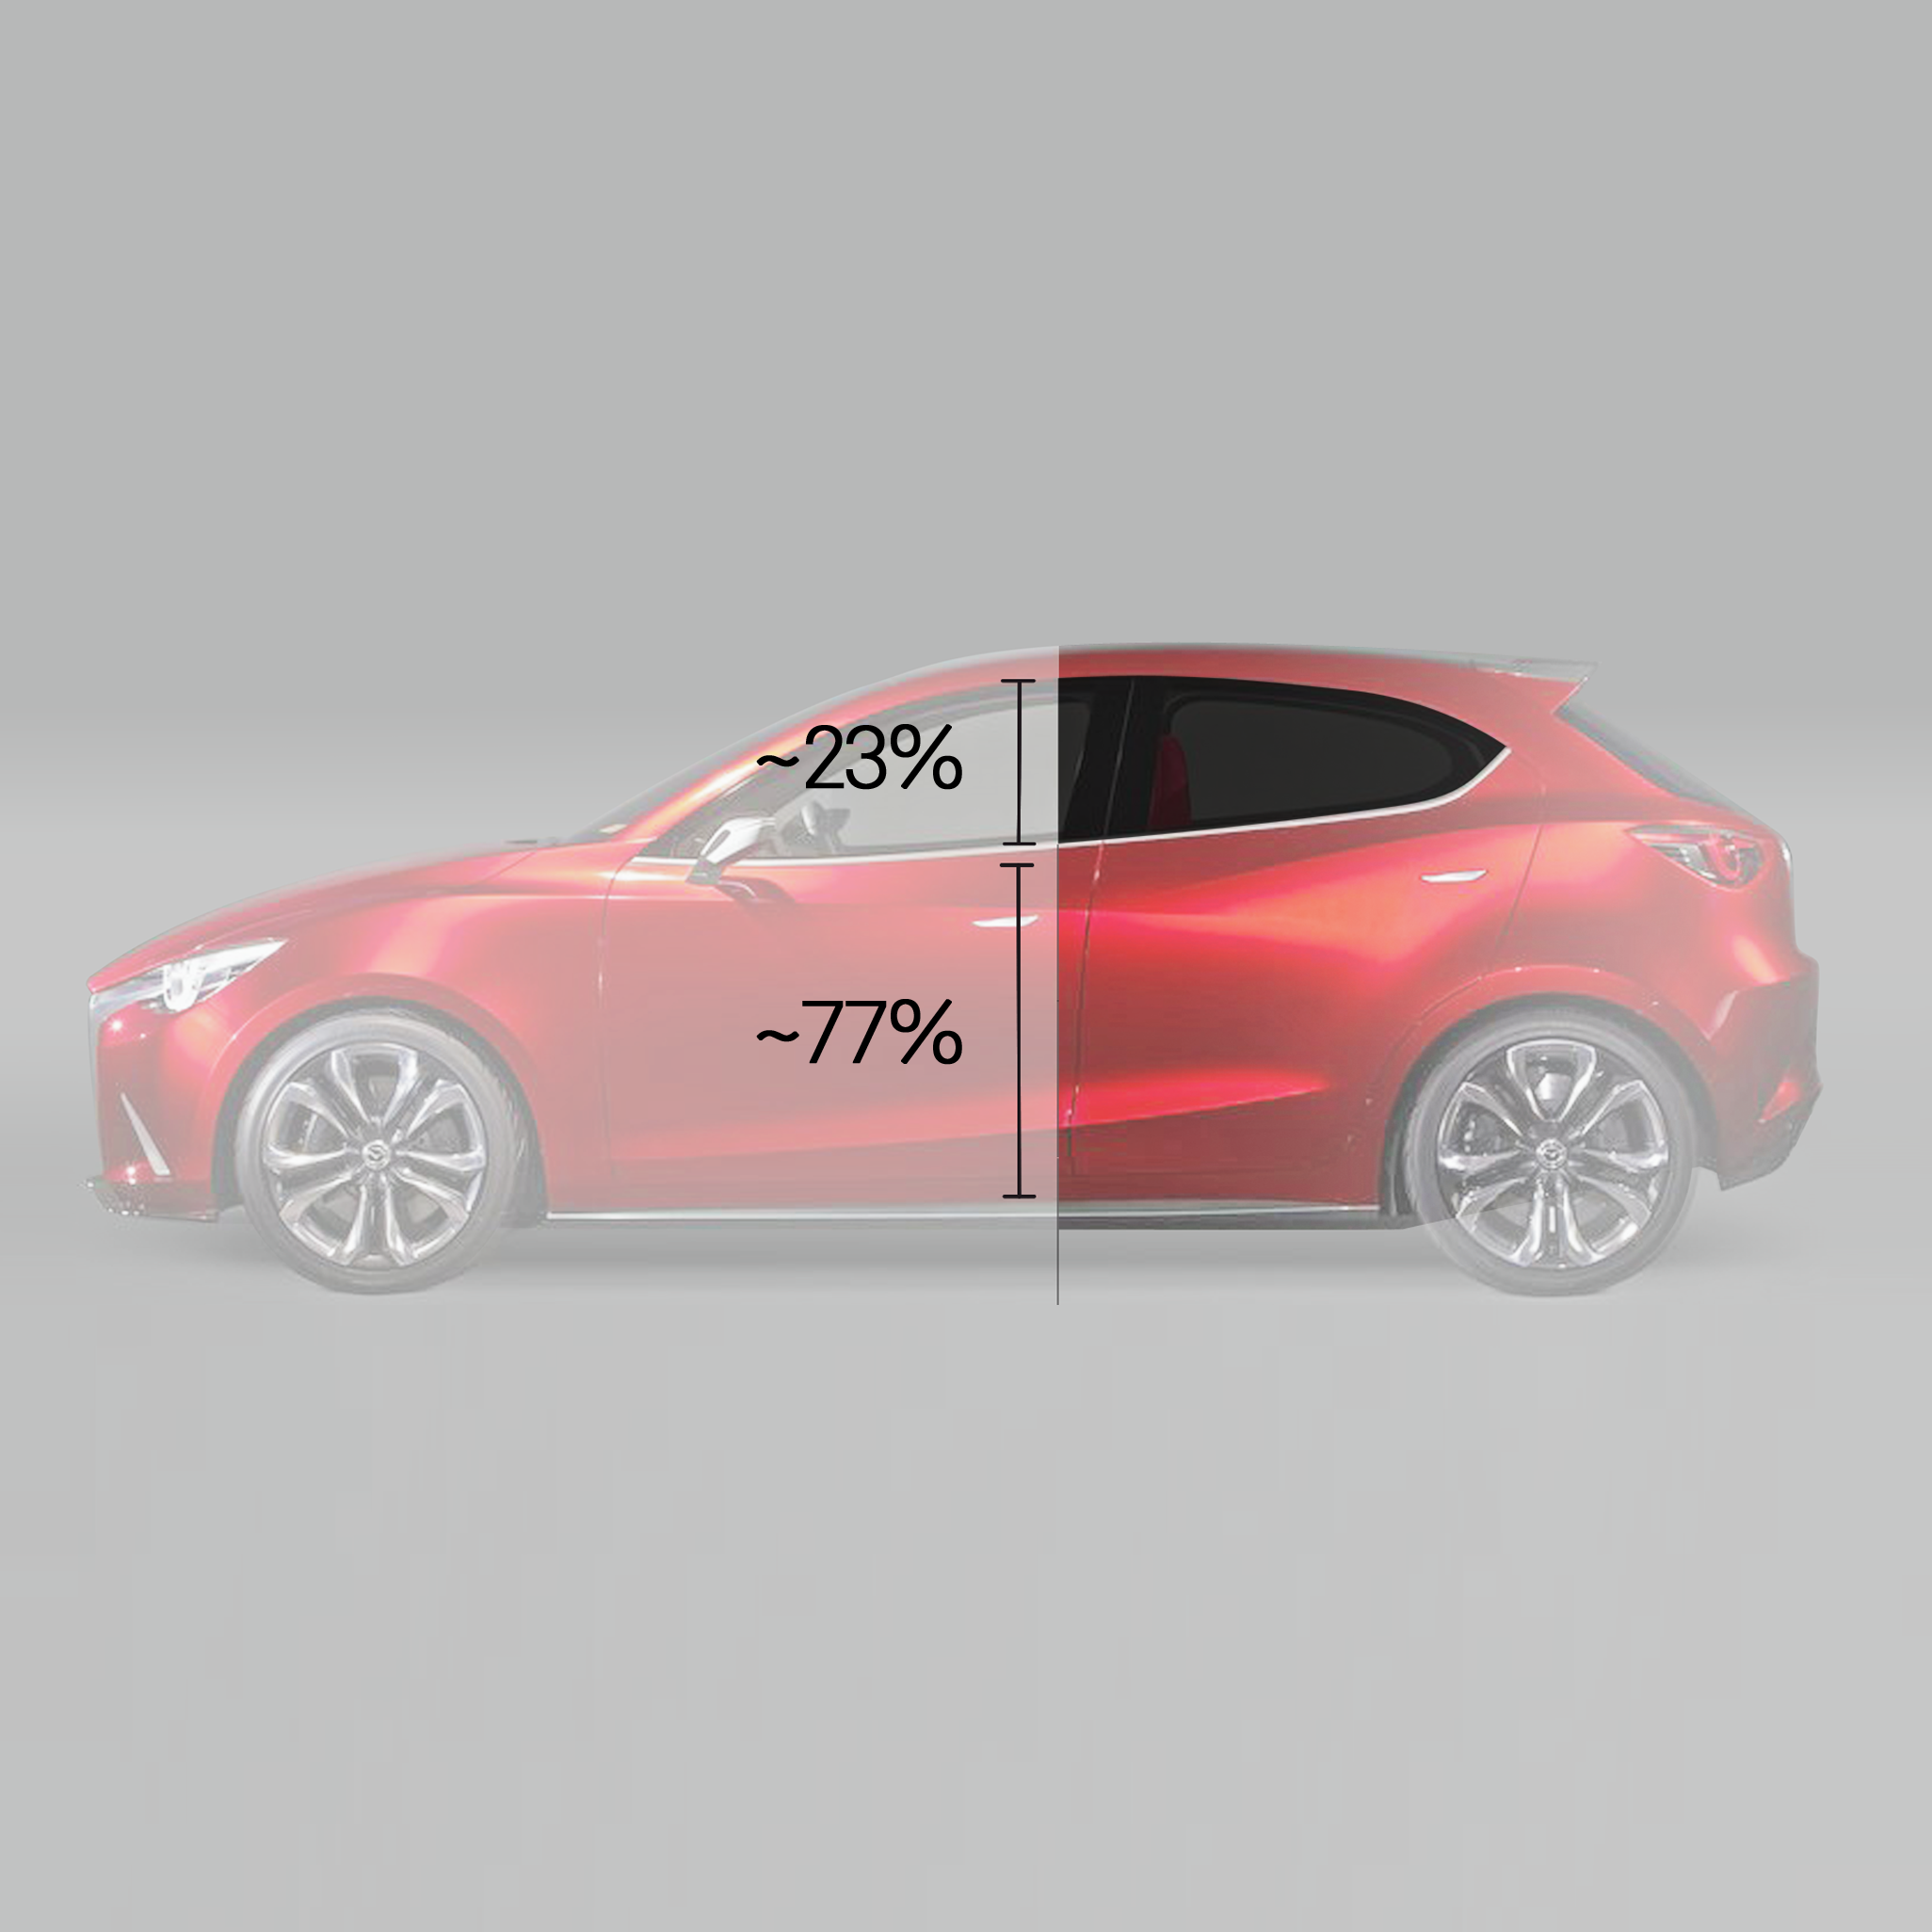
In the next step, try to get a sense of the cabin-to-body ratio. This knowledge is extremely important as most cars are roughly made out of two boxes, which are the cabin and body. You should know in what ratio the upper box (cabin) is set on the lower box (body). You will never go wrong assuming a 1/3 to 2/3 ratio. Whether you are drawing a side view or a perspective view, you should pay attention to it.
The roofline of a car is usually not straight but follows a dynamic curve. The head of the occupants usually determines the peak of the curve. To find the location of the roofline, it helps to draw a straight line down and see in what proportion the line intersects the ground line.
Next, look at the shoulder. You will notice that almost every automobile has a certain angle. This gives the whole car a forward motion and makes it look dynamic even when it is not moving. You can emphasize this angle sometimes more and sometimes less.
Now, you can also check where the front light and the rear light are positioned. If you draw a vertical line from the beginning of the light downwards, you’ll see that it overlaps the front and rear wheel.
Another important point is the position of the A-pillar. It gives you information about the angle of the windshield. If you extend the A-pillar, you see that it is tangent to the front wheel. The door joint is usually located where the A-pillar begins. In this case, slightly offset behind the front wheel.
After completing the steps above, you’ll have an approximate skeleton of the car. When drawing your design on this skeleton, you will always hit the right proportions.
Now, you have all the information needed to start drawing your own car. If you follow this tutorial, you can be sure to meet the basic package and technical requirements of designing a vehicle with the right proportions. This will make your sketch look convincing and realistic.
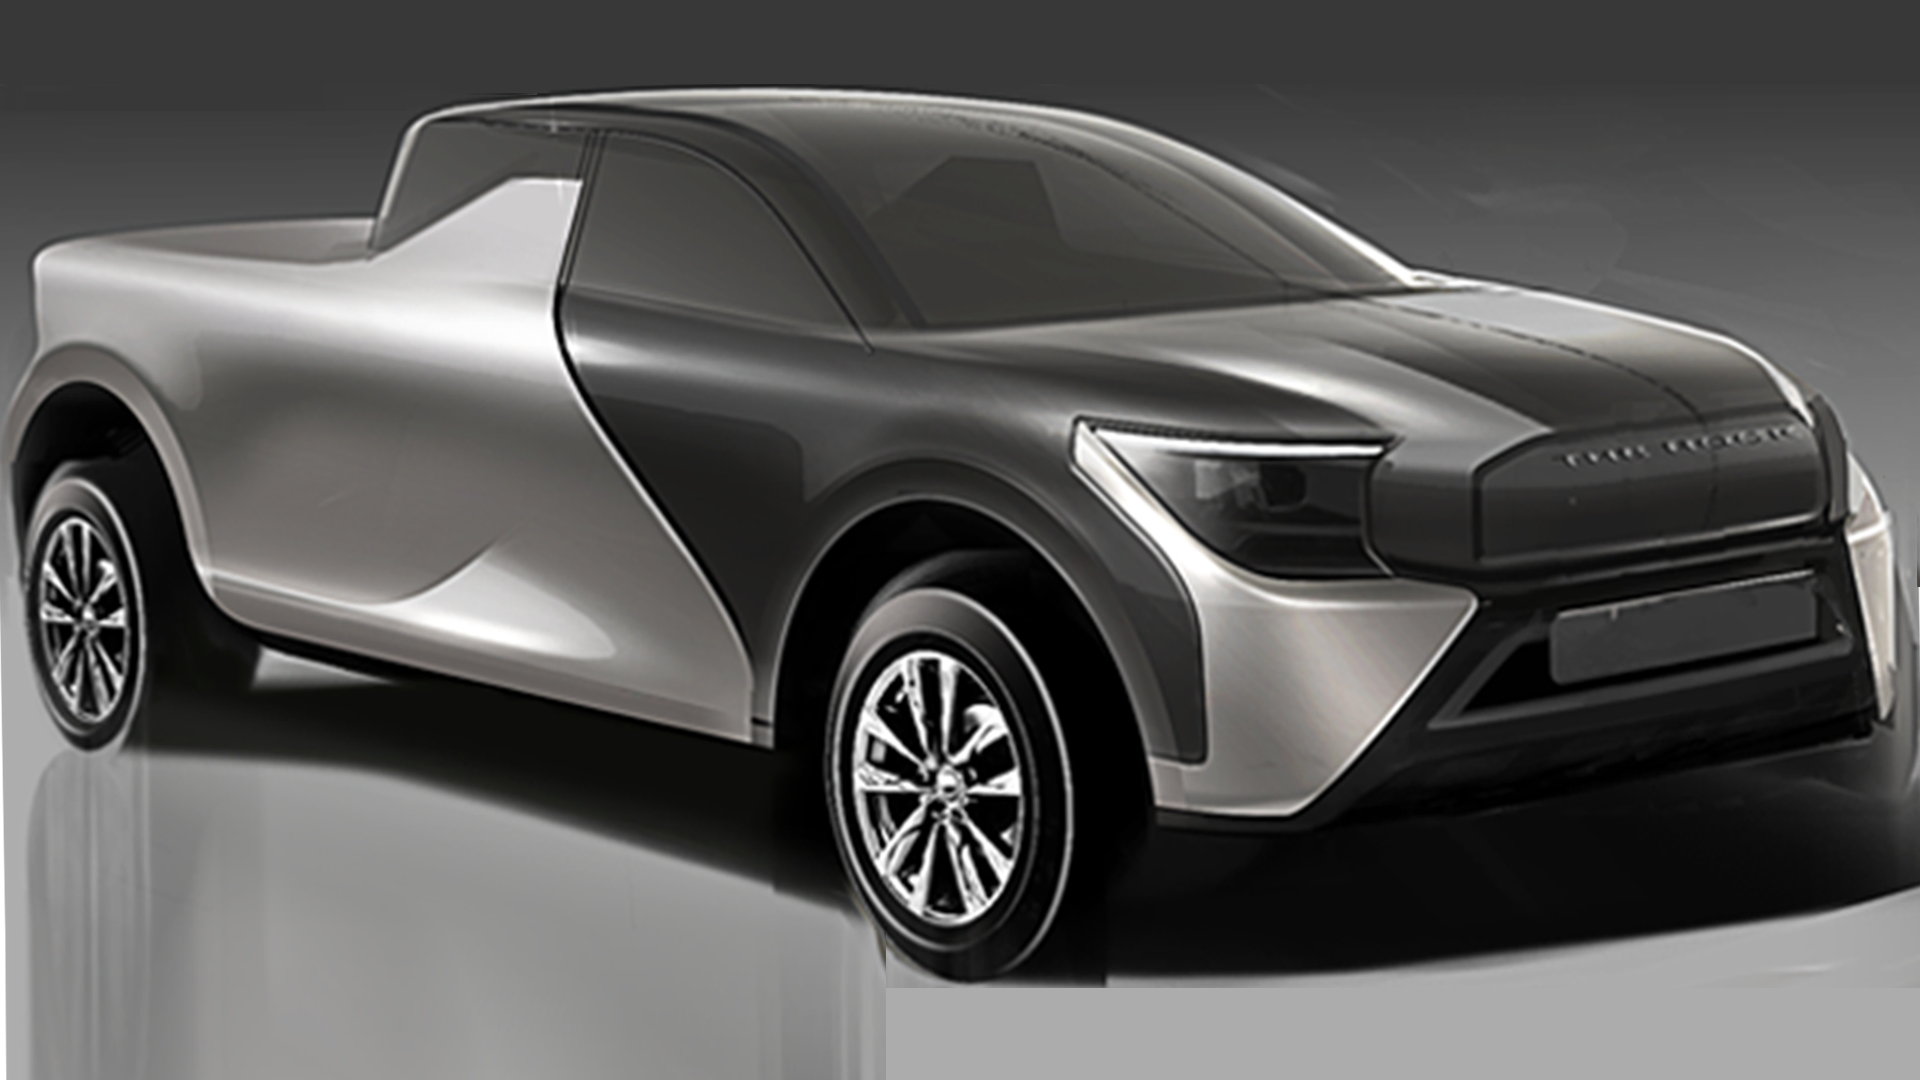
In this tutorial, you will learn how to create a complete pickup truck design in 5 days!
As a student, it has always been a great challenge for me to create a design proposal from three different views. Not only must the same idea be presented from three different perspectives, but all three views should also have the same proportions, colors, etc. For me, that has always been very challenging, and it still is today.
In this example project, I want to show you the process of making a complete vehicle proposal in less than one week. You will learn how to make a complete car design proposal that contains three views at a reasonable time. This ability is essential for working in the auto industry, where it is important to deliver qualitative results in a short time.
In this tutorial, I will use a very easy way of CAD: just using lines without creating 3D surfaces. This saves time and can be performed even without much CAD knowledge. This is a special technique, and it is not a rule to be followed, but it should give you an idea of how to speed up our design process. It’s very helpful for beginners as well as professionals.
Now, if you follow the steps below, you can design a full pickup truck proposal in less than one week.
Day 1
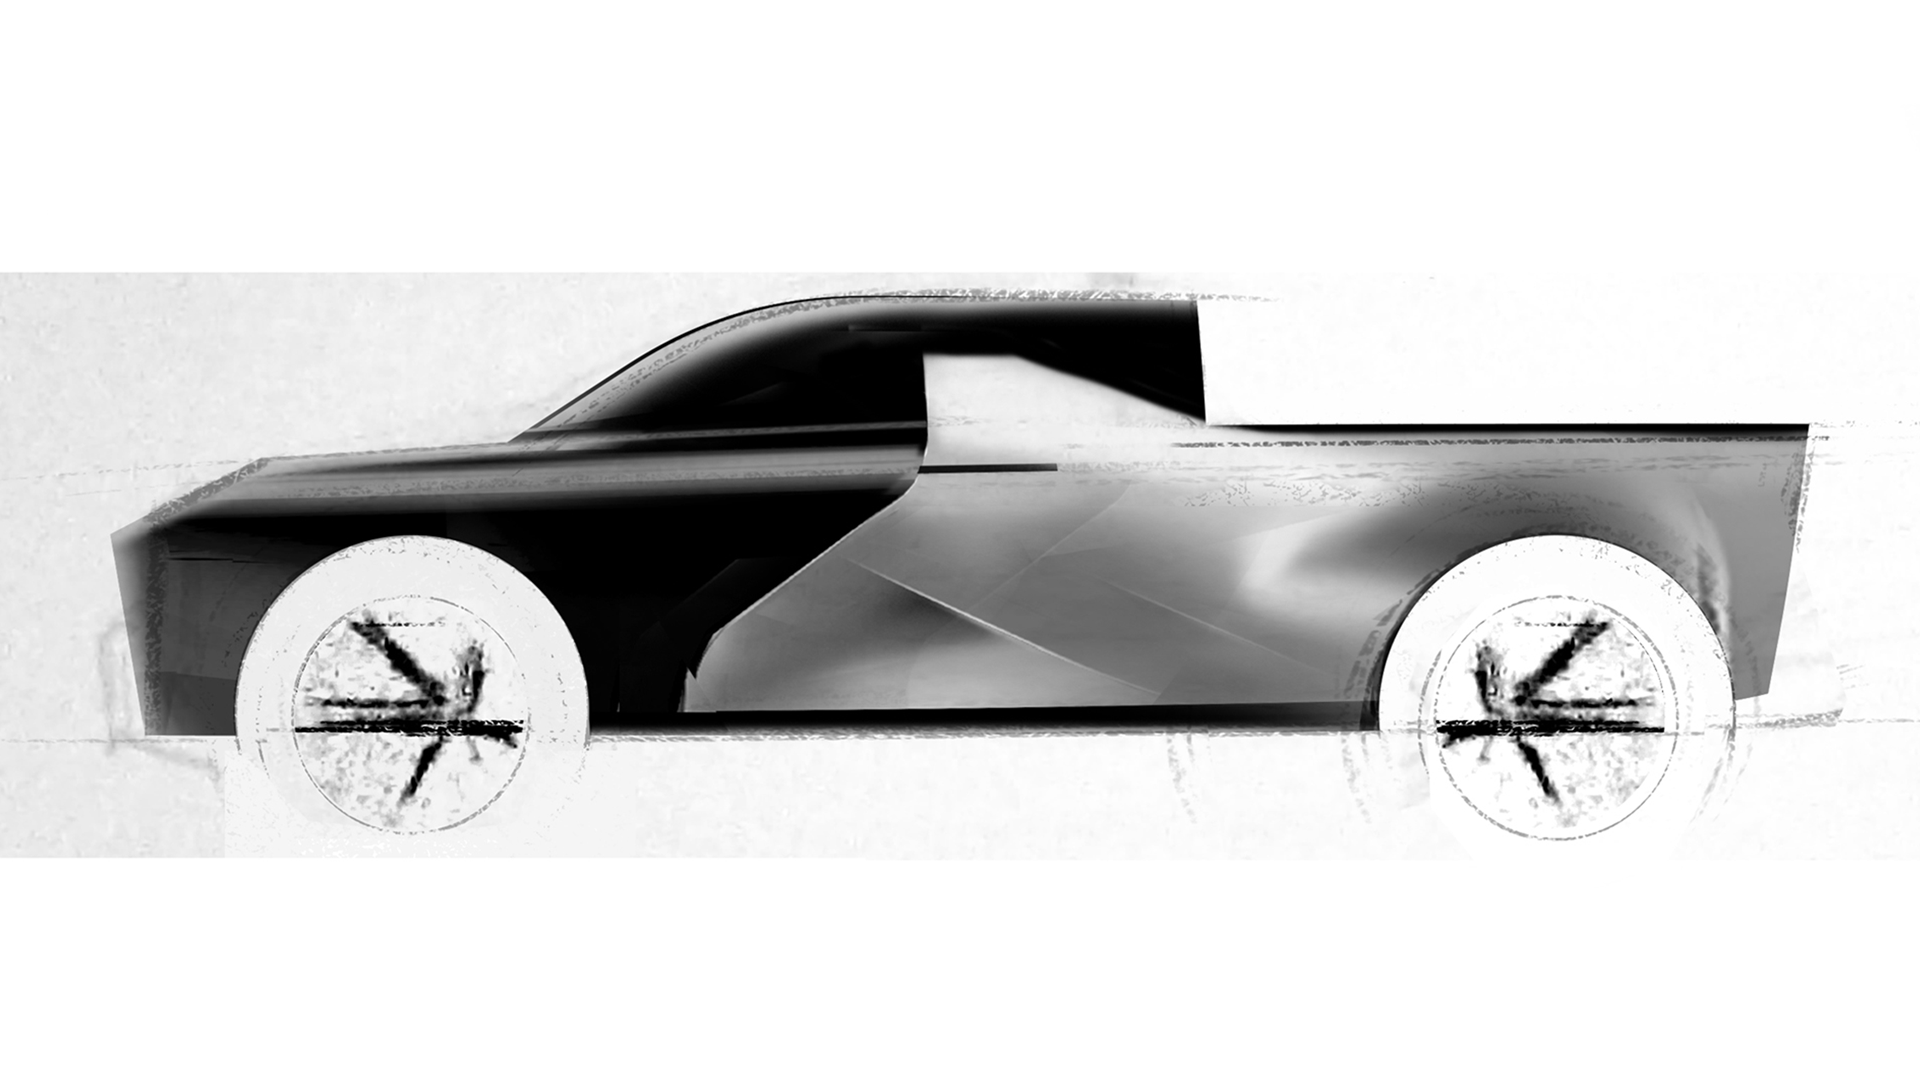
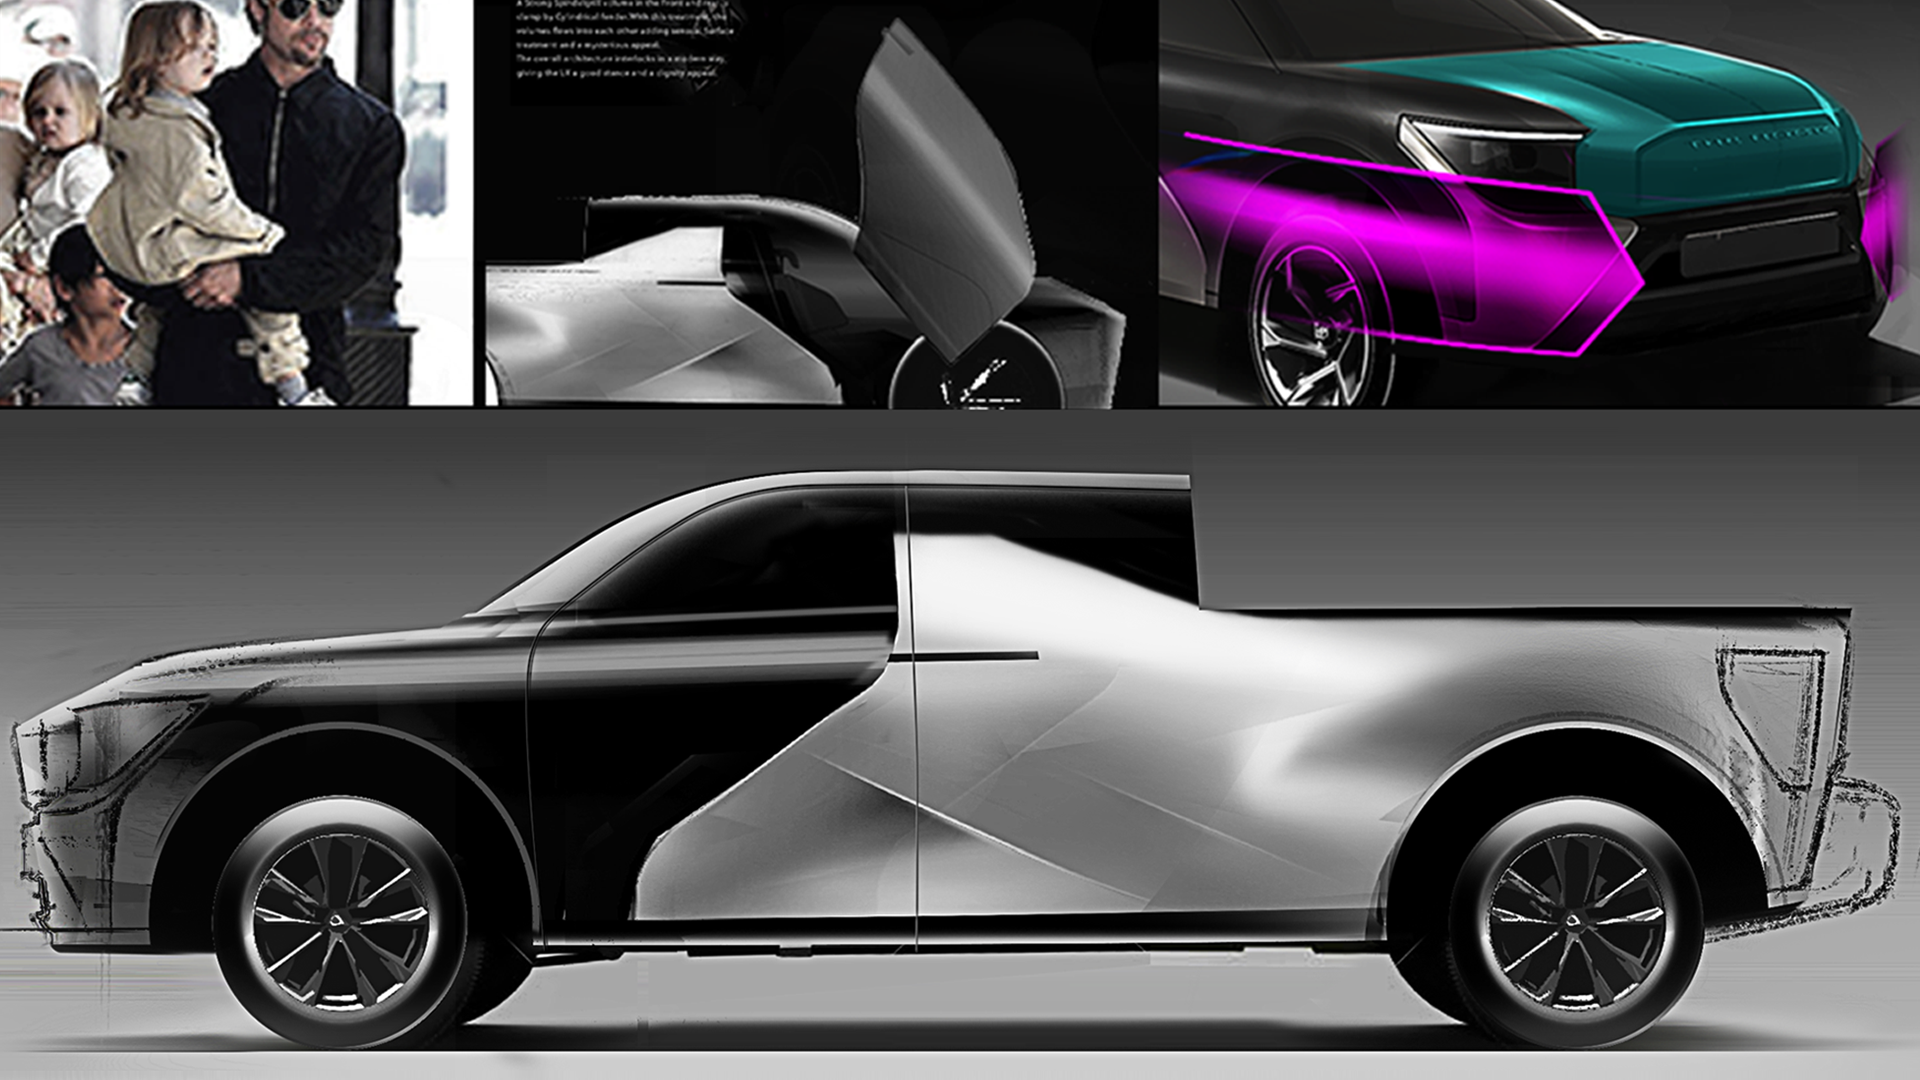
Having a good side view is essential since all further steps will be built on this side view. Before this step, draw some side views and select an idea. This side view is the base and is more important than anything else. When you start a new project, focus only on making the side view. Don’t care about the front and rear ideas yet. Not a single perspective drawing is necessary.
In this step, pay special attention to the right proportion and balance. This can take some time, so don’t rush. Choose a reference to get the overall dimensions right. Just use a real car image from the internet as a base. After correcting the proportion and balance in Photoshop, refine the shapes and paint in some color.
Day 2
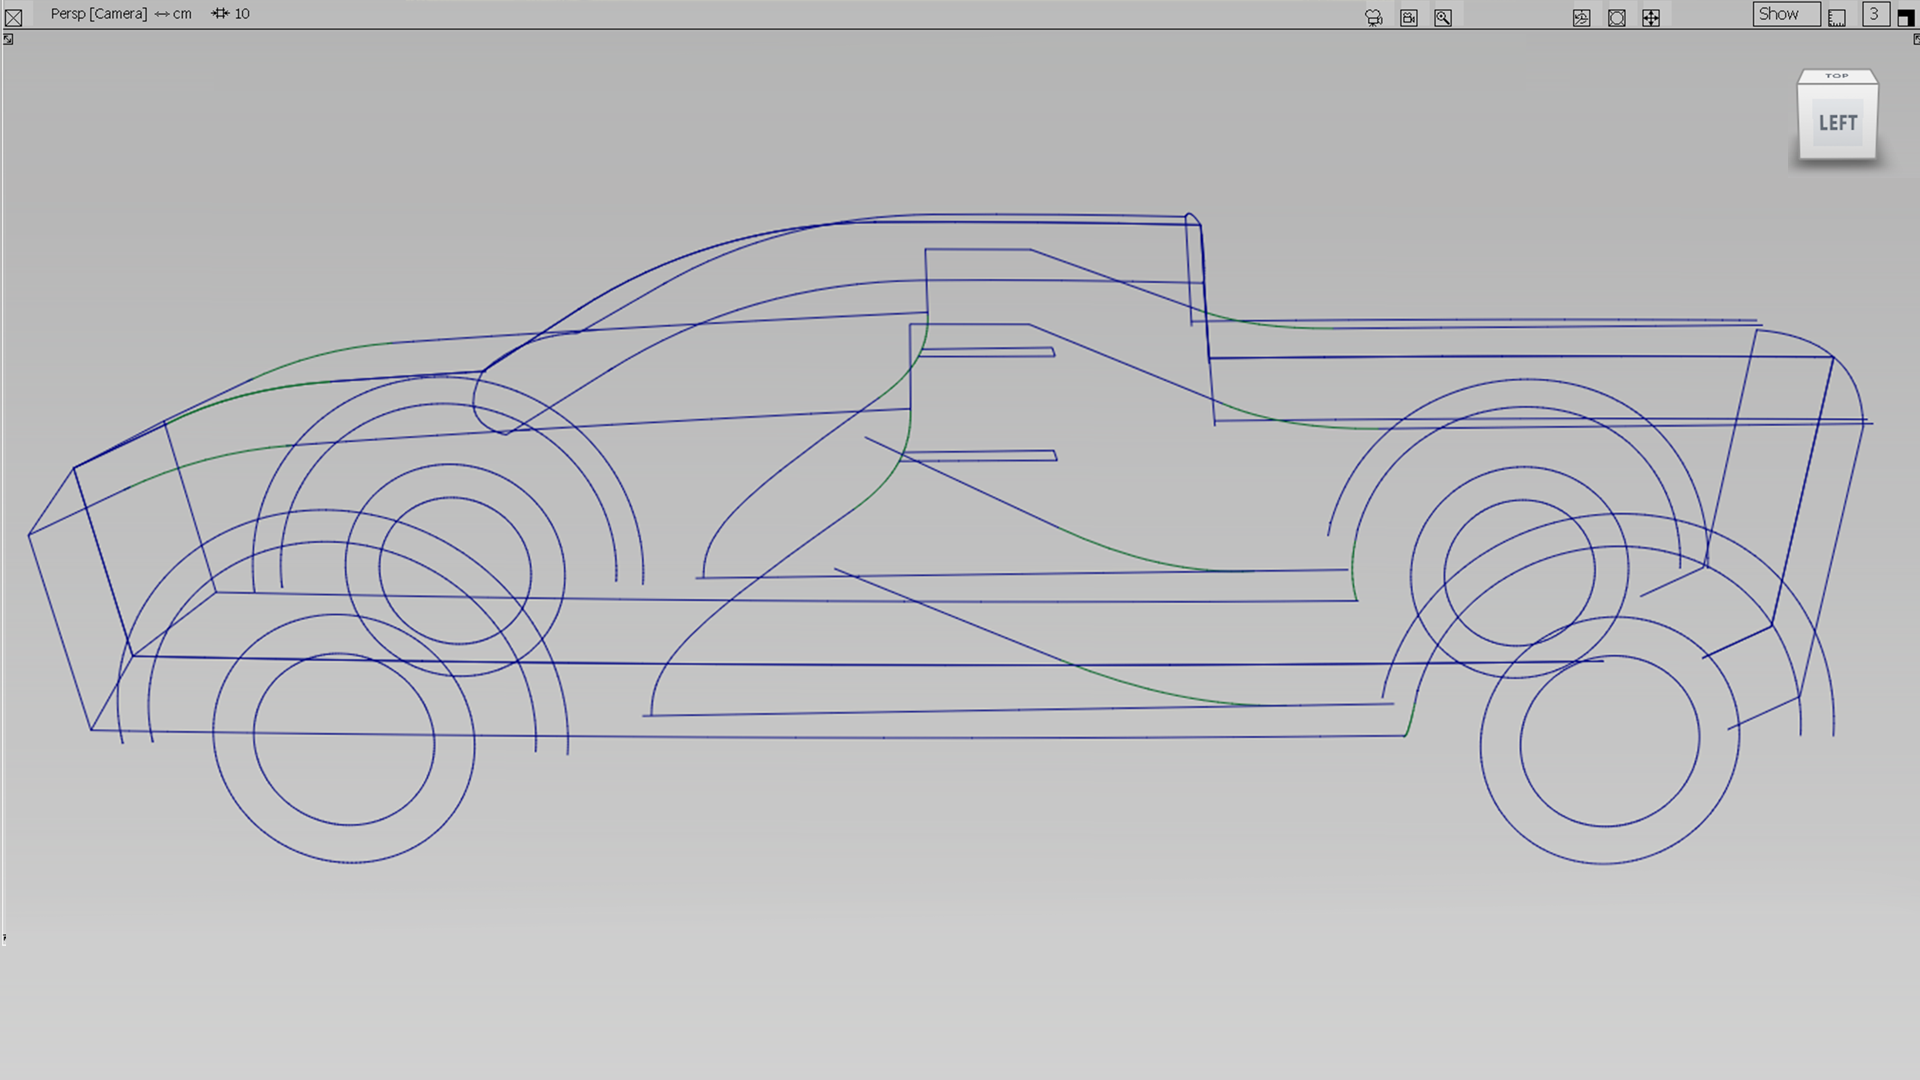
Now that you have a good side view, it is time to go into 3D. Do not generate real 3D surfaces, but instead, focus on a line model. Use a free version of Autodesk Alias, as it is a common program in the automotive industry. Upload your sketch in the software and trace the lines. When retracing the lines in 3D, try to stay as close as possible to the original sketch. Be very accurate and do not change anything.
After you have drawn the lines on a 2D plane, pull them into a 3D space. To get the right dimension for width and certain curvature, it is helpful to use an already existing 3D model as a base. Or if you can’t find a suitable one, just use a blueprint. A good source of free 3D models is Grab.com. It is always good to have templates to guide you.
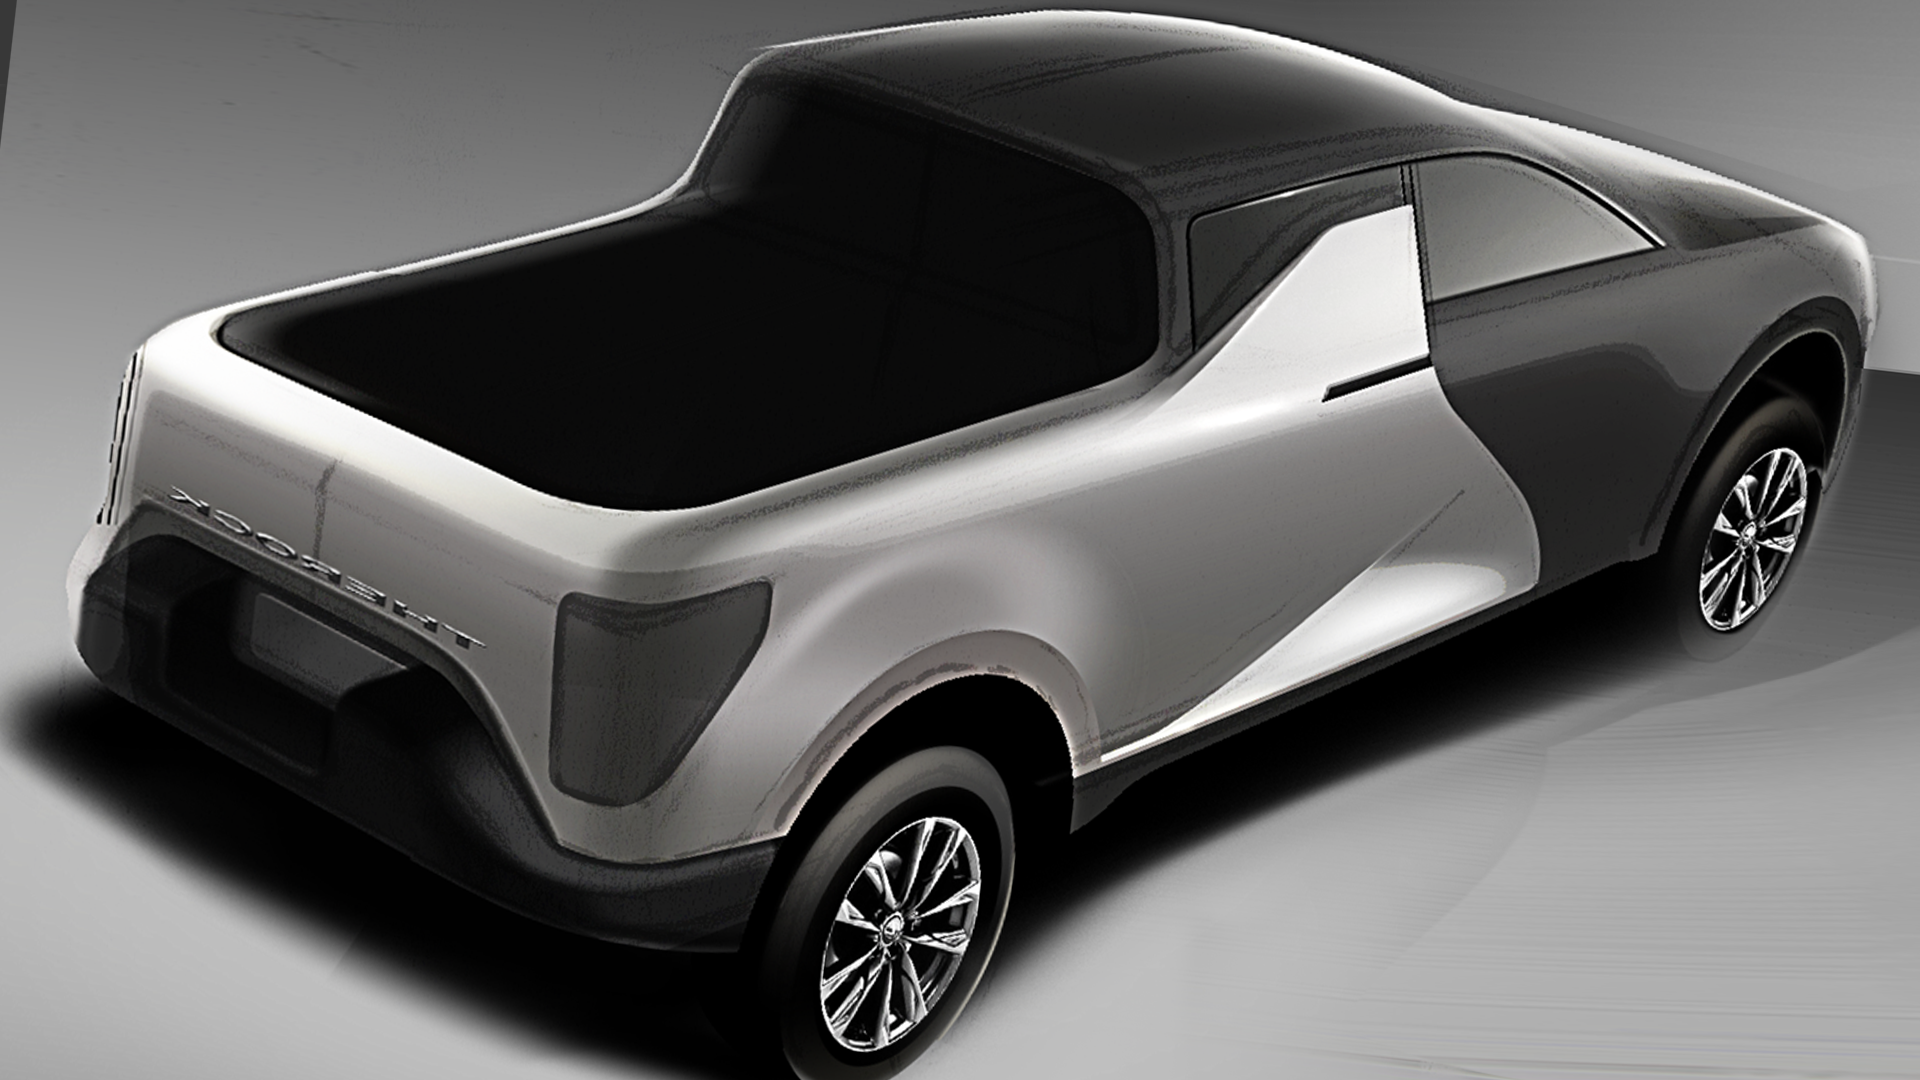
Day 3
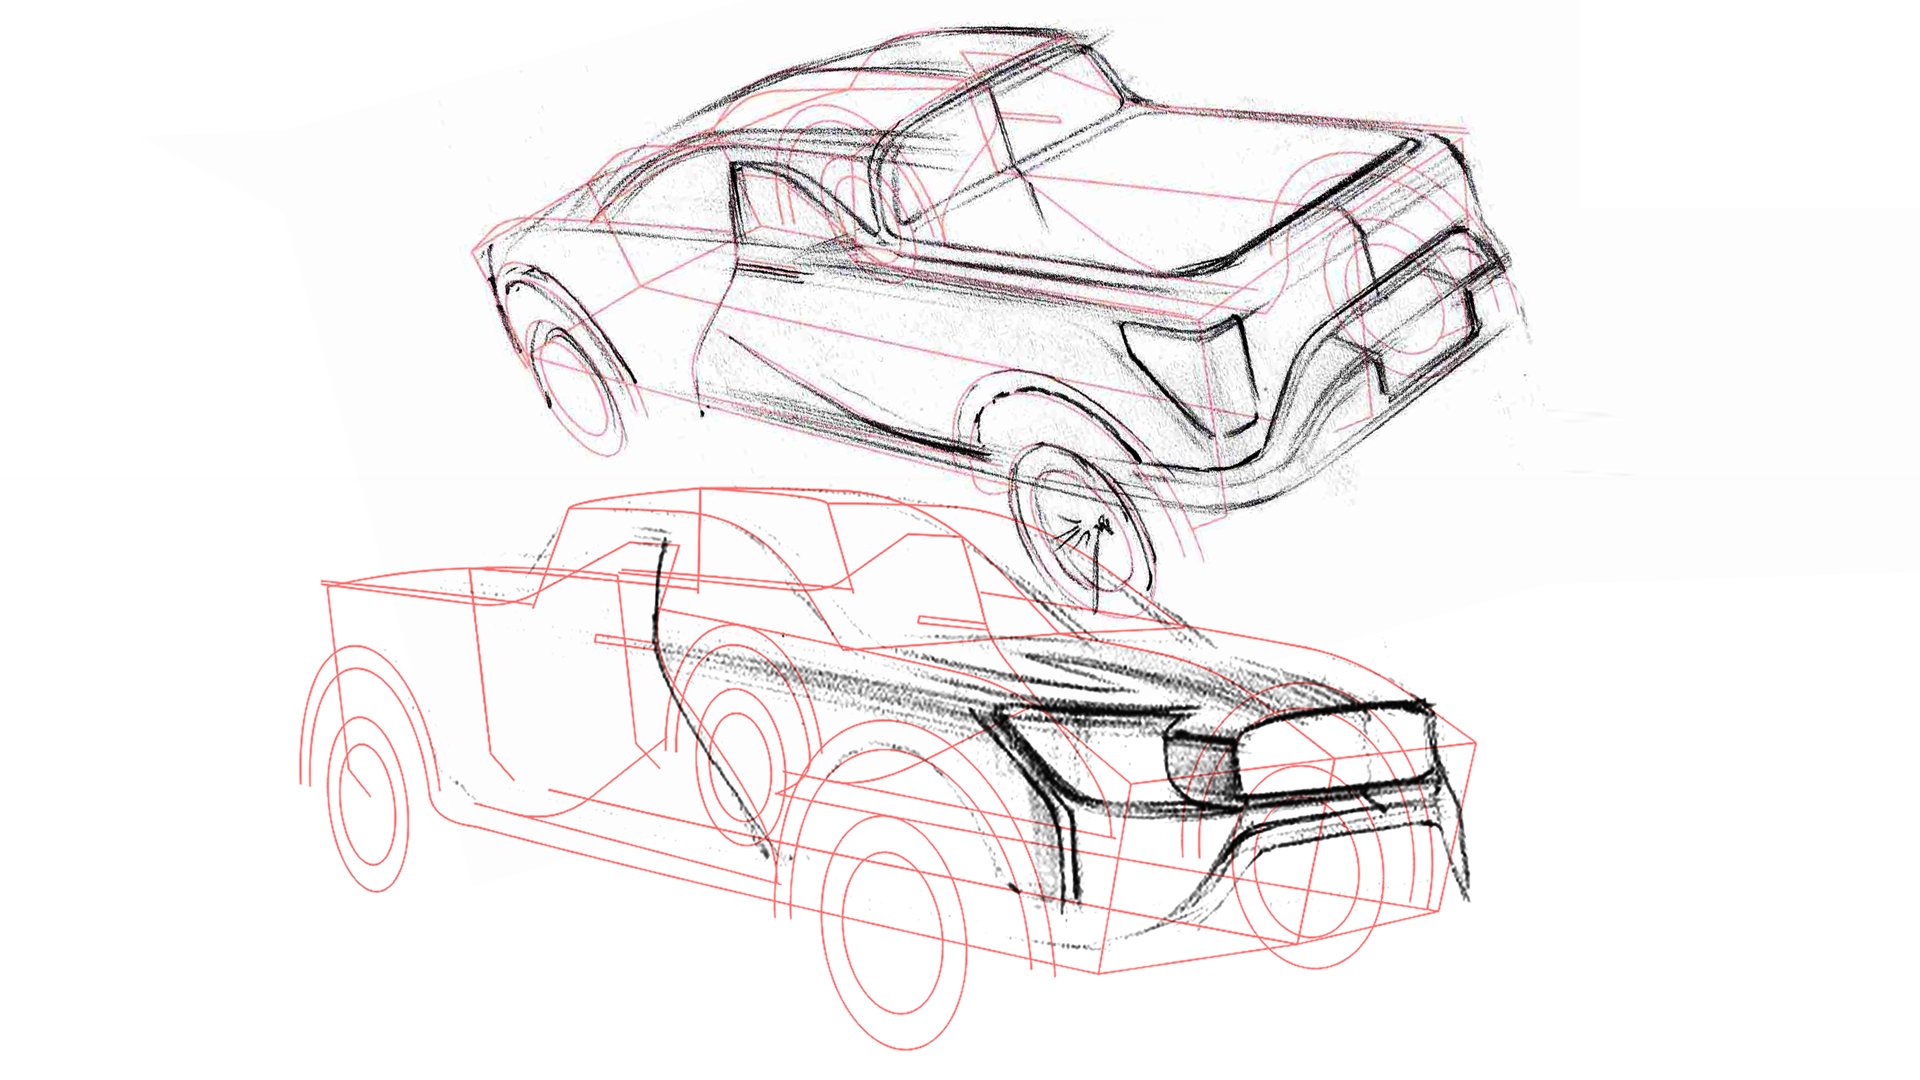
After you are satisfied with the line model, you can choose three views. You should choose views that describe your design in the best possible way.
Do not over-dramatize your view. Rather, try to take a view that conveys the most information to the viewer.
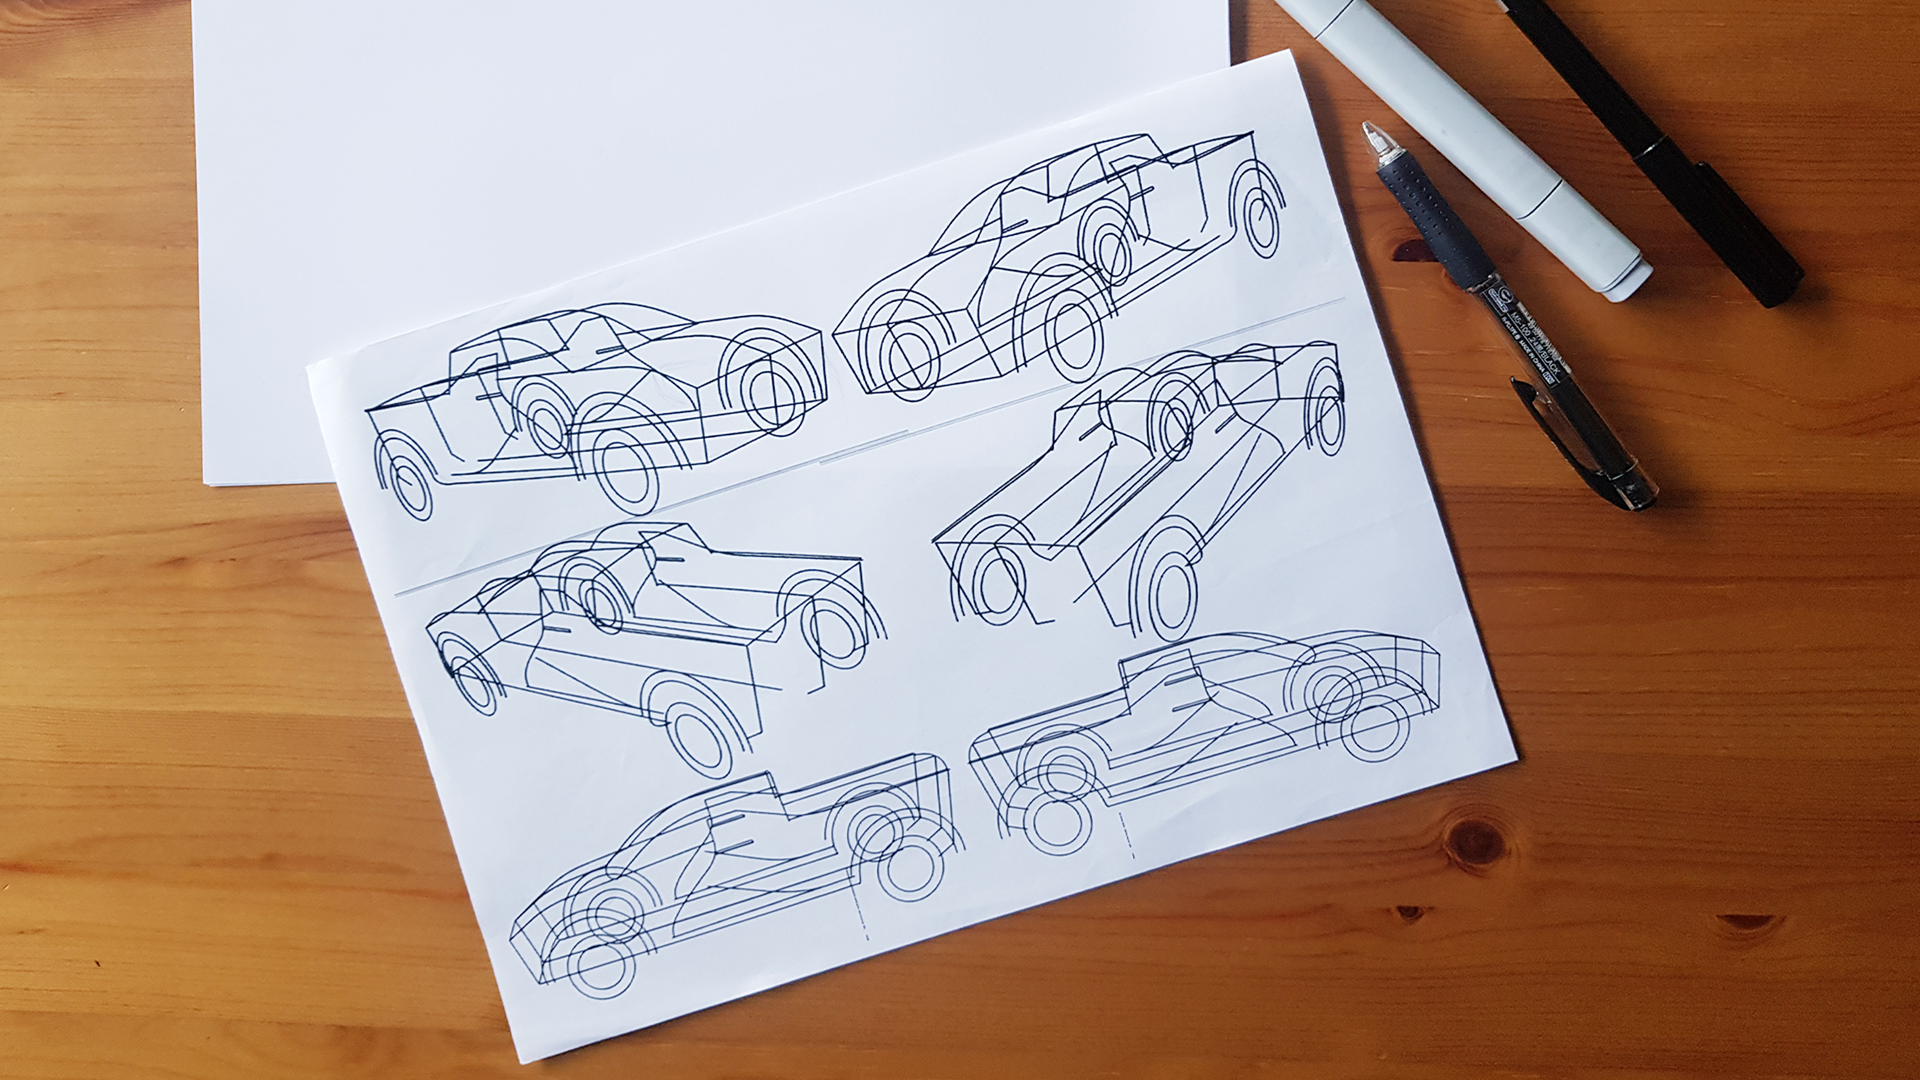
Take a screenshot and increase the contrast to make the lines more visible. Print them out on real paper and choose a size that makes it comfortable for you to sketch.
Now, you can start drawing an idea for the front and rear of the vehicle. When sketching, do not waste so much time. It is ok when some areas in the sketch remain empty.
Day 4&5
Next, it’s time to scan your sketches and load them onto Photoshop. Now the advantage of this technique becomes apparent. You no longer have to worry about proportion, balance, or perspective because all the information is already included in the line model based on the side view from step one. That saves you a lot of time.
You can now invest this time in making a cool rendering. If you are not completely satisfied with your design yet, do not try to change. Try to finish your design and bring it to an end. If you’ve executed the steps correctly, congratulations! You have finished a complete pickup truck design in less than one week!
This is a step-by-step tutorial that will teach you how to create a digital car rendering yourself.
We start by clarifying what a good basis for each rendering is and how best to start. Next, we will use a digital brush to define the shapes. In the end, we will apply reflections and details to get an outstanding result.
1. Creating the sketch base
One of the most important tips for a successful rendering is to have a good and solid base. By “base,” I mean a hand sketch, digital sketch, or line model. If you don’t have a base, things can get complicated and frustrating. So do not explore shapes without a solid sketch base, simply because it’s easy to lose yourself and waste time.
After you’ve created a base, at this point, the actual design process and shape development has already taken place. The rendering is a more detailed illustration that helps make a visually appealing presentation, which, in turn, helps sell the proposal to the customer.
2. Defining the surroundings
Before the coloring process, you should be roughly aware of what your surroundings look like. It helps to prepare a scene to roughly visualize your thoughts. It’s not necessary to do this every time, but it helps you understand what’s going on.
In the example below, there is a primary light source coming near the front of the car, there is a wall behind the car in an outside environment, and the sun is shining. So, we should somehow transfer this scene to our reflections.
.
3. Blocking out
In this step, we divide the car into three different blocks. This helps you visualize the different materials later.
Divide the vehicle into the main body, greenhouse, and grill and wheels.
Then, create paths with which you get a sharp edge and an overall clean look. Select the path and fill it out with a base color.
Cut out the wheels from the original sketch and transform them a little bit. Make them elliptical and correct their position.
Once this step is done, half the rendering is done. You can’t go wrong anymore.
.
4 & 5. Shading
In this step, try to describe the shape using different gray values. The rule is: Whenever the value changes, the shape also changes.
Try to use the correct values. The rendering will look unrealistic if you use the wrong values. If you want to know more about the topic, I definitely recommend Scott Robertson and Thomas Bertling’s book “How to Draw,” in which they explain the fundamentals of light and shadow.
By the way, never choose white as your brightest value. It will not work. We will only paint certain spots white at the end when we use the color dodge tool in Photoshop to really highlight certain areas.
6. Adding reflections
Don’t draw a photorealistic render here. The reflections should be designed as simply and effectively as possible. It will be helpful to check the surfaces.
In the example mentioned earlier, the car is in front of a wall. That information should show in your reflection. Moreover, all surfaces that point upwards should reflect the sky. And don’t forget the greenhouse. If you want to create lighting effects, simply use the color dodge tool.
7. Adding details
Details take a lot of effort and time. If you don’t make an effort in this step and don’t invest time, the details will often just disturb and not help your rendering. I definitely recommend adding details because they help the rendering a lot and make it much more attractive to the viewer.
In order to create details quickly and effectively, I suggest using real photos. Use a photo of an existing car’s grill, and you’ll save time. Also, add some mirrors.