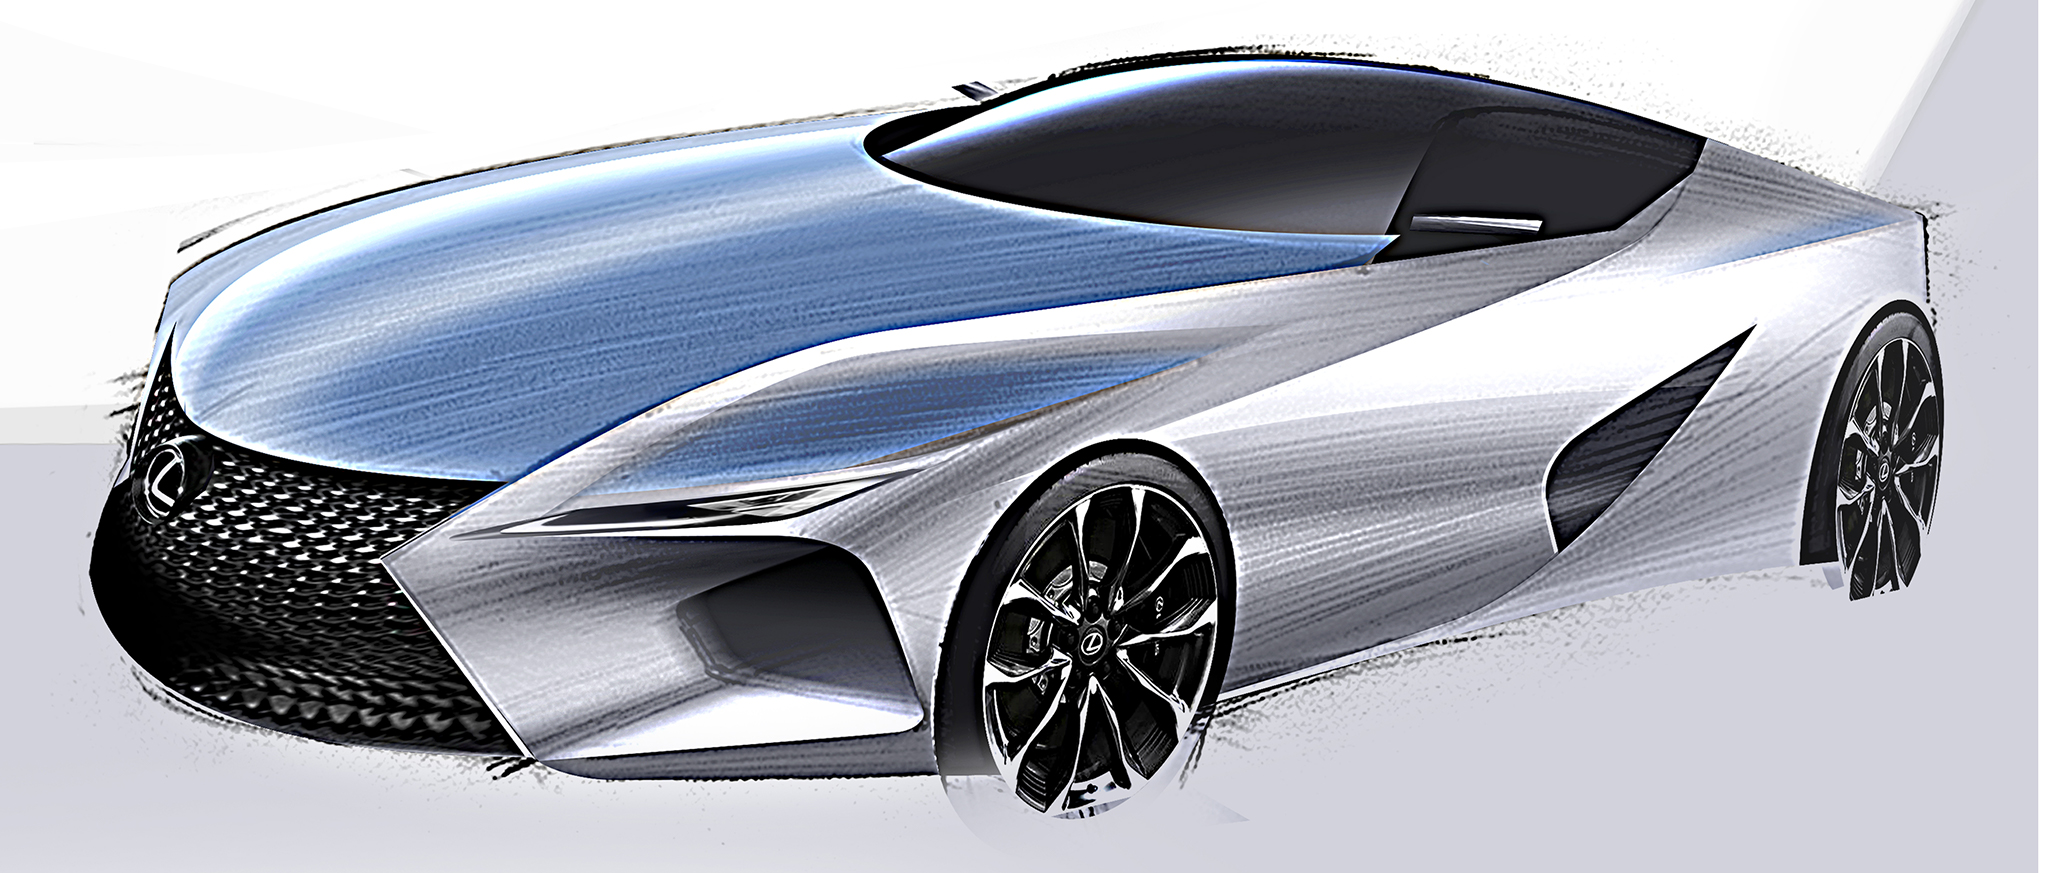
This is a step-by-step tutorial that will teach you how to create a digital car rendering yourself.
We start by clarifying what a good basis for each rendering is and how best to start. Next, we will use a digital brush to define the shapes. In the end, we will apply reflections and details to get an outstanding result.

1. Creating the sketch base
One of the most important tips for a successful rendering is to have a good and solid base. By “base,” I mean a hand sketch, digital sketch, or line model. If you don’t have a base, things can get complicated and frustrating. So do not explore shapes without a solid sketch base, simply because it’s easy to lose yourself and waste time.
After you’ve created a base, at this point, the actual design process and shape development has already taken place. The rendering is a more detailed illustration that helps make a visually appealing presentation, which, in turn, helps sell the proposal to the customer.

2. Defining the surroundings
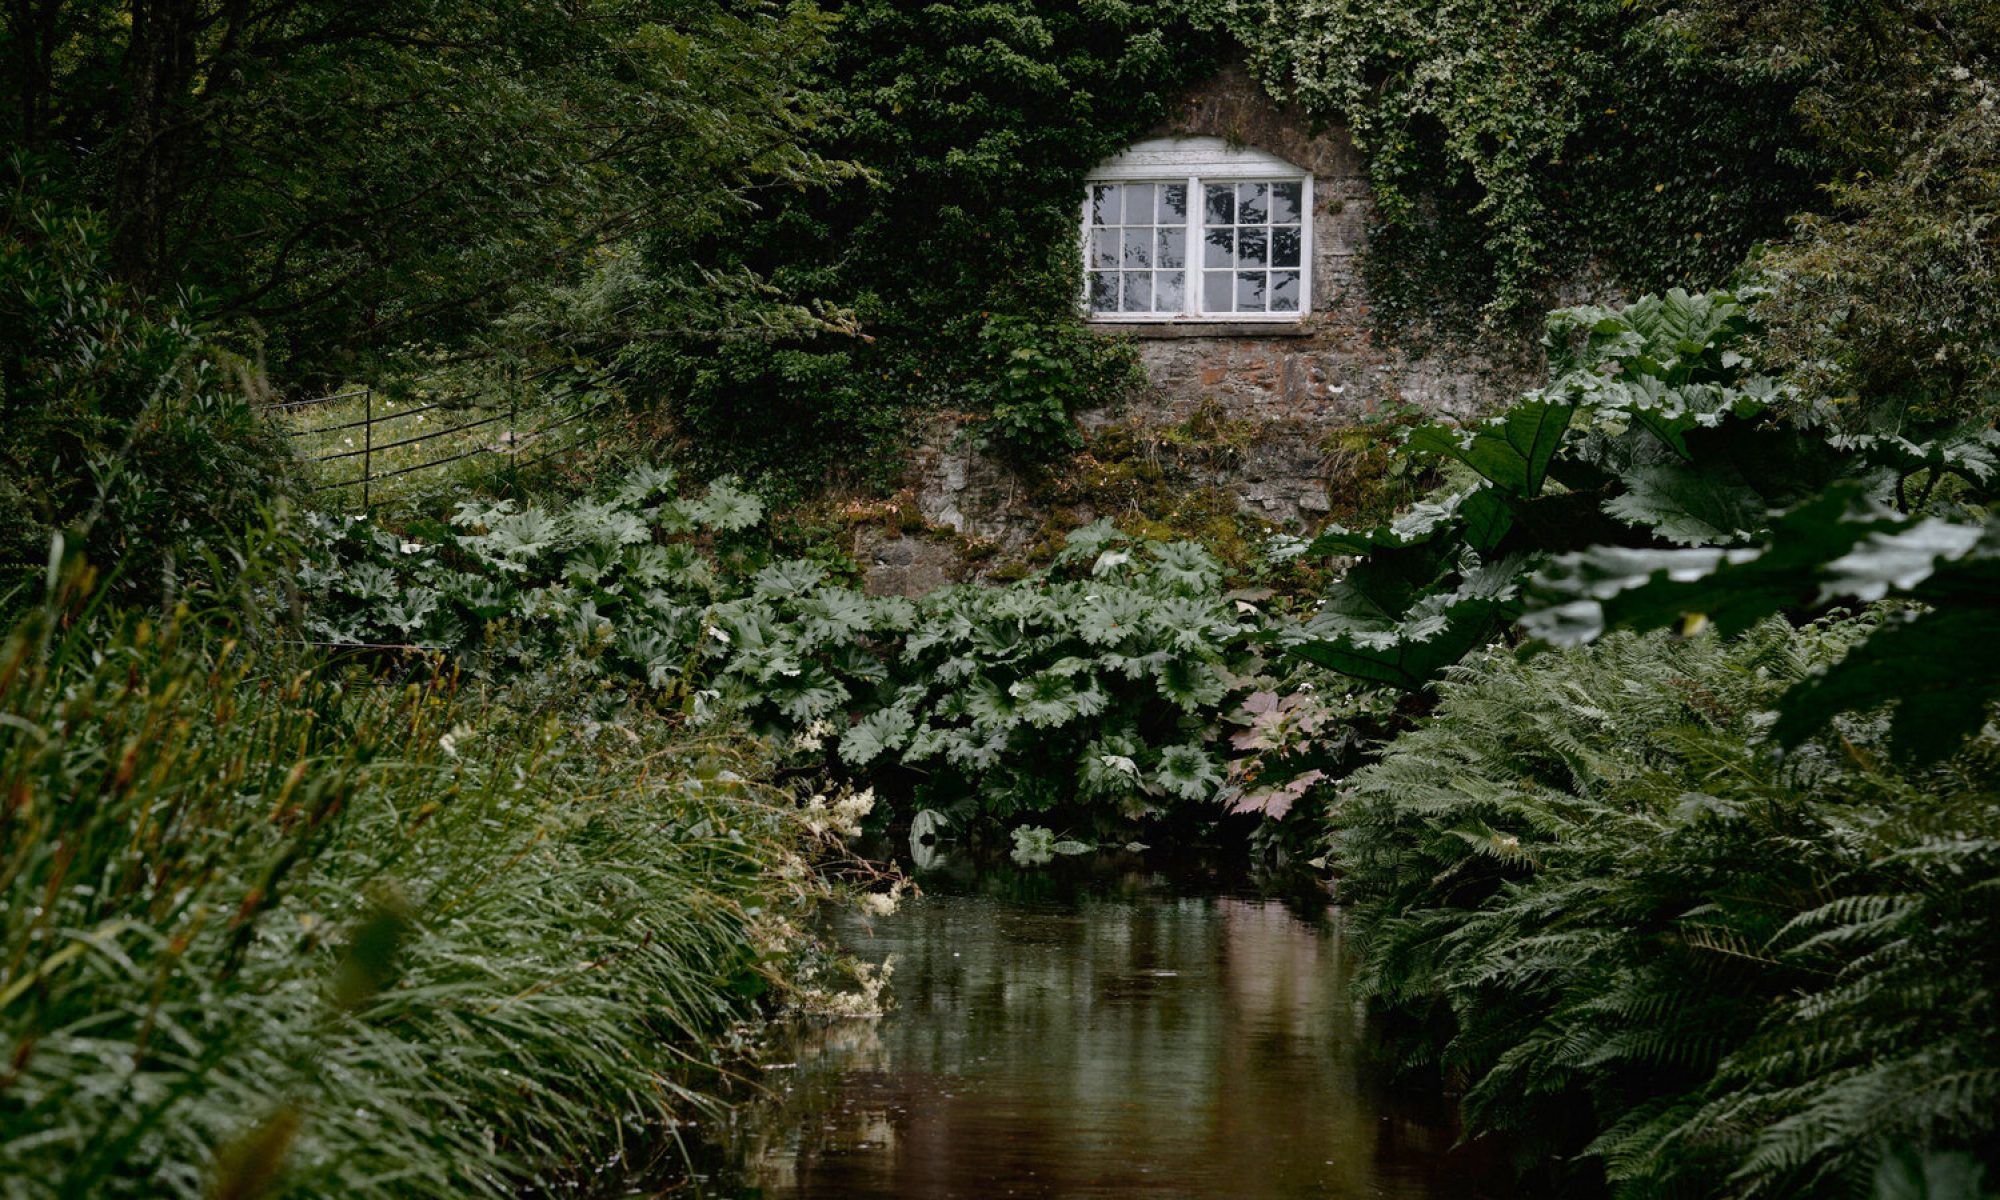
Before the coloring process, you should be roughly aware of what your surroundings look like. It helps to prepare a scene to roughly visualize your thoughts. It’s not necessary to do this every time, but it helps you understand what’s going on.
In the example below, there is a primary light source coming near the front of the car, there is a wall behind the car in an outside environment, and the sun is shining. So, we should somehow transfer this scene to our reflections.
.

3. Blocking out
In this step, we divide the car into three different blocks. This helps you visualize the different materials later.
Divide the vehicle into the main body, greenhouse, and grill and wheels.
Then, create paths with which you get a sharp edge and an overall clean look. Select the path and fill it out with a base color.
Cut out the wheels from the original sketch and transform them a little bit. Make them elliptical and correct their position.
Once this step is done, half the rendering is done. You can’t go wrong anymore.
.

4 & 5. Shading
In this step, try to describe the shape using different gray values. The rule is: Whenever the value changes, the shape also changes.
Try to use the correct values. The rendering will look unrealistic if you use the wrong values. If you want to know more about the topic, I definitely recommend Scott Robertson and Thomas Bertling’s book “How to Draw,” in which they explain the fundamentals of light and shadow.

By the way, never choose white as your brightest value. It will not work. We will only paint certain spots white at the end when we use the color dodge tool in Photoshop to really highlight certain areas.

6. Adding reflections
Don’t draw a photorealistic render here. The reflections should be designed as simply and effectively as possible. It will be helpful to check the surfaces.
In the example mentioned earlier, the car is in front of a wall. That information should show in your reflection. Moreover, all surfaces that point upwards should reflect the sky. And don’t forget the greenhouse. If you want to create lighting effects, simply use the color dodge tool.

7. Adding details
Details take a lot of effort and time. If you don’t make an effort in this step and don’t invest time, the details will often just disturb and not help your rendering. I definitely recommend adding details because they help the rendering a lot and make it much more attractive to the viewer.
In order to create details quickly and effectively, I suggest using real photos. Use a photo of an existing car’s grill, and you’ll save time. Also, add some mirrors.
